In order to unlock Housing in No Rest for the Wicked, you’ll need to complete the quest “Of Rats and Raiders” from Winnick, which involves defeating Falstead Darak who can be found in the sewer area, The Black Trench. When the quest is complete, you’ll get a prompt telling you that housing is unlocked. Read on to find out how you can purchase a house, where you can purchase them, and what you can do with your house once you have it.
The Manor is one of the three houses you can purchase in No Rest for the Wicked.
Unlocking Housing
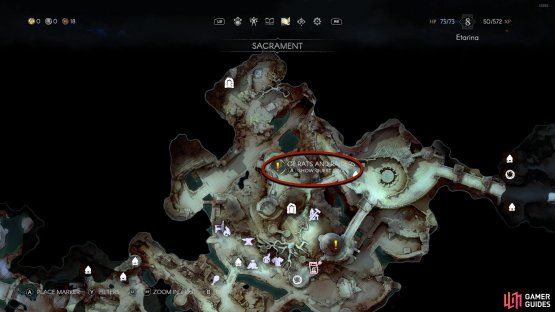
As stated above, you’ll need to complete “Of Rats and Raiders” to unlock this feature. The quest can be accepted by Winnick after meeting the Madrigal in Sacrament. Head up the alley east of the War Room and hang a left to find Winnick and Odessa. Winnick will give you the quest and send you to Orban Glades to deal with the Risen, Darak. Eventually, this will lead to a boss fight with the man himself but you won’t finish him there. If you’re having trouble with Darak, read our Darak Boss Fight Guide to get past him. Fortunately, you’ll only need to take him down to 30% health.
(1 of 2) The quest you’re looking for is “Of Rats and Raiders” which Winnick will give you.
The quest you’re looking for is “Of Rats and Raiders” which Winnick will give you. (left), Winnick can be found talking to Odessa, who is now locked up to the west of the Rookery. (right)
After speaking to Winnick again, you’ll find out from the prisoner, Rattigan, that Darak plans to attack Sacrament from underneath the city, and to do this, he’ll need to go through the sewer called The Black Trench, which is west of Sacrament in Mariner’s Keep. When you reach the sewer, Rattigan will give you access to the sewer, and you’ll now need to complete a difficult “dungeon”. At the end of the dungeon, you’ll find Darak again. This is a two-part boss fight with the first part being the same as your earlier fight with him, but you’ll need to deplete his health all the way this time. When the second phase begins, Darak will have turned into a monstrous fiend due to the pestilence. Unlike the first phase, you’ll want to stick close and to the back of Darak to avoid the majority of his attacks while you attack its back.
When Darak is defeated, and you begin to leave the area, you’ll get a short scene with Winnick (and Rattigan) who doesn’t believe in your methods but is happy with the outcome, which will complete the quest. When you enter Sacrament, the Housing feature will be unlocked.
(1 of 4) The Black Trench is in Mariner’s Keep, west of Sacrament.
Purchasing a House
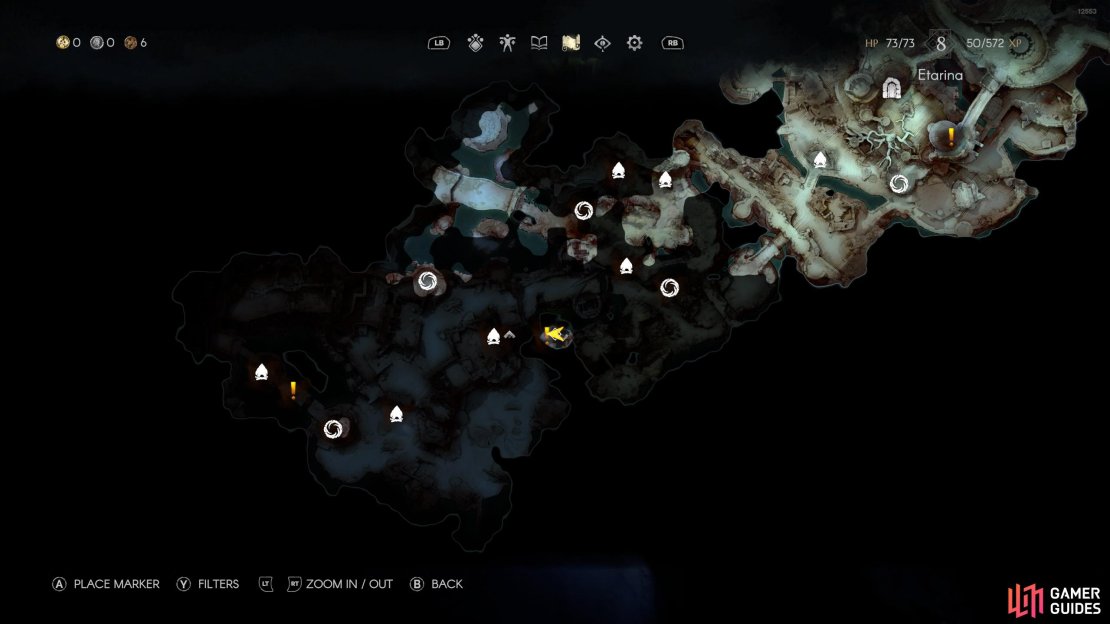
If you open the map, you’ll find a new house icon, and when you hover over it, it’ll tell you that the house is for sale. For now, there are only three houses you can purchase, and each one will have a different price. As far as we can tell, the only difference in the more expensive houses is the location and the size. Here are the houses you can purchase:
| Name | Location | Price |
|---|---|---|
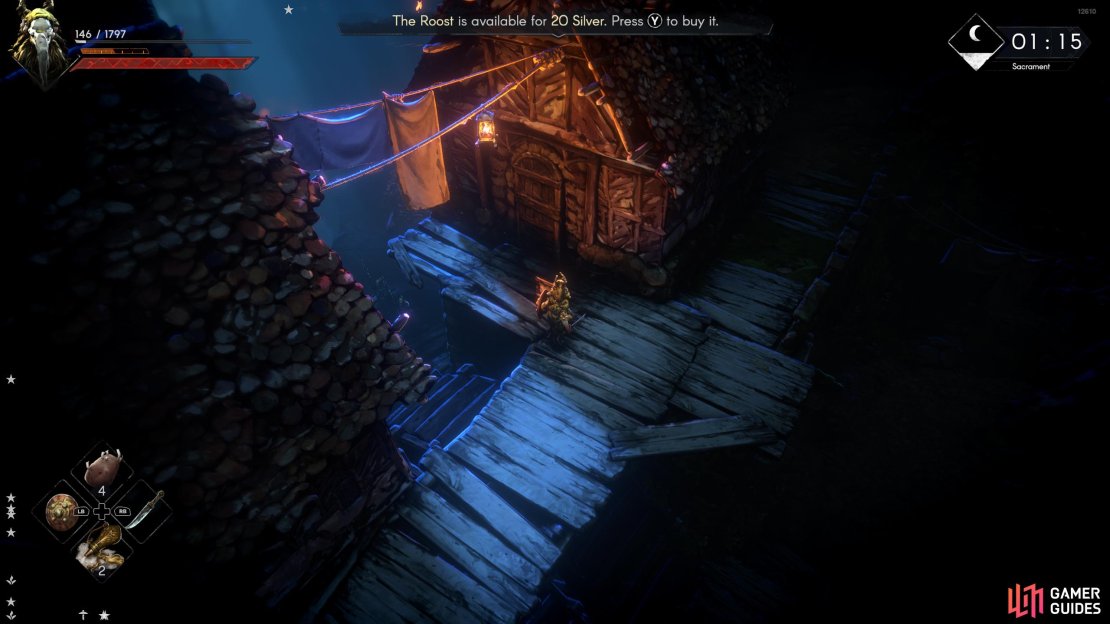
| The Roost | In the slums area, east of the Rookery | 20 Silver |
| The Homestead | North of Rookery, next to Danos | 25 Silver |
| The Manor | Northeast of the War Room, near Odessa | 30 Silver |
To purchase the house, head to the location marked on the map, stand in front of the signpost, and select “Buy”. Now, interact with the door, and enjoy your new, if a bit empty, home. If for whatever reason you don’t like the house you purchased, you can sell it for the same amount you purchased it for by interacting with the same sign and selecting “Sell”. You may want to pick up any furnishings you placed in there before you do though as you may lose them.
Furnishing your House
So, what can you do with the house, you may ask. Well, you can place numerous furnishings into your house, some of which will offer you benefits. For example, by logging off while sleeping in your bed (for 4+ hours), you’ll get a rest experience that increases the amount of experience you earn when you play the game again. Also, sleeping in a bed can restore your health. Then you can add cupboards, wardrobes, and chests in which you can place your consumables (cupboards), gear (wardrobe), and items (chest). Another useful thing about a house is you can place crafting stations in it, so you can have access to all your crafting needs at your fingertips. Outside the useful furnishings, there are a lot of furnishings you can place that give that homely feel such as tables, chairs, lights, and much more.
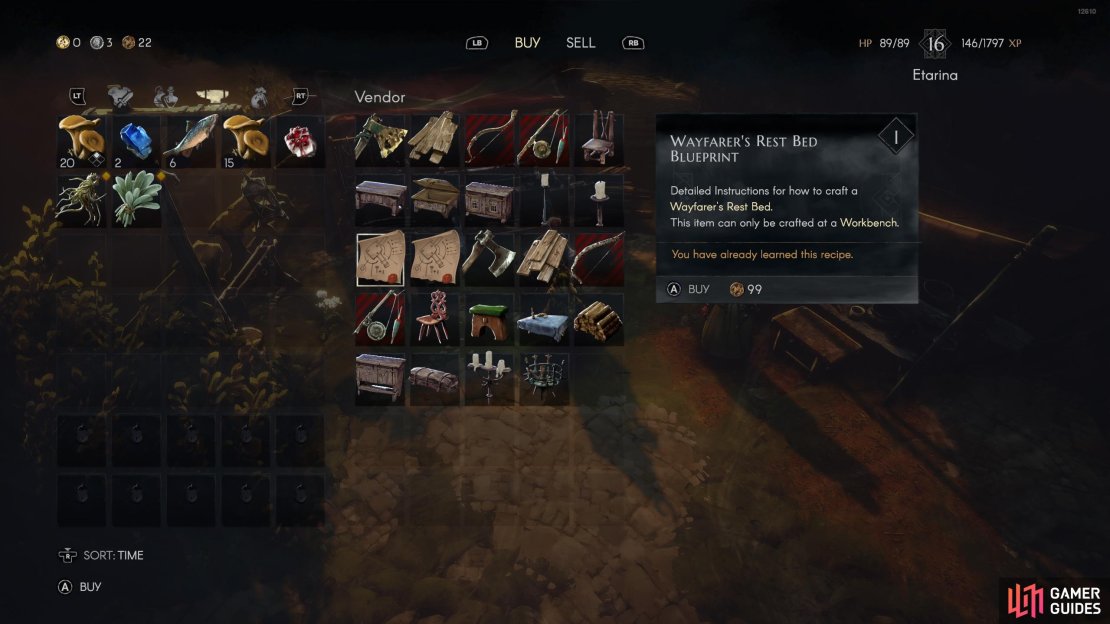
You can purchase furnishing and furnishing recipes from Whittacker who is west of Fillmore.
Obtaining and Placing Furnishings
Furnishings are obtained by either crafting them from a recipe or purchasing them from Whittacker the Woodcutter (and any other merchants that may have them). If you upgrade Whittacker from the Reclaiming Sacrament feature, he’ll have access to more furnishings and recipes.
Once you have procured the furnishings you desire, proceed to your residence and then proceed to your inventory, wherein the furnishings are located. Select the furnishing you want to place and it’ll appear on your action bar. Now, press 


(1 of 2) After purchasing a furnishing, select it in the inventory and then use it from the action bar.
After purchasing a furnishing, select it in the inventory and then use it from the action bar. (left), This will give you an outline of the furnishing where you can move and rotate it where you want. (right)
More No Rest for the Wicked Guides
No Rest for the Wicked is a difficult game. Fortunately, we have many guides to help you through the struggle!












No Comments