
Chapter 10 is a turning point in the story and can be a difficult battle to get through without using the Draconic Time Crystal. This is a harder battle and where the difficulty of the game ramps up. You will need to carefully choose the units you take with you, as not having a healer or an archer can cost you the battle. The guide below goes over how to progress through Chapter 10 easily and how to beat Hyacinth without losing any of your units in the process.

Hyacinth in The Cathedral battle.
How to Reach The Fell Dragon Sombron Battle
To reach Chapter 10, you simply need to complete the chapters that come before it. You should be warned, though. You will have to do Chapter 10 and Chapter 11 back-to-back. You won’t have the option of going back to Somniel between these missions, so make sure to take care of everything before you start Chapter 10.
Chapter 10 - The Fell Dragon Sombron Walkthrough
This map has two sets of stairs for you to work your way up, and a center area contains a Magic Ballista. While you can avoid the ballista by walking out of range up the right and left sets of stairs, it will start causing high amounts of damage once you approach the center of the map. There are two ways of dealing with the Magic Ballista
You will want to either ensure that you bring Chloe into this battle. To support her, you can also use Celine as she will have the ability to warp around the map when she engages with ![]() Celica. You will want to move these two units to the center of the map to take out the mage. If you don’t want to use Chloe, then you can bring a healer to keep your units topped off as they approach the center of the first half of the Cathedral map.
Celica. You will want to move these two units to the center of the map to take out the mage. If you don’t want to use Chloe, then you can bring a healer to keep your units topped off as they approach the center of the first half of the Cathedral map.
An armed Magic Turret in Chapter 10 of !Fire Emblem Engage.
![]() Yunaka is an excellent choice for this map as she can heal, and you can add in
Yunaka is an excellent choice for this map as she can heal, and you can add in ![]() Framme. You should also have an archer on your team to deal with
Framme. You should also have an archer on your team to deal with ![]() Rosado,
Rosado, ![]() Alcryst or
Alcryst or ![]() Etie is a great choice here, as he will also be able to deal with armored units on the left side of the stairs. As for
Etie is a great choice here, as he will also be able to deal with armored units on the left side of the stairs. As for ![]() Goldmary, if you can get your hands on the Magic Ballista, then you can use it to easily wipe her out. If this isn’t possible, then use a magic attack from Celine to finish her.
Goldmary, if you can get your hands on the Magic Ballista, then you can use it to easily wipe her out. If this isn’t possible, then use a magic attack from Celine to finish her.
The smaller enemies are easier to deal with. As stated above Alcryst and Etie can make quick work of the armored and flying enemies on the map’s left side. You can also send Yunaka with them for healing and backup. Many players have found that using a combination of ![]() Alear and
Alear and ![]() Sigurd on the right side of the map can quickly wipe out the sword units. You can also bring magic users to the right side to make quick work of these enemies.
Sigurd on the right side of the map can quickly wipe out the sword units. You can also bring magic users to the right side to make quick work of these enemies.
Once you get to the top of the map, make your way to ![]() Hortensia. She is weak to bow units, so Alcryst and Etie can make quick work of her as well. Once Hortensia is dealt with, you will need to break down the door and head into the Cathedral. Be wary of being caught in a funnel here, as it can be easy to trap yourself into a bad lineup for your army.
Hortensia. She is weak to bow units, so Alcryst and Etie can make quick work of her as well. Once Hortensia is dealt with, you will need to break down the door and head into the Cathedral. Be wary of being caught in a funnel here, as it can be easy to trap yourself into a bad lineup for your army.
How to Defeat Hyacinth
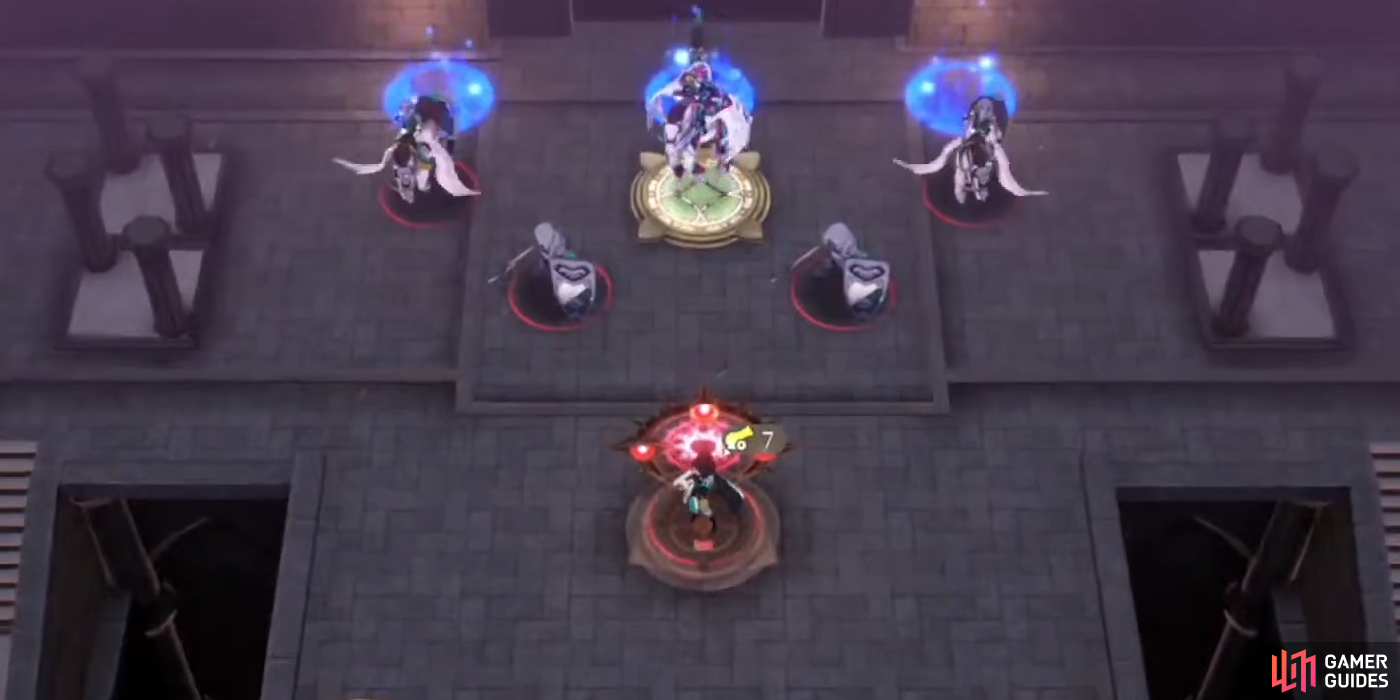
Once you enter into the second half of the map, proceed with caution. If you enter with a flying unit like Chloe, Hyacinth will use his Emblem to KO her immediately. Before you get the Hyacinth you will need to take out an axe user, a melee user, two mages, and two flying units. Use a Lance to deal with the axe user. ![]() Louis can be useful here.
Louis can be useful here.
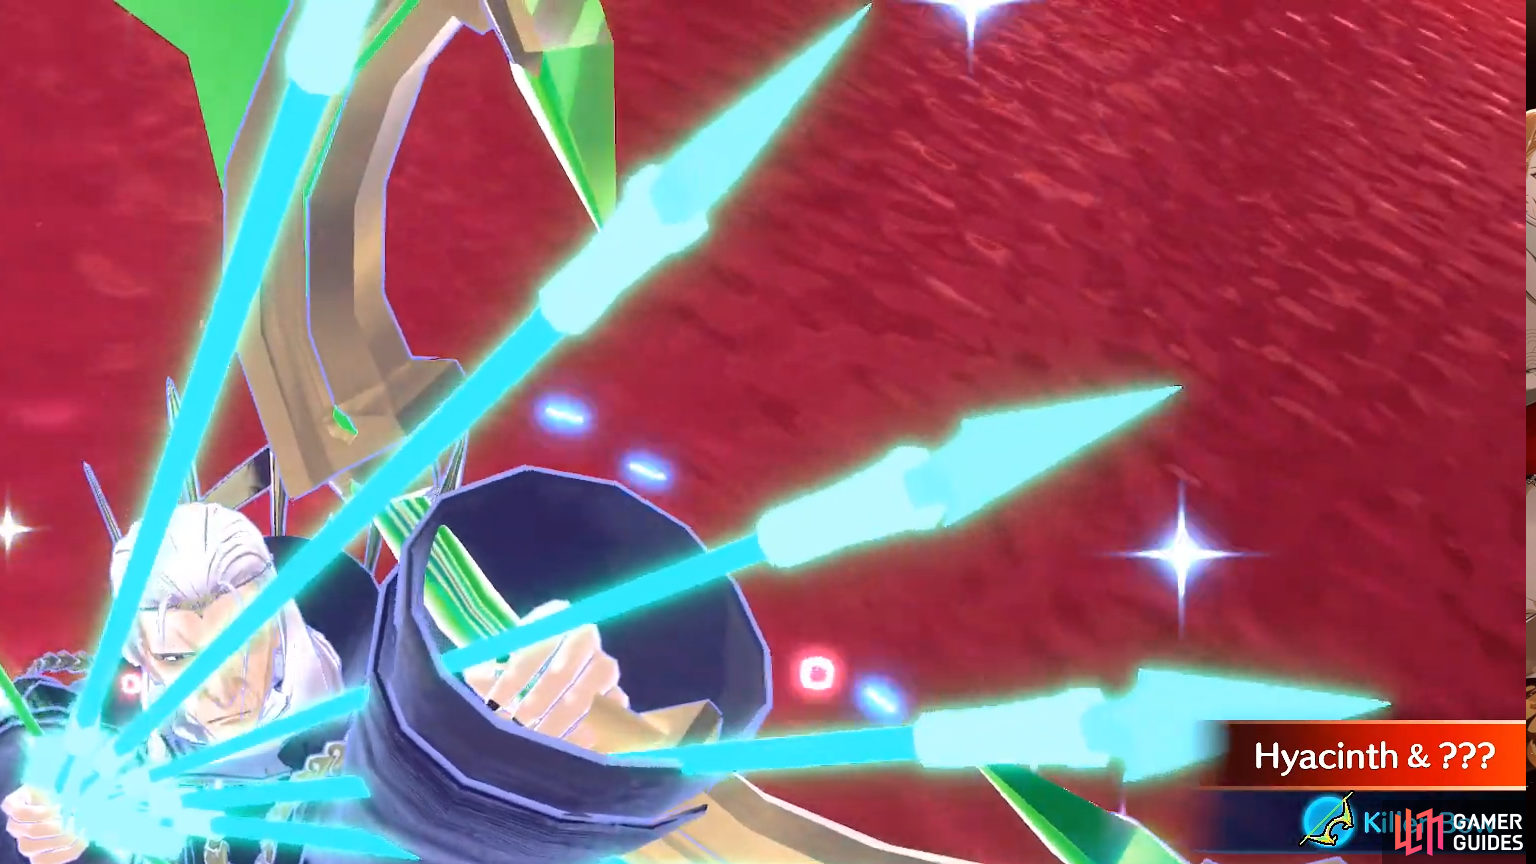
Hyacinth using his special attack.
Ideally, you should get the enemies in the room to come to the door. You will want to take them out here and then run in to deal with Hyacinth. If you try to run in to fight, then Hyacinth will start dealing massive damage to your characters. You can also use the archers to make quick work of the flying units. Be sure to proceed with caution and keep Alear protected during this portion of the map.
Once you get to Hyacinth, he will make clones of himself. It’s easy to tell the real Hyacinth as he will be the only one holding an item. Once you get up to Hyancinth and have removed his support units, he is easy to deal with. Just make sure you are using Yunaka or Framme to keep your units healed up.
All Treasure in The Chapel
There are two treasure chests in the first area of the map and five held items that are dropped after defeating enemies. If the thief manages to open both chests, though, he will flee the map, and you will lose access to the chest items.
| Item | Location |
|---|---|
| Left Chest | |
| Dracoshield | Right Chest |
| Energy Drop | |
| Master Seal | Hyacinth |
No Comments