
![]() Anna is a long-running Fire Emblem staple, appearing as a playable character in numerous past games, although her appearance, backstory, class and the balance between her penchant for mercantile endeavors and her love of skulduggery has varied between iterations. Anna’s never been quite as young before as she is in Fire Emblem Engage or less mercantile, being more of a mischievous, axe-wielding lout with startup aspirations that, if successful, would put her on the path towards becoming a more traditional Anna. On this page we’ll cover recruiting Anna, including information about unlocking and completing her Paralogue mission, Paralogue Mysterious Merchant.
Anna is a long-running Fire Emblem staple, appearing as a playable character in numerous past games, although her appearance, backstory, class and the balance between her penchant for mercantile endeavors and her love of skulduggery has varied between iterations. Anna’s never been quite as young before as she is in Fire Emblem Engage or less mercantile, being more of a mischievous, axe-wielding lout with startup aspirations that, if successful, would put her on the path towards becoming a more traditional Anna. On this page we’ll cover recruiting Anna, including information about unlocking and completing her Paralogue mission, Paralogue Mysterious Merchant.
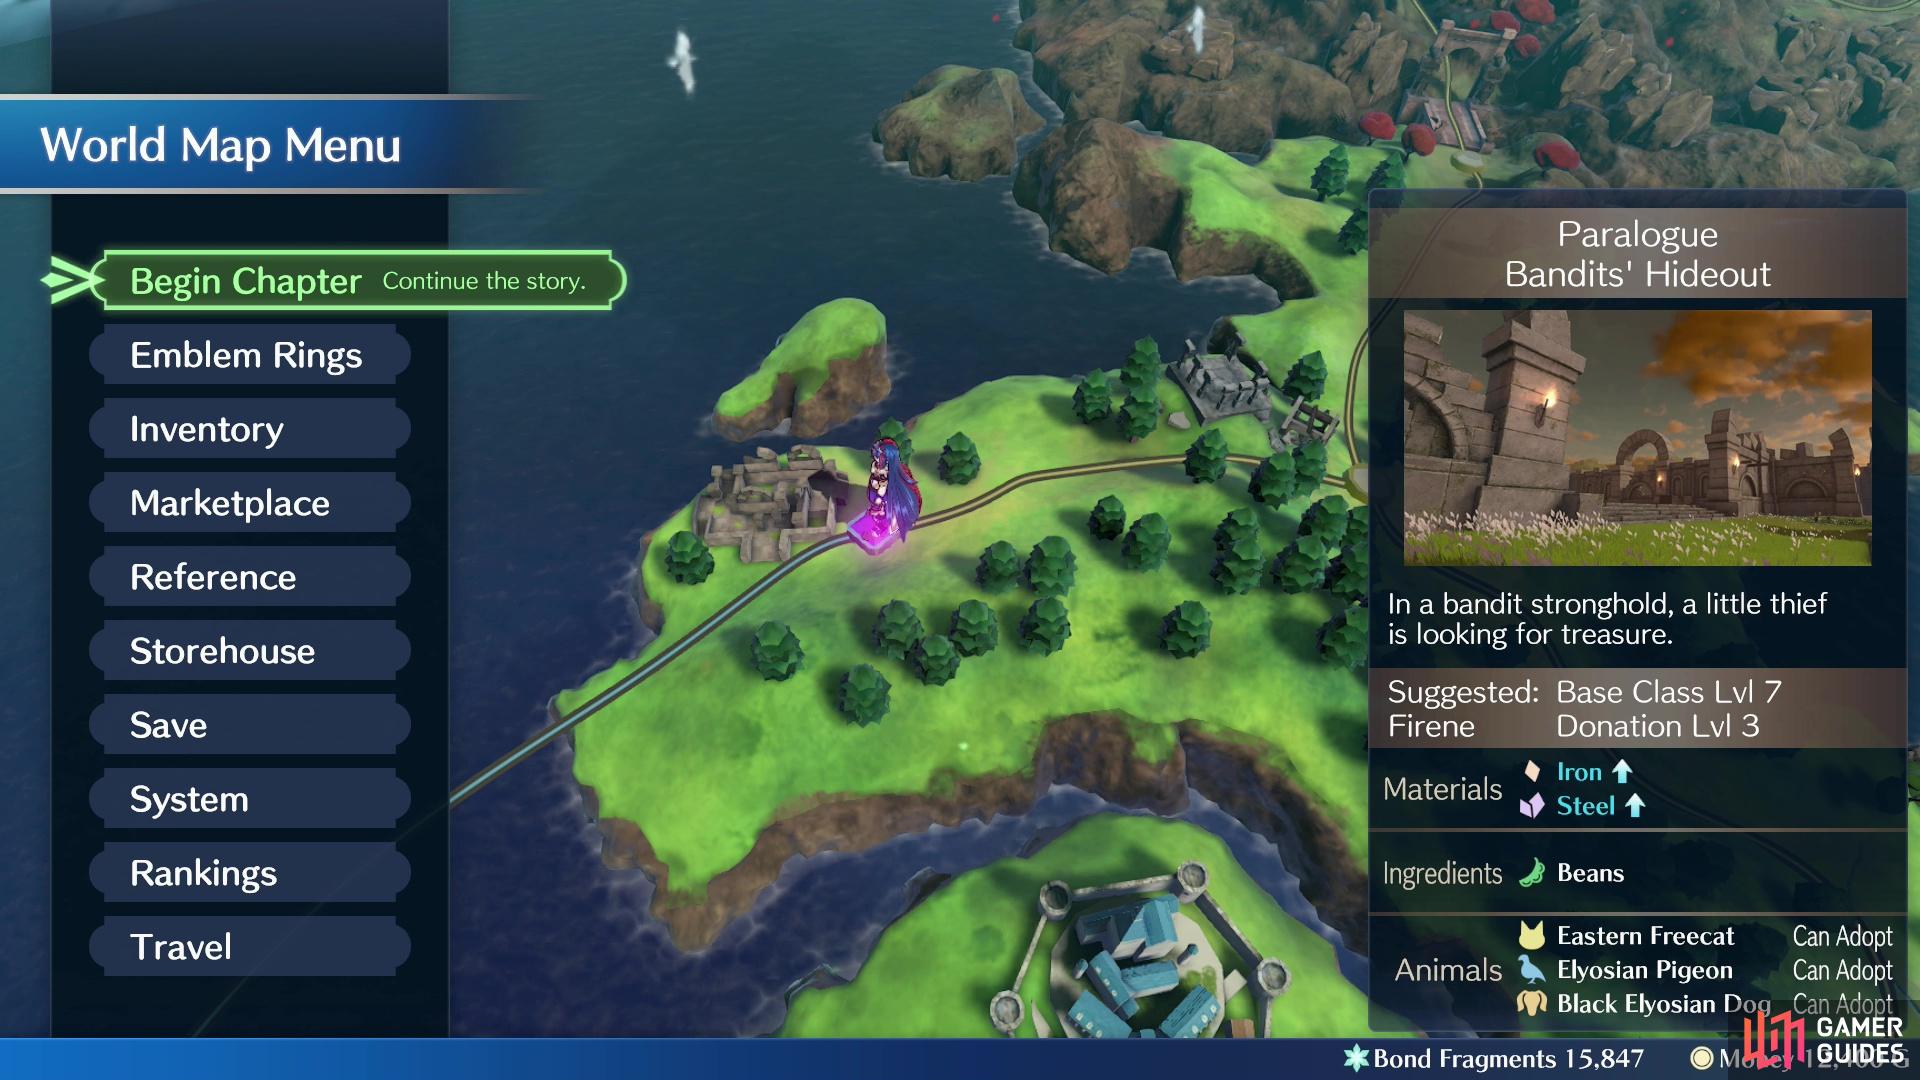
!Anna’s Paralogue - the Paralogue Mysterious Merchant - will unlock after you complete the story battle for Chapter 7.
How to Find Anna’s Paralogue: Bandits’ Hideout in Fire Emblem Engage
After you complete the story battle in Chapter 6 (Mountain Settlement) you’ll unlock the path forward to Chapter 7’s story battle (The Grand Crossing) as well as a trail to the west, which leads to the Bandits’ Hideout. The Bandits’ Hideout location houses Anna’s Paralogue battle - an optional side mission that, in Fire Emblem tradition usually yields rare treasure, characters you can recruit, or lore. Often a mix of all three. This is a fairly low-level mission, featuring enemies who are Base Class Lvl 7 - you should be able to handle them as soon as this Paralogue battle unlocks.

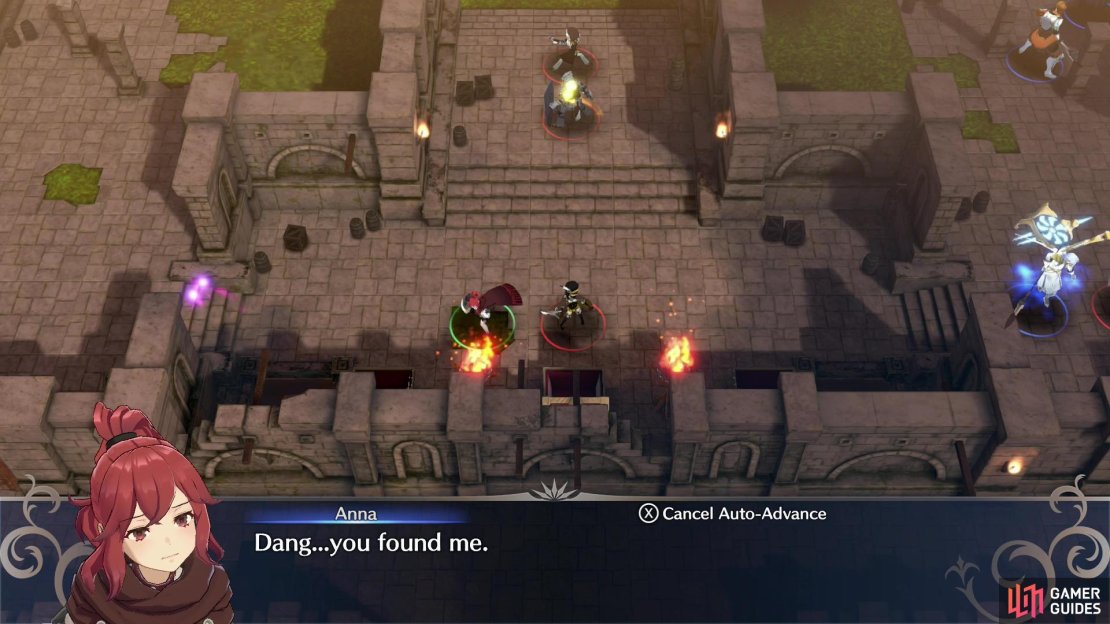
(1 of 3) A pair of Thieves will make their way to the treasure room, plundering the chests within.
How to Recruit Anna in Fire Emblem Engage
Bandits’ Hideout is a fairly small battle, only allowing you to field 8 units, where you’ll be pit against 21 fragmentary enemies, although you should rarely be outnumbered. Your forces are split into two groups of four, one to the southwest another to the northeast and your first major goal is to reach the chamber along the south-center of the castle where three chests are stored.
It’s in one of these chests that a plundering Anna will hide at the start of the battle, but her position is tenuous, as two Thieves will make their way towards this treasure chamber in order to plunder the chests within. They’ve got a head start on you, but they’ll waste a turn looting the other two chests before finally exposing Anna’s hiding spot, after which you’ll need to reach Anna and talk to her with ![]() Alear before she can be defeated by enemies.
Alear before she can be defeated by enemies.
Anna’s not uselessly fragile and she can hold her own for a while in combat. She’ll also start to make her way towards Alear once freed, which can make things easier… or more complicated if she ends up retreating into a host of unoccupied enemies. Between the need to rescue Anna and the desire to kill the Thieves so you can reclaim any treasure they took from the chests, you’ll want to move as quickly as possible, dispatching the half-dozen or so enemies in your way.
Sword users will feast in the southwest - where Alear starts, coincidentally - as most of the enemies here bear axes, which are disadvantageous against swords. A ![]() Sword Fighter to the north, a
Sword Fighter to the north, a ![]() Mage and an
Mage and an ![]() Axe Armor unit breaks up the monotony somewhat, but the western half of the map seems tailored for Alear,
Axe Armor unit breaks up the monotony somewhat, but the western half of the map seems tailored for Alear, ![]() Clanne and
Clanne and ![]() Framme. The east is a bit more diverse, occupied by Sword Fighters, an
Framme. The east is a bit more diverse, occupied by Sword Fighters, an ![]() Axe Fighter, an
Axe Fighter, an ![]() Archer and another Axe Armor, but a good mix of spears and axes should see you through just fine.
Archer and another Axe Armor, but a good mix of spears and axes should see you through just fine.
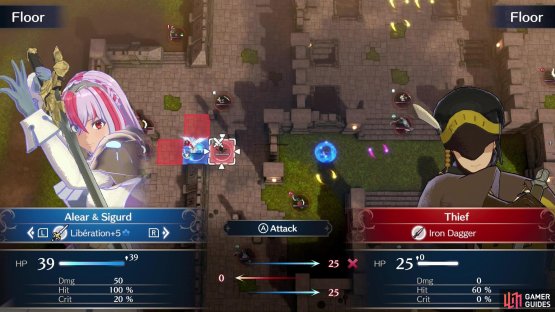

(1 of 2) A character equipped with !Sigurd can cover a lot of ground quickly - perhaps even killing off one of the Thieves before they can take a turn!

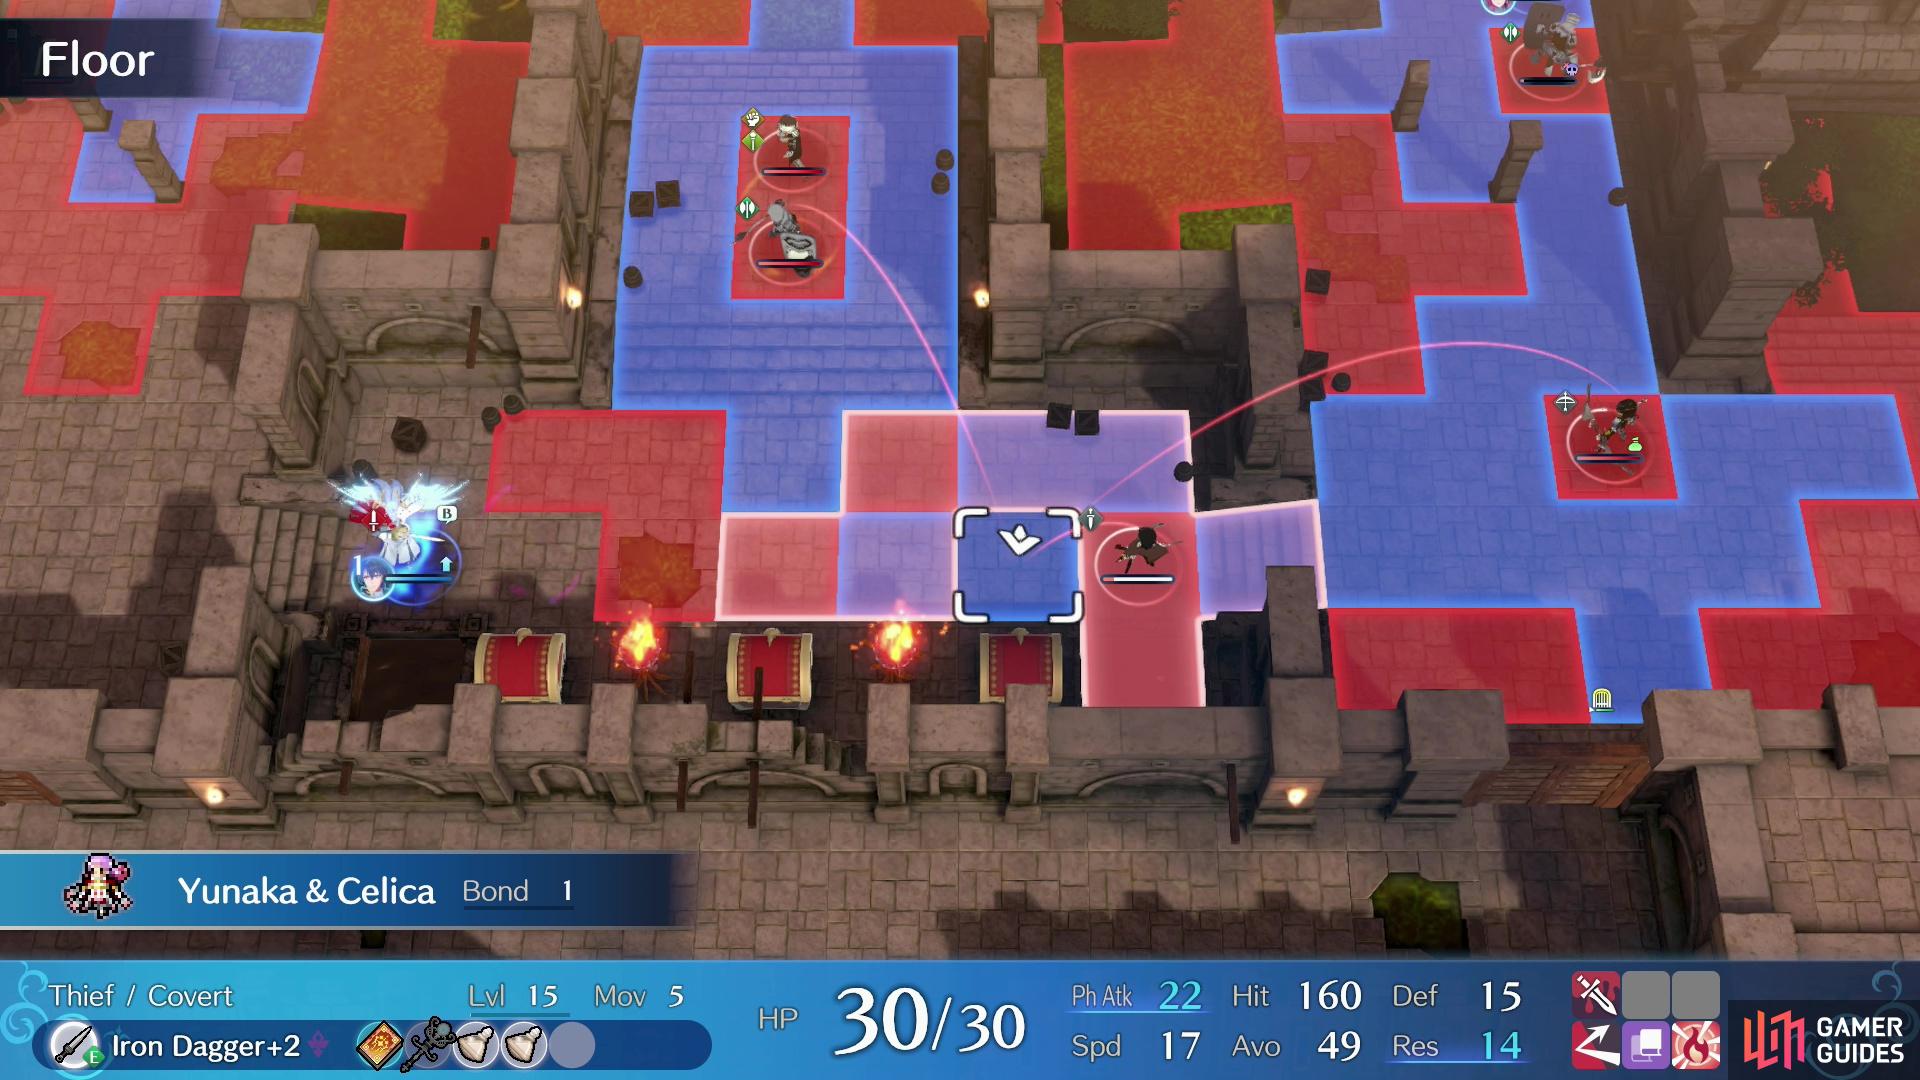
A character equipped with !Sigurd can cover a lot of ground quickly - perhaps even killing off one of the Thieves before they can take a turn! (left), !Celica’s !Warp !Ragnarok will allow a character to bypass the rest of the enemies and ambush a !Thief when they reach the treasure chamber. (right)
While slogging through and smashing your opposition should leave you with plenty of time to rescue Anna, if you’re confident in your strength and willing to exploit some Emblems (which is kind of the point of this game, to be fair), you can attempt a more ambitious, aggressive strategy. Any character possessing Emblem ![]() Celica can make use of her Warp Ragnarok ability to simply teleport through much of the castle, potentially ambushing the Thieves when they reach the treasury. Likewise, a character making use of Emblem
Celica can make use of her Warp Ragnarok ability to simply teleport through much of the castle, potentially ambushing the Thieves when they reach the treasury. Likewise, a character making use of Emblem ![]() Sigurd will have their MOV enhanced to the point where they can run past less interesting foes to rendezvous with Anna, or ambush one of the Thieves.
Sigurd will have their MOV enhanced to the point where they can run past less interesting foes to rendezvous with Anna, or ambush one of the Thieves.
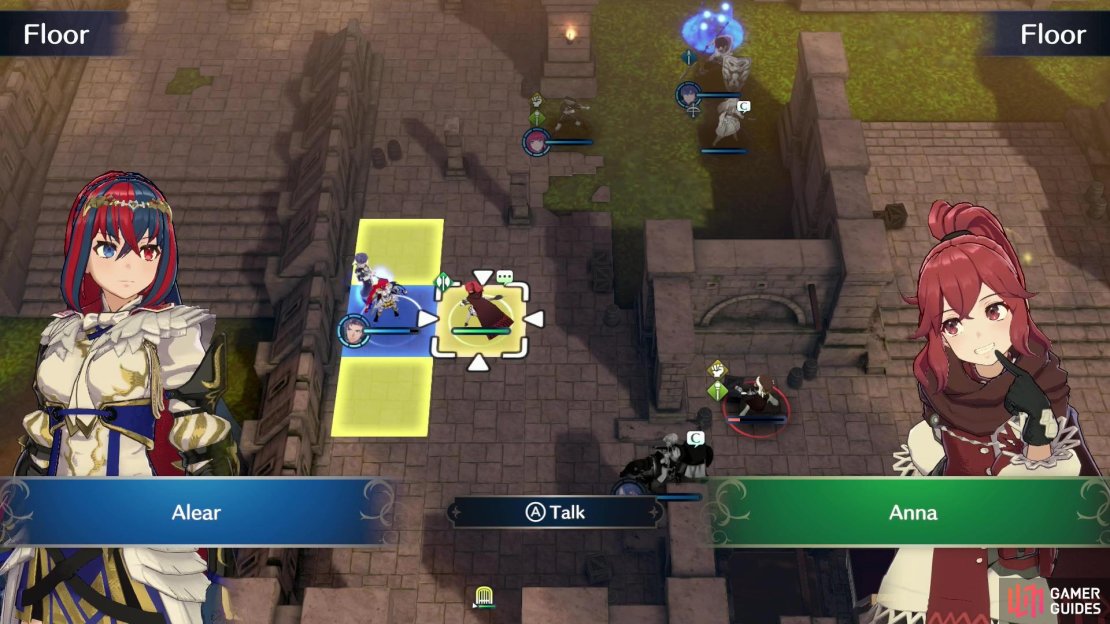
If you make it to Anna before the Thieves, you can open the remaining chests at your leisure, keeping Anna tucked away until it’s safe. Besides Anna, the chests in this room will yield a ![]() Strength Tonic (west) and a Master Seal (east). If the Thieves reached these chests first and opened them, make sure to kill them before they can escape the map - losing out on a Master Seal this early on would be a shame. Once Anna is freed, simply talk to her and she’ll join your cause for the rest of the game.
Strength Tonic (west) and a Master Seal (east). If the Thieves reached these chests first and opened them, make sure to kill them before they can escape the map - losing out on a Master Seal this early on would be a shame. Once Anna is freed, simply talk to her and she’ll join your cause for the rest of the game.
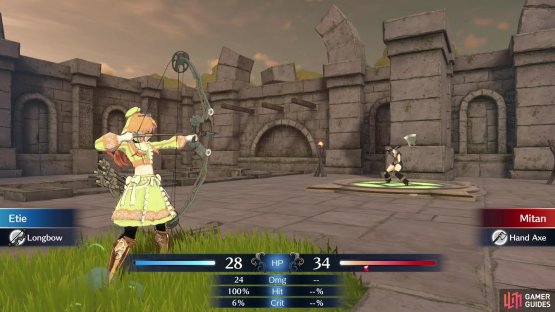
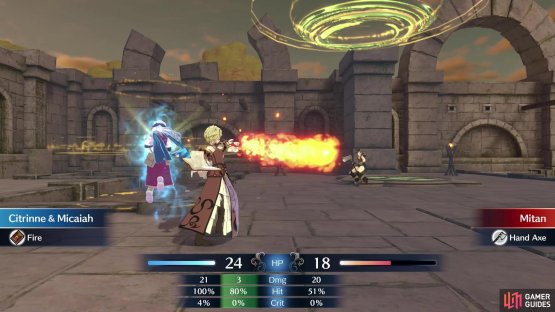
(1 of 2) While dangerous, Mitan is immobile, and helpless against foes who can outrange her.


While dangerous, Mitan is immobile, and helpless against foes who can outrange her. (left), Mitan is also very weak to magical attacks. (right)
How to Defeat Mitan in Fire Emblem Engage
After Anna is rescued and the bandits’ treasure secured, all you have to do is defeat the bandit leader, Mitan. She - like most of the enemies occupying the center of the map - are lazy and won’t move to engage you until you come in range, and this should allow you to easily clear the enemies leading up to Mitan’s chamber.
Mitan is flanked by two Axe Fighters, who aren’t any stronger than the lackeys you’ve been fighting, and you shouldn’t have any trouble luring them to their doom. As for Mitan, she won’t budge until you come within her attack range, which due to her Handaxe is 2 tiles. She hits considerably harder than other enemies on this map, and while her DEF and HP aren’t significantly better, she has a Revival Stone and is rooted upon a ![]() Heal Tile. The former will grant her a second full HP bar and the latter will regenerate 10 HP/turn, which gives her some staying power. If you attack her with Alear and inflict [Break], the rest of your army should be able to pounce on her before she can properly recover. You should be able to safely get rid of her first HP bar this way, and if you can finish her second HP bar off with Engage Attacks, you can potentially prevent her from attacking at all.
Heal Tile. The former will grant her a second full HP bar and the latter will regenerate 10 HP/turn, which gives her some staying power. If you attack her with Alear and inflict [Break], the rest of your army should be able to pounce on her before she can properly recover. You should be able to safely get rid of her first HP bar this way, and if you can finish her second HP bar off with Engage Attacks, you can potentially prevent her from attacking at all.
Once Mitan is defeated, you’ll complete the battle and Anna will join you on the Somniel.
No Comments