In the Definitive Edition of the game, upon finishing the first part, you will have to play through interludes before you can move on to the second portion. These will center on some events that happen to characters following the end of the first part of the game. This is also a reminder that if you are playing the original version of the game, then you can simply skip to the Dawn of a New World page for the second part. Also, after finishing the first part, you will witness a few scenes before the first interlude actually begins.
The first interlude will center on Sylvando, who is a bit down after the events that transpired at the end of the previous segment. Thanks to his friend, Dave, for slapping some sense into him, Sylvando decides to find some hope in this otherwise dark time.
Sylvando is hoping to put smiles on people’s faces
Gondolia
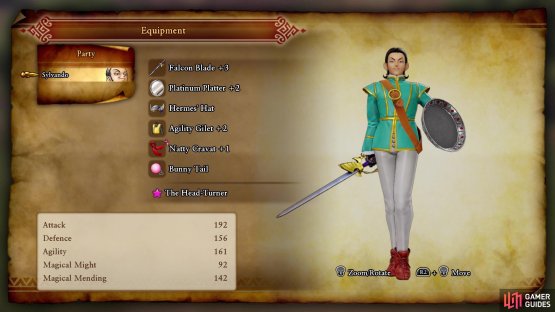
The first stop on the new hope-finding tour for Sylvando is Gondolia. You are free to explore Gondolia here, but there isn’t really anything new to get, in terms of treasure. Walk ahead a little bit and speak with the NPC with the pink bubble, Hercules, who talks about the Beastly Boys attacking whomever comes to the town. He also mentions that they stole the knapsack of a man who just arrived in town, so your goal right now is to find this man. If you open your inventory, you should see that the only items you have right now are those on Sylvando. This will be the case with each of the interludes, as your main inventory from prior to this, is locked off (likely because it all belongs to the Hero).
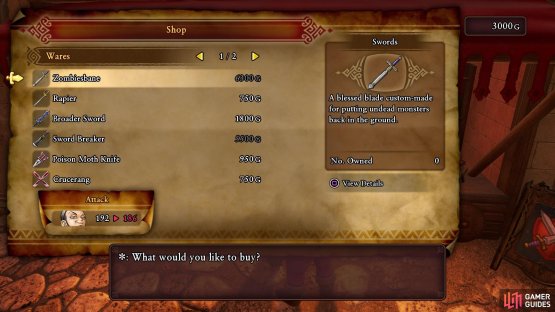
As already mentioned, there really isn’t anything new to find in Gondolia, although the shops do have some new pieces of equipment. Unfortunately, if you’ve been keeping up with the Fun-Sized Forge, then your equipment should be better than what it available; it also doesn’t help that you don’t have enough money to actually purchase anything, either. If you do not have Hustle Dance (you should), then it might be wise to either go to the Church to get it, or head to the item shop to pick up some healing items. You don’t really need to do a lot of fighting in Sylvando’s interlude, but it doesn’t hurt to have some back-up items in case.
(1 of 2) You only have the items Sylvando had on him from the first part
You only have the items Sylvando had on him from the first part (left), You cannot really afford any new equipment for now (right)
To continue with the story, head to the large plaza/stage at the northern end of town, and check for a man standing by the waters. Speak to him for a cutscene, where he will eventually introduce himself as Tetsu, a blacksmith from Hotto. He tells you his story and Sylvando, who is himself, decides to help him out. You will be going after these Beastly Boys, who have been causing problems for one of the merchants in town. If you go back to the entrance of the town and with it at your back, the older brother’s stall will be just to the left, at the start. Speak to all of them to trigger a fight.
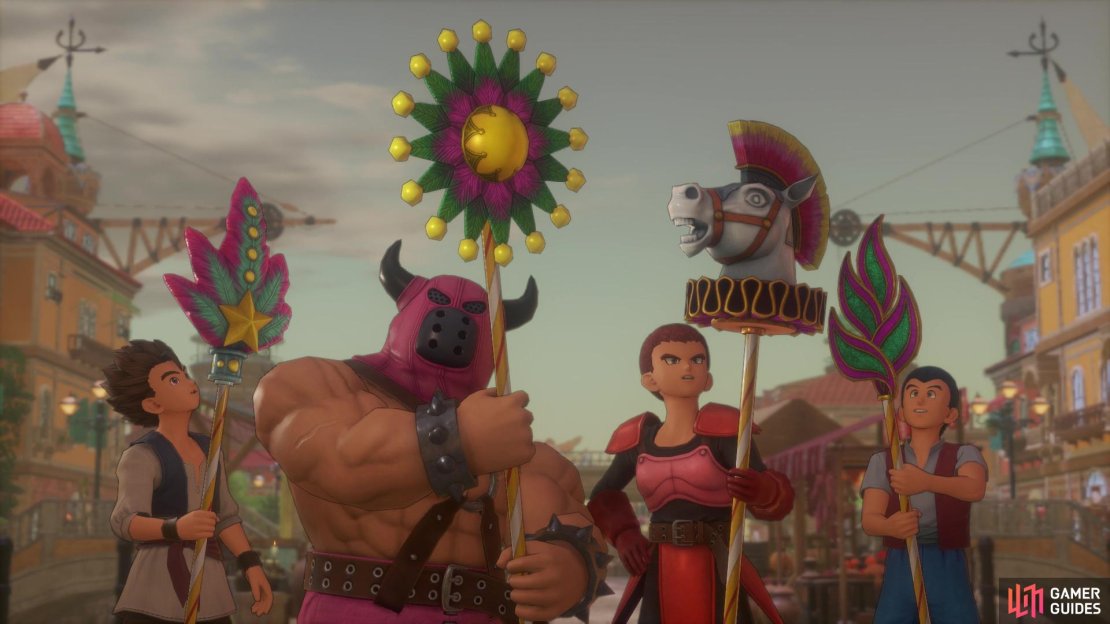
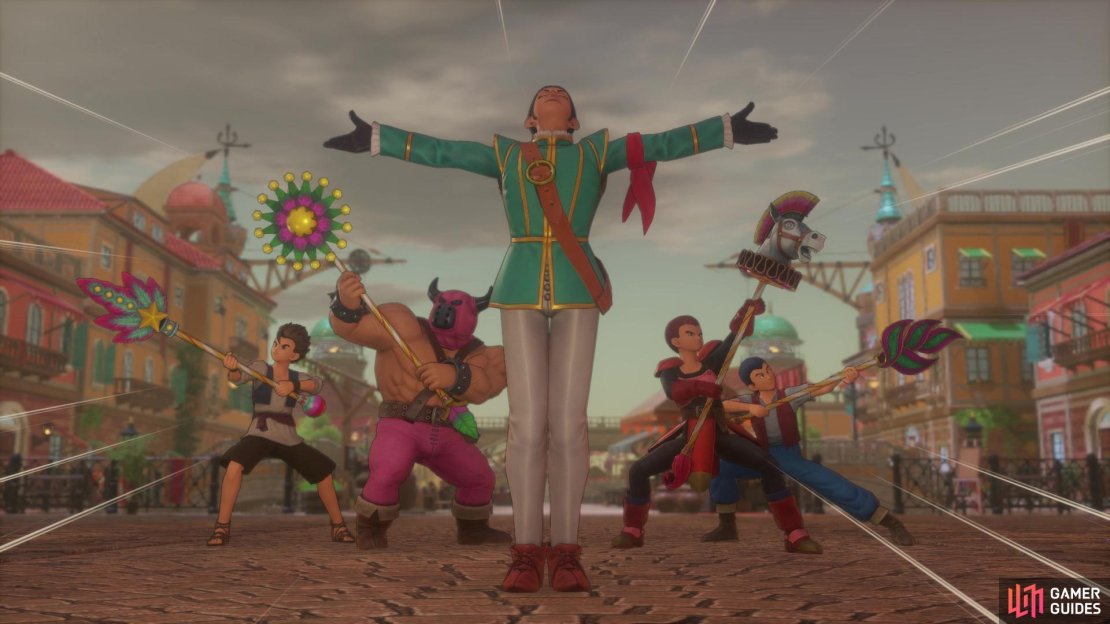
The Beastly Boys, despite their name, aren’t all too beastly and are kind of pushovers. You aren’t alone in battle, either, as Dave will be helping you out. You shouldn’t really need a strategy for taking them down, but target the one on the left first, as he can raise the enemy party’s attack. After the battle is over, Sylvando will retrieve Tetsu’s knapsack from them, as well as hear their troubles. Return to Tetsu and hand his knapsack back, then watch the scenes that follow. Eventually, Sylvando will be leaving Gondolia and as he does, the Beastly Boys will offer to join your group. Sylvando says yes and him and his merry band are now on their way to give hope to others.
Sylvando has put together a team to help his endeavor
Laguna di Gondolia
Note that you cannot do anything in the direction of Grotta della Fonte, so ignore it and head straight towards the exit to the Gallopolis Region. There are some new enemies to be found here in the Laguna, but none of the entries are missable and you can always come back later to get those. Two of the enemies are Vicious variations of enemies you’ve faced before, meaning they are stronger and have more health, but they give more experience over their normal counterparts. The two Vicious enemies found here are the Vicious Morphean Mushroom and the Vicious Midnight Horknight. Should you choose to fight them (they’re not all that dangerous, so it’s not a bad idea to do it), make sure you keep tabs on Sylvando’s health at all times.
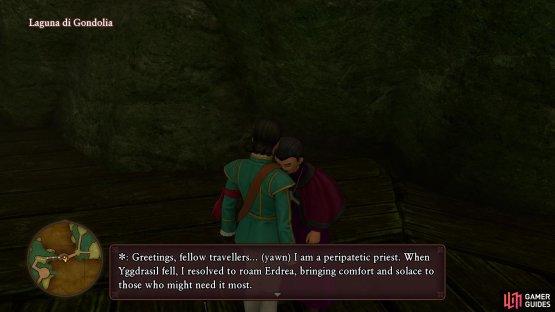
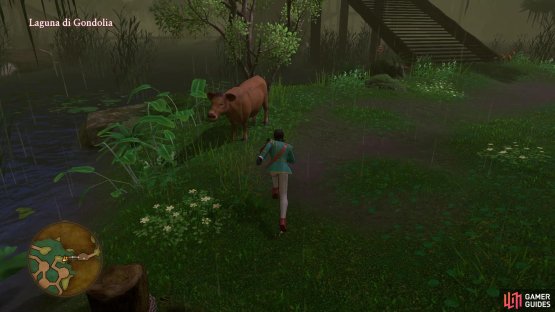
Also, the three Beastly Boys will join you in battles from now on, so you will have up to five characters in your party, although you will only be controlling Sylvando. While you’re making your way to the east, you will pass through a small cave, where you’ll find a priest. He is tired from travelling around so much after the recent events, telling you that his mother used to give him some milk when he was a child. There is a cow nearby, but because of the state of the world, this cow is unable to produce milk right now. Head on over to the cow and speak to it (yes, it’s a talking cow), triggering a little scene that will have your party cheer up the cow and getting some Fresh Milk. Bring this back to the priest and he will join your group. That’s all for this area, so move on to the Gallopolis Region now.
(1 of 2) The priest needs some milk to help him fall asleep
The priest needs some milk to help him fall asleep (left), The cow will be right next to the cave (right)
Gallopolis Region
As soon as you pass under the arch and start moving past the NPCs, the young one will stop you, as he recognizes you as the Great Sylvando. The circus in Gallopolis is in danger of shutting down, so he wants you to join it to help put on final big show. Agree to help him and he asks you to find two more people to join the show, noting that the desert is not a good place for it. With that out of the way, you are set to explore, with the same thing being said as Laguna di Gondolia. There shouldn’t be any new treasures, since you should have gotten them all the first time.
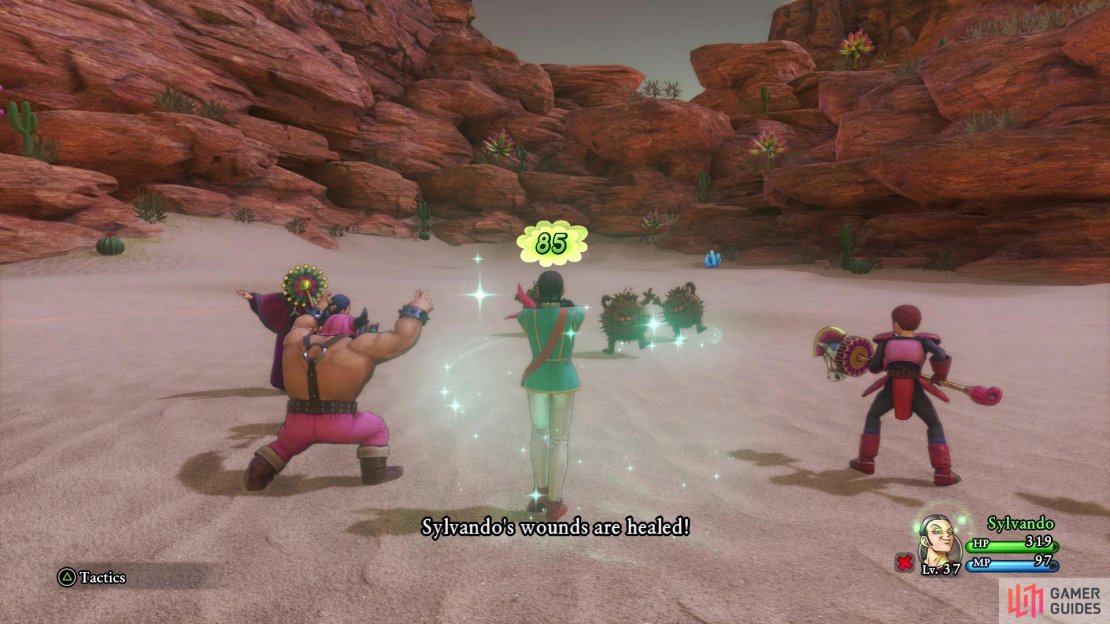
There are some new enemies to add to your bestiary, if you want, but they’re not missable. Start heading east, using the campfire to rest up and save, if needed, then make your way to the peninsula to the south of Gallopolis. As you approach the open area, a knight will plead for your help, as some monsters are harassing some people. Agree to help out and talk to any of the enemies to begin a fight against four Vicious Fandangows. They are pretty much like your normal versions, so you know what to expect. Note that their sultry dance can cause characters to lose a turn, which can be annoying if it hits someone like Sylvando. Fortunately, the priest you recruited can use Midheal, so that’s a nice backup for healing.
(1 of 3) The priest has access to healing spells
After the fight is over, the knight will ask to join your band, so allow him to do that. You will want to be careful to avoid the one big enemy in this little peninsula area, the Cactolotl. It’s definitely stronger than you probably think, gets three actions per turn and will wipe the floor with your group. So, if you see it come out of the ground, ignore it and do not confront it at all. With that out of the way, though, you’re done here and can head to Gallopolis itself.
Gallopolis
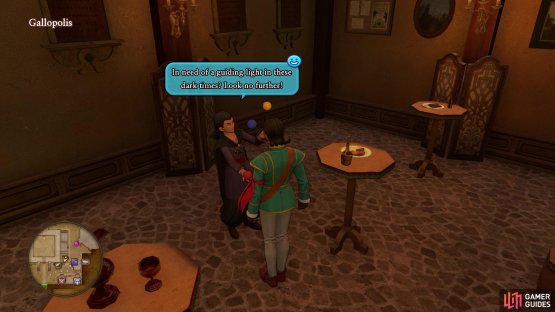
Your goal in Gallopolis is to find two more members for the circus, although there’s one other little event you will want to do here, too. For starters, head on over to the tavern in the southeastern portion of the town, where you should see a man juggling. Speak to him to invite him to join, but he has a little test before he actually will. He will picture one of his juggling balls and asks you to choose the correct one, based on his clue. Pick the red option and you will have one of the two people needed for the circus.
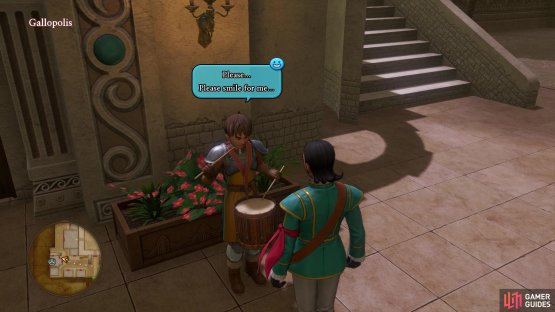
The next member you need is in the southwestern corner, right in front of the church; he is a drummer, so he’s not hard to spot. Before he will join the circus, he needs some help cheering up one of his friends. He gives you a description of her, as well as telling you she is in the northwestern portion of the city. Go north of the drummer, to the horse stables, and you should see a familiar horse at one of them. Yes, the drummer’s friend is Margarita, Sylvando’s trusty steed, who is down in the dumps. However, Sylvando and friends do a little dance to cheer her up, resulting in the drummer joining the circus. You will also receive a dollop of horse poo from Margarita.
(1 of 2) The juggler is found in the tavern
The juggler is found in the tavern (left), while the drummer will be right outside the church (right)
That’s all you really need to do here, so head on over to the circus tent and speak to the one NPC outside, who directs you to talk with the ringmaster whenever you’re ready. You get a sneak peek at a bit of the performance, then after it’s over, you will gain three new members, which are the fortune teller, drummer, and the NPC who asked you to join in the first place. There’s nothing else to be done in Gallopolis, so save your game, then exit the town and head towards the Hotto Steppe.
The Hotto Steppe
As with all other areas, there shouldn’t be any items to find and there are some new enemies, none of which are missable, since you can come back later with a proper party. Continue north, talking with the one Slime if you wanted, then a little north of that will be an NPC with some kind of monster. Speak to him to learn that it’s not truly a monster, but the recent events have caused some of the flora to go out of control. He has concocted some fertilizer to help bring the plant monster under control, but is missing one special ingredient, horse poo. Hand him the one you got in Gallopolis, and he will join Sylvando’s band.
You’re getting close to being finished with this interlude, so continue making your way to Hotto. As you cross the bridge to the north, you will come across a martial artist who needs help getting the nearby NPCs to Hotto to deliver some supplies. However, a monster is in the way and stole all of the food, so he needs help in vanquishing it. Feel free to use the nearby campsite to rest and save, as well as tinker with your party composition, if you wish. When you’re ready, continue east and guarding the bridge will be the monster in question.
MINI-BOSS - Gigantes
(1 of 2) The priest can actually put the Gigantes to sleep
The priest can actually put the Gigantes to sleep (left), It’s a good idea to heal up after the boss’ Crackerwhack attack (right)
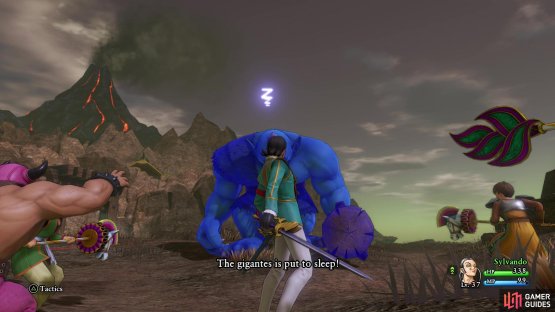
This is definitely more of a mini-boss than a proper boss, considering the circumstances and all. It can act twice per round and is pretty much dependent on its brute strength. The Gigantes’ normal attack deals somewhere around 60+ damage, and it can do a desperate attack for a lot more damage. Crackerwhack hits the entire group for around 80+ damage to everyone. Depending on your party makeup, though, the boss can be a little easier. For example, the drummer can boost the party’s defense, while the Beastly in training can boost their attack. Also, the Gigantes can be put to sleep via the priest’s sermon, which can definitely help. You should have Hustle Dance by now, so you can use that to heal.
Once you bring the Gigantes down, the martial artist will join your band, who will be the final one. Enter Hotto now for some scenes and to finish up Sylvando’s interlude. Note that the outfit given to Sylv here depends on the number of people who joined your band. Don’t worry, though, if you missed someone, as you can still get the best outfit later on, so it isn’t missable.






No Comments