The Arborian Highlands
| Item | Area |
|---|---|
| Mini Medal | Pit Cave, chest |
| Sparkly Spots | Area |
|---|---|
| Thinkincense | Foothills |
| Butterfly Wing | Pit Cave |
| Monsters | HP |
|---|---|
| Cyclops | ~551 |
| Living Statue | ~305 |
| Whirly Girly | ~128 |
| Runny Eggsoskeleton (Mount) | ~161 |
You’ll find Arboria is just a short journey up the Foothills, there’s not much to find out in this section of the Highlands and the path is linear.
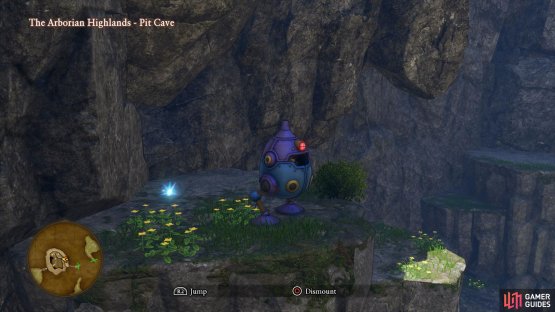
Begin by following the path until it opens up and search behind the large rock in the center to find the first Sparkly Spot, a Thinkincense. Continue east past the Living Statues and into the cave where you’ll spot some glittering Runny Eggsoskeleton. Defeat one and mount it to begin the climb up the Pit Cave.
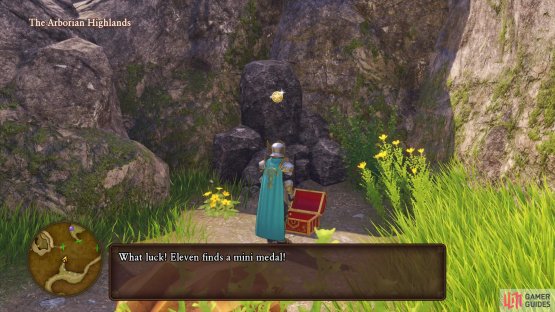
(1 of 2) Use the Runny Eggsoskeleton to reach a Sparkly Spot
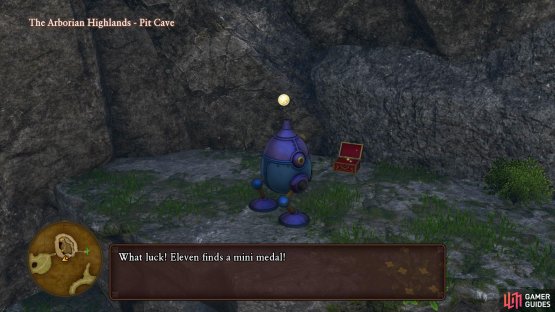
Use the Runny Eggsoskeleton to reach a Sparkly Spot (left), along with a Mini Medal on the upper platforms. (right)
Continue around clockwise until you reach the northeast of the Pit Cave where you’ll be able to jump higher and reach the second Sparkly Spot containing a Butterfly Wing. Continue to climb clockwise and climb up again when you get the opportunity to find the only chest for now containing a Mini Medal. There’s nothing left to discover now so continue to follow the linear path all the way to the top and into Arboria.
Arboria
| Items | Area |
|---|---|
| Mini Medal | Entrance, south of the stairs, chest |
| Seed of Therapeusis | Veronica and Serena’s House, pot |
| Supplicant | Veronica and Serena’s House, chest |
| 58G | Southwest stairs, pot |
| Seed of Sorcery | Under the entrance stairs, barrel |
| Sainted Soma | Item shop, chest |
| Celestial Skein | House east of the Item shop, wardrobe |
| Magic Water | Inn, wardrobe |
| Saint’s Ashes | North of the Cathedral, chest |
| Elfin Elixir | High Priest’s House, wardrobe |
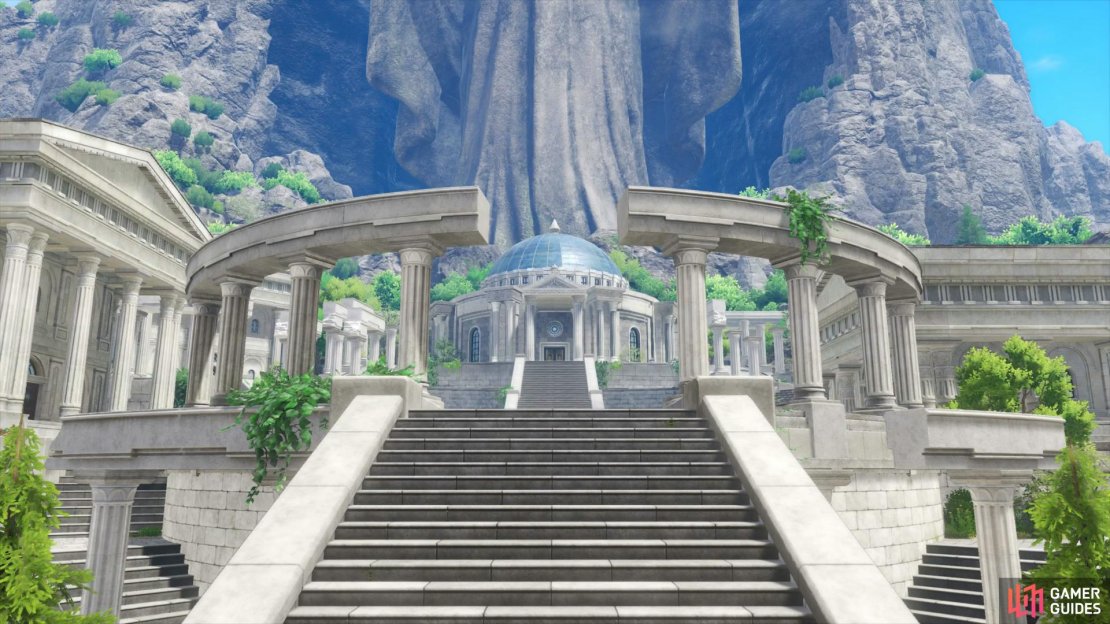
Arboria, the land of the Keepers and the hometown of Veronica and Serena. Continue east and up the stairs to meet with the High Priest, Benedictus. After you catch him up on the situation in Erdrea, you’ll learn that you need to venture to the First Forest and reach the great altar. Before you head off to the Cathedral however, take the time to loot the town of it’s items.
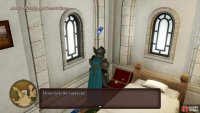
Head back down the stairs you just climbed and look in the corner to the south of them to find a hidden chest, open it to obtain a Mini Medal. Go back up the stairs and into the northern building to enter Veronica and Serena’s house. Smash the pots in the corner to obtain a Seed of Therapeusis and then head upstairs to find another chest tucked away in the corner containing a Supplicant.
Leave this house and head down the stairs behind the Item shop to find a pot to smash in the southwest corner, inside you’ll obtain 58G. Search under the stairs to the north of this location to find a pair of barrels, one of which contains a Seed of Sorcery. Enter the Item shop itself now and check out the wares on offer, of particular note is the Staff of Antimagic for Veronica and Rab. Before leaving the shop however, check around the side of the counter to find a chest containing a Sainted Soma. Make your way into the next house to the east and search the wardrobe to obtain a Celestial Skein before making your way to the Inn where you’ll find another wardrobe you can search containing a Magic Water.
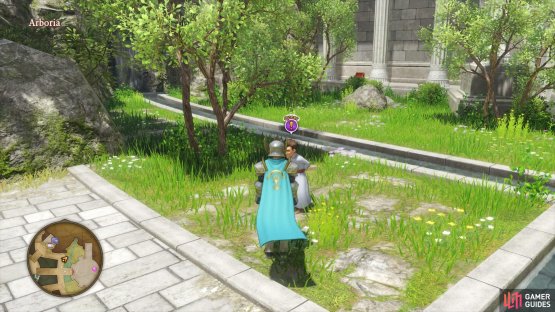
(1 of 2) Search near the stairs at the entrance to find another Mini Medal
Search near the stairs at the entrance to find another Mini Medal (left), you’ll find a useful accessory in the twins bedroom. (right)
Head up the central stairs toward the Cathedral now and search in the northeast corner to find a chest containing a Saint’s Ashes. Make your way south now and enter the High Priest’s House where you’ll find a wardrobe upstairs containing an Elfin Elixir. With all the items looted, head over to Benedictus at the Cathedral to learn more about Erdrea’s past before he opens the way to the First Forest.
Optional Tasks
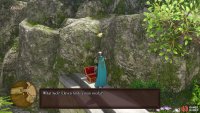
Before making the journey to the forest however, two more quests have opened up. Go south and speak to the old man to accept Quest 26 - Fit as a Fiddle, you’ll need to head into the First Forest to track down an ingredient for his soup, somewhere you’ll be heading shortly.
(1 of 2) Accept Quest 25 in the Grove of Repose
Accept Quest 25 in the Grove of Repose (left), along with Quest 26 near the Cathedral. (right)
Next, make your way into the Grove of Repose to the northeast of Arboria to find a sickly young girl. Listen to her request and accept it to begin Quest 25 - Planting Seeds for the Future where you’ll need to hunt a rare enemy in the First Forest. There’s a couple more tasks to take care of before you head into the First Forest starting with Zooming over to L’Academie de Notre Maitre des Medailles to hand over your Mini Medals, you should have enough to obtain the Agility Gilet and the Glombolero.
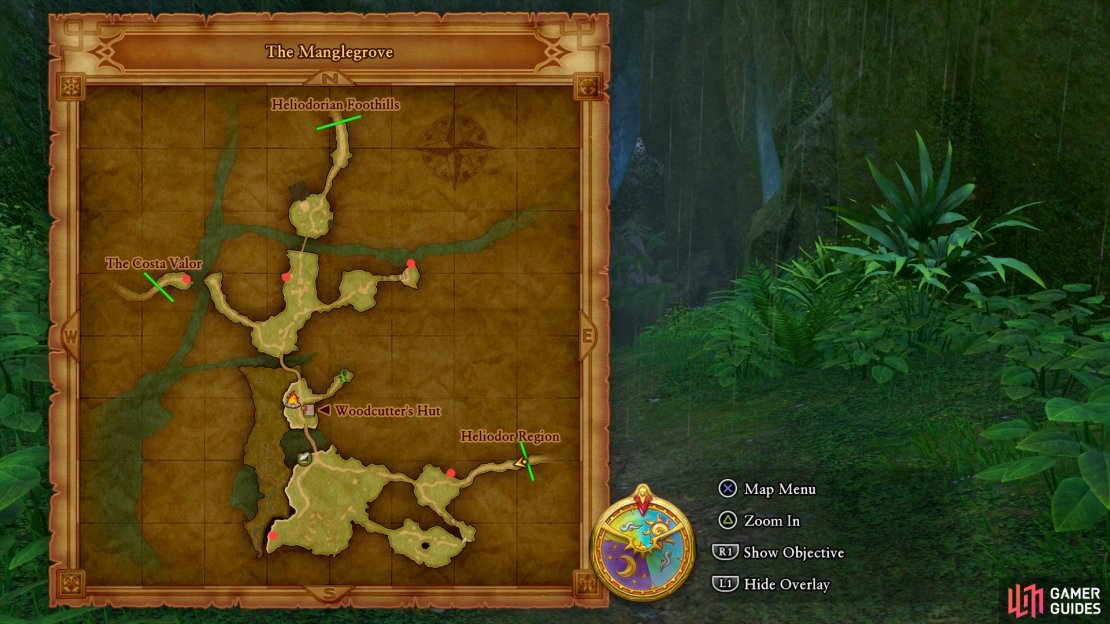
Zoom over to Cobblestone next and exit out into the Heliodor Region before making a quick turn into The Manglegrove once more to track down the last of the Crossbow Targets. From the eastern exit, follow the path to the first open field and look on north rocks to spot the first target. Continue west into the next large open field and search in the southwest corner and look up high in the air to spot the next target dangling from the tree.
You’ll find the Crossbow Targets in the following positions.
Continue north and take a quick rest at the Camp to add it to your list of Zoom destinations before crossing the bridge to the north. Take the eastern path first and follow it to the end to spot the third Crossbow Target near the waterfall. Head back to the three-way split and head north, keeping to the western wall to find the fourth target. For the final target, you’ll have to Zoom to the Costa Valor Campsite and head north to enter the Manglegrove from that side. Head to the end of this short path and look up to the northeast to find the final target, Zoom back to the Manglegrove Campsite and report your success to the Bodkin Bowyer to obtain four Seeds of Life. With that being your final Crossbow Target in all regions, head back to Gallopolis and report to Bo just outside the Palace to obtain the Happy Hat and the Crossbow Colossus Trophy.
Zoom back to Arboria and make your way through the Cathedral and back out into the Highlands.
Arborian Highlands
| Items | Area |
|---|---|
| Mini Medal | North, chest |
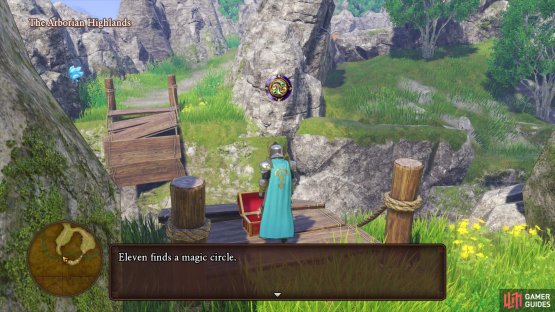
| Magic Circle | Southeast, chest |
| Sparkly Spots | Area |
|---|---|
| Platinum Ore x2, Silver Ore | Southwest, Ore gathering point |
| Silkblossom x2, Thinkincense | Southeast, Flower gathering point |
| Monsters | HP |
|---|---|
| Cyclops | ~551 |
| Grinade | ~155 |
| Goobonce | ~139 |
| Bloodbonnet | ~145 |
| Ethereal Serpent | ~494 |
More monsters populate this part of the Highlands although none of them should pose much a threat if your party is sitting at Level 32+. The Ethereal Serpents are good targets however, they offer a lot of Exp for a somewhat easy battle provided you’re not careless.
(1 of 2) You’ll find another Mini Medal north of the first intersection
You’ll find another Mini Medal north of the first intersection (left), while there’s a Magic Circle Boomerang south of the next intersection. (right)
Follow the linear path until the first intersection and go north to find a chest containing a Mini Medal. Continue along the path and rest at the Campsite and take a look at your items you can forge. If you haven’t already done so, consider forging a Platinum Lance for Jade and then rework any pieces you’re equipping that’s not already at +3.
Save your game and then continue south, keeping that way at the intersection to find an Ore gathering point containing two Platinum Ores and a Silver Ore. Head back to the intersection and head east until you reach another one, going south once again and searching the Flower gathering point to your right containing a Thinkincense and two Silkblossoms. Continue south across the bridge to loot the final item from the chest containing a Magic Circle. Head back north now and follow the path into the First Forest.
The First Forest
| Items | Area |
|---|---|
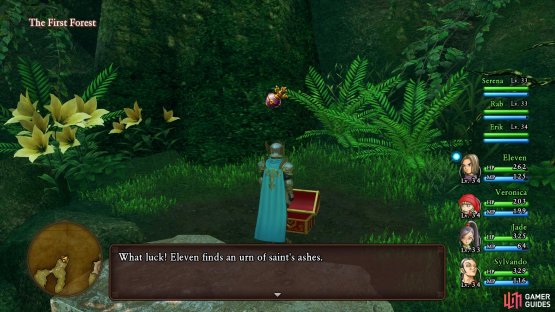
| Saint’s Ashes | North from the entrance, chest |
| How to Outdo the Undead | Cave, chest |
| Ethereal Stone | Exit the Cave to the east, chest |
| Savvy Saphire | Southeast, chest |
| Enchanted Stone | Northwest of the southern Camp, chest |
| Molten Globules | North, behind the tree, chest |
| Mini Medal | Behind the great altar, chest |
| Sparkly Spots | Area |
|---|---|
| Faerie Fluff, Silkblossom, Glimmergrass | North of the entrance, Flower gathering point |
| Spellbound Bough | Southwest |
| Magic Water | Bottom of second waterfall |
| Belle Cap | East |
| Spellbound Bough | North |
| Monsters | HP |
|---|---|
| Jowler | ~456 |
| Medislime | ~90 |
| Liquid Metal Slime | ~8 |
| Mosstodon | ~390 |
| Living Statue | ~305 |
| Pine Needler | ~123 |
| Moosifer (Night Only) | ~336 |
| Fruity Succubat | ~197 |
| Stump Champ | ~157 |
| Infanticore | ~363 |
| Sprite Bulb | ~133 |
| Wight Bulb (Rare) | ~895 |
| Blue Dragon | ~569 |
All that stands between you and Yggdrasil is the First Forest, a dense woodland full of fearsome monsters. Begin your journey by heading across the bridge and go north at the intersection and climb the vine at the end. Climb the ledges to the north to find a chest containing a Saint’s Ashes and then head south to find a Flower gathering point containing a Faerie Fluff, Silkblossom and a Glimmergrass.
(1 of 2) Go north at the first intersection to find a chest
Go north at the first intersection to find a chest (left), while you’ll find a Recipe Book in the chest inside the cave. (right)
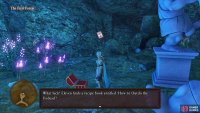
Make your way back to the first intersection and follow it south until you reach the first waterfall where you can find a Sparkly Spot containing a Spellbound Bough by the fallen tree. Continue down the south path and enter the nearby cave where you’ll find a room full of Living Statues and Fruity Succubats guarding a chest. Defeat them or not, open the chest to obtain a Recipe Book, How to Outdo the Undead. Exit the cave from the east side now to find another chest containing an Ethereal Stone before dropping down to a Sparkly Spot containing a Magic Water.
Head south from here and cross over the branches to the east, following the path at the intersection all the way east to find a chest containing a Savvy Saphire. Return to the intersection and go north and then west at the next intersection to reach a Camp you can rest at and save your game. Look in the northwest corner here to spot a well hidden chest containing an Enchanted Stone before making your way back to the intersection and continuing east.
(1 of 2) Search beneath the large tree to the north of the First Forest to find the Red Kale for Quest 26
Search beneath the large tree to the north of the First Forest to find the Red Kale for Quest 26 (left), then look behind it for a hidden chest. (right)
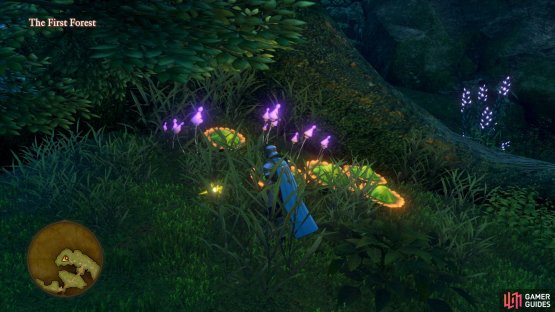
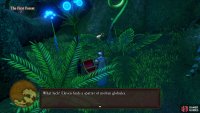
Cross more branches as you follow the path and as you ascend the tree, jump to your right to find a Sparkly Spot containing a Belle Cap. The path stays linear until you reach another intersection, continue north to find a golden Sparkly Spot under the large tree, this is the Red Kale needed for Quest 26. Search behind the large tree now to find a chest tucked away in the corner, open it to obtain some Molten Globules.
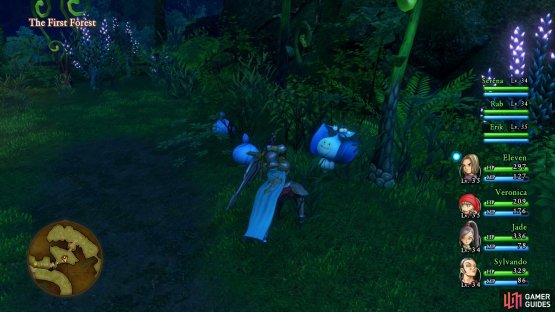
Return to the intersection and head into the hollowed out tree to find a Sparkly Spot containing another Spellbound Bough and then climb the vine. You’ll encounter Sprite Bulbs here and you’ll need to continuously fight them until a Wight Bulb appears in battle. Defeating this will allow you to obtain the Wishteria Seeds needed for Quest 25. Once you’ve obtained the item, continue up and onward to the Camp where the party decides to rest before their big day tomorrow.
(1 of 2) Once you’re near the top of the First Forest, fight Sprite Bulbs
Once you’re near the top of the First Forest, fight Sprite Bulbs (left), you’ll want to encounter the rare Wight Bulb for Quest 25. (right)
After the party reflects on their journey and morning comes to pass, Zoom back to Arboria. Head into the Grove of Repose and speak to the girl to hand over the seeds and complete Quest 25, you’ll receive a Healer for your troubles. Next, return to the old man near the Cathedral and hand over the Red Kale to aid him in creating his soup. After sampling the soup for himself, you’ll complete Quest 26 and obtain a Butterfly Baton.
Zoom back to the First Forest Summit and save your game before heading up the path to the great altar. With the aid of the Orbs you’ve collected while travelling around Erdrea, a path opens up to Yggdrasil at long last and the Journey’s end is in sight.
The World Tree
| Sparkly Spots | Area |
|---|---|
| Superior Medicine | Foot |
| Yggdrasil Dew | Foot |
| Lunaria | Path to Heart of Yggdrasil |
| Yggdrasil Leaf | Path to Heart of Yggdrasil |
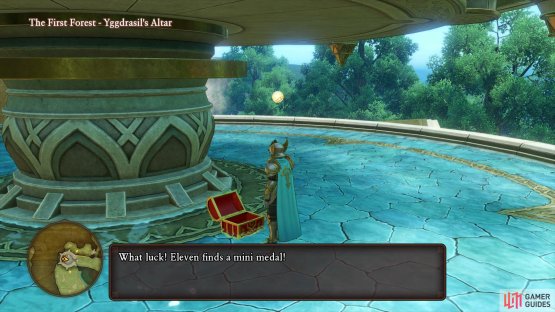
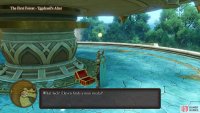
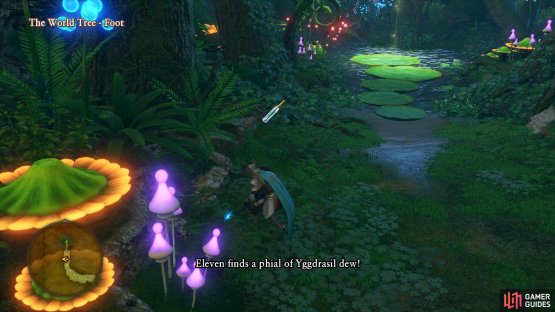
As you may expect from The World Tree, the area is completely devoid of any monsters and it’s just a short trip to your destination. Begin by following the path and searching the Sparkly Spot for some Superior Medicine. Once you climb the ledge, you’ll come across a well which will take you back to the First Forest, do so and use the Magic Symbol within to reach the First Forest Once more. Back at the great altar, search behind it to find the final chest of the First Forest containing a Mini Medal, pocket the find and return to the World Tree. Continue past the well and loot the next Sparkly Spot containing a Yggdrasil Dew that will restore the whole party’s HP, save these unless necessary.
(1 of 2) Return through the well back to the great altar and search behind it for a chest
Return through the well back to the great altar and search behind it for a chest (left), Yggdrasil Dews are the best healing items in the game. (right)
Climb the Vine to reach the Path to the Heart of Yggdrasil where you’ll find two more Sparkly Spots containing a Lunaria and a Yggdrasil Leaf. Folow the one way path and reach the Heart of Yggdrasil at long last, approach it and watch the events that unfold.
The battle with Jasper is an unwinnable one, the orb in his hand will protect him from all damage. Instead, focus on survival with buffs and keeping yourself healed as long as possible. Eventually, Jasper will grow tired of the charade and end the battle. The events that follow will shock the very foundations of Erdrea and leaving the lives of everyone in question as Act I comes to a close.













No Comments