
Havens Above
| Sparkly Spot | Area |
|---|---|
| Colourful Cocoon | West |
Upon setting foot on the strange island, head around the outer ring to the west to find a Sparkly Spot containing a Colourful Cocoon. Head up the stairs in the center and enter the temple to meet a rather strange fellow known as a Watcher. You learn that all of the Watchers have perished and that this one survived as he was in the Temple of Dawn. Head through the next door and examine the large globe of light within to obtain the Guiding Light. When you regain control, head over to each of the three Seedlings to learn more about the past of Erdrea and how the Lord of Darkness was defeated once upon a time.
Leave the Temple of Dawn after viewing all three past events and you’ll have a goal in mind at long last. Find the legendary ore, obtain the forging hammer and create the Sword of Light. You’ll also unlock the Zoom destinations for Gallopolis and Hotto at this point, useful for this task. Return to Cetacea and make for the other floating island, far to the southwest of Erdrea.
The Battleground
| Items | Area |
|---|---|
| Mini Medal | Level B2, chest |
| An Encyclopaedia of Expert Equipment | Level B3, chest |
| Seed of Skill (Pandora’s Box) | Level B4, chest |
| Seed of Skill (Pandora’s Box | Level B2 (Requires Dragooner), chest |
| Sacred Styles for Saintly Ladies | Level B9, chest |
| Agate of Evolution | Level B9, under the stairs, chest |
| Chronocrystal | Level B8, chest |
| Brain Drainer | Level B8, chest |
| Bad Axe | Level B7, chest |
| Brace Yourself | Level B6 (Requires Dragooner), chest |
| Sparkly Spots | Area |
|---|---|
| Dracolyte | Entrance |
| Densinium | Level B2 |
| Mythril Ore | Level B3 |
| Brighten Rock x2, Red Eye | Level B4, Ore gathering point |
| Yellow Eye | Level B4 |
| Sunny Citrine | Level B4 |
| Mythril Ore | Level B1 (Requires Dragooner) |
| Molten Globules | Level B4 |
| Mirrorstone, Purple Eye, Green Eye | Level B9, Ore gathering point |
| Blue Eye | Level B9 |
| Equable Emerald | Level B9 |
| Densinium x2, Thunderball | Level B8, Ore gathering point |
| Molten Globules | Level B8 |
| Gold Nuglet | Level B7 |
| Gold Nuglet | ~Level B7 |
| Dracolyte | Level B7 |
| Royal Ruby | Level B6 |
| Mythril Ore | Level B6 (Requires Dragooner) |
| Artful Amethyst | Level B6 |
| Savvy Saphire | Level B6 |
| Monsters | HP |
|---|---|
| Vicious Liquid Metal Slime | ~10 |
| Killing Machine | ~420 |
| Type G0 (Rare) | ~1806 |
| Armful | ~554 |
| Lethal Armour | ~514 |
| Evangelizard | ~460 |
| Dragooner (Mount) | ~296 |
| Sootbonce | ~269 |
| Smogbonnet | ~276 |
| Dragon Zombie | ~591 |
| Wight Prince | ~224 |
| Overkilling Machine | ~504 |
| Pandora’s Box | ~1800 |
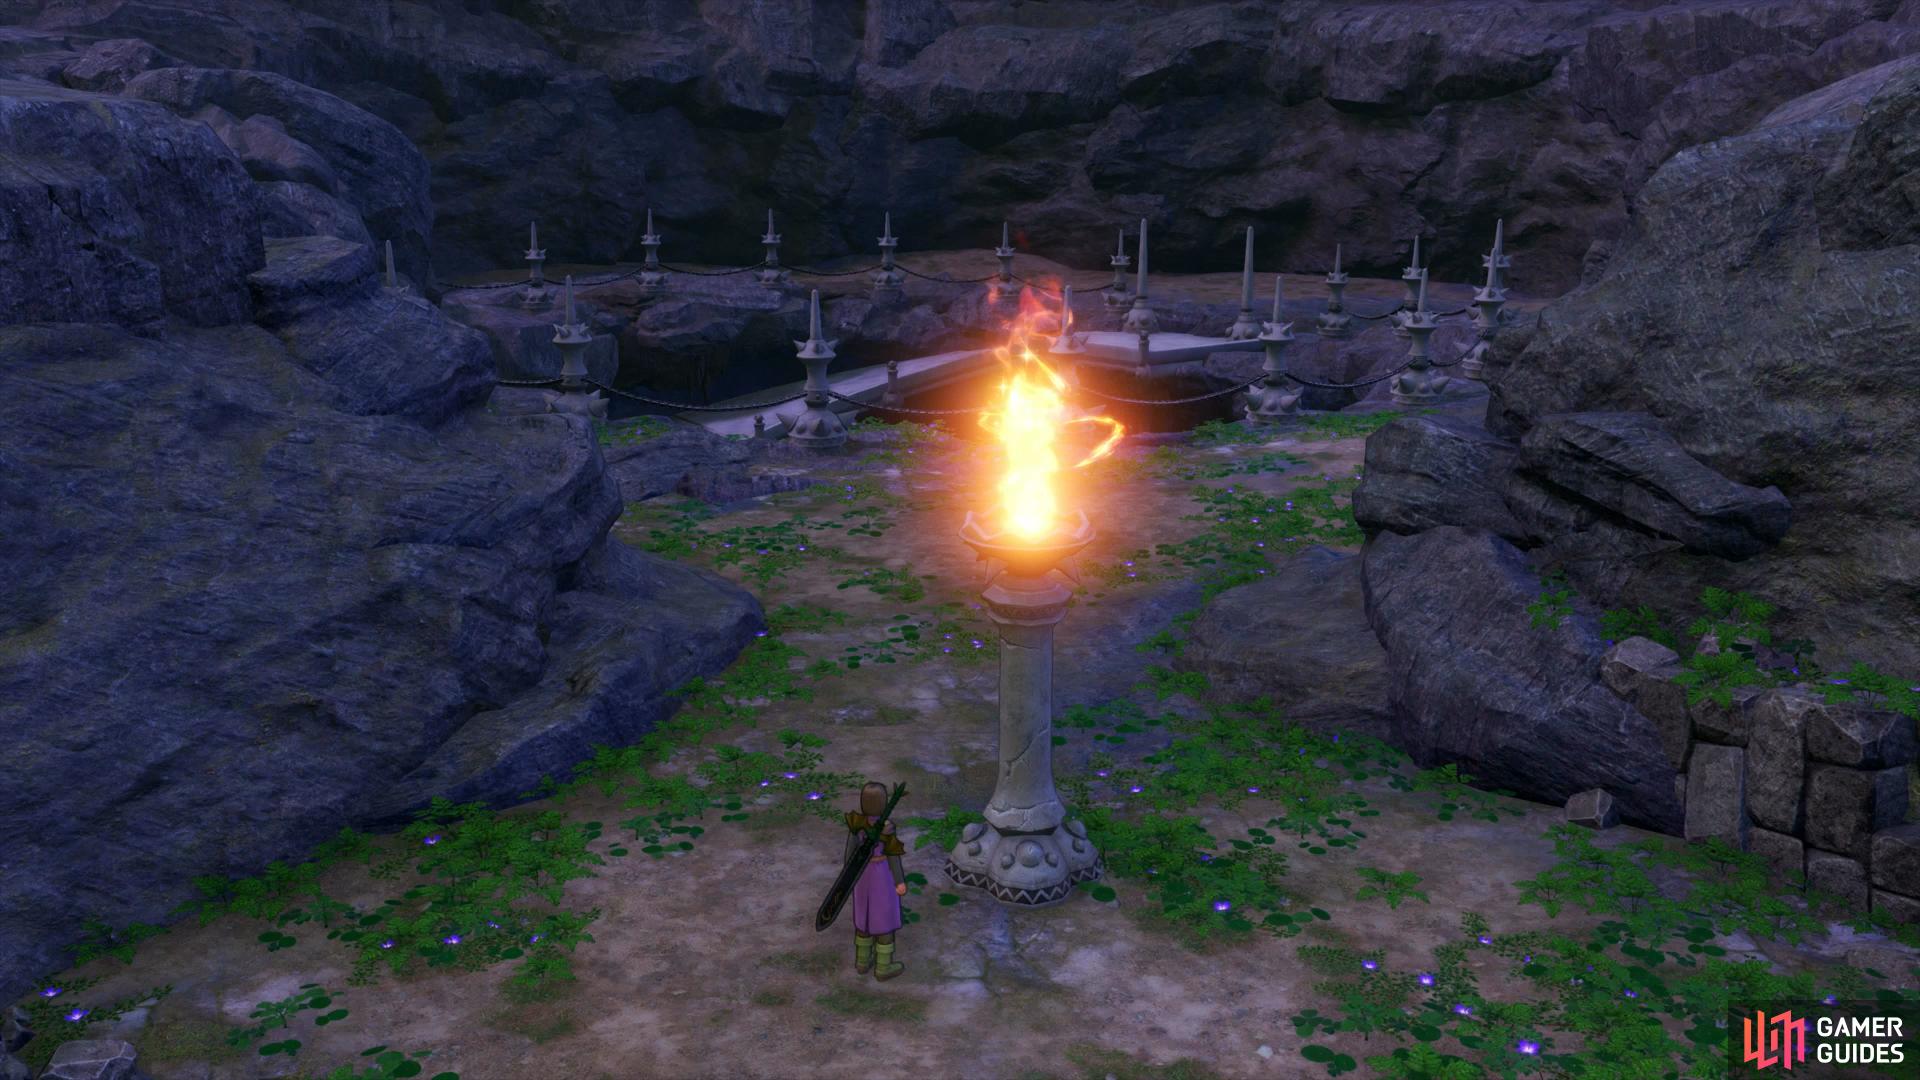
As you can see by looking at the lists, The Battleground is a huge dungeon packed full of nasty monsters and extravagant items. Begin by heading forward and using the Guiding Light on the object ahead, this will remove the cloud of darkness and allow you access to the island. Ignore the slope down and head around back to find the first Sparkly Spot containing a Dracolyte. Take the slope down and ignore the first cave to your right, opting to head further down and into the next cave on your right. Follow this path all the way to the end and drop down the hole to reach Level B2.
Head west from your starting location to find a chest in the southern corner containing a Mini Medal. Continue around this Level to the west to find a Sparkly Spot containing Densinium. Continue along to reach the central shaft once more, heading down the slope to Level B3.
Enter the first cave to the north as you’re descending to find a chest at the end containing a Recipe Book, An Encyclopaedia of Expert Equipment. Continue down the slope and enter the next cave you come along, going west at the next intersection to find a Sparkly Spot containing some Mythril Ore. Return to the central shaft and head down to Level B4.
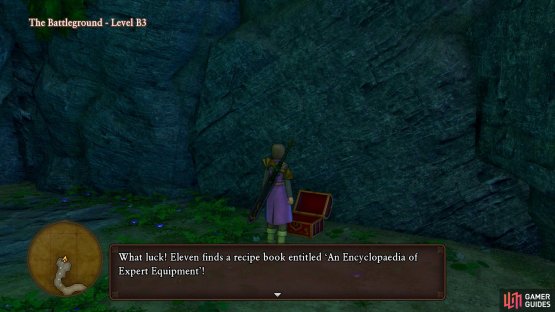
(1 of 2) There’s a Recipe Book on Level B3

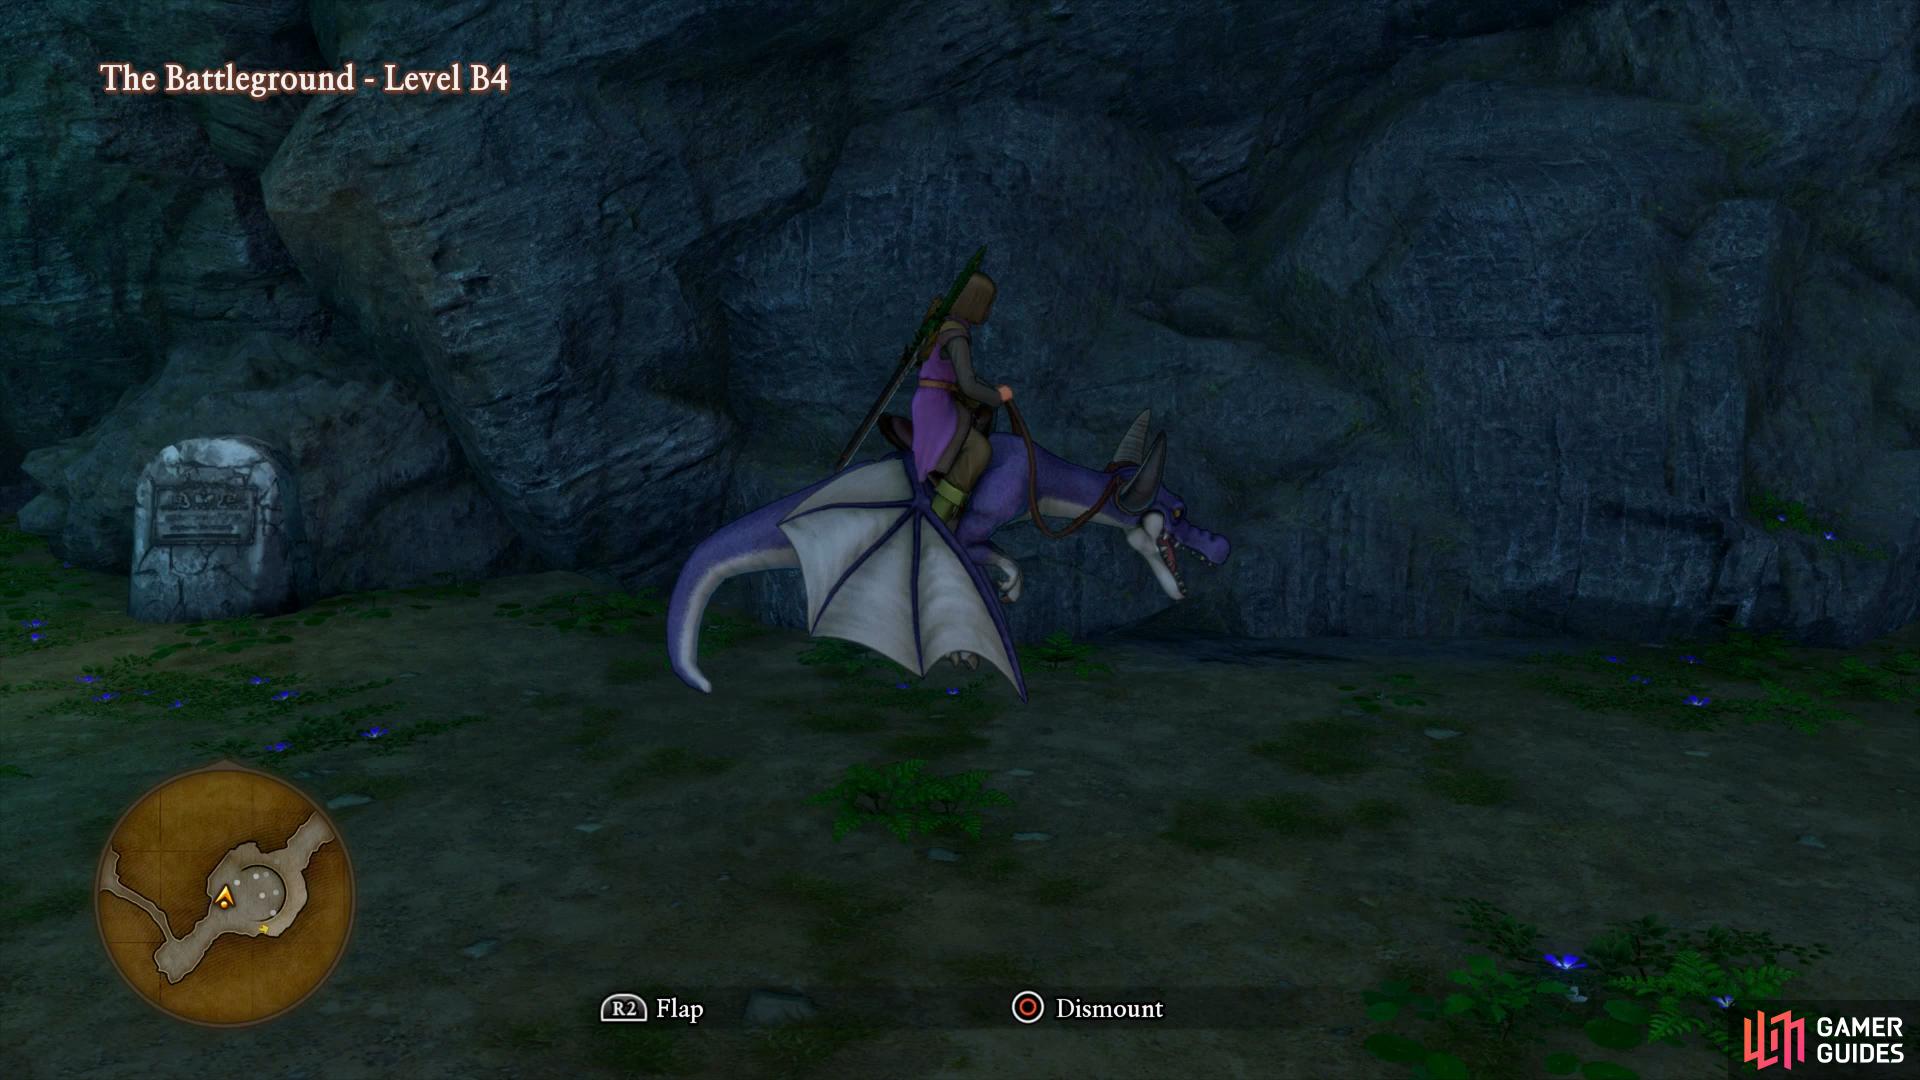
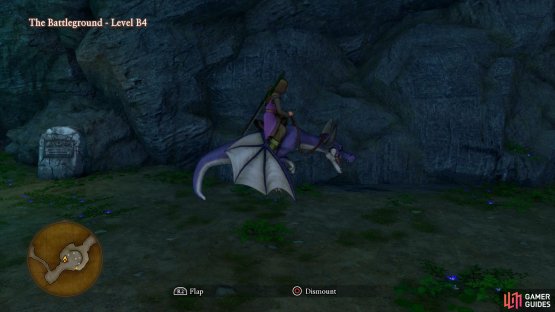
There’s a Recipe Book on Level B3 (left), make use of the Dragooner to reach the caves inside the central shaft. (right)
Take the first path to your east to find an Ore gathering point containing two Brighten Rocks and a Red Eye. Search in the northwest corner here to find a chest containing a Pandora’s Box, defeat it using your most deadly attacks to take it out before it has the ability to Kathwack your party. You’ll obtain a Seed of Skill for defeating it and then return to the central shaft to find two Sparkly Spots on the ground containing a Yellow Eye and Sunny Citrine. Defeat one of the nearby Dragooners and mount it, flying up to B2 and into the northwest cave to find a chest containing another Pandora’s Box, defeat it to obtain a second Seed of Skill. Return to the central shaft and fly up to Level B1 to access the Sparkly Spot in the northeast cave containing a Mythril Ore.
Fly down to the bottom of the shaft and leave the mount, heading west to the nearby Camp to rest up and access the forge. Create the Ogre Shield for Hendrick along with a Titan Belt or two for your physical attackers. Save your game and head north, looting the Sparkly Spot containing Molten Globules before taking the vine down.
You’ll find yourself down on Level B8, shimmy around the edge to the north and follow the path to Level B9 to find an Ore gathering point containing a Mirrorstone, Purple Eye and a Green Eye. Take the eastern path to find a chest containing a Recipe Book, Sacred Styles for Saintly Ladies and then take the path to the southwest to find a Bunny Girl. Agree to have a Puff-Puff and follow her north to receive a rather unexpected Puff-Puff, if you’ve been following this walkthrough then that should have been your final one and you’ll unlock the Puff-Puff Buff trophy/achievement.
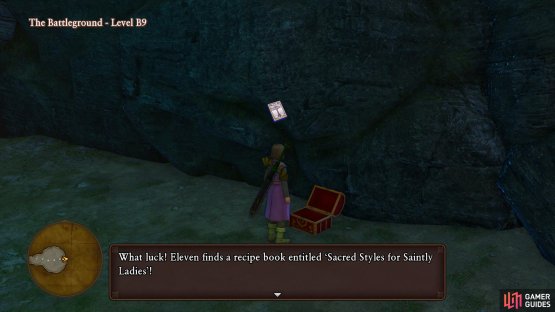

(1 of 2) This Recipe Book will allow you to forge a new costume for Serena
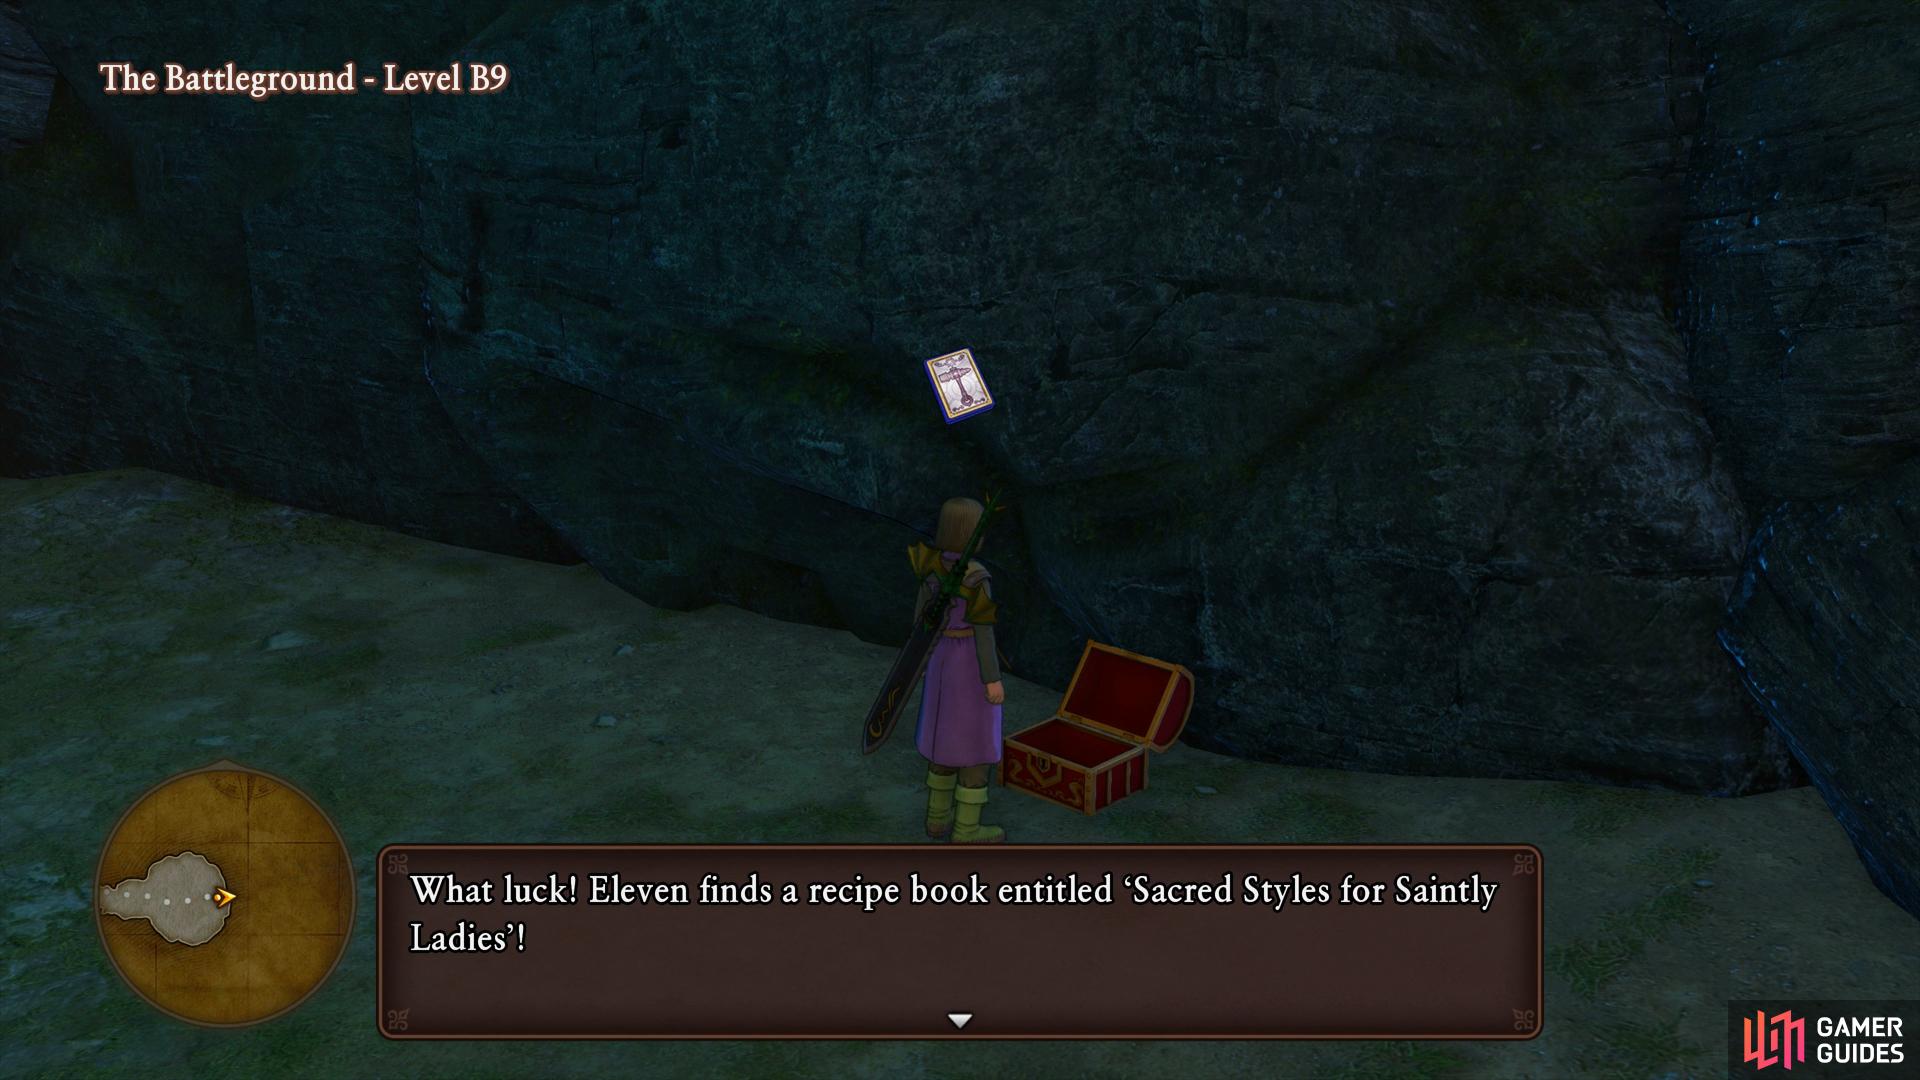
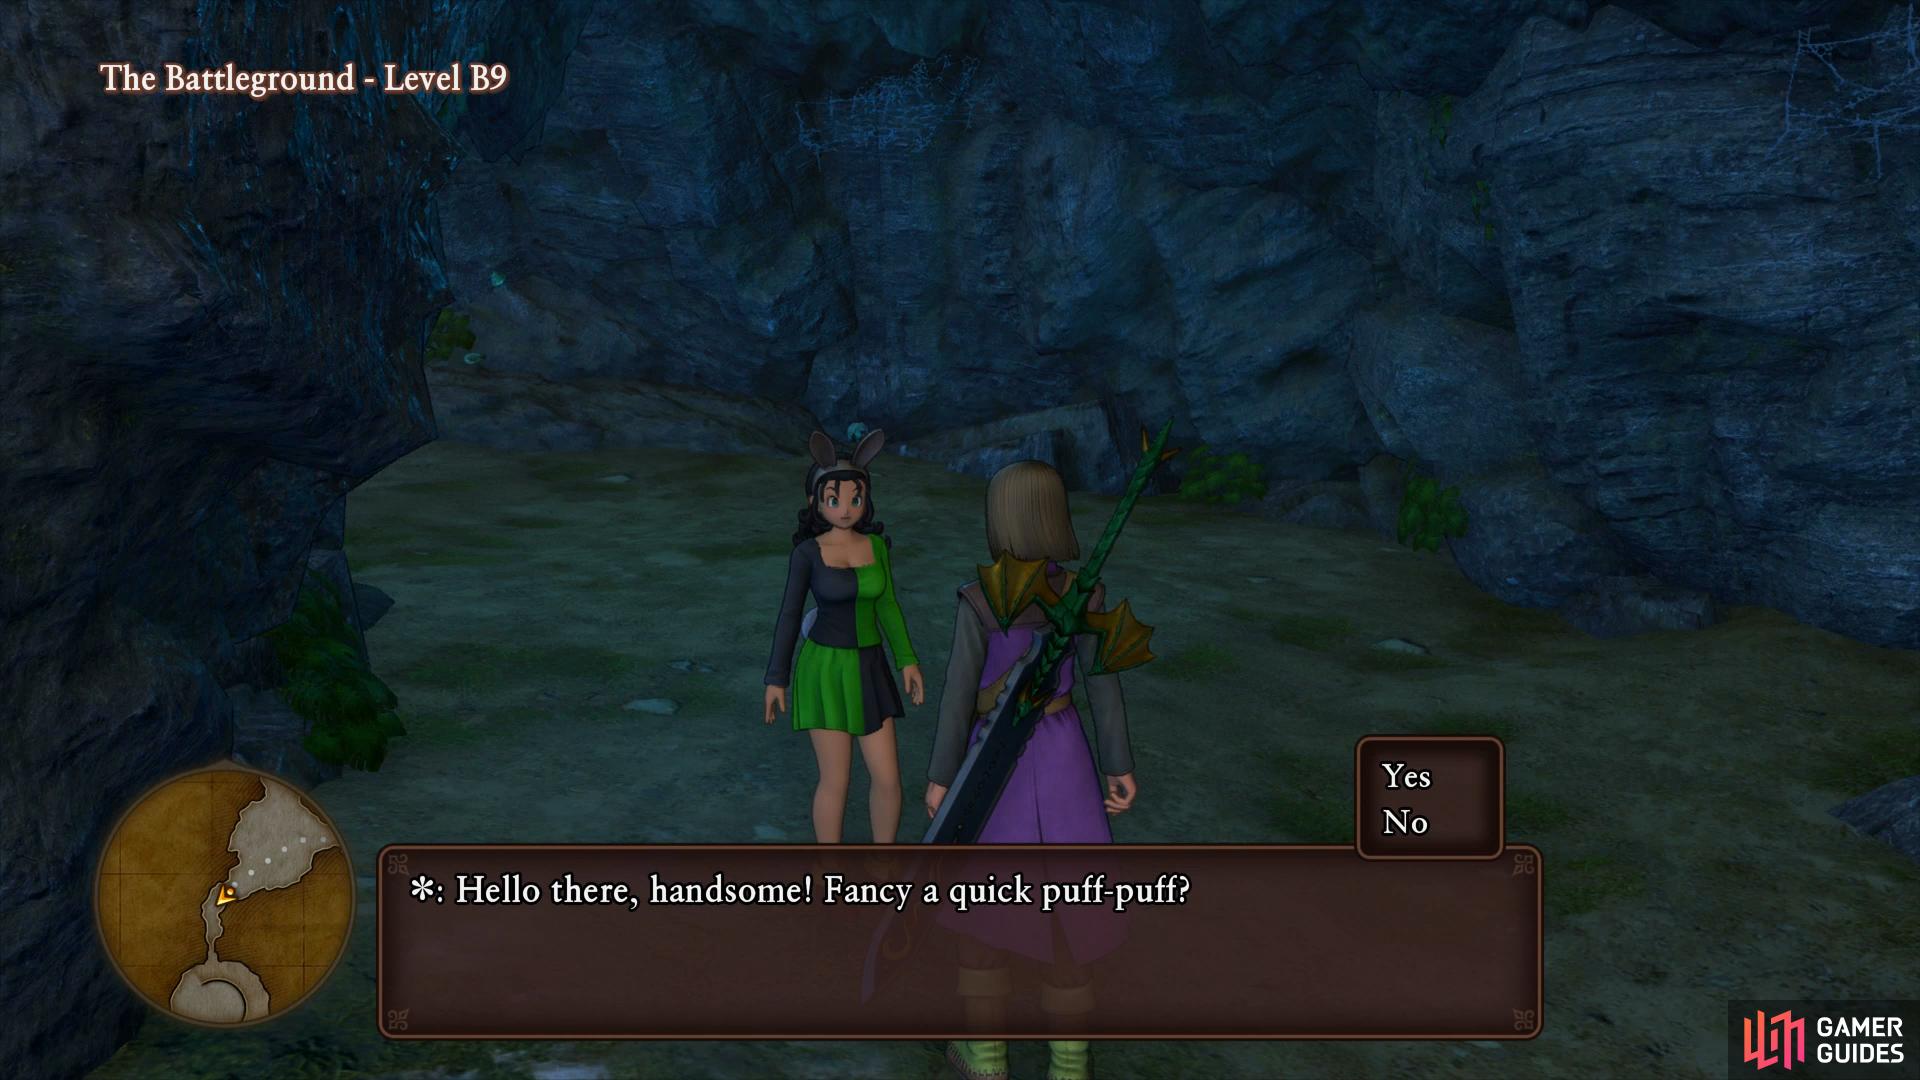
This Recipe Book will allow you to forge a new costume for Serena (left), this should be the final Puff-Puff you need for the Trophy. (right)
After that interesting excursion, continue south to reach another shaft and search on the ground to find some Sparkly Spots containing a Blue Eye and an Equable Emerald while you’ll find a chest under the stairs containing an Agate of Evolution.
Continue up the slope to Level B8 and take the second path to the west (ignoring the small cave) and follow the path to a chest near the wall containing a Chronocrystal. Follow the path south to an Ore gathering point containing a Thunderball and two chunks of Densinium. Follow this path east and you’ll find a chest at the end of the path containing a Brain Drainer, a useful Shield for Sylvando if he’s using them. Return to the shaft and head east before heading up to loot a Sparkly Spot containing Molten Globules.
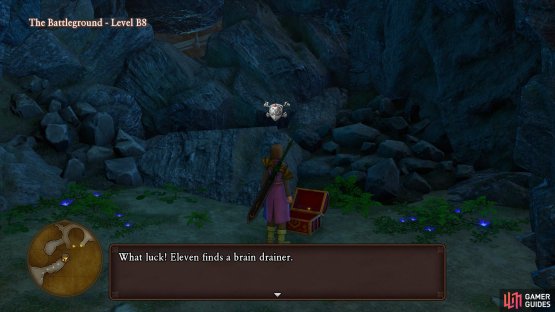
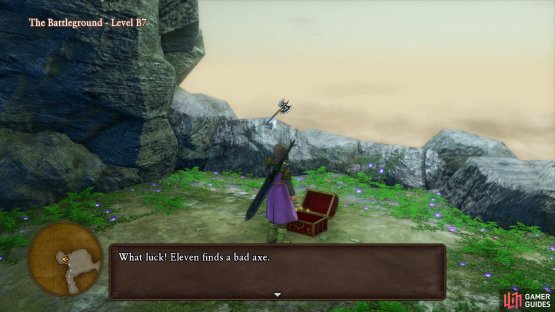
(1 of 2) The Brain Drainer is a useful Shield for Sylvando


The Brain Drainer is a useful Shield for Sylvando (left), the Bad Axe can be evolved into another weapon later in your journey. (right)
Return to the shaft and take the first path south, following it around clockwise to find two Sparkly Spots containing Gold Nuglets and then head northwest to find a chest containing a Bad Axe. Return to the shaft and take the northern path as you climb the slope, you’ll find a Sparkly Spot at the end of the path containing a Dracolyte.
On Level B6, ignore the first path to the southeast and take the southwest path. Follow it around to a Sparkly Spot containing a Royal Ruby and then grab yourself a Dragooner mount to fly east and access the shaft. Fly over to the west to find a chest containing a Recipe Book, Brace Yourself which will allow you to make some of the best accessories out there. Finally, fly over to the northeast cave to find a Sparkly Spot containing a Mythril Ore. Take the southeast path now and grab the final two Sparkly Spots containing an Artful Amethyst and a Savvy Saphire.
Follow the long path north to the Overlooked Cavern and follow it ot the end to find the Orichalcum. With the first step of the process completed, Zoom to Zwaardsrust (Sea) and sail south to Gondolia.
Gondolia
Head upstairs from the dock and speak to the merchant from earlier to see he’s selling some new exclusive armor for Hendrick. Like last time, haggle between the two brothers (the other found north of the Weapon shop) to buy it for 10000G and obtain Hendrick’s Armour. If you’re wearing the Metal Slime Armor from earlier however, this will offer less Defense. While you’re here, check out the Weapons shop and buy a Fizzle Foil for the Riddle quest. Take the opportunity to rest at the Inn and then head to the northwest of town to find a man with a request for you. Agree to assist him to obtain Quest 44 - The Search for the Sage’s Stone.

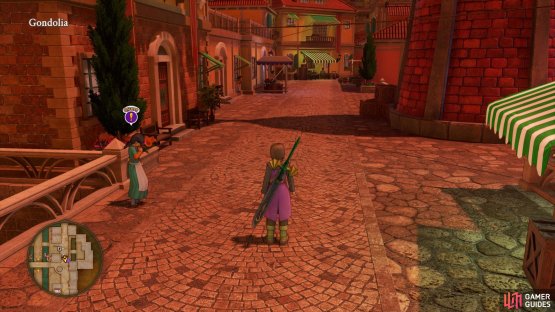
(1 of 2) There’s two quests to accept in Gondolia


There’s two quests to accept in Gondolia (left), you’ll need to head to the Gallopolis region to find the Desert Rose. (right)
Head southeast from here to find a woman with a request, agree to help her to accept Quest 45 - A Rose Arose Where No Rose Grows. Take the time to knock a few more quests out while you’re in this region by heading to Laguna di Gondolia.
Make your way northwest to Grotta della Fonte and continue until you reach the Camp. Rest up and access the forge and create the Saintly Set for Serena (Goddess’s Tiara + Saintess Dress) along with Mighty Armlets for your physical attackers and Brainy Bracers for Serena and Rab. Leave the Camp and head south to the next intersection and then west to find a golden Sparkly Spot containing the Rainbow Rock Salt. Zoom over to Phnom Nonh and hand it over to the man near the Church to complete Quest 33 and obtain 10 Mythril Ores.


(1 of 2) You’ll find the salt for Quest 33 in the Grotta della Fonte
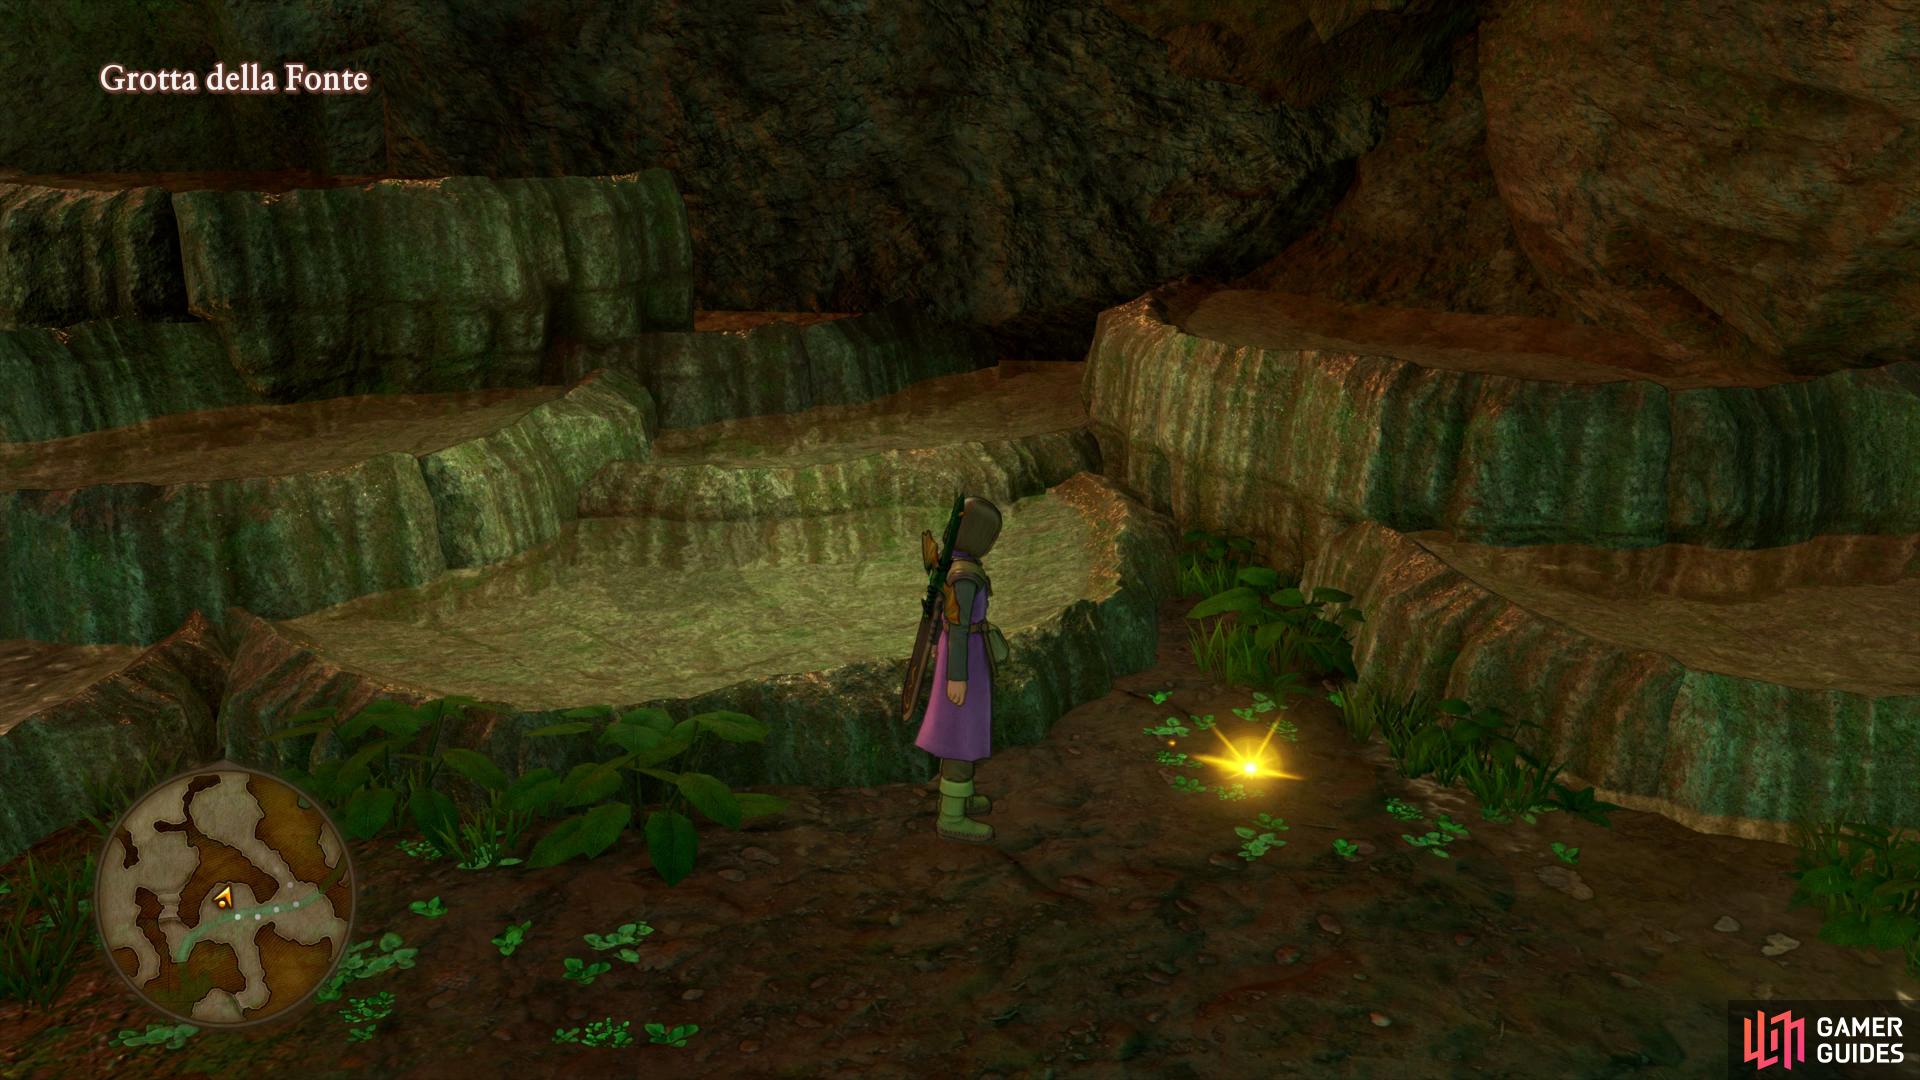
You’ll find the salt for Quest 33 in the Grotta della Fonte (left), while you’ll find the Sage’s Stone for Quest 44 in Nautica. (right)
Zoom over to L’Academie next and equip the Fizzle Foil on the hero before heading to the Bibliotheque and speak to the Shellslime. You’ll pass the riddle and complete Quest 31 to obtain five Mini Medals. Pay a visit to the Principal while you’re here and hand over your Mini Medals, you should still need three more for the next reward.
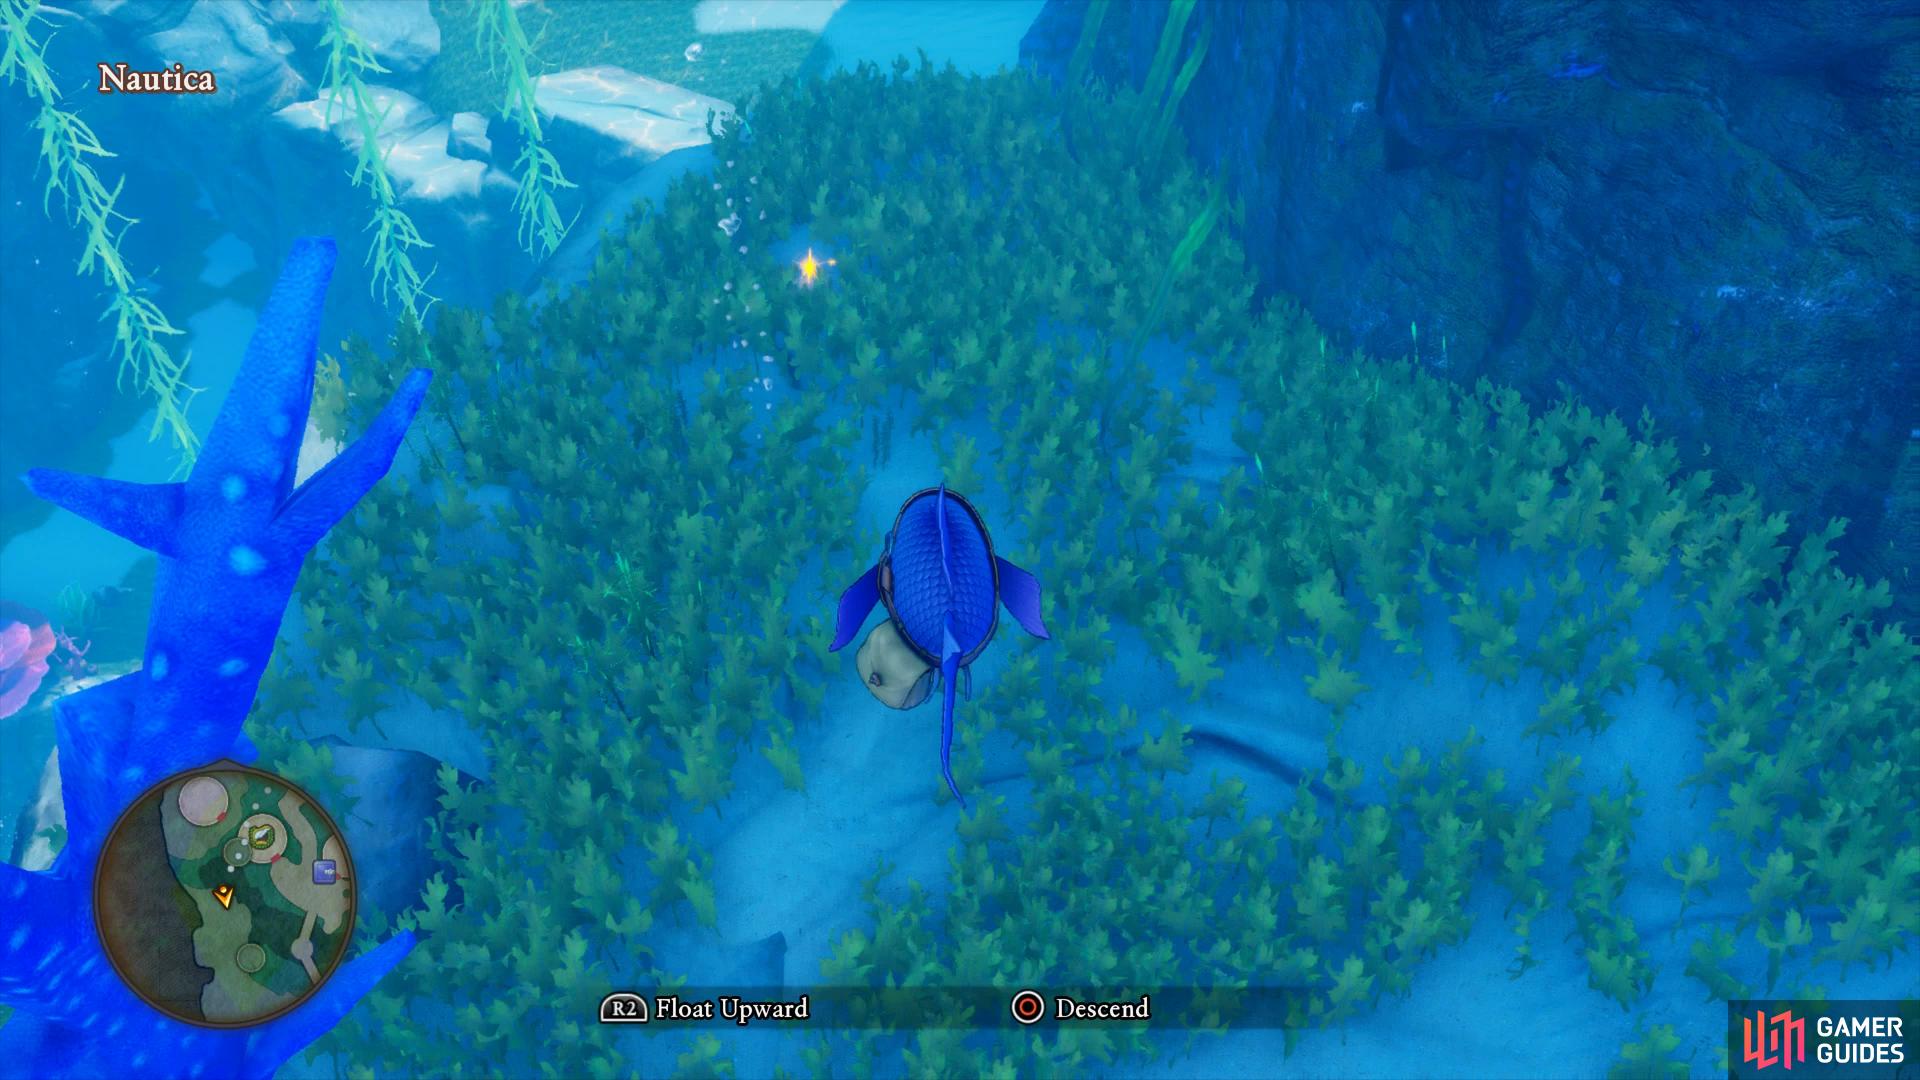
Zoom to Nautica next and speak to the Queen to become a fish once more. Swim south and look on the cliff overlooking the Item shop to find a golden Sparkly Spot among the seaweed containing the Sage’s Stone. Zoom back to Gondolia and hand it over to the man in the northwest to complete Quest 44 and obtain a new Recipe Book, Making the Most of Mythril along with letting you keep the Sage’s Stone.
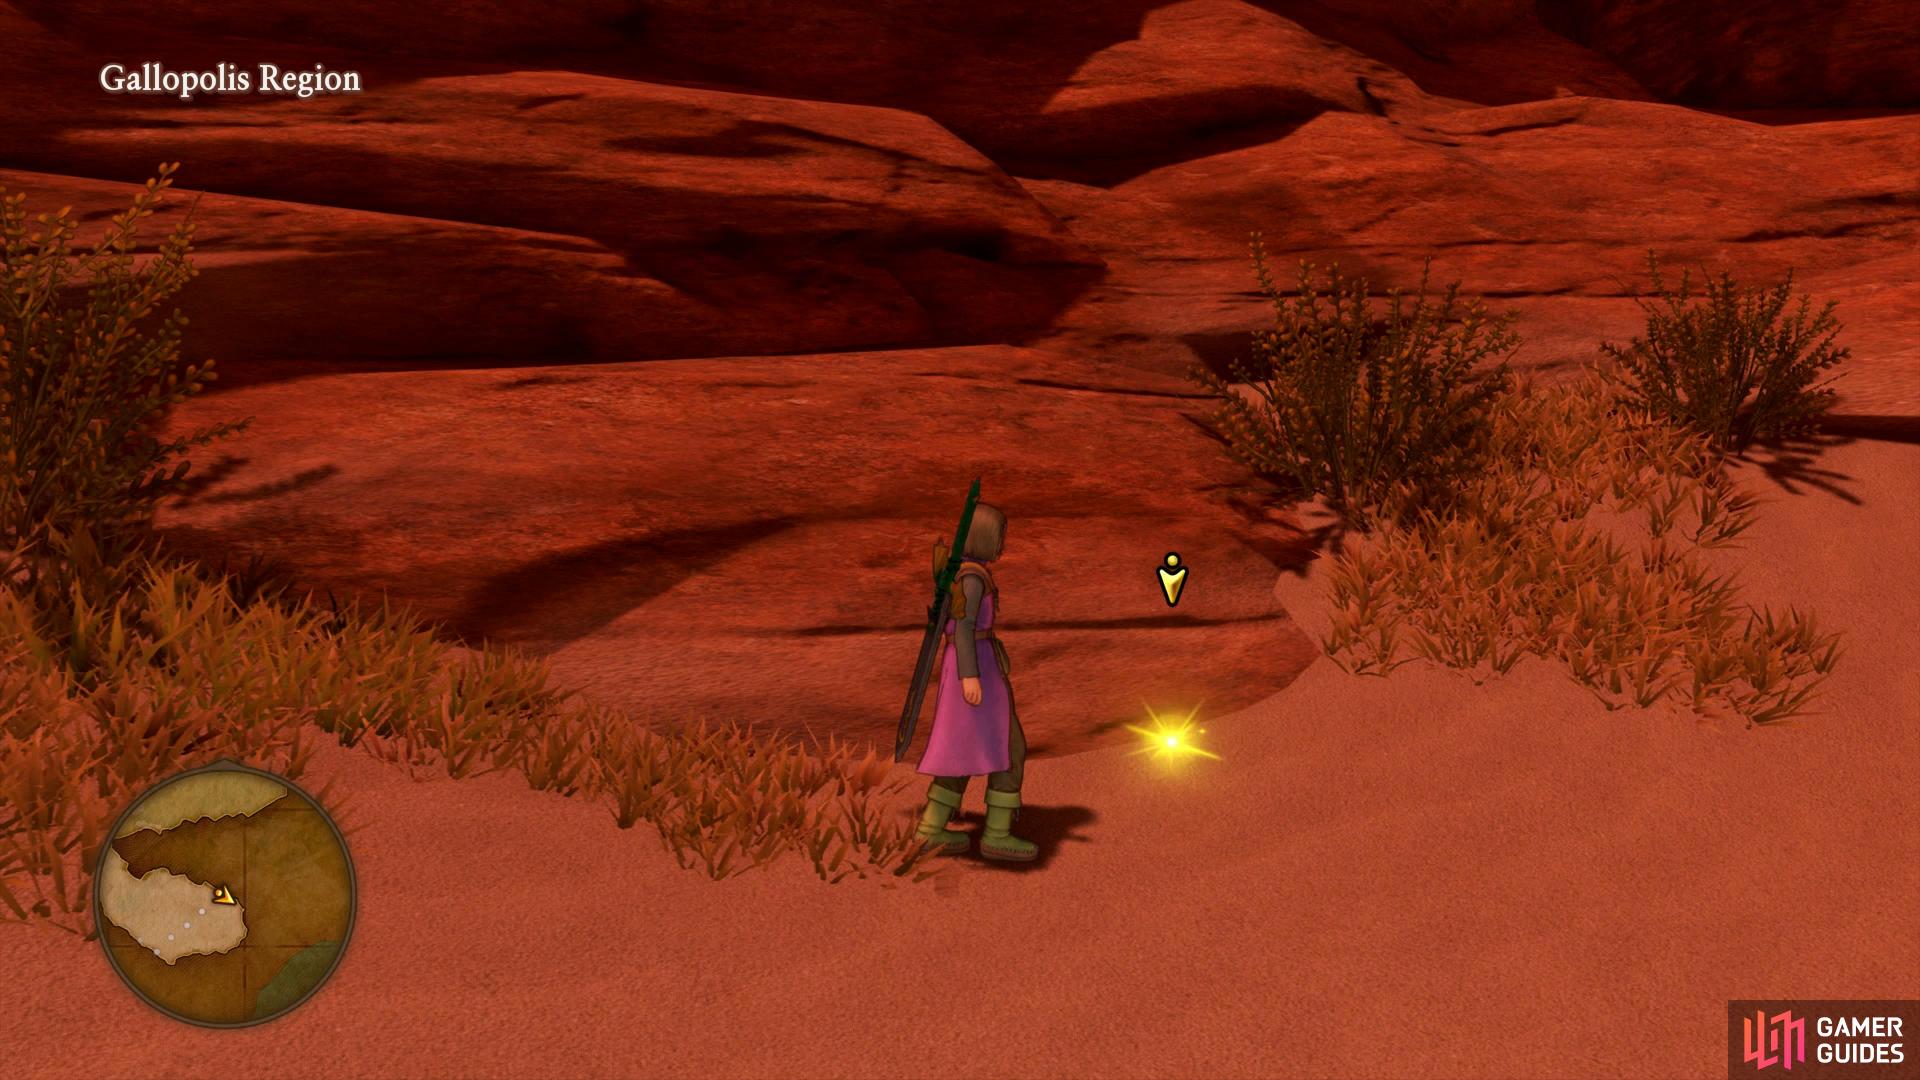
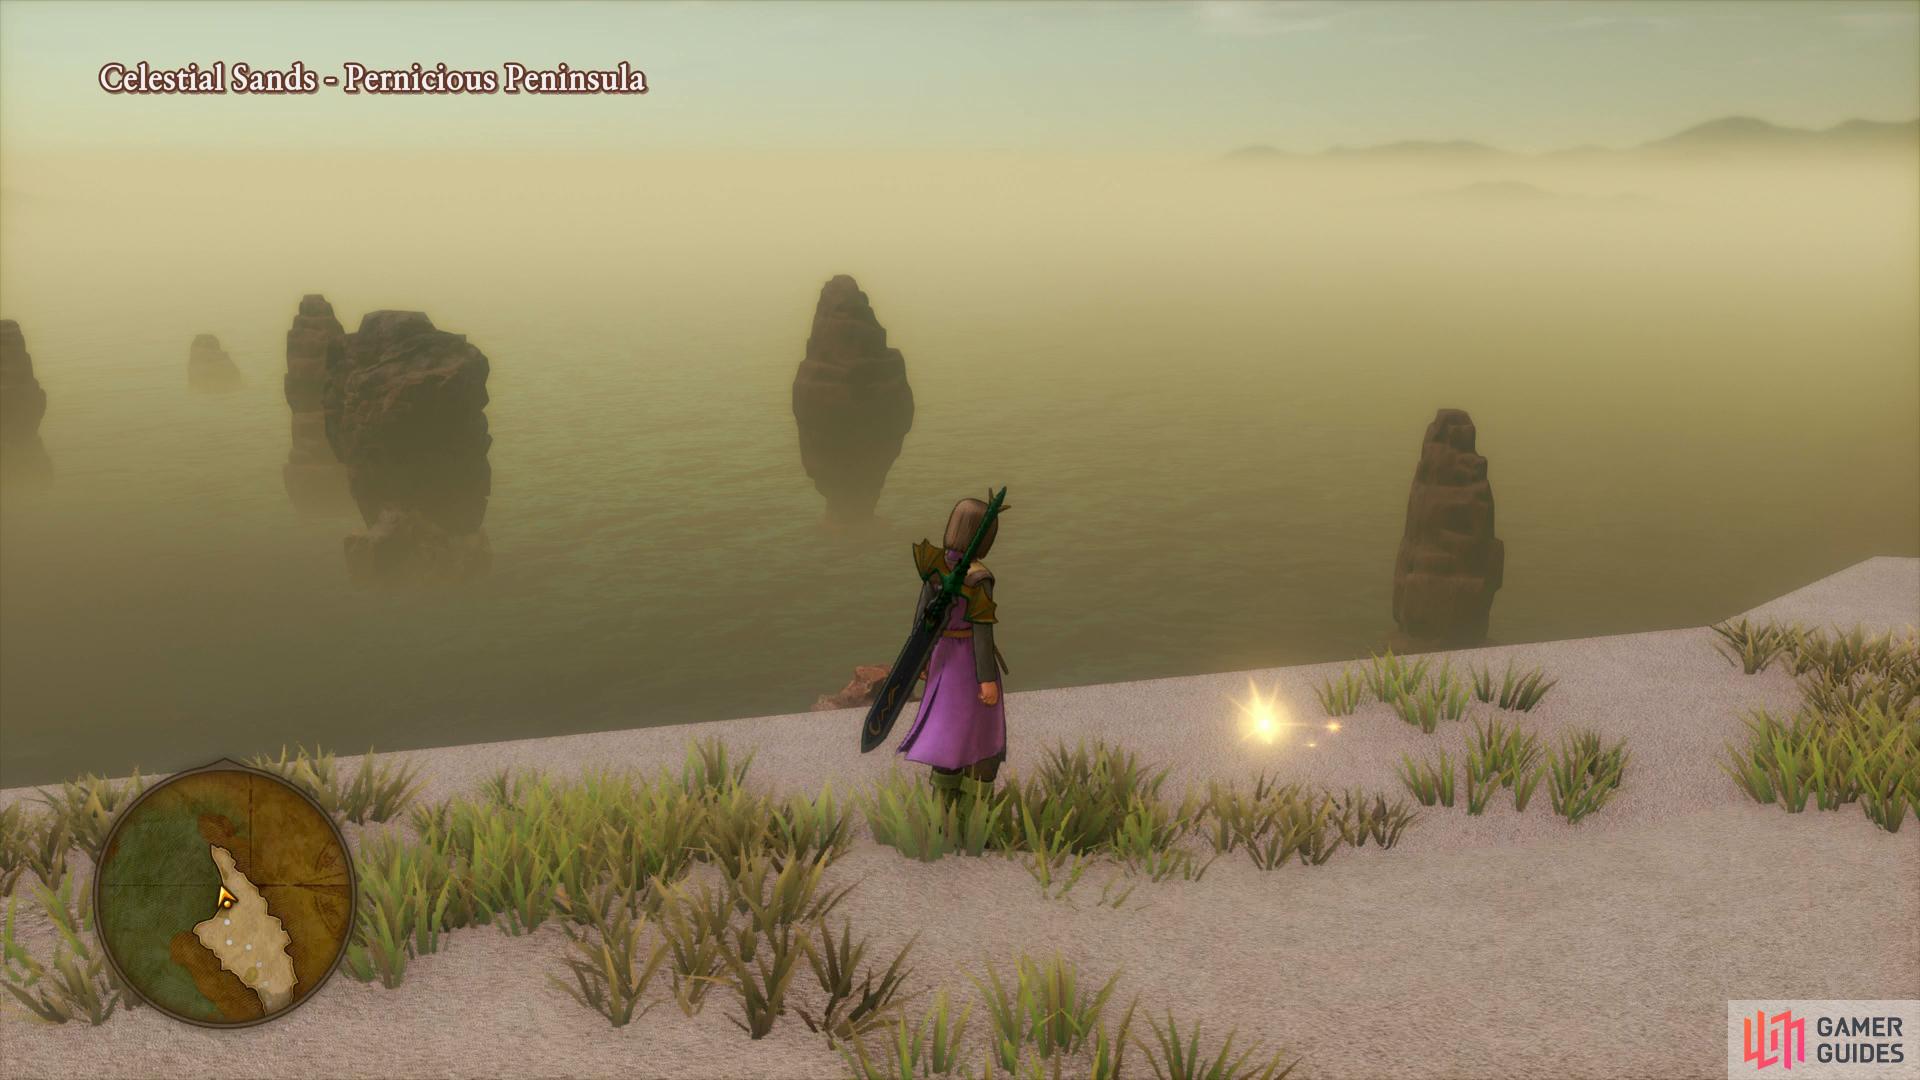
The Desert Rose can be found south of Gallopolis.
Resist the urge to Zoom to Gallopolis and make your way to the Gallopolis Region via Laguna di Gondolia, making sure to pay a visit to the Camp along the way to register it. Back in the Gallopolis Region, make your way to the southern most point of the region (resting at the Camp along the way) to find a golden Sparkly Spot in the corner containing the Desert Rose. Zoom back to Gondolia and hand it over to the woman to the east of town to complete Quest 45 and obtain a Happy Hat. With all of those side activities out of the way, finally Zoom over to Gallopolis.
Gallopolis
Upon entering you’ll see that Erdwin’s Lantern continues its descent to Gallopolis, causing the entire populace to be terrified of the impending doom. Before you head to the Palace, head to the west side of Gallopolis and enter the house above the stables. Head up the stairs and speak to the Butler to find out that a certain piece of literature you’re looking for has been sold to a Woodcutter. Zoom over to The Manglegrove and search the bookshelf in the cabin to find a letter, return to Aboria and speak to the minstrel to complete Quest 43 and obtain the Recipe Book, Things to Do with Metal Goo.
Return to Gallopolis and make your way to the Palace to speak with Sultan regarding Erdwin’s Lantern. You’ll learn that Prince Faris and his scholar have set off for the Celestial Sands to try and read the runes on the surface of the Lantern. Zoom over to the Gallopolis Camp and make your way north to run into them. The party agrees to step in for the frightened scholar. Follow Prince Faris to the ruins in the center of the Celestial Sands and watch the events that unfold.
With the Lantern shattered into pieces, head to the northern Camp and register it before Zooming back to Gallopolis and into the Palace. Head to the Throne Room and speak with the Sultan twice to obtain the Forging Hammer from him, two down, one to go. Before you leave Gallopolis, head south from the Palace to find a scholar, agree to help him to begin Quest 46 - A Little Bit Of Lantern and then Zoom over to the North of Gallopolis Campsite. Make your way north to where you defeated the Slayer of the Sands earlier in your adventure to find a golden Sparkly Spot containing a Lantern Shard. Return to the scholar and hand it over to complete the quest and obtain three Agates or Evolution.
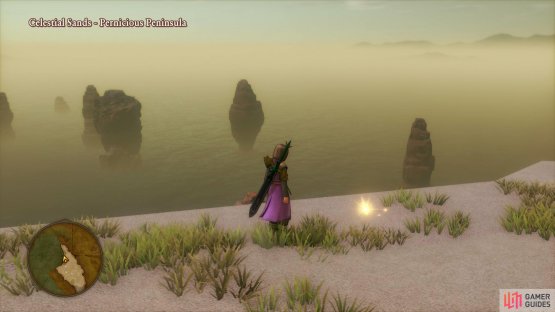
(1 of 2) Search where you defeated the Slayer of the Sands to find the lantern piece
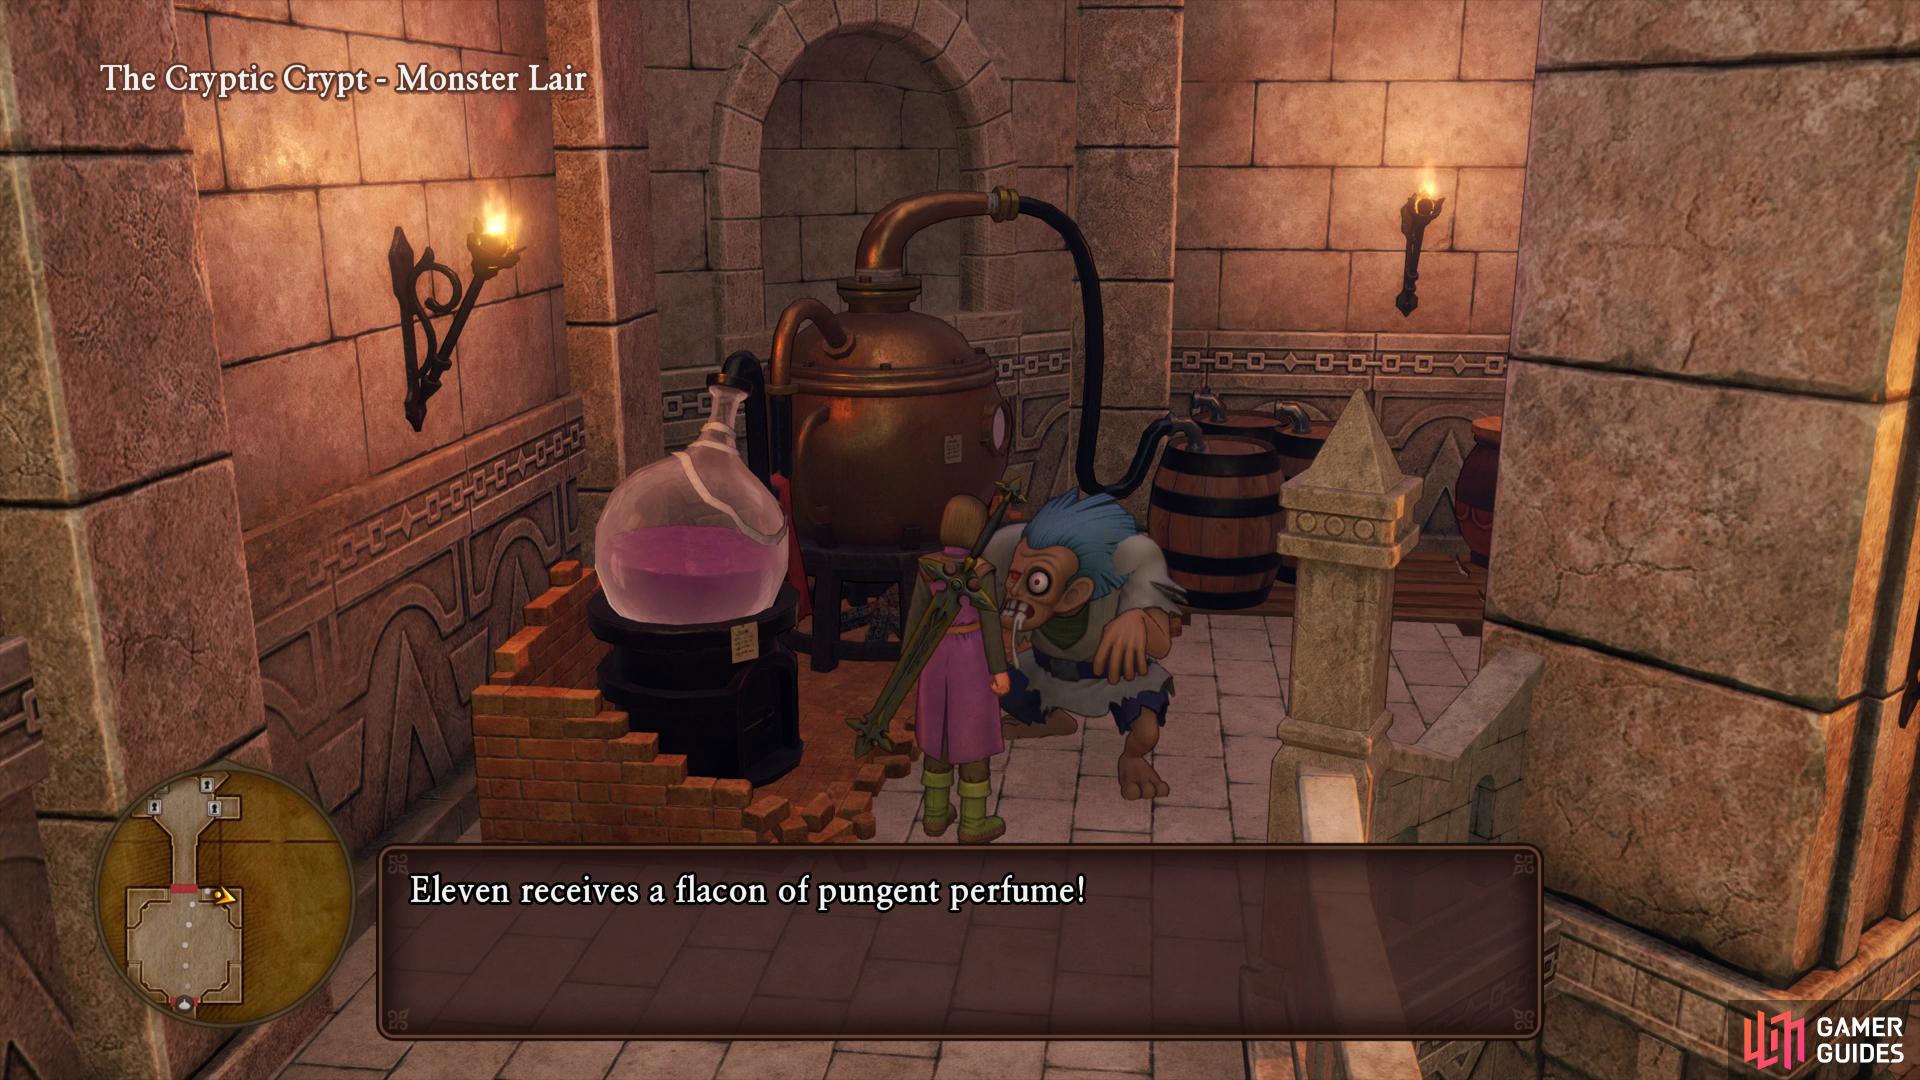
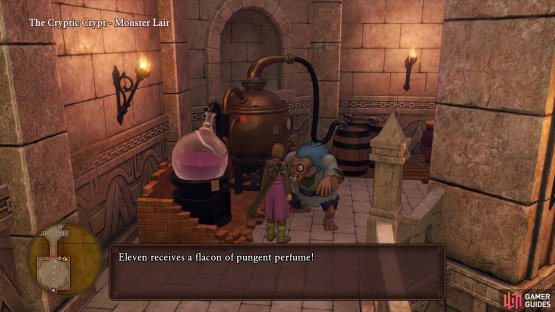
Search where you defeated the Slayer of the Sands to find the lantern piece (left), head to the Cryptic Crypt where you fought Jarvis to find the Perfume for quest 30. (right)
Hotto is the last destination in your quest to forge the Sword of Light but again, resist the urge to Zoom there and access the Hotto Steppe from the Gallopolis region. Make your way north to the Camp and access the forge to create a Metal Gooreatsword for the Hero along with a Metal Slime Armor if you have any materials left over.
Leave the Camp and make your way north to The Cryptic Crypt and head through it until you reach the room where you defeated Jarvis. Speak to the Zombie in the northeast corner of the room to obtain Pungent Perfume and Zoom back to L’Academie. Speak to the Zombie near the Principal’s office and hand over the perfume to complete Quest 30 and obtain a Hades’ Helm. With that out of the way, Zoom over to Hotto at long last.
Hotto
Upon speaking to the townspeople, you’ll discover that there appears to be a crisis in Hotto however before you head to the Temple, head to the Steam Baths and speak to the woman outside, agree to help her to begin Quest 47 - Some Like it Hotto. Make your way over to Miko’s Shrine now and listen to Miko’s plea, a beast has taken over the mountain path to the west and is preventing the people of Hotto from completing their rite to quell the volcano. Leave Hotto when you’re ready and head west to Mount Huji.


(1 of 2) Accept the quest from the woman outside the Steam Baths
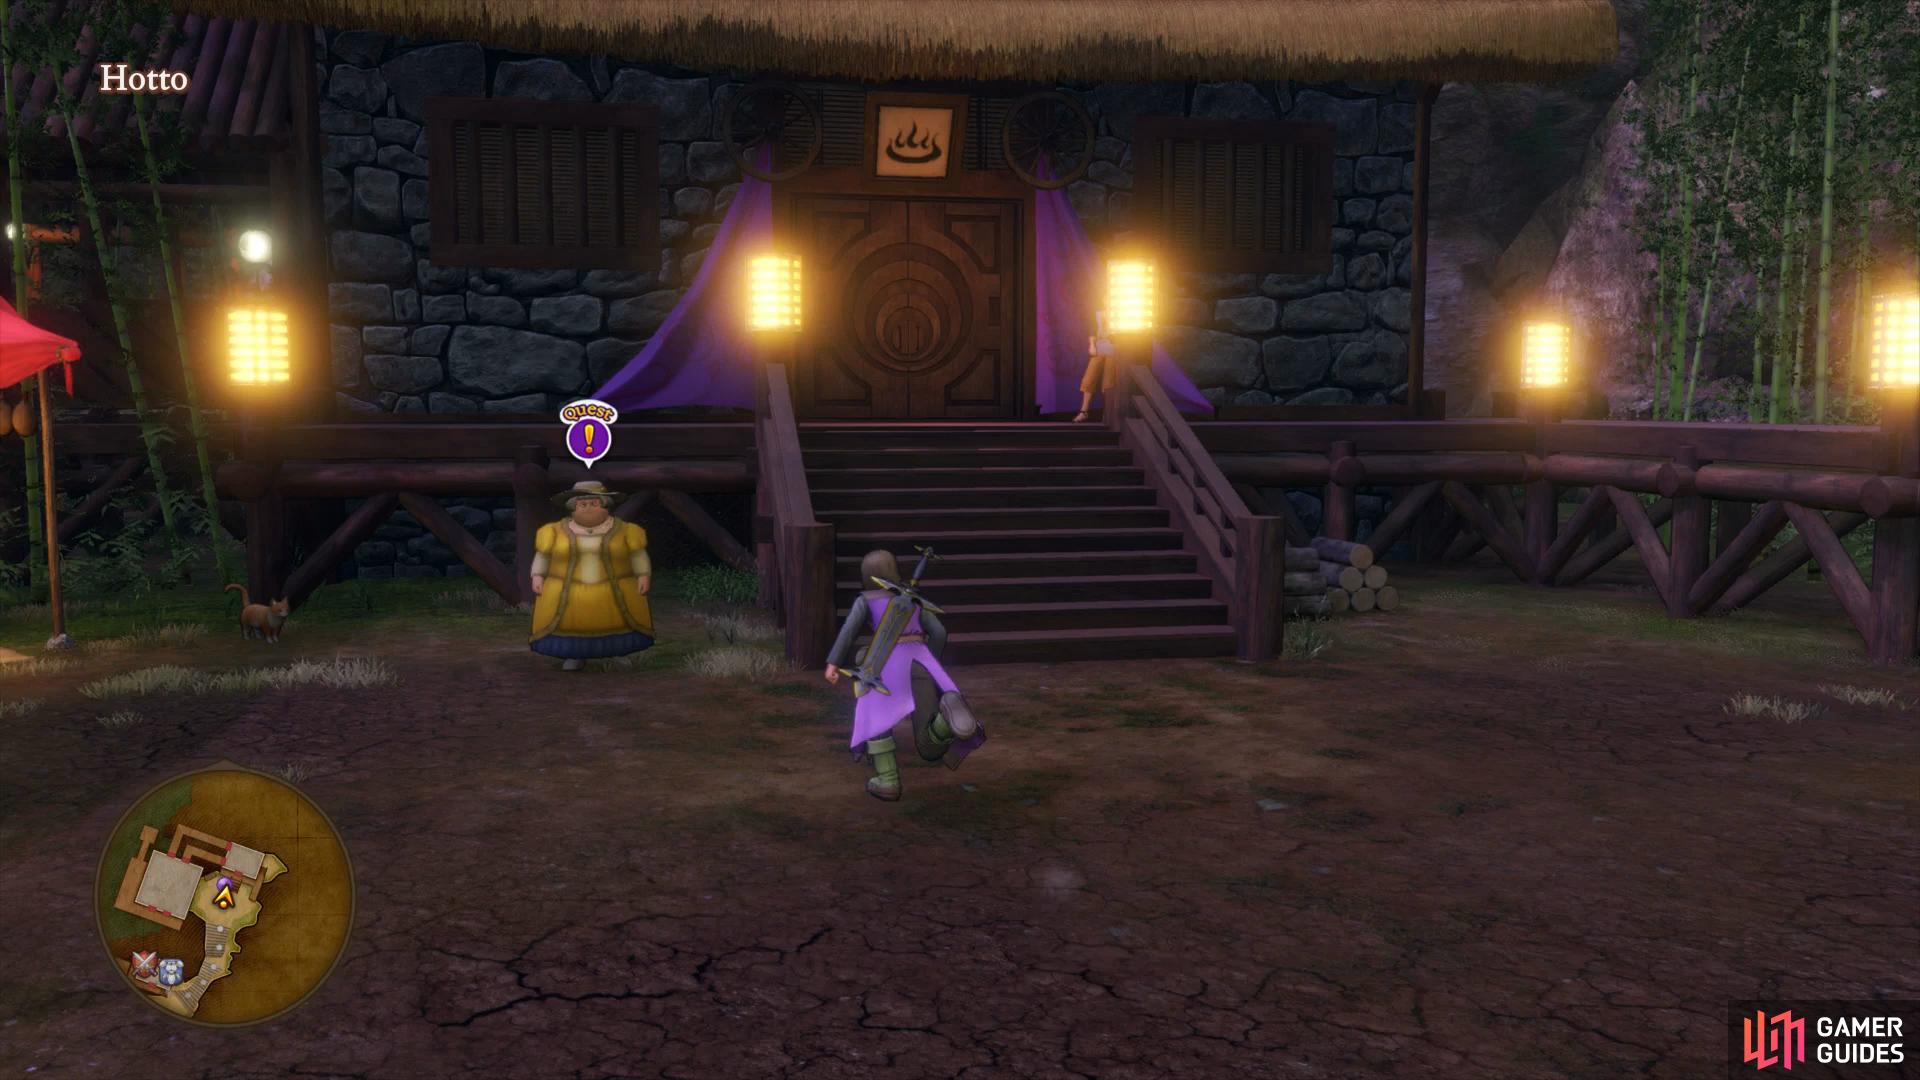

Accept the quest from the woman outside the Steam Baths (left), you’ll find the Lava Lamplings shortly after. (right)
As you enter the area, a strange looking bear shouts out to the party. It appears the beast that has taken over the mountain path is in fact two children in disguise. Follow the children east to their Hideout to meet their mother and learn the dark secret of Hotto. Take the ladder up to the volcano and begin following the path, taking the time to defeat one of the Lava Lamplings and obtain a Fiery Brimstone. At the end of the path you’ll discover that the Dragon still lives, zoom back to Hotto to inform the people of Miko’s lie.
Rest at the Inn, save your game and then head back to the woman at the Steam Baths to hand over the Fiery Brimstone and complete Quest 47 to obtain five Goobricants. Make your way over to Miko’s Temple now to confront her as Tatsunaga attacks the village. Following Miko’s sacrifice, Tatsunaga turns its sight on the party and attacks.
Tatsunaga is more of a miniboss here, he’s stronger than a regular encounter but not quite as difficult as a boss. Use Kabuff with Hendrick and then let the Hero and Jade use Unbridled Blade/Multithrust to deal the damage. Tatsunaga’s physical attacks will hit for around 50 HP with Buff on you and has the ability to Sap your defenses. The biggest danger to watch out for are his desperate attacks which can hit upwards of 200 HP.
Tatsunaga escapes following your battle and you’ll need to head to the heart of Mount Huji to slay it. Return to Miko’s Temple and speak to her maid in the back room to learn more about Miko’s situation and obtain the Mountain Gate Key. Before you leave the maid’s room, search the wardrobe for a Mini Medal and then return to Mount Huji.
Mount Huji
| Items | Area |
|---|---|
| Fire Ball | Caldera, Upper Area, east, chest |
| Magma Staff | Caldera, Upper Area, Entrance, chest |
| Fire Ball | Caldera, Lower Area, north, chest |
| Mini Medal | Caldera, Lower Area, centre, chest |
| Sage’s Elixir x4 | Caldera, Lower Area, east, chest |
| Sparkly Spots | Area |
|---|---|
| Lava Lump | Base |
| Fire Wood | Caldera, Upper Area |
| Fire Wood | Caldera, Lower Area |
| Monsters | HP |
|---|---|
| Ursa Panda (Rare) | ~1104 |
| Stone Guardian | ~594 |
| Cureslime | ~158 |
| Bloody Hand | ~180 |
| Bomboulder | ~363 |
| Hardy Hand | ~8 |
| Evangelizard | ~460 |
| Lava Lampling | ~225 |
| Slick Slime | ~202 |
| Vicious Ursa Minor | ~798 |
| Jerkules | ~1198 |
| Clangoustine | ~358 |
| Visor Kaiser (Mount) | ~329 |
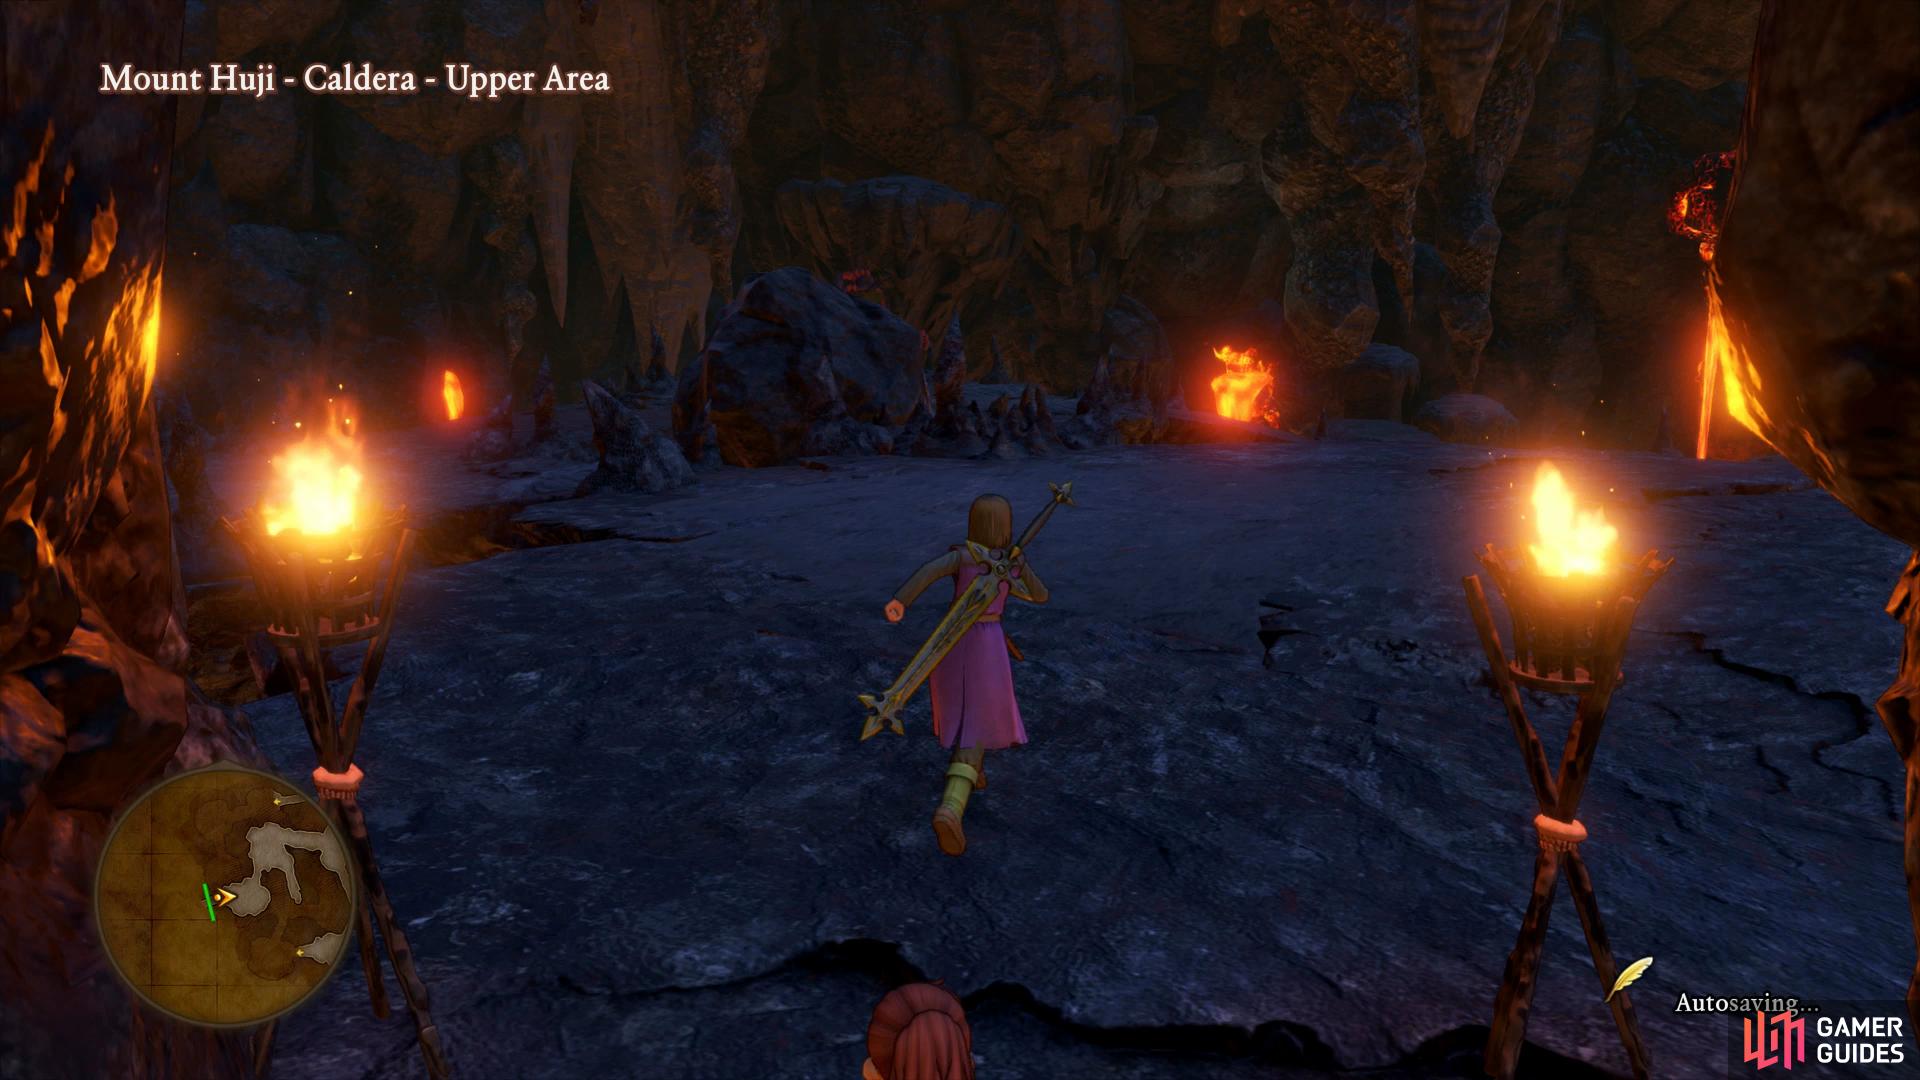
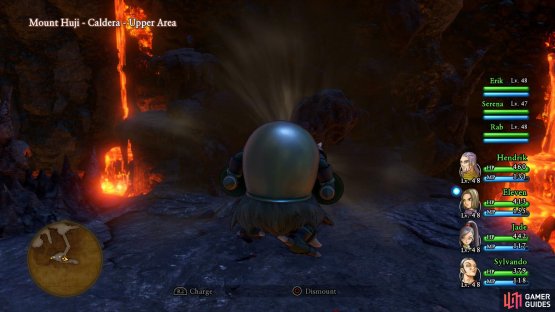
Head north and loot the Sparkly Spot containing a Lava Lump and then open the large gate to enter the volcano. Follow the path, ignoring the first intersection and head east at the crossroads to find a Sparkly Spot containing Fire Wood. Head south now and follow the path down to the Lower Area where you can encounter a Visor Kaiser. Defeat it and mount it, riding it back the way you came to the east and charging into the boulder there. You’ll find a chest behind it containing a Fire Ball.

(1 of 2) Mount a Visor Kaiser to break the boulders

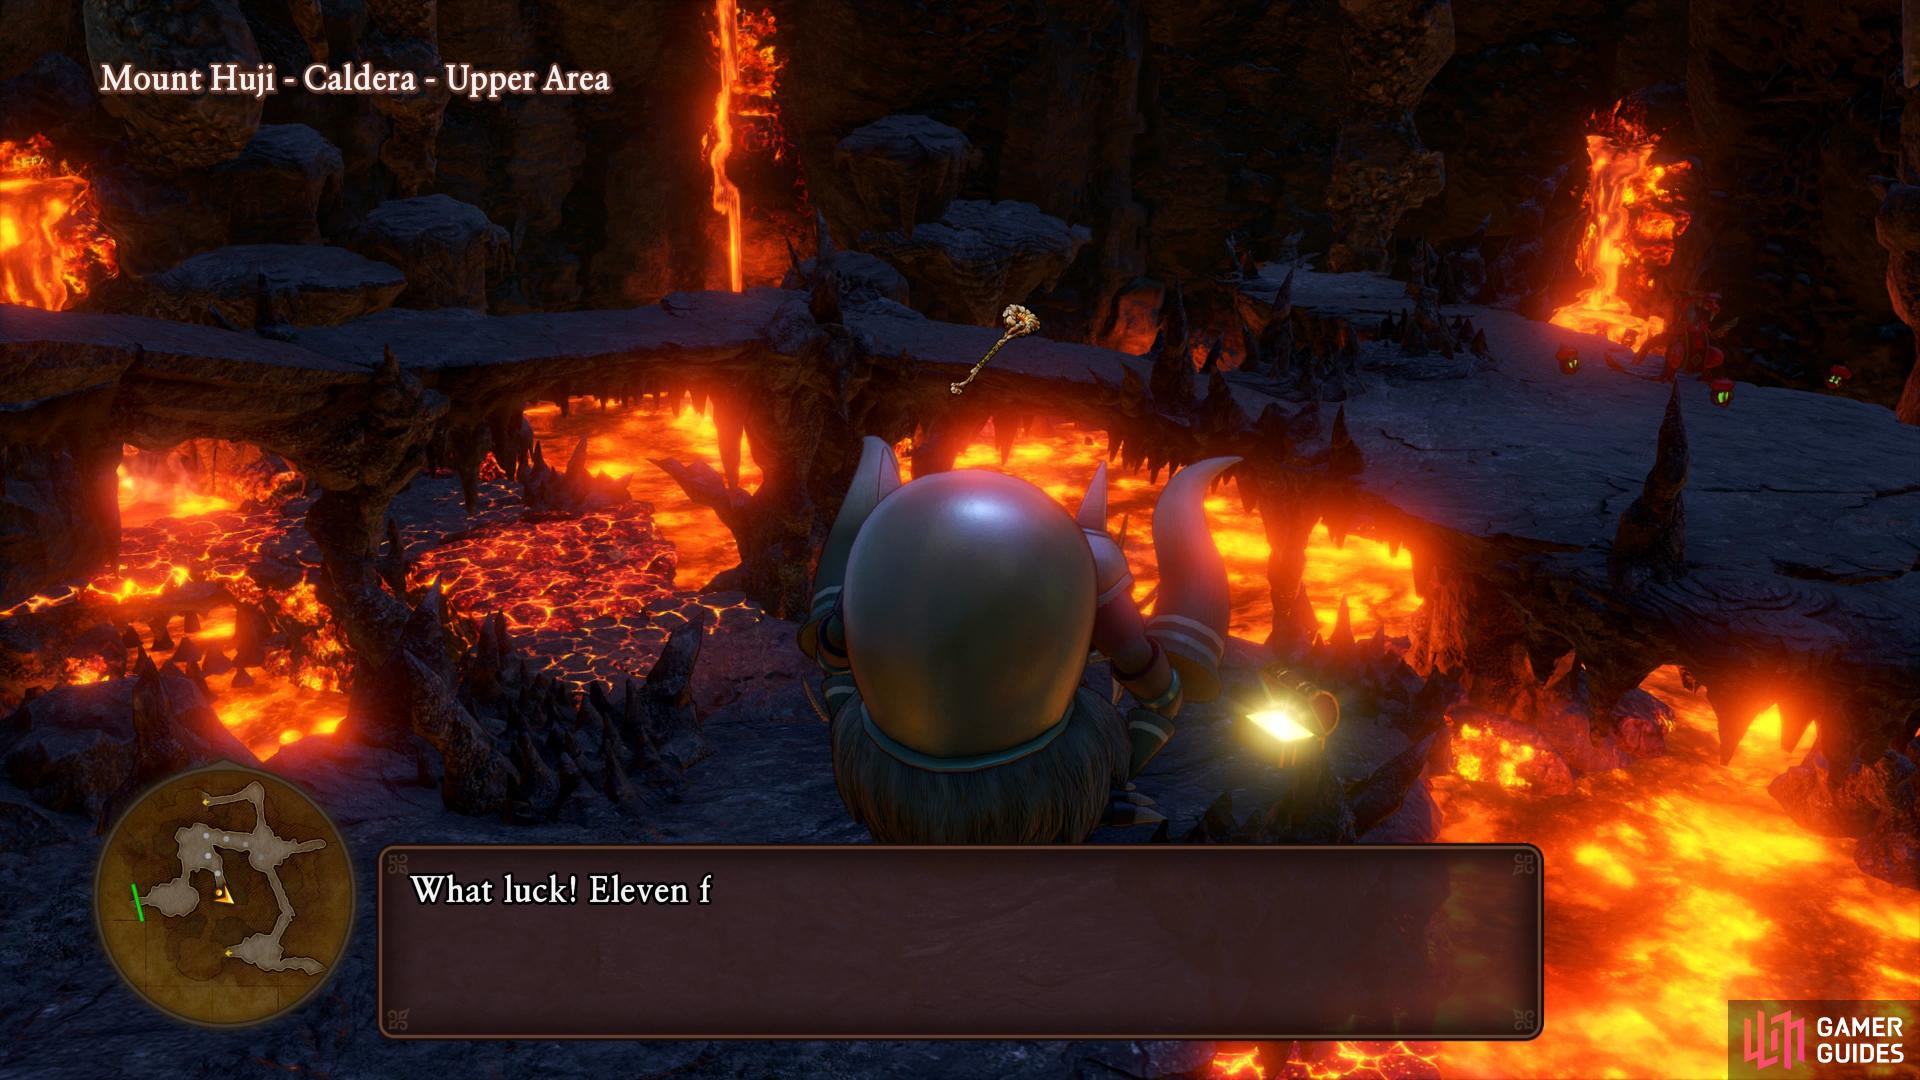
Mount a Visor Kaiser to break the boulders (left), where you’ll find several chests. (right)
Return to the entrance and the first intersection, charging into the boulder here to reach another chest containing a Magma Staff. Head back to where you found the Visor Kaiser and go north to reach the centre. Make a quick detour west to find a Sparkly Spot containing more Fire Wood and then go north from the center intersection to reach a large area with a chest to the north, open it to obtain another Fire Ball.
Continue around to the centre of this intersection once more and break the boulder in the middle, you’ll find a chest behind it containing a Mini Medal and then head east to reach the final chest containing four Sage’s Elixir. Take the time to recover your HP and MP before stepping forward to face Tatsunaga for real this time.
Boss: Tatsunaga
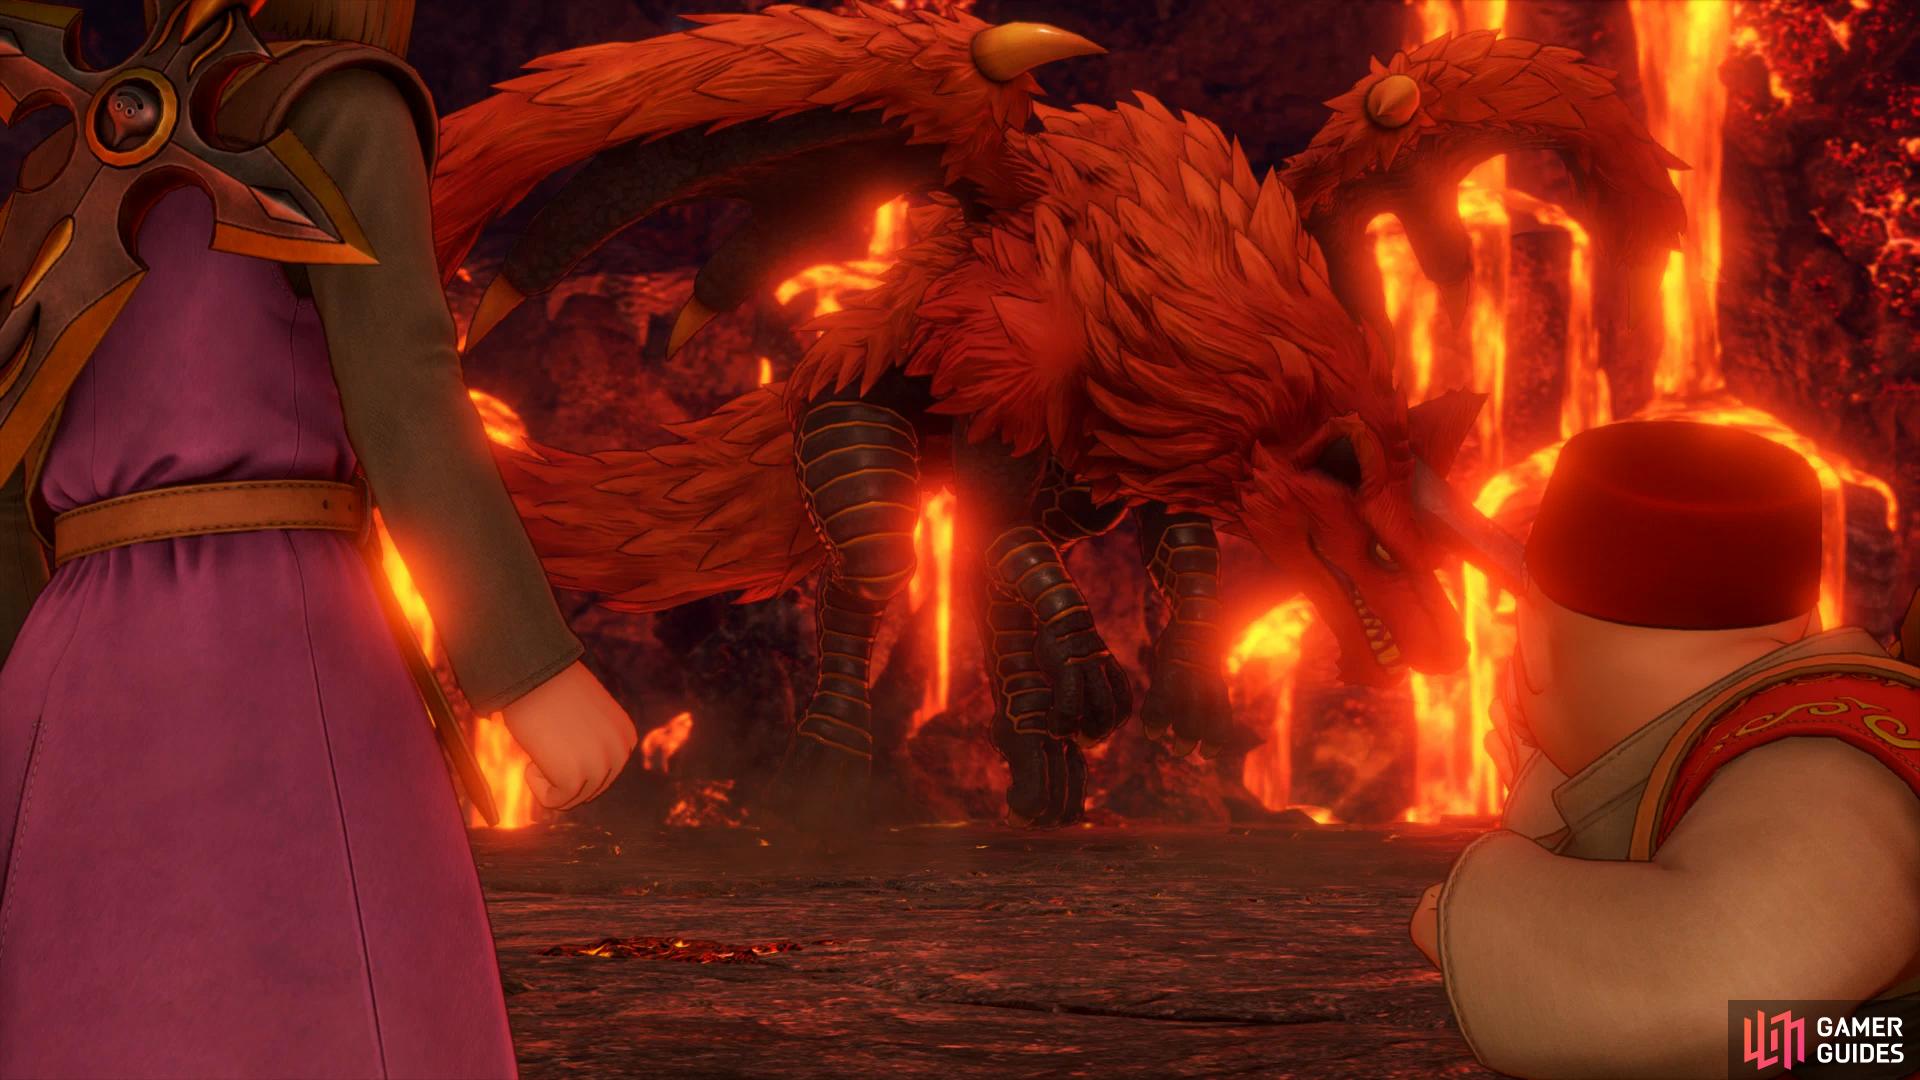
Tatsunaga has a lot more nastier skills at his disposal this time and has around 2400 HP. Tatsunaga will attack three times in a combat round and his attacks will deal over 60 HP while his ball of fire will hit someone multiple times for around 200 HP. You’ll want to have Kabuff up to deal with the onslaught of his attacks. To make him even more deadly, his regular attacks will Sap your defense significantly, upping the damage he does massively. Finally, Tatsunaga has a War Cry that will inflict around 70+ HP to the entire party.

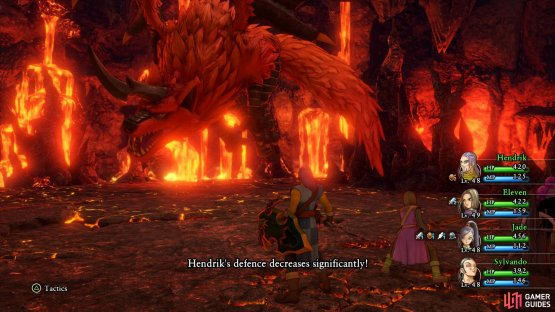
(1 of 2) Ball of Fire is Tatsunaga’s most damaging attack

Ball of Fire is Tatsunaga’s most damaging attack (left), counteract the Defense down with Kabuff. (right)
You’ll want to have Jade Re-Vamp twice to boost her stats before setting line Multithrust (or Multifeet if you have that already) while the Hero resumes his rampage with Unbridled Blade that’s been Oomphled. Leave Sylvando in the party to Hustle Dance, using That’s Amore between bouts of it to inflict some damage of his own.
Ryu will regain his form following his death as the mirror shines within his body and Ryu and Miko’s tragic story comes to a close. The party travels back to Hotto to deliver the news and usher in a new dawn for Hotto, unlocking the Hot Spring Hero trophy/achievement.
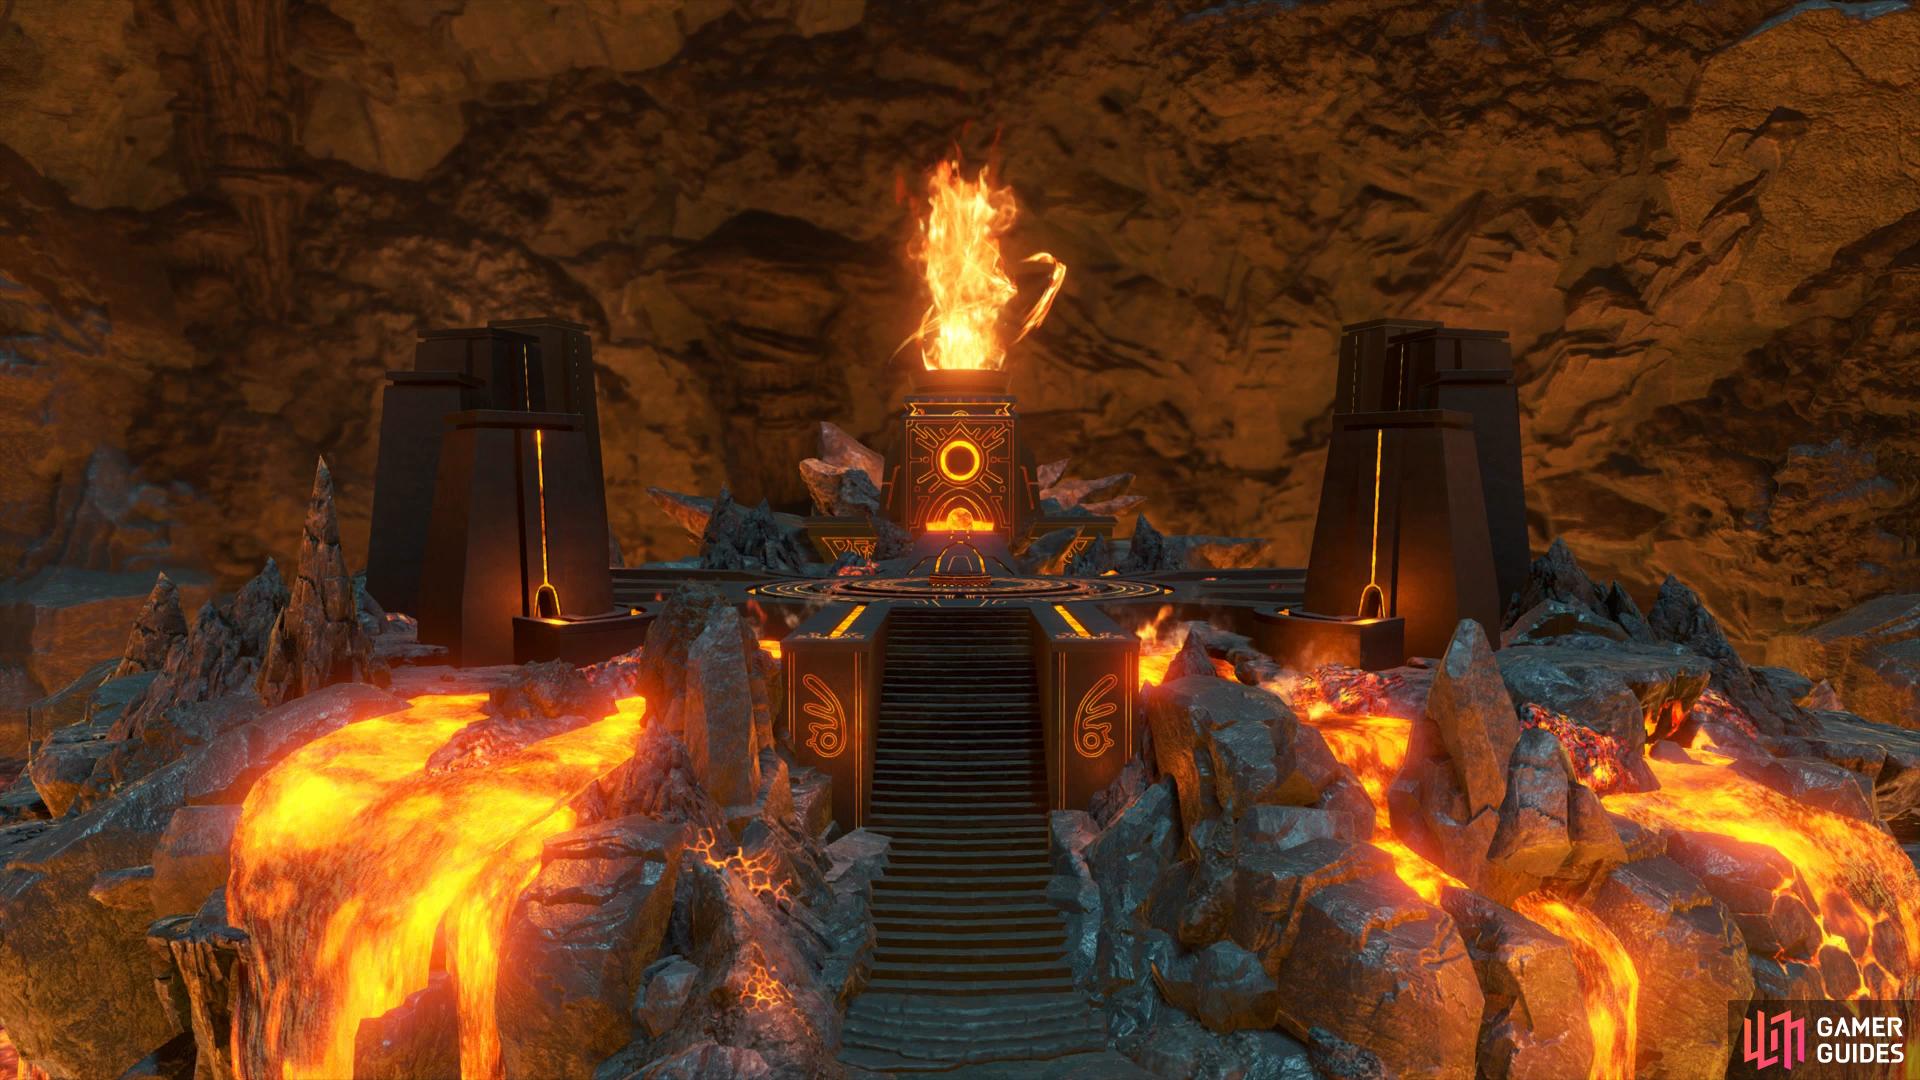
With peace returned to Hotto, make your way back to Miko’s Temple and speak to her maid once more to obtain the Crucible Key. Leave Hotto and return to Mount Huji one final time, heading to the far north of the area and unlocking the door with the Crucible Key. Follow the path forward to reach the heart of the volcano and present the Guiding Light. Watch the scenes that follow to obtain the Sword of Light and at long last, journey’s end is in sight.


No Comments