A Quick Detour to L’Academie
Your next destination lies in the direction of Phnom Nonh but first, it’s a good idea to take a quick detour and go see how L’Academie de Notre Maitre des Medailles is holding up. From your current position in Mount Pang Lai, Zoom to Mount Pang Lai Campsite to reach the base of the mountain and then head back to the Costa Valor.
You only have access to the top half of this area but as you may notice from taking a glance at the map, there’s a new passage opened up to the Champs Sauvage to the west. Head to the Camp and rest to register it on your Zoom list and then access the Champs Sauvage.
(1 of 2) Use a mount to reach the chest across the lake
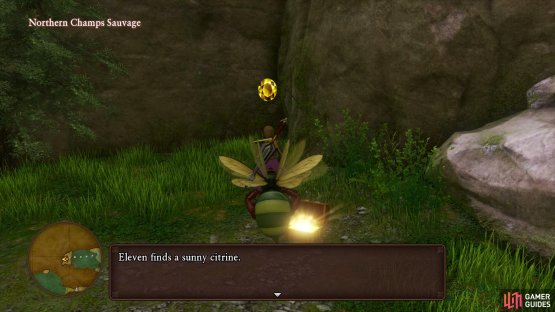
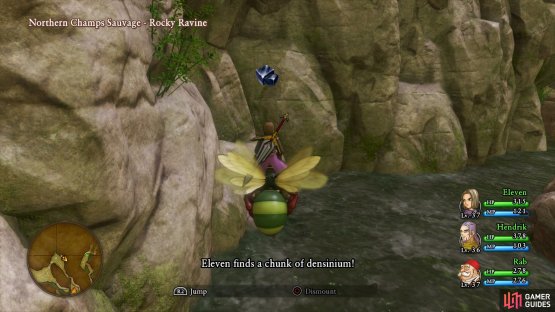
Use a mount to reach the chest across the lake (left), then grab all the new Sparkly Spots using it. (right)
The Champs Sauvage, like most other areas in Erdrea now, features Vicious upgrades to the monsters here. If your party sits around Level 36 then you should have no problems dispatching the foes here. Make your way to the North Campsite and rest to register the destination and check out the wares of the merchant, he has some useful items if you’ve been neglecting the forge.
Continue north through the Rocky Ravine until you approach L’Academie and you’ll come across a glittering Honeyhead Horknight. Defeat one and mount it and fly over the nearby lake to find a chest containing a Sunny Citrine. Use the mount to zip all over the region now to nab the new Sparkly Spots containing an Ethereal Stone, Mythril Ore x2 and Densinium. Return to where you found the mount and proceed north back to L’Academie.
L’Academie de Notre Maitre des Medailles
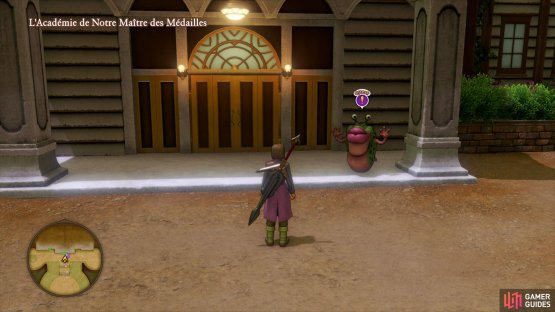
There are no new Items to nab or scenarios that take place but there are handful of quests you can accept along with the chance to turn in your Mini Medals. For now, proceed north to the entrance and speak to the Lips outside to begin Quest 28 - Madame Labouche’s Life Lesson. You’ll need to have your Charm at 330 or higher to pass her check, something that will become easier shortly.
Head inside now and speak to the old woman to the right of the door to accept Quest 29 - A Delayed Diploma, she wants you to head to Sniflheim and track down a student that never received her diploma, something you’ll need to hold off on doing for a while. Next up, head toward the Headmaster’s Office and speak to the zombie there to begin Quest 30 - A Fragrant Fille, she needs help procuring more of her perfume in the Cryptic Crypt, a dungeon you’ll be revisiting later.
(1 of 2) There are an assortment of quests to accept here
There are an assortment of quests to accept here (left), many of which you won’t be able to complete right away. (right)
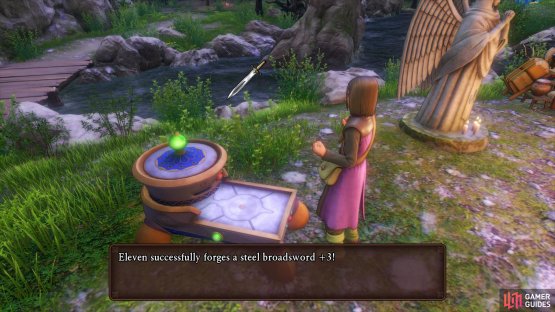
Head in to see the Headmaster now and hand over your Mini Medals, you should have enough to obtain the Spiked Armor and the Miracle Sword, both very useful items. Head into the Bibliotheque next and speak to the Shellslime to accept Quest 31 - A Right Riddle, he wants you to equip the weapon from his riddle. You’ll need to equip a Steel Broadsword for this, if you don’t have it then Zoom over to the nearest Camp and forge it along with shifting the time of day to night before returning to L’Academie. For equipping the sword and speaking to the Shellslime once more you’ll obtain the next riddle, this one requires you to equip a Fizzle Foil, a weapon you don’t have yet.
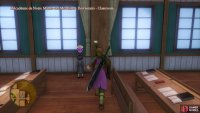
Finally, head into the northeast Classroom at night to find a ghost peering out the window. Speak to the girl to accept Quest 32 - One Last Request, in order to pass over to the next life, she wishes for you to track down the most precious treasure of Maxie van Bloem for which you’ll have to wait until you have means to travel across the sea again. As you may have noticed, these quests will remain ongoing as you travel around Erdrea during Act II but it’s useful to accept the quests before you reach the areas in question. When you’re ready, save your game and then exit back to the Champs Sauvage region.
(1 of 2) Forge a Steel Broadsword for the first riddle of Quest 31
Forge a Steel Broadsword for the first riddle of Quest 31 (left), the girl for this quest wont appear unless it’s night. (right)
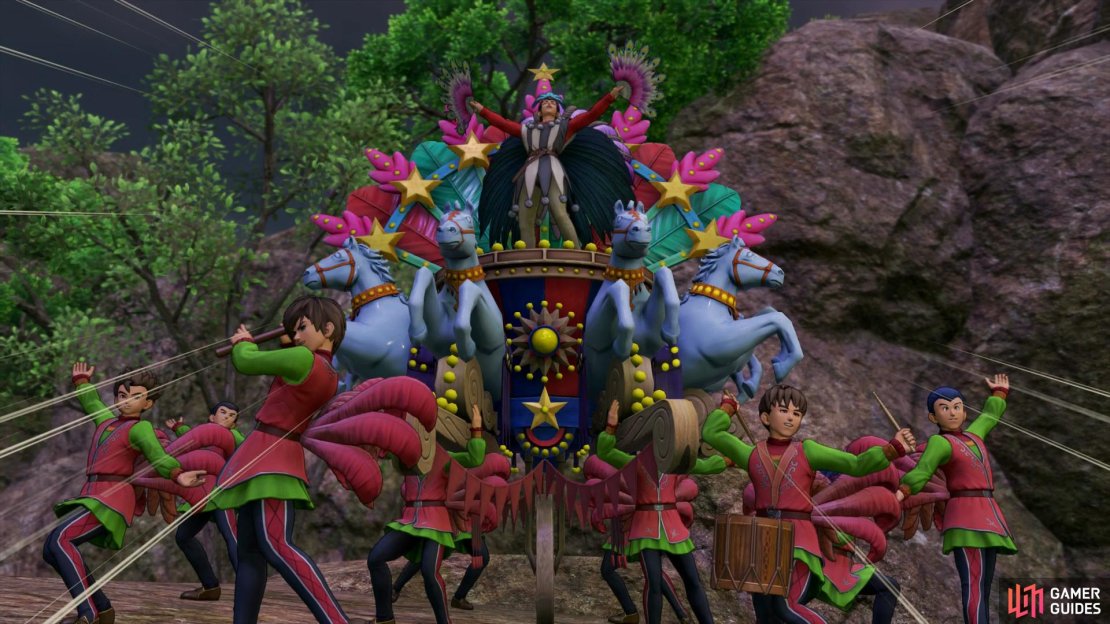
Make your way south across the large bridge, in the direction of Phnom Nonh. You’ll come across a man being attacked by a Weretiger as Sylvando and his merry troupe come to the rescue.
When you regain control in your snazzy new outfit, make your way south to Phnom Nonh to escort Da back to his house. If, for some reason, you get separated from the troupe, head back to the bridge to meet up with them.
Phnom Nonh
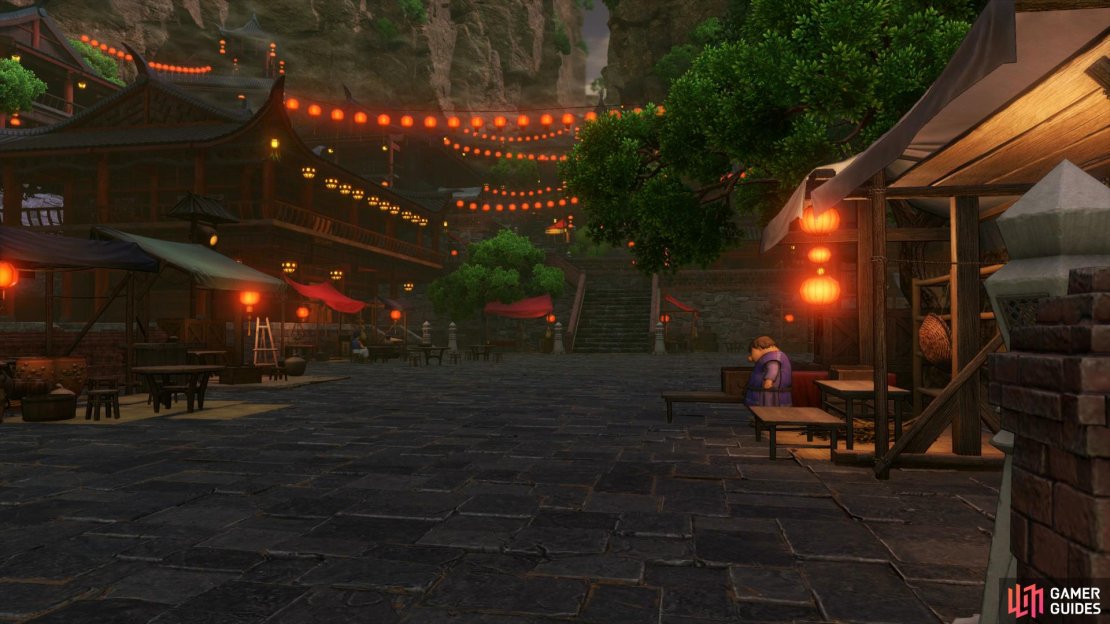
Matters have taken a turn for the worse for Phnom Nonh as the villagers are nowhere to be seen and the mood seems incredibly downbeat. Check out the Weapons and Armor shop, you’ll find the King Axe here if you didn’t forge one earlier and some of the armor is not bad if you’ve been lacking with your forging. As you continue up the stairs you’ll find a man with a request, agree to begin Quest 33 - Worth its Salt. You’ll need to head to Laguna di Gondolia to track the salt down, something that is out of your reach for now. Head to the house opposite the Church now to find Da and will learn of his son’s disappearance. You’ll learn of the monster Avarith and how she took the town’s valuables and fled south of town.
(1 of 2) Be sure to remove the Mardi Garb to increase your defense
Be sure to remove the Mardi Garb to increase your defense (left), yet another quest awaits you near the Church. (right)
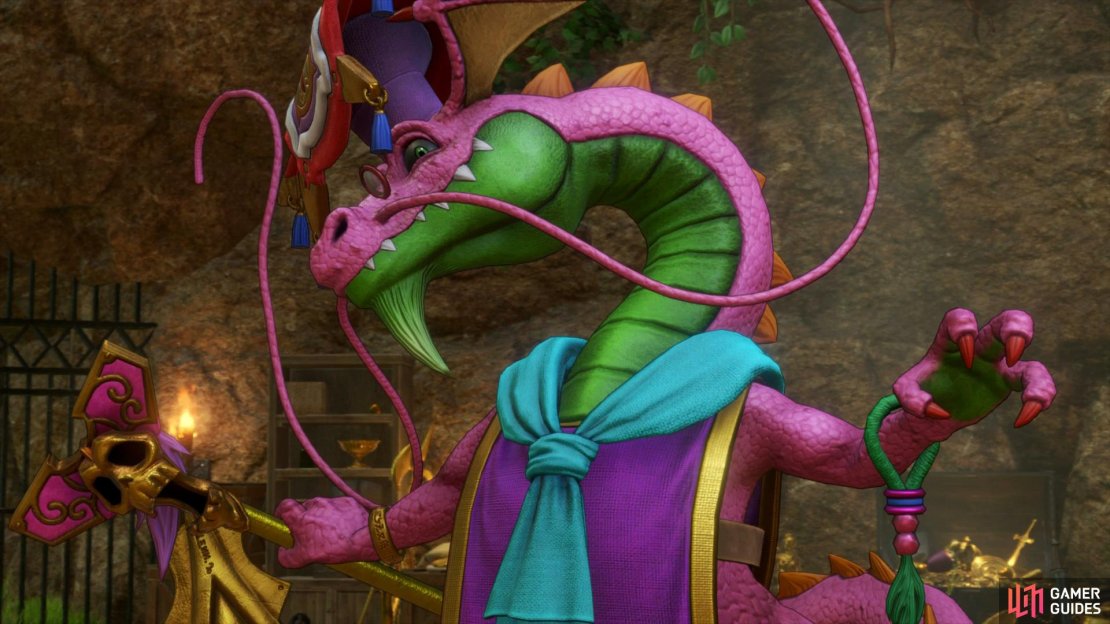
Save your game and make use of the Inn before heading out of Phnom Nonh. Make sure you rest at the nearby Camp to register it to your Zoom list and then head south to the Promontory Cave. Make sure you’re fully prepared and then approach the dragonlike creature in the middle.
Boss: Avarith
Avarith has the ability to seal the entire party’s spells and for that reason, you’ll want to use abilities to recover your party. Rab’s Zing stick is useful for emergencies as is Hendrick’s abiltiy to soak up damage. Avarith has 2200 HP so she won’t go down quick and you’ll want to try and take Avarith down as quickly as possible to negate the need to Heal.
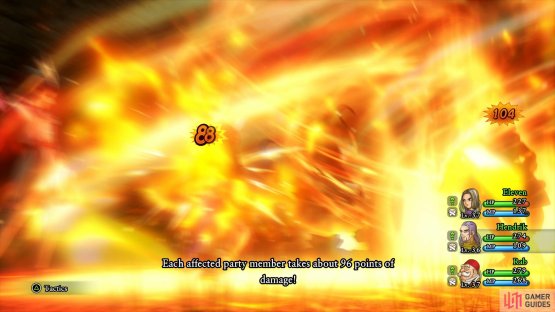
Her most deadly attack by far is Kasizz, this will hit the entire party for around 100 HP. She can also Kabuff herself, you can counter that with Helm Splitter from Hendrick if you’re using Axes on him. You can counter her heavy spellcasting by using Antimagic with Rab, this will seal her spells and cause her to resort to using regular attacks. These still hit hard, around 70 HP+ and the same person getting hit in one combat round will rack up. Make use of Rab’s Staff of Salvation to do some light healing if you need to.
(1 of 2) Kasizz is a devastating ability
Kasizz is a devastating ability (left), so counter it with Rab casting Anitmagic on the boss. (right)
Like always, the Hero is devastating with Unbridled Blade, especially if Hendrick can lower Avarith’s defense with Helm Splitter. Hendrick is useful with the forementioned ability as is Parallax which can sometimes paralyze her and give you a bit of breathing space. Rab should stay on healing duty with Staff of Salvation and keeping Right as Rain up along with Antimagic on Avarith. If you get a moment to cast spells before they’re sealed again, use a Multiheal to top everyone up.
With the fiend defeated, Son releases everybody and Sylvando escorts them back to Phnom Nonh. Zoom back yourself to find the area a lot more upbeat, make your way back to Da’s house to see the tearful reunion. Head to the top of the hill overlooking the ruins now and you’ll meet up with Sylvando once more. He decides to rejoin you in your quest to defeat Mordegon but first wants to find a safe place for his troupe.
Head back to the entrance of town where Sylvando will announce his decision to leave the troupe. He has however decided on leaving them with his father in Puerto Valor, your next destination. Zoom back to the Costa Valor Camp before proceeding through the tunnel to the east of the area to reach the southern section of this region and into Puerto Valor itself.
Puerto Valor
Sylvando decides to wait at the entrance of town while you go and speak to Don Rodrigo alone. Make your way over to the house then head inside and enter the room at the top of the stairs. Leave the house once Hendrick wishes to speak to Don Rodrigo alone and make your way down to the beach to find Sylvando. After Sylvando’s emotional story, return to the house as more amusing scenes play out. Before you Exit out of the house, search the bookshelf in this room to find a Recipe Book, Platinum Plating and search the right wardrobe for a Finessence. Leave the house now and Sylvando will rejoin the party along with a new Pep Power, Hit Parade. On top of that, you regain access to the Salty Stallion which will allow you to travel the Inland Sea once more.
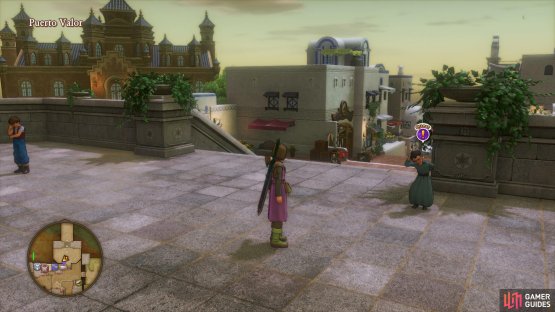
Return to Puerto Valor and speak to the man near the entrance to begin Quest 34 - When Knight Falls. For this quest, you’ll need to head to the Eerie Eyrie to defeat a Knight Aberrant with the Arise Pep Power usable by the Hero, Sylvando and Hendrick. As you only have four party members at the moment, it’s best to wait until you get one more party member so you can rotate out party members who are Pepped Up.
(1 of 2) the Liquid Metal Helm is useful but nothing groundbreaking.
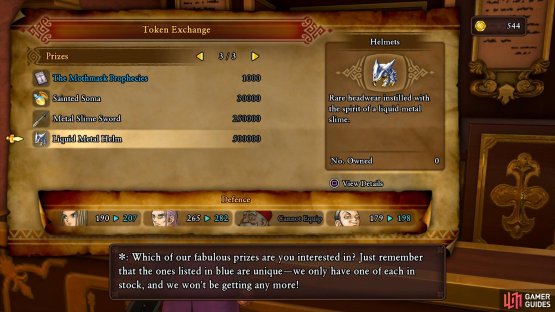
the Liquid Metal Helm is useful but nothing groundbreaking. (left), Be sure to return and pick up the quest from Puerto Valor (right)
Finally, check out the Casino to discover that you now have access to the high stakes tables. This will allow you to rack up more Tokens at a quicker pace and there’s new prizes for you too. The Liquid Metal Helm is by far the best item on the list but it’s nothing too out of this world, if you enjoy the Casino and find yourself with enough Tokens then by all means pick one or two up. Do however, pick up the new Recipe Book, The Mothmask Prophecies as it’s a one time item.
The last order of business for now is to check out Sylvando’s Character Builder. If you haven’t already unlocked Have a Ball from the Litheness tree (above the Agility +20 panel) then work on getting that first. Following that, your next targets should be That’s Amore and Pink Pirouette.













No Comments