
The Outer Sea
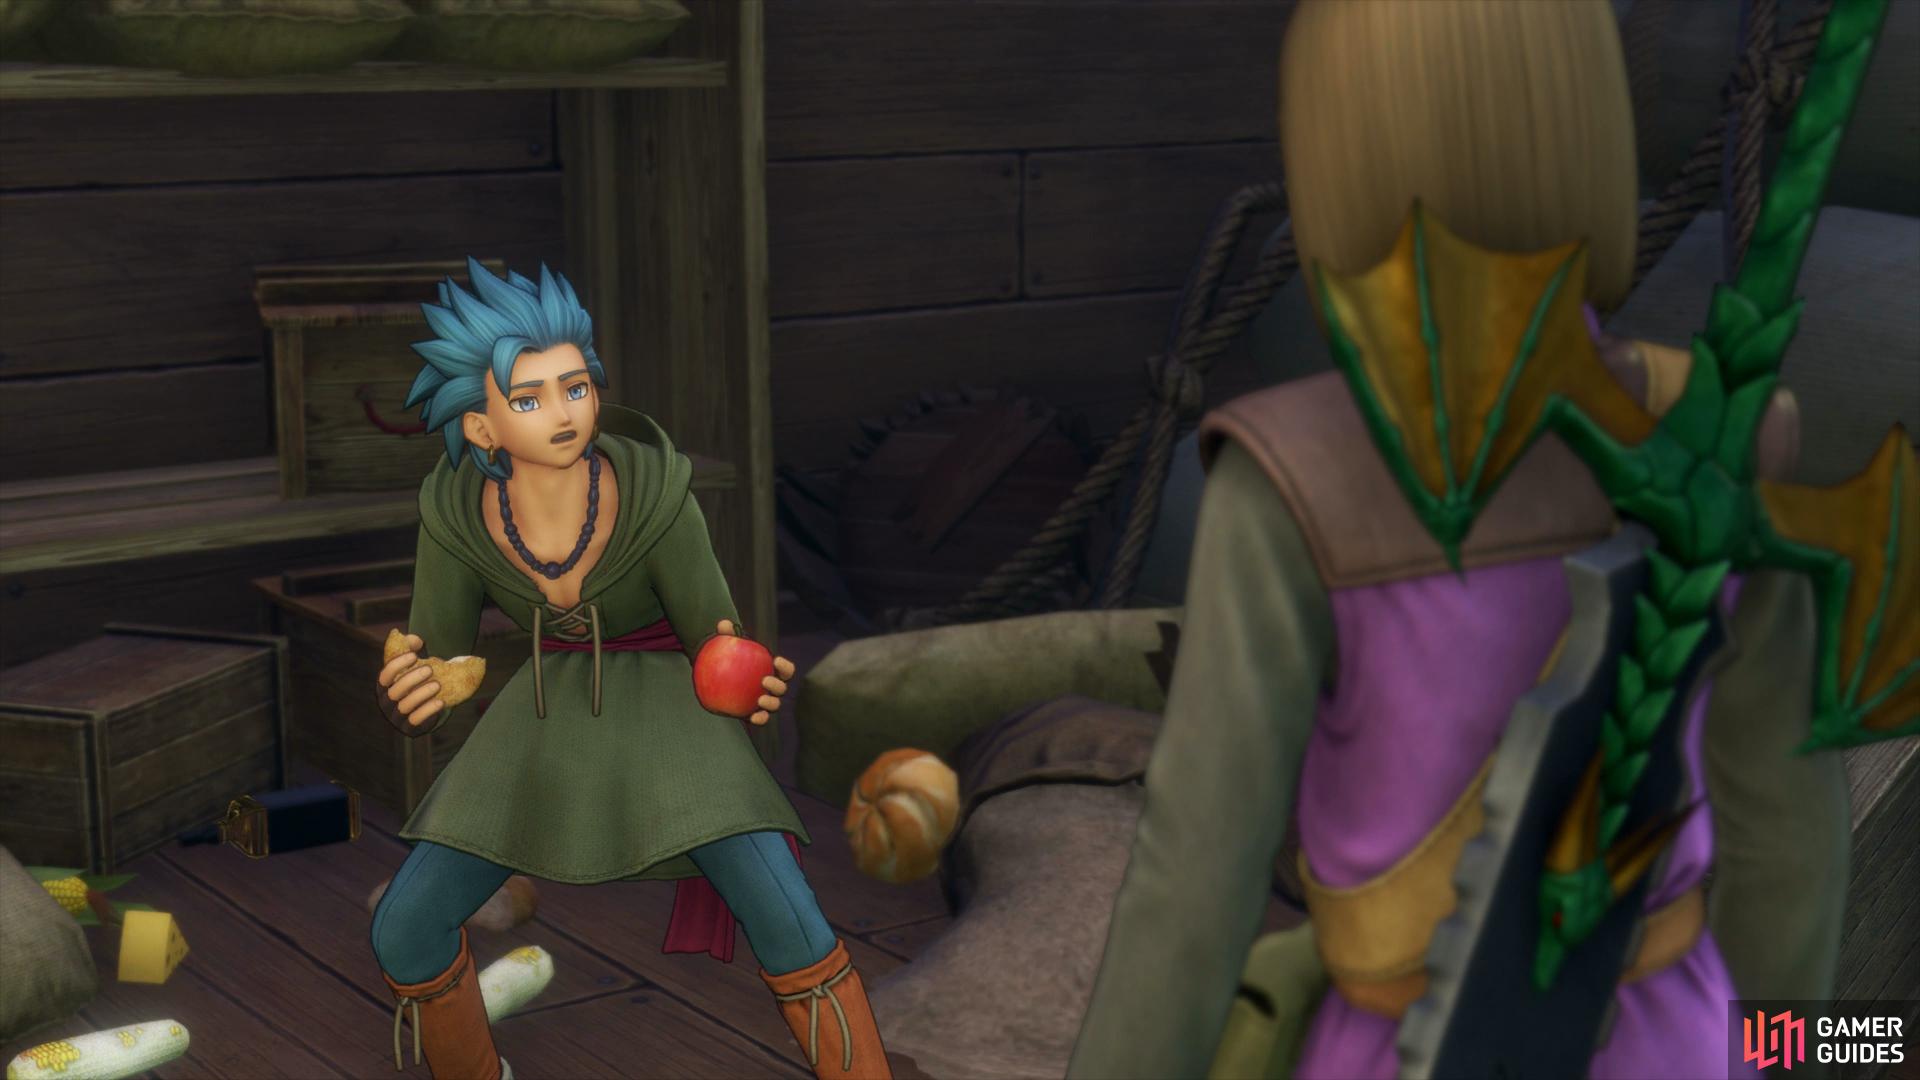
With Lorelei’s Harp back in hand, you can now head back to the Outer Sea. As you sail through the Valor-Sauvage Channel and towards The Strand you’ll be interrupted by some rattling in the cargo bay. As the party goes down to investigate, it appears that Erik is the source of the rattling however he appears to have a slight case of amnesia.
Once you regain control of the ship, be sure to visit The Strand to add it to your Zoom list once more, it’s the most useful way to reach the Open Sea after all. Before you begin helping Erik recover his memory, there’s a few tasks that have opened up to you so for now, sail north past Insula Occidentalis and take a east to dock at Insula Algarum once more.
Insula Algarum
| Items | Area |
|---|---|
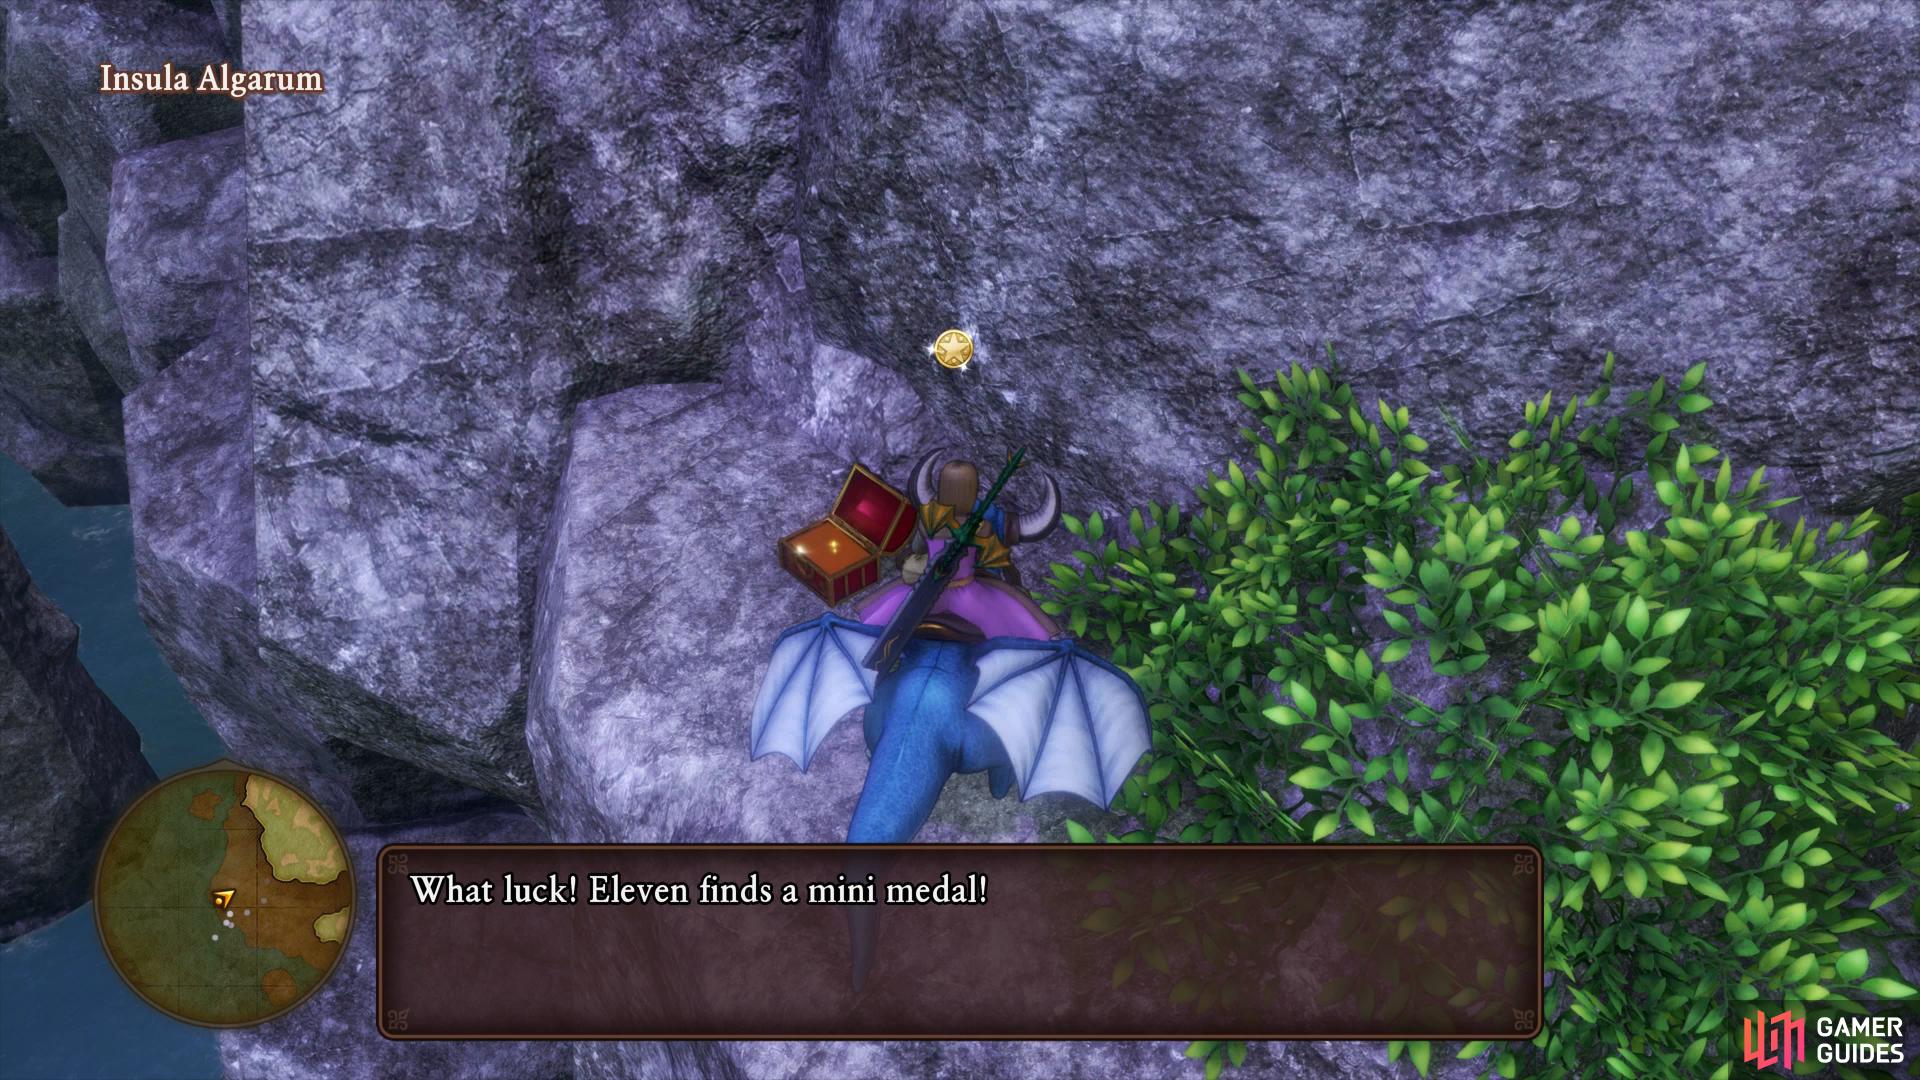
| Mini Medal | Southwest mountains, chest |
| Agate of Evolution | Northeast island, chest |
| Molten Globules | North island, chest |
| Mini Medal | North island, chest |
| New Sparkly Spots | Area |
|---|---|
| Fatalistick x2, Sparkly Sap | South island, Tree gathering point |
| Savvy Saphire | Southeast mountains |
| Pitch Pearl | Eastern rocky outcrop |
| Ethereal Stone | Northwest rocky outcrop |
| Monsters | HP |
|---|---|
| Skelegon | ~243 |
| Rantingen Raven | ~149 |
| Dragon Rider (Mount) | ~168 |
| Terrornodon | ~149 |
| Cosmic Chimaera | ~164 |
| Lunar Chimaera (Rare) | ~1294 |
| Vampire Succubat | ~173 |
With the addition of new monsters on this Isle, you can now gain access to all of the items situated here. Head around the island until you come across a Dragon Rider, defeat it and mount it to gain access to the skies. Begin by flying southwest over the mountains and looking on the south side of it to find a chest, open it to obtain a Mini Medal.
Fly up and to the east of this chest to the small island on the map, you’ll find a Tree gathering point here containing a Sparkly Sap and two Fatalisticks. Again, fly lower to the south side of these mountains and east of this island to find a Sparkly Spot containing a Savvy Saphire. Fly northeast of this island to a rocky outcrop containing the next Sparkly Spot housing a Pitch Pearl.


(1 of 2) Search the south side of these mountains to find a hidden chest
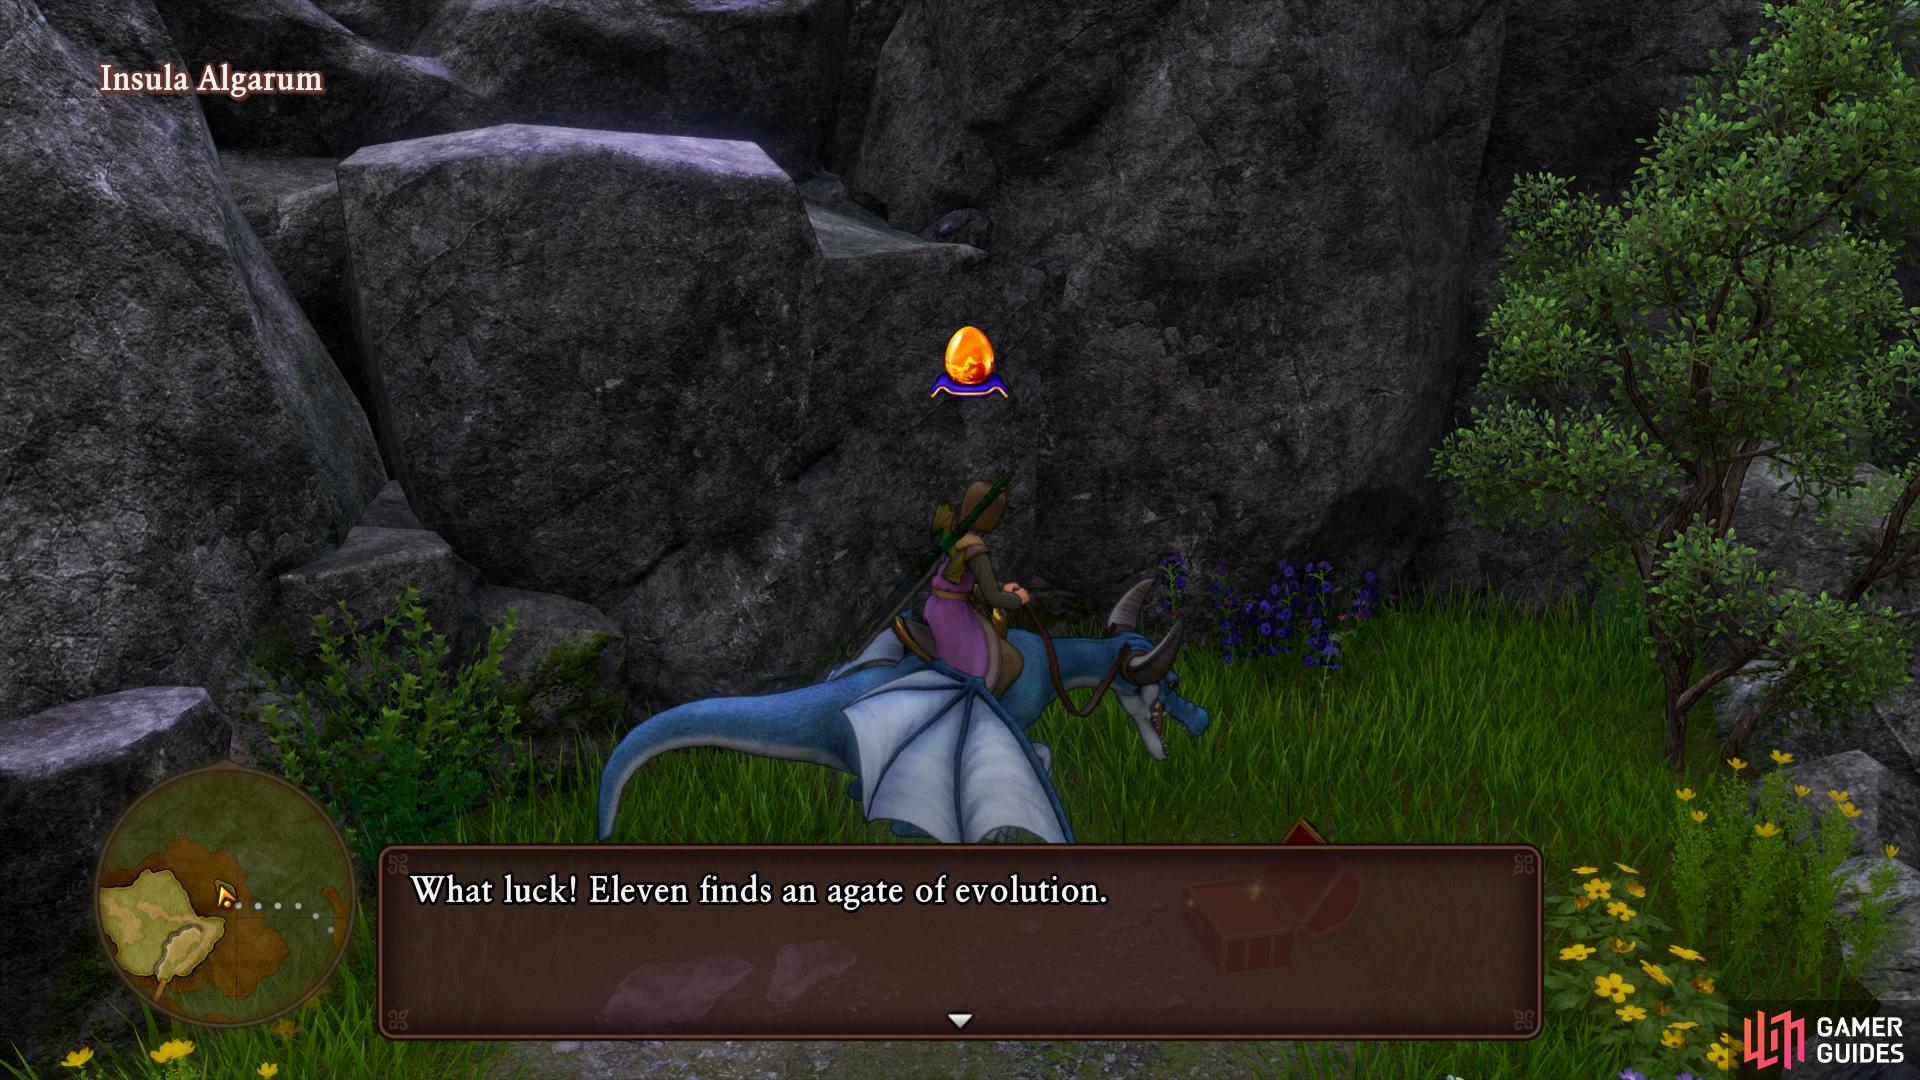
Search the south side of these mountains to find a hidden chest (left), the Agate of Evolution is used in many end game recipes. (right)
Northwest of this location is another small island you can fly to where you’ll find another chest containing an Agate of Evolution. Fly from here to the northern island next, there’s two chests sitting here containing some Molten Globules and another Mini Medal. Finally, head southwest from here to another rocky outcrop where you’ll find the final Sparkly Spot containing an Ethereal Stone.
with all the items collected, return to the Salty Stallion and sail all the way around to Lonalulu.
Lonalulu
Lonalulu is relatively unchanged but what you will notice is that there are three quests for you to begin based on if you have certain Pep Powers. You’ll want the Buff-Buff Pep Power for the Hero and Jade, this will require the Hero to unlock Unbridled Blade in the Greatswords tree. The other Pep Power you’ll need is Tempered Tantrum between the Hero and Sylvando, this will require you to learn Flame Slash from the Swords tree with the Hero (it’s only 3 SP to learn this).
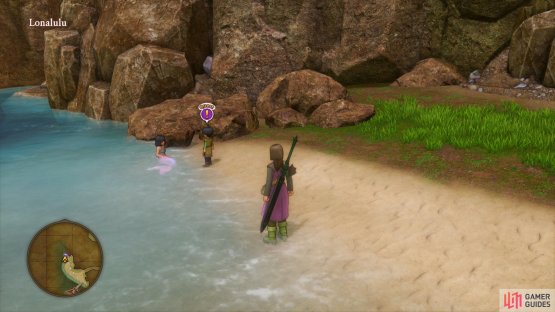
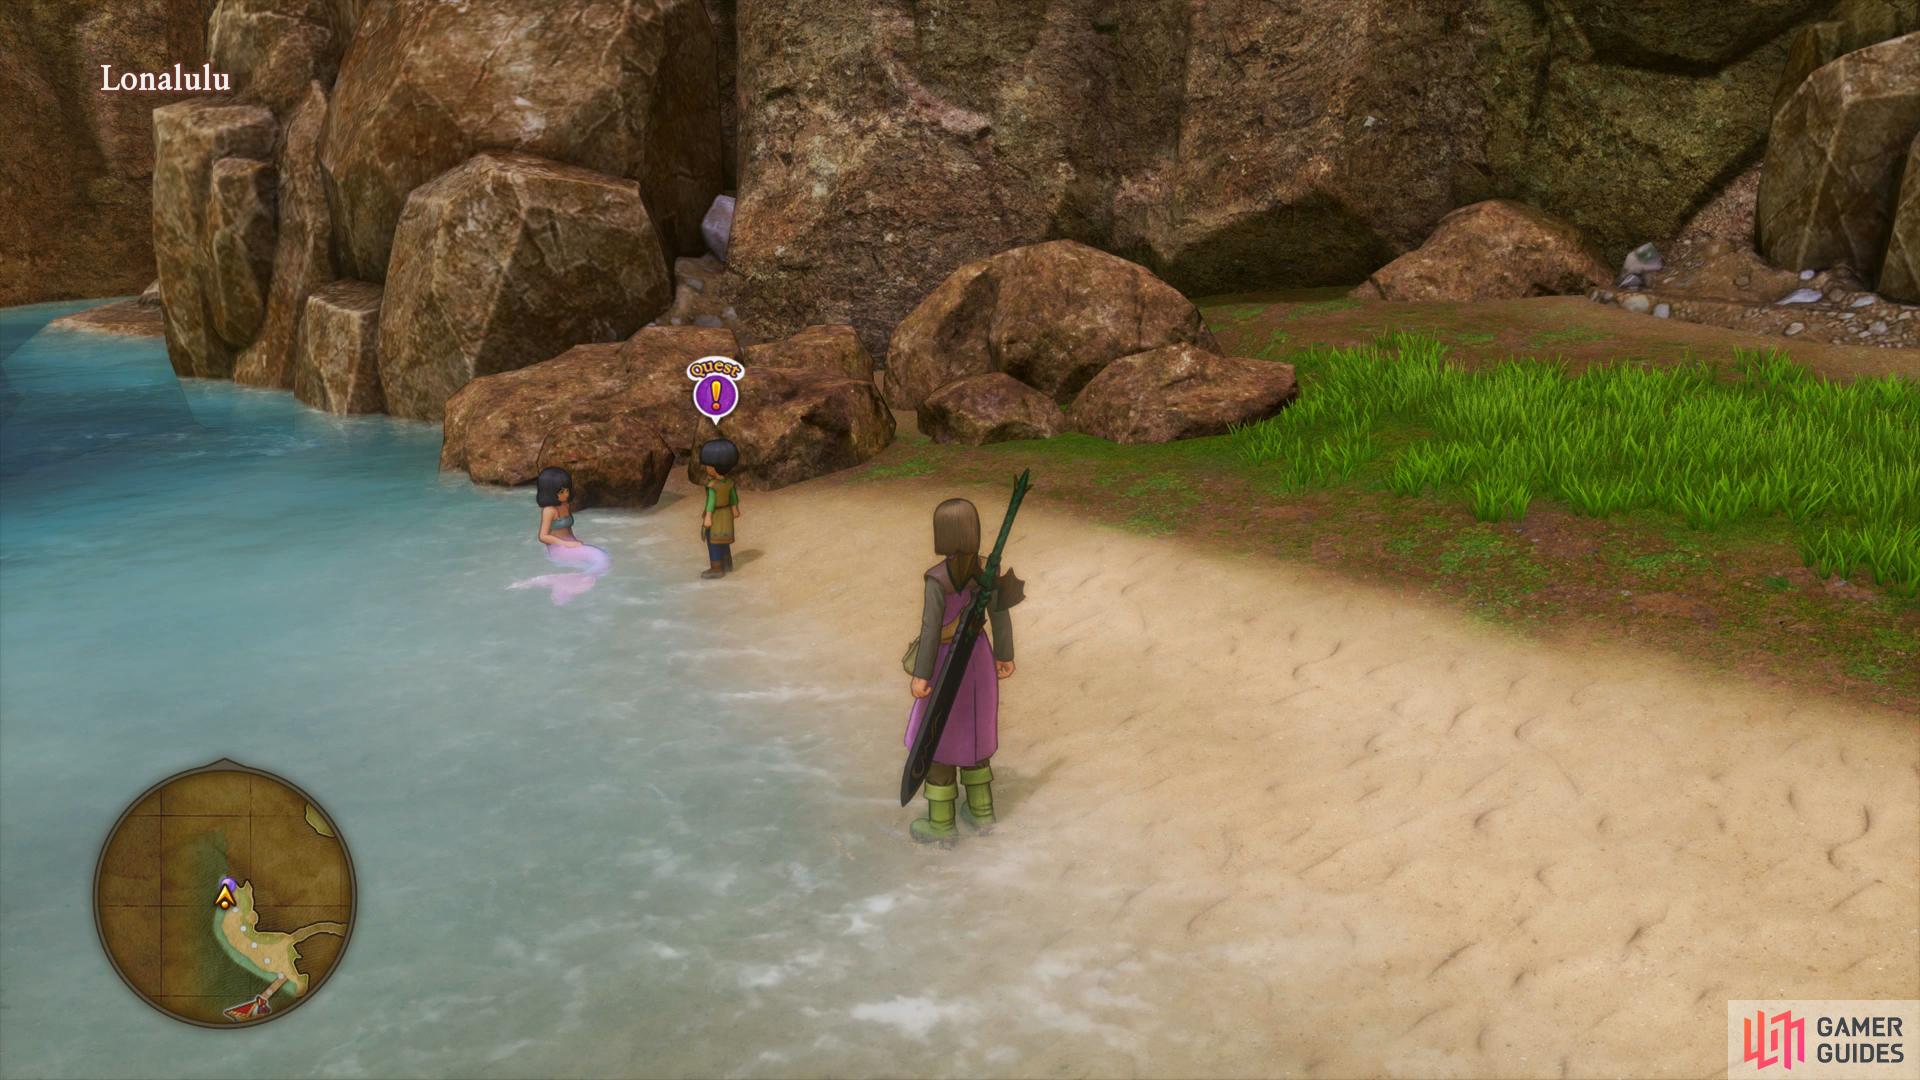
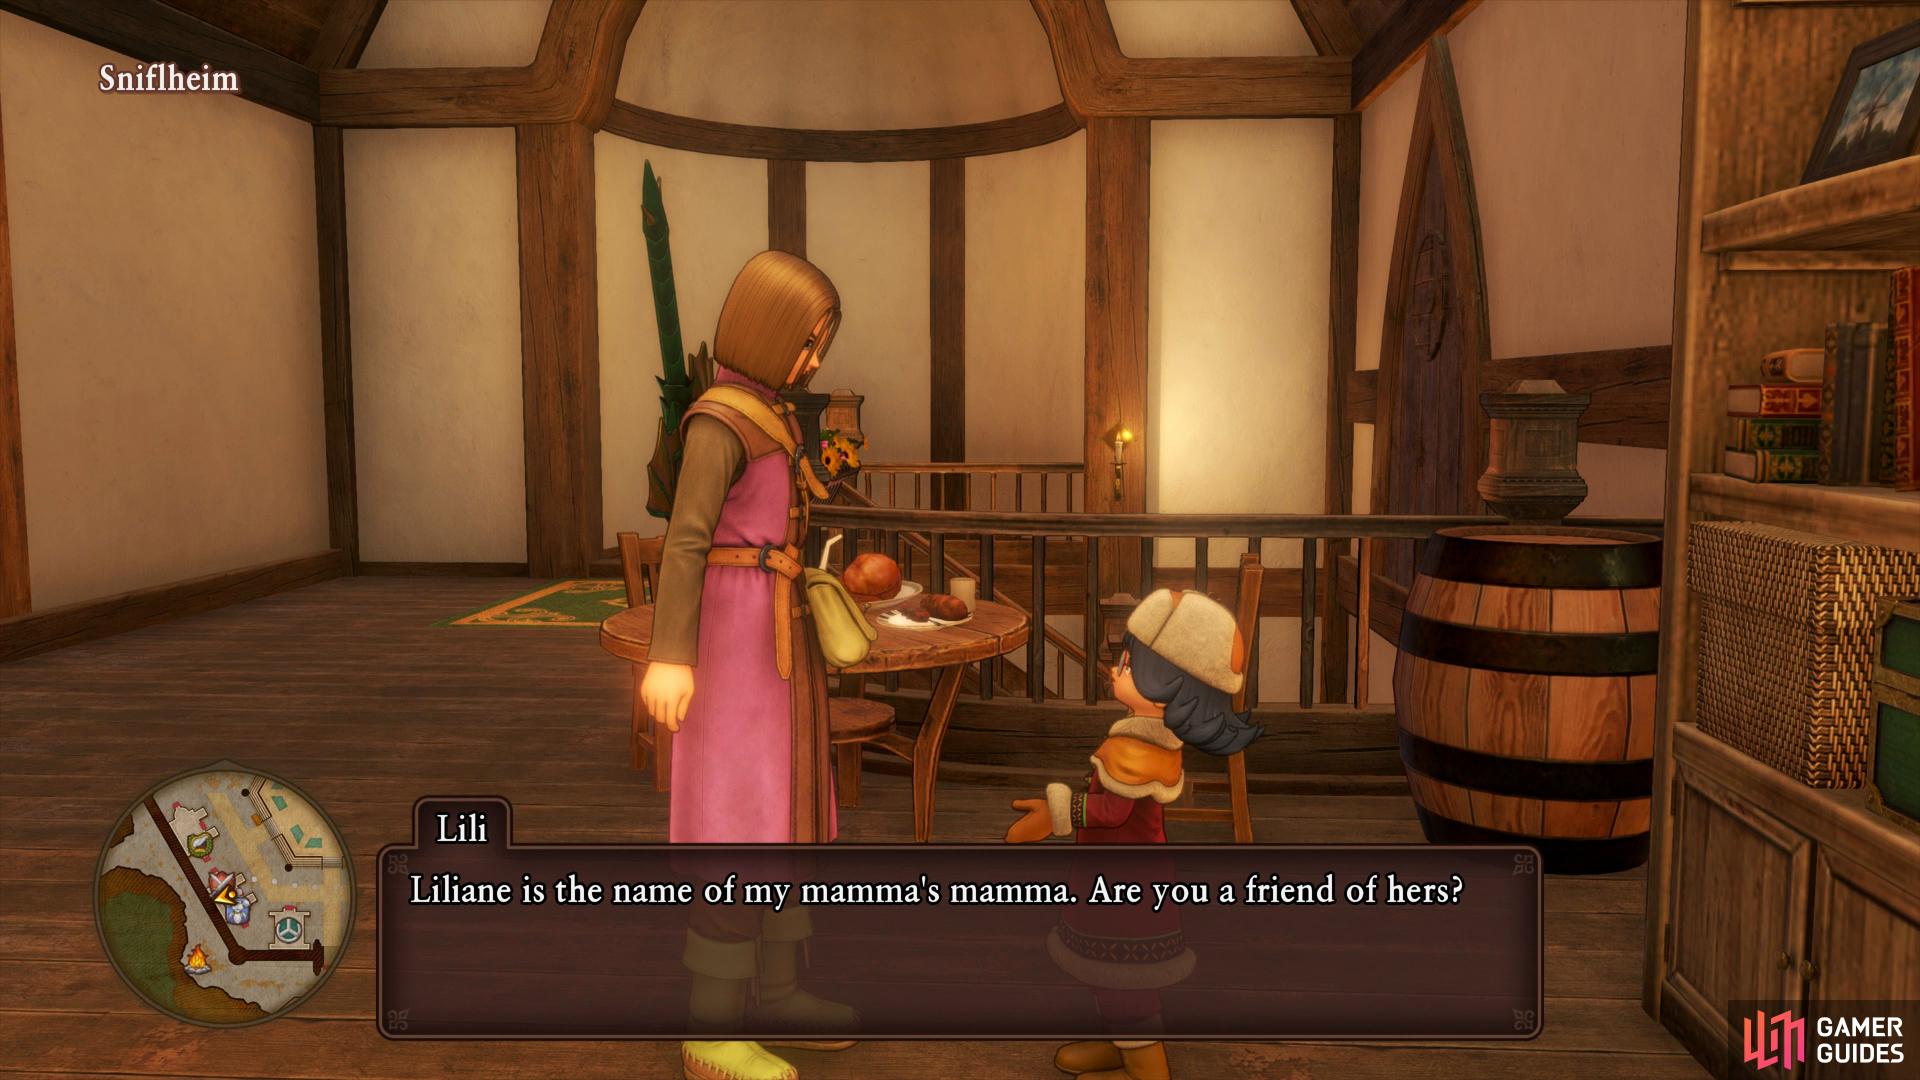
Begin by heading west from the dock to find a young boy with a mermaid. Talk to him to discover that the mermaid has lost her voice, agree to help to begin Quest 36 - Soothing Seaweed. You’ll need to find the Dulcet Dulse from Insula Algarum that you visited earlier.

(1 of 2) There are several quests to accept here
There are several quests to accept here (left), many of which require you to learn a particular Pep Power before they appear. (right)
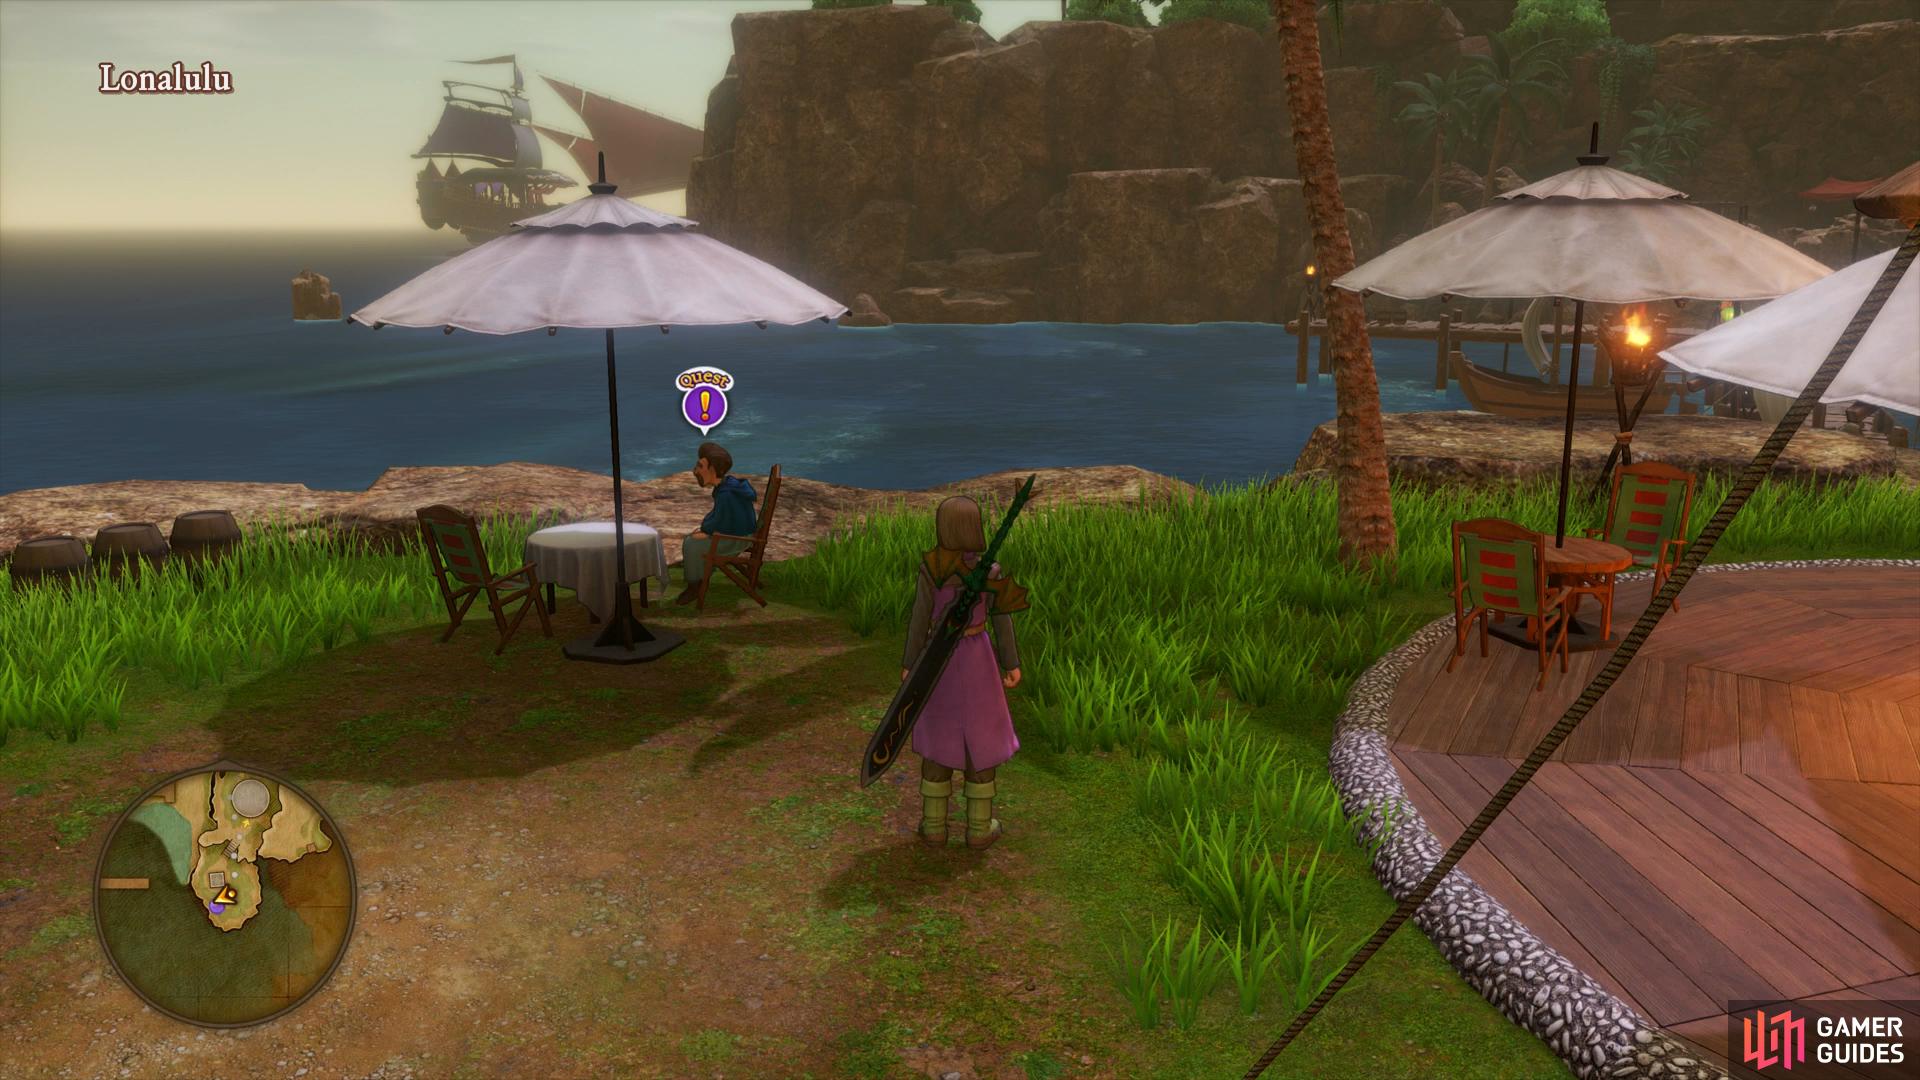
Head into the town itself now and speak to the man on your left, provided you have the Tempered Tantrum Pep Power. He’ll ask you to defeat a Tentacular using the Tempered Tantrum skill as the finishing blow. Accept his request to begin Quest 37 - My Kingdom for Some Kanaloamari and check out the equipment shops to see if there is any gear useful for Jade now that she’s back in the party.
Finally, head east to the tavern and search in the south by the sea to find one final quest to accept provided you have the Buff-Buff Pep Power. The old man wants you to defeat a Night Clubber with the associated Pep Power, agree to accept Quest 38 - The Measure of a Man.
That’s all for Lonalulu, you’ve accepted yet more quests but for now, ignore most of them and you’ll get to them all once Erik rejoins fully following his scenario. You can however finish one quest on your way to your destination by returning to Insula Algarum once more and talking to the Merman on the bridge to obtain the Dulcet Dulse. Return to the young boy in Lonalulu and hand it over to complete Quest 36 and obtain five Molten Globules. Return to the Strand once more and sail far to the north of Sniflheim where you’ll find a Vortex of Light. As you approach it however, an old adverary will assault the ship. This time however, you have the power of the Luminary on your side.
Boss: Alizarin
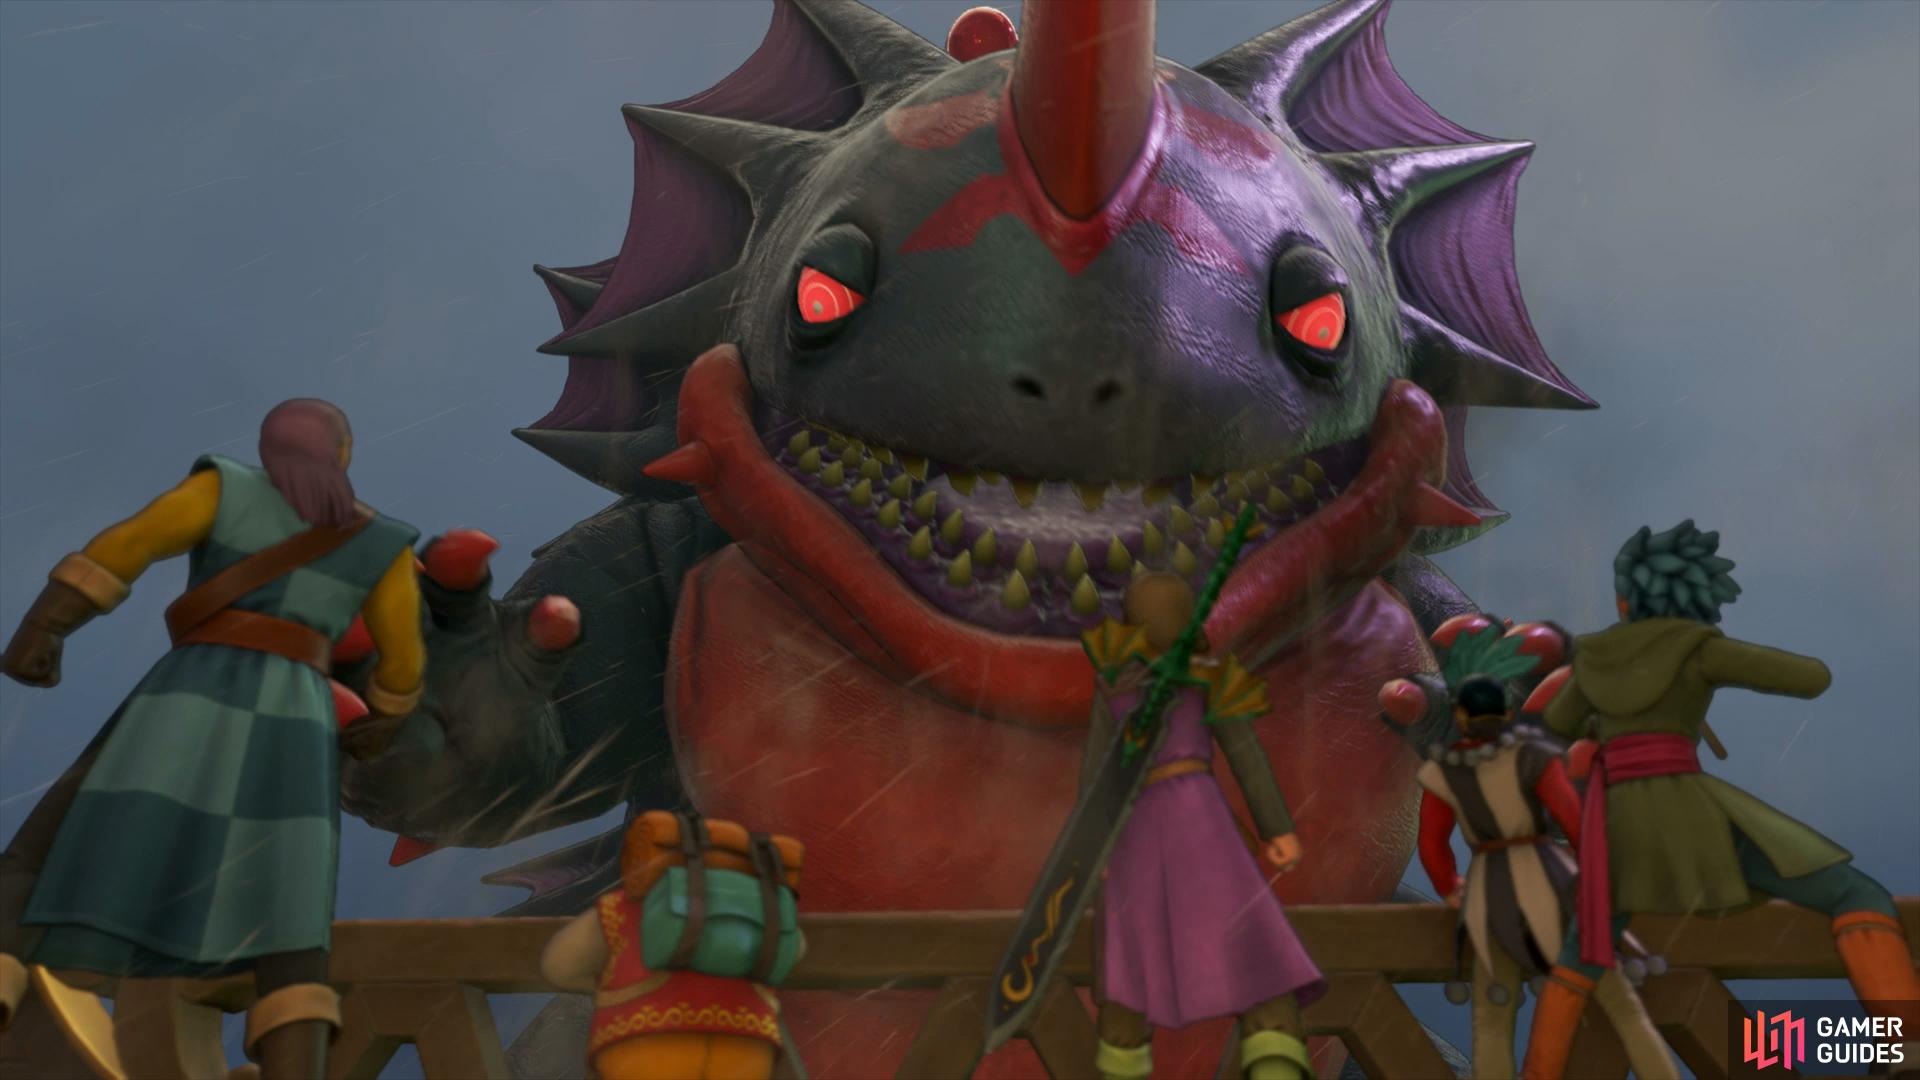
Alizarin is a tough adversary and with a whopping 4800 HP, will take quite a beating too. His attacks vary from powerful fireballs on a single target for around 130 HP+ to group wide attacks such as rocking the boat to knock everybody over or Malestrom that deals wind damage to everyone. On top of this he can Decelerate the party which, if you don’t accelerate in return, can cause him have four turns in a row. Alizarin’s most unique ability is to cast a Crimson Mist that will envelop the area. This will cause all of his attacks to deal increased damage, be sure to keep fully healed during this phase and use Kabuff to increase your defense.


(1 of 2) Fireball is Alizarin’s hardest hitting attack
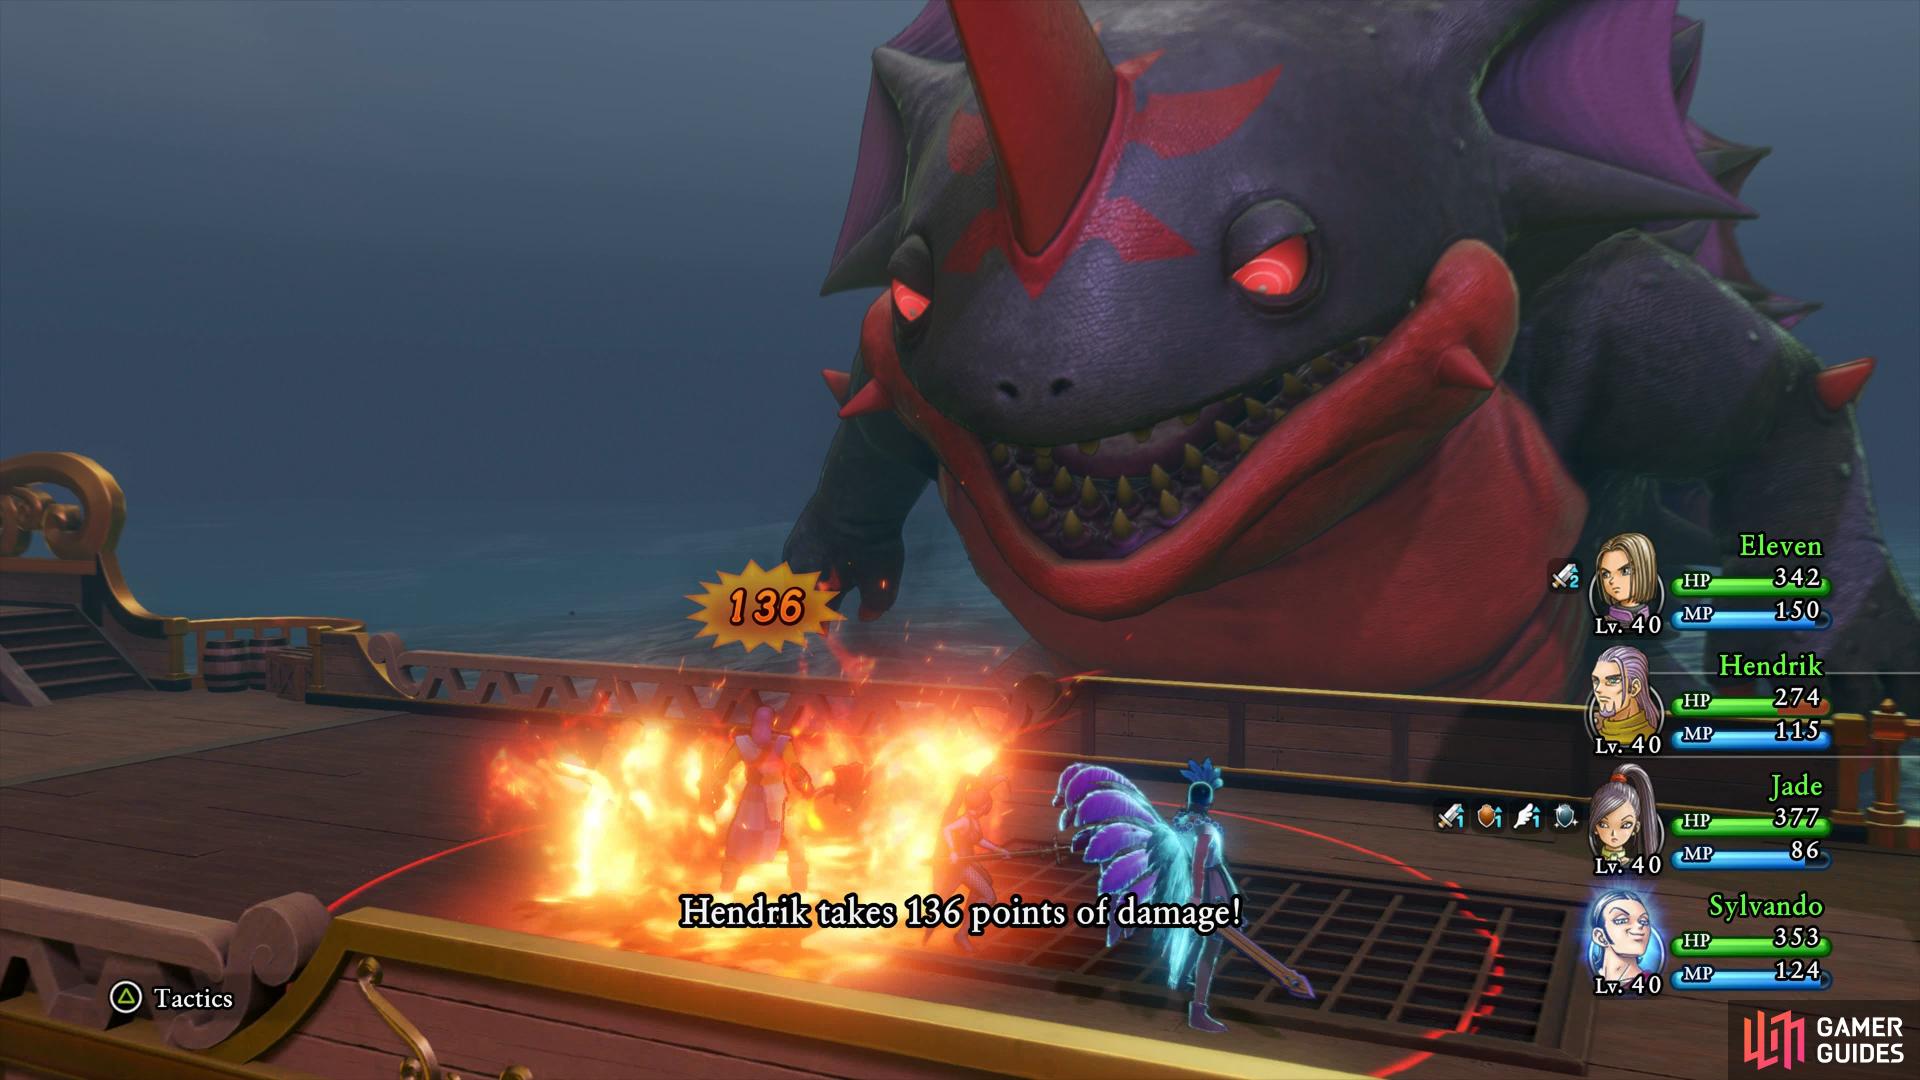
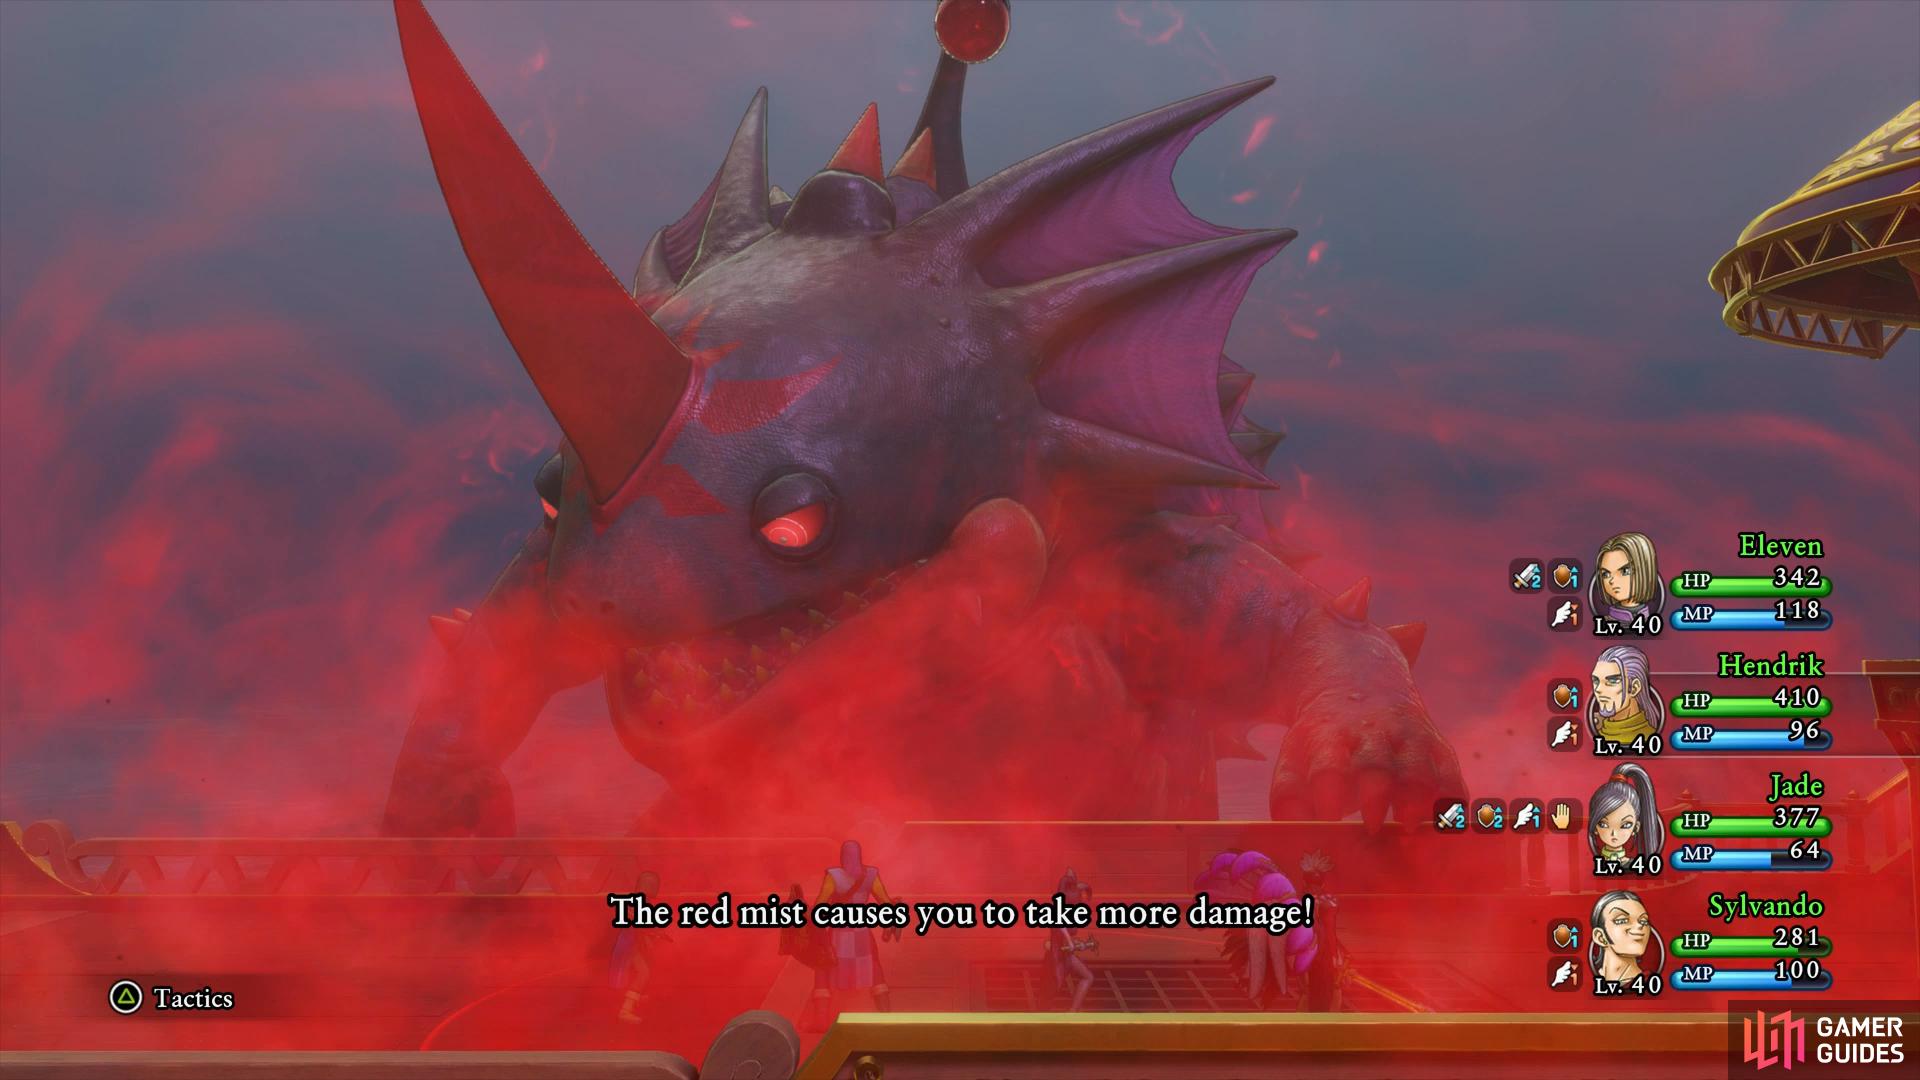
Fireball is Alizarin’s hardest hitting attack (left), it’ll be even more devastating with Crimson Mist active. (right)
With Jade back in the party, have her use Re-Vamp twice to boost all of her stats and then let loose with Multithrust. Have Hendrick use Kabuff followed by Helm Splitter while Sylvando acts as a healer with Hustle Dance. If he doesn’t need to heal, have Sylvando use Oomphle on the Hero to increase the damage Unbridled Blade deals to him. With Sap on the boss and Oomphle on the Hero, you can hit for around 900 HP a combat round.


Following Alizarin’s defeat the skies will clear and you’ll obtain the Red Orb once more. Take the nearby Vortex of Light to access Sniflheim.
Sniflheim
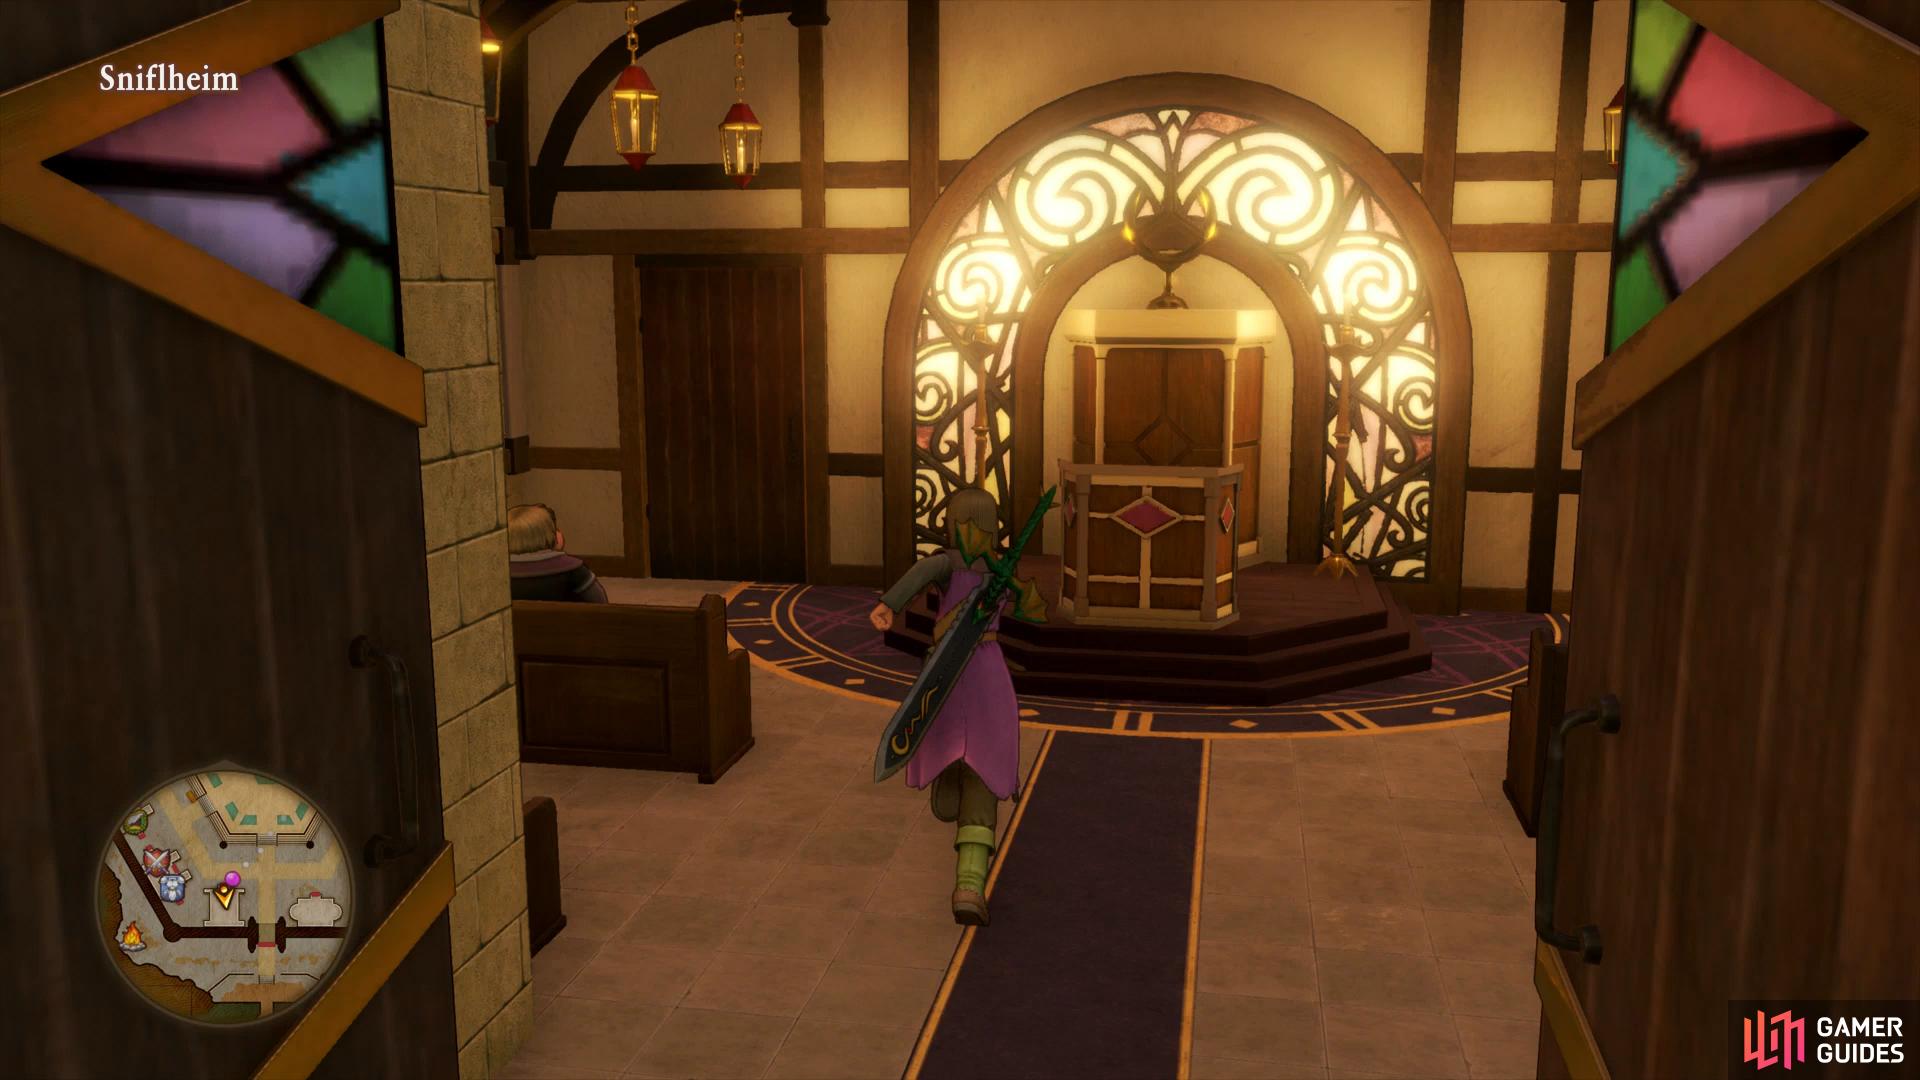
Upon entering Sniflheim, the party will decide to pay a visit to the Castle. As you make your way there, you’ll notice that the town seems devoid of people, rest at the nearby Camp to shift the time to dawn if you need and then enter the Castle. Proceed to the Throne Room and speak to Queen Frysabel to discover about the disease spreading across Sniflheim, Gold Fever.
Leave the Castle and return to town to witness Gold Fever in action which sparks a reaction in Erik’s memory. The Priest will remark that he knows Erik and beckons you to the church, oblige and head inside the back room to learn more about Erik’s past. Leave the Church and head to the northwest of the Camp to find Erik overlooking the sea when the monsters return.


(1 of 2) Follow the Priest to the back room of the Church to learn more about Erik

Follow the Priest to the back room of the Church to learn more about Erik (left), use Quadraslash to take the monsters out with ease. (right)
Dash back into town to find the golden monsters and you’ll be thrust into battle. The Gyldennauts shouldn’t post too much of a threat so focus on the Gyldenbritches who will use Desperate attacks on you along with calling more allies. Although you won the battle, the Gyldennauts escape with the woman in gold along with Erik. Return to the Priest to discover that the monsters appear to be the Vikings that used to raid Sniflheim and you already know where to find the hideout. Rest up at the nearby Camp and then use the Salty Stallion to navigate to the Viking Hideout.
Viking Hideout
Save your game if you need and then head through the hideout to find the Gyldennauts. Head through the door to battle the monsters, like the previous battle in Sniflheim, focus on the Gyldenbritches with everyone while the Hero uses Quadraslash to take out the rest of the monsters.


(1 of 2) You’ll find a Recipe Book east of Erik’s shelter
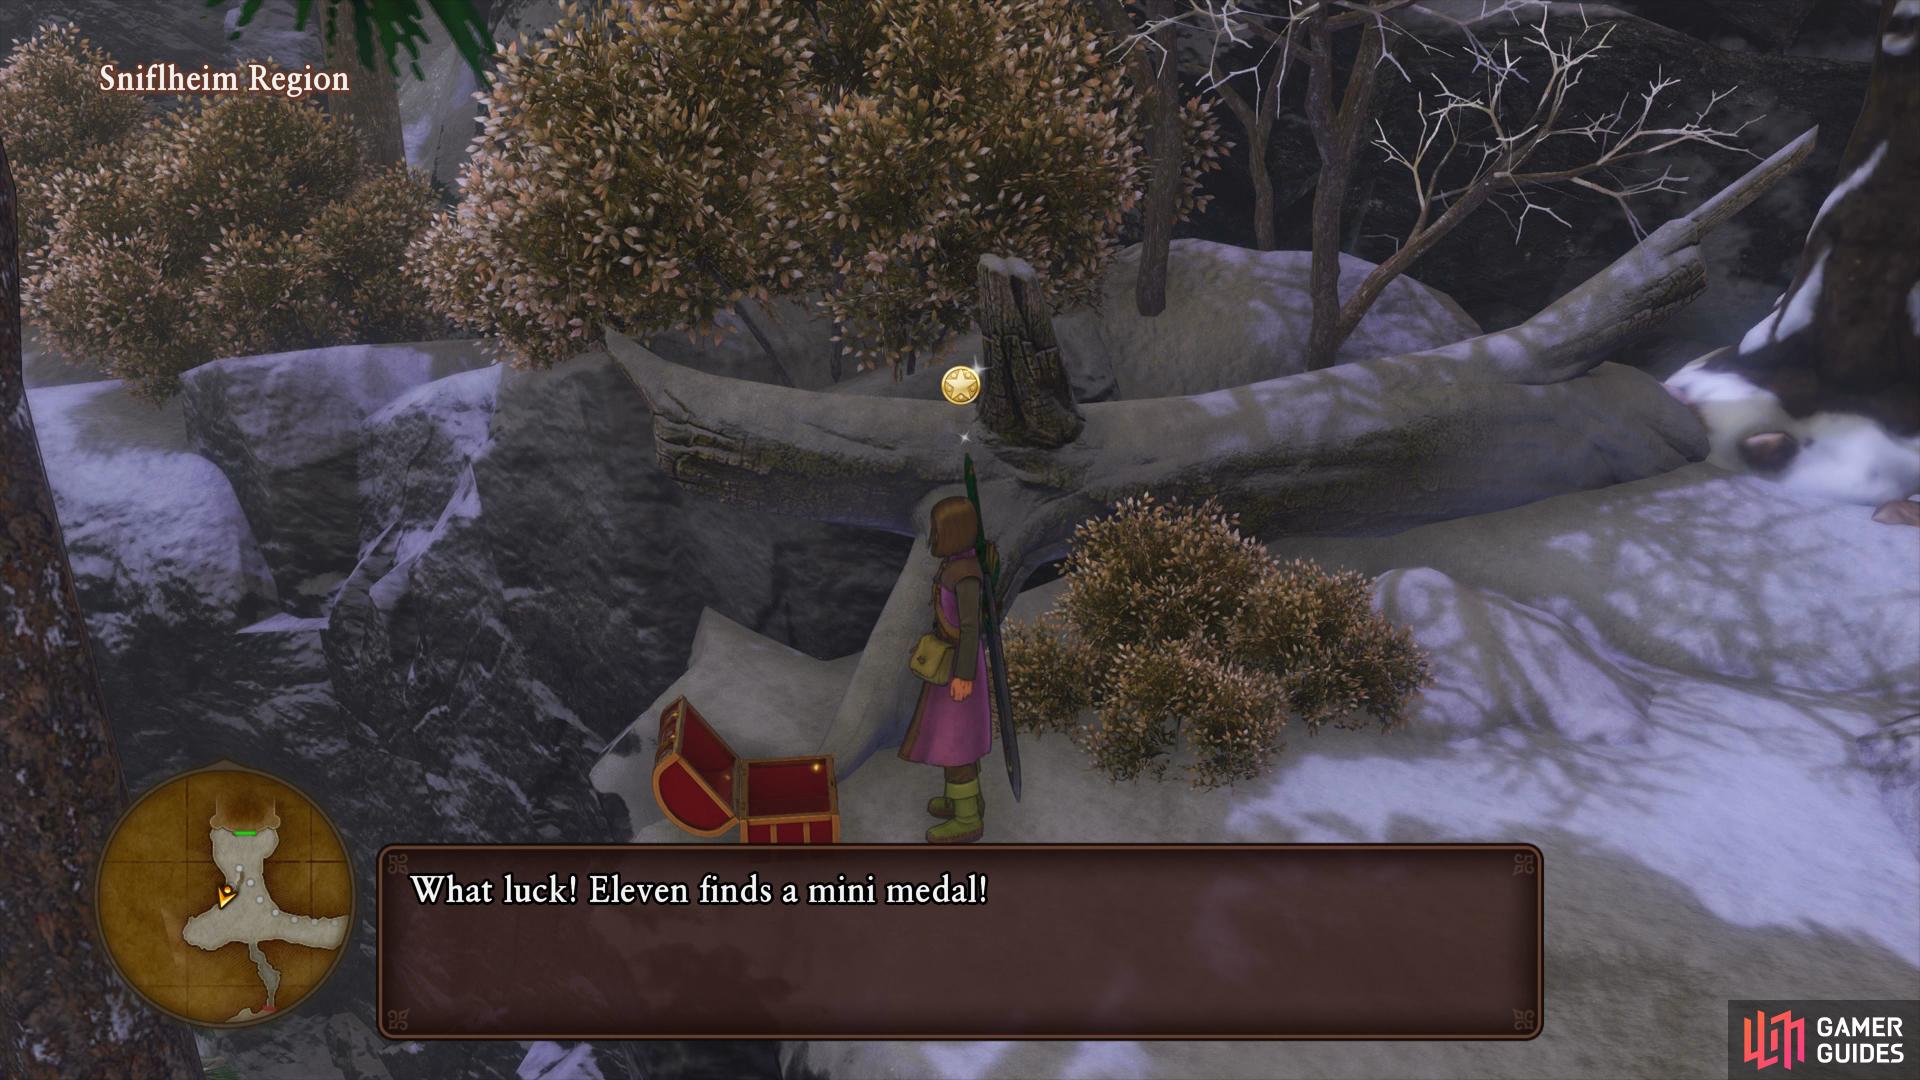
You’ll find a Recipe Book east of Erik’s shelter (left), along with a Mini Medal outside the Gyldenhal. (right)
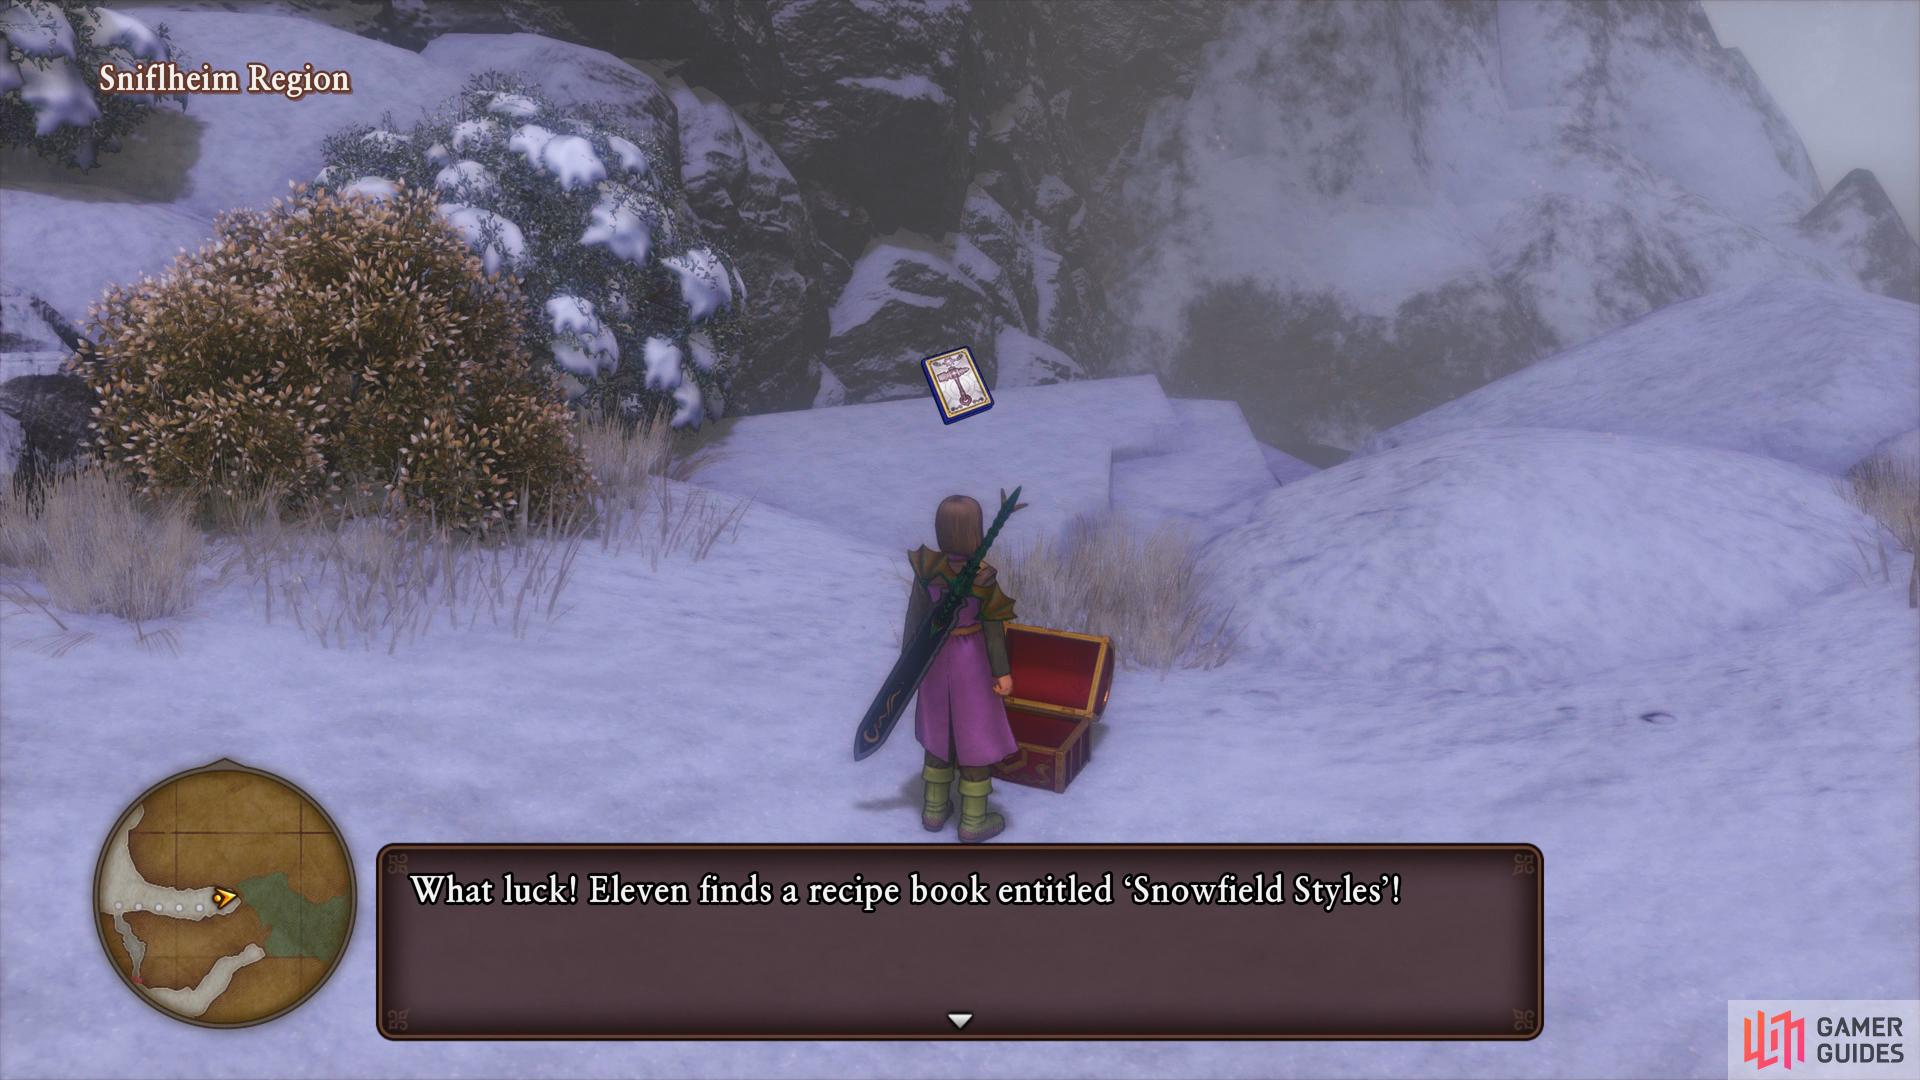
Following your victory, Erik wanders off to the north, follow him to find him holding his head. Access the nearby Yggdrasil Root several times to witness Erik’s tragic past. Speak to Erik once you’ve seen the outcome and he’ll rejoin the party with his Character Builder returned to him. You’ll have to spend his SP again so consider learning the Cobra Strike/Victimiser combo along with Dual-Wielding. You’ll want to learn Divide from the Guile tree too and then with your remaining SP, begin taking Erik down the right side of the Swords tree, working towards the Mystery Panels between the Swords and Knives trees.
Leave the shelter and head east to find a chest containing a Recipe Book, Snowfield Styles and then make your way north to the Sparkly Spot containing an Ice Crystal. Double back on the slope to find a chest containing a Mini Medal and then enter the Gyldenhal.
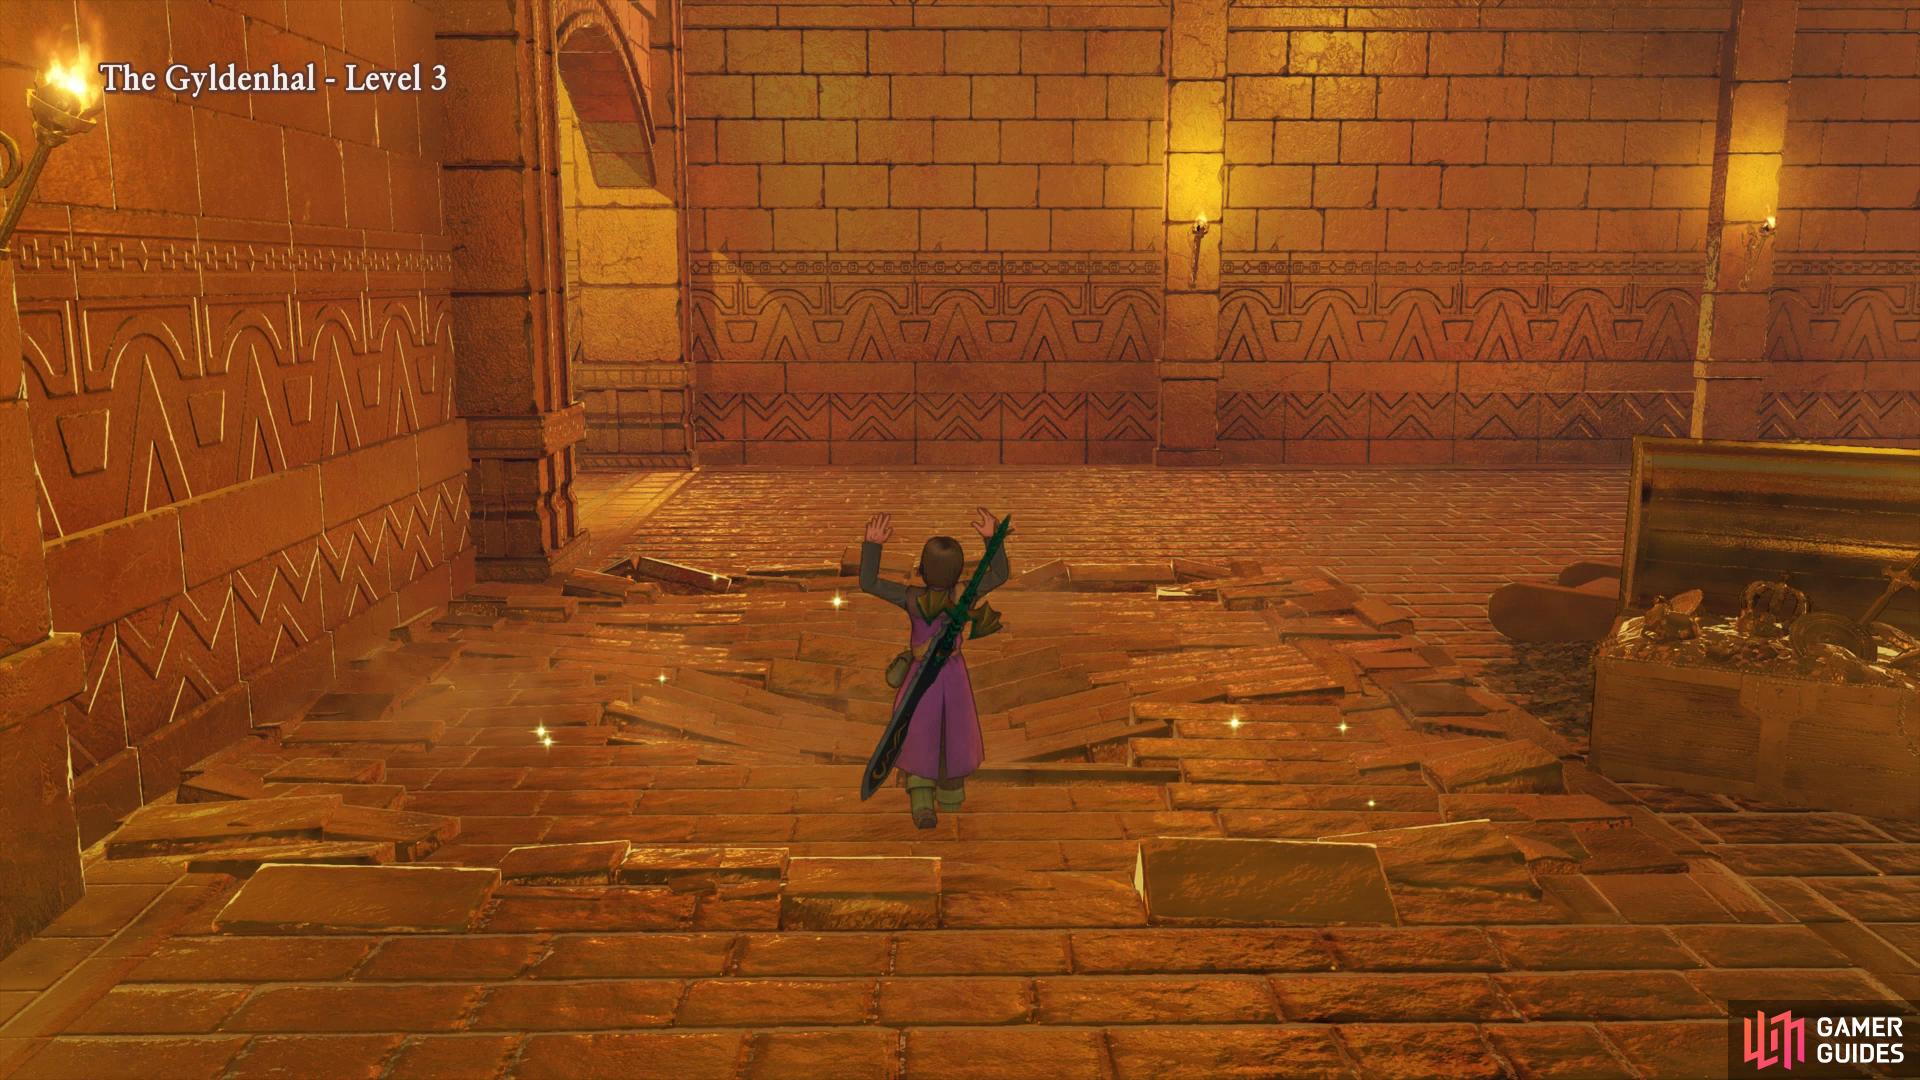
The Gyldenhal
| Items | Area |
|---|---|
| Royal Ruby | Level 2, central, chest |
| Gilt Gear | Level 2, east, chest |
| Gold Bar | Level 2, north, chest |
| Sage’s Elixir x4 | Outside boss room, chest |
| Monsters | HP |
|---|---|
| Gyldenbritches | ~490 |
| Gyldennaut | ~284 |
| Gold-Plated Puppet | ~163 |
| Gold Golem | ~440 |
| Penny Pincher | ~245 |
The Gyldenhal is a golden palace full of deadly monsters and a maze-like structure. You’ll want to make sure you’re around Levels 42-43 by the time you reach the boss of this area so take some time to level up while here.
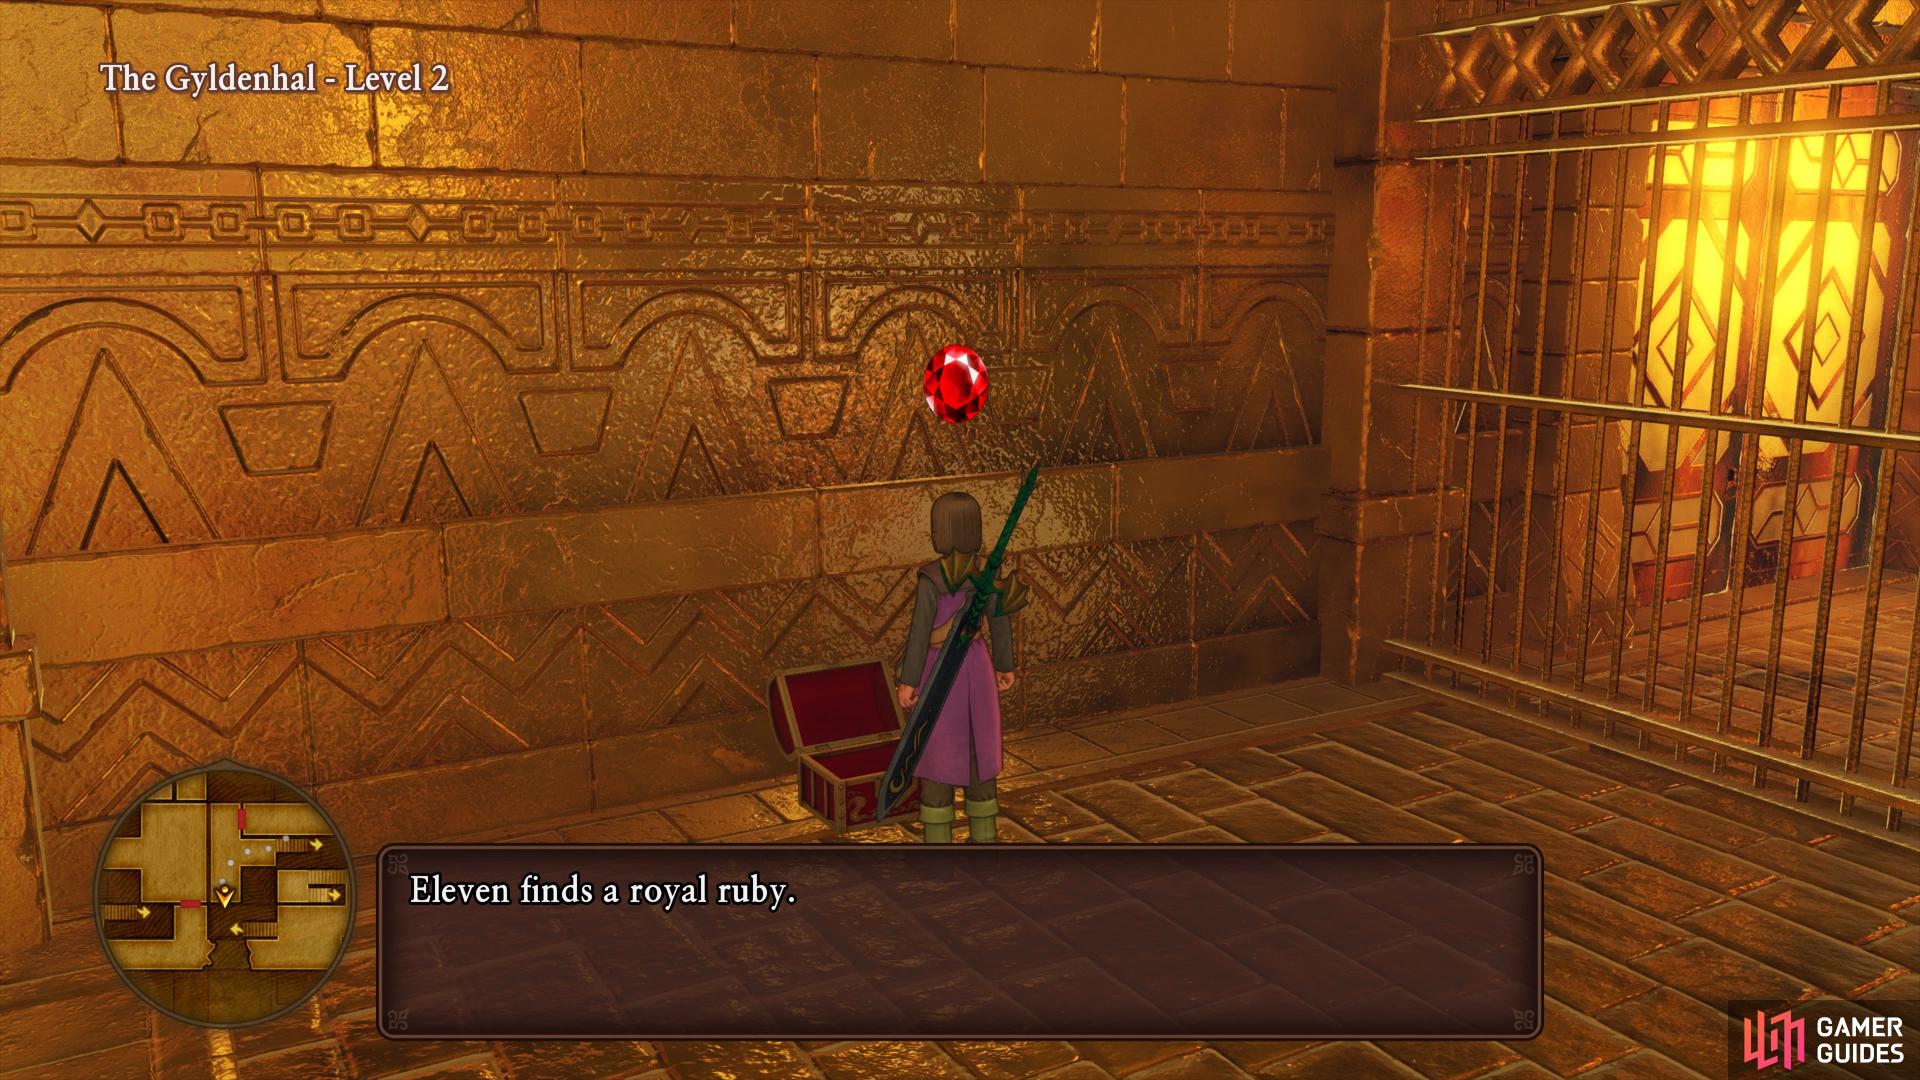
Begin by heading north through the central doors and take the eastern stairs up to Level 2 where you’ll find a chest to the south containing a Royal Ruby. Return to Level 1 and take the western stairs and head through the southern door. You’ll find a slot machine that you can search for 10 Casino Tokens before following the path to the next set of stairs. Back on Level 1, unlock the eastern door and then take the north door and follow the path around to the north of this floor.


(1 of 2) You’ll find this chest by taking the eastern stairs in the central room
You’ll find this chest by taking the eastern stairs in the central room (left), there’s also a Recipe Book located on Level 2. (right)
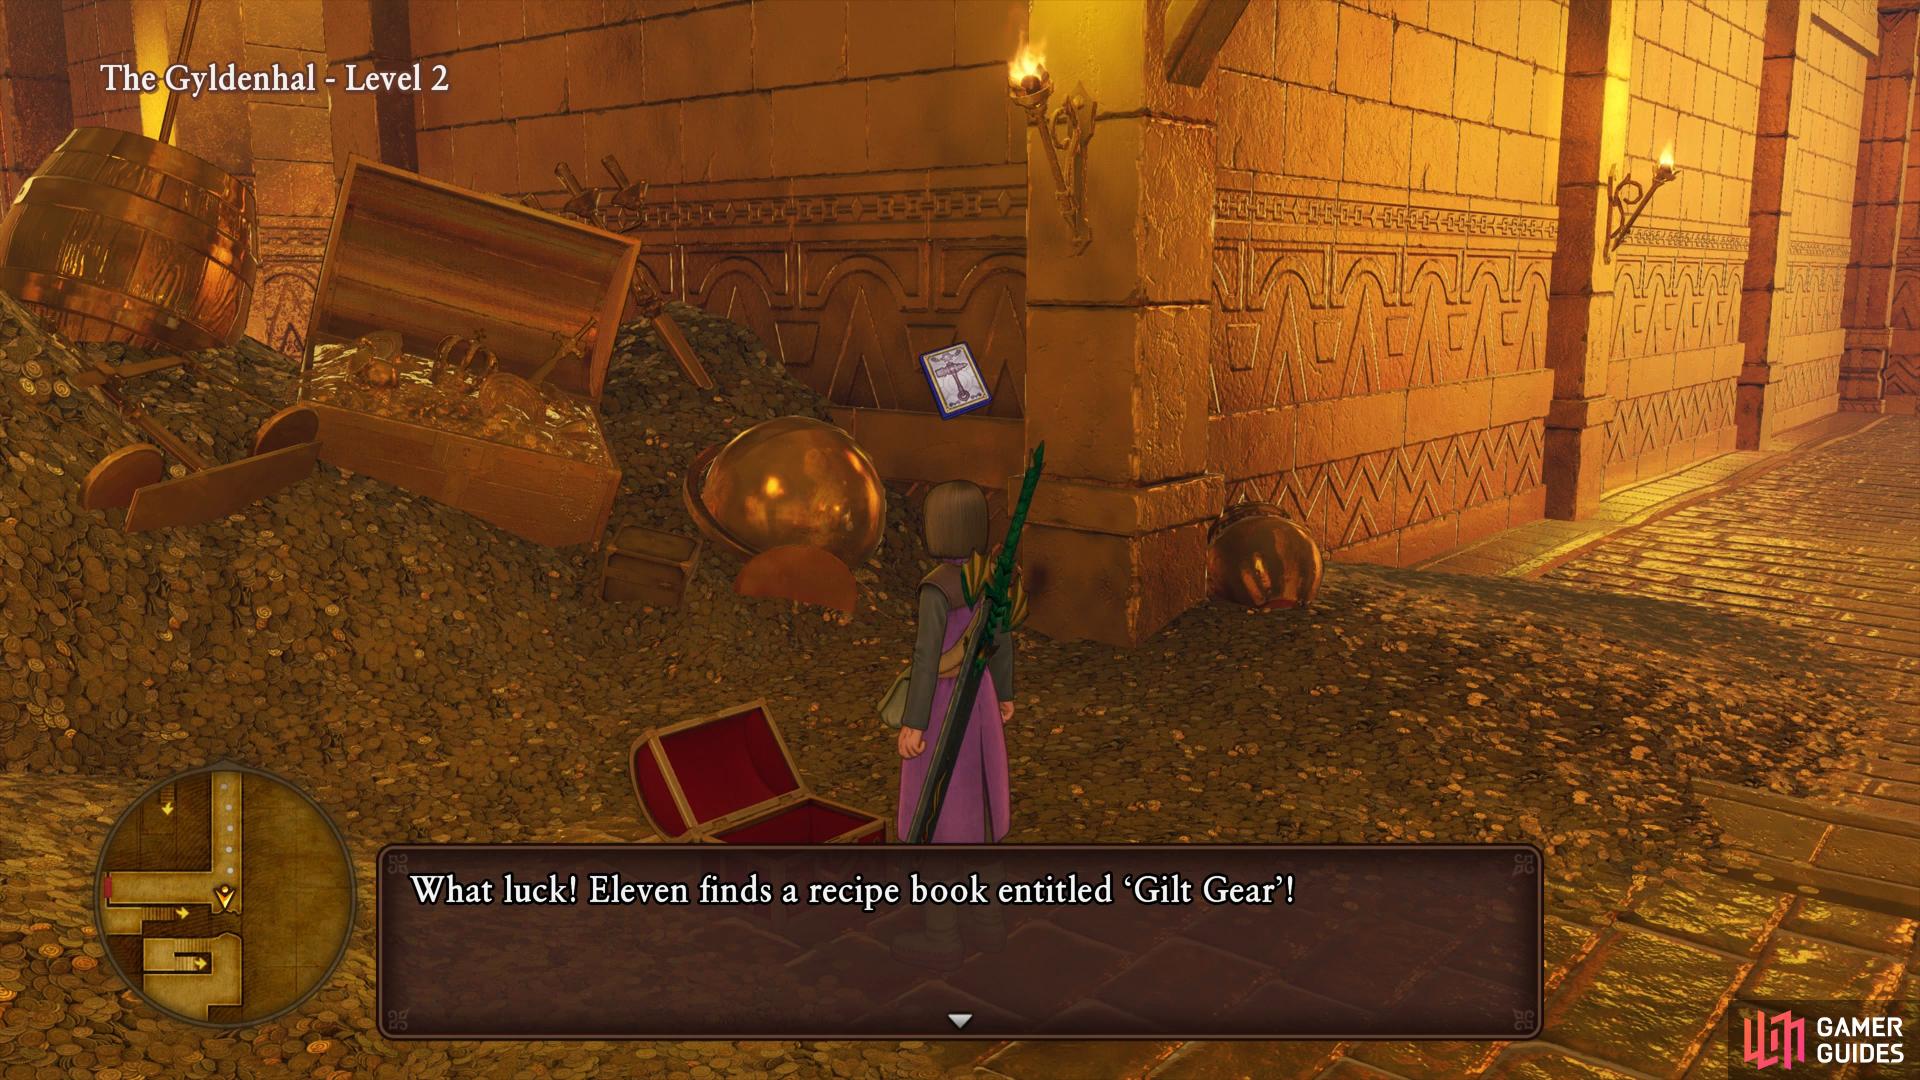
Unlock the doors to the south and then take the northern stairs up to Level 2 once more. Ignore the first set of stairs you come to and follow the path around to a chest containing a Recipe Book, Gilt Gear. Unlock the nearby door and return to the stairs you passed a moment ago to head down to Level 1 once more. Unlock the western doors and then follow the path south to unlock another door back to the entrance before taking the stairs up.
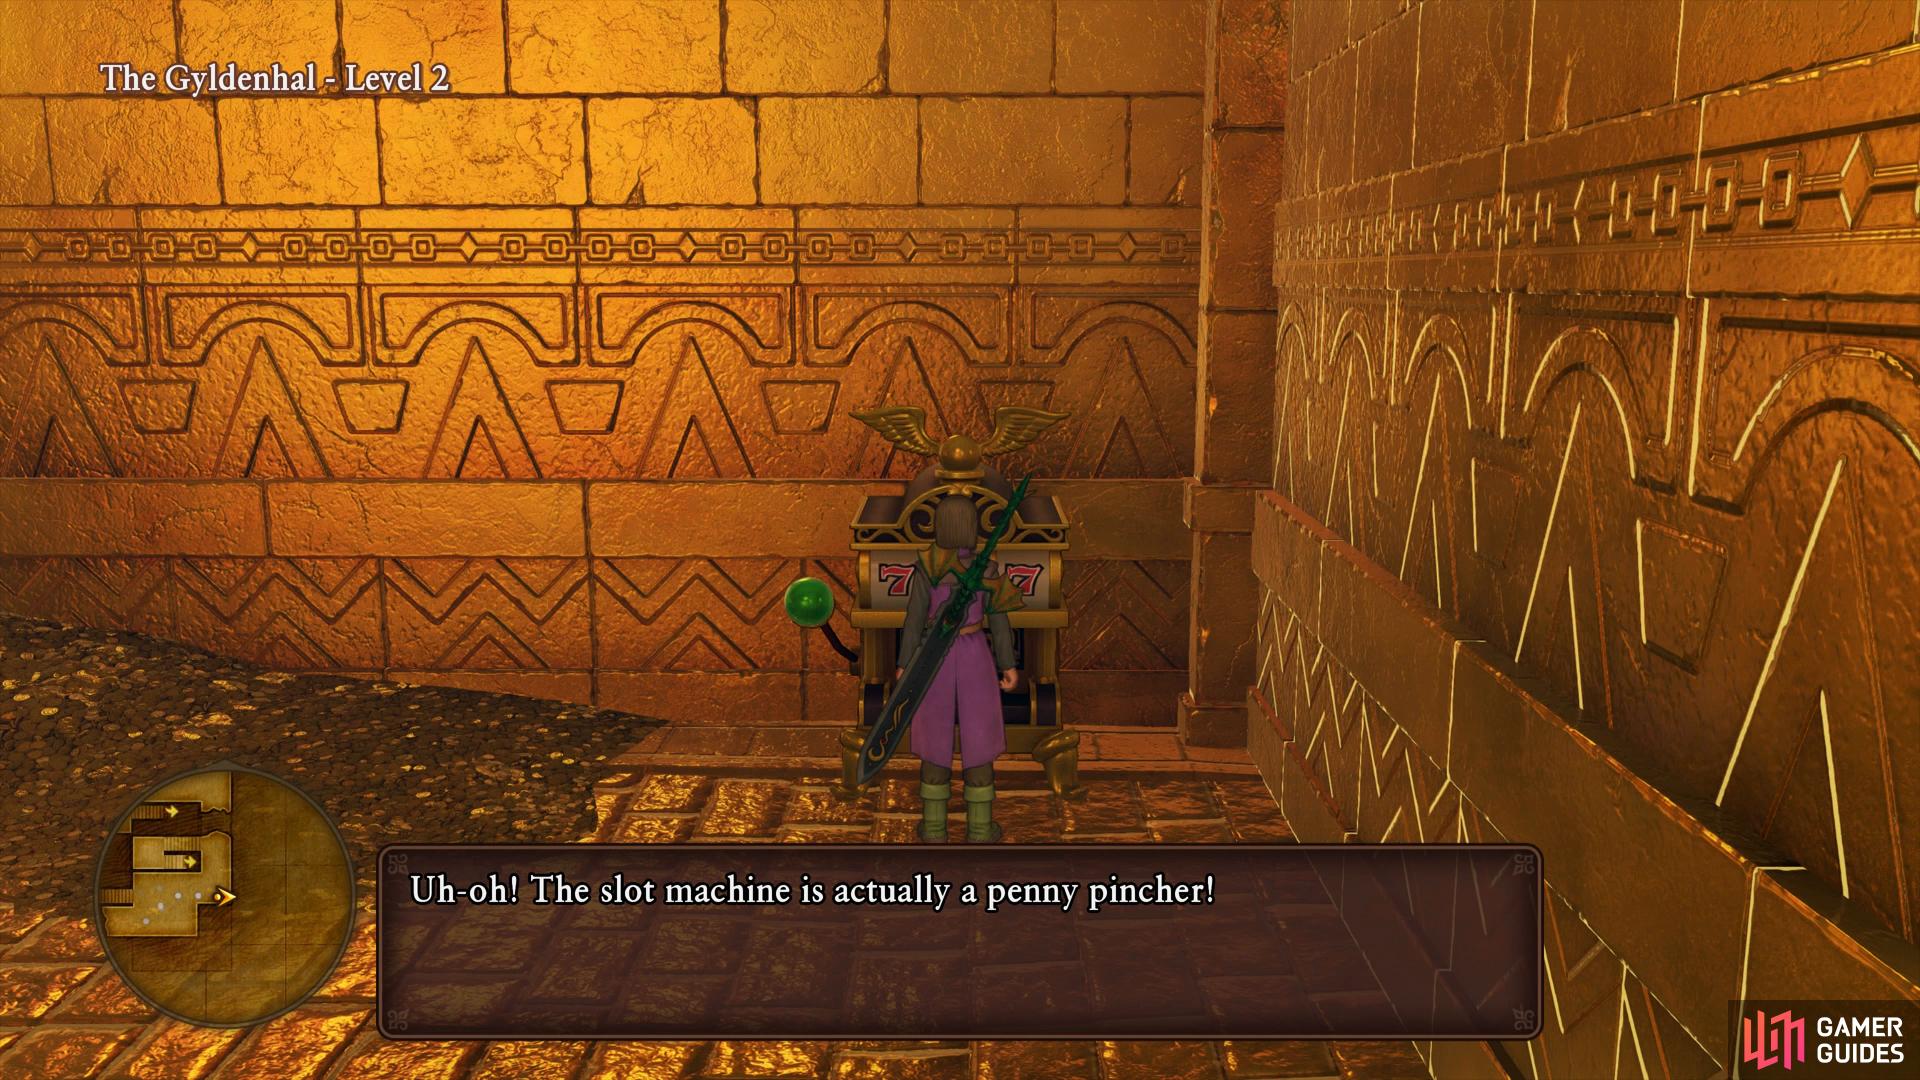
Search in the southwest corner here to find another slot machine containing 50 Casino Tokens. The next slot machine is actually a Penny Pincher in disguise so ignore it and follow the path to the next stairs up to Level 3. In the first room you’ll find a bunch of slot machines, the second machine to the left contains 100 Casino Tokens and the one next to it contains a single Casino Token. The one to the right contains 50 Casino Tokens while the far left one is a Penny Pincher.


(1 of 2) Beware of Penny Pinchers disguised as slot machines
Beware of Penny Pinchers disguised as slot machines (left), drop down to the floor below here to reach a chest. (right)
Follow the path through the next door to find even more slot machines. Starting with the set of three in the southwest corner, the left one contains 5 Casino Tokens, the middle 50 Casino Tokens and the right is a Penny Pincher. The machines in the northwest corner has a Penny Pincher to the left, 20 Casino Tokens in the middle and 200 Casino Tokens to the right. Head through the door now and you’ll see a canon in the center of the room, walk north to drop down to the floor below.
Head forward and open the chest to obtain a Gold Bar and then follow the path to a room where a Gold Goldem and several Gold-Plated Puppets drop down. Dispatch them if you wish and you’ll discover two slot machines on in this room. The left of the two machines is a Penny Pincher while the other contains 500 Casino Tokens. Take the nearby stairs up to reach the canon room once more and head around the outside edge of it to reach the final set of stairs. Open the chest here to obtain four Sage’s Elixirs and then make sure you’ve fully recovered your HP and MP, a tough boss awaits inside.
Boss: Gyldygga
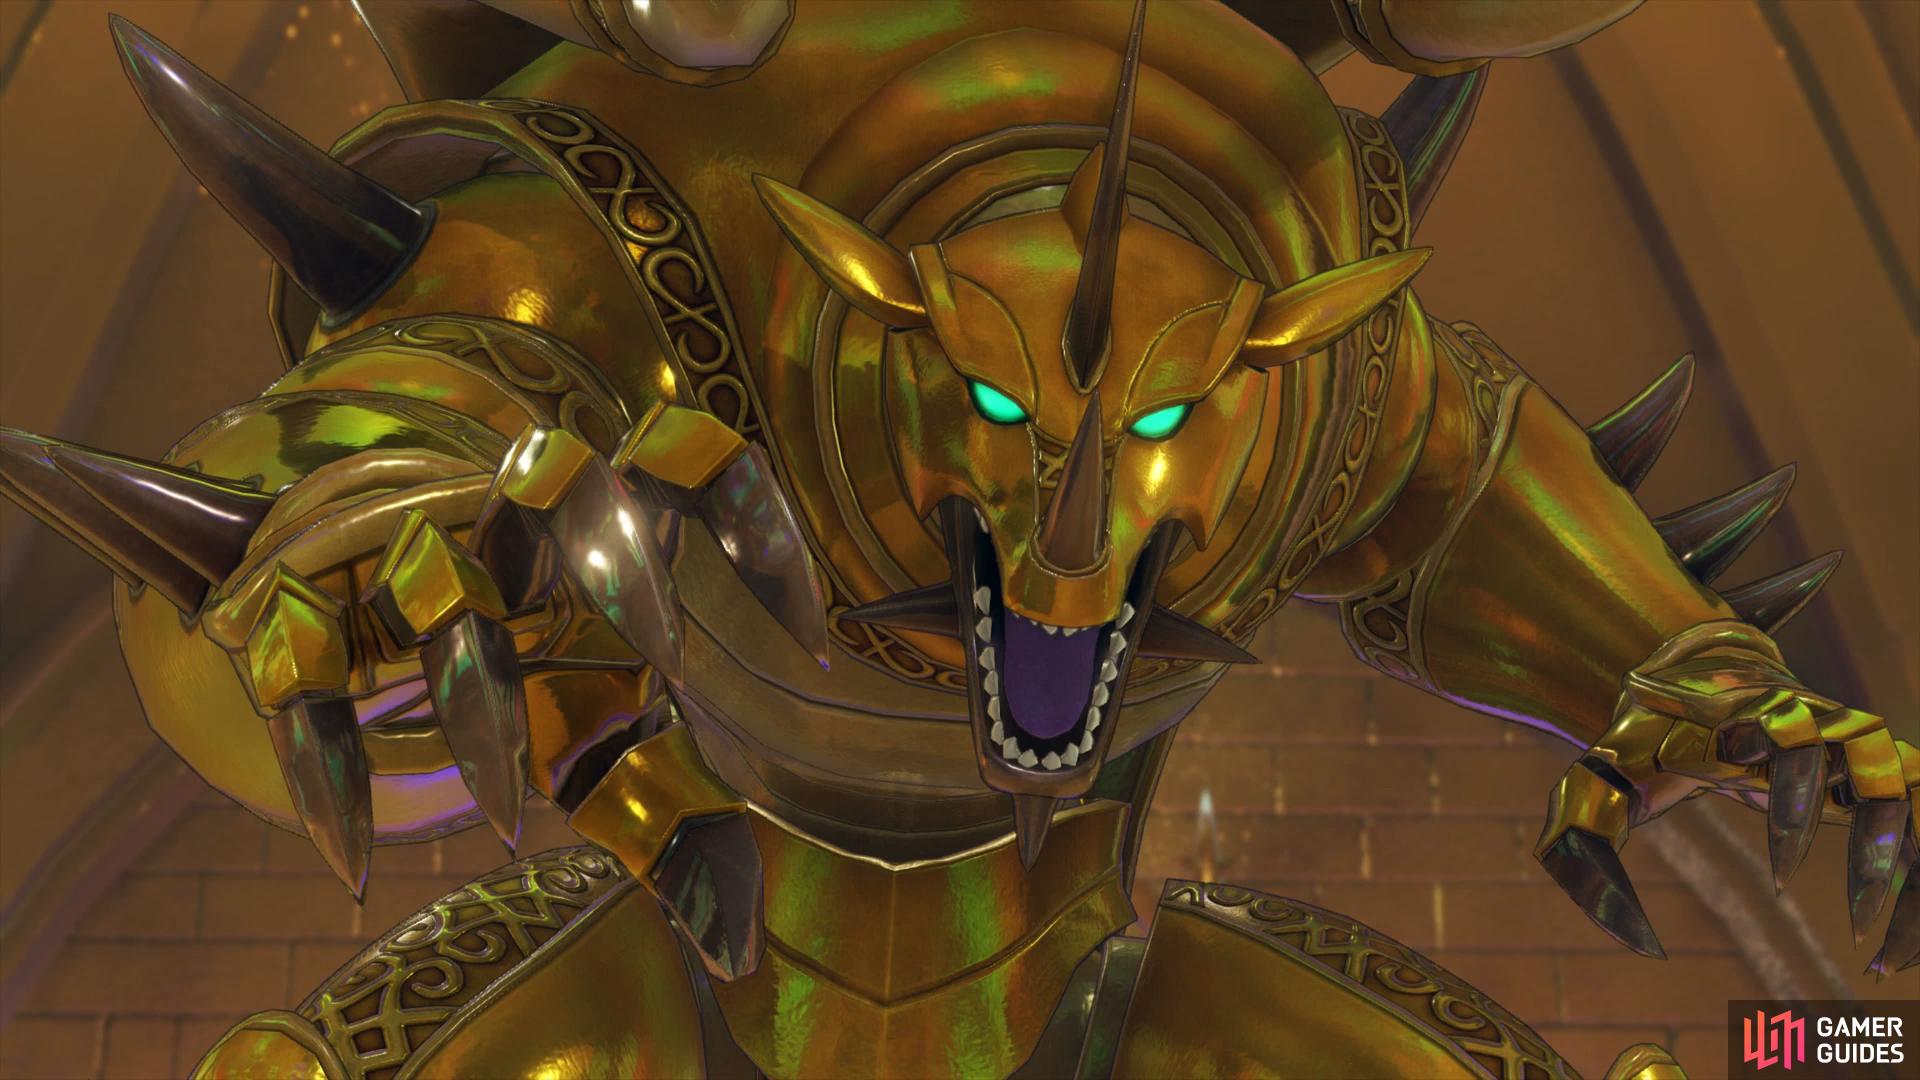
Gyldygga is a tough battle that will have you losing control of your party members throughout it. Her most deadly attack is her ability to solidify your party members in gold, if this happens you’ll have no choice but to wait it out. If this hits your designated healer then you’ll be in even greater danger. Her regular attacks hit for around 90 HP and she can perform a Slice and Dice combo on the party for around 160 HP+. If this is targeted on one character than you’ll need to heal immediately. She can also cast Oomphle to massively increase her attack, use Rab to use Blunt straight away. This will make her Rake ‘n’ Bake attack hit for over 190 HP while she can also summon Gyldenbritches into the battle.


(1 of 2) Rake ‘n’ Bake is devastating if used with Oomphle
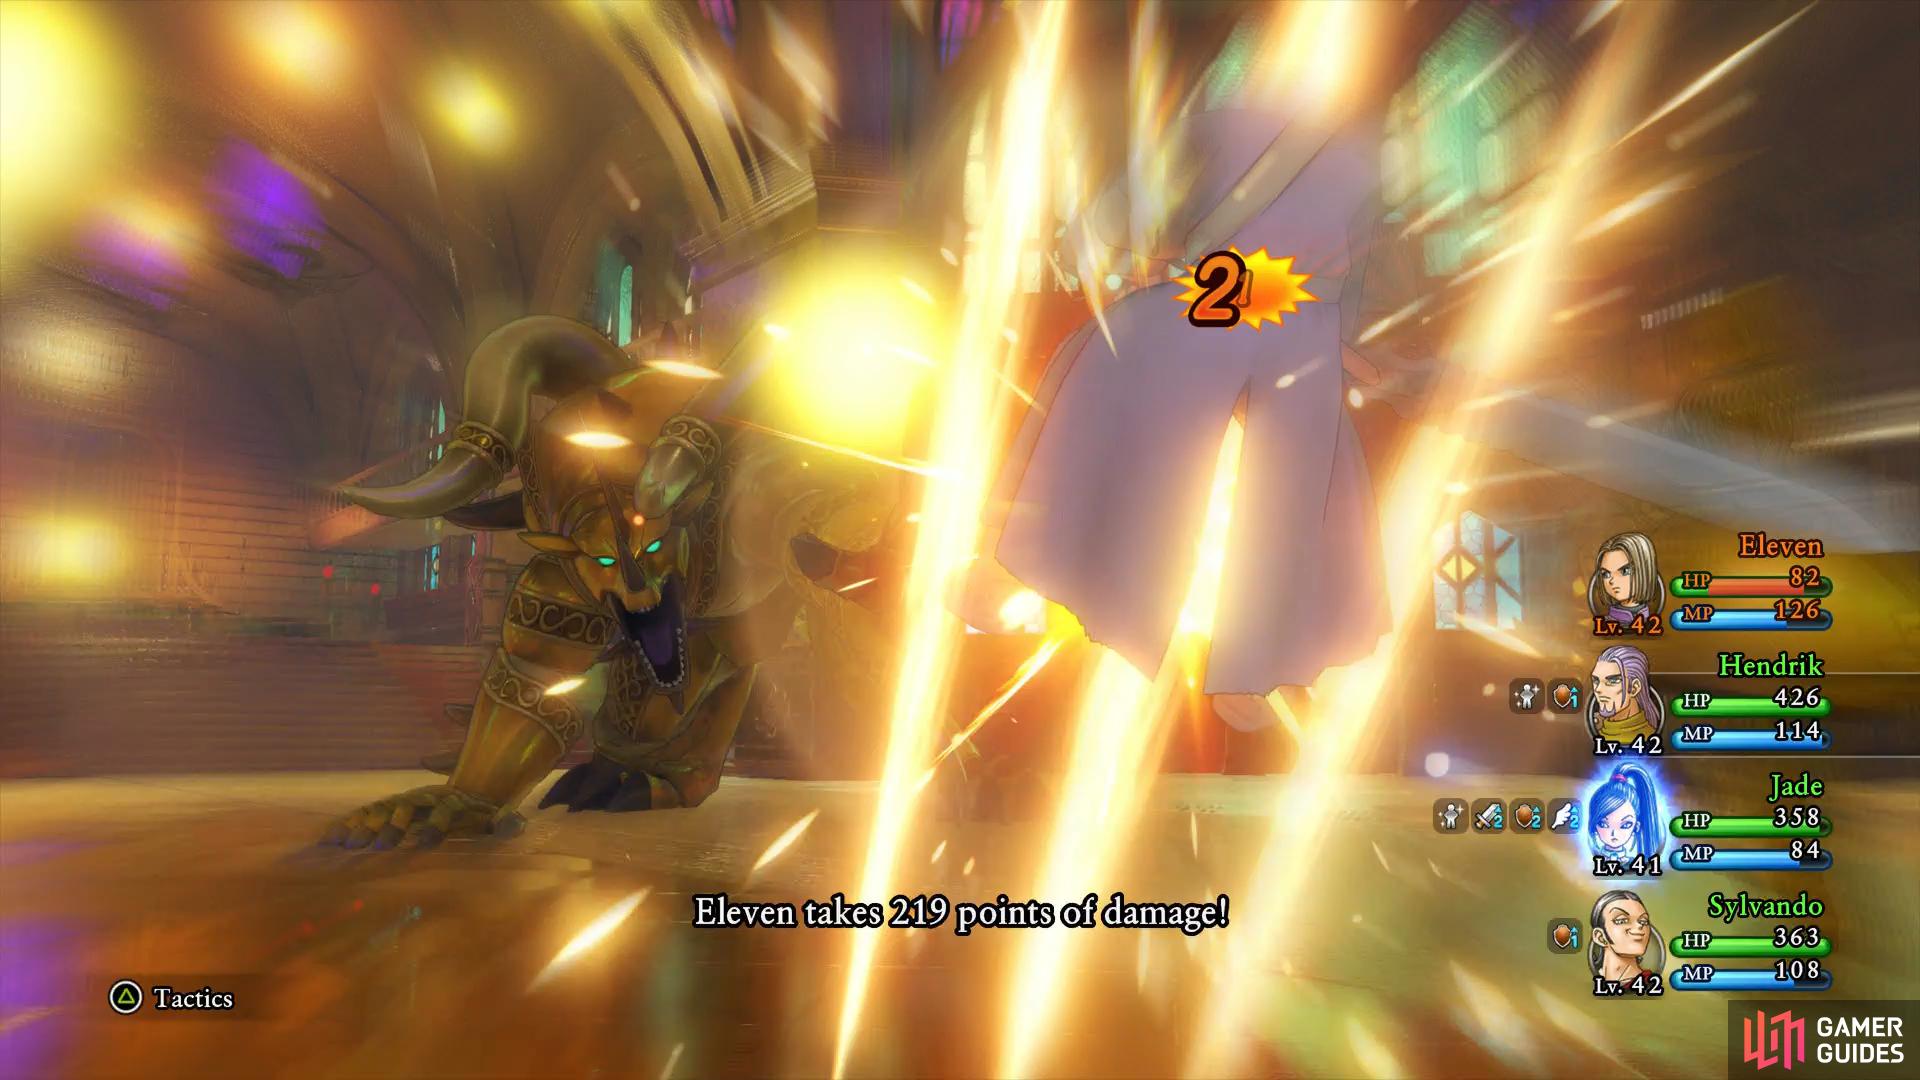
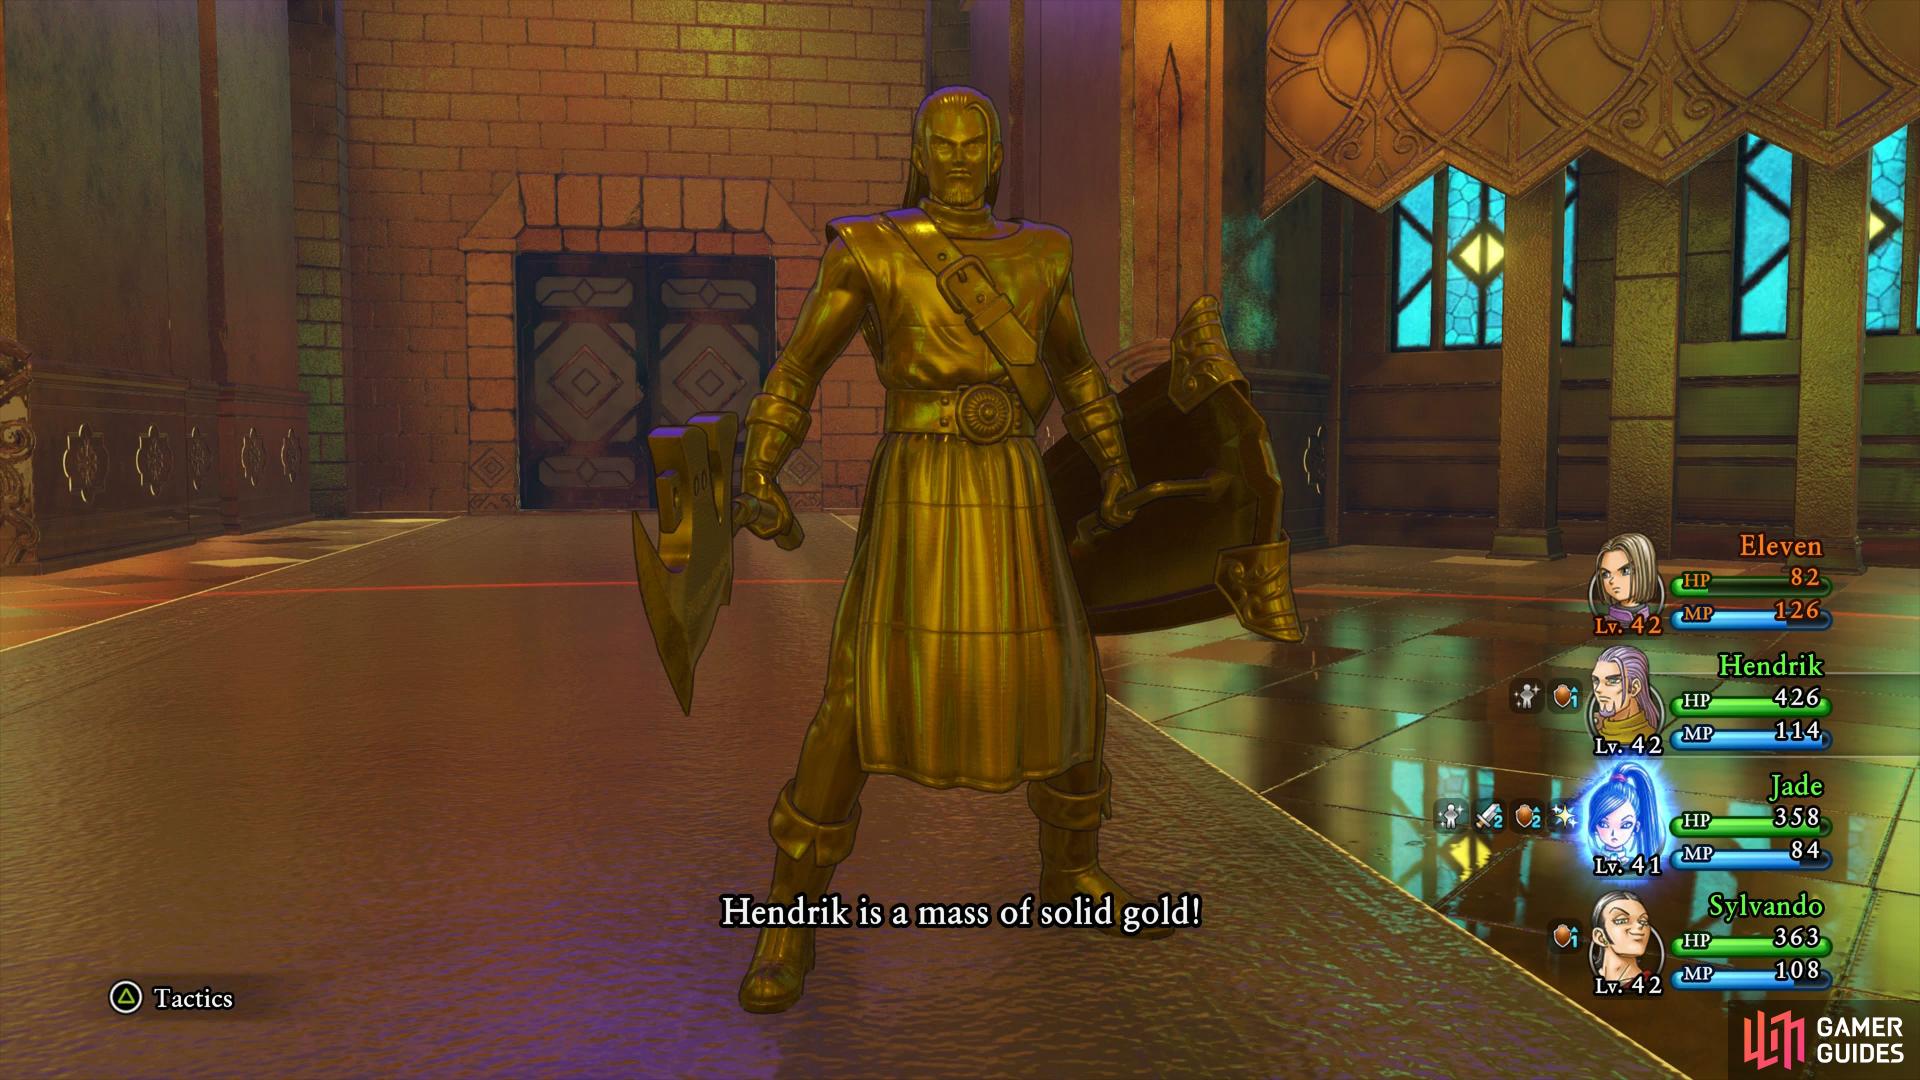
Rake ‘n’ Bake is devastating if used with Oomphle (left), there’s nothing you can do to remove the Gold status effect. (right)
Gyldygga has around 3600 HP so you’ll need to make good use of Oomphle and Unbridled Blade on the Hero. Hopefully you’re able to allow Jade to Re-Vamp twice so she can use Multithrust to great effect while you use Rab or Sylvando for healing duty. Keep Hendrick in the party to Kabuff and act as a secondary healer, that way you’re covered if your main healer is encased in gold. An Unbridled Blade buffed with Oomphle should be able to deal with the Gyldenbritches that are summoned.
Following the battle, Erik will rush to his sister’s aid and prevent her from losing control, breaking the necklace in the process. You’ll find yourself back in Sniflheim and Erik will hand over the Yellow Orb along with expanding his Character Builder.

Erik’s expanded Character Builder allows him to become an attacking monster with his new choices. Your first call should be to unlock the Dually Deadly skill at the bottom between the Swords and Knives tree, this removes the penalty for Dual-Wielding. Following this, work your way up to the top of the Guile tree to unlock Critical Claim, a skill that guarantees a Critical Hit regardless of what you do. This, combined with Divide makes Erik the best physical attacker at the end of your journey.


(1 of 2) You’ll find your target for Quest 29 in the Weapon shop
You’ll find your target for Quest 29 in the Weapon shop (left), The Deft Dagger is an excellent weapon for Erik. (right)
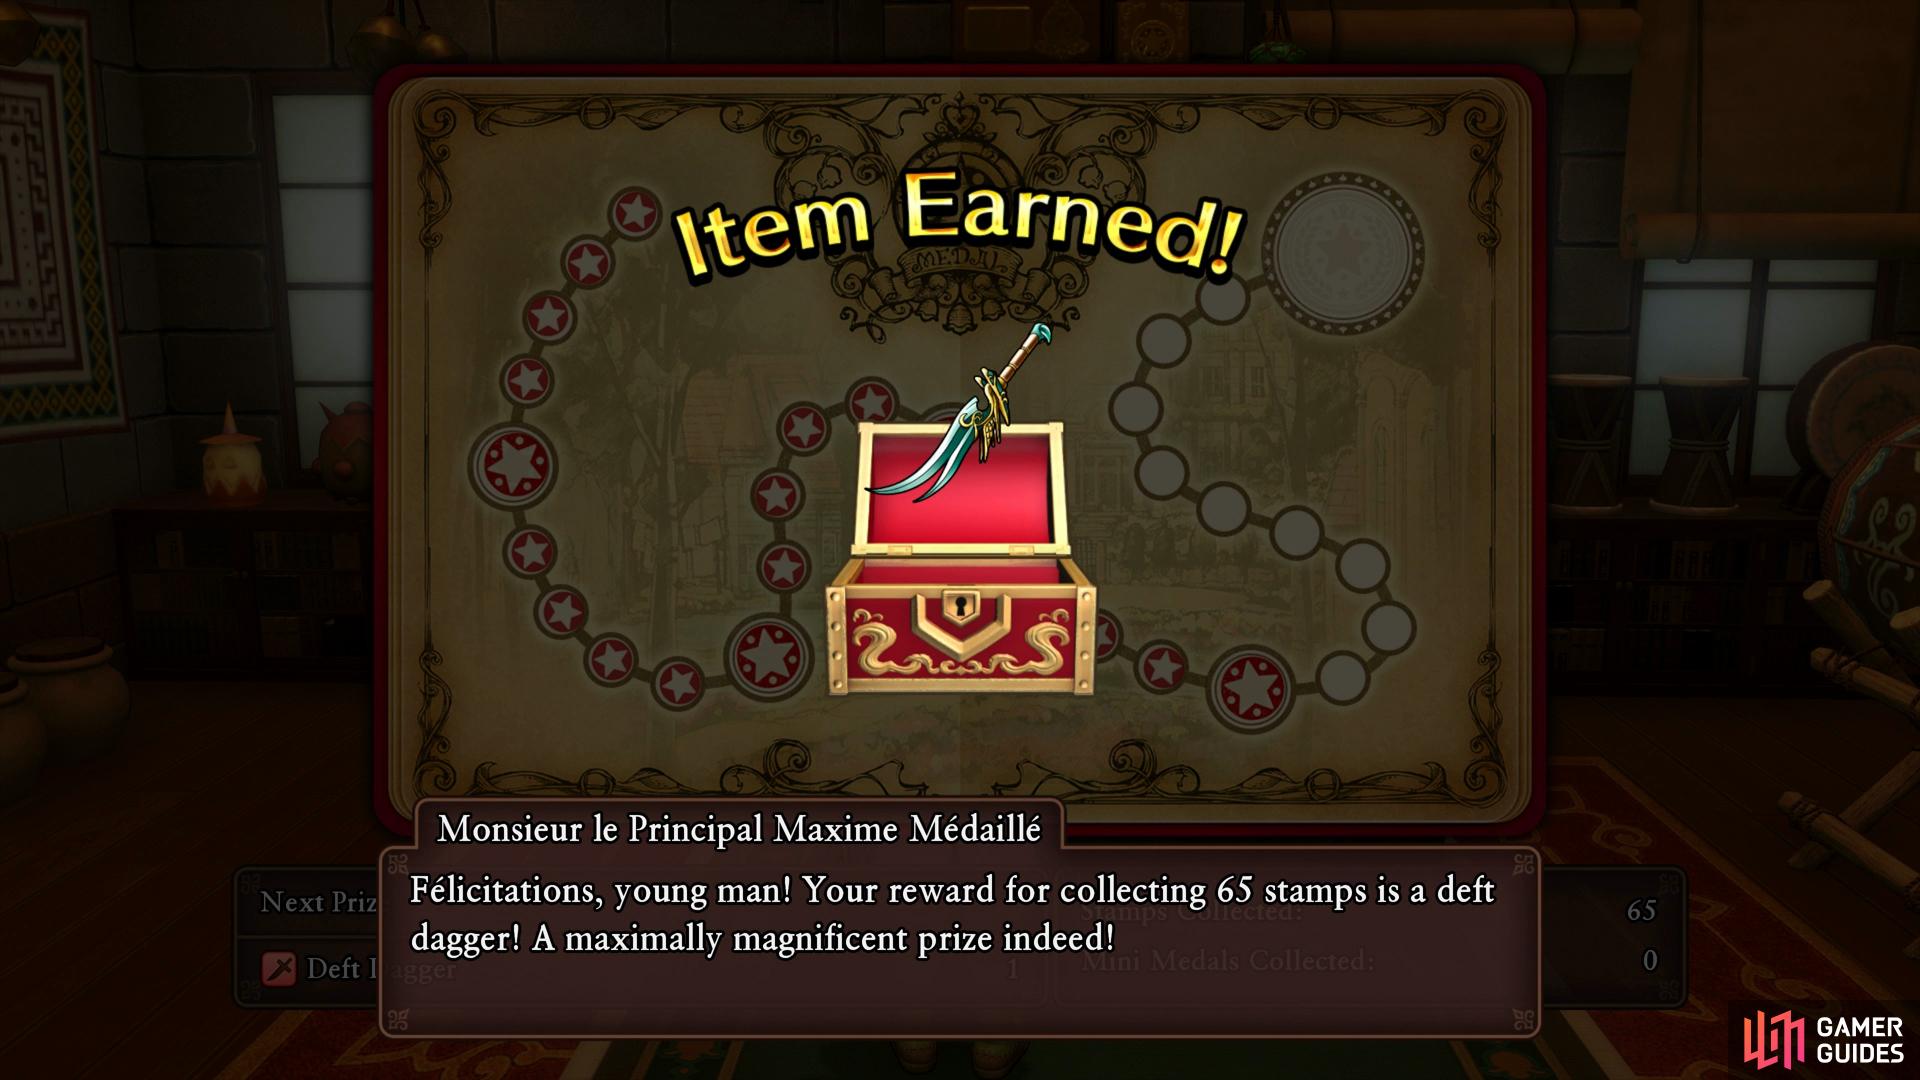
You should have also received the Corsair’s Cap from defeating Gyldygga, you’ll find the other part to this costume shortly. Rest up at the Inn and then head over to the Weapons shop to pick up a Paladin’s Lance for Jade. Head up to the second floor now and speak to the girl there to discover that she’s the daughter of the woman from Quest 29. Zoom back to L’Academie to complete the quest and obtain a Recipe Book, Gear that Glitters. While you’re here, turn in your Mini Medals to the Principal, you should have enough to receive the Deft Dagger, a useful weapon for Erik.
The twins are the last of your companions that you need to reunite with and then Arboria beckons.
No Comments