
| Items | Area |
|---|---|
| Seed of Life | Heliodor Region, chest south of Camp |
| 12G | Camp house, pot |
| Small Scale | Camp house, pot |
| Copper Ore x2, Flintstone | East of Camp, Crystal gathering point |
| Single Phial | Heliodor Region, chest on eastern path |
| Pink Branches x2, Chimaera Wing | North of Helidor Region, Tree gathering point |
| Toad Oil | Helidor Region, barrel on pier north of Camp |
| Cottontop x2, Medicinal Herb | Southwest of Heliodor, Flower gathering point |
| Sparkly Spots | Area |
|---|---|
| Chimaera Wing | Parting Place |
| Medicinal Herb | Heliodor Region |
| Strong Medicine | Camp well, inside |
| Antidotal Herb | Heliodor Region, overlooking the stream on the eastern path |
| Pink Pine | Heliodor Region, eastern path |
| Cottontop | Heliodor Region, northwest of Camp |
| Fresh Water | Helidor Region, stream north of Camp |
| Flintstone | Helidor Region, hill north of Camp |
| Monsters | HP |
|---|---|
| Slime | ~7 |
| Needler | ~10 |
| Stark Raven | ~12 |
| Dracky | ~11 |
| Bunicorn | ~16 |
| Toady | ~17 |
| Hammerhood | ~17 |
| Fright Bulb | ~13 |
| Lampling | ~9 |
| Platypunk | ~19 |
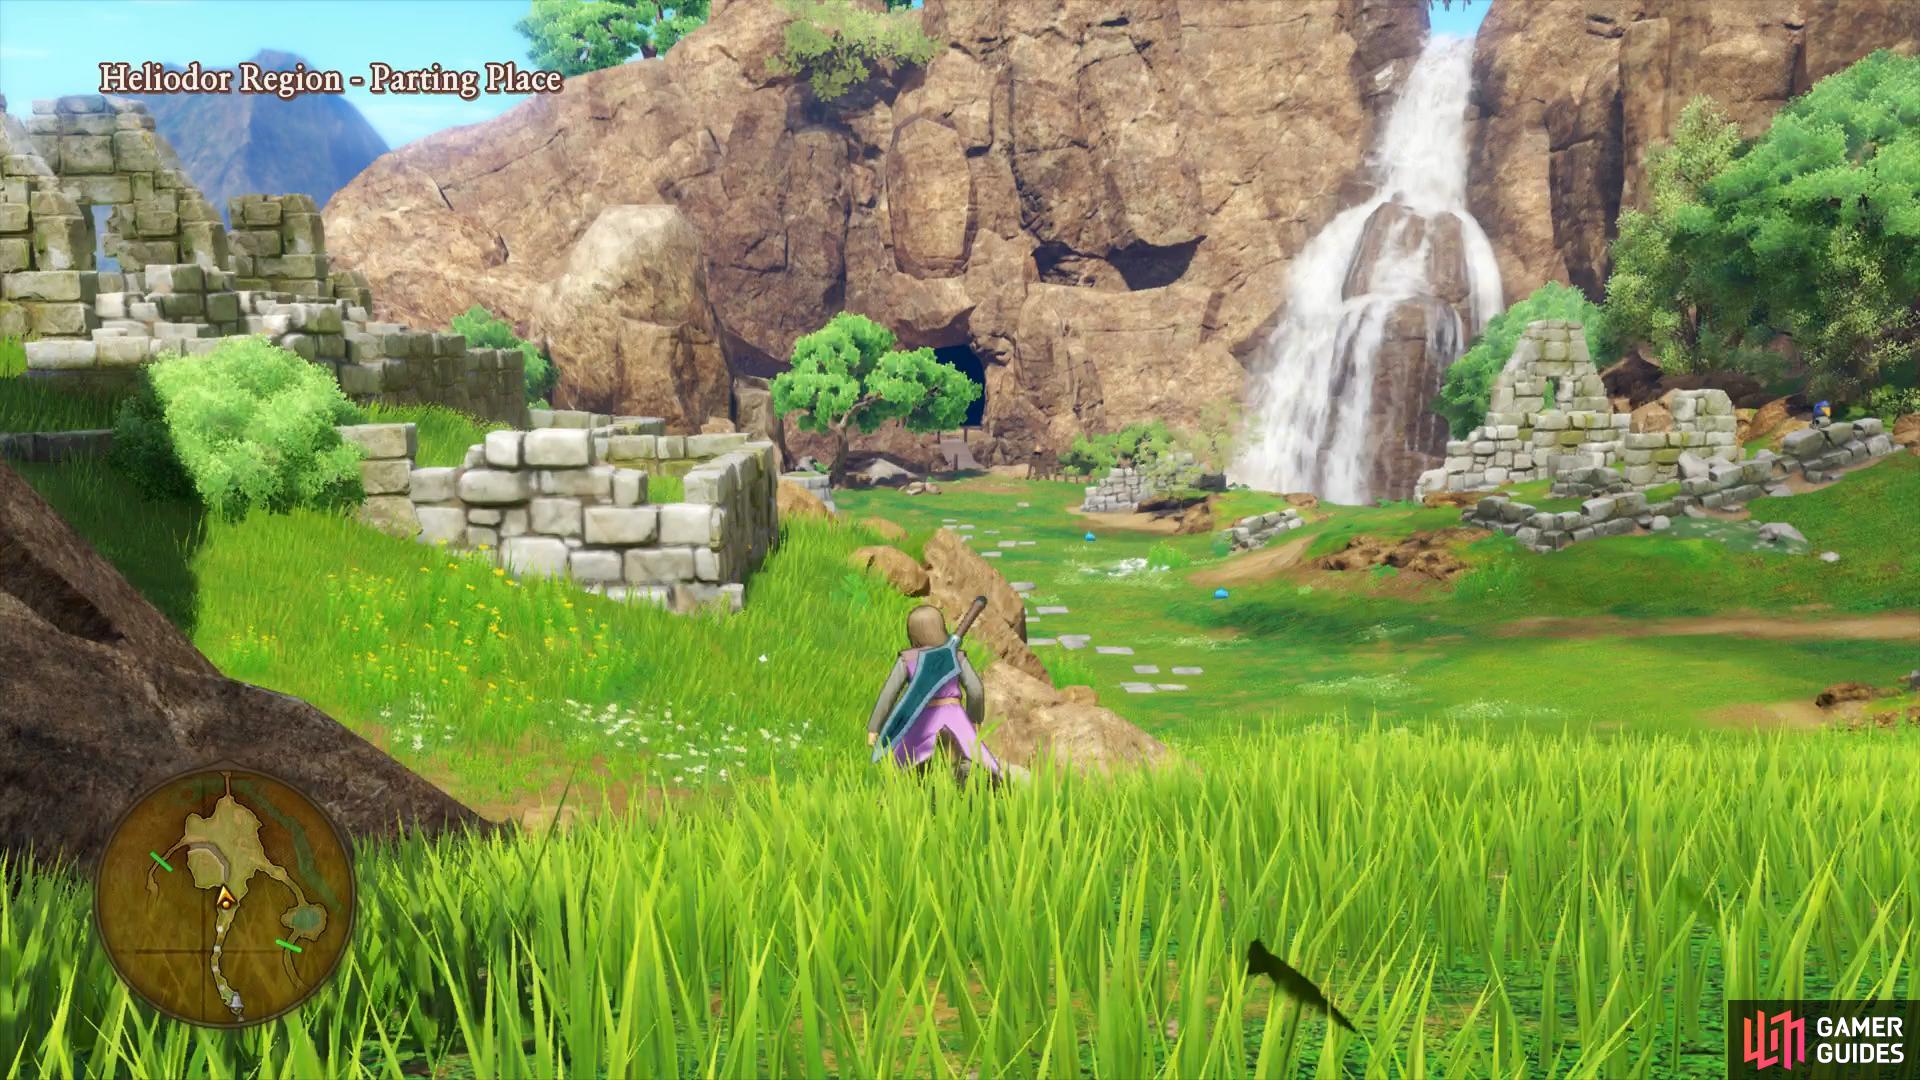
The Great Outdoors
As you exit Cobblestone, you’ll be given a short tutorial on how to ride and call your Horse. While on a Horse you can move across the field quicker and even charge into enemies by dashing with the [R2 Button], this however does not reward EXP. You can use any nearby Summoning Bells to recall your horse should you need it. For now, resist the urge to go via horseback, you’ll want to initiate battles by attacking enemies with your weapon, something that’s impossible whilst mounted.
The first thing you’ll want to do is to equip Gemma’s Charm that you just received. Now is also a good time to take a look at the map now that you’re in possession of the Map of Erdrea. By pressing the [X Button] once you have the map open, you can look at maps of nearby areas, the overall World Map and even view if there are any nearby quests or Sparkly Spots. The last option is especially useful if you’re after particular ingredients.


(1 of 2) You can find the first Sparkly Spot in the ruins to the west
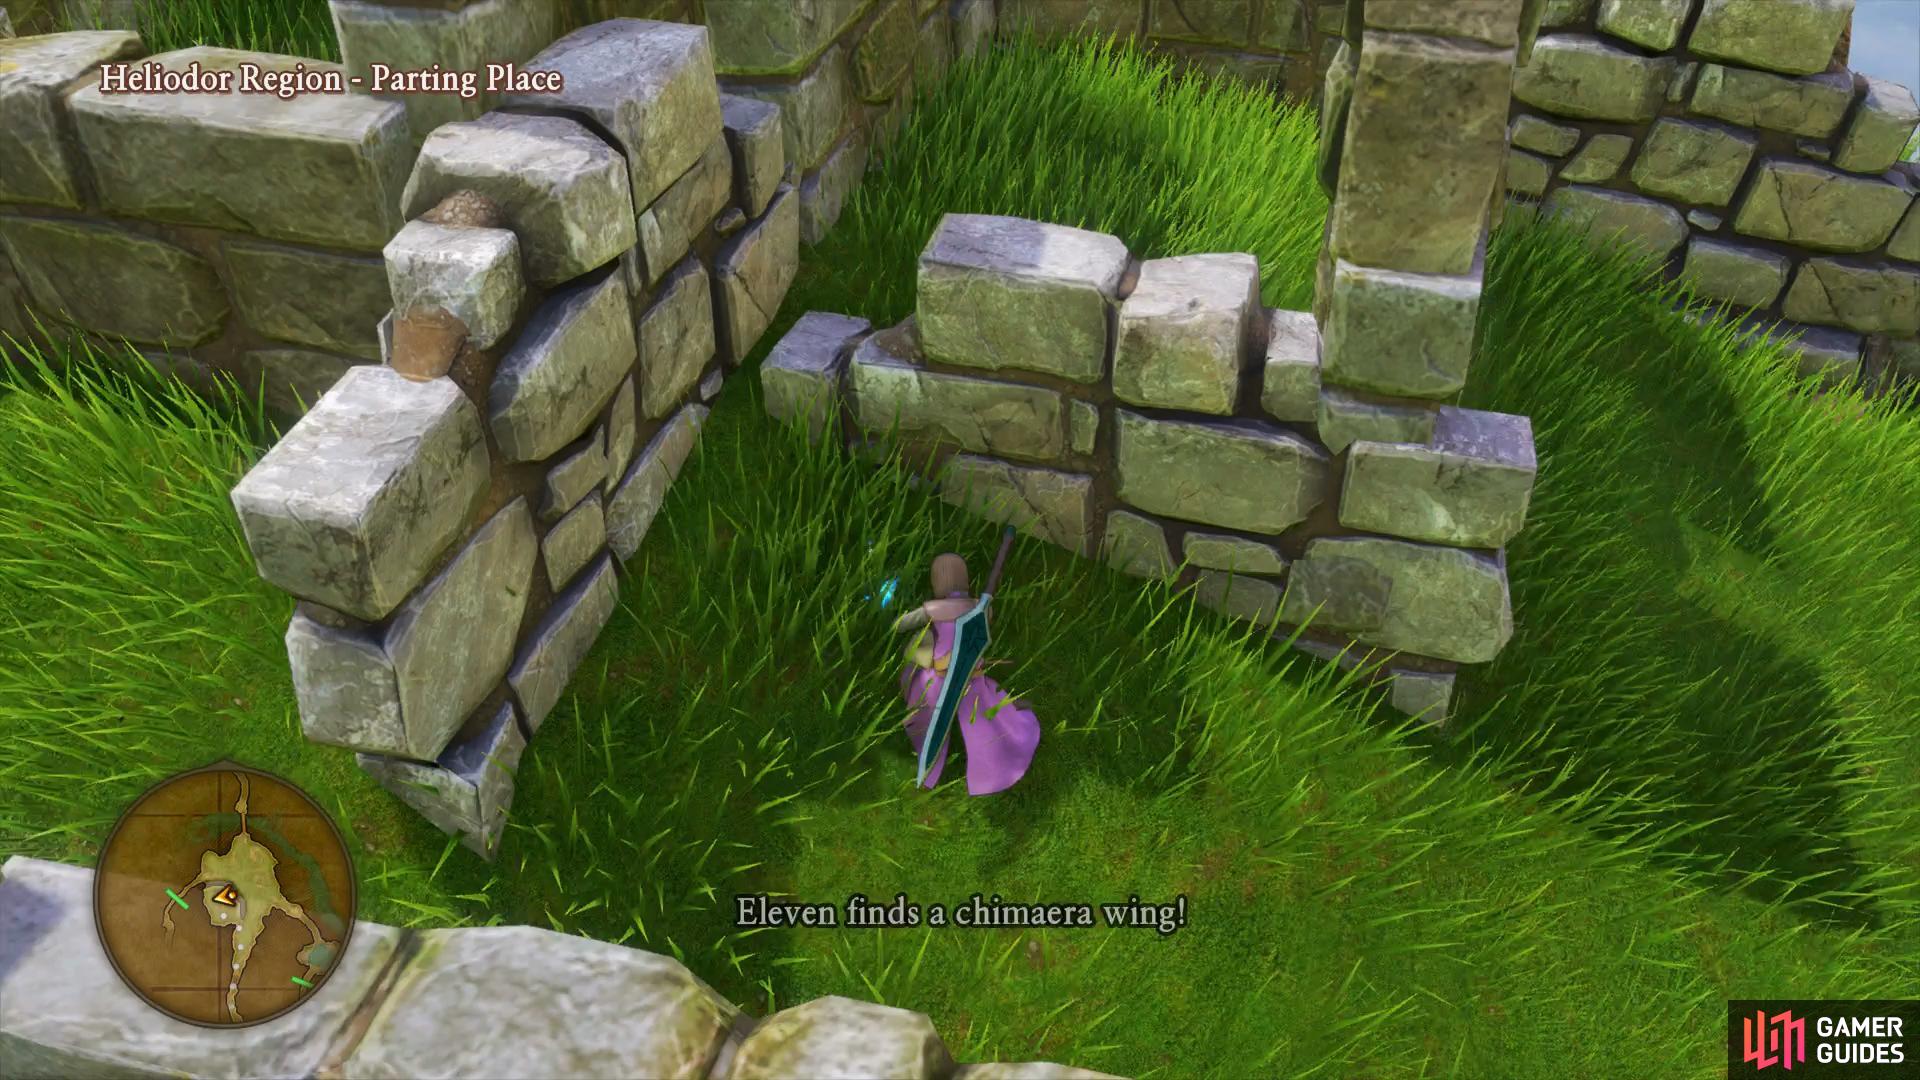
You can find the first Sparkly Spot in the ruins to the west (left), Needlers should pose little threat if you gained a level or two at the Tor. (right)
Head down the path until you reach an open area where you’ll spot some Slimes. Before you head down, search the nearby ruins on your left to discover a Sparkly Spot containing a Chimaera Wing.
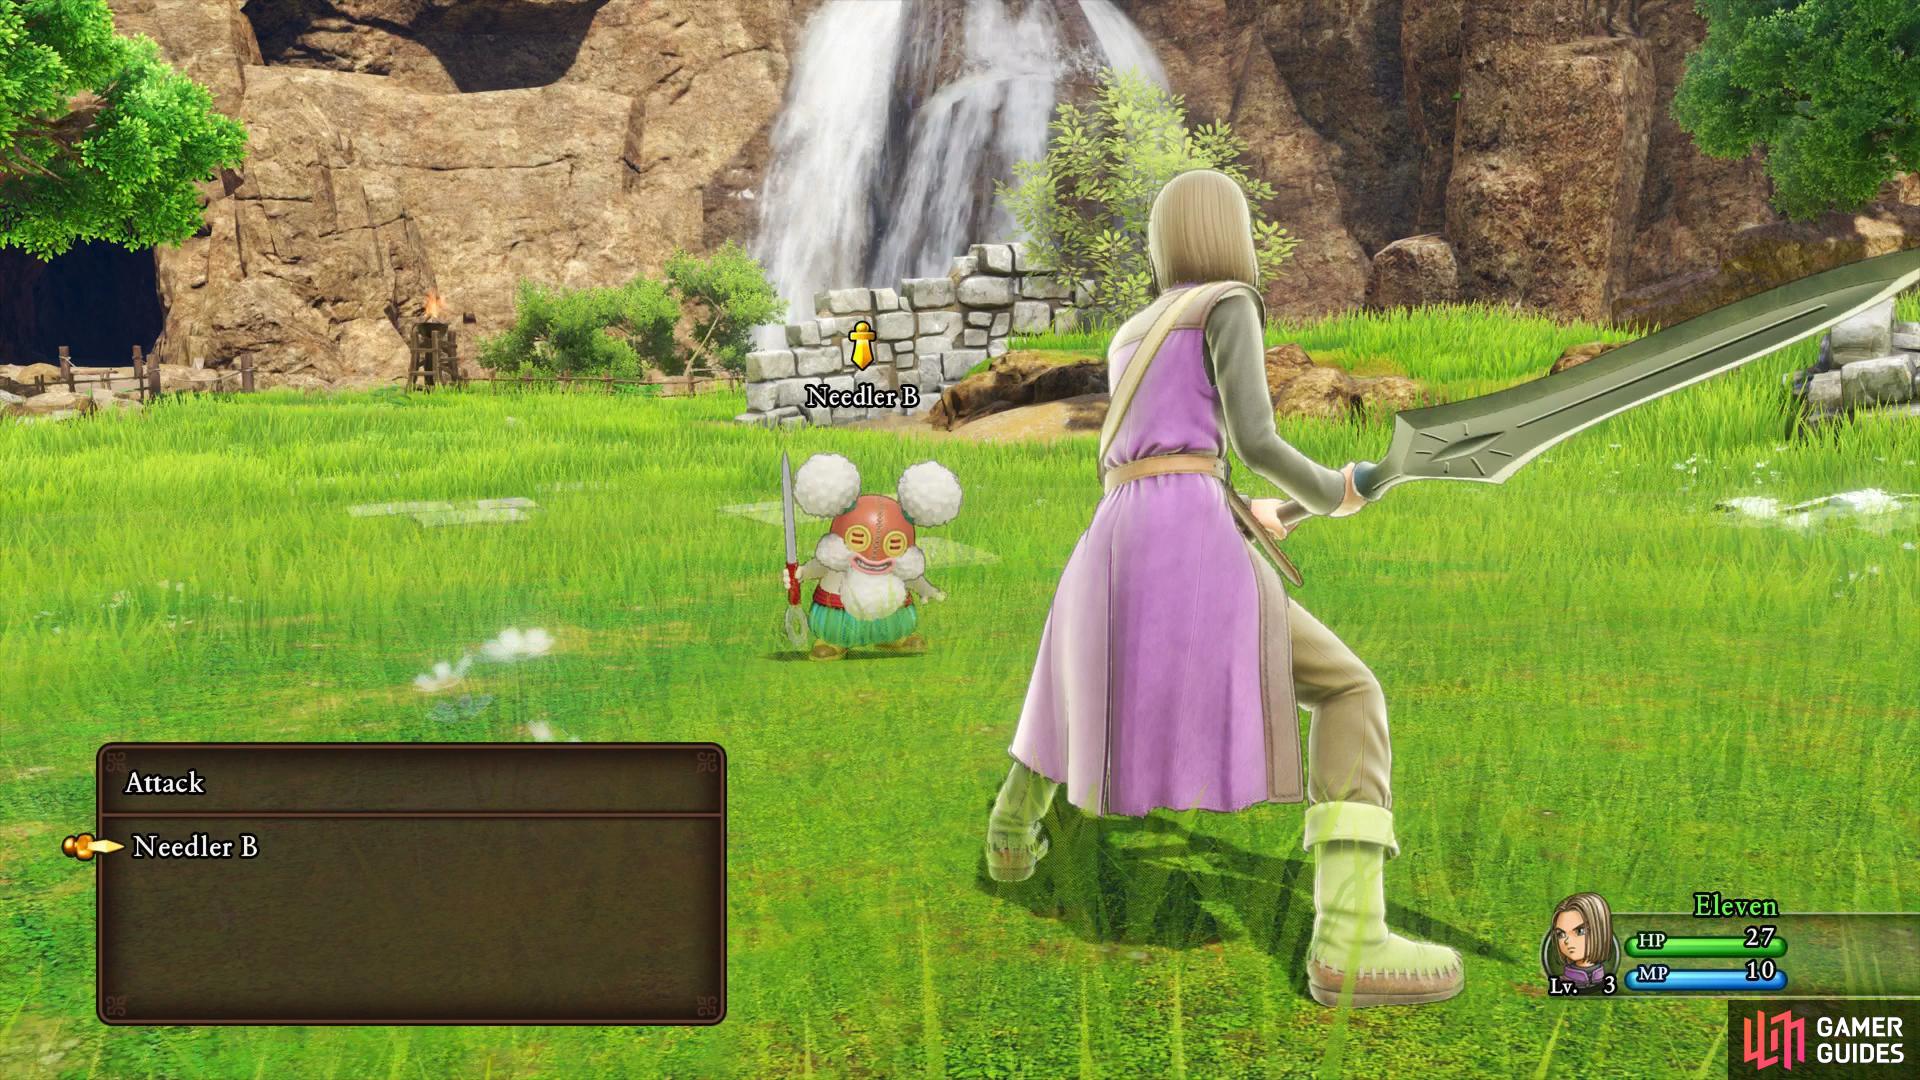
In the clearing you’ll come across Slimes and Needlers, enemies that you already have experience with however you’ll also encounter Stark Ravens. These birds can cast Accelerate on themselves which increases how often they’ll attack you so make them your priority if you fight them.
You’ll have no choice but to continue north as the areas to the west and east are blocked off until after your visit to Heliodor. Instead, continue up the north path and you’ll come across more new enemies in the form of Drackies and Cruelcumbers, both of which shouldn’t pose too much of a problem. Keep to the right as you exit the short path, you’ll come across a chest containing a useful Seed of Life which will boost the max HP of the user. Stick to the right here to come across another Sparkly Spot behind a tree containing a Medicinal Herb.


(1 of 2) Keep to the right as you head north to find the first chest
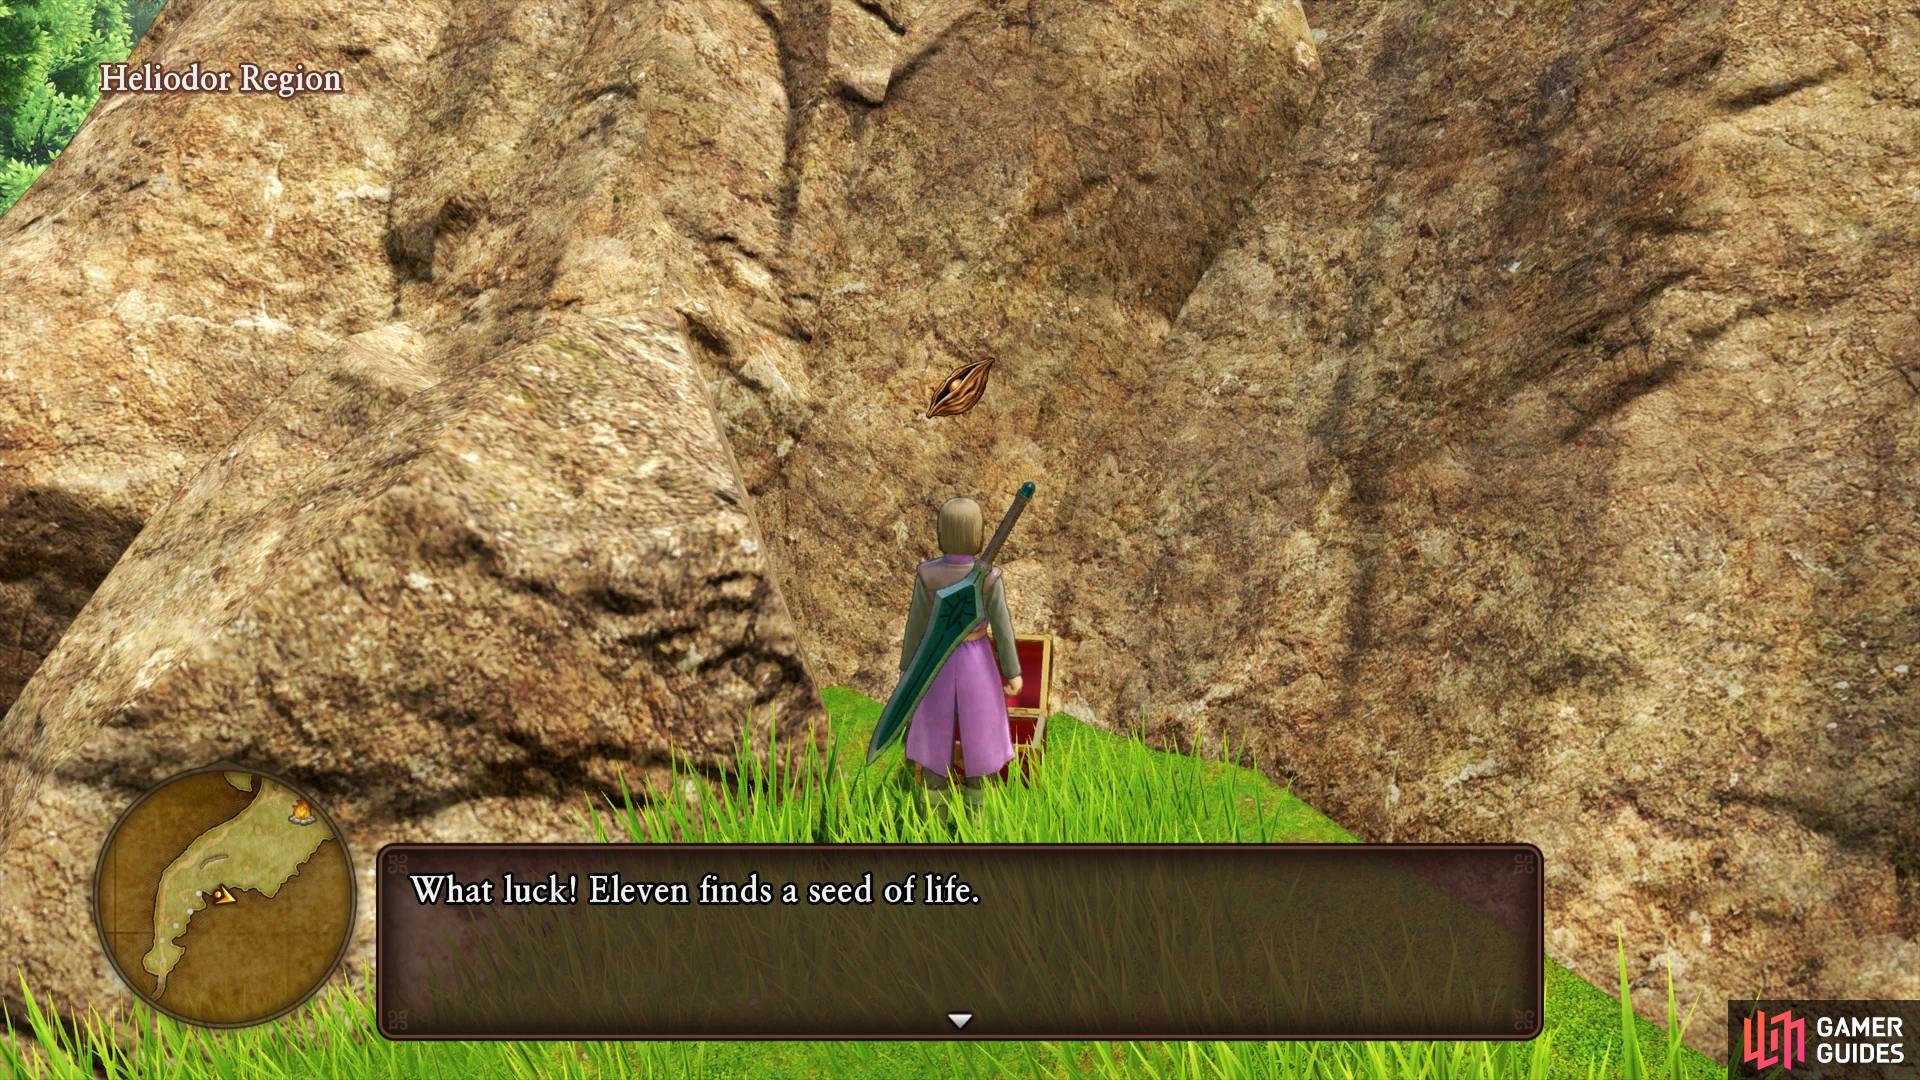
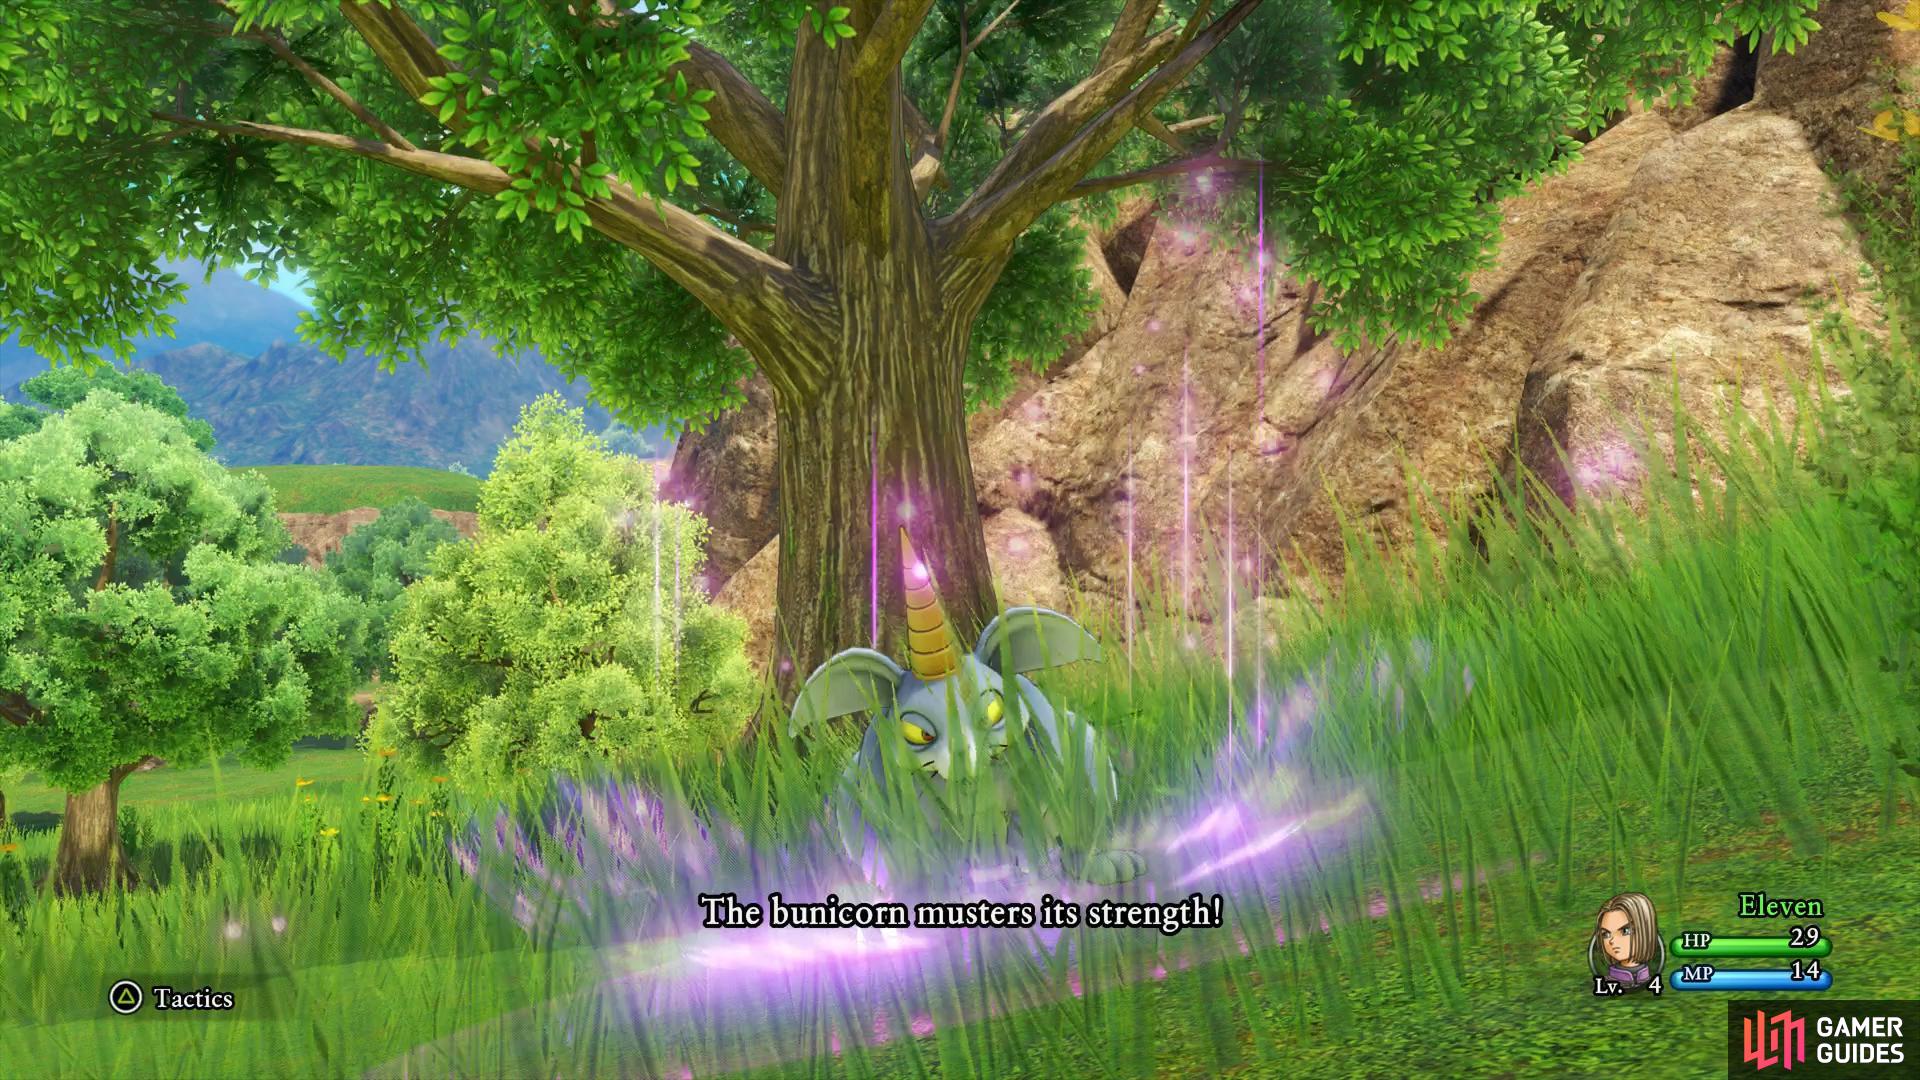
Keep to the right as you head north to find the first chest (left), Bunicorns can deal some nasty damage when they muster their strength, make them your priority in battle. (right)
Hopefully you’ve managed to hit Level 5 by now, doing so will not only learn the invaluable Heal spell but also unlock the Character Builder for you. Using this, you can use the Skill Points you earn from leveling up to unlock new abilities or passive skills. The [Character Builder] section of this guide will have you covered there but for the purposes of this walkthrough consider going with either Greatsword Guard if you’re using a Greatsword or Flame Slash from the Swords category, this way you can start unlocking more abilities in those categories.
When you’re ready, head down towards the building in front of you where a man will call out to you. He will inform you all about how Camps work and what you can do there. You’ll find these all over Erdrea and they’ll allow you to rest until any time in the day and contain a Goddess Statue to save your game along with all the other amenities of a Church.
Make use of the statue here and then rest if you need to recover your HP and MP. Head into the Cabin now to find two pots that you can smash containing 12G and a Small Scale. Leave the Cabin and look behind it to find a chest containing 80G followed by a well that you can climb into to the east of it. Down here you’ll find another Sparkly Spot containing a Strong Medicine.


(1 of 2) Search behind the Cabin to find a chest with some gold stashed inside
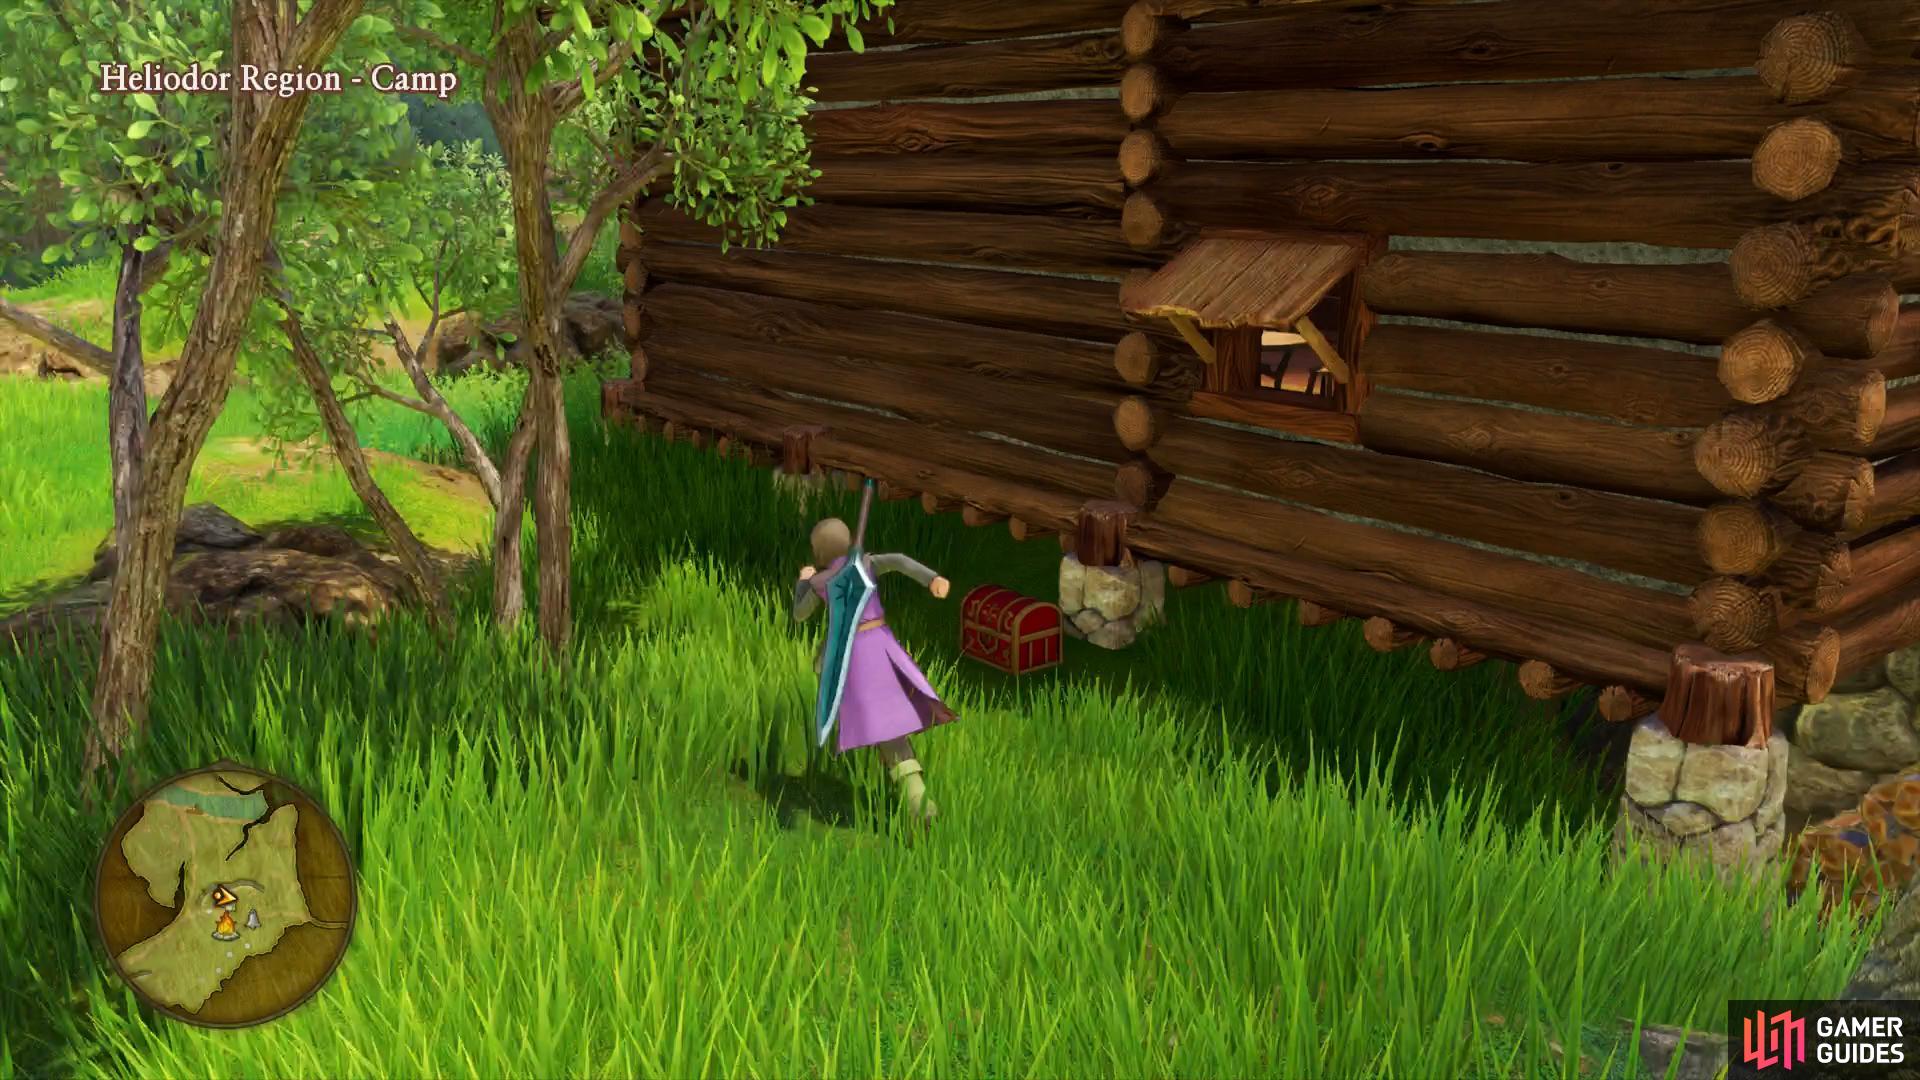
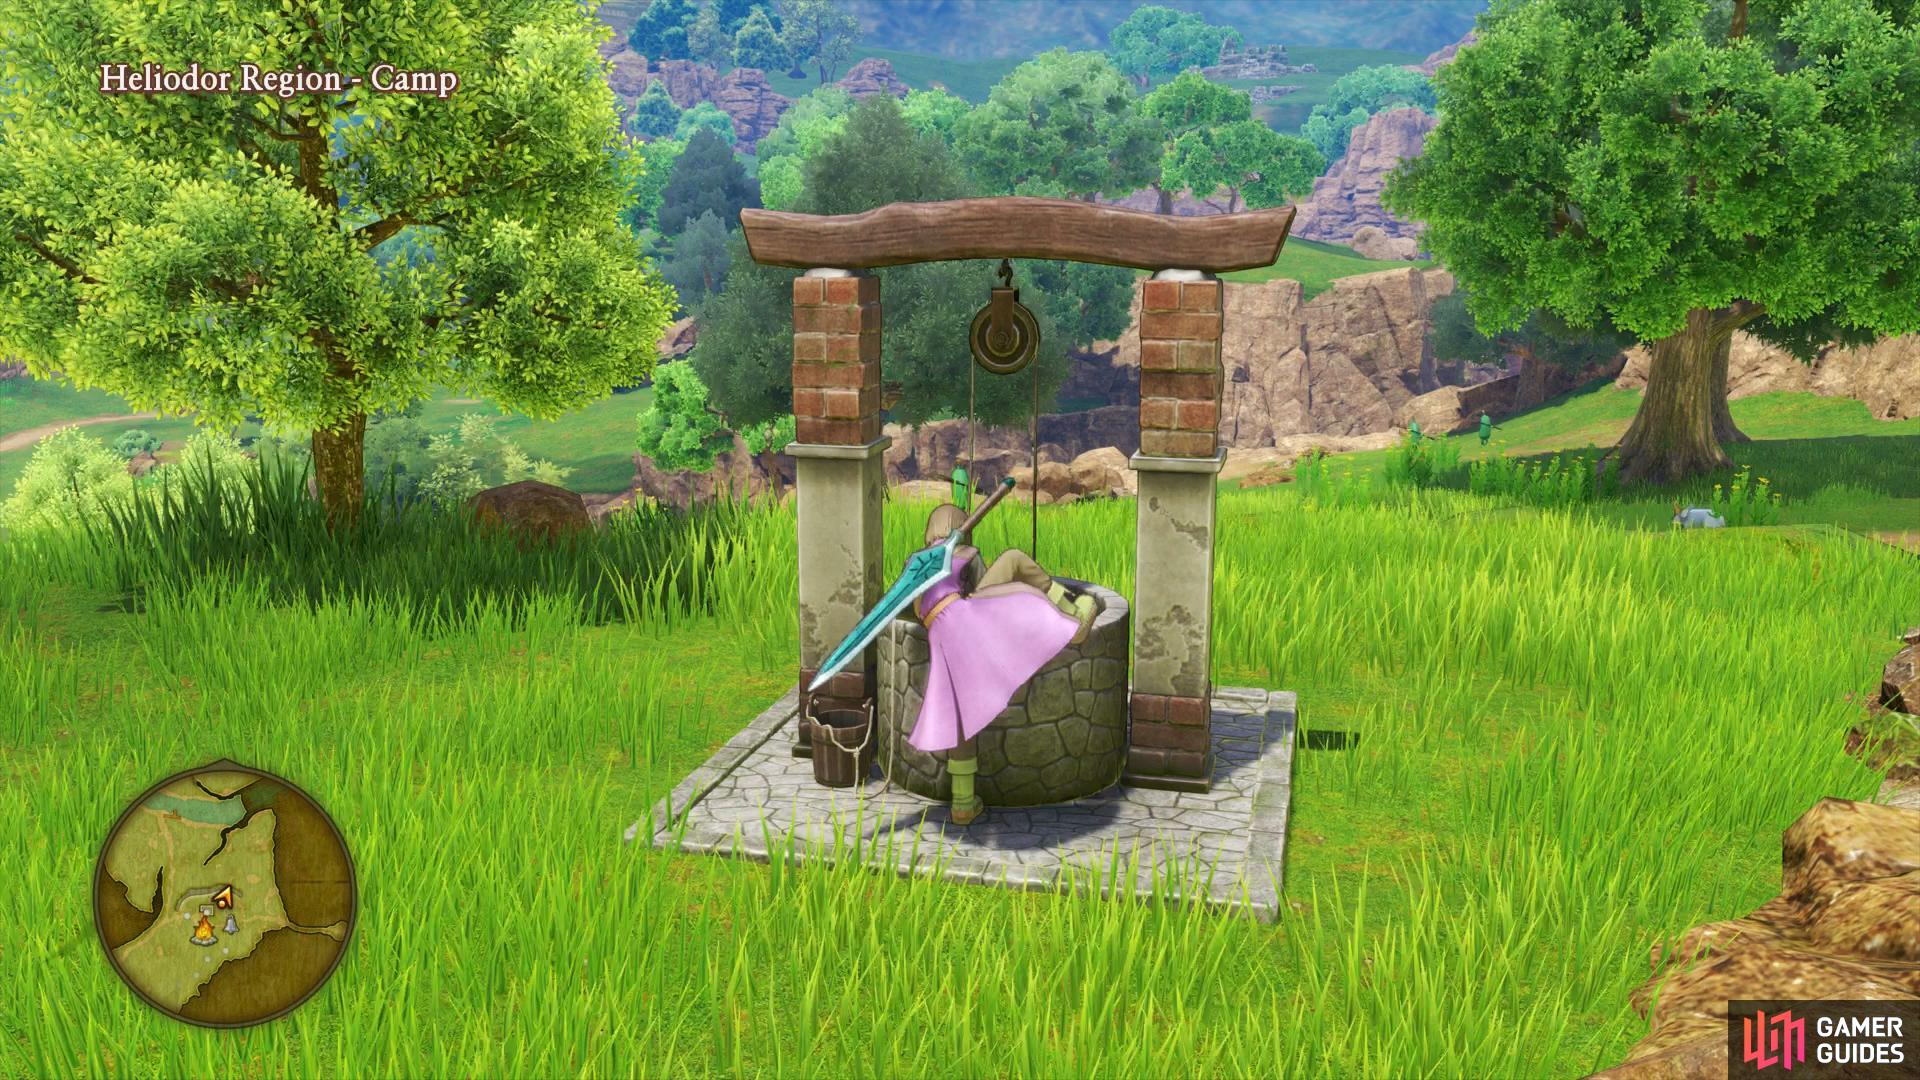
Search behind the Cabin to find a chest with some gold stashed inside (left), climb into the nearby well to find more goodies to grab. (right)
The path splits at this point, you can continue north from where you are or head east and check out the eastern route. You’ll want to search both paths thoroughly for all the items, for now head east from the camp and through the passageway. Defeat the Cruelcumbers that spawn here and then look on the south wall to find some crystals, hit the [X button] to mine the crystal to obtain two Copper Ores and a Flintstone.
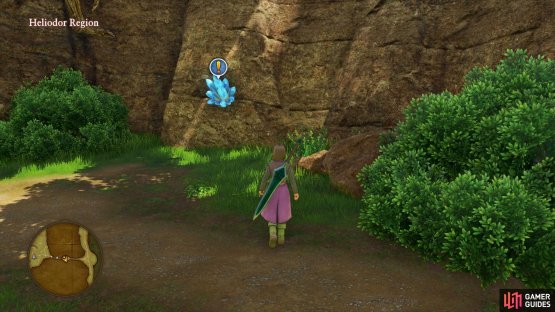
(1 of 2) Be on the lookout for Gathering points, these contain three Sparkly Spots and come in the form of Crystals


Be on the lookout for Gathering points, these contain three Sparkly Spots and come in the form of Crystals (left), you’ll also find Trees and Flowers that you can harvest. (right)
Continue east and then take a south along the Road to the Emerald Coast. You’ll find Bunicorns and Stark Ravens here so it’s not a bad place to increase in level. At the end of the road you’ll come across a tent with two pots inside to smash, one of which contains another Chimaera Wing. The path is blocked at the end so return north and continue north past the fork.
Hug the left side of the path here and you’ll come across a Sparkly Spot overlooking the stream below containing an Antidotal Herb. Head across the bridge and you’ll encounter two new enemies, the Hammerhood and Fright Bulbs, both enemies that have more HP than the ones you’ve been fighting regularly. Keep your HP above 15, healing if it drops below it.
Keep to the right as you cross the second bridge, there’s a chest waiting waiting behind the wall the Platypunk is slumped up against. Dispatch the monster and open the chest to obtain a Single Phial, a handy item that will restore your MP by 10. Continue to stick to the right as you head north, another Sparkly Spot awaits containing a Pink Pine.
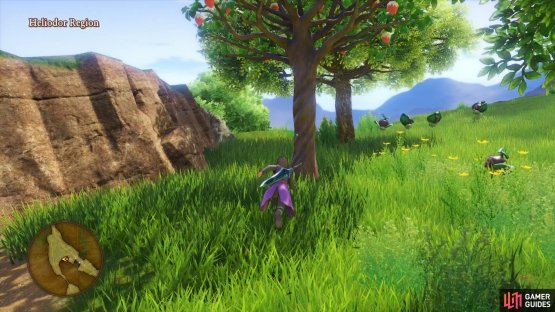
Cross the bridge and keep to the left, there’s a tree here that you can barge into with the [X button] to knock three Sparkly Spots to the ground, this is another Gathering point. You’ll obtain two Pink Pines and another Chimaera Wing for your troubles. Heading north from here will take you to your destination but for now, take the southwest path to pick up the few items you missed from taking the eastern path.

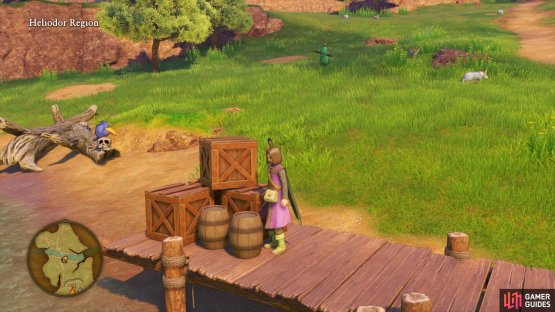
(1 of 2) The final chest can be found to the northeast of the region, behind a wall


The final chest can be found to the northeast of the region, behind a wall (left), break the barrels along the river north of the Camp to snag yourself a Toad Oil. (right)
After you pass through the tunnel, keep to your right and head to the far northwest part of this area to find a Sparkly Spot containing a Cottontop. Head south now to the stream and you’ll come across a pier with two barrels on it, one of which contains a Toad Oil. Head northeast along the stream here to find a Sparkly Spot containing some Fresh Water. One final item awaits you here on top of the hill to the south, overlooking this stream containing a Flintstone.
You have the items on both paths now so head back to the Camp nearby and rest, grabbing a horse to carry you back to the path split to the north. Continue north across the bridge and then head to the northwest to find the final items in this region on the Flower Gathering point containing two Cottontops and a Medicinal Herb. You’ve looted all there is to loot in the Helidor Region so continue north towards Helidor itself and enter the town.
No Comments