
Unlock
You will unlock this area upon complete Baramos’s Castle and receiving your reward from the King of Portoga.
Enemies
| Monsters | HP |
|---|---|
| Bloody Hand | ~180 |
| Corpse Corporal | ~260 |
| Cureslime | ~160 |
| Dragon Zombie | ~590 |
| Elysium Bird | ~250 |
| Hellbound Hair-Raiser | ~600 |
| Leger-de-Man | ~260 |
| Lethal Armour | ~510 |
| Manticore | ~790 |
| Stone Guardian | ~590 |
| Ursa Major | ~500 |
| Voodoogooder | ~210 |
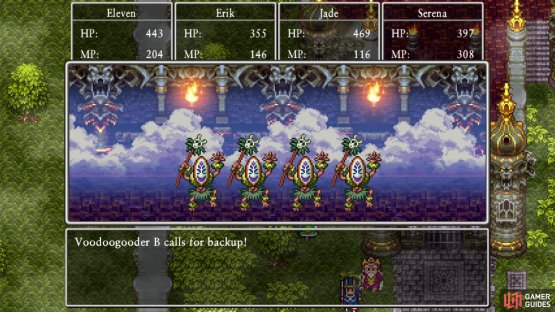
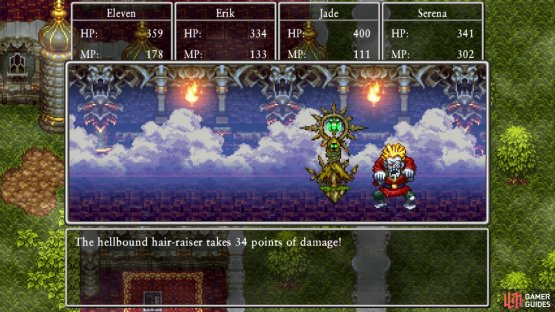
(1 of 2) The Voodoogooder is one of two enemies exclusive to this area


The Voodoogooder is one of two enemies exclusive to this area (left), The other exclusive enemy is the Hellbound Hair-Raiser (right)
Walkthrough
Despite your best efforts, it seems that Baramos has been resurrected, so it’s time to take him out once more. Speak with King of Portoga once more to get the quest, The Big Bad’s Back Anyway!, then it’ll be time to venture back to the same spot where you fought the Necrogondolier from the first visit here. Note that instead of there being skeletons, you will find demons roaming about, which function the same as the skeletons from before. There are two enemies in this area that’s exclusive to it, the Voodoogooder, and the Hellbound Hair-Raiser, both can be fought in the area where you start. So, if you’re looking to have a complete bestiary, that’s where you can find them.
:::tip:
If you have Stronger Monsters active, it might be a good idea to delay doing this area until the final portion of the game, when you have better equipment and a few extra resources available to you.
:::
There is nothing new, in terms of treasure, on this revisit, so there is no need to explore, other than getting the enemies above. The boss at the end is quite powerful, so you will want to make sure you’re fully prepared for it, if you’re doing this before finishing the middle portion of the game. Being around level 50 is ideal, and you want protection against the Light element (not Lightning). The Hero should have the Wolf Dragon Armour, at least, which does offer some Light protection. Mirror Earrings, when forged to +3, will reduce Light damage by 25%, which should help a lot. You also have Serena and her Hymn of Light spell, which can help reduce it even more. You definitely want one healer and depending on the damage done to you, you might want a second one. When you’re ready, make the trek back to the room you fought Necrogondolier and speak with Baramos to start the fight.
BOSS - Baramos
As already mentioned above, this is a pretty hard boss fight, even moreso if you attempt it at the end of the middle portion of the game. He has a whopping 7500 HP, which is a whole lot more than anything you’ve faced thus far, and can dish out some major damage. Baramos’ normal attack can hit upwards of 160+ damage, and he might even do a critical attack that hits even more, although this doesn’t seem to happen often at all. Baramos does get two actions per turn, so this means that you will potentially have to contend with a lot of damage. By far, the most damaging move is Kaboom, which can deal upwards of 180+ damage to the party, when you don’t have any protection against it.
Of course, with the equipment mentioned above and Hymn of Light, then you can reduce this by a lot. Another thing that is detrimental to the battle is Kafuddle, which can confuse your party members. Naturally, Serena has Snap, Crackle, Poof to help protect against ailments, but it’s not really worth bothering with it in this battle, since you should be doing other things with her. In fact, Hymn of Light should be her first action, then you should probably be doing Multiheal every turn after that, just to be on the safe side. Outside of Kaboom, Baramos has Kafrizz, which hits a single character for decent damage.
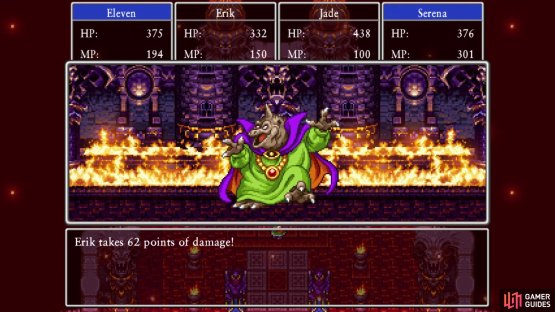
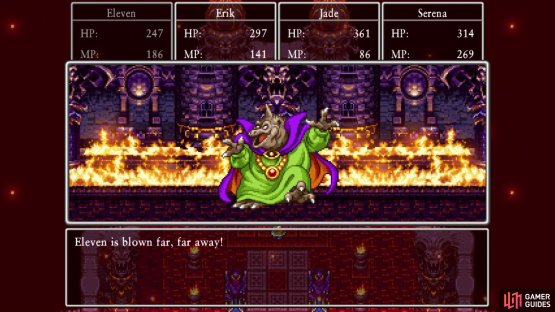
(1 of 2) With proper protection, Kaboom will do a lot less damage than normal


With proper protection, Kaboom will do a lot less damage than normal (left), Bazoom will remove a party member from combat for a few turns (right)
He also has a fire breath attack that can hit for 120+ damage to the party. This can be mitigated with Insulatle, but the Sage’s Staff can also cast Insulatle if you use it like an item. The last move in Baramos’ repertoire is called Bazoom, which literally blows away one of your characters for a few turns. There’s nothing you can do to protect yourself from this, other than just hope it misses and that someone important, like a healer, isn’t the one blown away. Offensively, you will want to be doing the same thing you have been doing, which is to try and Oomphle your main damage dealers (Hero and Jade/Eight), then use their strongest single-target skills.
Hopefully, you can survive against Baramos and actually bring him down in the second portion of the game. If not, you can always save him for later. Once you do win, report back to the King of Portoga and get your reward, a pair of Golden Claws. These are pretty nice claws, since at +3, they offer a +10% to critical hit rate. However, they are a bit cursed, as your encounter rate goes up in 2D Mode and enemies, no matter how weak, will chase after you in 3D Mode.
No Comments