
The Hall of Remembrance is a special area that opens up upon completing all other areas at the ten altars in Tickington. You will know all areas are complete for an altar when a statue appears on it. Behind all of the altars will be a staircase, leading to another room with one final altar, the Altar of an Elusive Age. Before venturing forth, you will want to make sure you’re prepared, as you will be fighting tough bosses. There are four areas to the Hall of Remembrance, each one pitting you against multiple bosses at the same time (except for the final one).
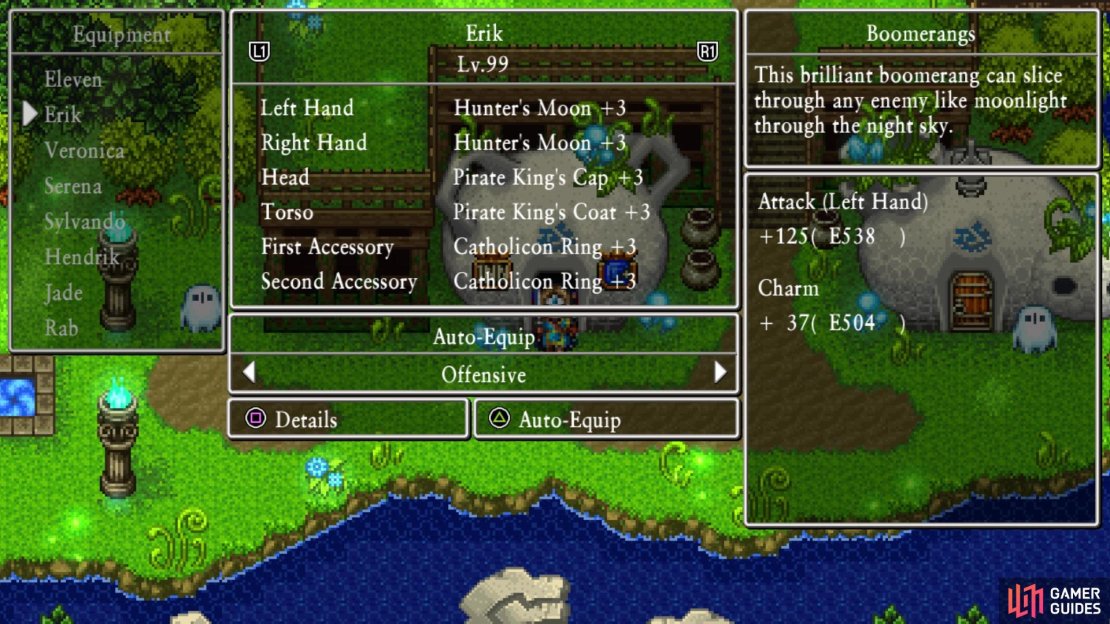
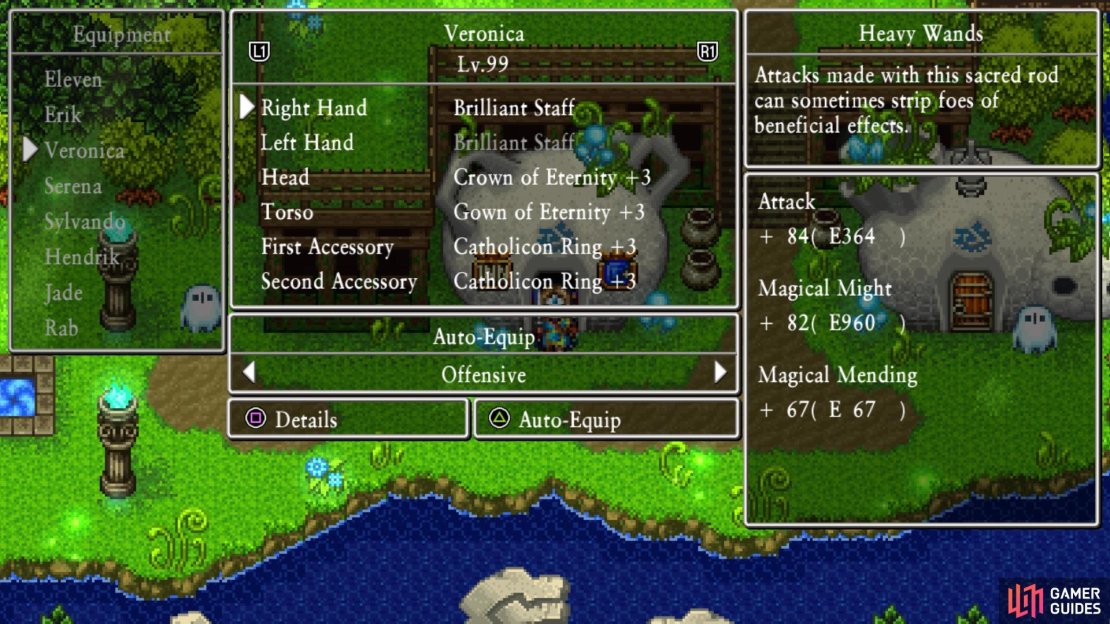
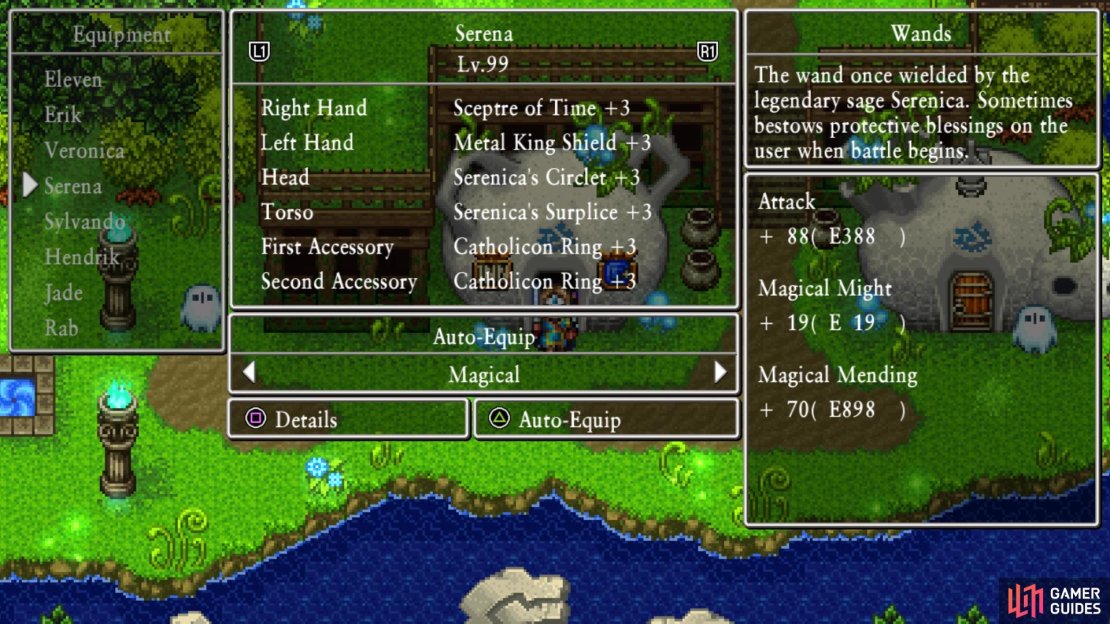
Before diving in, you will probably want to be level 99, so if you haven’t done that yet, check out the How To Level page. You will also want to make sure you have eight Catholicon Rings, all of them at +3. These will grant you full protection from some of the ailments in the game, but not all of them, as there is no way to fully protect against every single ailment in the game. Equip two of those on each character and nothing else, despite some characters having accessories being extremely helpful in other ways. You will also want all of the best equipment you can get for your characters, all fully upgraded, too.

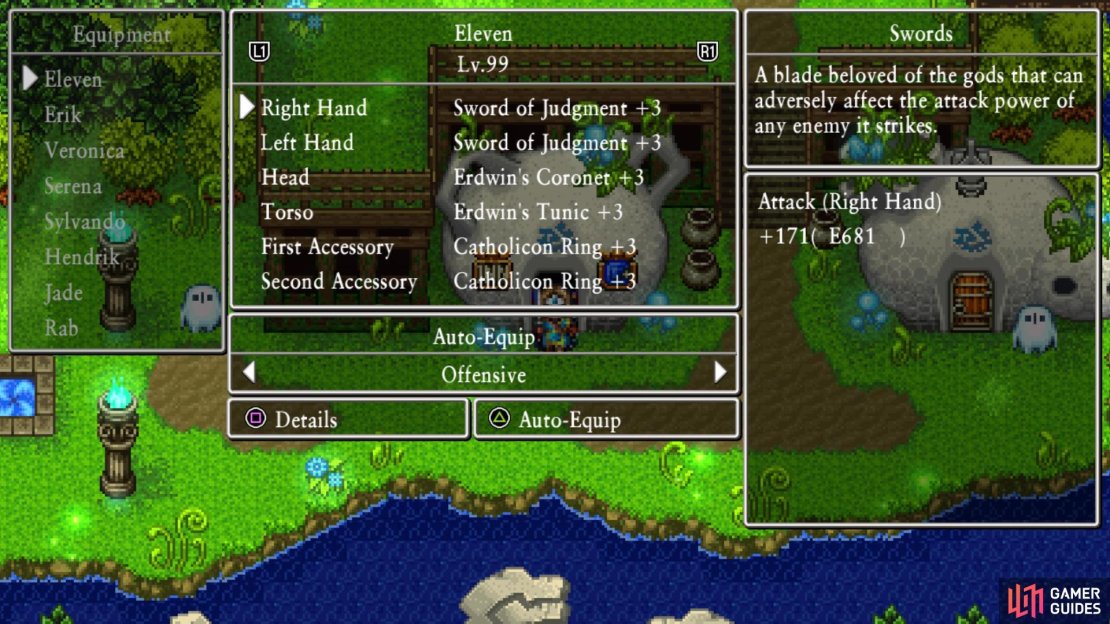
(1 of 4) Equipment loadout for the Hero
If you don’t have a healthy supply, you will want to stock your characters’ inventories with Yggdrasil Leaves, Yggdrasil Dews and Elfin Elixirs. All of them can be purchased from the casinos, but you can get these from enemies, too. Yggdrasil Dews can be farmed from Vicious Bomboulders in The Sage’s Trial - Fierce Forest. For Yggdrasil Leaves, go to the normal version of the First Forest and hunt down the Malicious Stump Champs there. It’s their rare drop, plus they also drop Red Wood needed to forge Catholicon Rings. The best place for Elfin Elixirs is still the casino, but they only cost 10,000 Tokens each and you should have a lot of them at this point.
When you feel you’re ready to go, go to the Echo Chamber in Tickington and enter the room behind it. You will see a book in this room, where you can enter the Hall of Remembrance. Step forward in the new area to be confronted by some bosses.
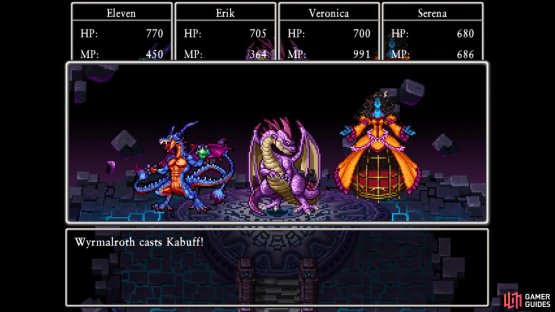
BOSSES - Wyrmalroth, Lord Dragon, and Zomaiden
Yep, you are fighting three bosses at once here and it can be challenging, due to the number of attacks heading your way. All three bosses get two actions per turn, so there will be a lot of attacks. Of the three bosses, Wyrmalroth should be your first target, as he has both Fullheal and Kabuff in his arsenal. Outside of that, it has a chance to do a desperate attack (critical), pep up like normal, and do a big fireball on a single character. Considering the monster model, he can also hold up his eye to protect himself from magical attacks. Wyrmalroth has around 3,000 HP, so it’s a lot less than normal bosses you have faced at this point in the game.

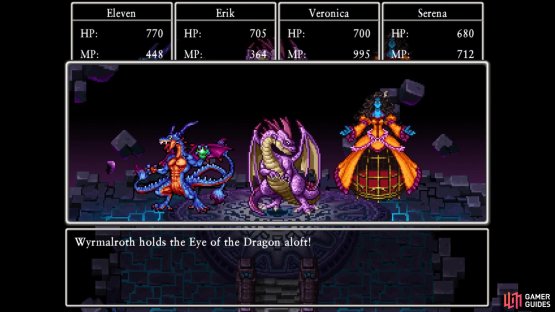
(1 of 2) Wyrmalroth becomes protected against magic when he holds his eye up

Wyrmalroth becomes protected against magic when he holds his eye up (left), Take out Wyrmalroth first so he doesn’t use Kabuff (right)
After finishing Wyrmalroth, your next target should be Zomaiden, the one on the right. She can use Bounce on a single target, which means you wouldn’t be able to use spells on that boss for a few turns. You will also see that its only attack, besides the normal one, is Kacrack, which you can protect against with Hymn of Ice or Magic Barrier. You may see Zomaiden “assess the situation,” which means that she wastes one of her turns, so be happy if that happens. By far, one of the two more annoying things Zomaiden can do is dispel all of your buffs with the disruptive wave. The other thing is when it traps a single character in its cage body for a few turns, and there’s nothing you can do about that. Zomaiden has around 5500 HP, which is a little more than Wyrmalroth.
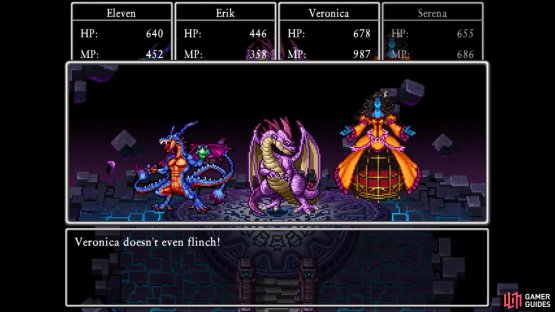
Offensively, the most dangerous of three bosses is Lord Dragon, who has around 5500 HP, like Zomaiden. There’s a lot of attacks in his arsenal, including two breath attacks. Of course, Lord Dragon can use Deep Breath on one of its turns prior to a breath attack, which increases the potency of them. There is both a fire-based breath attack, and a dark-based one. Besides those, Lord Dragon can also cast Kasizz, as well as do a war cry to try and make your characters lose a turn. He also has a desperate attack and can do a swing of his tail to damage everyone. Lord Dragon is the most dangerous in terms of damage, but he’s the least annoying in terms of other things.
So, Erik should be someone you bring into this battle, preferably equipped with the best boomerangs (Hunter’s Moon + Galaxarang, or two Hunter’s Moons). He should be doing Divide, then Double Down after someone has cast Oomphle on him. Hopefully in that timeframe, Zomaiden doesn’t dispel your buffs, or else you have to start over. If you have Rab in your party, then he could be casting Insulatle to combat Lord Dragon’s breath attacks. The Supreme Sage’s Staff (or the regular one) also cast the same spell when used in battle. The Hero should be using Sword Dance on the individual targets, in the order described above.

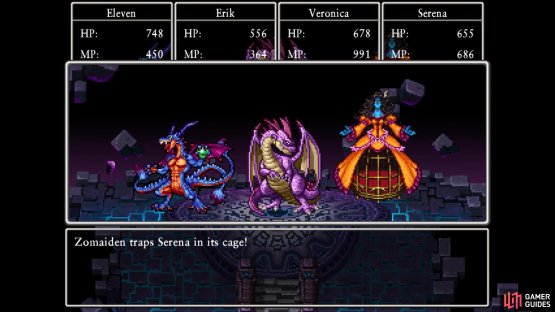
(1 of 2) Zomaiden can trap a charcter for a few turns in her cage

Zomaiden can trap a charcter for a few turns in her cage (left), The Catholicon Rings will do wonders in preventing some ailments (right)
If you find that the Zomaiden is dispelling your buffs too often, you could try going after her first. You just need to be careful about Wyrmalroth using Fullheal or upping the defenses with Kabuff. There is also the possibility that both he and Lord Dragon get pepped up at the same time, in which case, they will use a move together. Jade should be doing Re-Vamp (once should be more than enough), coupled with Multifist in the order above. Serena should be buffing and healing when necessary, preferably with Omniheal if things get too hairy. Note that the Hero should also have Omniheal, in case of emergencies. If you’re using Sylvando, then he has access to buffs and Ladies First, in case you need to pass a turn to one of the females.
For winning this battle, the Lord Dragon will drop an accessory called Rainbow Drop. Reworking this to +3 will give whoever wears it a 40% chance to not use any MP upon casting a spell or using an ability. You will also received the pastword to Level 2 of the Hall of Remembrance.
No Comments