
Pastword
When you revisit Arboria during the middle portion of the game, there will be some story events and you will go to a place called Luminary’s Landing. While you make the short trek to the top of this area, you should see a Tockle on the side that grants you the pastword to this area.
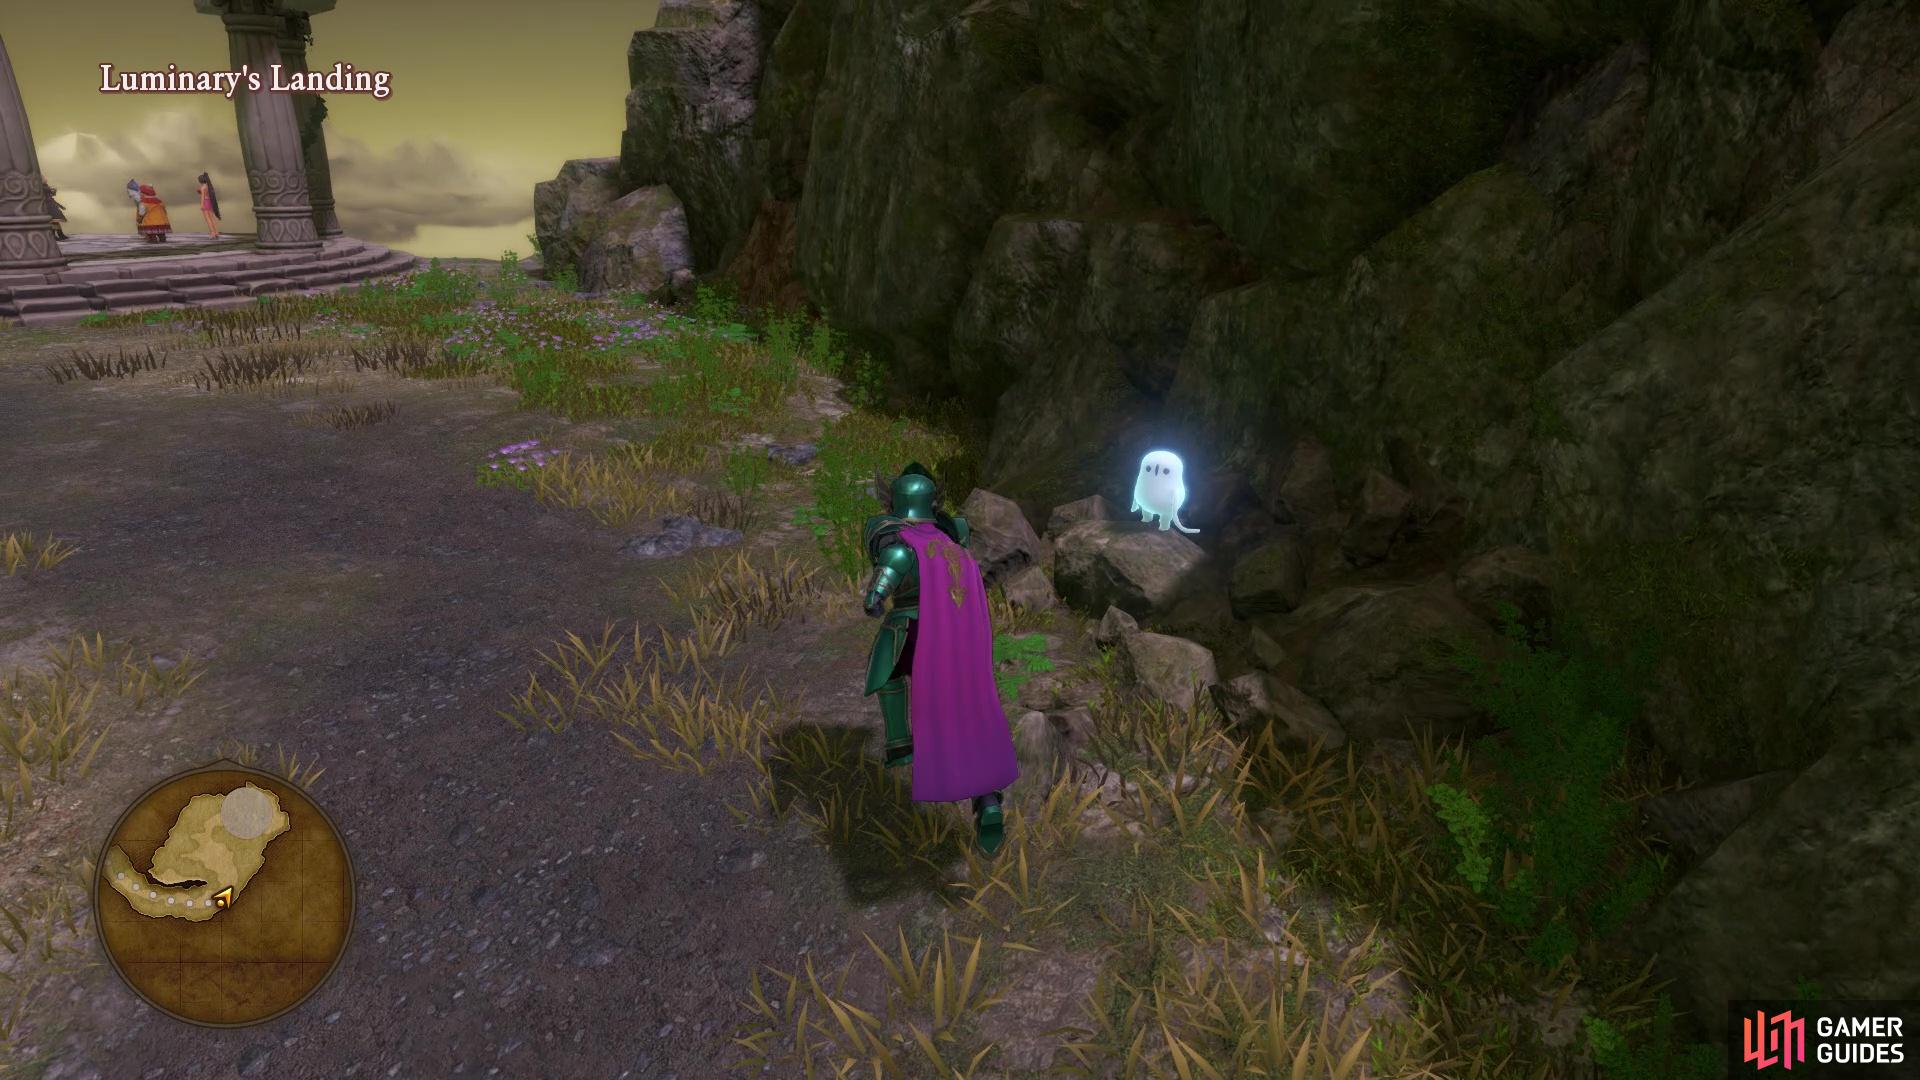
It’s hard to miss this Tockle when you visit this location
Walkthrough
You will appear at a camping ground, where you see a bunch of tents. Before doing anything, head to the northwest corner and break the pots there for 13G. Now, go talk to the old man in the middle of the area, who is Rom Baro, who describes the problem. It turns out their dancer, Lala, is ill and her husband, Kiefer, has went off to find a rare gem that is said to cure all ailments. Of course, this rare gem is found in the Rainbow Mines, another area in Tickington, so that is where you will need to go. Note that it’s a good idea to bring along some Holy Waters, or if you have the Holy Protection spell with the Hero, since the enemies are kind of weak in the Rainbow Mines and you don’t really need to fight them at all.
As you enter the Rainbow Mines and venture deeper into it, you will notice that there are colored gems. Pushing two or more of the same-colored gems together will cause them to shatter, removing them from the field. On the third floor, push the two yellow ones together, then the two blue ones, to get to the stairs. You don’t need to do anything on the fourth floor, as it’s a straight shot to get to the fifth floor. Here, push the two blue ones in the middle together, then push the red one in the upper row to the left, which will destroy the red one on the bottom row. The yellows should be next, then you can push the red one in the bottom right to the left, allowing you access to the stairs and sixth floor.
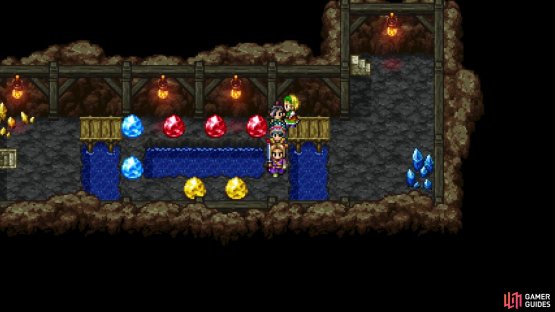

(1 of 2) You will come across these colored gems during this quest
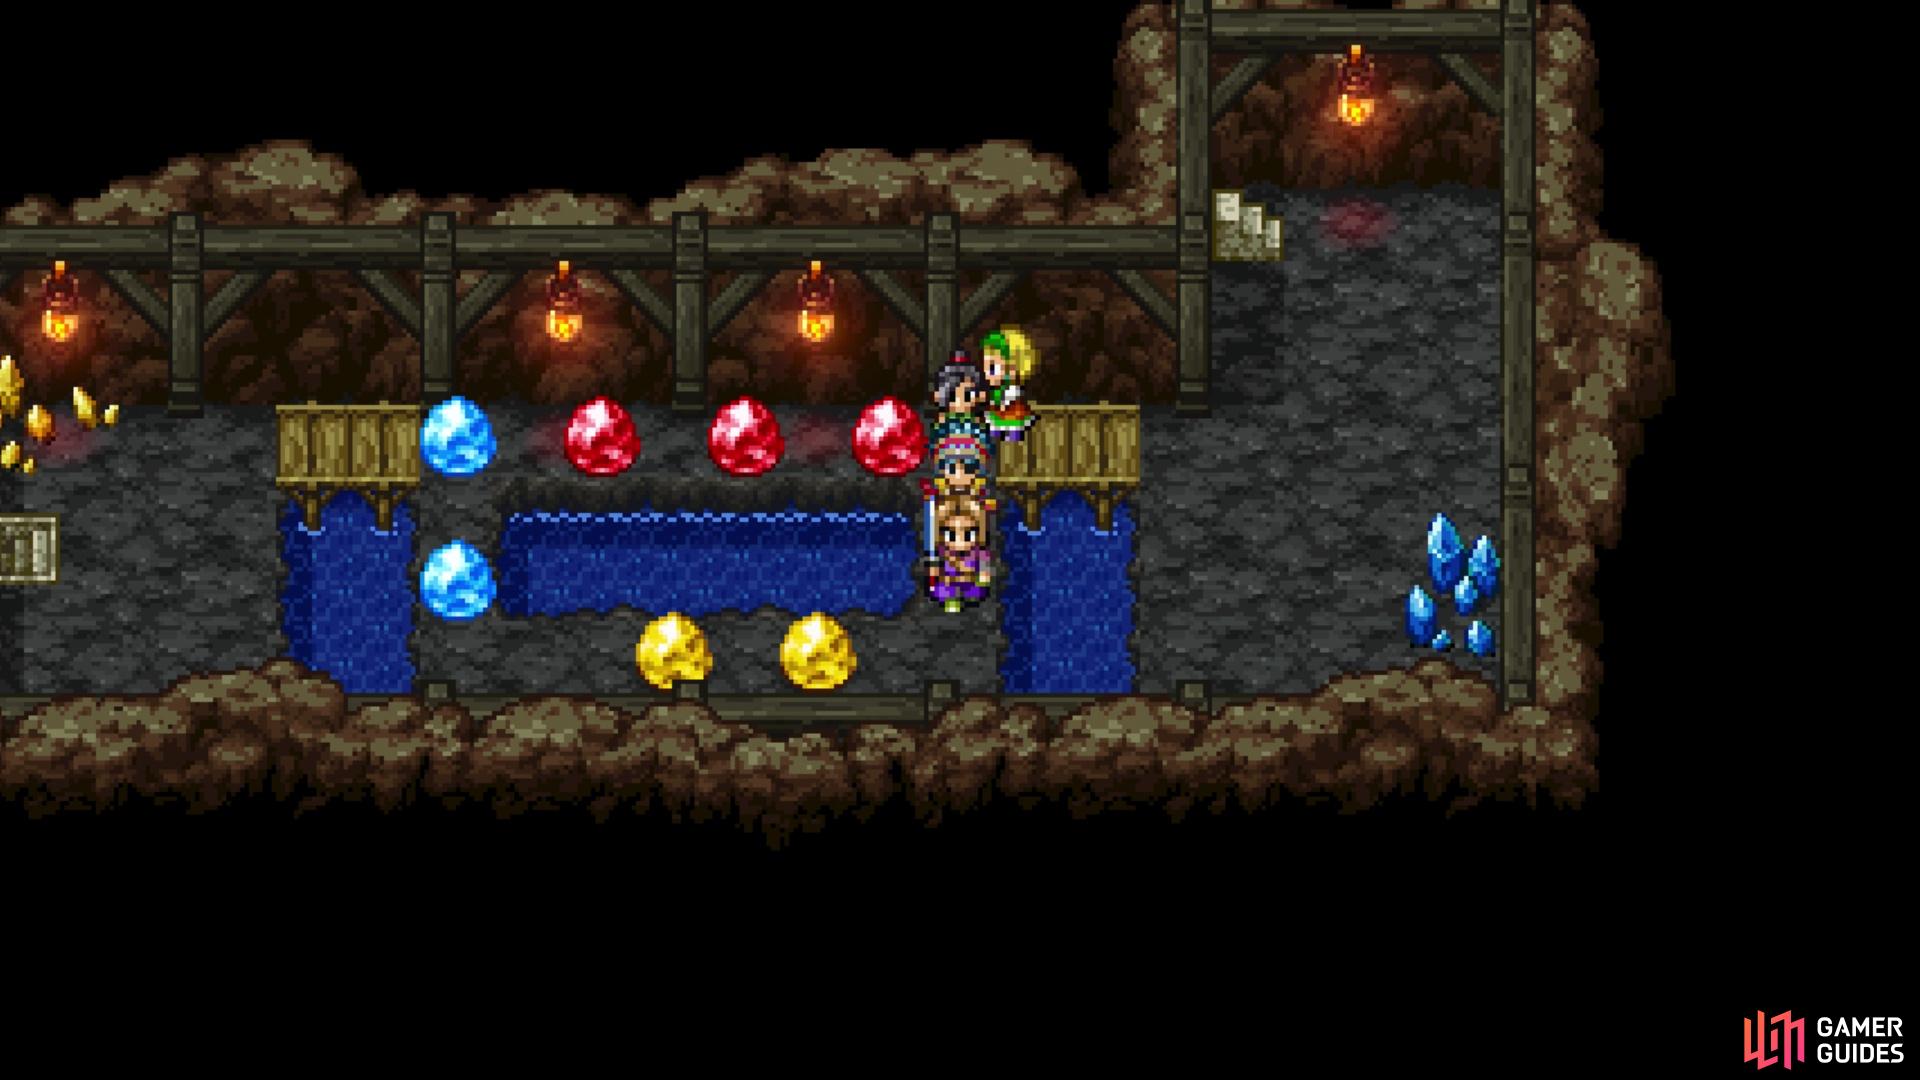
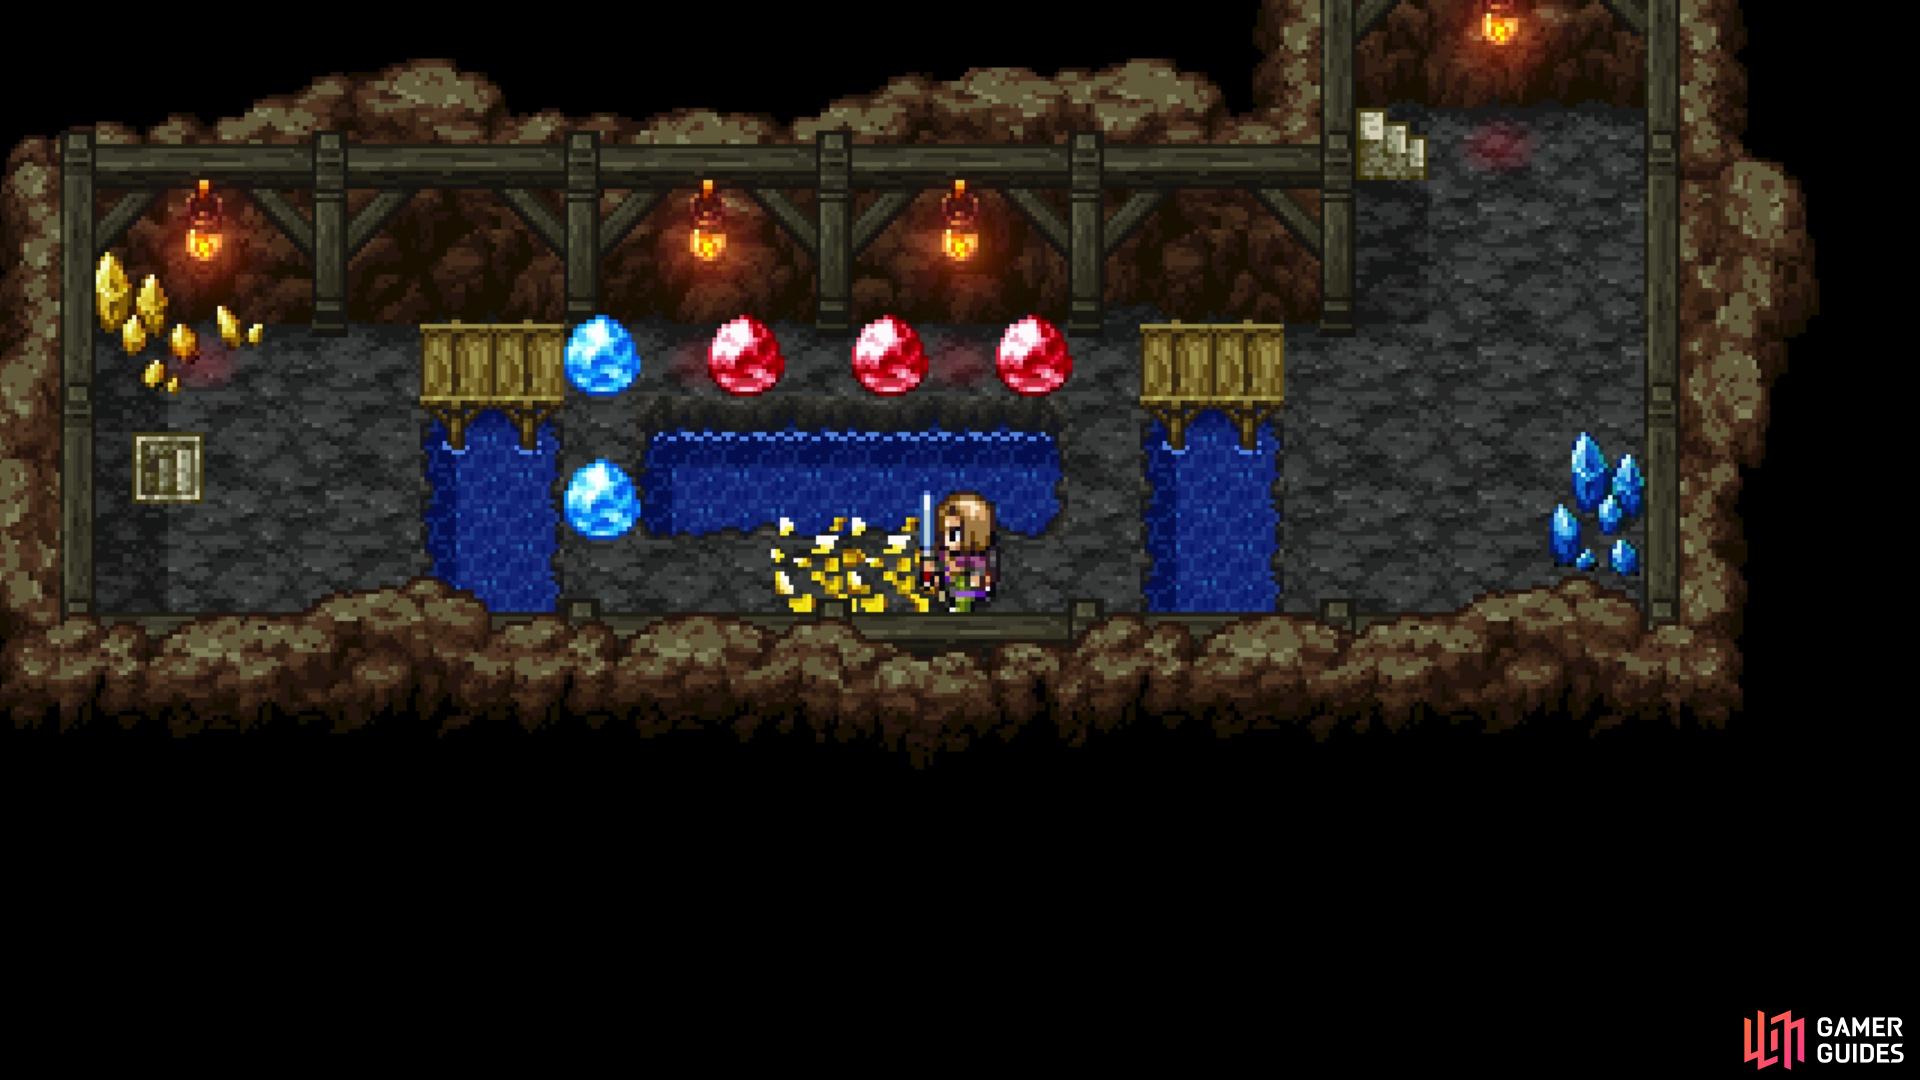
You will come across these colored gems during this quest (left), Just push like colored gems together for them to shatter (right)
This is a bigger puzzle here, so here’s what you need to do. Push the first blue gem to the left, destroying the one in the center. Next, push the northern of the central red gems to the north, then circle around and push the two yellow gems together at the top. This should free up the blue gem in the northwest, allowing you to push it south and open up the way to the seventh floor. There’s nothing for you to do here, but there are some new stairs in the southwest corner, so take them to appear on the final floor. Kiefer is here, but has trapped himself next to the green gem he wants, so it’s time for one final puzzle.
Push the two purple ones together that are right by the stairs, then push the gray one to the north. After that, you can push the two yellow ones right there together, then begin working on pushing the red one towards the one to the north. The gray gems to the north can be pushed together, freeing up the one blue one. Instead of going to the left with the blue gem, begin pushing it towards the south, with your goal being the western of the two. The final two steps are just pushing the gray one just below the blue you broke to the south, then the purple one to the right. This allows you to free Kiefer, but a monster named Obstructicus appears and it’s time for a fight.
BOSS - Obstructicus
While this may seem like a simple boss, it can be quite annoying, all due to one move. When the boss causes a Kerfluffle, it can inflict three annoying ailments on the entire party, which are Dazzle, Spell/Ability sealing, and losing a turn. There is really nothing to do against this, although Serena’s Snap, Crackle, Poof does help protect against the ailments. The only problem is that this is a single target skill, so by the time you want to cast it on the whole party, you will either have the ailments on your already or might have defeated the boss. Outside of that, the boss primarily has physical moves, such as a stomp that does more than normal damage to the whole party, and another attack that also hits the whole party. Kabuff is ideal for this battle, as is the usual Oomphle on your physical attackers. He has around 2,050 HP and high defense, so using Sap is highly suggested.


(1 of 2) The boss will deal a lot of damage to the party when doing this move
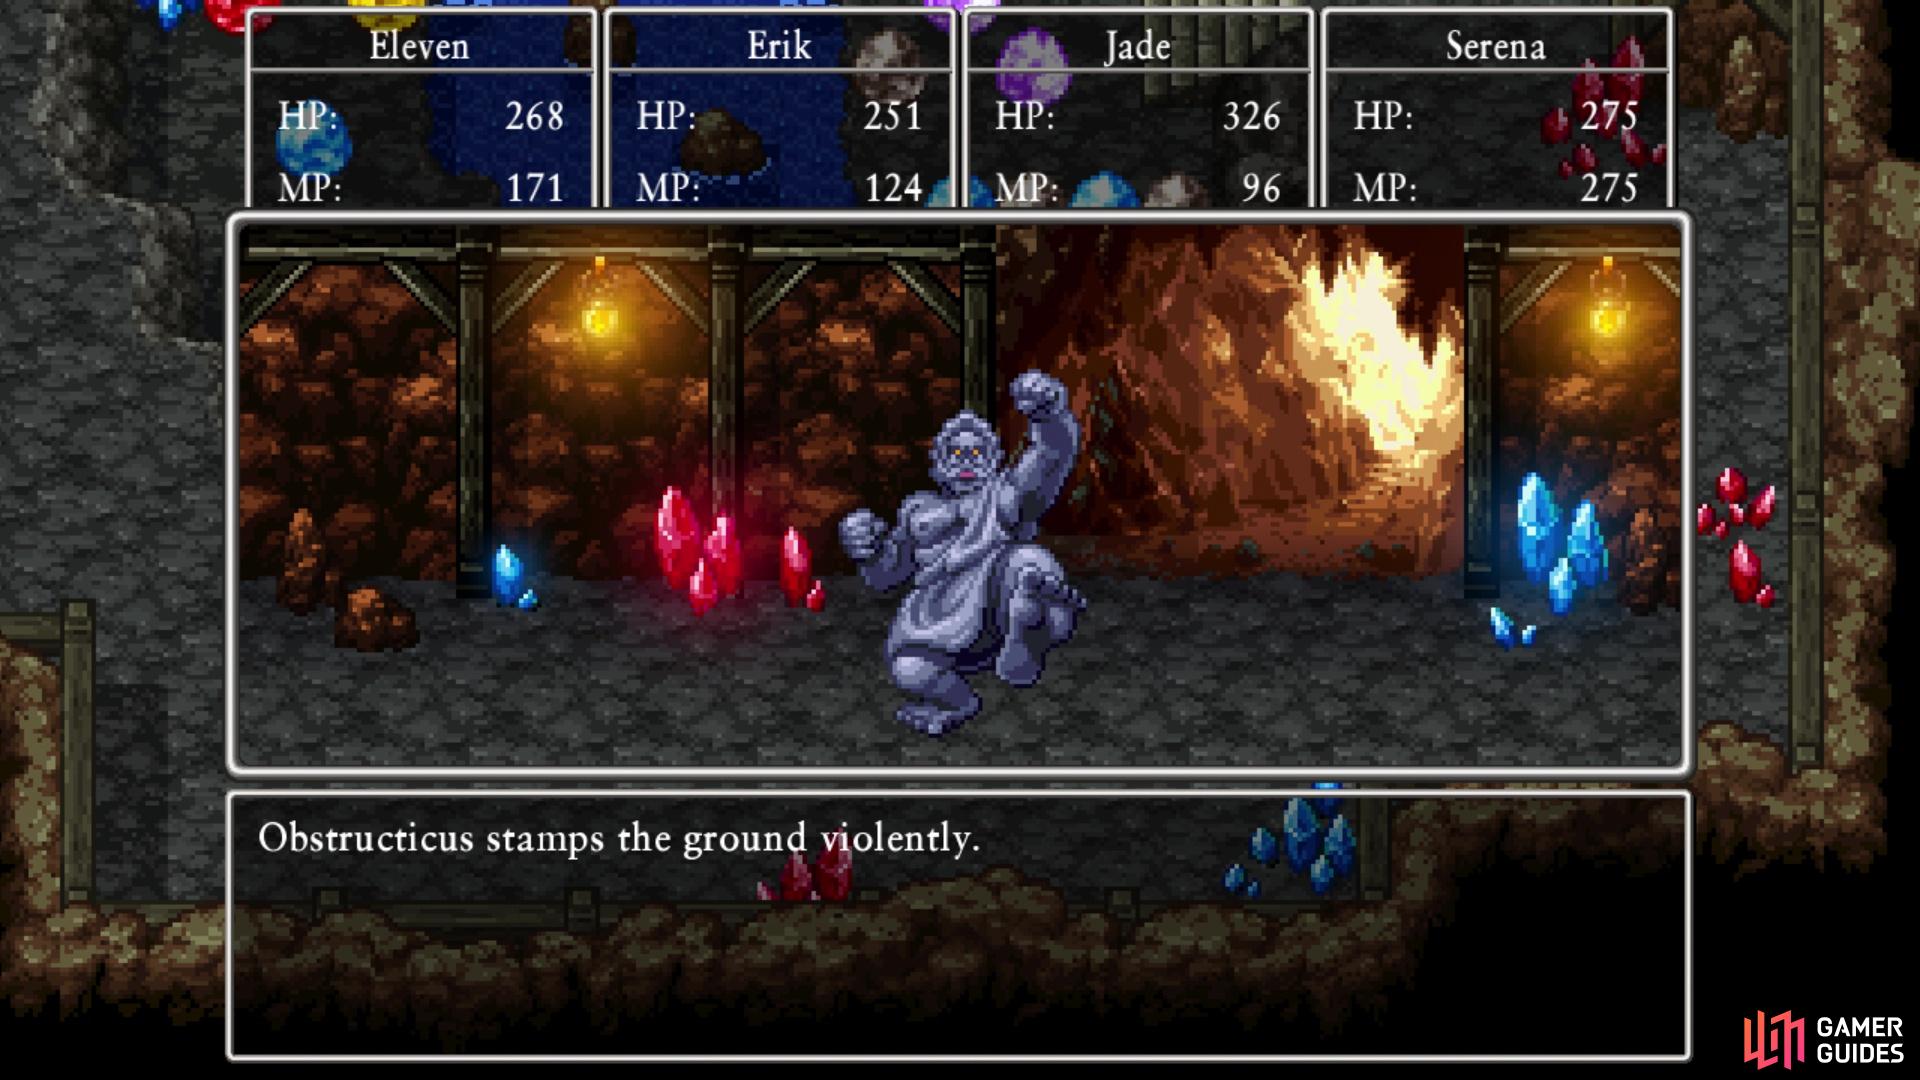
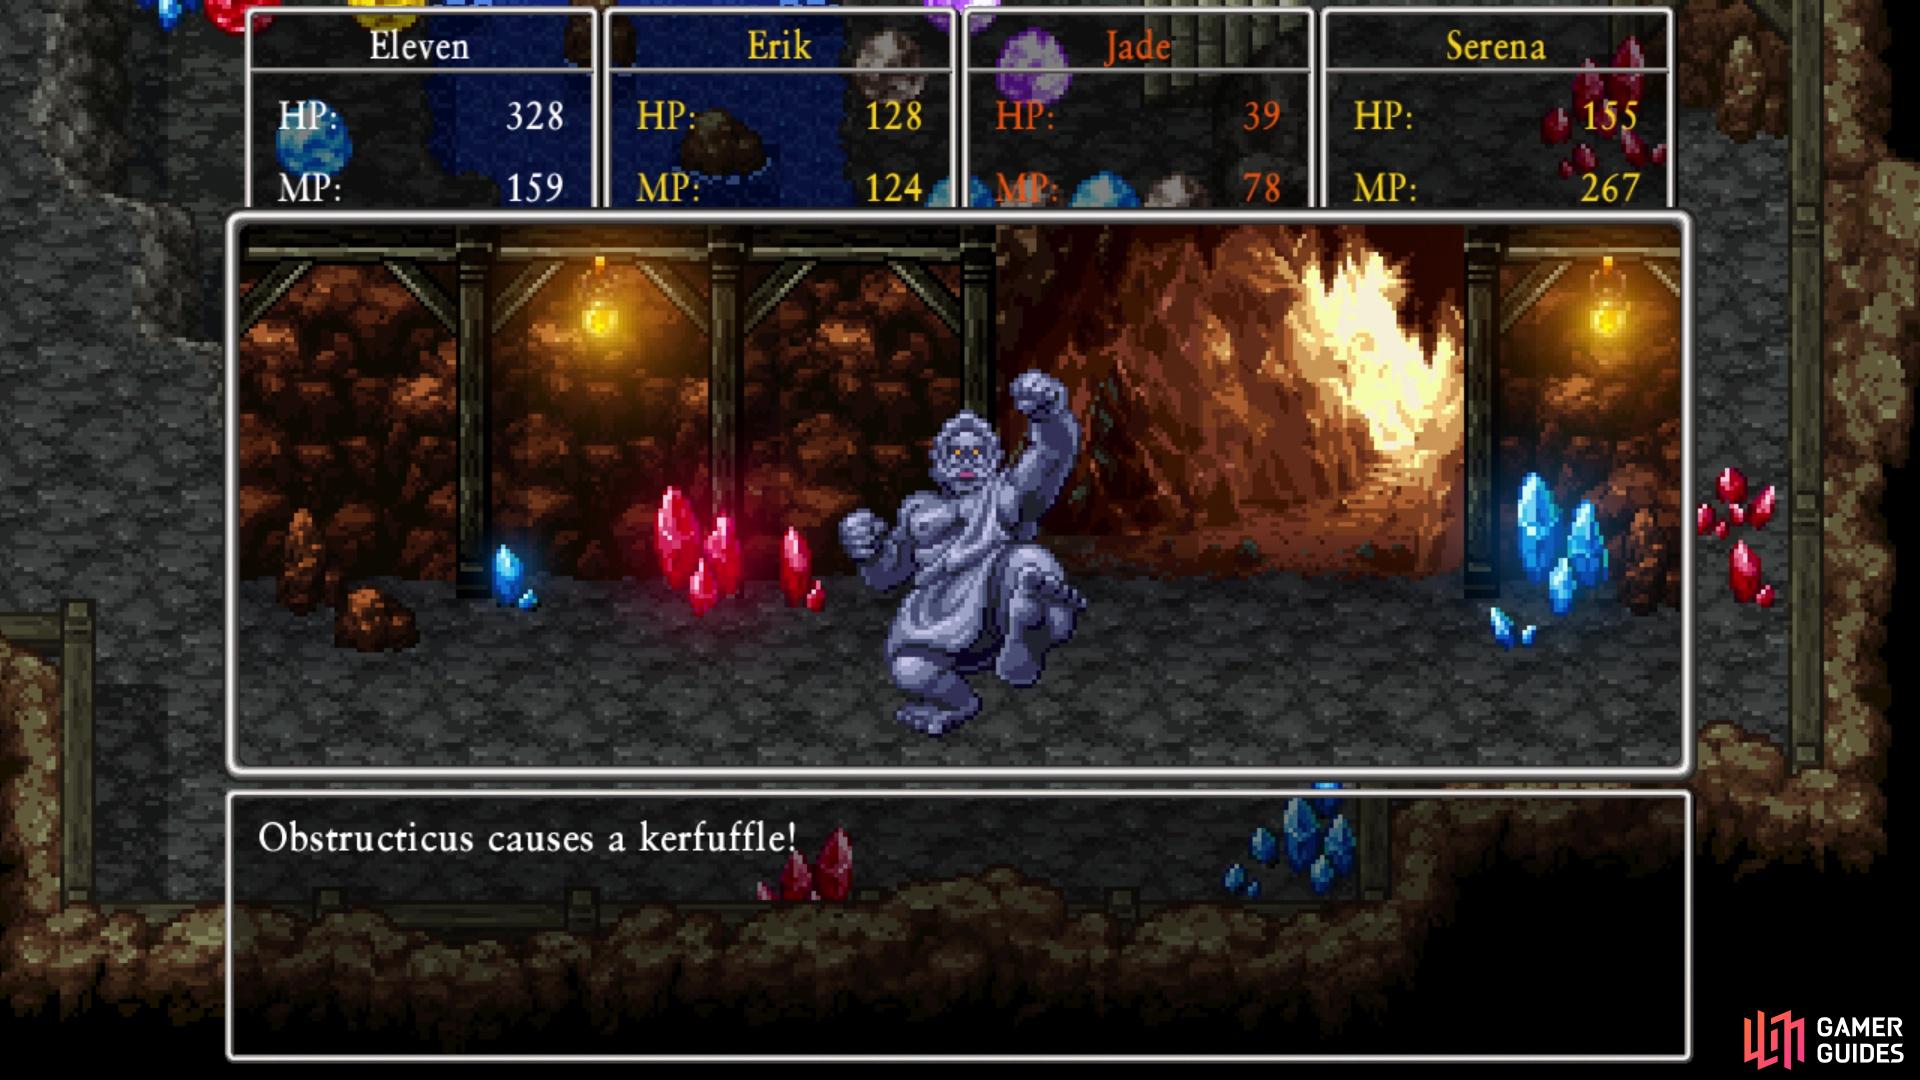
The boss will deal a lot of damage to the party when doing this move (left), It can also inflict a variety of ailments when causing a kerfuffle (right)
Once Obstructicus is down, use Evac to leave the Rainbow Mines and return to the Roamer Encampment, speaking to Rom Baro. Not only will you get your reward, an Yggdrasil Dew, but you will also unlock the Roamer Encampment (Night) area.
No Comments