Nautica
| Items | Area |
|---|---|
| Seed of Skill | Lower Part, Courthouse, chest |
| Elfin Elixir | Upper Part, southwest, chest |
| Zombiesbane | Upper Part, east, chest |
| Mini Medal | North of Item shop, chest |
| Sparkly Spots | Area |
|---|---|
| Drasilian Sovereign | Lower Part, north |
| Platinum Ore | Upper Part, southwest |
| Platinum Ore | Upper Part, southeast |
| Red Eye | Upper Part, Weapon shop roof |
| Blue Eye | Upper Part, Item shop roof |
| Purple Eye | Upper Part, north of the Palace |
| Enchanted Stone | Upper Part, northeast of the Palace |
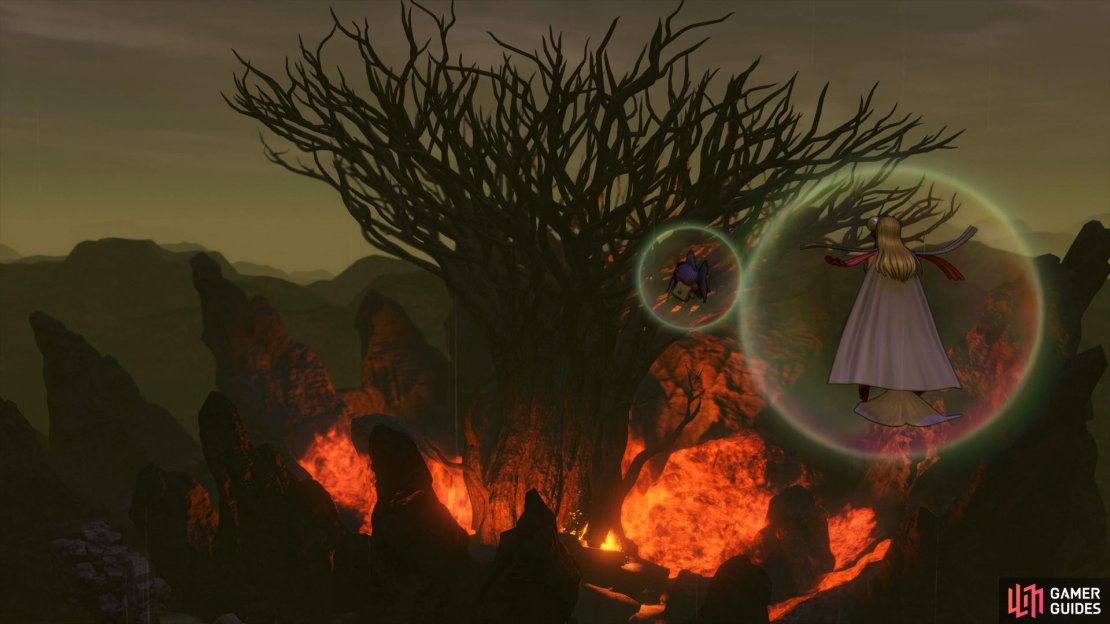
Yggdrasil has fallen and the Lord of Shadows rules supreme as the forces of evil continue to search for the Luminary. You awaken in a rather unexpected form, that of a fish. Upon leaving the room, a Merman will remark on your awakening and rush off to speak to Queen Marina.
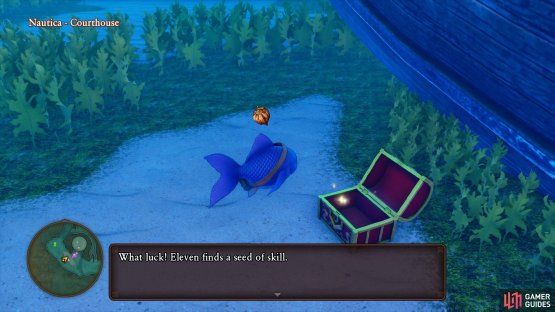
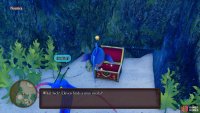
Before following him however, take the time to fully explore Nautica now. Begin by swimming over to the west side of the Courthouse to find a chest containing a Seed of Skill. Swim around the back now and into a cave to find a Sparkly Spot next to an open chest containing a Drasilian Sovereign. Return to the jet of water and take it up to the Upper Part of Nautica.
(1 of 2) Search in the Lower Part to find a Seed of Skill
Search in the Lower Part to find a Seed of Skill (left), there’s another chest to the southwest in the Upper Part. (right)
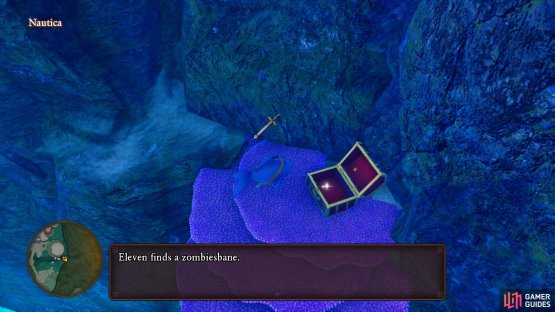
Swim to the southwest of the area up here and look on top to find a Sparkly Spot containing a Platinum Ore. Swim north a short distance and descend onto the roof of the house below to find another chest, this one housing an Elfin Elixir. Swim over to the southeast next and search high above the entrance to find another Sparkly Spot containing a Platinum Ore. Swim north from this location while keeping to the east and drop down a little to find a chest on a small platform, open it to obtain a Zombiesbane.
Swim north to where the Weapons shop is and search on the roof to find a Sparkly Spot containing a Red Eye. Swim over to the Item shop next and search that roof for another Sparkly Spot containing a Blue Eye. Swim north from here, past the next house and drop down a little to find a hidden chest containing a Mini Medal.
(1 of 2) Search to the east of the Upper Part to find a Zombiesbane
Search to the east of the Upper Part to find a Zombiesbane (left), while a Mini Medal can be found north of the Item shop. (right)
Swim over to the Palace next and up high to the north to find a Sparkly Spot containing a Purple Eye. Finally, swim over to the east of this location to find the final new Sparkly Spot containing an Enchanted Stone. Make your way into the Palace and swim up to speak to Queen Marina. She will fill you in on what happened in Erdrea during your absence. Take the Queen up on her offer and follow her into the room behind her to reach her private chambers and meet up with her once more. Touch the pearl when you’re ready to witness Erdrea in it’s current state, an unpleasent sight to be sure.
Once you regain control swim back out of Queen Marina’s private chambers and leave the Palace. Swim over to the center of Nautica to meet up with the Queen to discover that one of the Lord of Shadow’s minions has arrived. Once you regain control again, swim over and grab the juicy prawn to find yourself whisked out of the sea.
The Emerald Coast
| Monsters | HP |
|---|---|
| Vicious Khalamari Kid | ~72 |
| Vicious Slime | ~72 |
| Chasmonaut | ~138 |
| Vicious Garuda | ~124 |
| Vicious Dracky | ~84 |
| Ghoul | ~183 |
| Skelegon | ~243 |
| Vicious Metal Slime | ~4 |
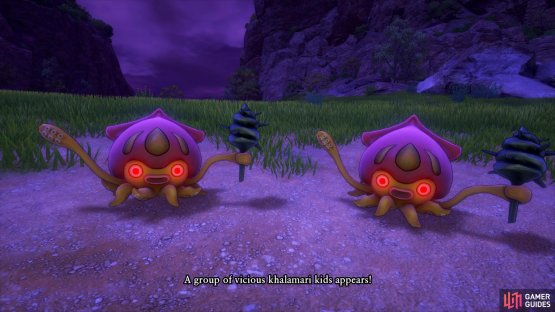
As you step out of the fisherman’s hut into the now gloomy Erdrea, you’ll notice its taken a drastic change. The monsters have all been replaced with Vicious versions of themselves offering more exp but also more of a threat.
As you walk down the pier, your new friend Blue John will let you know a bit more about the current world. He’ll also inform you about the Hero who has set up in The Last Bastion to the south. Before you begin the journey to the south, take a look at the merchant and buy anything that may catch your eye.
(1 of 2) Vicious variants of monsters will replace their regular counterparts
Vicious variants of monsters will replace their regular counterparts (left), you’ll need to register Zoom destinations all over again. (right)
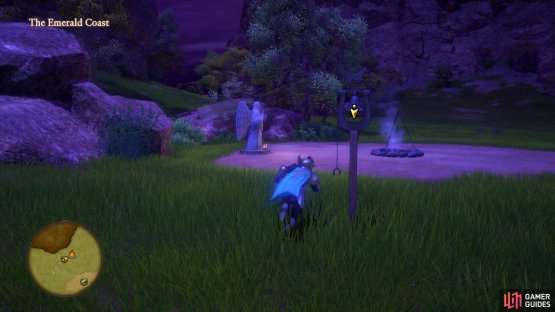
Start heading west as you begin battling some of the new enemies, there’s a chance to fight the ever elusive Metal Slime which will incur bundles of exp should you defeat it. Be sure to rest the at the nearby Camp to register it once more to your list of Zoom destinations and then head through the Cobblestone Falls to reach the Heliodor Region once more.
As you head out of the cave loot the two Sparkly Spots in the Parting Place to obtain a Rockbomb Shard and a Fatalistick before continuing south to where the ruins of Cobblestone once stood to find Sandy alive and well, beckoning you into the village. However, turn around and face the gate you just came through to find some barrels to break open containing Perfect Panacea and a Sage’s Elixir.
The Last Bastion
| Items | Area |
|---|---|
| Mini Medal | Northern house, barrel |
| Sage’s Elixir | Tower above hero’s house, pot |
| Magic Water | South of hero’s house, barrel |
| Special Medicine | South of hero’s house, barrel |
| 200G | South of hero’s house, barrel |
| Special Medicine | West of hero’s house, barrel |
| 100G | East of the Item shop, barrel |
| 77G | Tent east of the Church, barrel |
| Panacea | Outside Church, pot |
| Special Antidote | Outside The Royal Tent, barrel |
| Pink Pine | Outside Curch, barrel |
| Sparkly Spots | Area |
|---|---|
| Grubby Bandage | Southwest of the Church |
| Grubby Bandage | East of Civilians’ Refuge |
| Fatalistick | Cobblestone Tor entrance |
Following your tearful reunion with Gemma at long last, you’ll find yourself in The Last Bastion, the fort that was created in the remains of Cobblestone. Before you follow Gemma, take the time to loot all the new items found here.
Begin by heading behind you to the ruins of the northern house to find a barrel containing a Mini Medal. Head southwest into the corner by the river and search around the tree to find a Sparkly Spot containing a Grubby Bandage. Cross the bridge to the east next and open the door to access the fort. Head to where your home once stood and climb up the ladder of the large tower to reach a cannon with some pots next to it containing a Sage’s Elixir. Head back south down the path and climb the next ladder, following it around to a barrel containing a Magic Water. Just east of this location on the ground is another pair of barrels containing some Special Medicine and then continue east to find another ladder nearby leading to yet more barrels, these ones containing 200G.
(1 of 2) You’ll find a Mini Medal in the ruins of Gemma’s house
You’ll find a Mini Medal in the ruins of Gemma’s house (left), while a chest west of the Weapon shop houses some Gold. (right)
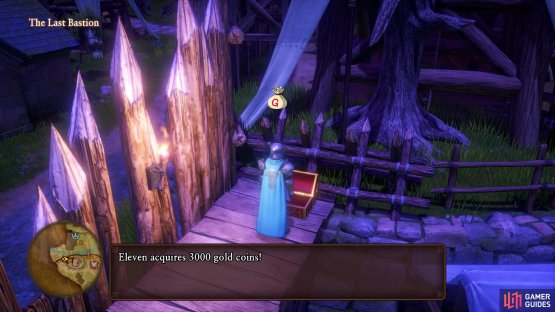
The Weapon shop here doesn’t have any items worth purchasing if you’ve been upgrading your gear via the forge but head west of the shop to find more barrels to smash containing a Special Medicine. Continue west and climb the ladder at the end to find a chest containing 3000G and then follow Gemma south to the Civilians’ Refuge and reunite with Amber.
After your catchup with Amber, head out to the pier to find another Sparkly Spot containing another Grubby Bandage. Head west towards the Item shop and break the barrels on your way to obtain 100G and then search inside the southeastern most tent to find a barrel containing 77G. Search outside the Church itself to find a pair of pots to smash containing a Panacea and some barrels containing a Pink Pine. Save your game should you need to and then grab the Sparkly Spot to the south containing a Fatalistick.
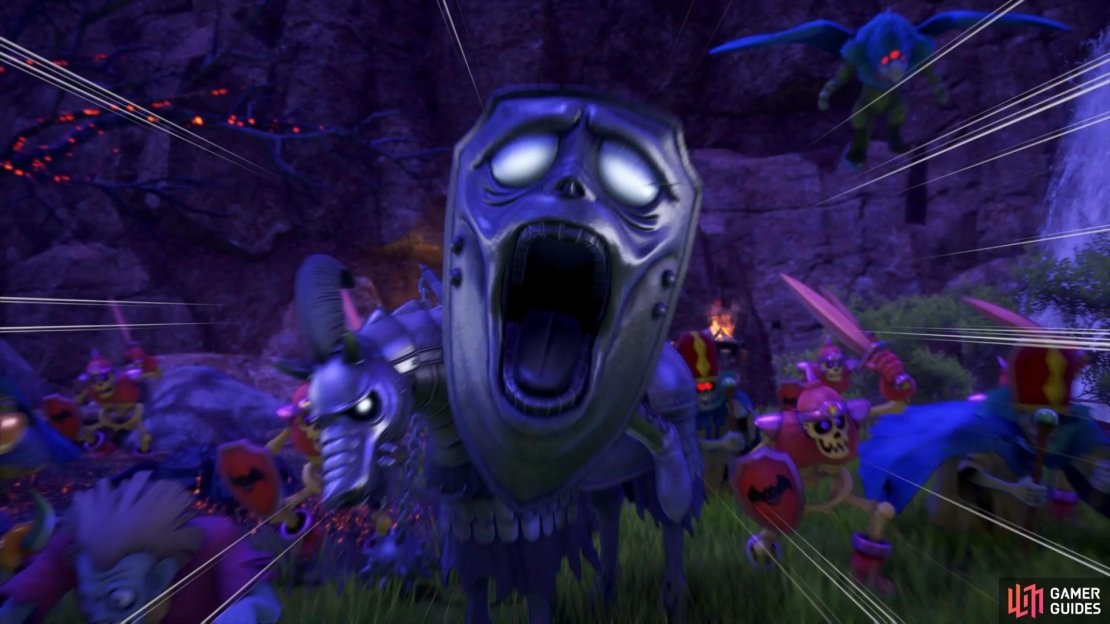
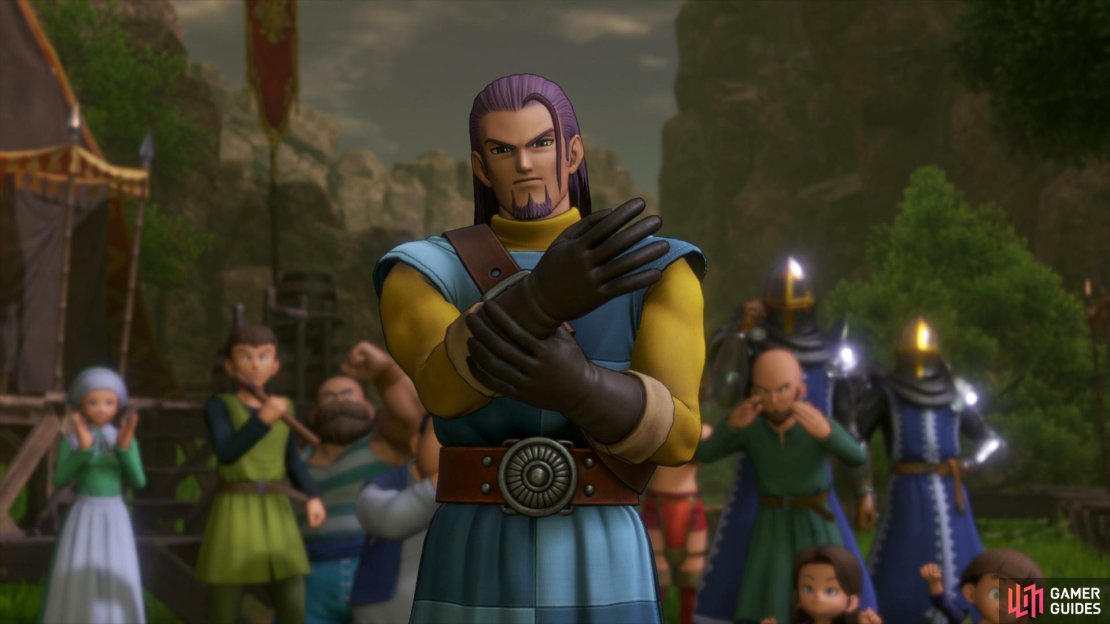
Make your way over to the Royal Tent now to meet up with the King before making your way to the north entrance to meet up with the Hero. Agree to the King’s request to aid Hendrick in stopping the incoming assault and head outside. Head out to the barricade to begin your preparations. Once you regain control, ignore the other monsters and make for Hendrik to the north, eventually you and Hendrick will find yourself against a headless rider.
Boss: Headless Honcho
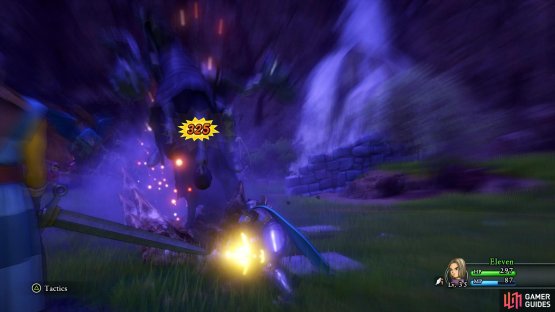
The battle against the Headless Honcho is not as difficult as you might expect. Hendrick acts great as a shield and will, at times, direct all attacks at him with the Forbearance skill while you concentrate on attacking. The Headless Honcho will attack you multiple times per combat round by swinging its mace, keep your HP above 150 to be safe from a sudden Critical Hit.
(1 of 2) Boom will take care of the lesser monsters quickly
Boom will take care of the lesser monsters quickly (left), while Unbridled Blade should make short work of the Honcho himself. (right)
Focus on taking out the lesser monsters first, starting with the Vicious Grim Gryphon to avoid it from casting Decelerate on you and allowing the others to attack first. Boom is an incredibly useful tool to take down them quickly as is Kasnooze to give you some breathing space. Once the lesser monsters are down, focus on using Unbridled Blade on the Headless Honcho, this should take him down in no time at all due to it only having around 690 HP.
Following the battle, return to the Last Bastion and head over to speak to the King. You’ll be informed of the mission to liberate Heliodor from the forces of darkness and receive the Sewer Key. Head back to the King’s tent when you regain control and search outside to find some more barrels to smash containing a Special Antidote. Leave The Last Bastion now as Amber will catch up and see you off before you and Hendrick make the journey to the Helidorian Foothills.
Heliodorian Foothills
| New Sparkly Spots | Area |
|---|---|
| Platinum Ore x2, Red Eye | Northeast, Ore gathering point |
| Fatalistick | Towards the Manglegrove |
| Rockbomb Shard | Towards the Manglegrove |
| Fatalistick | Southeast of the Sewers |
| Royal Soil | South of the Sewers |
| New Monsters | HP |
|---|---|
| Vicious Metal Slime | ~4 |
| Flamethrower | ~112 |
| Vicious Fright Bulb | ~93 |
| Vicious Leafy Lamlpling | ~109 |
| Vicious Funghoul | ~102 |
| Vicious Great Sabrecub | ~93 |
| Dullahan | ~336 |
| Vicious Stump Chump | ~145 |
| Vicious Great Sabrecat | ~260 |
You’ll find yourself in the Church in the Foothills and upon stepping outside, notice that the landscape has been ravaged. Flamethrowers and Dullahans join the rest of the upgraded monsters found here, none of which should pose that great of a threat to a Level 33+ Hero.
Before you make your way to the sewers however, take the time to gather the new Sparkly Spots around the Foothills while adding the new monsters to your Bestiary. Begin by following the path to the northeast towards Downtown Heliodor, there’s an Ore gathering point at the end here containing a Red Eye and two Platinum Ores. Head back down to the first intersection and take the path south towards the Manglegrove to snag another two new Sparkly Spots containing a Fatalistick and a Rockbomb Shard. Head north from the intersection next and into the large field, another Fatalistick can be found to the northeast while the final new Sparkly Spot can be found by taking the southwest path in this large field, you’ll obtain a Royal Soil for your troubles.
Make your way to the northwest of the area and climb the vine and follow the ledges to the secret sewer entrance. At the top, follow the long path down into the sewers.
Heliodor Sewers
| Items | Area |
|---|---|
| Seed of Strength | Southeast room, pot |
| Sage’s Elixir | Eastern room, chest |
| Mini Medal | Northwest room, chest |
| Perfect Panacea | Northeast room, pot |
| Saint’s Ashes | North, chest |
| Sage’s Elixir | West, chest |
| Sparkly Spots | Area |
|---|---|
| Gold Ore, Silver Ore, Platinum Ore | Dragon’s Lair, Ore gathering point |
| Mystifying Mixture | Central |
| Wing of Bat | Northeast |
| New Monsters | HP |
|---|---|
| Black Dragon | ~1050 |
You’ll need to trek through the monster infested sewers if you’re to reach Heliodor Castle once more. Before heading straight to the Sewers however, take the north path at the intersection and follow it all the way to the end to reach the Black Dragon from the beginning of your adventure. At long last you’re strong enough to defeat this fearsome foe and at this point, shouldn’t be too difficult. Don’t let your HP drop below 150 and make use of Unbridled Blade to deal massive amounts of damage to it and it will fall in no time. Your reward for beating this foe at last is an accolade and the satisfaction of revenge. Before leaving the Dragon’s Lair however, mine from the Ore gathering point to obtain a Gold Ore, Silver Ore and Platinum Ore. Return to the previous section and enter the main section of the sewers.
(1 of 2) You’re finally strong enough to get revenge against the Black Dragon
You’re finally strong enough to get revenge against the Black Dragon (left), you’ll find a Seed of Strength in the first locked room. (right)
Follow the walkway to the first corner and unlock the first door here, inside you’ll find some pots you can smash containing a Seed of Strength. Continue along the path to the next room and unlock this also, there’s a chest inside containing a Sage’s Elixir. At the next intersection, take the long way around anticlockwise to nab a Sparkly Spot containing a Mystifying Mixture on your way to the north path.
Follow this path to yet another intersection and take the northern path to a pair of doors you can unlock. In the left room you’ll find a chest with a Mini Medal and in the right, a pot containing a Perfect Panacea. Come out of this room and go east at the next intersection to find a Sparkly Spot containing a Wing of Bat before heading north to another Sparkly Spot containing a Medicinal Herb. Open the door here and follow it to the end to open another chest, this one containing a Saint’s Ashes. Finally, make your way back to the west and open the final door near the dungeons entrance to find the final chest containing another Sage’s Elixir before taking the stairs up to the dungeons.
Heliodor Castle
| Items | Area |
|---|---|
| Iron Headgear | Dungeons, Upper Level, chest |
| Seed of Skill (Cannibox) | Dungeons, Upper Level, chest |
| 5000G | Dungeons, Upper Level, chest |
| Horse Manure | Dungeons, Upper Level, pot |
| Seed of Defense | Dungeons, Upper Level, pot |
| Grubby Bandage | Dungeons, Lower Level, pot |
| Saint’s Ashes | Dungeons, Lower Level, chest |
| Cowpat | Dungeons, Lower Level, pot |
| Mini Medal | Dungeons, Lower Level, pot |
| Platinum Sword | Bottom Floor, Jasper’s Quarters, chest |
| The Devil’s in the Details | Bottom Floor, Jasper’s Quarters, bookshelf |
| Special Medicine | Bottom Floor, northwest, barrel |
| A Recipe Book of Regal Regalia | Middle Floor, King’s Bedchamber, bookshelf |
| Leather Cape | Middle Floor, King’s Bedchamber, bookshelf, wardrobe |
| Little Lifesavers | Middle Floor, Queen’s Bedchamber, chest |
| Marquess’s Mittens | Middle Floor, Queen’s Bedchamber, wardrobe |
| Gold Bar | Middle Floor, Southern room, chest |
| Sage’s Elixir | Middle Floor, outside Throne Room, chest |
| Sparkly Spots | Area |
|---|---|
| Drasilian Sovereign | Top Floor |
| Monsters | HP |
|---|---|
| Cannibox | ~208 |
| Skeleton Swordsman | ~157 |
| Infernal Armour | ~165 |
| Dullahan | ~336 |
| Hocus-Poker | ~159 |
| Iron Maiden | ~188 |
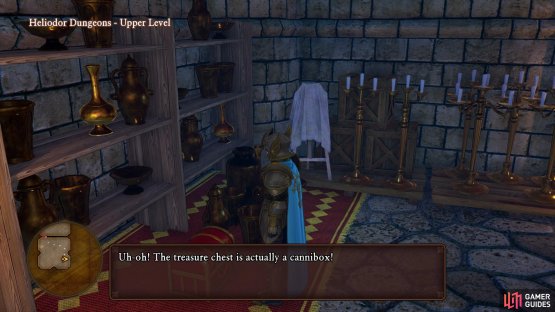
You’ve arrived safely at Heliodor Castle and find yourself back in the dungeons you spent time in at the beginning of your adventure. Head south to the end of this path and open the door to find three chests containing an Iron Headgear, Seed of Skill (Cannibox) and 5000G. Leave this room and head west to an intersection, taking the southern path first.
(1 of 2) The chest in the southeast corner of the large room is a Cannibox
The chest in the southeast corner of the large room is a Cannibox (left), make use of the facilities on the Upper Level of the Dungeons. (right)
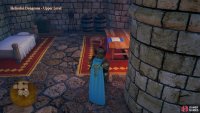
You’ll find three rooms here that you can search and starting with the west, you’ll find a pot containing some Horse Manure. The eastern room is empty but in the southern room you’ll find an acting Church, a bed to rest on and a pot you can smash containing a Seed of Defense. Head north now and take the stairs down to the Lower Level of the dungeons where you’ll find a room on your left with a pot containing a Grubby Bandage and a chest containing a Saint’s Ashes.
Follow the path around to where you’ll find the cells and search in the north east and south cells to find pots containing a Cowpat and a Mini Medal. Return to the Upper Level now and take the stairs in the northwest to reach the Bottom Floor of the Castle.
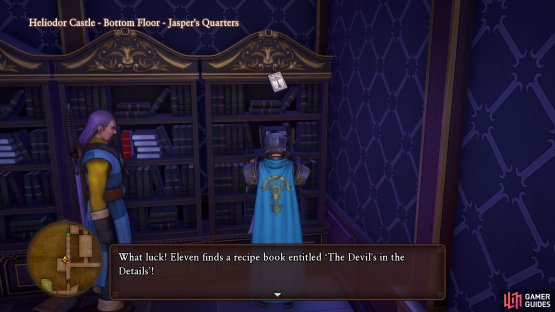
Follow the corridor south and enter Jasper’s Quarters on your right, you’ll find a chest here containing a Platinum Sword and then search the bookshelves to obtain a new Recipe Book, The Devil’s in the Details. Leave the room and follow the corridor east past the first intersection and then south into the main foyer.
(1 of 2) Search Jasper’s Quarters to find a Recipe Book on the bookshelf
Search Jasper’s Quarters to find a Recipe Book on the bookshelf (left), the southern shelves can be moved to find the hidden passage. (right)
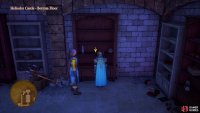
Hendrick will note that the main stairs have been laid to waste and that you must find another way up to the Throne Room. Head west into the Courtyard to find an Yggdrasil root waiting for you, touch it to gain a glimpse into the pasts of Hendrick and Jasper. With a route now determined, head back through the door in the northeast and follow the corridor through the Dining Hall, into the Kitchen and then into the storage room. Break the barrels to obtain a Special Medicine and then search the southern shelves to find a hidden passage.
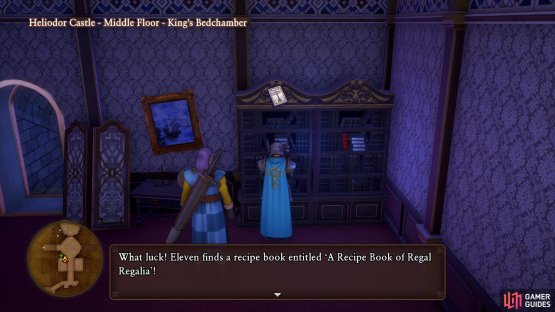
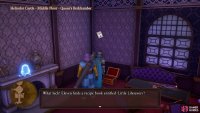
Upon taking the stairs up, you’ll find yourself in the King’s Bedchamber. Search the nearby bookshelves to score yourself another Recipe Book, A Recipe Book of Regal Regalia and then open the wardrobe to obtain a Leather Cape. Leave this room and head into the Queen’s Bedchamber opposite to find a chest containing another Recipe Book, Little Lifesavers’ along with a wardrobe you can search for a pair of Marquess’s Mittens.
(1 of 2) The King’s Bedchamber has another bookshelf with a Recipe Book
The King’s Bedchamber has another bookshelf with a Recipe Book (left), as does a chest in the Queen’s Bedchamber. (right)
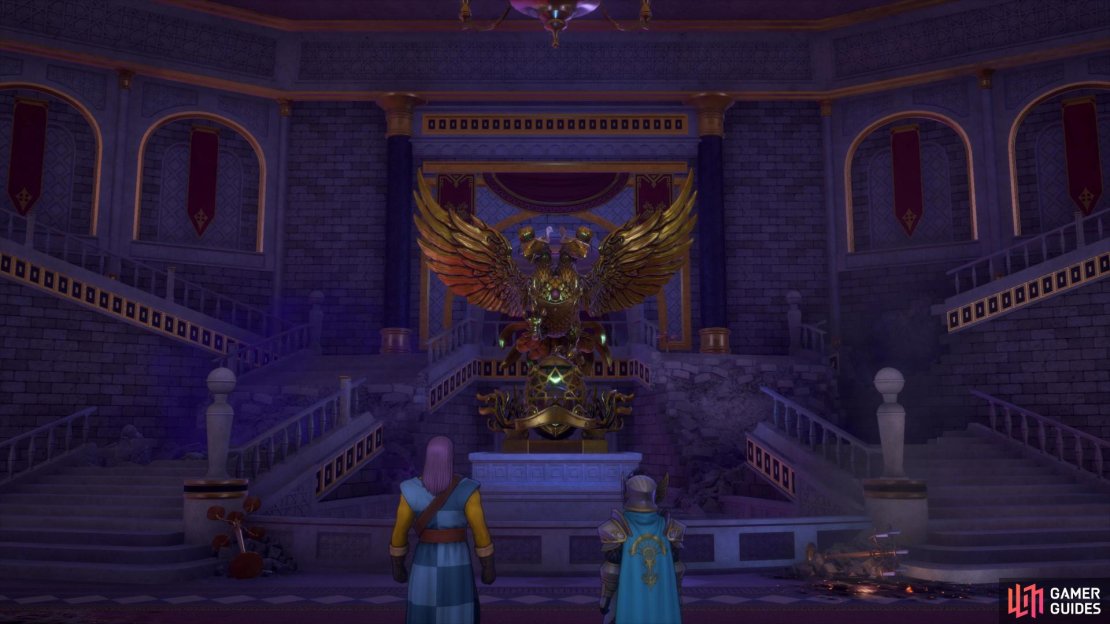
Leave this room and take a short detour to the south, entering the southern most room. You’ll be able to finally open the chest that you first discovered back at the beginning of your adventure, inside you’ll obtain a Gold Bar. Head toward the Throne Room now to find the final chest containing a Sage’s Elixir and then take the stairs up to the west, following the path to the Sparkly Spot in the center containing a Drasilian Sovereign. With all the items looted, recover your HP and MP and then finally enter the Throne Room to meet with the Usurper. Following the heated exchange with Jasper, you’ll have to face off against his Spectral Sentinel.
Boss: Tyriant
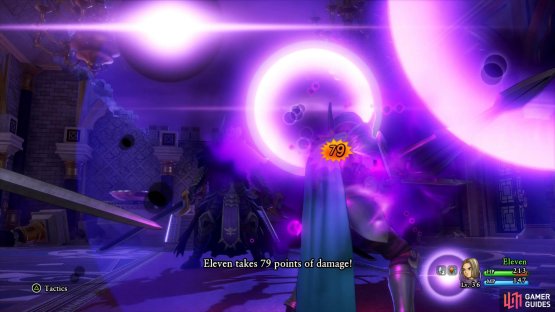
Tyriant can be quite a challenging foe with just the Hero in your control. You’ll have Hendrick to aid you and if all goes well, he’ll use Forbearance to direct attacks his way. Tyriant’s main threat comes from when he summons his Shadow. On top of this, he’ll frequently block your attacks while in his Sword Stance so consider switching to magic at that point. Zammle is also a constant threat throughout the battle, the dark based elemental spell has a tendency to deal Critical Damage and you’ll suffer over 75HP from it.
(1 of 2) Zammle is Tyriant’s most damaging spell
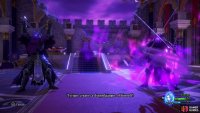
Zammle is Tyriant’s most damaging spell (left), focus on any Shadows that he summons. (right)
Hendrick will provide you with Kabuff which will help increase your defenses and don’t let your HP drop below 150. Once any Shadows are summoned, make them your main target as they only have around 280 HP, an Unbridled Blade can take it out in one fell swoop. Continue to damage Tyriant with your heaviest hitting single target skills and keep your HP up to take down the Spectral Sentinel.
Following Tyriant’s defeat, you’ll reclaim the Purple Orb and return the light to Heliodor. With the battle won, Hendrick suggests to make your way back to The Last Bastion to see the extent of the damage. Ignore the horses nearby and simply Zoom back to The Last Bastion to save yourself some time.
As you enter The Last Bastion once more, it all seems alarmingly quiet. Make your way south and into the Civilians’ Refuge to hear the sounds of Heliodor’s battle cry and discover that everyone is safe. It’s also at this point that the final party member joins you officially in Hendrick.
Eight’s Playstyle
Hendrick is a unique character in that he gets three weapons to play with along with an exclusive Shield skill tree. He comes with Midheal, Buff, Kabuff and Magic Barrier and will eventually learn Moreheal and Kerplunk making him very effective at dishing out defensive buffs to your party. With all of this in mind, it’s best to make Hendrick a tank. Building him this way will allow him later in the game to block multihitting enemy attacks, shielding the party from any damage.
Its for that reason that you need to keep the Shield equipped on Hendrick and forego the Greatsword. This leaves you with options in Swords and Axes and both are very useful. Swords start off a lot weaker but near the end of the game become very strong along with a unique Sword in Act III that helps him tank even better. Axes on the other hand are exclusive to Hendrick and are more damaging for all of Act II, for this reason it’s suggested to start with Axes to begin with. Your first unlocks in his Character Builder should be in the Shield tree such as Defense +10/30 with Shields, Holy Impregnable and Block Chance +4%. Consider holding off on Desperate Measures for now and grabbing Parallax and Attack +20 with Axes for now.
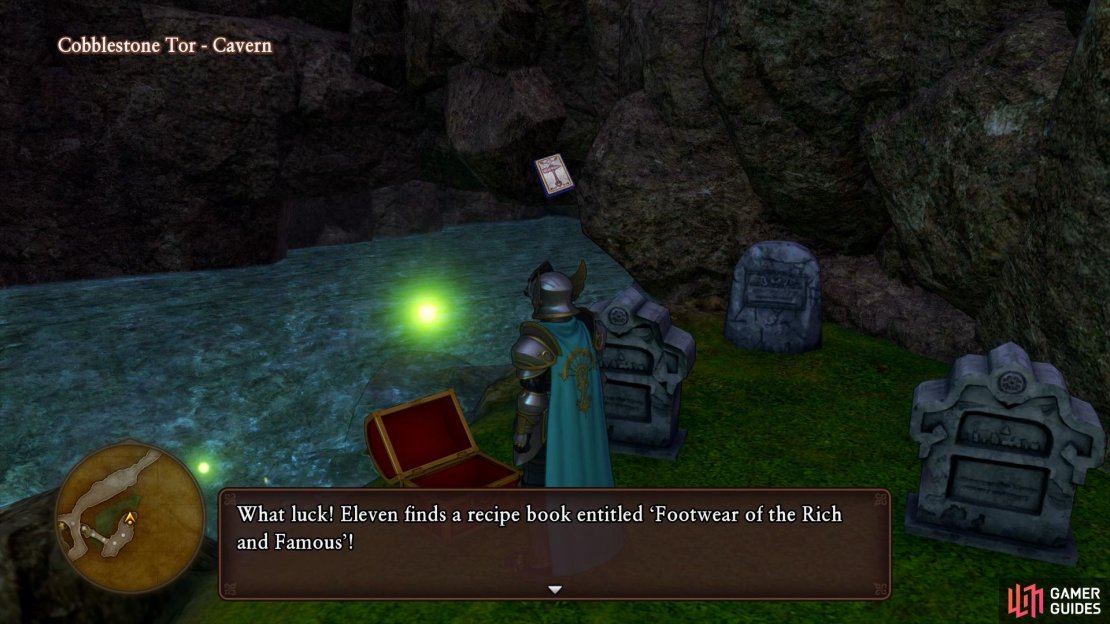
Before heading off to meet with the King in his tent, make a quick detour to Cobblestone Tor and head into the Caverns. Follow the path to the second intersection and take the western route down the stairs where you’ll notice the water level has lowered. Follow this path all the way down to the end to find a chest, open it to obtain a new Recipe Book, Footwear of the Rich and Famous.
The water level dropping allows you reach this chest in Cobblestone Tor.
Return to the Last Bastion and head to the King’s tent, he’ll hand over the impressive Shield of Heliodor and guide you to Mount Pang Lai by way of the Manglegrove. When you’re ready, save your game at the Church and then head out for the Manglegrove.
























No Comments