Pastword
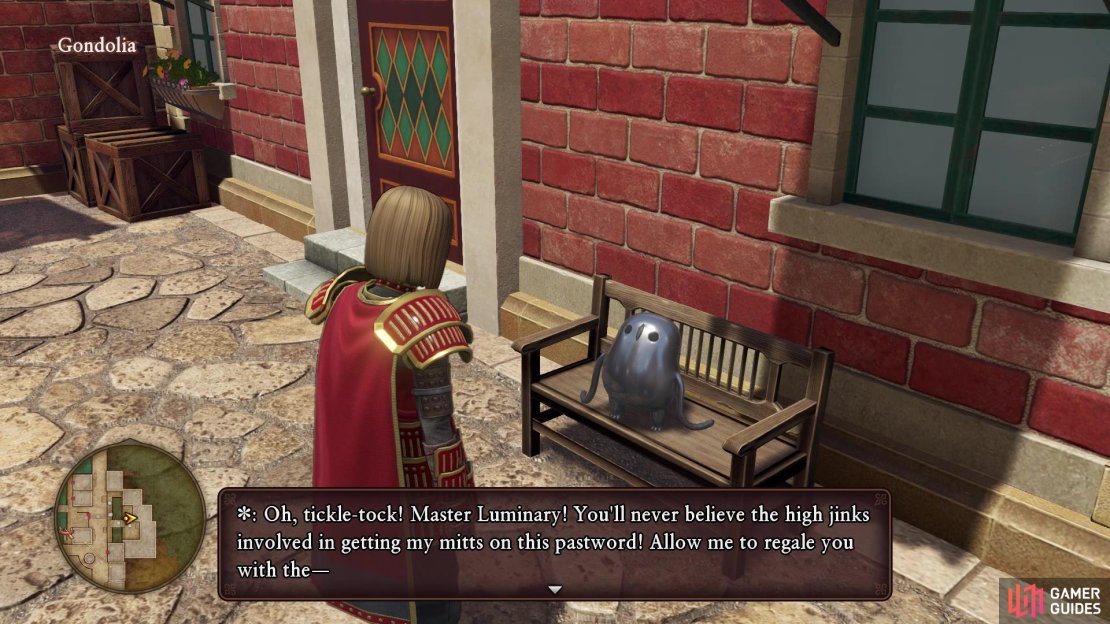
Once you have the Ultimate Key from Havens Above in the final part of the game, head to Gondolia (might need to clear the story event there) and pass through the locked door. Near the one chest that contains 50000G, there is a small bench and the Tockle will be sitting on that bench.
It can be a little hard to spot this Tockle on the bench here
Walkthrough
As you arrive in this area, you can check the breakables around the village for some measly amounts of gold, as well as a Single Phial. Speak to the NPC standing in front of the central structure to find out their guardian deity, the Galapagod, has been taken by monsters. She wants you to go rescue him, with the monsters taking him to Baramos’s Castle (the first one). Thankfully, there are no random encounters here anymore, so you don’t have to worry about getting into fights. You simply need to go through the place like normal, until you reach the former king sitting on his throne, with the double doors to the south of him. Once you go outside, you will see some monsters harassing the Galapagod to your left, so talk to all of the monsters to get thrown into a battle with them.
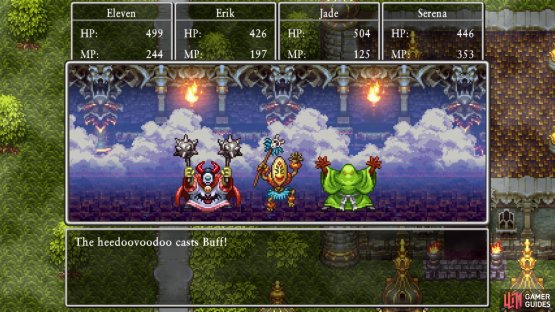
Despite them being regular monsters, this battle can be a bit tricky. You are up against a Wrecktor, a Heedoovoodoo, and a Leger-de-Man. Of the three, the Heedoovoodoo should be your first target, as it can use Buff on the others to boost their defenses, as well as Fuddle to try and confuse one of your party members. You will also see it try to curse a party member. You will definitely want to have someone who can use Sap to counter the Buff, because the Heedoo’s defense is pretty high with it. You might also see the Heedoo use Moreheal, but this shouldn’t be too much of a problem.
As for the other two, Wrecktor can use Bounce on someone to make sure you can use magic for a turn, as well as Anathematise to lower someone’s magical defense a little bit. This will make its only damaging spell hurt a bit more, which is Boom. The Leger-de-Man has both Kafrizz for single target damage, and Kacrack to hit your entire party. The Leger-de-Man has Kafrizz, which targets a single character, as well as Kacrack, hitting everyone. There is also Fizzle, which can stop your characters from doing spells, something you don’t want, although most of your damage here will be coming from Abilities.
(1 of 2) The Heedoo’s Buff makes physical attacks not as effective
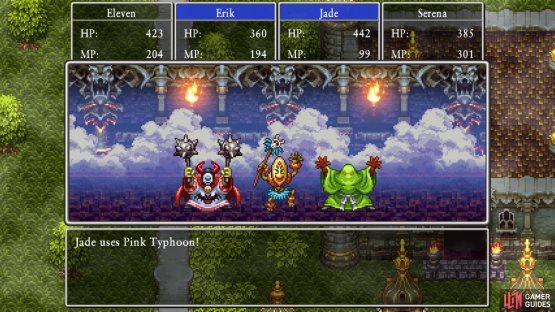
The Heedoo’s Buff makes physical attacks not as effective (left), Use skills like Pink Typhoon, Gold Rush and Quadraslash (right)
Physical attacks are not going to be as good in this fight, since their physical defense is high, kind of requiring Sap to do anything substantial. However, your characters should have access to some of the more damaging skills that hit all enemies, like Jade’s Pink Typhoon/Tornado and Sylvando’s Gold Rush, as well as the Hero’s Quadraslash. These are nice because they either do fixed damage (Gold Rush) or some kind of elemental damage, so they’re not physical and won’t be mitigated by Buff. Keep your characters’ health above 200, just in case, and this battle should be a bit easier once you do the above.
With the battle won, you will use the Zoomstone given to you to automatically warp back to Tenton, where you can speak with the questgiver to receive you reward, a Pep Pop.
No Comments