Heliodorian Foothills
| Items | Area |
|---|---|
| Strong Medicine | Church, pot |
| Flaxen Thread | Church, pot |
| Single Phial | Back of the Church, barrel |
| Pointy Hat | Well outside the Church, chest |
| Hardy Hide | Well outside the Church, pot |
| Red Eye | Heliodorian Foothills, chest |
| Seed of Strength | Heliodorian Foothills, far west, chest |
| Sparkly Spots | Area |
|---|---|
| Small Scale | Well outside the Church |
| Sleeping Hibiscus | Heliodorian Foothills, close to The Manglegrove entrance |
| Antidotal Herb | Heliodorian Foothills, far north |
| Medicinal Herb, Antidotal Herb, Cottontop | Heliodorian Foothills, northwest, Flower gathering point |
| Cottontop | Heliodorian Foothills, northwest corner near waterfall |
| Cottontop | Heliodorian Foothills, open area |
| Beast Bone | Heliodorian Foothills, far west |
| Copper Ore x2, Flintstone | Heliodorian Foothills, Ore gathering point |
| Flurry Feather, Buzzberries x2 | Heliodorian Foothills, Tree gathering point |
| Butterfly Wing | Heliodorian Foothills, outside entrance to Heliodor |
| Monsters | HP |
|---|---|
| Fright Bulb | ~13 |
| Lampling | ~9 |
| Platypunk | ~19 |
| Bodkin Archer | ~17 |
| Great Sabrecub | ~19 |
| Great Sabrecat | ~76 |
| Funghoul | ~19 |
| Stump Chump | ~19 |
After the opening cinematic, you’ll find yourself resting in a bed of a nearby church. It seems you needed some time to recover from your latest escapades and this Church in a new region of Heliodor was the ideal place. Once you gain control, smash the nearby pots to obtain a Strong Medicine and a Flaxen Thread. Note that you can freely make use of this bed at any time to recover if you need to.
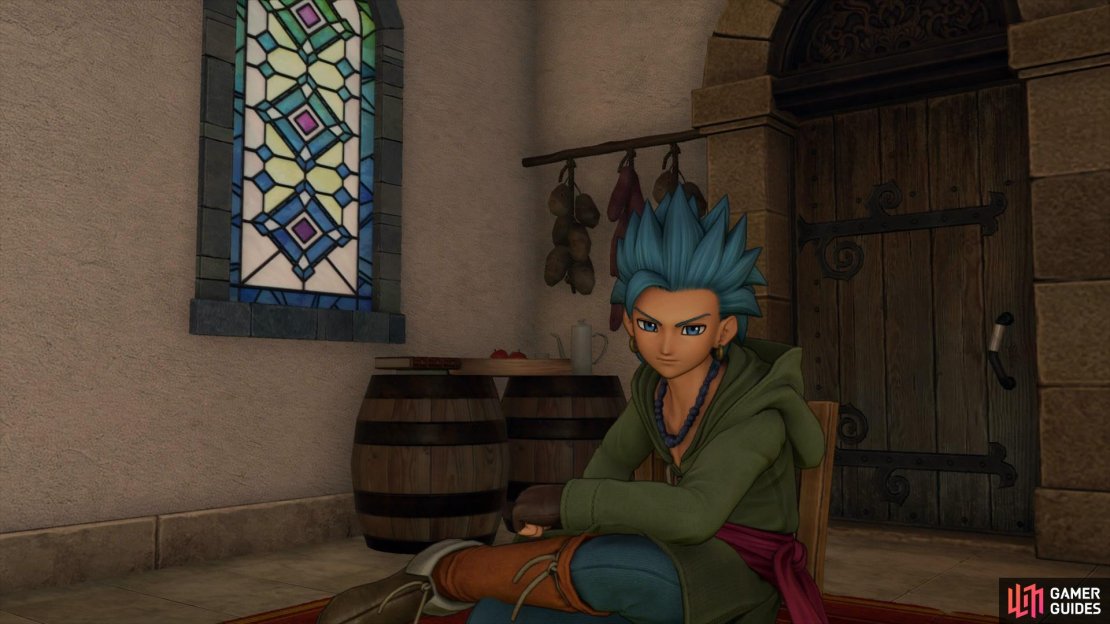
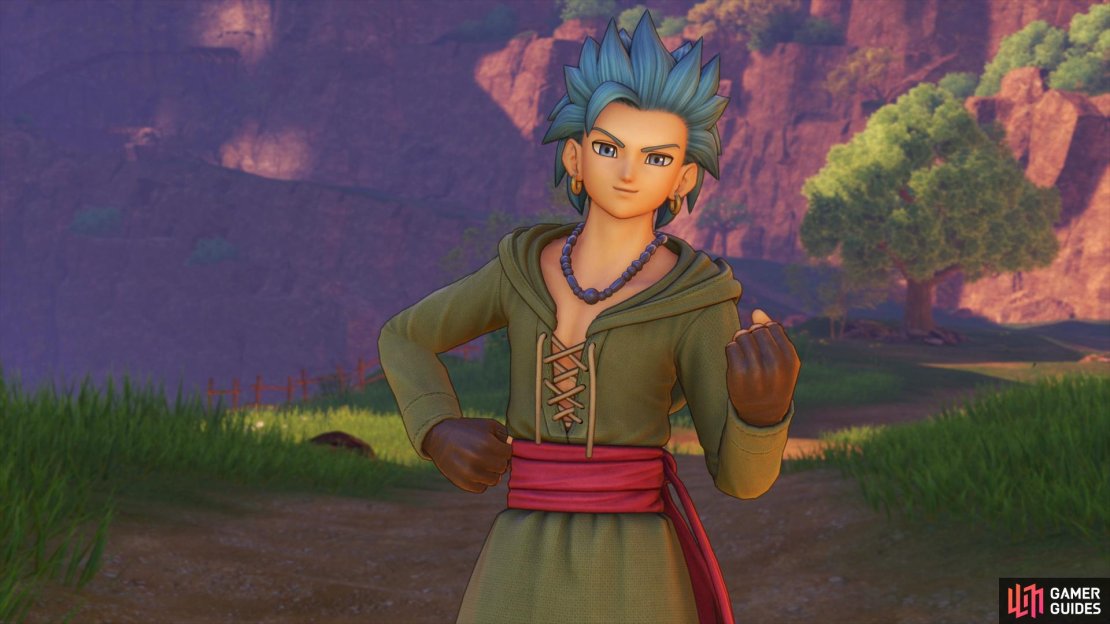
Exit your chambers and head over to the Priest to find out just why she helped you in your time of need and to catch up on the latest news. Following this chat, head outside the Church to speak with Erik. If you’re to avoid Hendrick on the way back to Cobblestone then you’ll need to take the back route, something that Erik knows all about. He won’t offer his help for free however, there’s something he left back at Heliodor that he needs first. Agree to help and Erik reveals that he’s destined to help the Luminary, he’ll don you with a disguise before officially joining the party.
Erik’s Playstyle
With two party members at your disposal, it’s time to take a look at some of your options. Erik can use Swords, Knives and Boomerangs and each one will vary his playstyle dramatically. To begin with, Boomerangs start of somewhat weak and it’s not until around the middle of Act II when they come into their own, making him a powerhouse. They do however, have the elusive Metalicker ability which can help somewhat with Metal Slime killing even if there’s better alternatives.
Swords are wasted on Erik, his other choices are better so it’s for that reason that this guide will be taking him down the Knives path for now. He’ll learn abilities that will allow him to inflict status effects which he can then inflict six times the regular damage on enemies suffering from them, very useful. On top of that, Erik is your Thief in Dragon Quest XI and with that comes the ability to Steal (or Half-Inch) from enemies, be sure to pick this up as soon as possible. Note that for now, the AI will be controlling Erik unless you change the battle tactics to control him yourself, this is highly recommended.
Finally, you’ll get a short tutorial on how Pep Powers work when you find yourself in a Pepped up state. Once two or more party members are in this state you’ll be able to unleash powerful combination attacks provided the party members in question have learnt the required skills. For now work on getting Erik Sleeper Hit and Pursecutter from the Knives tree along with Half-Inch so he can steal. Also don’t forget to equip Erik with any armor you have lying around and transfer some Medicinal Herbs into his inventory.
Exploring the Heliodorian Foothills
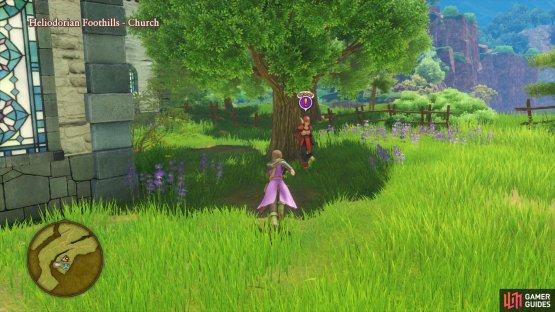
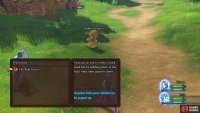
Now that you’re a two man army, head to the nearby Warrior and listen to his request. He wants to witness to people fight in tandem, pulling off a Pep Power. Agree to help him to accept Quest 04: It Takes Two to Tango, you’ll need to use the Real Decoy to defeat an enemy to satisfy him. In order to perform the attack, you’ll need both the Hero and Erik in a Pepped up state, something that is largely out of your control until later in the adventure. Stick around fighting battles and as soon as both characters enter the Pepped Up state, use the attack to complete the quest.
(1 of 2) Speak to the man outside the Church to begin another quest
Speak to the man outside the Church to begin another quest (left), once Erik and the Hero are Pepped Up, use The Real Decoy on it to complete the quest. (right)
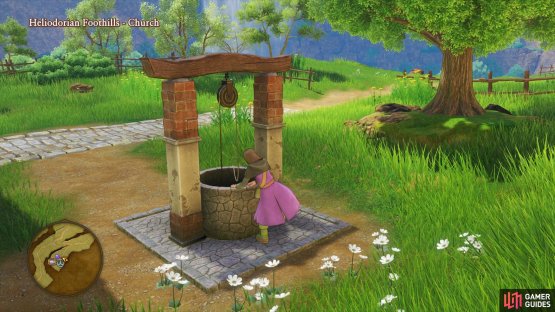
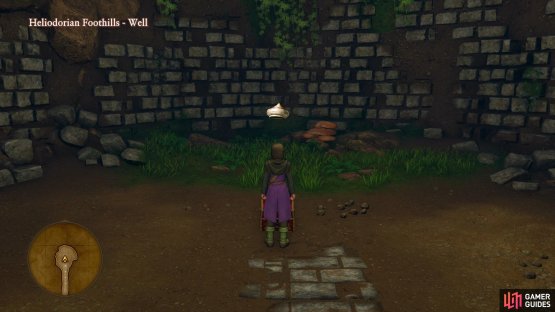
Your next destination is to the north, back at Heliodor but for now, take the time to explore your new surroundings, there’s plenty of items to find. Head around the back of the Church to begin with to find two barrels to break, inside you’ll find a Single Phial. There’s also a well at the front here, climb down to find a three way split. Head north to find a Pointy Hat (be sure to equip this right away), to the east you’ll find a Sparkly Spot containing a Small Scale and finally to the south you’ll spot some pots, smash them to obtain a Hardy Hide.
(1 of 2) Drop into the nearby well
Drop into the nearby well (left), among the items you’ll find a chest with a Pointy Hat, equip it right away. (right)
Climb back out of the well and head north to the first intersection. Following the path to the northeast will take you to your objective so ignore it for now and head down the hill to the west. Take a south at the next intersection, there’s only one item to find down here very close to the entrance of The Manglegrove near a tree, the Sparkly Spot contains a Sleeping Hibiscus. Take the time to fight some of the new enemies here, the Stump Chump will heal his allies so always take care of them first. The Great Sabrecub’s can be lethal too if they swipe twice so be sure to keep your HP up.
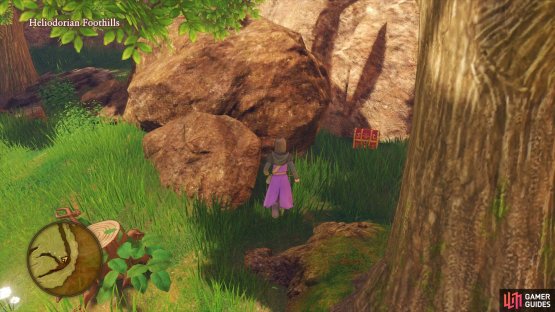
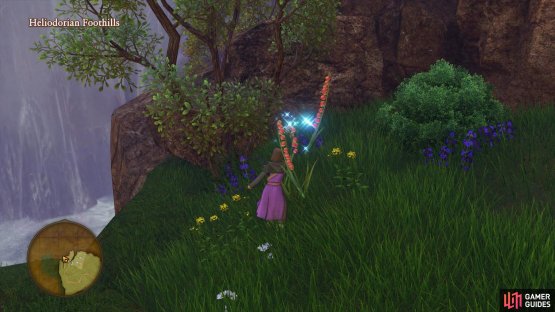
Continue north back to the earlier intersection and head north again, once the area opens up more, search to the southeast corner to find a chest in the corner between a tree and some rocks containing a Red Eye. Head north as far as you can from here where you’ll find a Sparkly Spot behind a tree containing an Antidotal Herb. Head west from this spot to find a rope you can climb, at the top you’ll find a Flower gathering point containing a Medicinal Herb, an Antidotal Herb and a Cottontop.
(1 of 2) Search in the southeast corner near in the open field before the waterfall to find a hidden chest
Search in the southeast corner near in the open field before the waterfall to find a hidden chest (left), climb up the rope to reach a Flower gathering point. (right)
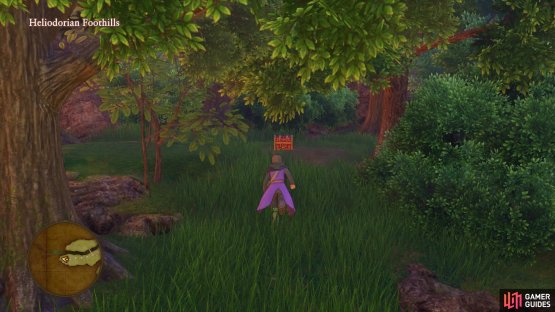
Climb back down the rope and head west towards the waterfall, there’s a Sparkly Spot in the corner here containing another Cottontop. Proceed southeast from here to spot another Sparkly Spot in the corner by a tree containing yet another Cottontop. Take the path south now and follow the path all the way to the end, ignoring the bridge for now to find a chest containing a Seed of Strength. Make your way back to the bridge and cross over to it, beware of the Great Sabrecats here, although they give great EXP for now, they also have a lot of HP and dish out some nasty damage, keep yourself healed. In this area you’ll come across a Sparkly Spot to your right containing a Beast Bone and an Ore gathering point containing two Copper Ores and a Flintstone.
(1 of 2) Head past the bridge to the west to find a Seed of Strength in a chest under the trees
Head past the bridge to the west to find a Seed of Strength in a chest under the trees (left), beware of the Great Sabrecats when you cross the bridge, they hit hard so keep your HP topped. (right)
You’ve gathered most of the items for now so make your way back to the Church to save and rest if you need to. Hopefully you’ve managed to complete the quest while you was exploring, if not, fight some more battles until you do. You’ll receive a Gold Chain for your troubles which will increase your Max HP by 5 along with a small increase in Defense and Charm, be sure to equip this to one of your heroes.
With your business concluded for now, it’s time to make your way back to Heliodor to help Erik with his task. Head north from the first intersection and follow the path up the hill, keeping to the right to find a Tree gathering point containing a Flurry Feather and two Buzzberries. There’s just one more item remaining here, follow the path until you reach the stairs leading up and head down the path to the left of them, you’ll spot a Sparkly Spot containing a Butterfly Wing. Return the way you came and head up the stairs to enter Heliodor once more.
Downtown Heliodor
| Items | Area |
|---|---|
| Chimaera Wing | Inn, pot |
| 4G | West of Church, barrels |
| 5G | Opposite Church, barrel |
| Horse Manure | Opposite Weapon shop, barrel |
| Seed of Agility | Upper Layer, chest |
| Medicinal Herb | West of Item shop, pot |
| 12G | Upper Layer, barrel |
| Chimaera Wing | Upper Layer, pot |
| Flintstone | Upper Layer, pot |
| Drasilian Guinea | Upper Layer, chest |
| 9G | West of Armor shop, under the archway |
| 2G | East of Armor shop, barrel |
| Antidotal Herb | East of Armor shop, barrel |
| Flintstone | Ruby’s Inn, 2nd floor, pot |
| Flaxen Thread | Back of lookout tower, barrel |
| Flintstone | Heliodor, near Downtown entrance, pot |
| Mini Medal | Heliodor, Derk’s Shop, pot |
The lower layer of Heliodor is a lot different to the upper layer, poverty reigns supreme here. Erik and his partner stole a precious Orb passed down through generations of Heliodor royalty but Erik had to stash it before he got caught. Before you do anything however, take the time to explore this new part of Heliodor to loot all the items.
Start by heading inside the Inn in front of you to find some pots, inside you’ll find a Chimaera Wing. Head towards the Church and you’ll find some hay that you can leap on, allowing you to reach the barrels here. Smash them to obtain 4G before using the Church to save should you need it. Opposite the Church are some more barrels you can access by jumping onto the crates, you’ll find 5G in one of them.
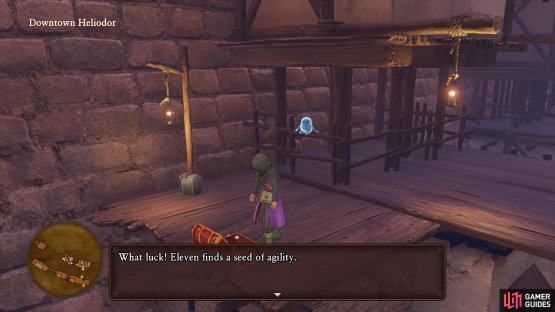
Continue along to the Weapon shop, there’s a better Dagger for Erik here, be sure to buy it if you have the funds for it. There’s two more barrels opposite the Weapon shop, inside you’ll find some Horse Manure (lovely). Climb the crates next to these barrels to reach the platform above along with a ladder. Up here, carefully walk across the rope to your left to find a chest containing a Seed of Agility.
(1 of 2) Climb the ladder to reach the upper layer and find a chest with a Seed of Agility
Climb the ladder to reach the upper layer and find a chest with a Seed of Agility (left), cross over to the other side and climb to the upper layer once more, at the end of the path is a chest you can drop down to. (right)
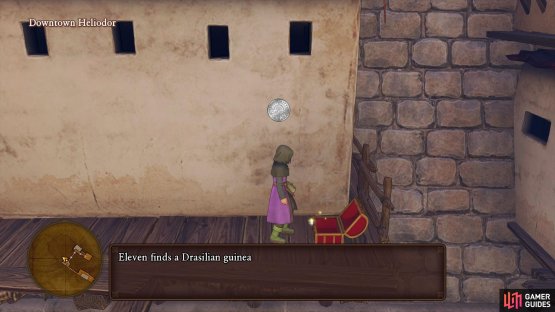
Drop back down where you came from and continue along, to the right of the Item shop are two pots, one of which contains a Medicinal Herb. Take the ladder up to the upper layer once more and take a left to find two more barrels to smash containing 12G. Take the next ladder up and follow the path along until you come across two more pots, one of which contains another Chimaera Wing. At the far end you’ll reach a sign, hug the wall and carefully walk across the planks, a chest awaits you below but first cross the rope to the other side where you’ll find some pots containing a Flintstone. Return across the rope and drop down to the chest below, inside you’ll obtain a Drasilian Guinea which can be sold for a hefty 500G at any shop.
Drop back down to the Lower Layer now and continue along, you’ll find Erik’s stash just to the east, go ahead and examine it to search for the Red Orb. Unfortunately, it seems like Erik’s partner, Derk has taken it and he’ll suggest to check out a place the two of them used to frequent. Continue under the archway and look by the right wall, two more pots are here waiting to be smashed and you’ll obtain 9G.
The Armor shop is up next, the only new item on the list is the Boxer Shorts however they’re not very useful. Be sure to pick up the Leather Armor for Erik however, sell any coins you may have on you to make up the funds should you need it. Just outside the building that Erik mentioned to you earlier is three barrels, inside you’ll obtain 2G and an Antidotal Herb. Head on inside now to discover the person you’re looking for, Ruby, is not here and Erik suggests you use the lookout tower to see if you can spot her. Before you leave however, head up the stairs to find two more pots to smash, you’ll receive another Flintstone.
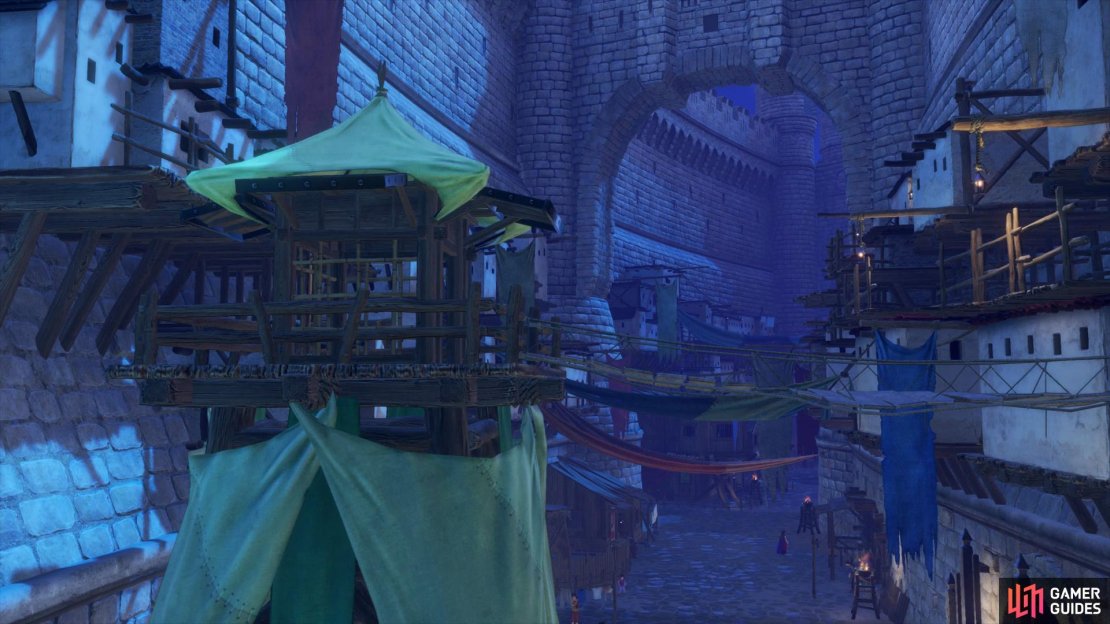
Exit and continue along to the east, the next door is locked, you’ll need the Magic Key in order to access the chest inside. You’ll spot the lookout tower up ahead, head around the back of it first to spot some more barrels where you’ll find a Flaxen Thread inside. Climb the ladder to the top and you’ll spot a guard refusing entry to the richer side of Heliodor, take note of the interactions here, you’ll need to use these to your advantage shortly.
After spotting the woman in question, climb back down to meet up with Erik once more. Head back to the previous house and talk to the woman, it appears Erik’s partner has made quite the living for himself, something which prompts Erik to assume he not only sold the Red Orb but even sold out his partner as well. Unfortunately the guard stands in your way of the exit to the wealthier reaches of Heliodor.
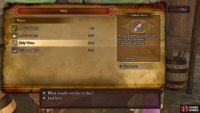
(1 of 2) Purchase a Holy Water from the nearby Item shop
Purchase a Holy Water from the nearby Item shop (left), present this along with a Buzzberry to the girl and gain use of the dog, allowing you to scare away the guard. (right)
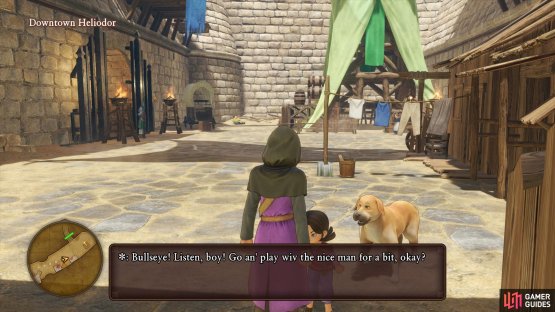
Cast your mind back to what you witnessed earlier, there’s numerous ways you can solve this conundrum. You can of course choose to pay the guard off, however this will cost you 2000G, something that you’ll most likely not have yet. Your best option is to make use of the nearby dog to scare him off. Head back to the Item shop and purchase a Holy Water if you don’t already have one before heading over to the girl with the dog near the guard. She’ll request a Buzzberry (which you should have picked up before you came here) and the Holy Water you just purchased. The dog will now follow you, head over to the guard to have the dog scare him away granting you access.
Heliodor
Back in Heliodor, smash the nearby pots to obtain a Flintstone and then head up the path to the next house. Use the crates once more to reach the roofs and then use the ropes to reach the Royal Square once more. Head over to the southeast house now to find Derk’s Shop where Erik will confront his former partner. Derk turned the Orb into the King in order to get a huge reward, with which he paid off the guards to get a quicker release for Erik. Erik buys the story but still laments the handing over of the Orb, however his partner beckons him outside. Before you do that however, head upstairs and break the pots and barrels to obtain a Mini Medal. Head outside now to discover that Derk had someone watch where the Orb was taken, noting that it was taken to The Kingsbarrow to the southeast. It’s located close in proximity to Cobblestone but you’ll need to take the long way around (of course you do) due to the security. That means you’ll be heading back to the Heliodorian Foothills via Downtown Heliodor and making for The Manglegrove to the south.
Once you exit Heliodor, you’ll find yourself back near the Church from earlier. Your next destination lies to the southwest, The Manglegrove, head there now picking up any materials you come across on your way (they should have respawned by now).










No Comments