
Phnom Nonh
| Items | Area |
|---|---|
| Narspicious | Entrance, barrel |
| Belle Cap | Village Square, barrel |
| Warmaline | Village Square, pot |
| 111G | Village Square, wardrobe |
| Dragon Horn | Village Square, behind market stall, chest |
| 50G | East of the Item shop, barrel |
| Panacea | South of the Weapons shop, pot |
| 62G | To the side of the Armor shop, barrel |
| Dragony Designs | South of the Weapons shop, bookshelf |
| Evencloth | House east of the Armor shop, wardrobe |
| Mini Medal | Top floor of the house east of the Armor shop, pot |
| 30G | Northeast house, barrel |
| Evencloth | Northeast house, barrel |
| Thinkincense | Behind the stall west of the Church, pot |
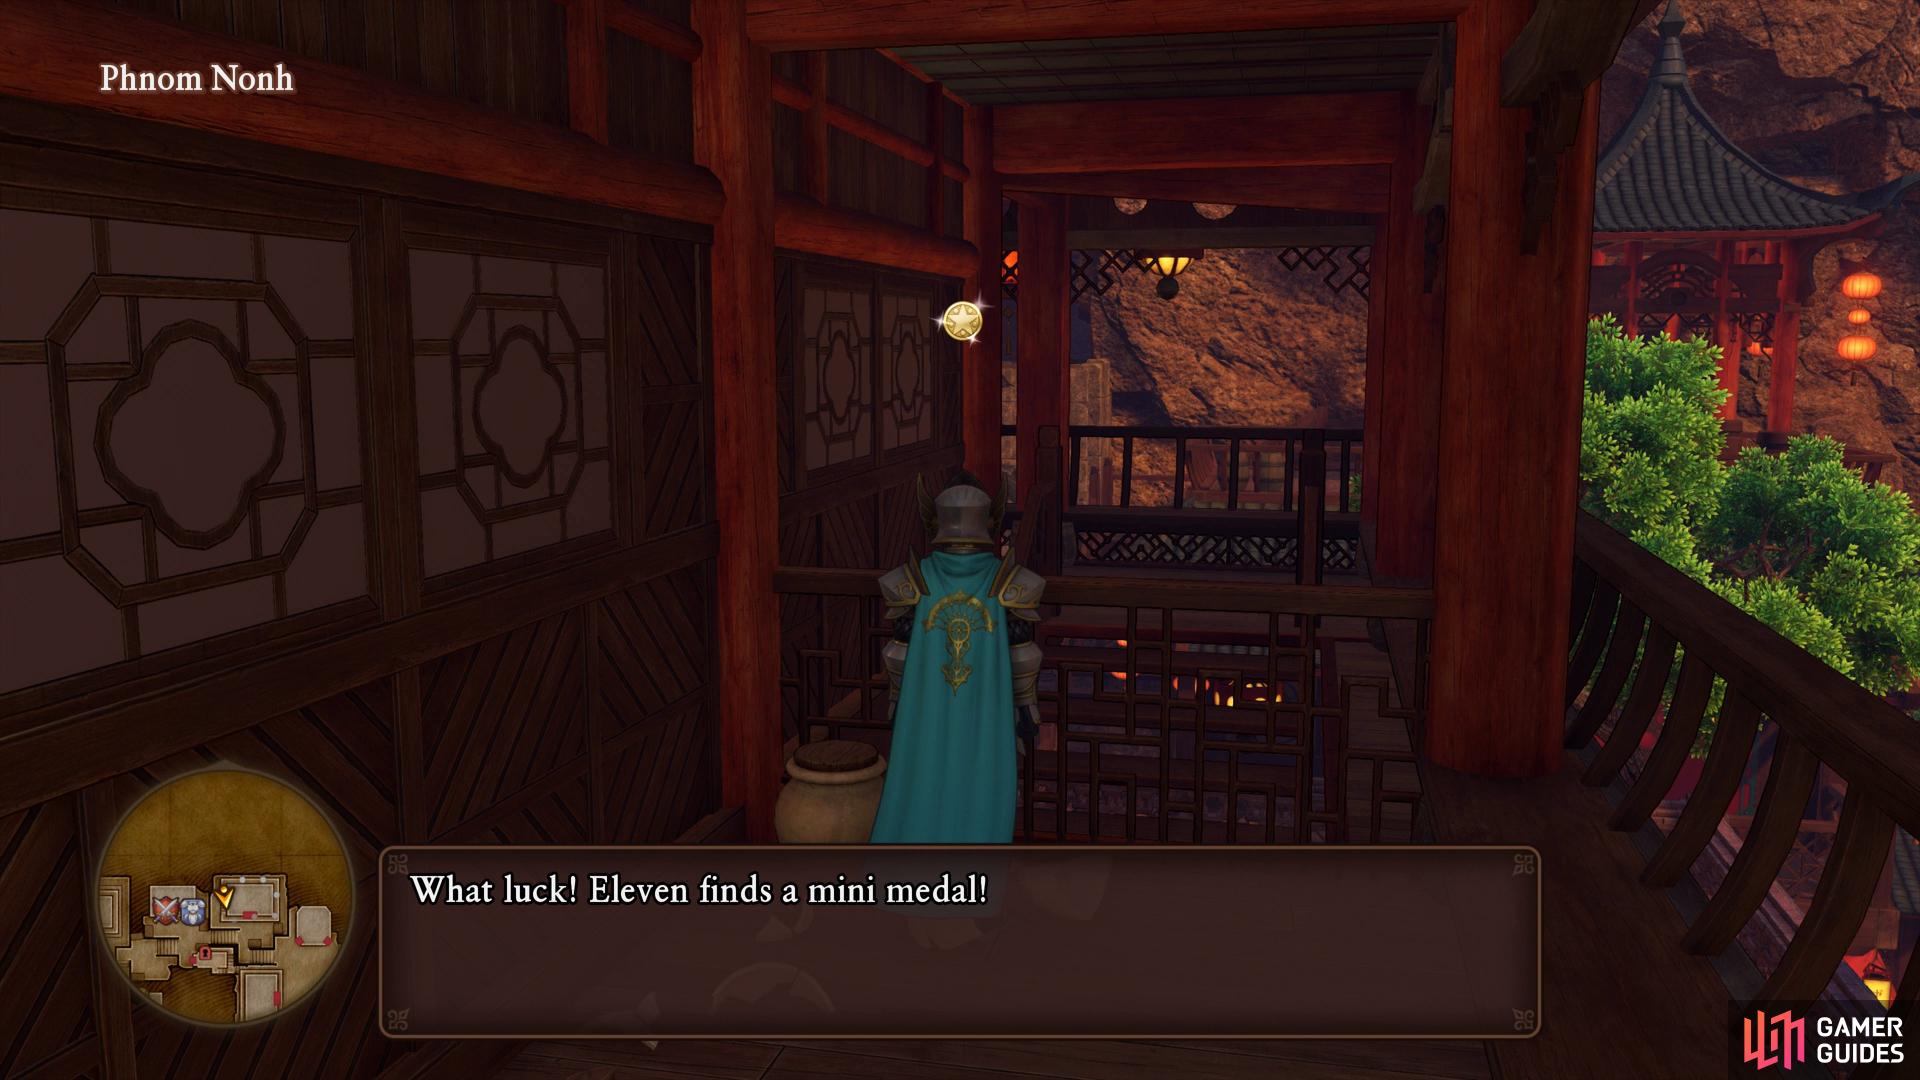
| Perfectionist Pearls x10 | Top floor of the house west of the Church, chest |
| Magic Water | West of the Church, barrel |
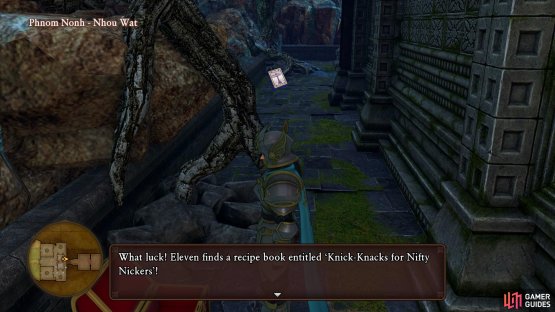
| Knick-Knacks for Nifty Nickers | Behind the ruins, chest |
| Grubby Bandages | Inside the ruins, pot |
| Softwort | Inn, barrel |
| Seed of Magic | Inn, 2F, pot |
| Bronze Helmet | Inn, 2F, Wardrobe |
| Sparkly Spots | Area |
|---|---|
| Evencloth | Southeast of the Ruins |
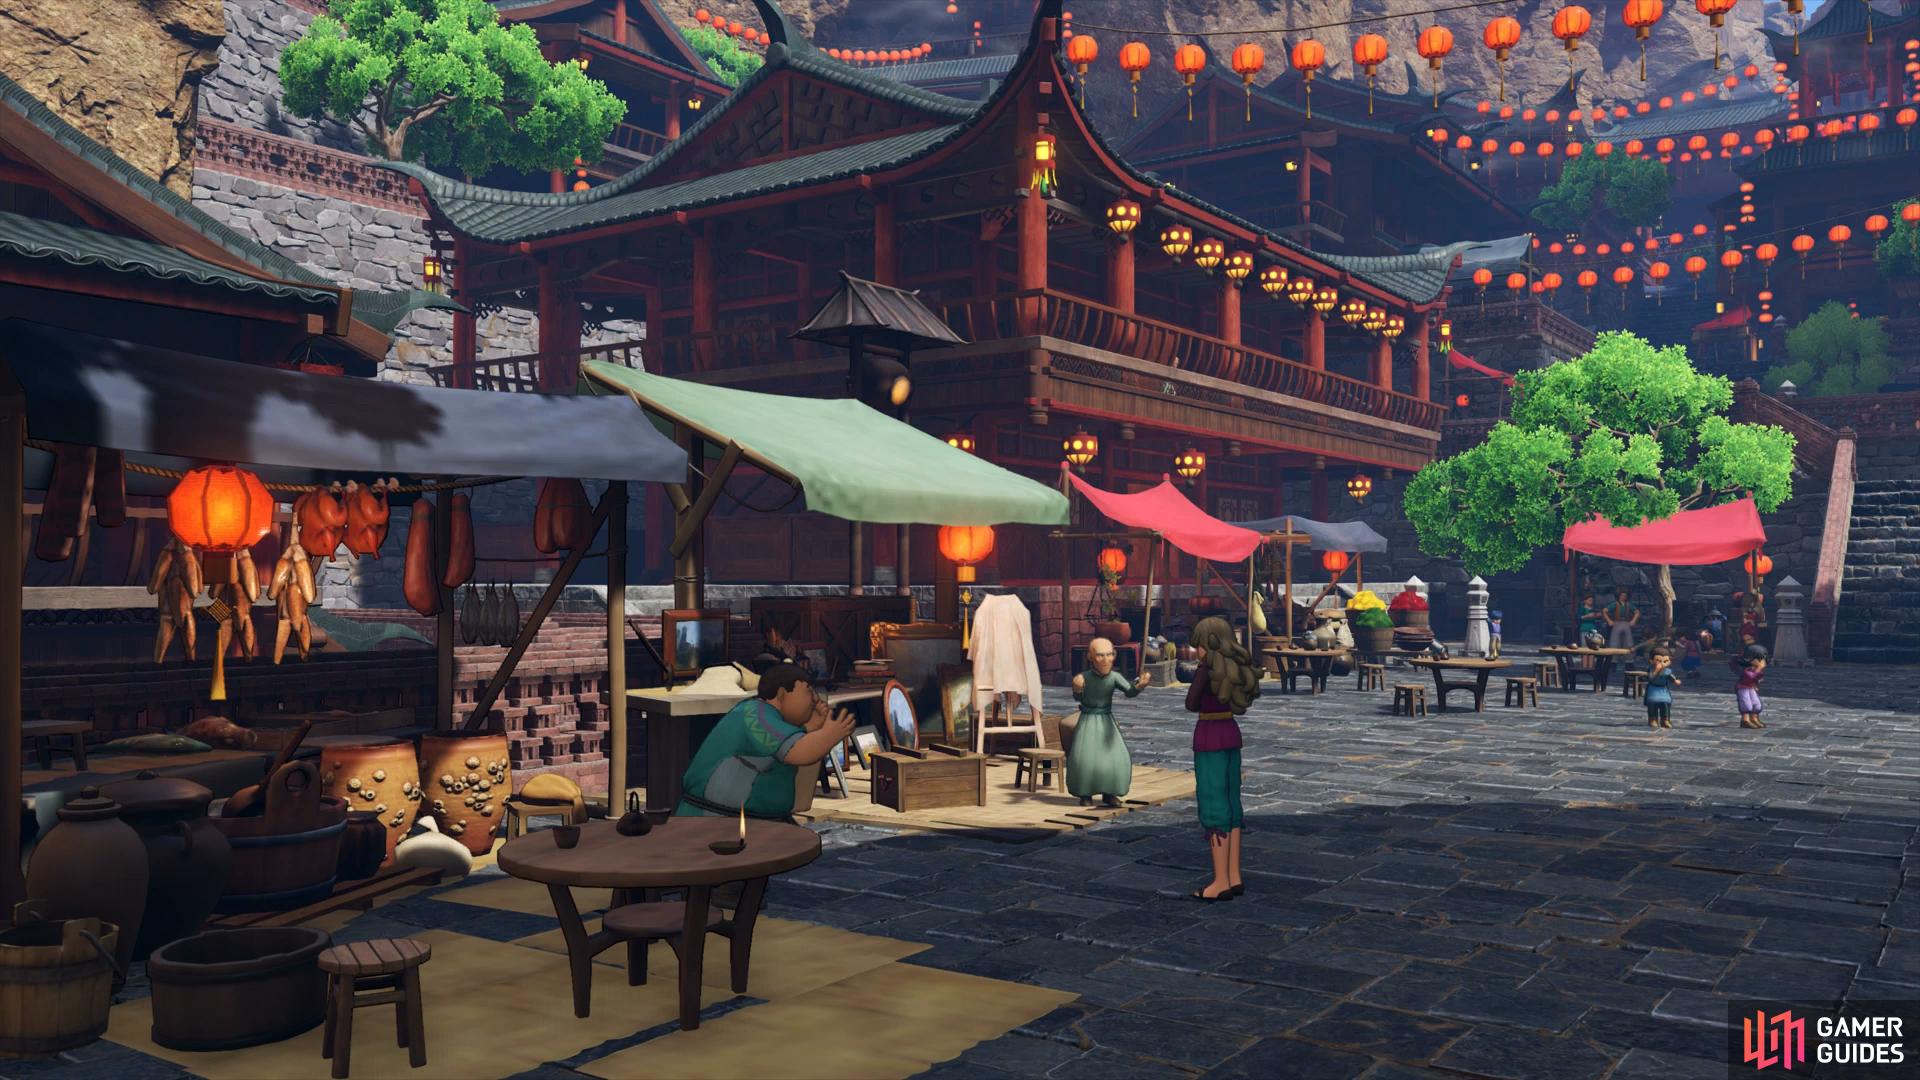
Upon entering the Village of Phnom Nonh Rab will mention that he and Jade investigated here previously and although they came up empty handed, it may be different with the Luminary in tow. Before you head over to the Ruins to check them out, take the time to explore your surroundings and pillage it of all it’s treasures.
Head back down the stairs from where you are and look to the side of them to discover a pair of well hidden barrels, break them to obtain a Narspicious. Return to the village square and search alongside the first house to the north to find more barrels, these will contain a Belle Cap. Continue along to the next house to the east of this one and search the kitchen for some pots to smash, inside you’ll obtain a Warmaline. Head upstairs of the same building to find a wardrobe you can ransack to obtain 111G. Leave this house and look behind the nearby market stall to sniff out a chest, open it to obtain a Dragon Horn.
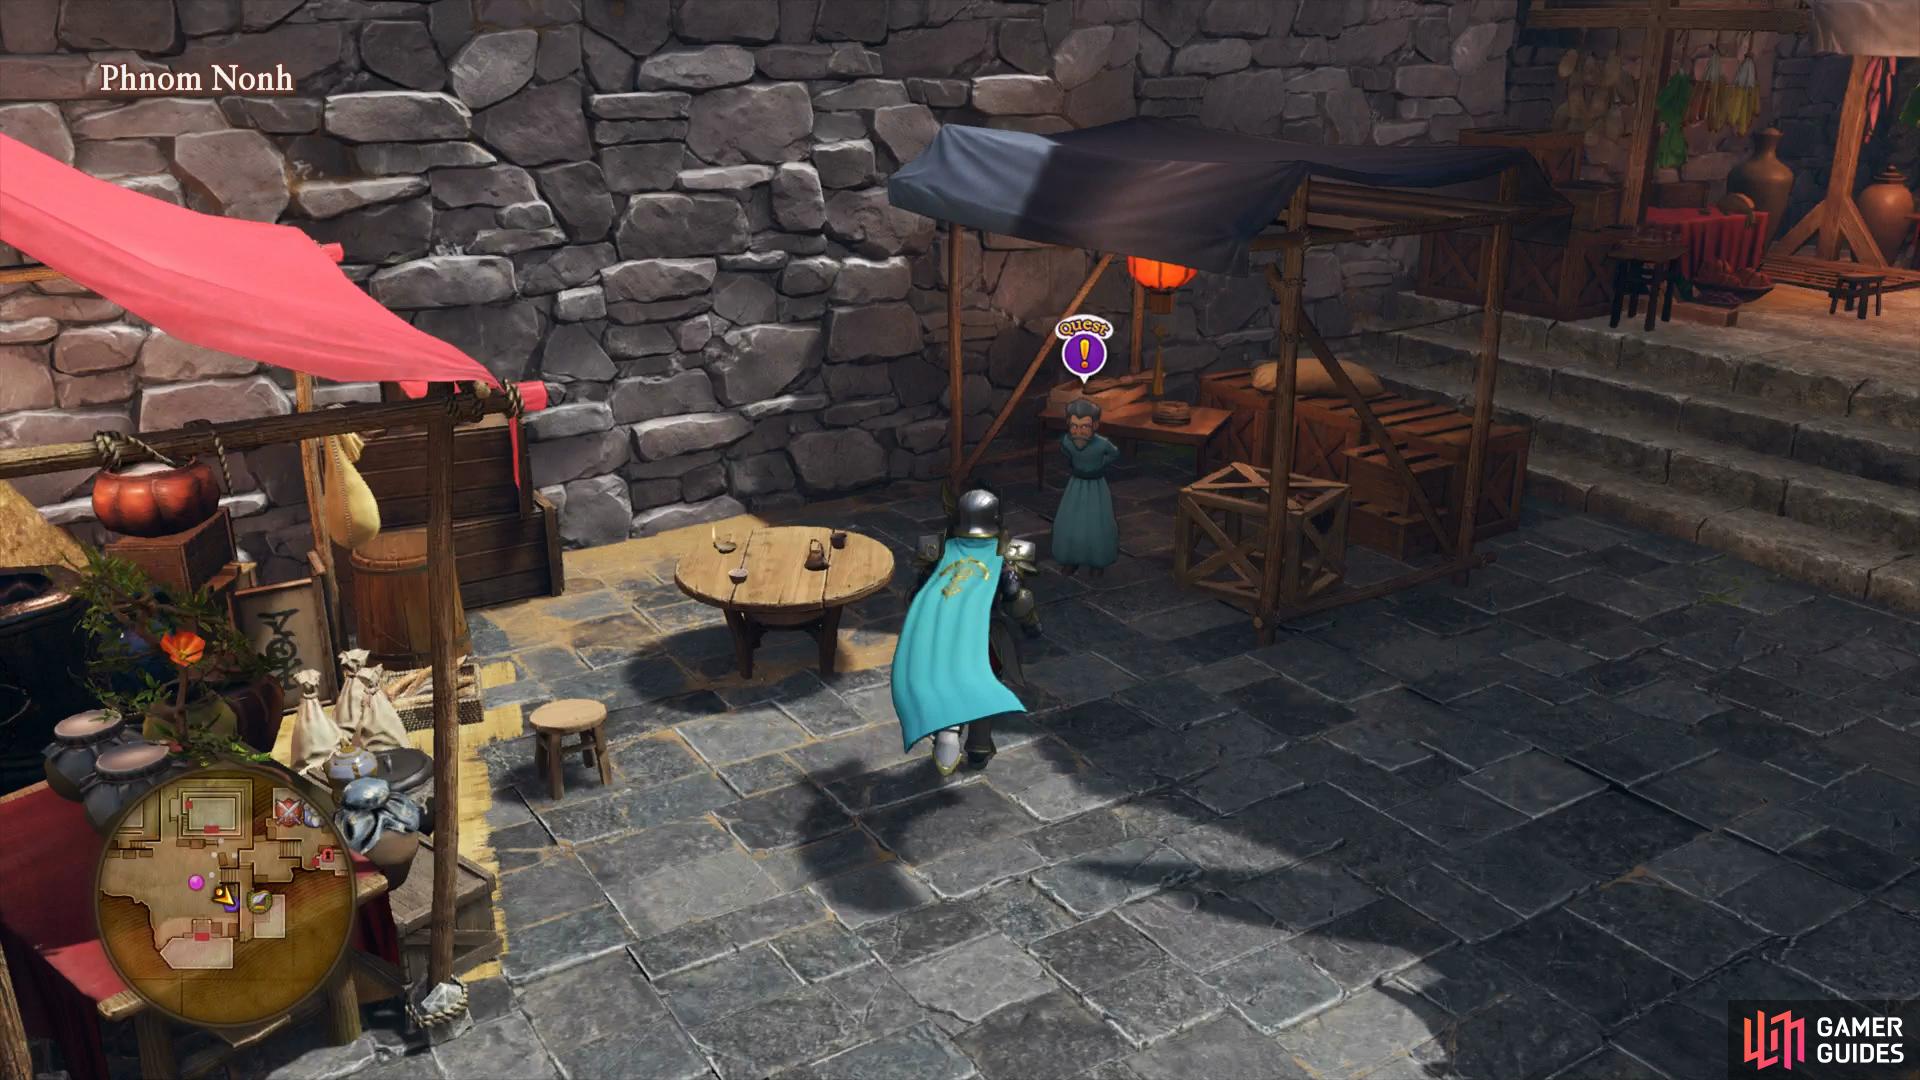
Make your way south of the Village Square now and speak to the old man to hear his request. He’ll ask you to procure a piece of cloth that is available from Brollygagger’s that appear when it’s raining outside. Agree to assist him to accept Quest 17 - Light It Up and head outside to complete it before continuing.


(1 of 2) Speak to the man to the left of the Inn to accept his request
Speak to the man to the left of the Inn to accept his request (left), you’ll only find the Brollygaggers when it’s raining outside. (right)
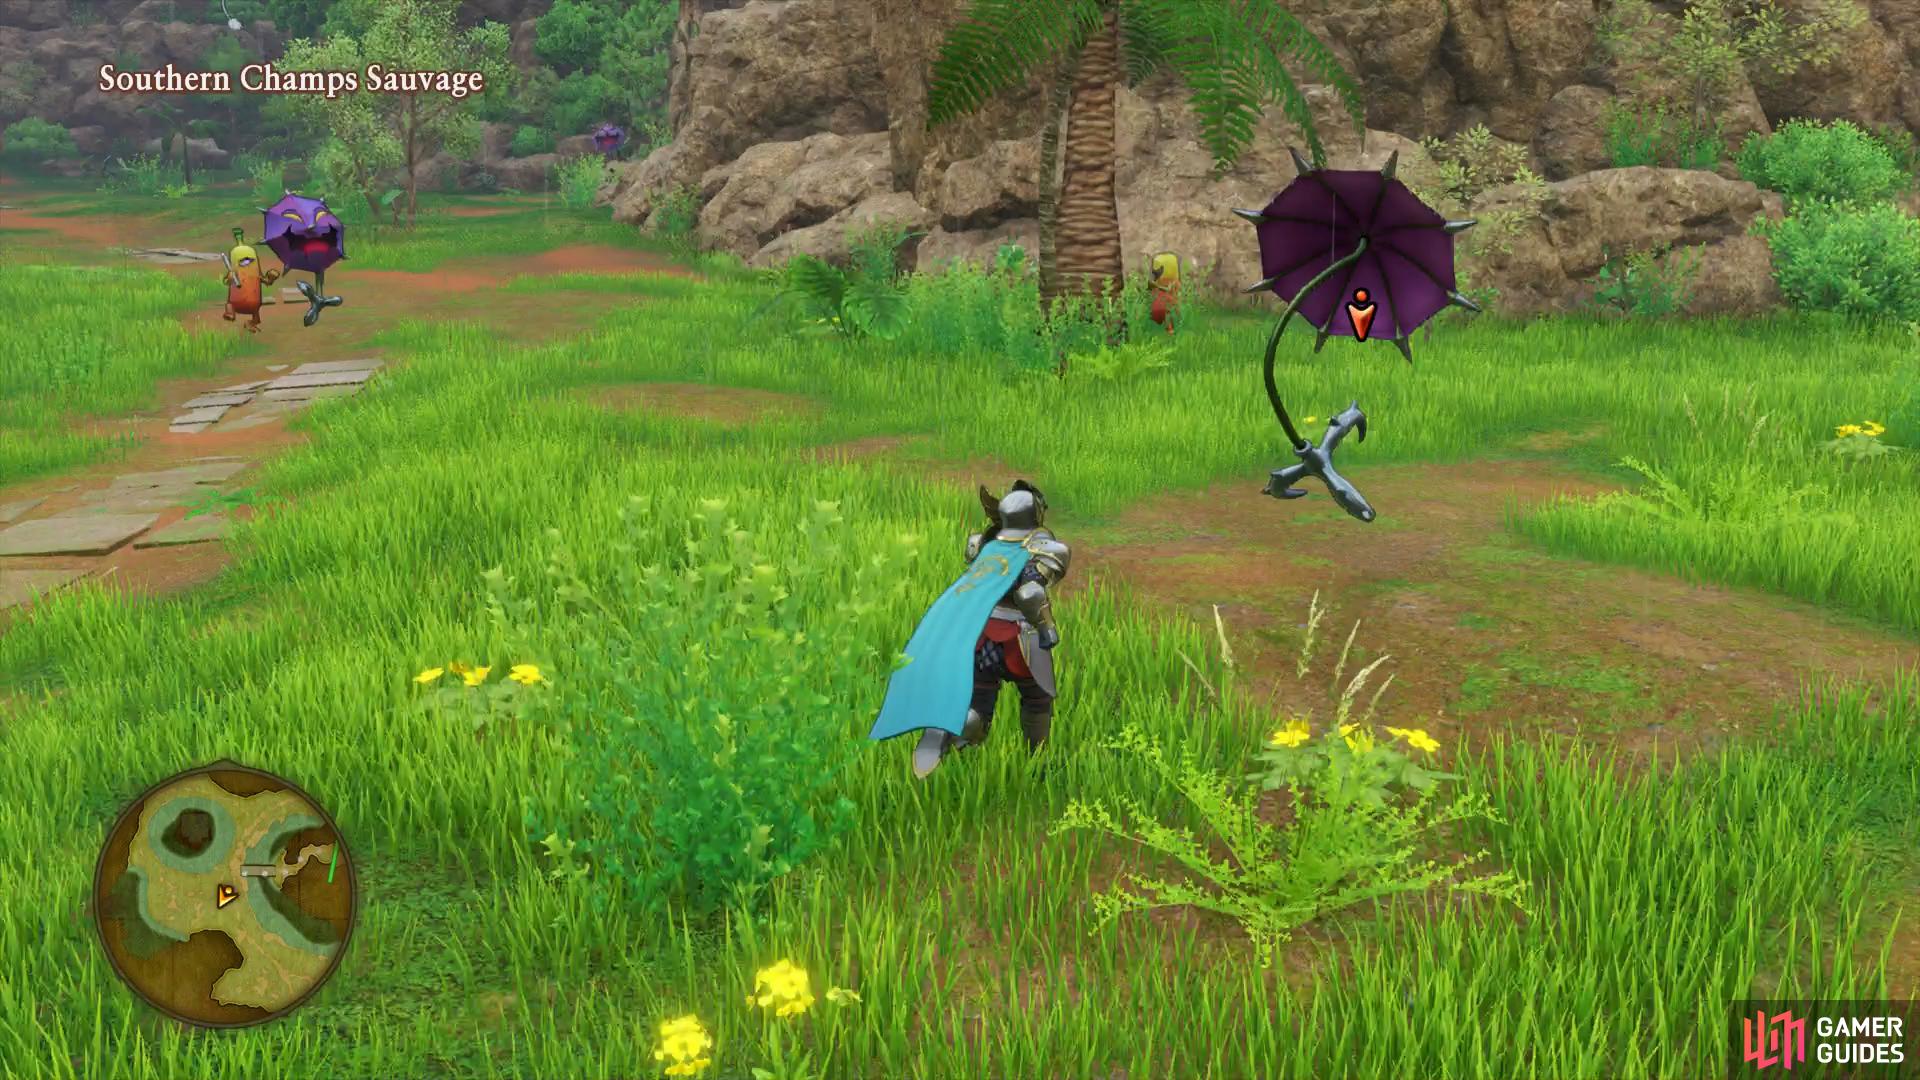
If you find that it’s not raining outside, head over to the nearby Weather Cow to ascertain when it will rain next and then rest at the nearby Camp until it does. Once it does, engage in battle with a Brollygagger and defeat it to obtain the item. Return it to the quest giver, in return you’ll obtain 10 Silver Ores for your troubles. Continue your exploration by heading up the nearby stairs (the Inn is closed for now) and search east of the Item shop to find a pair of barrels, break them to obtain 50G and then check out the Item Shop, you can purchase a couple of status resisting Necklaces should you need them.
Continue up the stairs and break the pots sat next to the next stairs up to obtain a Panacea. The Weapons and Armor shops should be next on your agenda, there’s a new Knive for Erik that you should pick up, the Sword Breaker. There are new chest pieces for Erik, Jade and Sylvando should you need them but if you’re already wearing the reworked costume pieces then forego these for now, the difference is minimal at best. While you’re here however, look along the side of the Armor shop to find more barrels to break, obtaining 62G in the process. Dash over to the southern house now and search the bookshelf for your next Recipe Book, Dragony Designs.
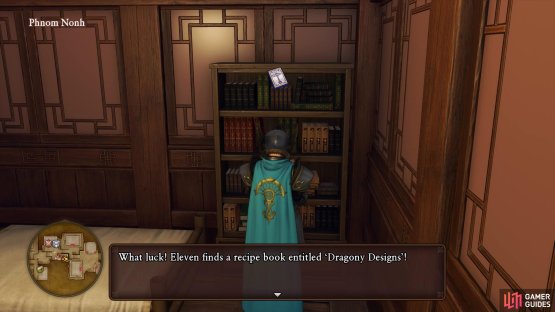

(1 of 2) The next Recipe Book can be found in the house to the right of the equipment shops
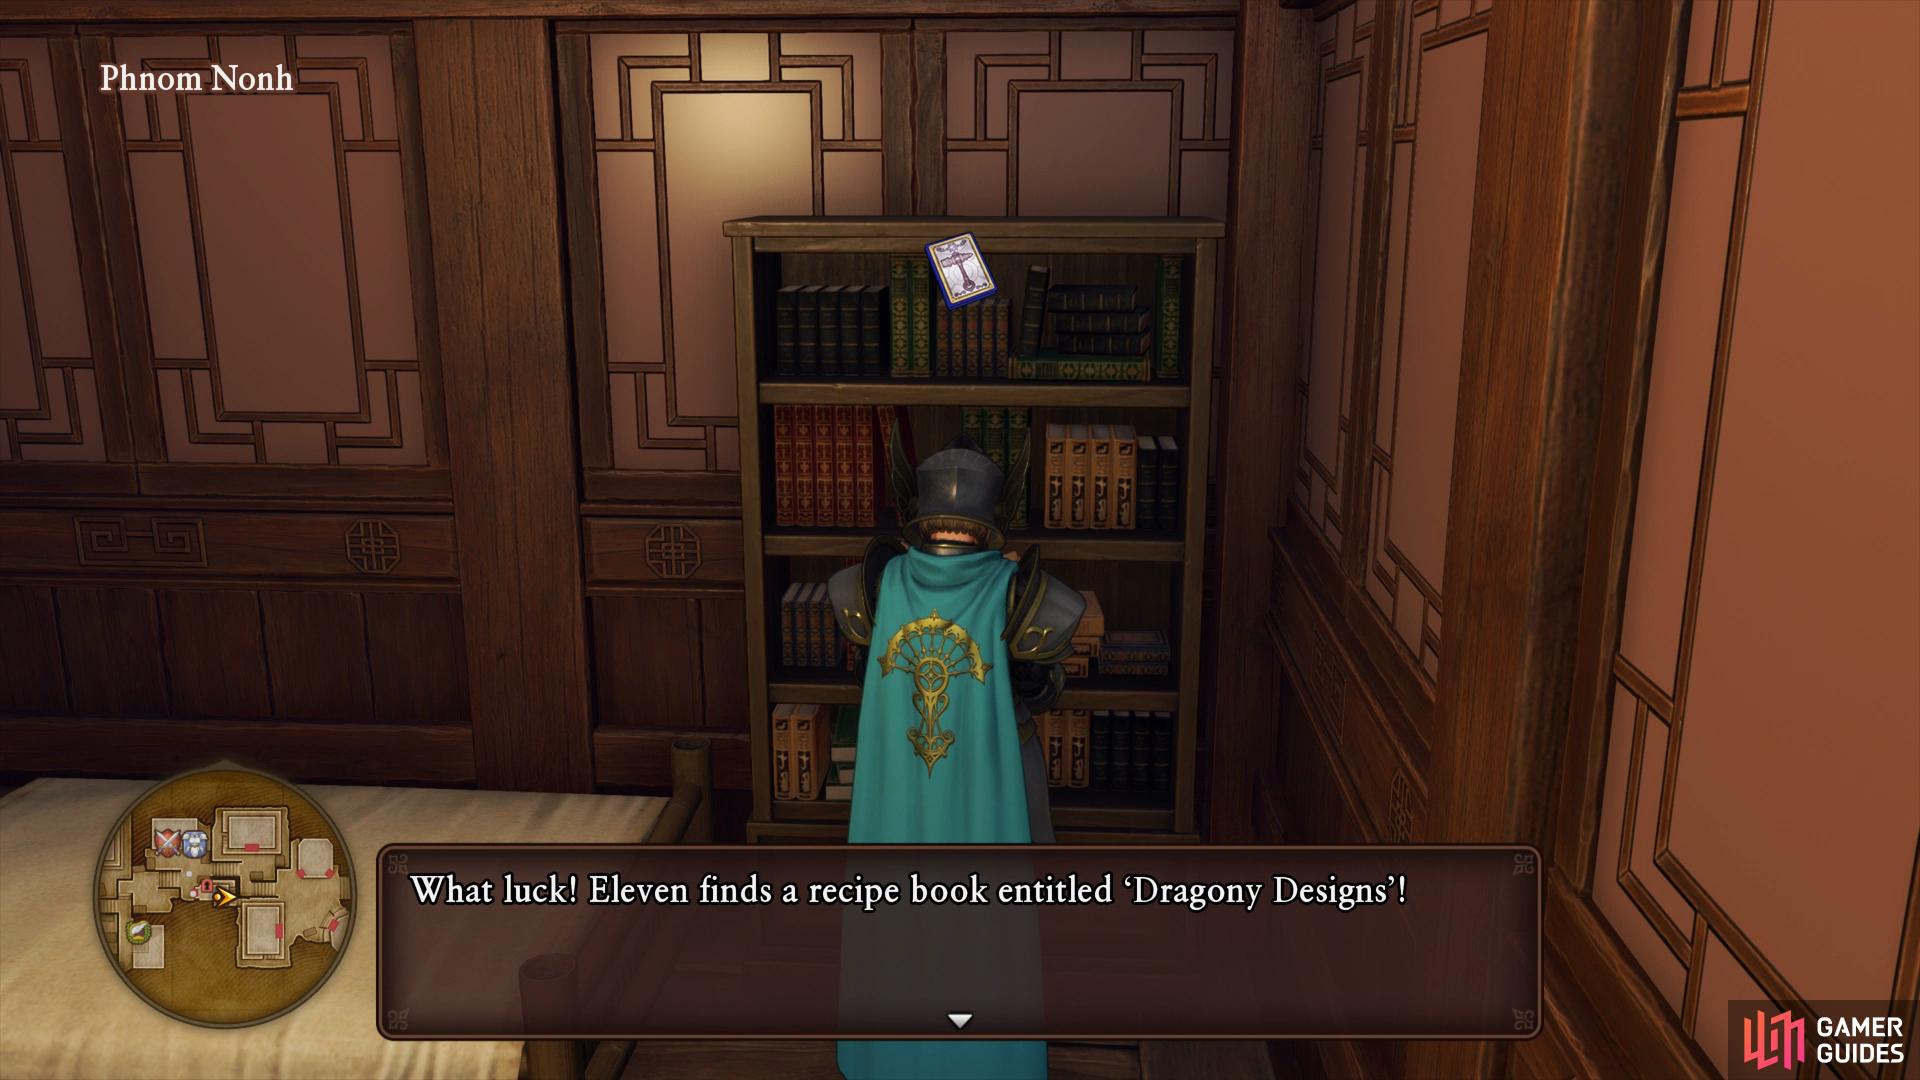
The next Recipe Book can be found in the house to the right of the equipment shops (left), head to the top floor of the house east of the equipment shops to find a Mini Medal in the pot. (right)
Take the next stairs up to the east of the shops and enter the northern house to find some wardrobes upstairs. Rummage around inside to obtain an Evencloth. Exit the house and head around back to the west of it to find some stairs leading to the top floor where you can follow the balcony all the way around to a pair of pots containing the next Mini Medal.
Up the next stairs, search the open house to the north to find more barrels in the corner, break them open to obtain 30G and another Evencloth. Leave the house and search behind the stall to your south to find a lone pot with a Thinkincense inside before heading toward the house to the southwest here. There’s nothing of value inside the house but if you go around the back of it you’ll find some stairs leading up. Follow the balcony all the way around to the other side once again to find a hidden chest, open it to obtain 10 Pefectionist Pearls. Head back down the stairs and take some more hidden stairs to the west down and then up again to a pair of barrels containing a Magic Water. Return to the Church and Save your game should you need to and then continue east.
(1 of 2) The house to the west of the Church has a chest on the top floor

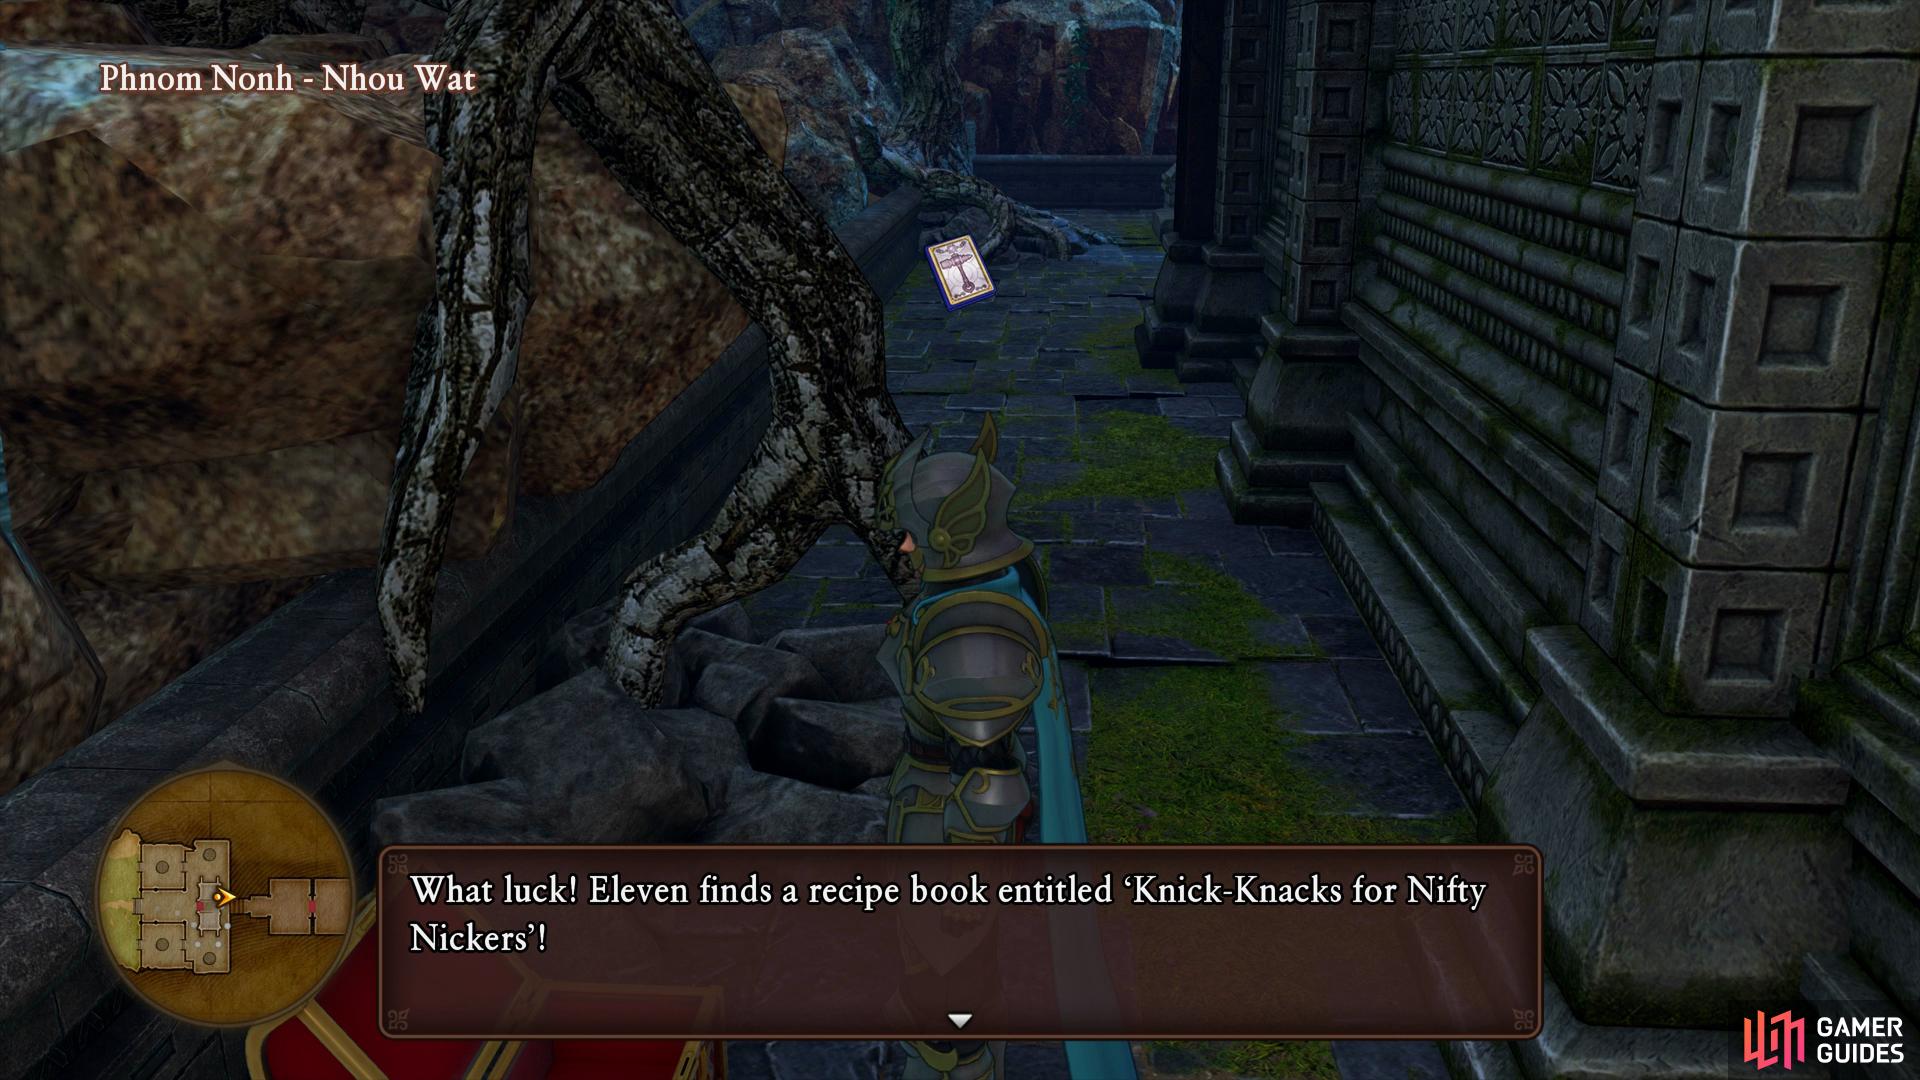
The house to the west of the Church has a chest on the top floor (left), you’ll find the second Recipe Book of Phnom Nonh behind the ruins. (right)
Sylvando will be at the top of the stairs trying to comfort a crying girl, Dora, who has lost her parents. After agreeing to help her look for them follow the stairs down to the east and towards the ruins. Ignore the entrance for now and swing around the back to find a chest containing another Recipe Book, Knick-Knacks for Nifty Nickers. You can also find the sole Sparkly Spot of this area to the south of this chest containing yet another Evencloth. When you’re ready, enter the ruins and before you head through the door, break the pot in the corner for some Grubby Bandages.
The rest of the party are here and Serena and Veronica ponder if the key on the mural is in fact the Magic Key. People from the Village interrupt you as Sylvando approaches with news about Dora. Make your way back up the stairs and over toward the Inn back in the Village. A Merchant by the name of Mony approaches the group attempting to sell some souvenirs before catching wind that you’re looking for Dora’s parents. He agrees to let you sleep at the Inn for the first night for free, run by his wife, along with the knowledge that his wife may know where you can find Dora’s parents.
Head inside the Inn now and break the barrels in the corner of the Tavern to obtain a Softwort. Make your way upstairs and look for the pot hidden next to the counters, smash it to obtain a Seed of Magic and search the wardrobe in the other room for a Bronze Helmet. Speak to the woman hidden in the corner with the Bunny Ears to progress the Puff-Puff event, as a reward you’ll increase your Charm by 5. Head over to the woman tending the counter and speak to her, it appears her husband pulled a fast one on the party in order to get them through the door, as way of an apology she’ll let you sleep the night free.
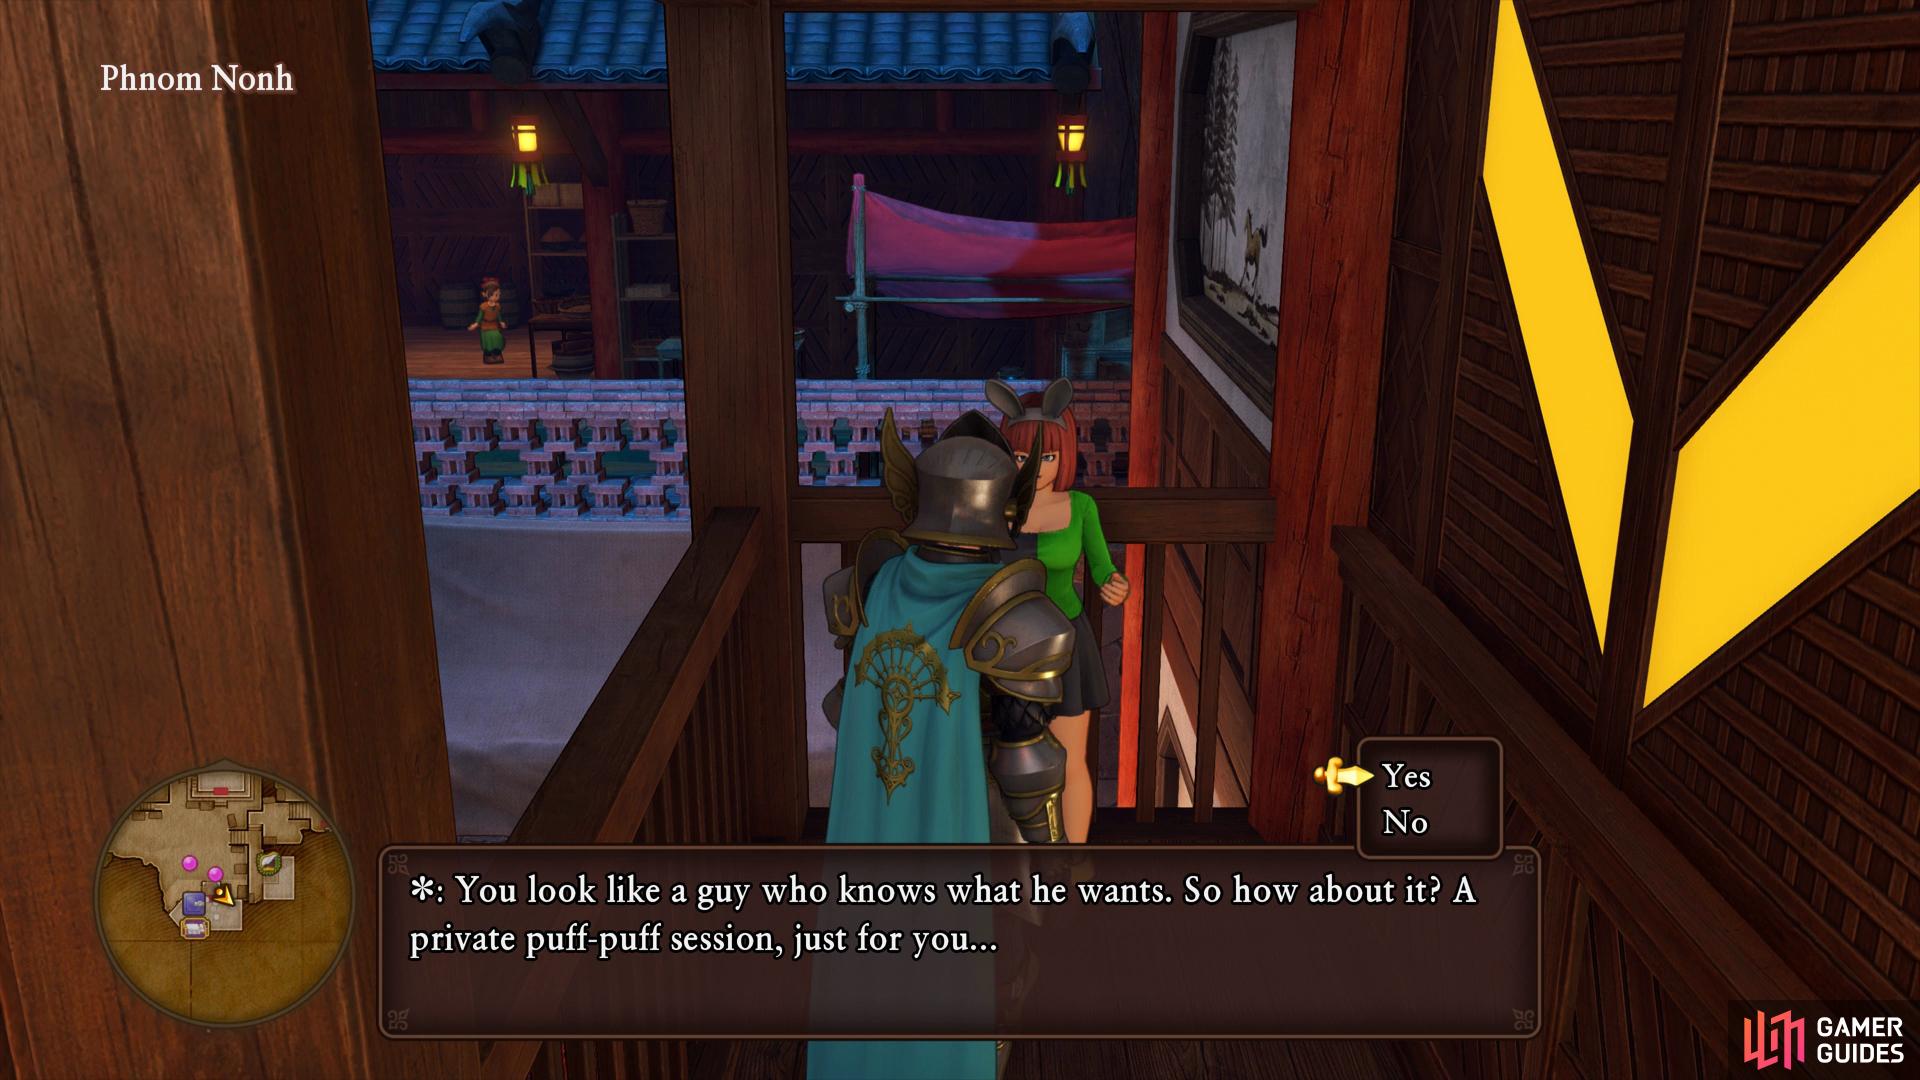
The next Puff-Puff girl is waiting for you in the Inn.
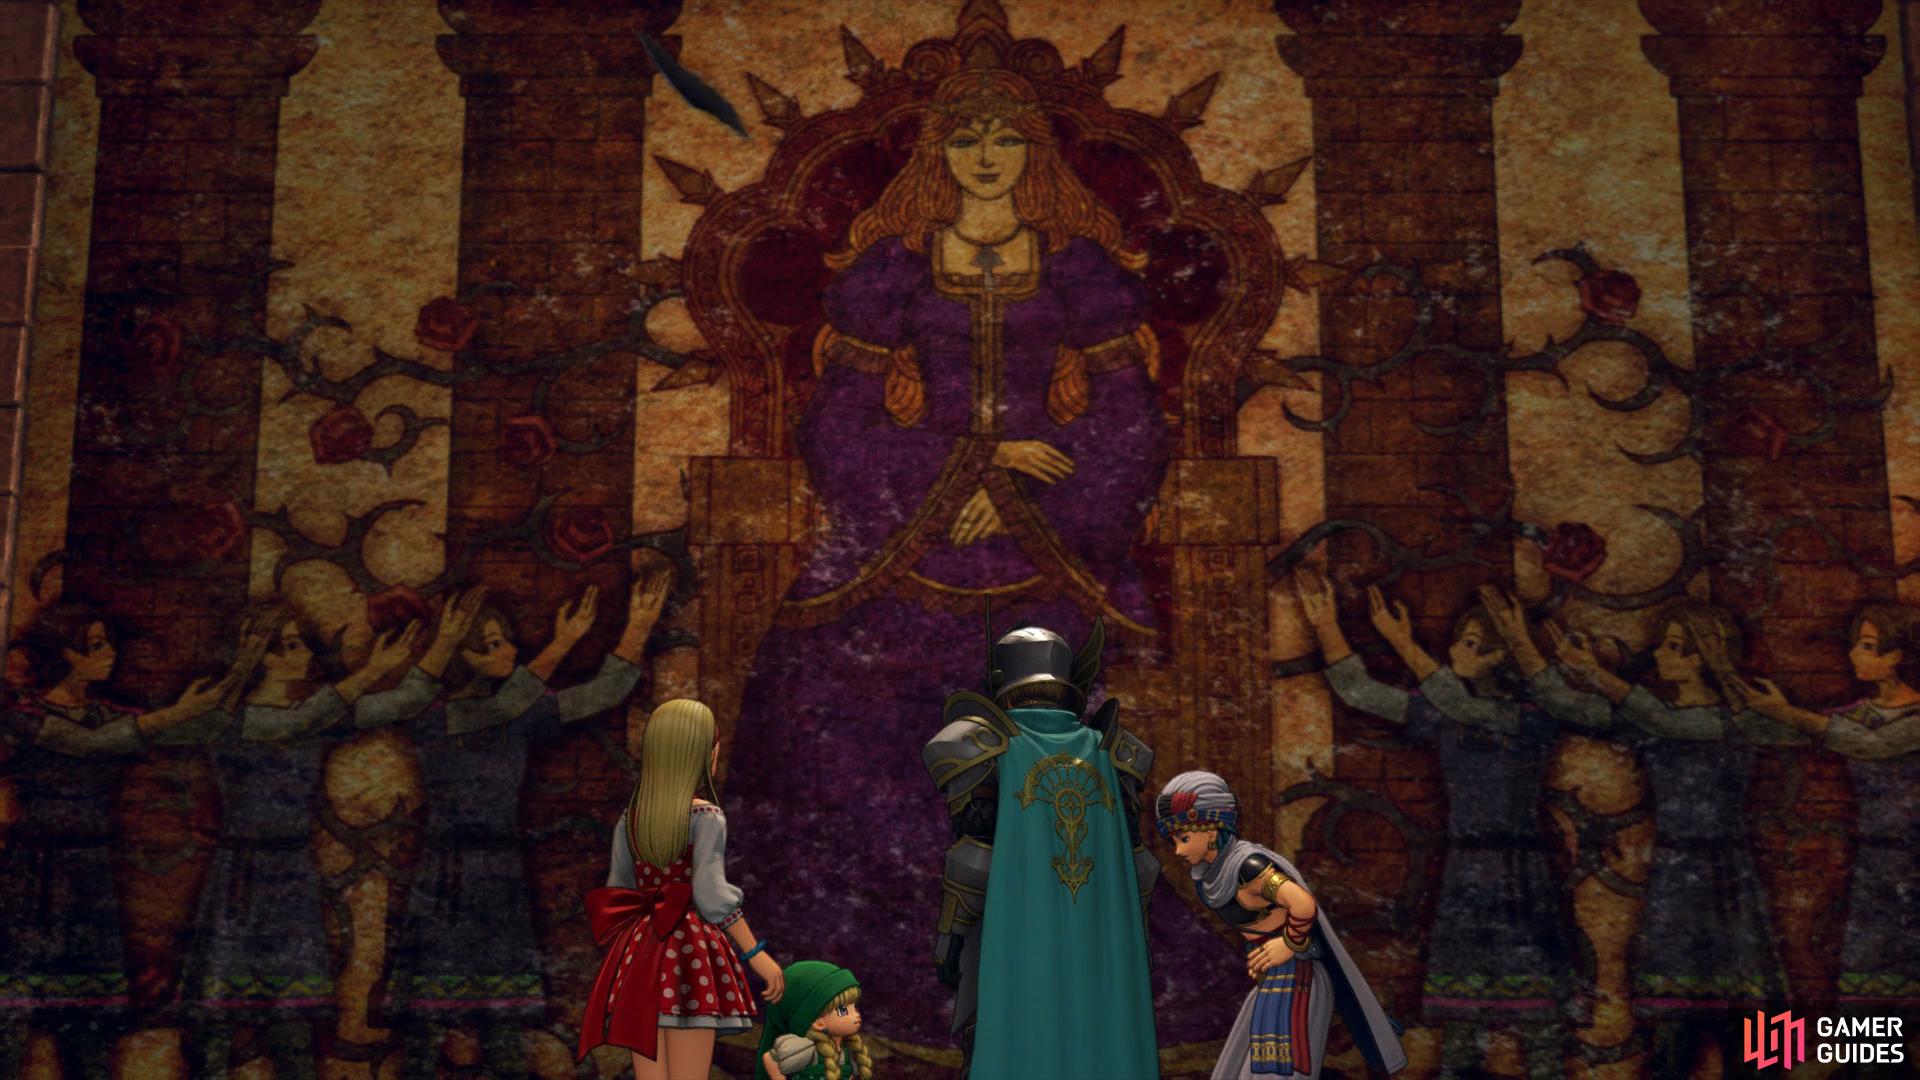
The next morning make your way back toward the ruins to run into Dora again who will wander off. Follow her to where the Mural is and the rest of the party will meet up, noting that the girl is nowhere to be seen. They do however notice that there are now more people featured in the Mural. As Veronica gets a bad feeling, the door locks behind you and the key on the Mural shines.
The Other Side

| Items | Area |
|---|---|
| Papillon Pendant | Eastern path, chest (Giga Cannibox) |
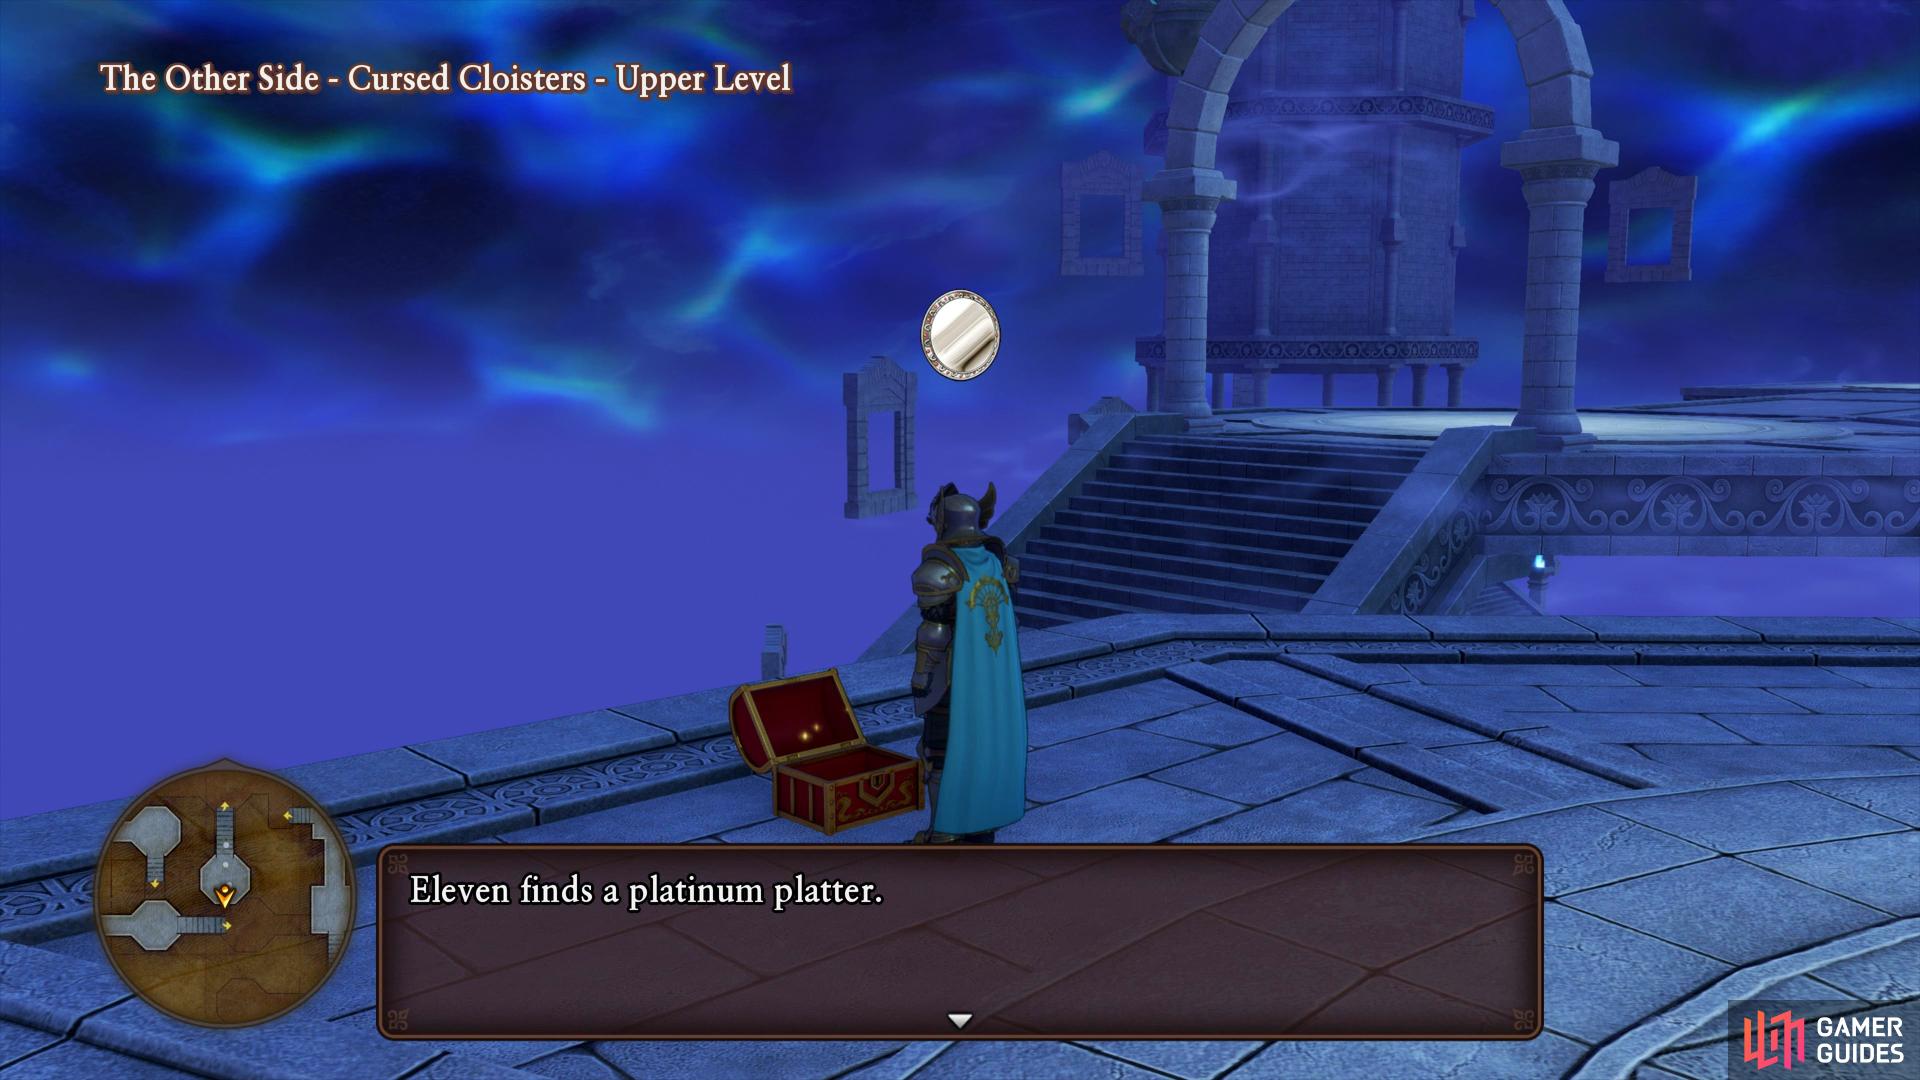
| Platinum Platter | Cursed Cloisters, Upper Level, chest |
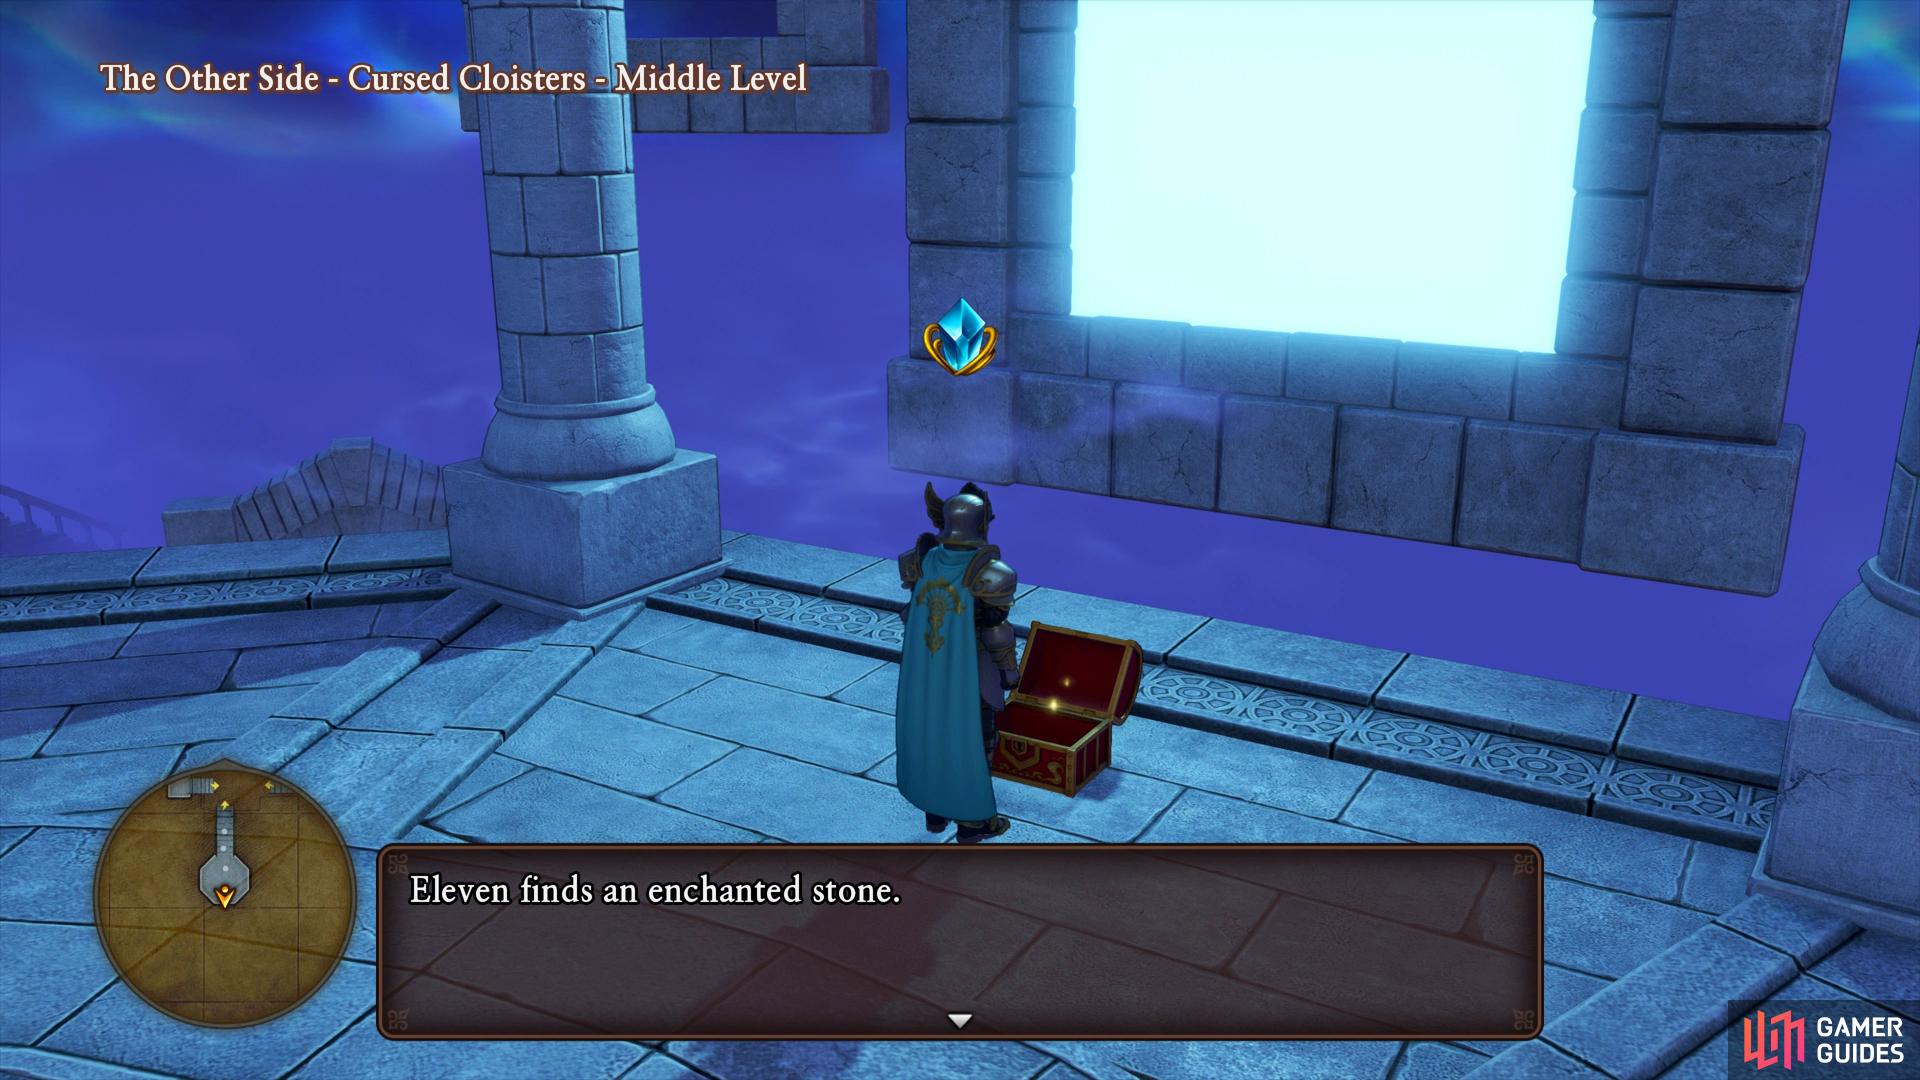
| Enchanted Stone | Cursed Cloisters, Middle Level, chest |
| Mini Medal | Cursed Cloisters, Lower Level, chest |
| Sparkly Spots | Area |
|---|---|
| Evencloth | Central |
| Evencloth | Cursed Cloisters, Upper Level |
| Monsters | HP |
|---|---|
| Demonrider (Mount) | ~113 |
| Corpse Corporal | ~262 |
| Brollygagger | ~108 |
| Brollympian (Rare) | ~982 |
| Drohl Diabolist | ~88 |
| Hypothermion | ~162 |
| Jockilles | ~328 |
| Magic Marionette | ~128 |
| War Gryphon | ~188 |
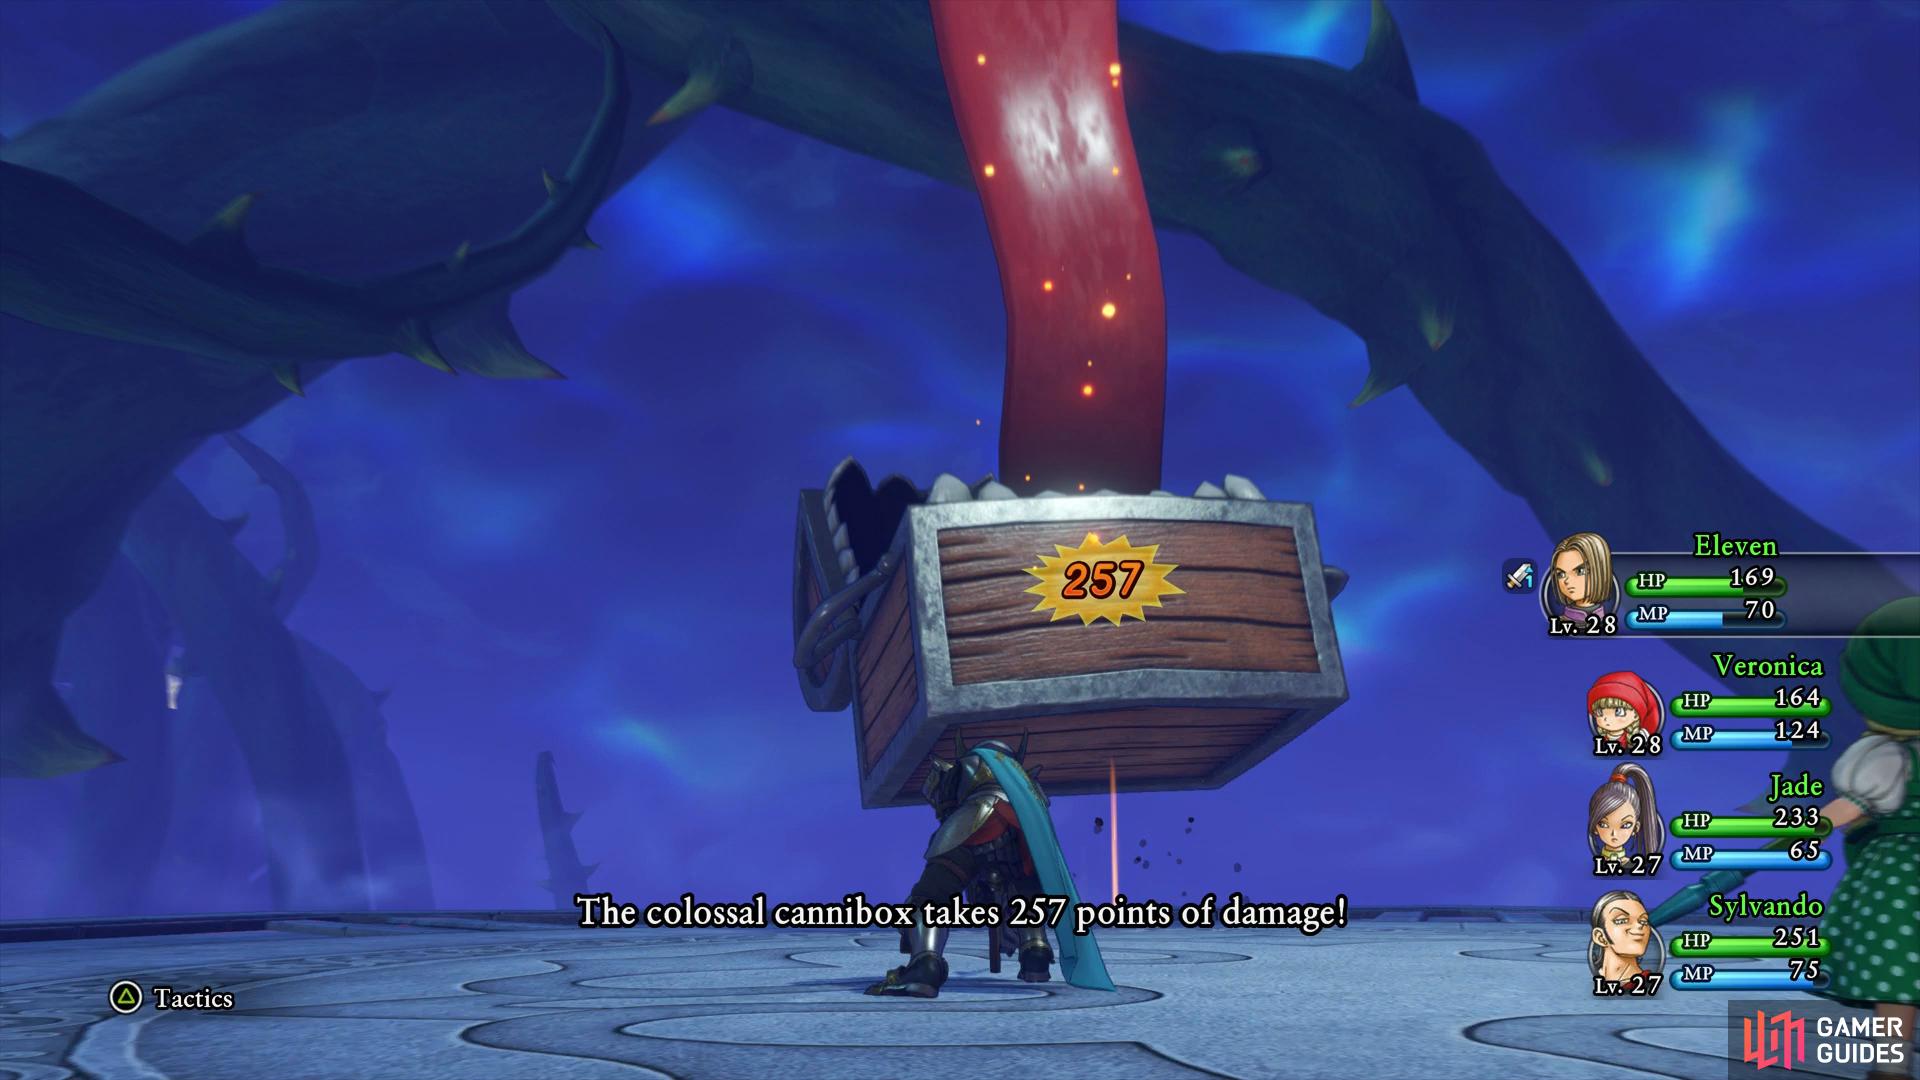
| Colossal Cannibox | ~560 |
| Liquid Metal Slime | ~8 |
The party awakens in what looks like a world beyond the Mural and Sylvando suggests that it’s possible Dora was drawn into the Mural too. The monsters of the Other Side possess a lot more HP than what you’re used to so far however you do have the chance of encountering the ever elusive Liquid Metal Slime in battles here. You should be sitting around Level 29 by now so if you find yourself short of that, take the time to increase your level while here.
Follow the linear path until you reach the door at the end where you’ll find the missing villagers. The woman in the painting comes alive and reveals that she is absorbing the people that come to worship her beauty, Sylvando wishes to find Dora and get out of here as quickly as possible.

(1 of 2) The Liquid Metal Slime offers over 10,000 Exp if you manage to kill it

The Liquid Metal Slime offers over 10,000 Exp if you manage to kill it (left), make use of Sap so that you can take the mimic down as quickly as possible. (right)
Continue on and follow the path until you see a side path off to the east, head down there to discover a rather large chest (this doesn’t look too menancing). Heal up and then open the chest to be thrust into battle against a Colossal Cannibox. This Cannibox has a whopping 560 HP and has the ability to inflict instant death on you, you’ll need to be quick and precise to take it out so don’t hold back on using your MP. Try to keep your HP above 150 at all times as the mimic may deal a desperate attack dealing over 140HP. Once it falls, you’ll be able to open the chest it leaves behind to obtain a Papillon Pendant that will increase your Max HP, MP and Defense (Sylvando is a good candidate for this to make more use out of Hustle Dance).
Return to the main path and follow it north, snagging the Sparkly Spot from behind the fallen candelabra on the way to obtain an Evencloth. You’ll need to climb the massive steps as you continue your way north to catch up with the villagers from before. A giant plant will descend and absorb the villagers before turning it’s attention to you however Erik notices a way out.
With the way back sealed behind you, follow the path all the way to the end to find a cracked stone slab. Upon reading it, it appears that the Mural existed hundreds of years ago and has a terrible curse placed on it. It appears a young girl appears to draw in people to the Mural, a girl such as Dora. Continue forward and examine the crack in the air which prompts Serena to remember the one on the Mural outside, as the vines begin to give chase once more, the party takes a leap of faith.
You’ll find yourself back in the Ruins and Serena decides that the whole Village needs to learn the dreadful truth about it. Save your game and make your way back down to Village entrance where you’ll come face-to-face with Dora once more. Before you head back to the ruins, make use of the Inn to recover. At the ruins, head to the Mural once more to find yourself back in The Other Side.
Return to where you saw the people swallowed previously and Dora will invite you in further into her domain, take her up on her offer and head north. You’ll encounter more enemies in this section of The Other Side as the path begins to twist and turn.
Follow the path until you reach the first intersection and take the south path, a chest awaits behind the Jockilles containing a Platinum Platter. Head back down the stairs and follow the path west and around the corner to the next intersection. Take the stairs to the south up to find another chest, this one containing an Enchanted Stone.


(1 of 2) The first intersection rewards you with a new shield
The first intersection rewards you with a new shield (left), while the second contains a useful material for the forge. (right)
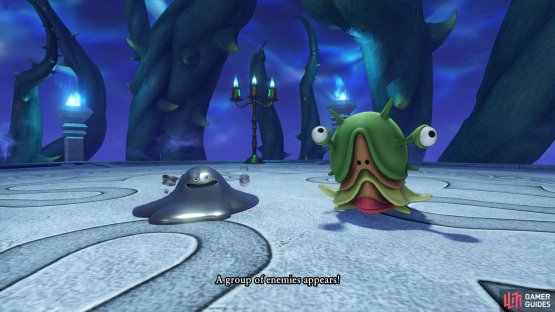
Return down the stairs and follow the path east along the many linear paths until the next intersection appears, taking the north path. As you approach the chest, a group of Magic Marionette’s will appear, fight them if you wish and after open the final chest containing your next Mini Medal. Return to the intersection and take the southern path, following the linear path all the way to a Sparkly Spot containing an Evencloth. A Goddess Statue awaits just ahead and when using it, will recover all your HP and MP. This is a good opportunity to Level your party to 30 for the upcoming boss battle, Rab having Multiheal will be very useful for emergencies. Once you’re ready, place Serena in your party if you have Snap, Crackle, Poof and proceed up the stairs to meet Dora once more.
Boss: Dora-in-Grey

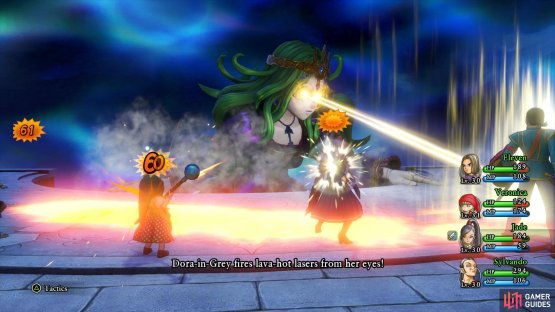
Dora-in-Grey’s difficulty all comes down to what attacks she decides to do on you, with 1,200 HP, she has a lot to take down. Dora’s most deadly skill is her laser which she uses to attack the entire party, used alongside one of her other attacks can instantly kill someone. She also has the ability to attack with her tentacle which will absorb some of the damage dealt back to recover herself, it’s for this reason you need to keep up your assault on her. Finally, and most importantly, she can Charm a character and put them out of action, it’s for this reason that Serena with Snap, Crackle, Poof is essential, use the ability on herself and the Hero at least if she doesn’t get Sealed (replace her if she does).

(1 of 2) If Dora manages to Seal Serena’s abilities then replace her right away
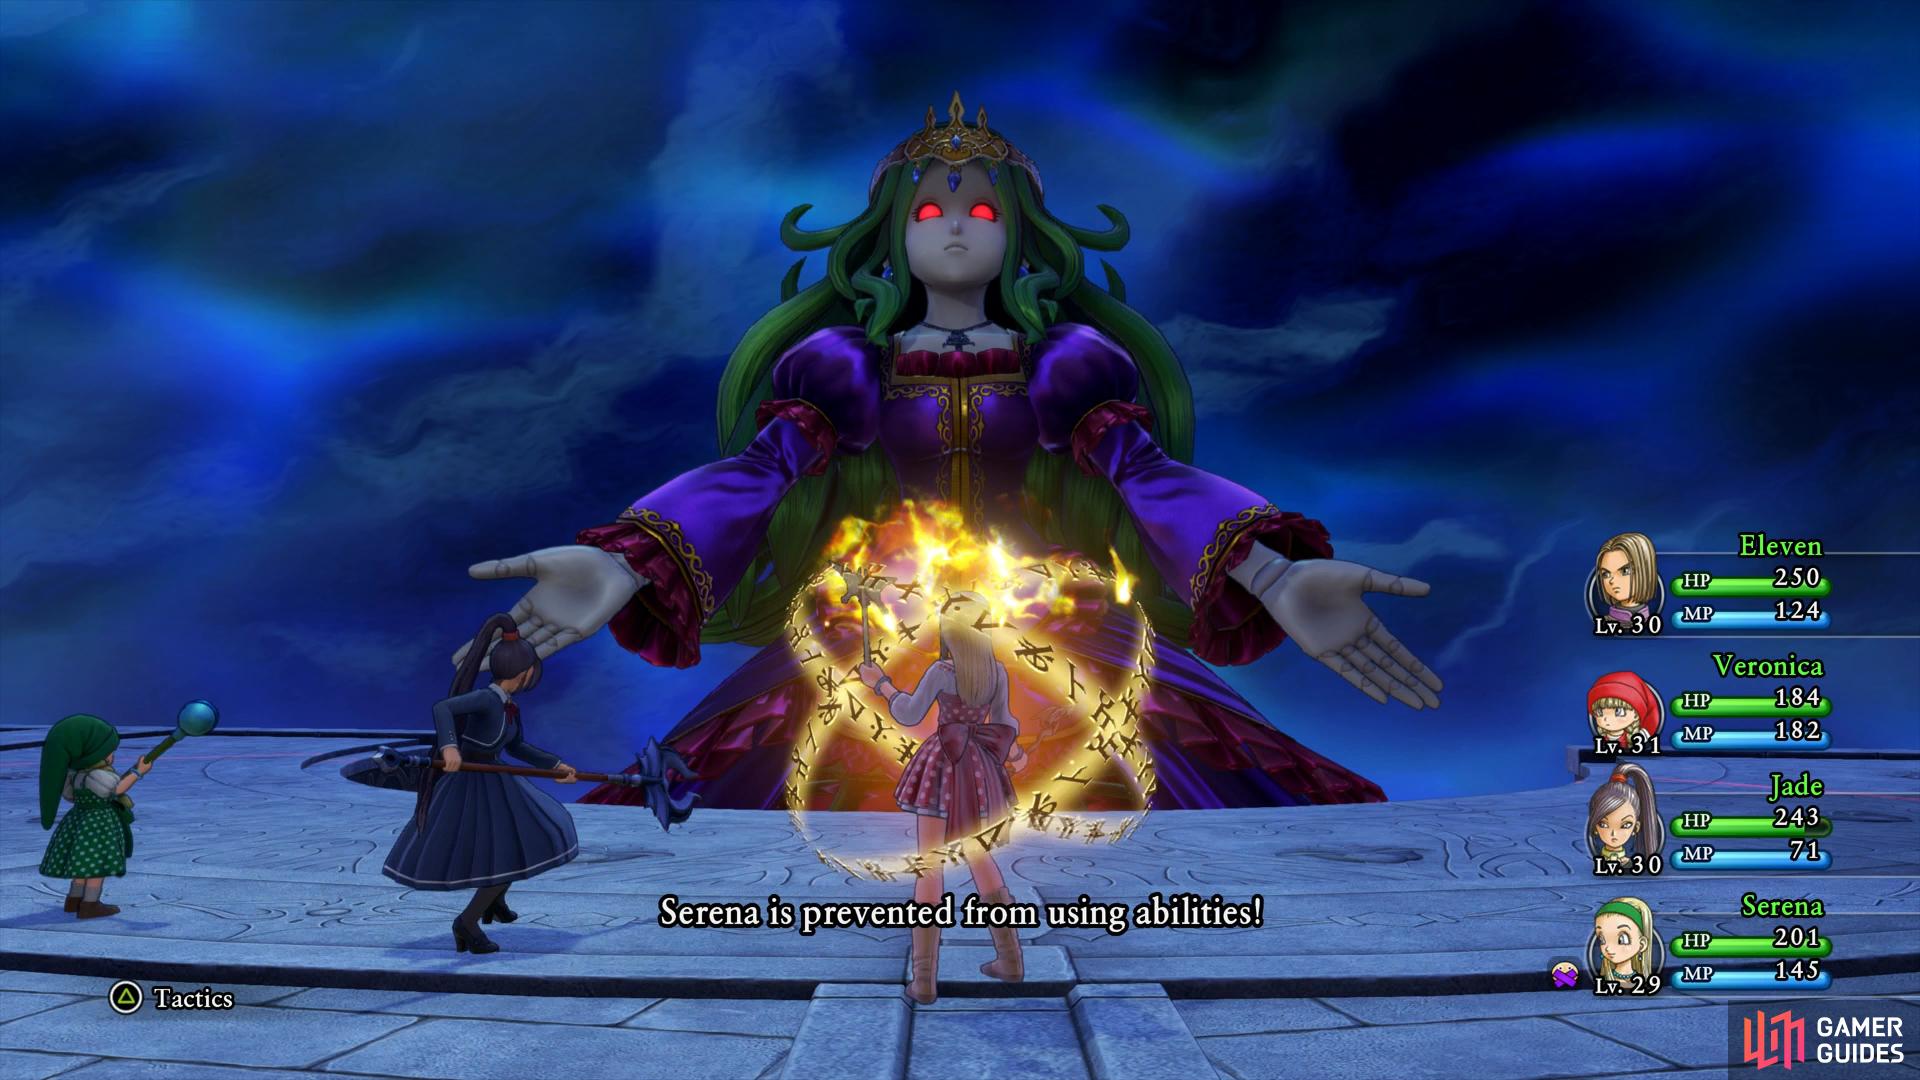

If Dora manages to Seal Serena’s abilities then replace her right away (left), the Laser is the most deadly attack, Hustle Dance following it. (right)
If you’re around Level 30 by now then Jade should be your primary source of damage with Multithrust, have Veronica use Oomphle to make it even more deadly. Like always, Sap the boss and let the Hero use Cutting Edge (or the better variant, Unbridled Blade) to also lay on the pain. Sylvando can restore with Hustle Dance like always should your HP drop too low and if Rab is Level 30 by now then he can also Multiheal should you need it. Keep up the assault and slowly but surely, Dora-in-Grey should fall.
With Dora defeated, you’ll find out more about the dreaded Mordegon before relinquishing the Magic Key in the process. Leave the Other Side via the crack in front of you and you’ll discover that all the captured people are returned as Mony offers to let you stay at the Inn for free. The next morning Rab mentions seeing somewhere in Zwaardsrust where you can use the Magic Key, that’s as good a place as any to start your search.


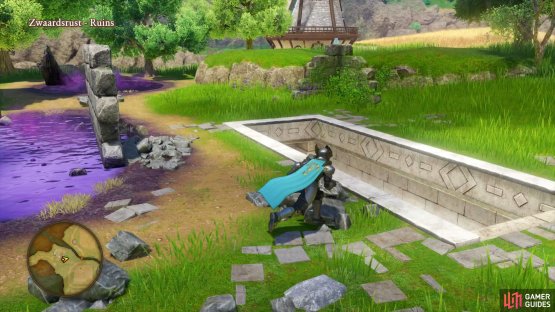

(1 of 2) You can find the Magic Key door by heading down the eastern stairs in the Zwaardsrust ruins

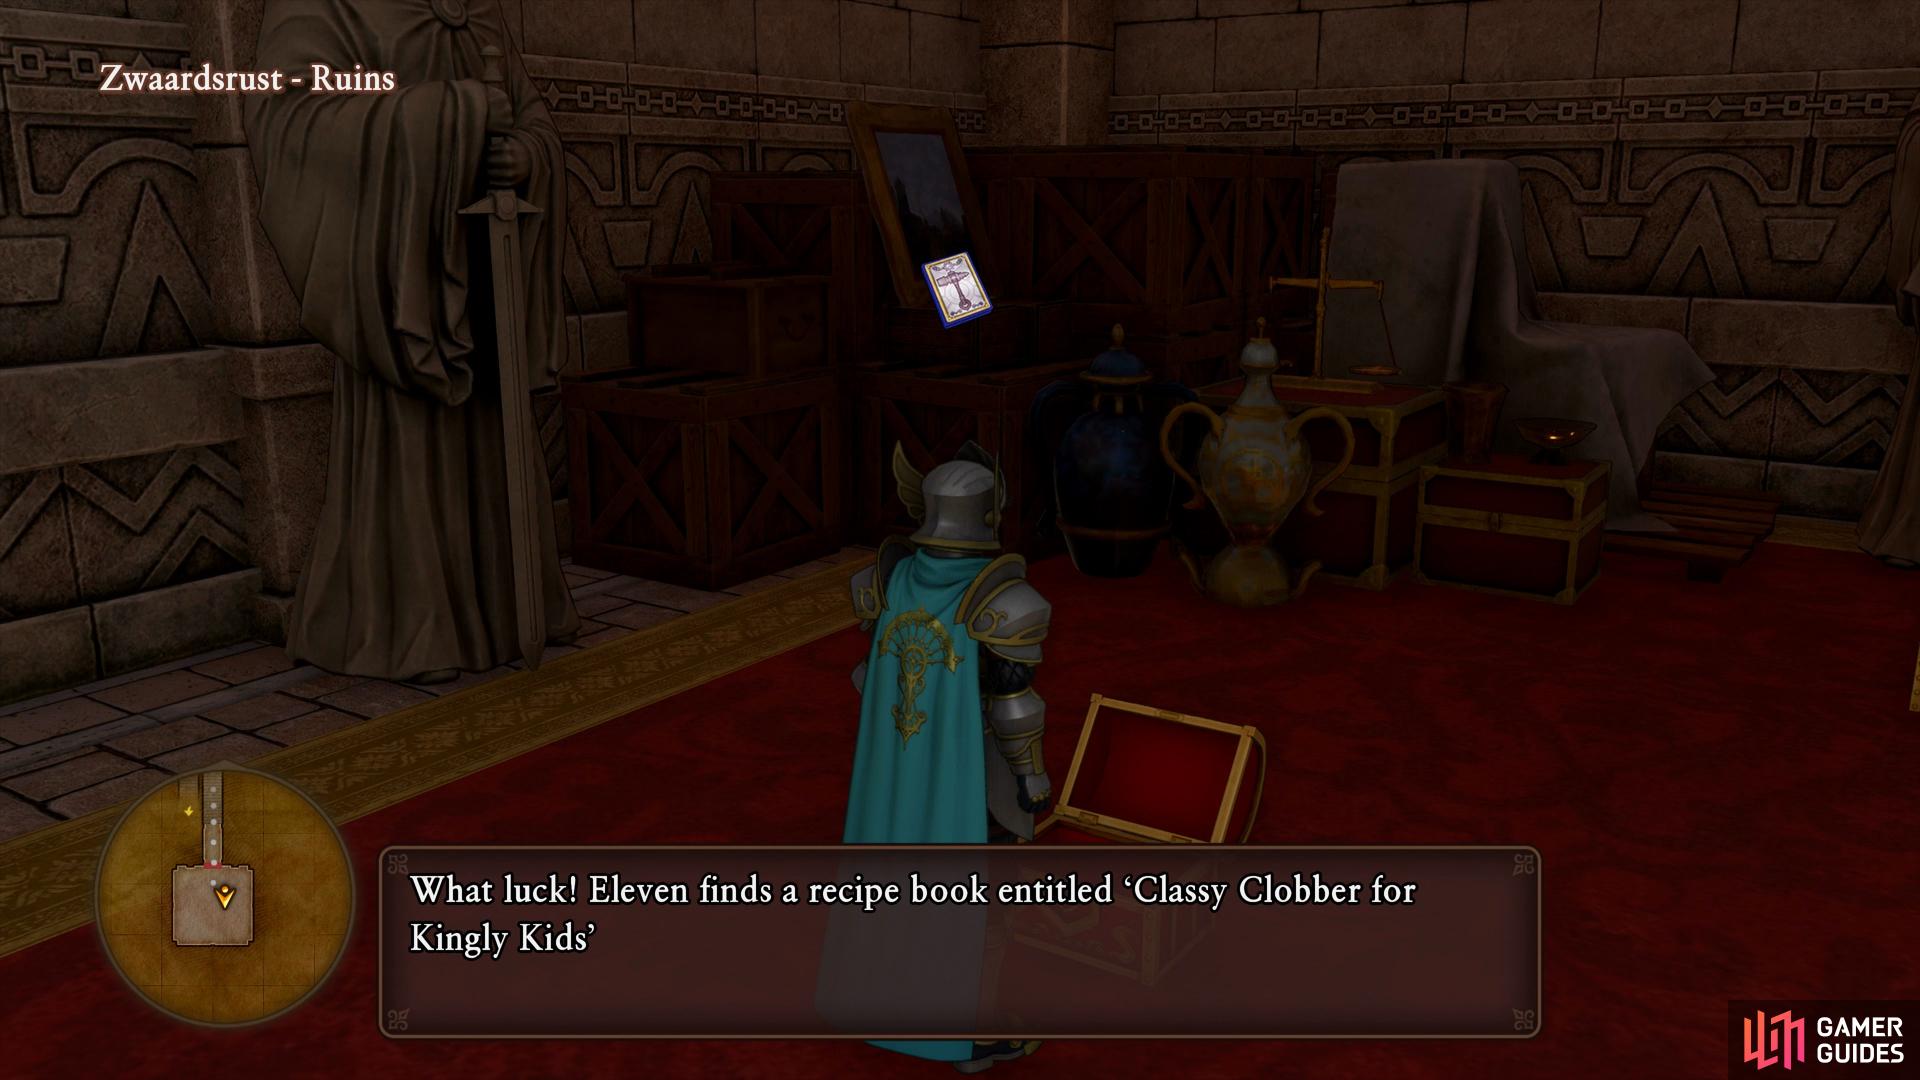
You can find the Magic Key door by heading down the eastern stairs in the Zwaardsrust ruins (left), alongside the Purple Orb is another Recipe Book. (right)
There’s many places you can now go to unlock the Magic Key doors but first head to The Warrior’s Inn at Zwaardsrust. Head west from the Inn over to the ruins and head down the eastern stairs. You can now open the door where inside you’ll find three chests waiting for you. Inside them you’ll obtain a new Recipe Book Classy Clobber for Kingly Kids, an Enchanted Stone and finally, the Purple Orb. Before leaving be sure to grab the golden Sparkly Spot to obtain the Choker. With the Purple Orb in hand, you now only require one Orb, the Blue Orb, but first there’s a number of places you can now optionally visit.
No Comments