The Strand
| Items | Area |
|---|---|
| Mini Medal | Behind the western ship, chest |
| Sparkly Spots | Area |
|---|---|
| Sun-bleached Seashell | North |
You’ll find yourself on a shipwrecked island and your party will be spread out across it. Head northwest behind the ship to find a hidden chest, opening it to obtain a Mini Medal. Continue to the north of the island to find the sole Sparkly Spot containing a Sun-bleached Seashell.
Once you’ve looted the items, make your way to the center of the island where Jade is waiting. As Jade begins to ponder the existence of the island, a woman appears in the water startling the group. Revealing herself to be a mermaid, Michelle remarks how you’re not afraid of her and that you remind her of someone else, Kai, a fisherman from Lonalulu. As she recounts her tale of the pair and the laws of mermaids you learn of a kingdom under the ocean, a piece of information that alludes to an Orb that had sunken to the bottom of the sea. Veronica strikes up a deal with the mermaid, to track down information on Kai in order to gain passage to the kingdom below. There’s nothing left for you at the Strand for now so return to the ship to discover that Michelle’s magic has got the ship moving again.
Exploring The Open Sea
| Monsters | HP |
|---|---|
| Drake Slime | ~63 |
| Miasma | ~80 |
| Seaslime | ~64 |
| Mermaniac | ~170 |
| Spinchilla | ~84 |
| Diethon | ~194 |
| Handsome Crab | ~91 |
| War Gryphon | ~188 |
| Otter Shambles | ~252 |
| King Squid | ~509 |
| Chillanodon | ~138 |
Your next destination lies far to the east, south of the Hotto Steppe but first there’s a number of islands to explore for loot and more Crossbow Targets. From your current location, make a quick stop to the island south of your current location.
Insula Incognita
| Items | Area |
|---|---|
| Crafting Comforting Clothing | On top of the arch, chest |
| Sparkly Spots | Area |
|---|---|
| Waveweed | South from the dock |
| Iron Ore, Silver Ore x2 | North of the large field, Ore gathering point |
| Gold Ore | Far south |
| Monsters | HP |
|---|---|
| Hammerhood | ~17 |
| Brownie | ~74 |
| Troll | ~513 |
| Cyclops | ~551 |
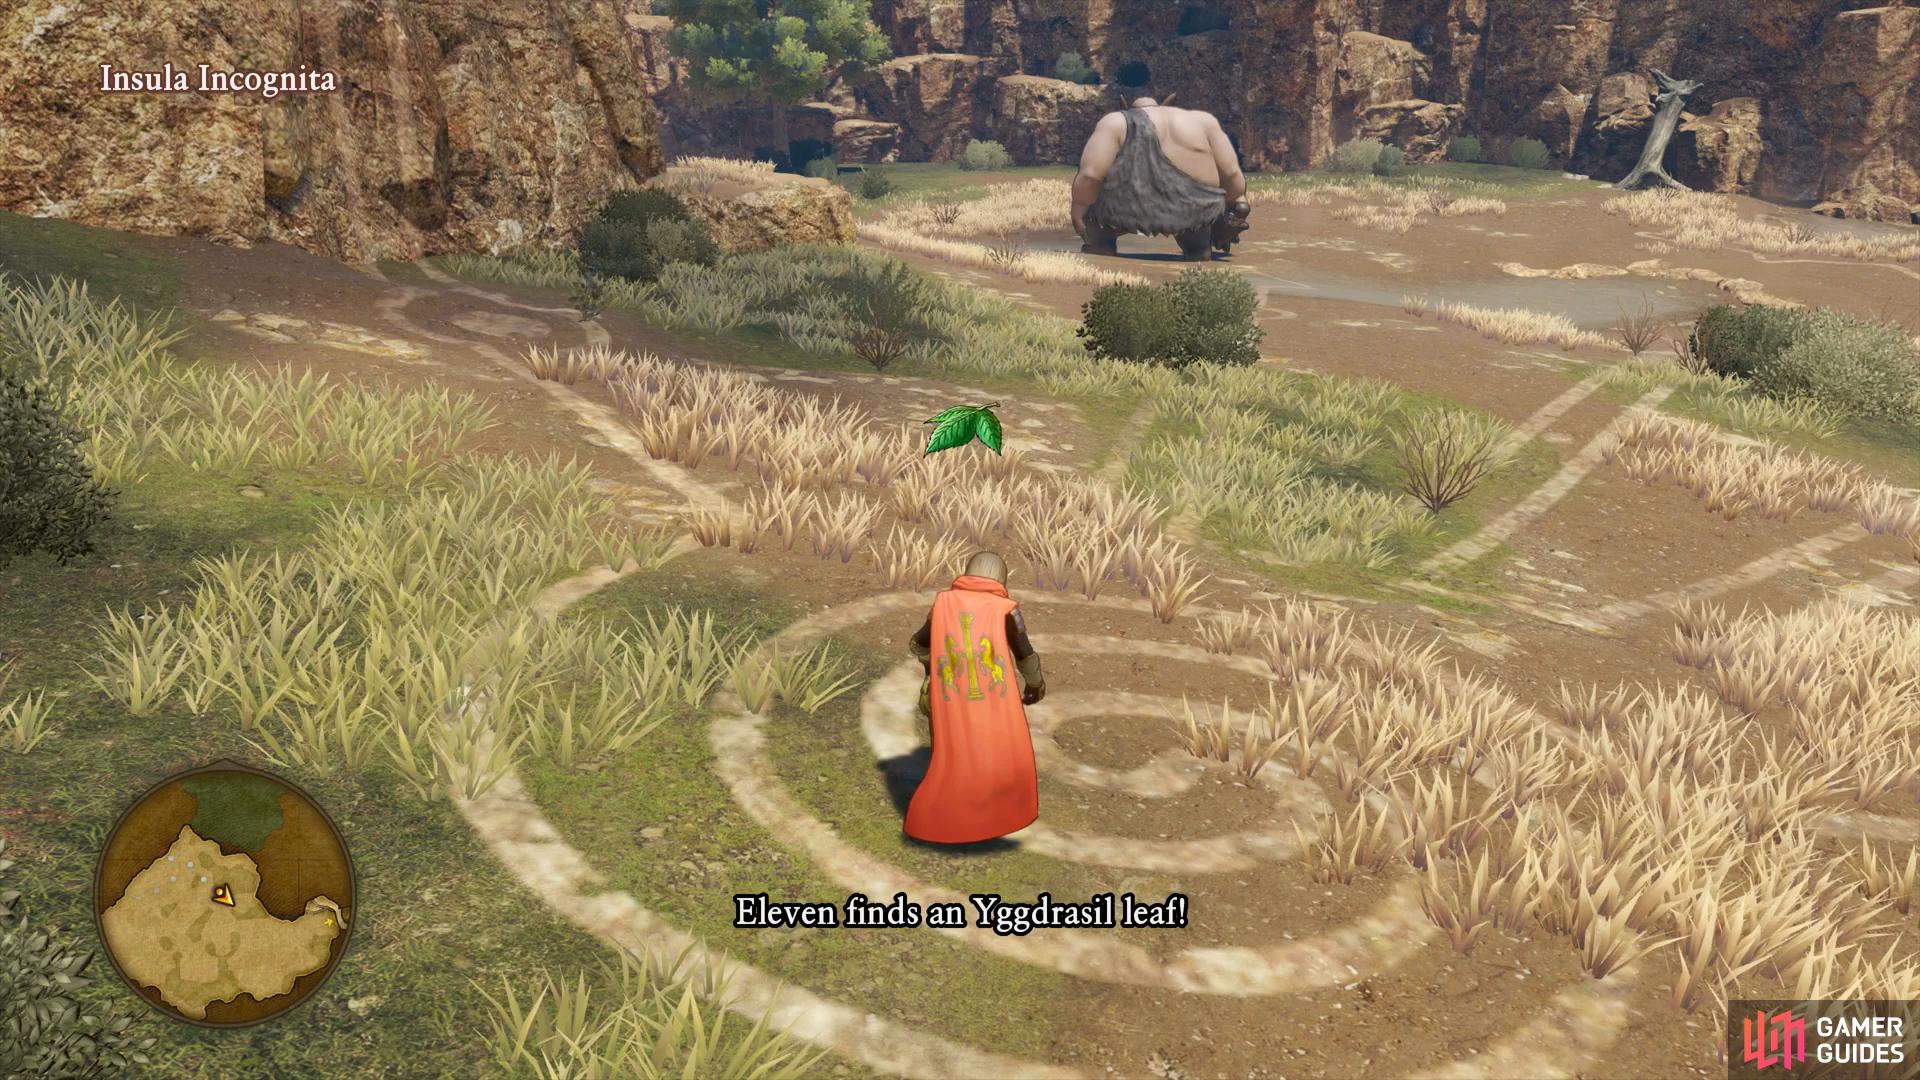
On the Insula Incognita you’ll find a bunch of Hammerhood and Brownies accompanied by Trolls and a new monster, the Cyclops. Beware of the Cyclops as they hit hard and have a large amount of HP, make use of Jade’s Leg Sweep to manage the battles better. From the dock follow the path south to the first Sparkly Spot on your right containing a Waveweed. Follow the path until it opens up into a large field, you’ll spot an Ore gathering point on the north wall containing Iron Ore and two Silver Ores. Search southeast a little from this gathering point to spot another Sparkly Spot, this one containing an Yggdrasil Leaf.
(1 of 2) The Sparkly Spot here is a good source for Yggdrasil Leaves
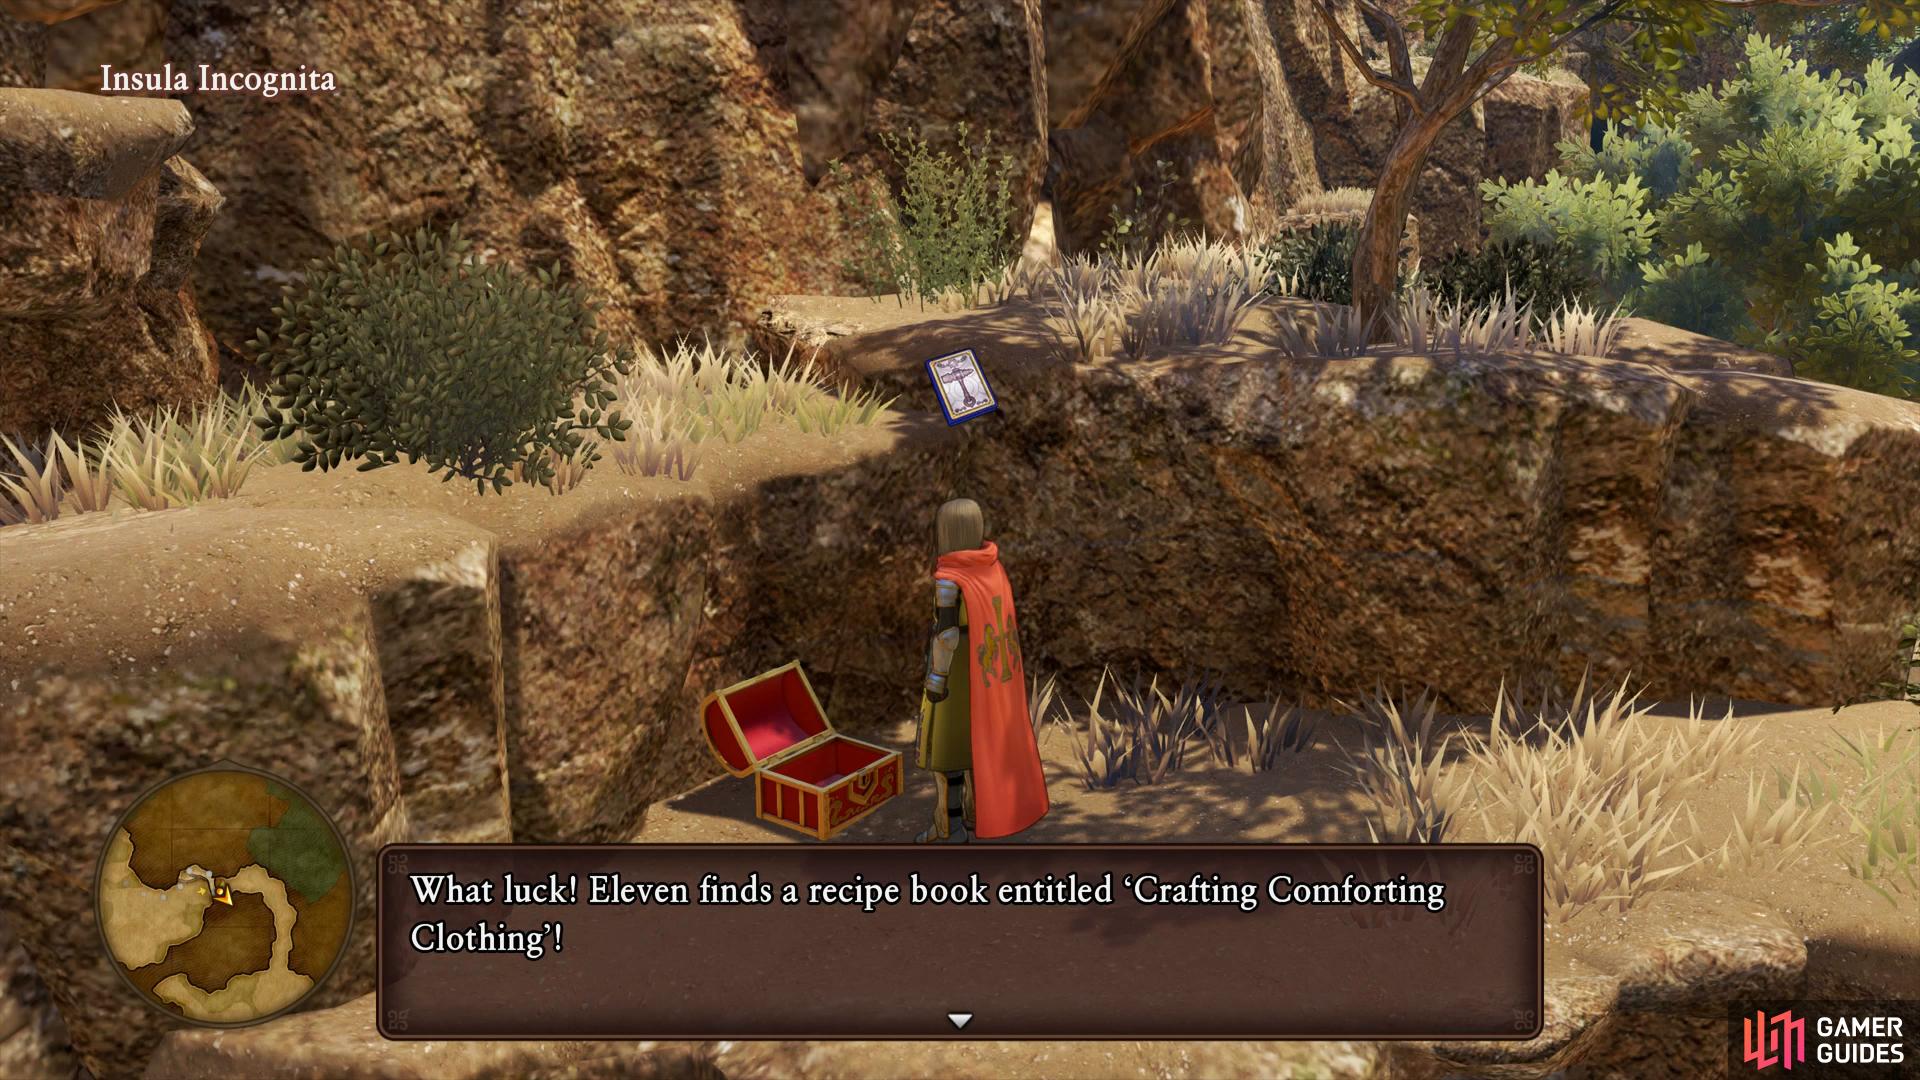
The Sparkly Spot here is a good source for Yggdrasil Leaves (left), climb the steps to the left of the archway to find this Recipe Book. (right)
Head past the Trolls to the east and keep to the left wall to find a spot you can climb up. Follow this up and across to the other side where a chest awaits, open it to obtain a new Recipe Book, Crafting Comforting Clothing which will allow you to craft a Robe of Serenity. Drop down and follow the path to where you can encounter a Cyclops, whether you decide to fight or not, snag the Sparkly Spot to the south to obtain a Gold Ore.
Zoom back to The Strand and board the ship once more, this time sailing north to the next small island.
Insula Occidentalis
| Items | Area |
|---|---|
| 200G | Outside the Cabin, barrel |
| Sparkly Spots | Area |
|---|---|
| Sun-bleached Seashell | North of the dock |
| Silkblossom | Southwest of the Cabin |
| Monsters | HP |
|---|---|
| Orc | ~105 |
| Spiked Hare | ~88 |
| Golden Corn (Rare) | ~860 |
| Jowler | ~456 |
| Medislime | ~90 |
There’s not too much to see on this island for now, there’s two locked doors that you’ll need to return to later to loot the treasures within. Aside from the Orc, all the monsters here will be monsters you’ve yet to encounter so take the time to fight at least one of each (you may have to leave the Golden Corn for now). Begin by heading north to find a Sparkly Spot amongst the rocks containing a Sun-bleached Seashell.
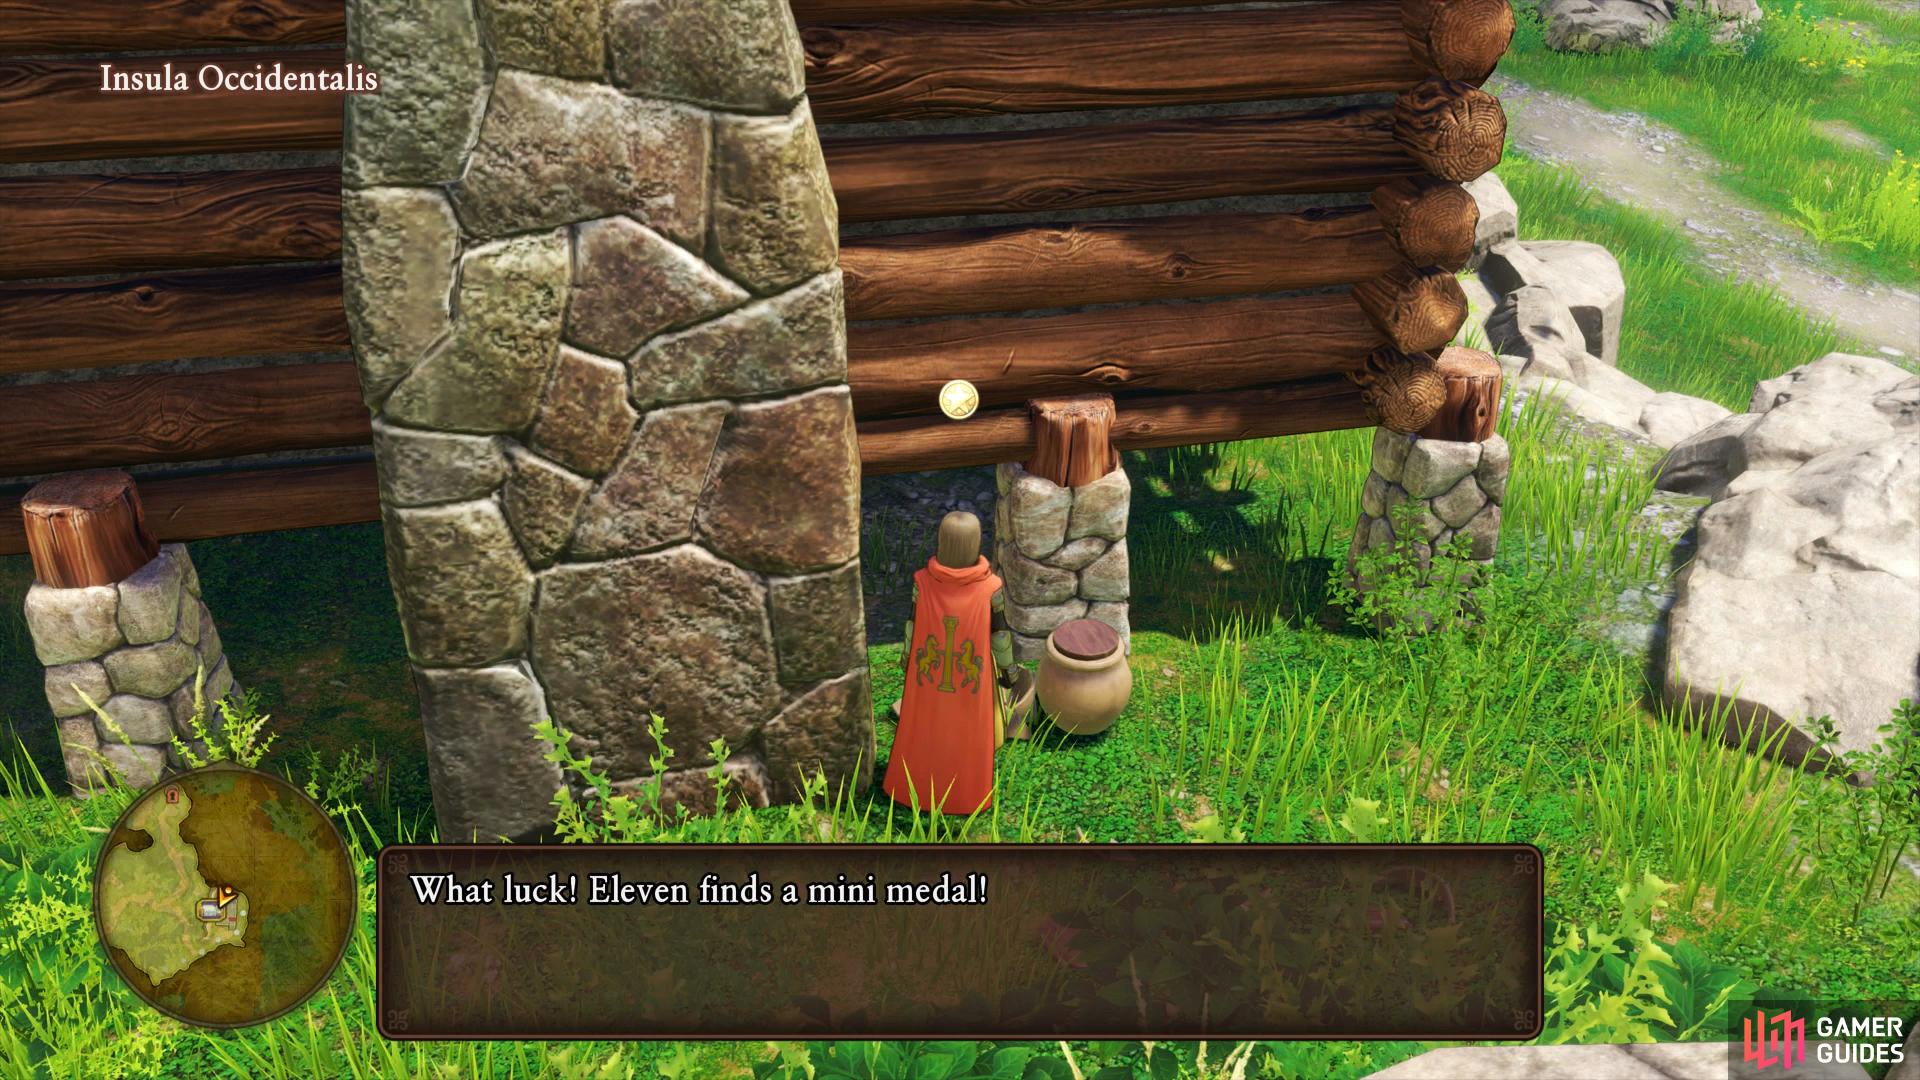
(1 of 2) You’ll find a Mini Medal in a pot around the back of the cabin
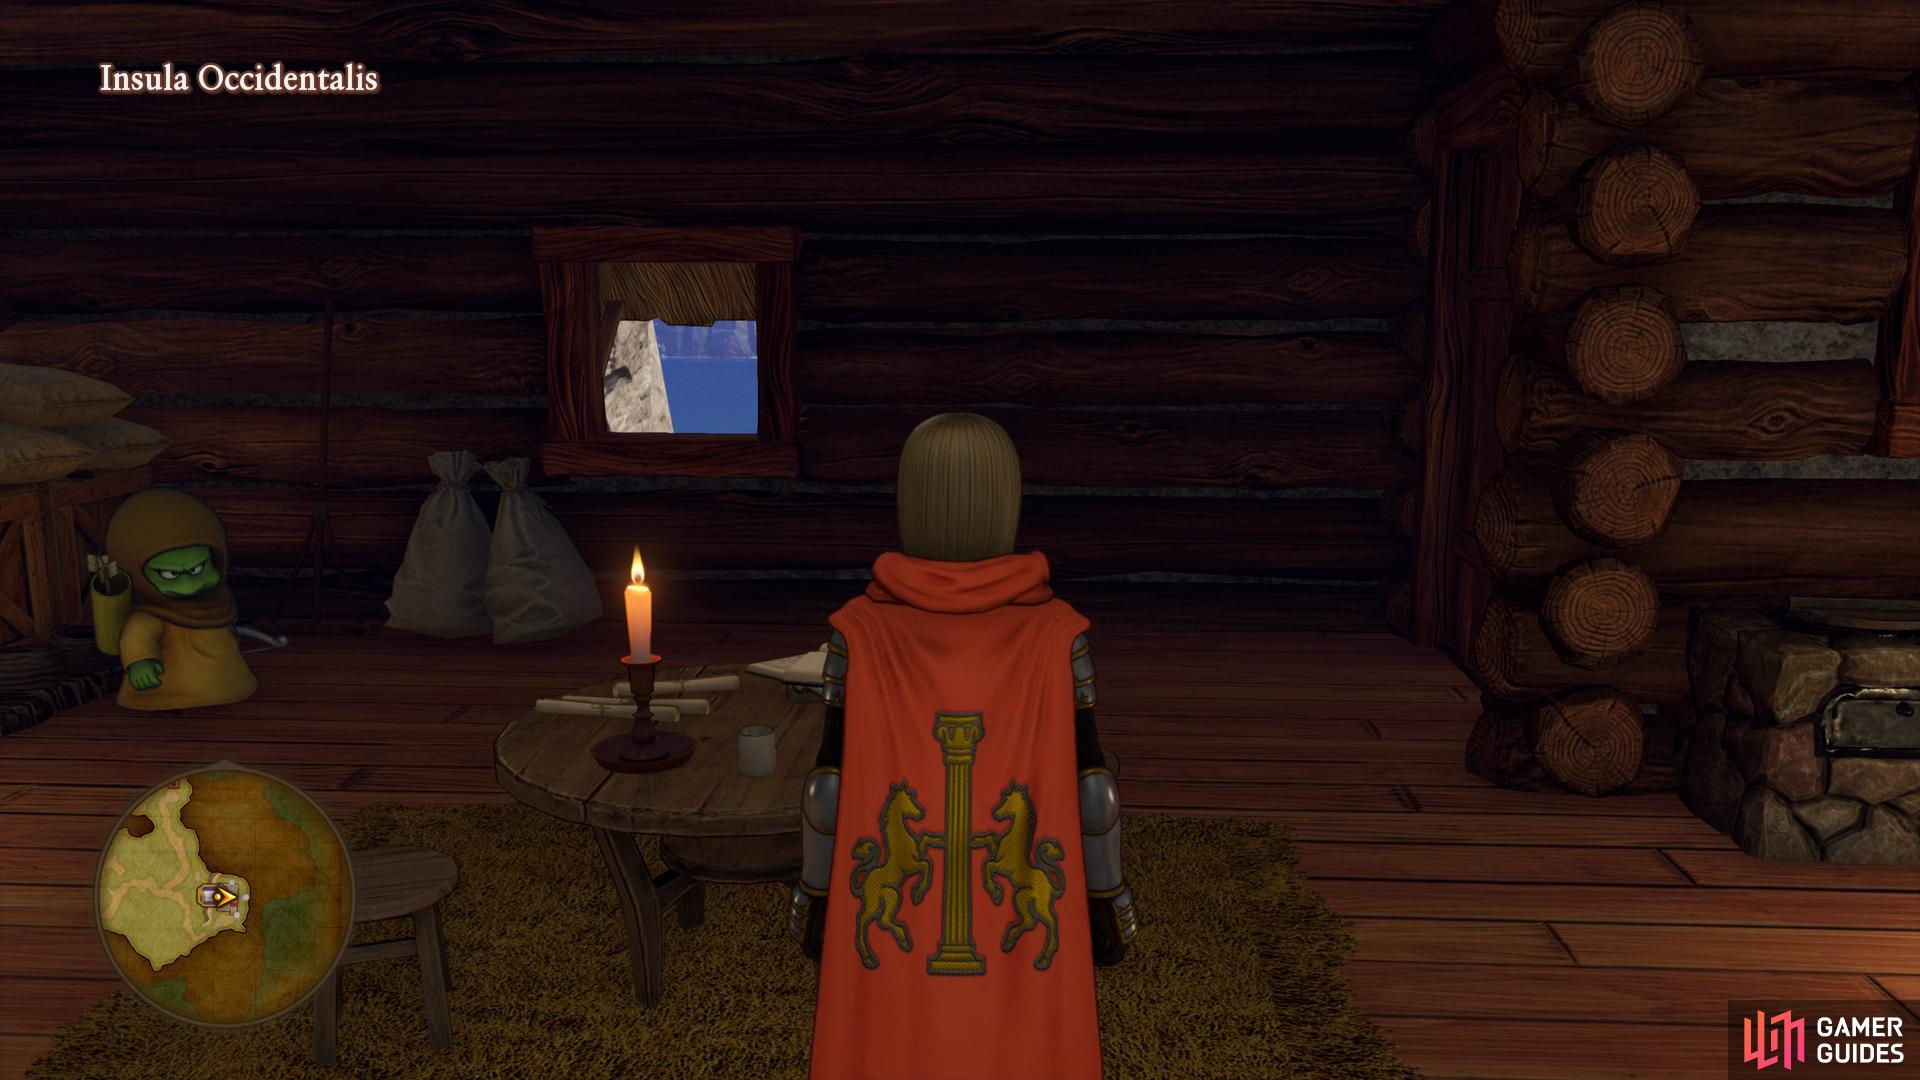
You’ll find a Mini Medal in a pot around the back of the cabin (left), while inside you’ll find the Bodkin Bowyer for the Insula Isles Crossbow Targets. (right)
Head east via the southern border of the island to reach the next Sparkly Spot behind a tree, this one housing a Silkblossom. You should spot a Cabin nearby, head over to it and break the barrel outside to obtain 200G. Enter the Cabin now to find the Bodkin Bowyer responsible for tracking your progress for targets hit on the Insula Isles, of which you’ve only struck one for now. Make use of the bed should you need to and then check around the back of the Cabin for some pots, one of which contains a Mini Medal.
You’ve achieved all you can for now at this island, return to the ship once more and sail northeast to the next small island.
Insula Algarum
| Item | Area |
|---|---|
| Lucida Shard | Northeast of the south island, chest |
| Sparkly Spots | Area |
|---|---|
| Royal Soil | Near the dock |
| Mirrorstone | West of the bridge |
| Narspicious x2, Faerie Fluff | West of the south island, Flower gathering point |
| Monsters | HP |
|---|---|
| Raven Lunatic | ~113 |
| Hades Condor | ~150 |
| Pteranodon | ~97 |
| War Gryphon | ~188 |
Only a few items to snag in this small island along with two new monsters to battle, the Pteranodon and Hades Condor, both of which shouldn’t cause too many problems. Begin by following the path, keeping to the left to find your first Sparkly Spot near a tree containing a Royal Soil. Continue to follow the path and once it opens up search the south cliff to find another Sparkly Spot containing a Mirrorstone.
(1 of 2) There’s a well hidden chest with a rare forging material
There’s a well hidden chest with a rare forging material (left), while you can find another Crossbow Target to the south. (right)
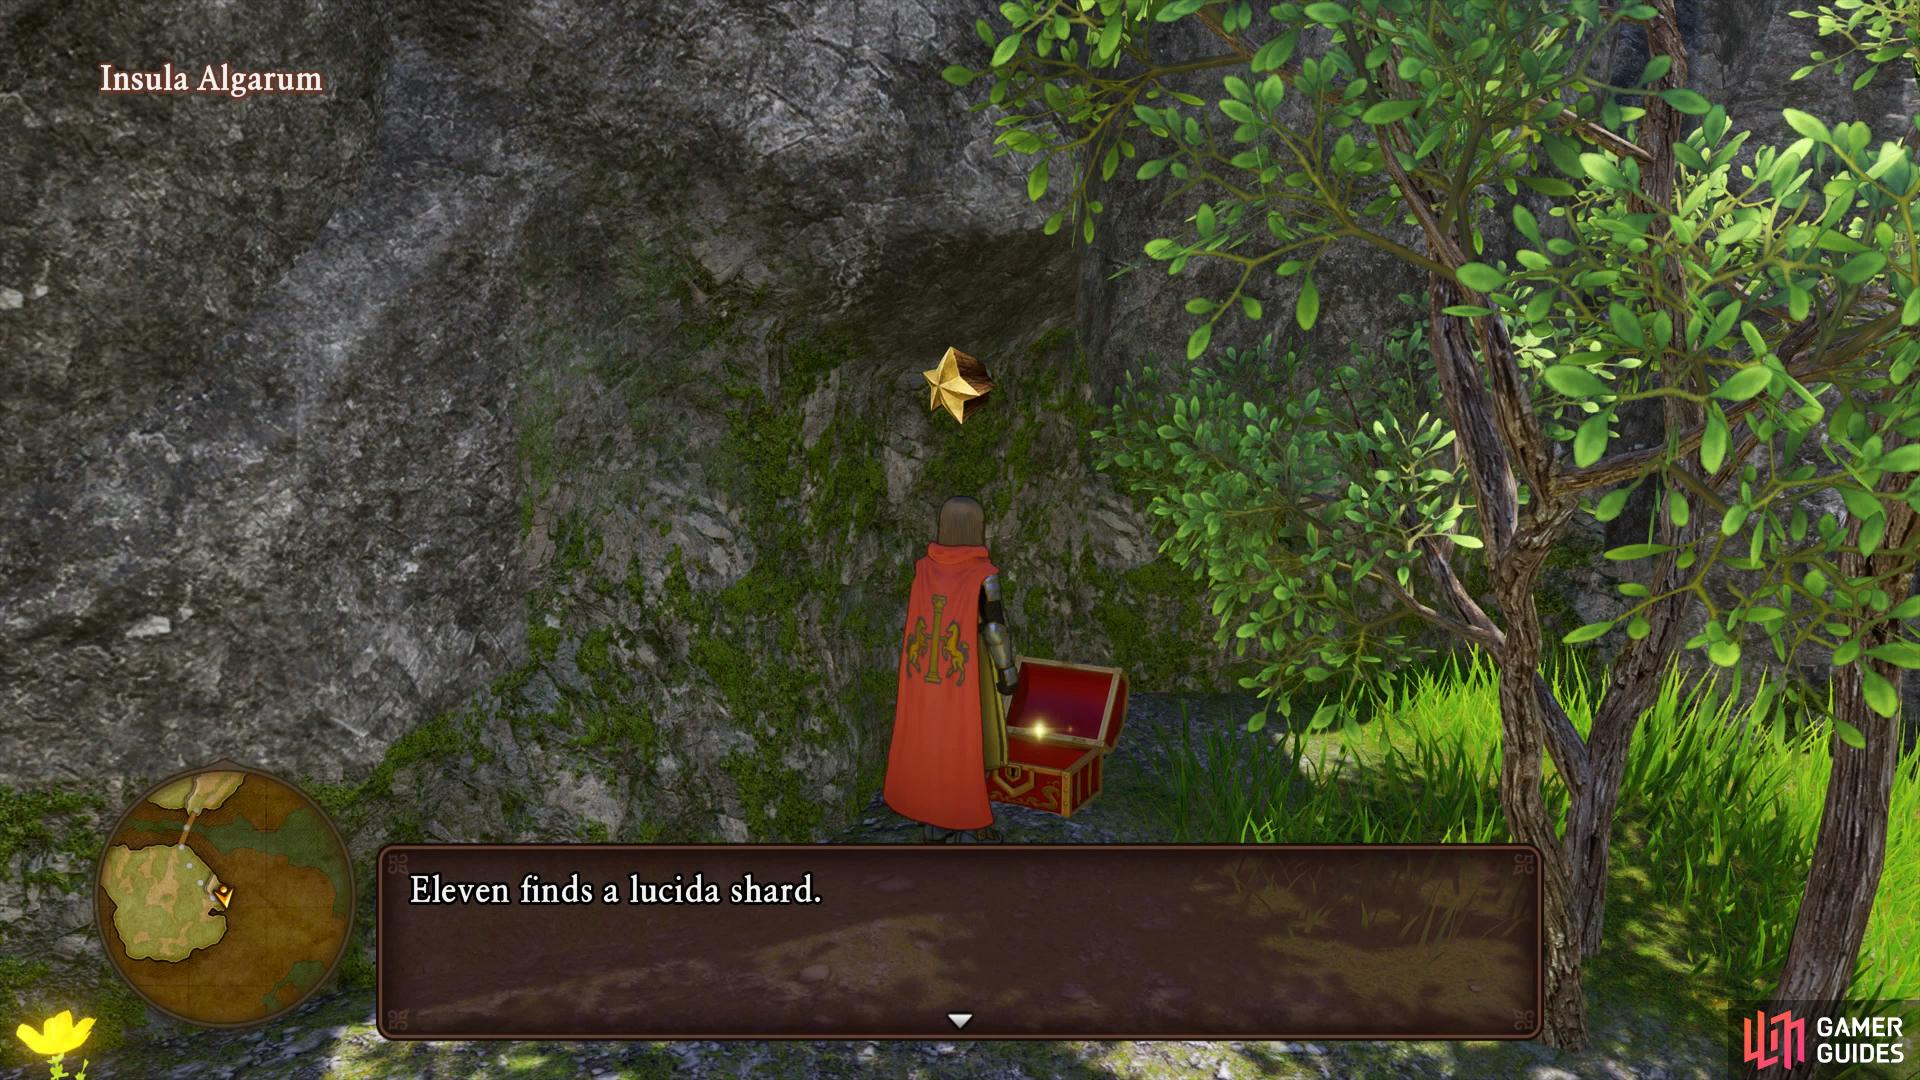
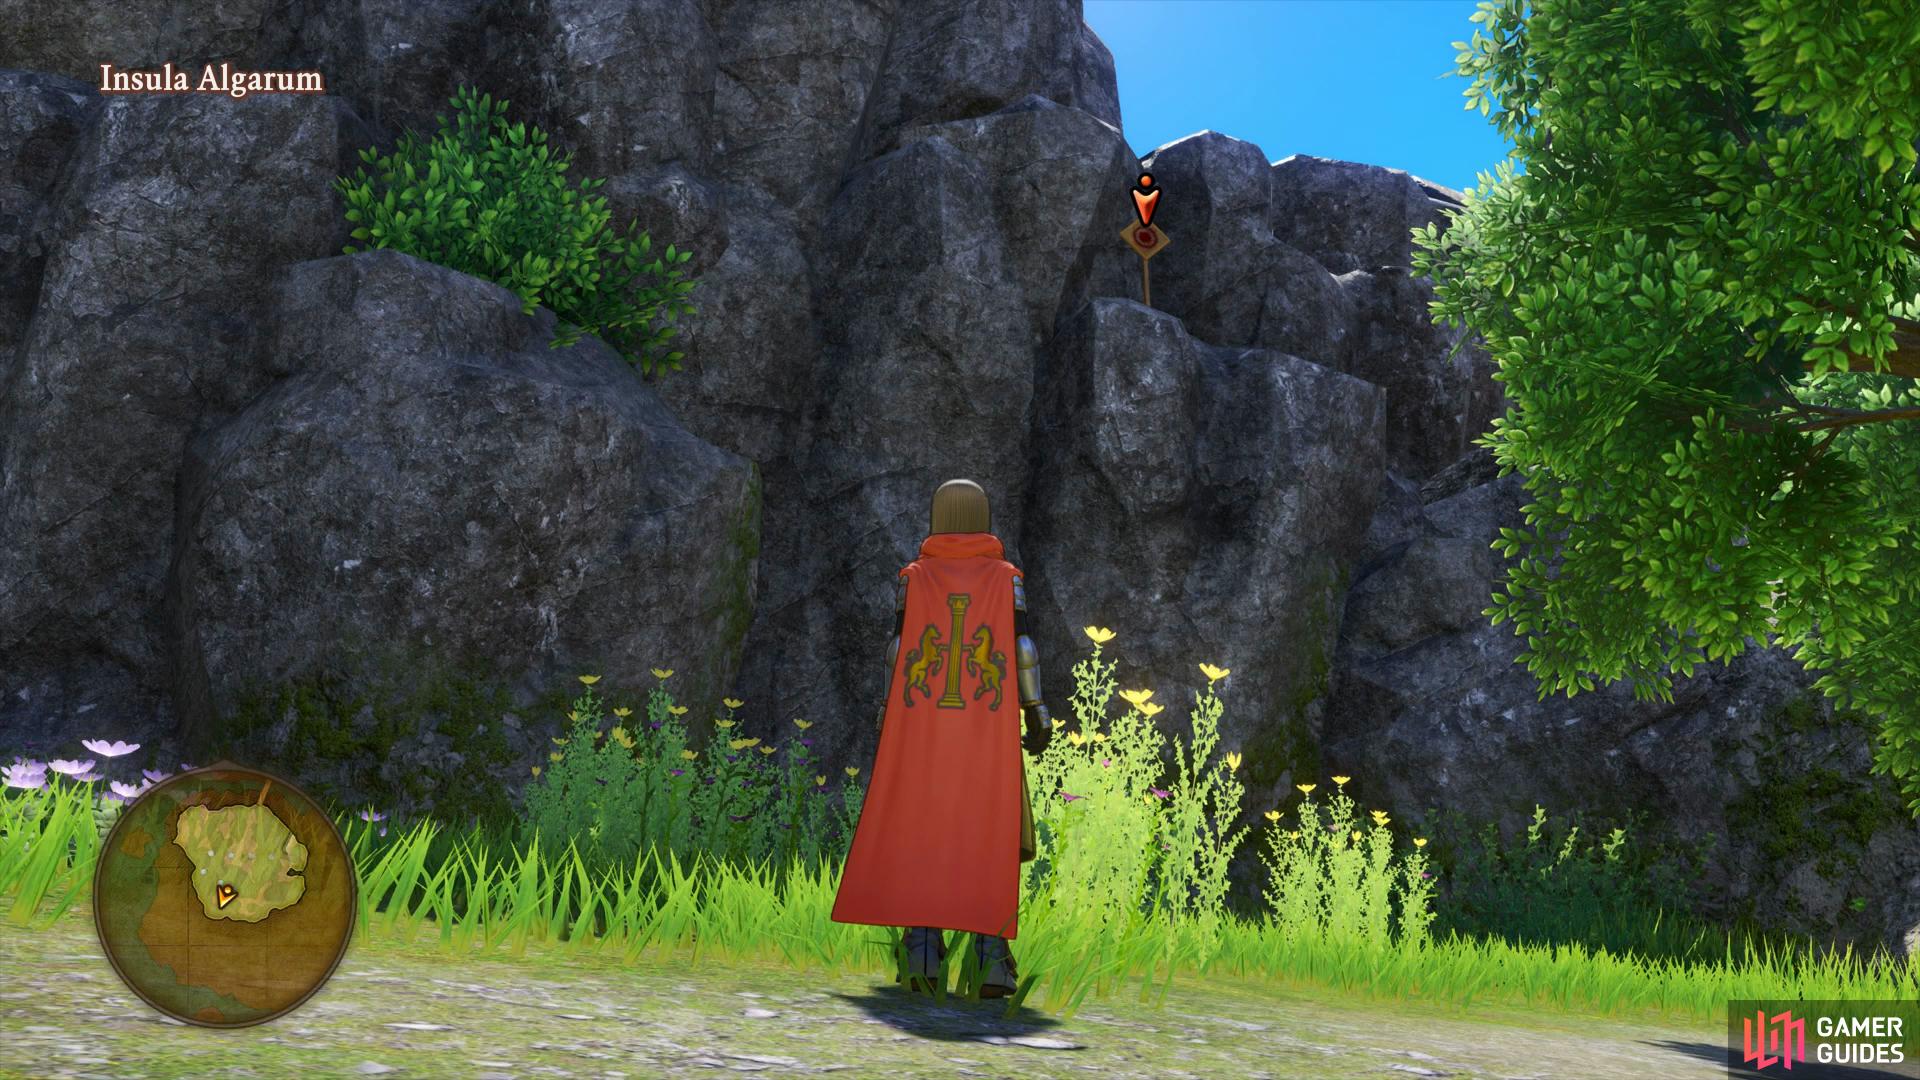
Cross over to the other side of the island and search the northeast to find a chest tucked away in the corner, open it up to obtain a Lucida Shard. Head directly west from here to spot a Flower gathering point containing two Narspicious and a Faerie Fluff. Before you leave the island, head to the far south and look up to spot the next Crossbow Target amongst the rocks.
Return to the Ship once more and set sail, you’ll need to sail around the northern edge of Erdrea to reach the next island located to the north.
Insula Borealis
| Sparkly Spots | Area |
|---|---|
| Celestial Skein | Far south sea |
| Silkblossom | Southwest of east island |
| Silver Ore x2, Blue Eye | East, Ore gathering point |
| Glass Frit | Far east |
| Monsters | HP |
|---|---|
| Man o’ War | ~50 |
| Coralossus | ~230 |
| Kriller Killer | ~285 |
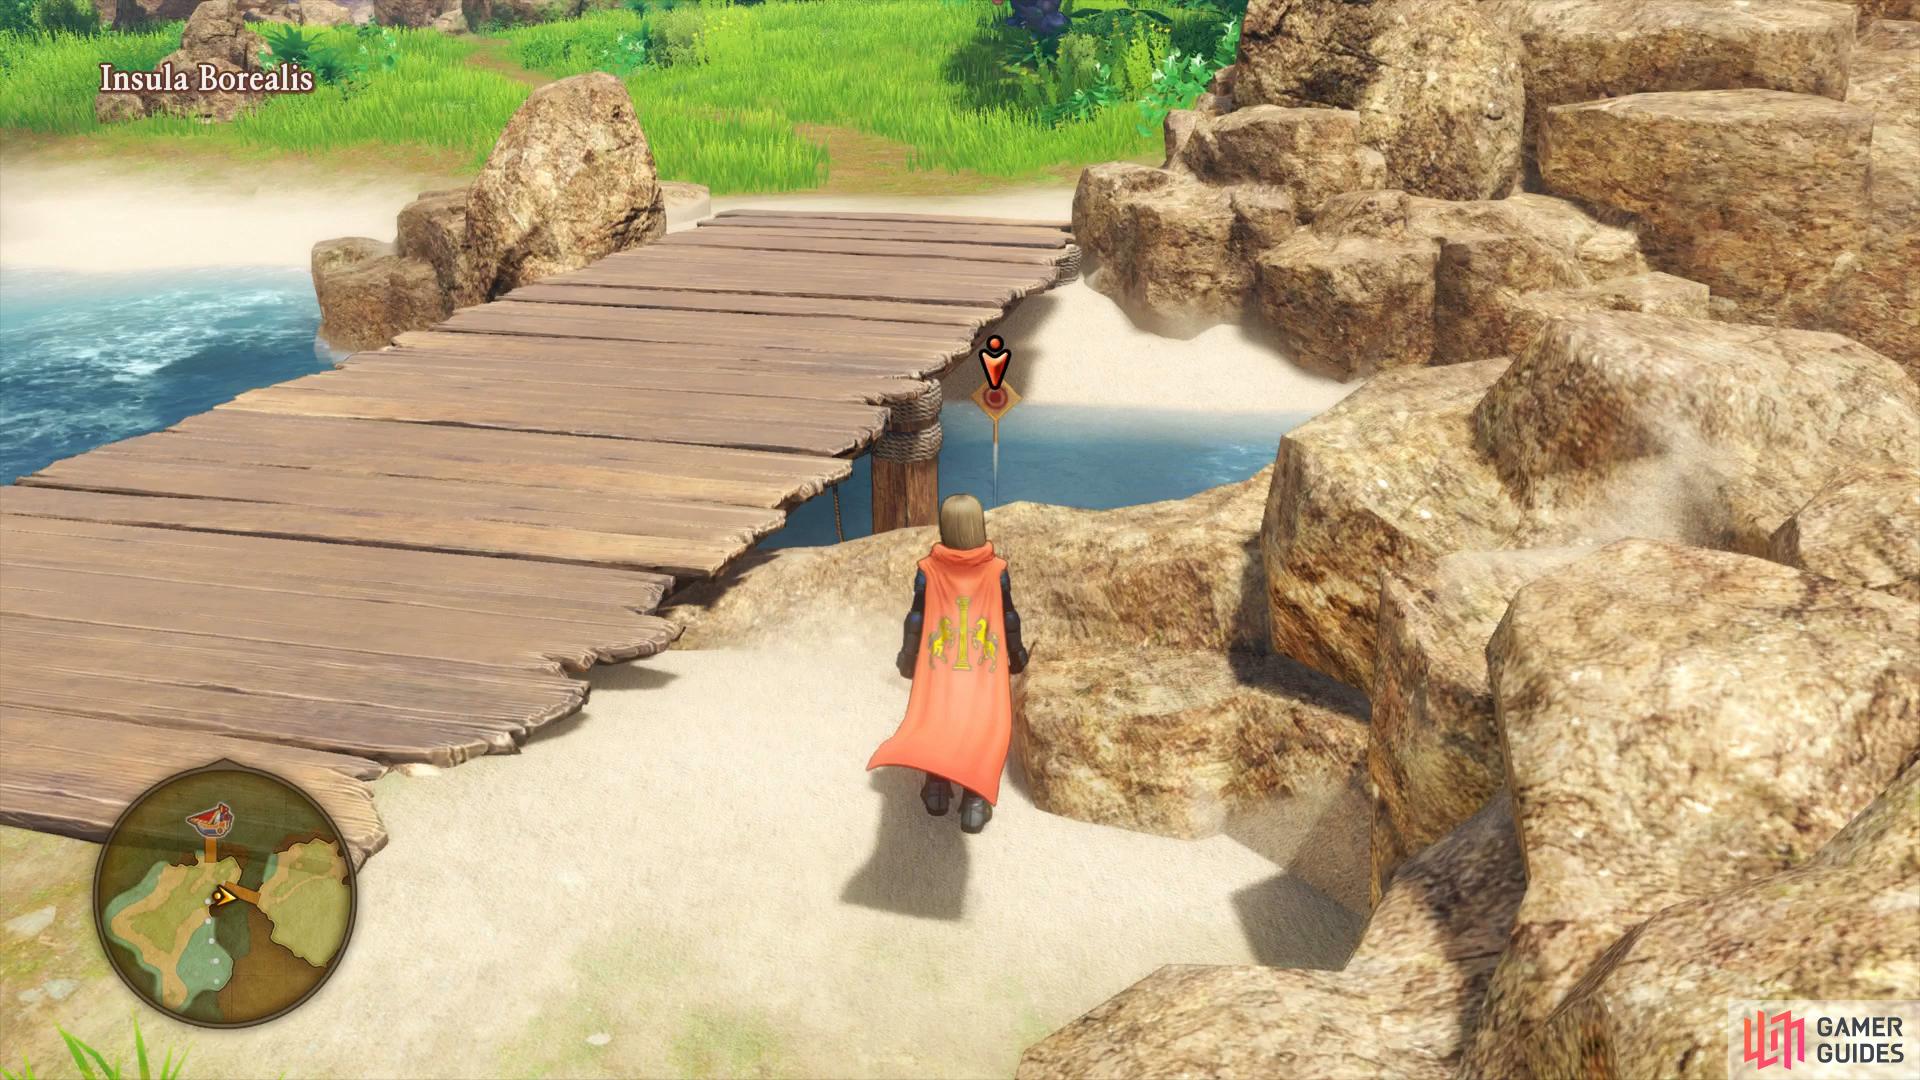
Another island with not too much to see and do but there are still some items to loot and a Crossbow Target. Head directly south as far as you can from the dock to find the first Sparkly Spot containing a Celestial Skein. As you make your way back towards the bridge, look under it to discover the next Crossbow Target (you’ll have to strike it from the bridge).
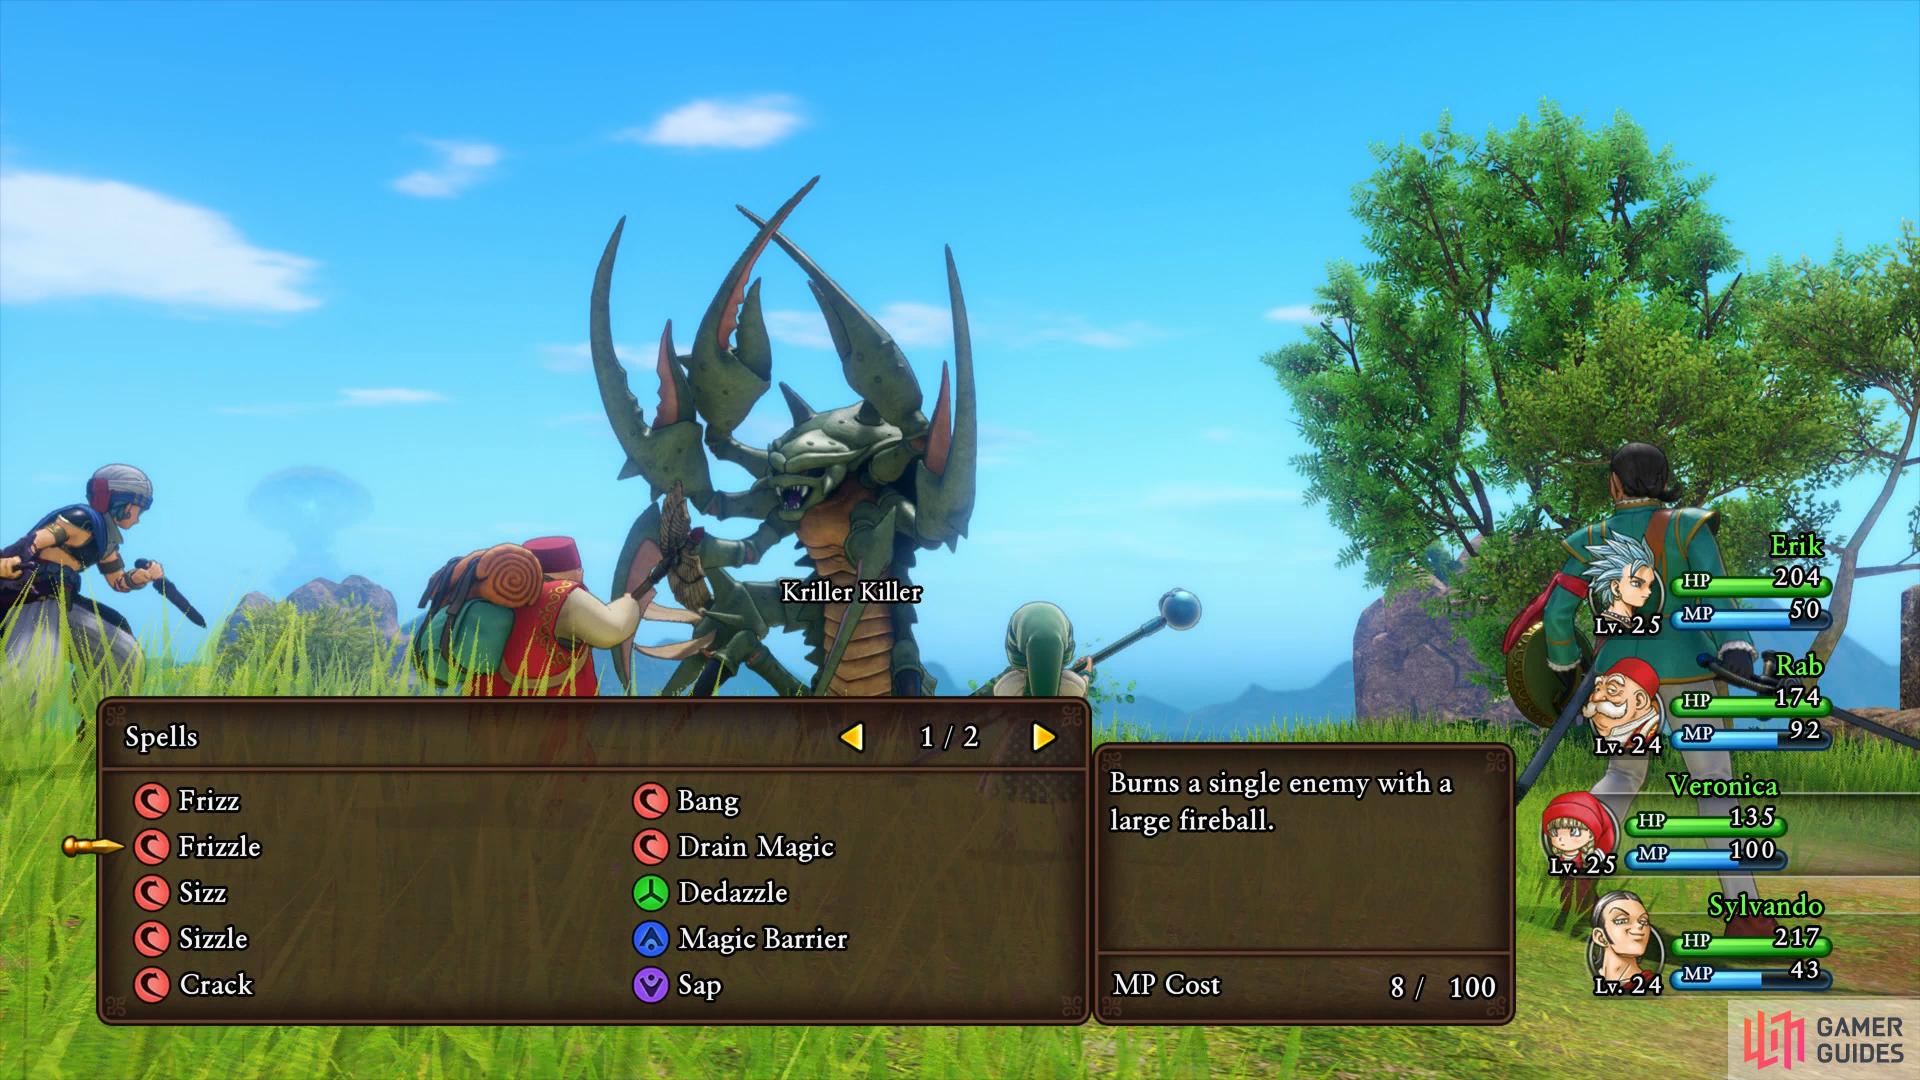
(1 of 2) The Kriller Killer is a tough enemy with party wide attacks so don’t underestimate it
The Kriller Killer is a tough enemy with party wide attacks so don’t underestimate it (left), the next Crossbow Target is situated under the bridge. (right)
As you cross the bridge, make your way southeast of this island to the next Sparkly Spot containing a Silkblossom. Continue northeast and as you leap over a log, look to the right to find an Ore gathering point containing two Silver Ores and a Blue Eye. Finally, look to the north of your current position to locate the last Sparkly Spot housing a Glass Frit. Once more return to your ship and set sail to the small island located to the northeast (east from your current location).
Insula Orientalis
| Items | Area |
|---|---|
| Mini Medal | Ruins northeast of the bridge, pot |
| Slime Crown | Northwest of the bridge, chest |
| Sparkly Spots | Area |
|---|---|
| Tortoise Shell | Along the eastern beach |
| Celestial Skein | In the water, south of the bridge |
| Silkblossom | Northeast |
| Silver Ore x2, Iron Ore | Water to the northwest, Ore gathering point |
| Monsters | HP |
|---|---|
| Metal Slime | ~4 |
| Healslime | ~25 |
| Shell Slime | ~42 |
| Drake Slime | ~63 |
| Bite Bulb | ~72 |
| Slime Knight | ~72 |
| Heart Knight (Rare) | ~616 |
| Agoomulator | ~86 |
| King Slime | ~512 |
| Liquid Metal Slime | ~8 |
As you may have surmised from taking a glance at the monster list, you’ll only encounter Slimes on this island. This includes Metal Slimes and the next tier up, Liquid Metal Slimes. As with all Metal enemies in Dragon Quest XI, you won’t see them on the field, you’ll only encounter them alongside other monsters with the Liquid Metal Slimes being exclusive to battles involving King Slimes.
From the dock, head along the beach to the east to locate a Sparkly Spot containing a Tortoise Shell. Head over to the water on the west side of the island and follow it into a corner to the north where another Sparkly Spot resides containing a Celestial Skein. Run over to the north-eastern edge of the island now to spot a third Sparkly Spot, this one housing a Silkblossom.
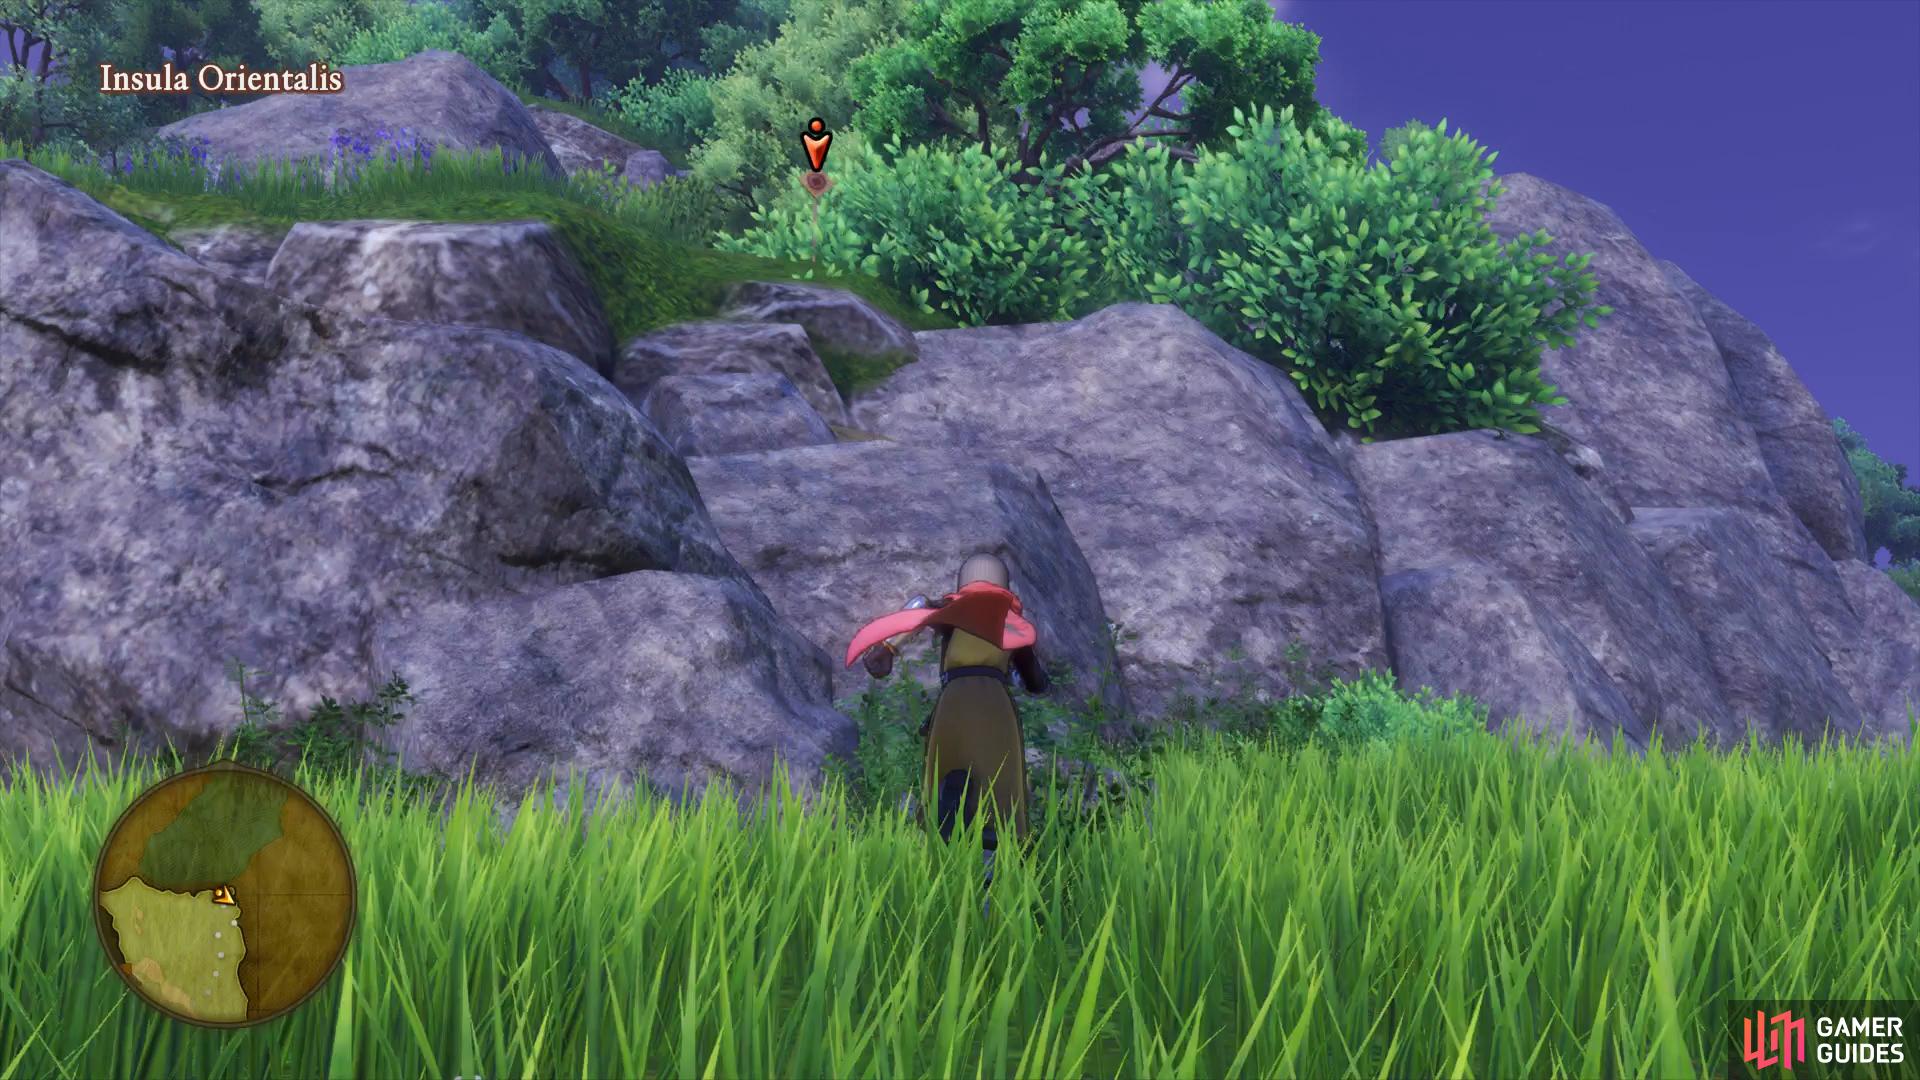
(1 of 2) The latest Crossbow Target is high up to the north-west of the island
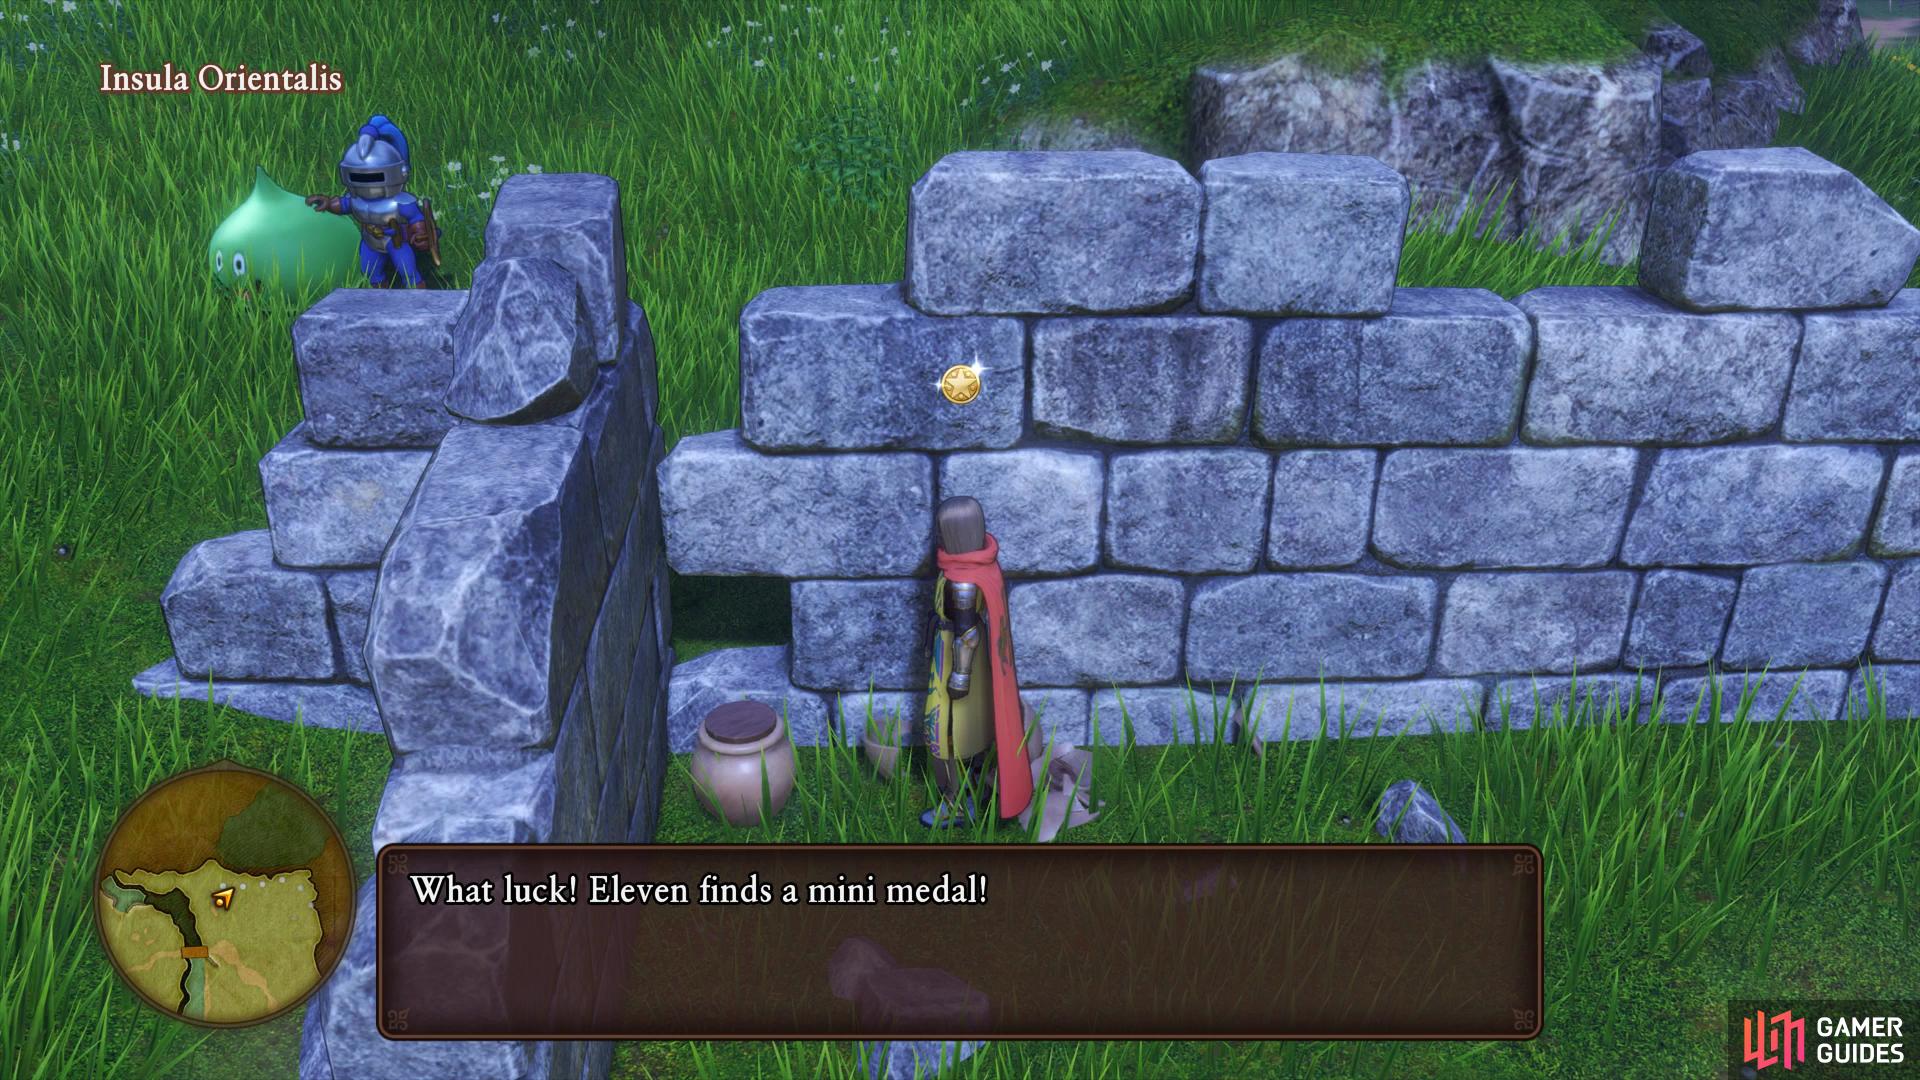
The latest Crossbow Target is high up to the north-west of the island (left), search the nearby ruins to find a Mini Medal in a pot. (right)
Continue to head into the northeast corner here and then turn around to face the rocks high up, you’ll spot the next Crossbow Target near a bush. A short distance to the west from your current location are some ruins, search inside for some pots containing a Mini Medal. Ignore the bridge for now and head northwest into the corner where a chest is hiding, open it up to obtain a Slime Crown. Cross the bridge now and head north to where the water is, you’ll find an Ore gathering point here containing two Silver Ores and an Iron Ore.
You have all the items here for now so feel free to bash around some Slimes (in particular attempt to fight a Liquid Metal Slime or two) to increase your level, your party should be around Level 24 or higher by now. Once you’re done culling the island of it’s slimy inhabitants, board the ship once more and finally begin the journey to Lonalulu far to the south of your current location.
Lonalulu
| Items | Area |
|---|---|
| Horse Manure | Outside Western house, pot |
| My First Pearly Pieces | Armor shop, bookshelf |
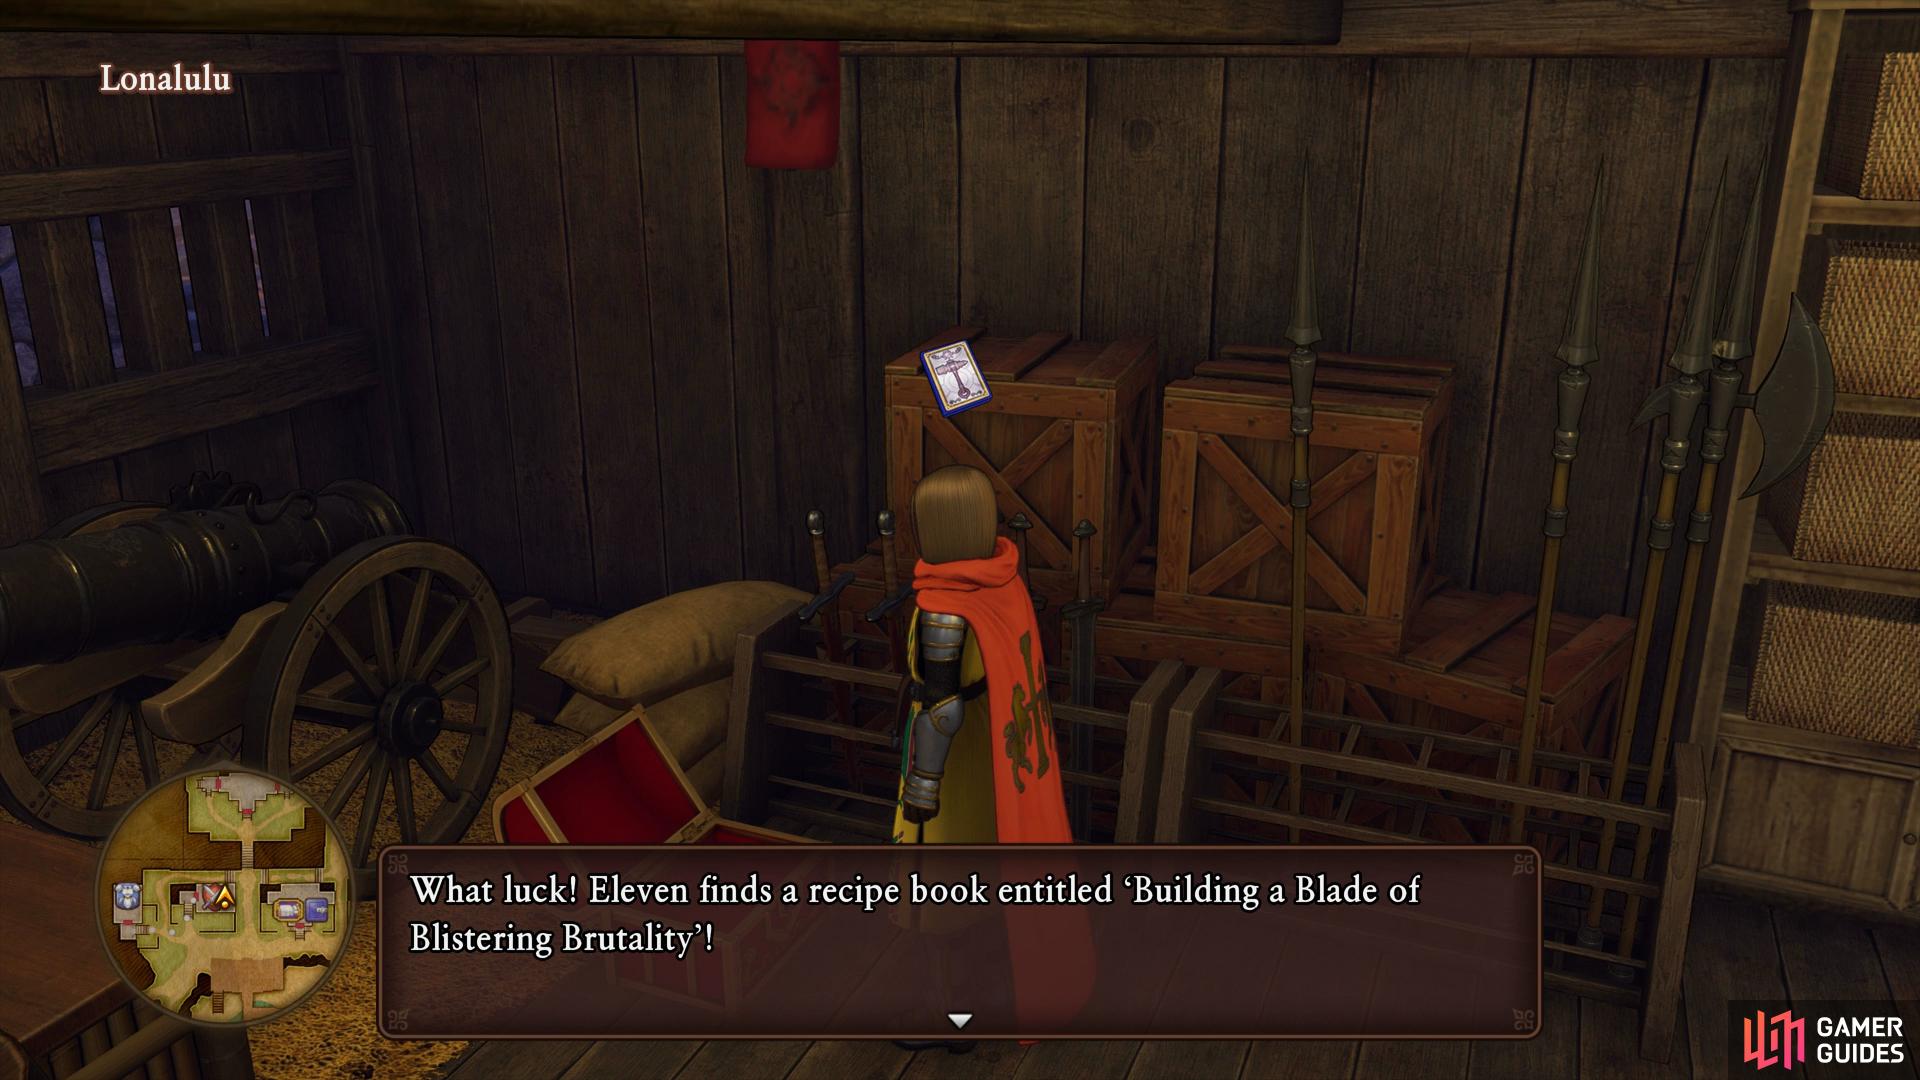
| Building a Blade of Blistering Brutality | Weapons shop, chest |
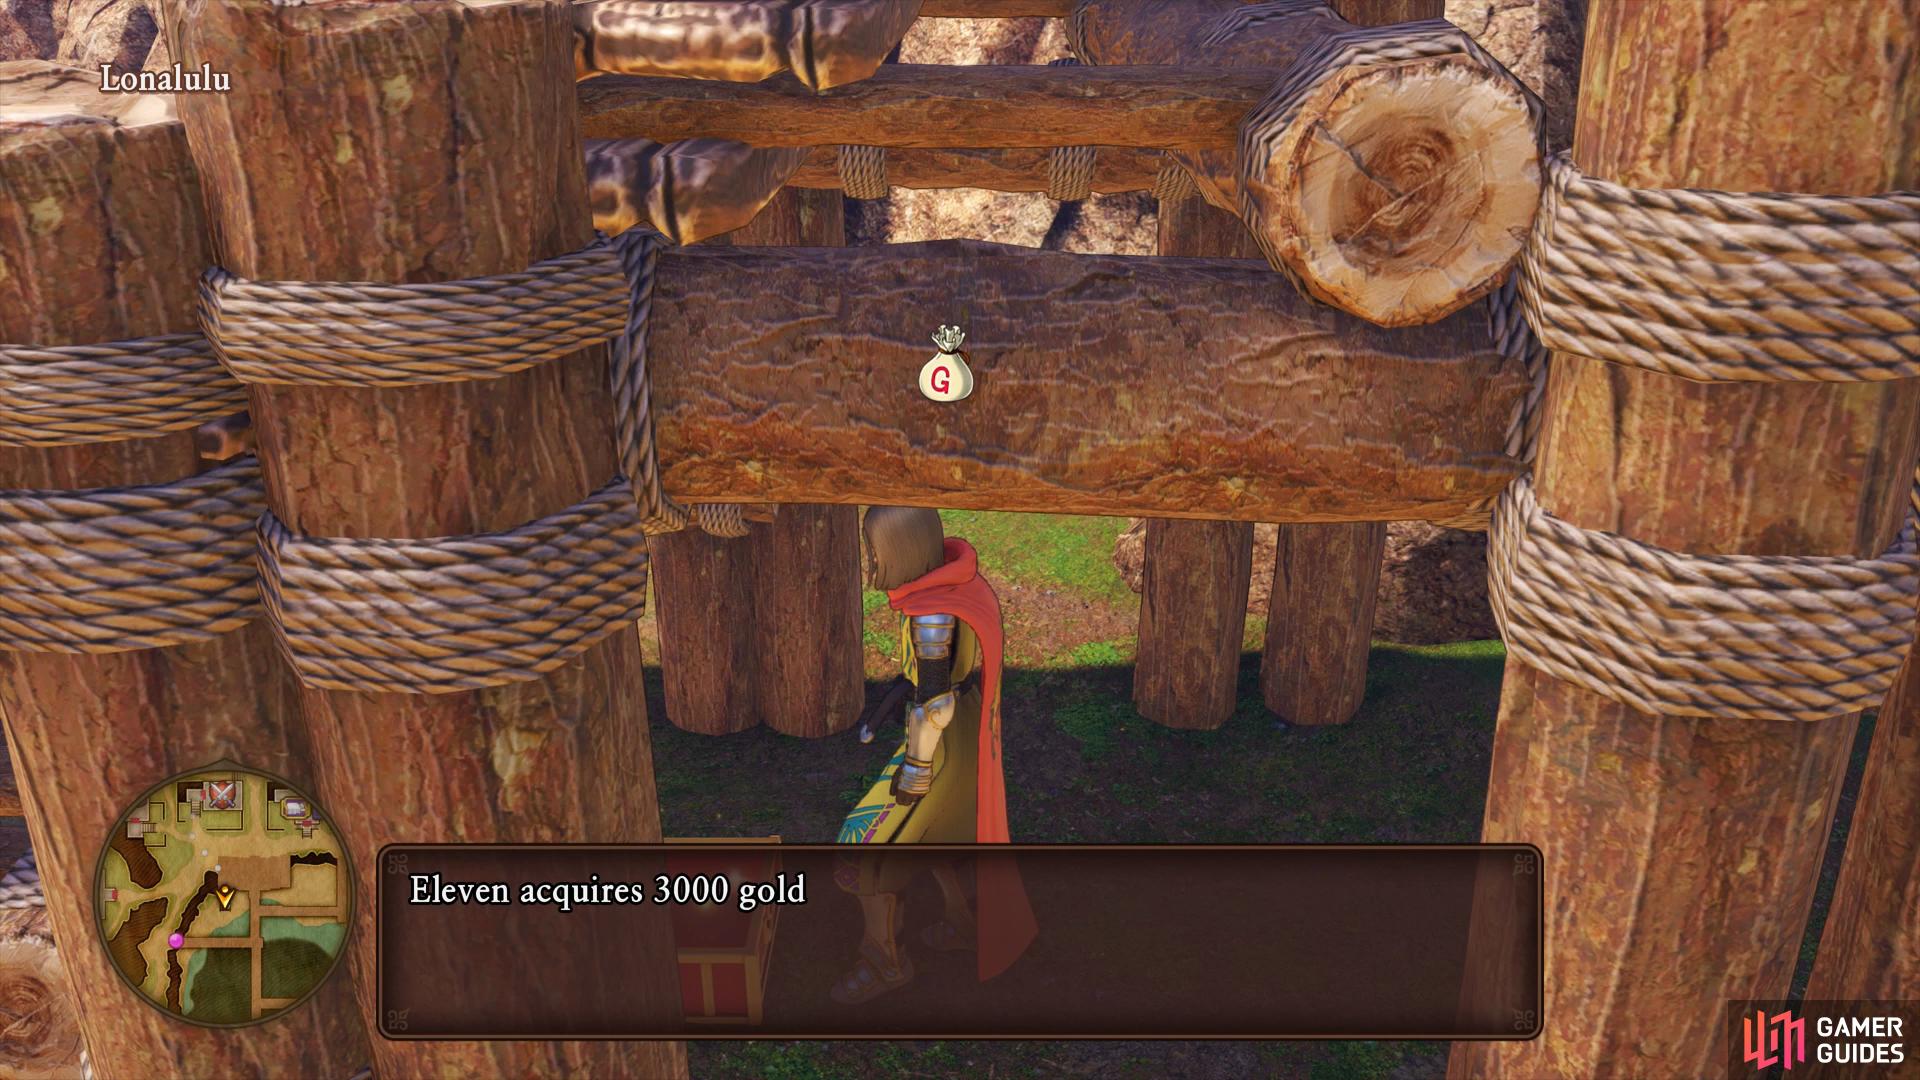
| 3000G | Under the stairs on the beach, chest |
| Softwort | South of the pier, barrel |
| 400G | Inn, wardrobe |
| Mini Medal | South of the Tavern, barrel |
| Aerofoil Earrings | House east of the Item shop, wardrobe |
| 31G | Outside house north of the Item shop, barrel |
| 100G | South of the upper path, barrel |
| Seed of Defense | South of the upper path, barrel |
| Sun-bleached Seashell | Northwest of the large house north of the Inn, barrel |
| Pink Pearl | Large house north of the Inn, wardrobe |
| Narspicious | House east of the Church, pot |
| Magic Water | Behind Church, pot |
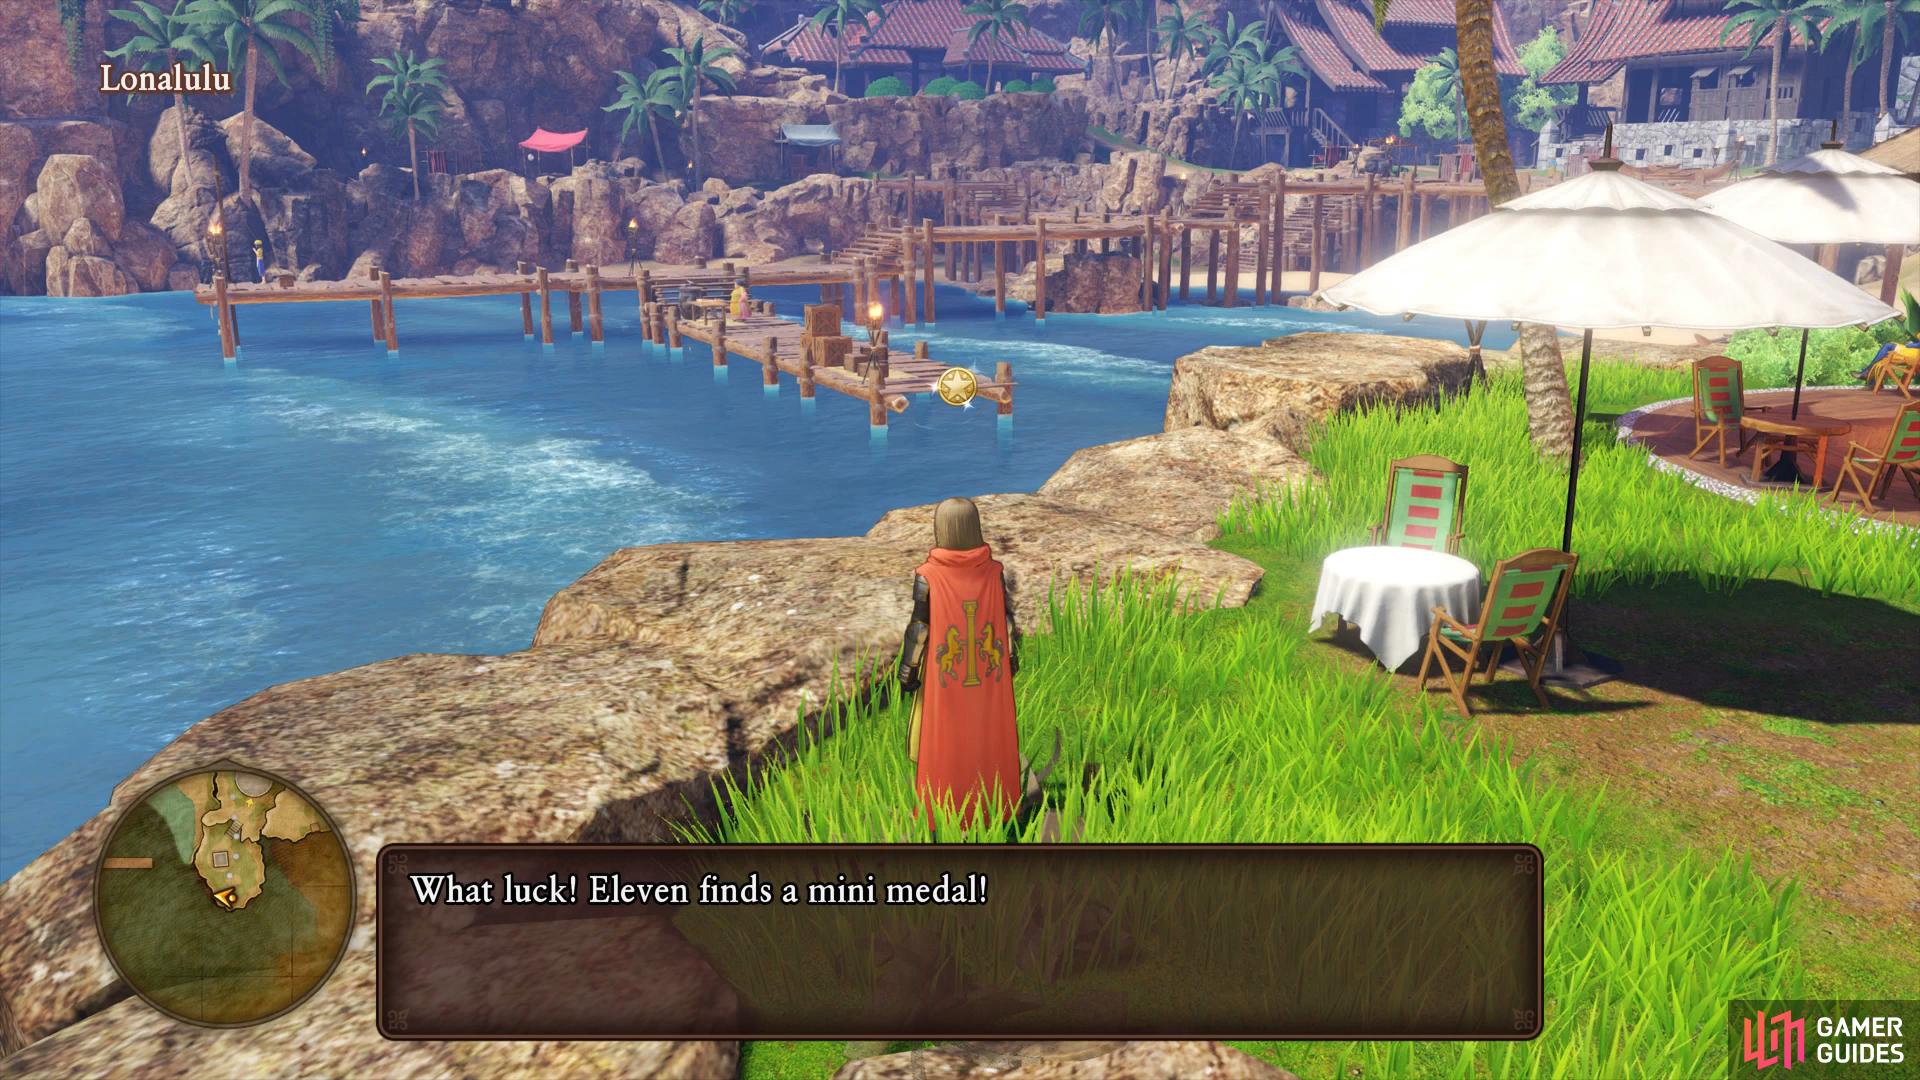
| Mini Medal | Saikiki Beach, chest |
| Sparkly Spots | Area |
|---|---|
| Waveweed | Dock, behind the well |
| Rippledrops | Southeast of the beach |
| Thinkincense | Southeast of the upper path |
| Crimson Coral | Saikiki Beach |
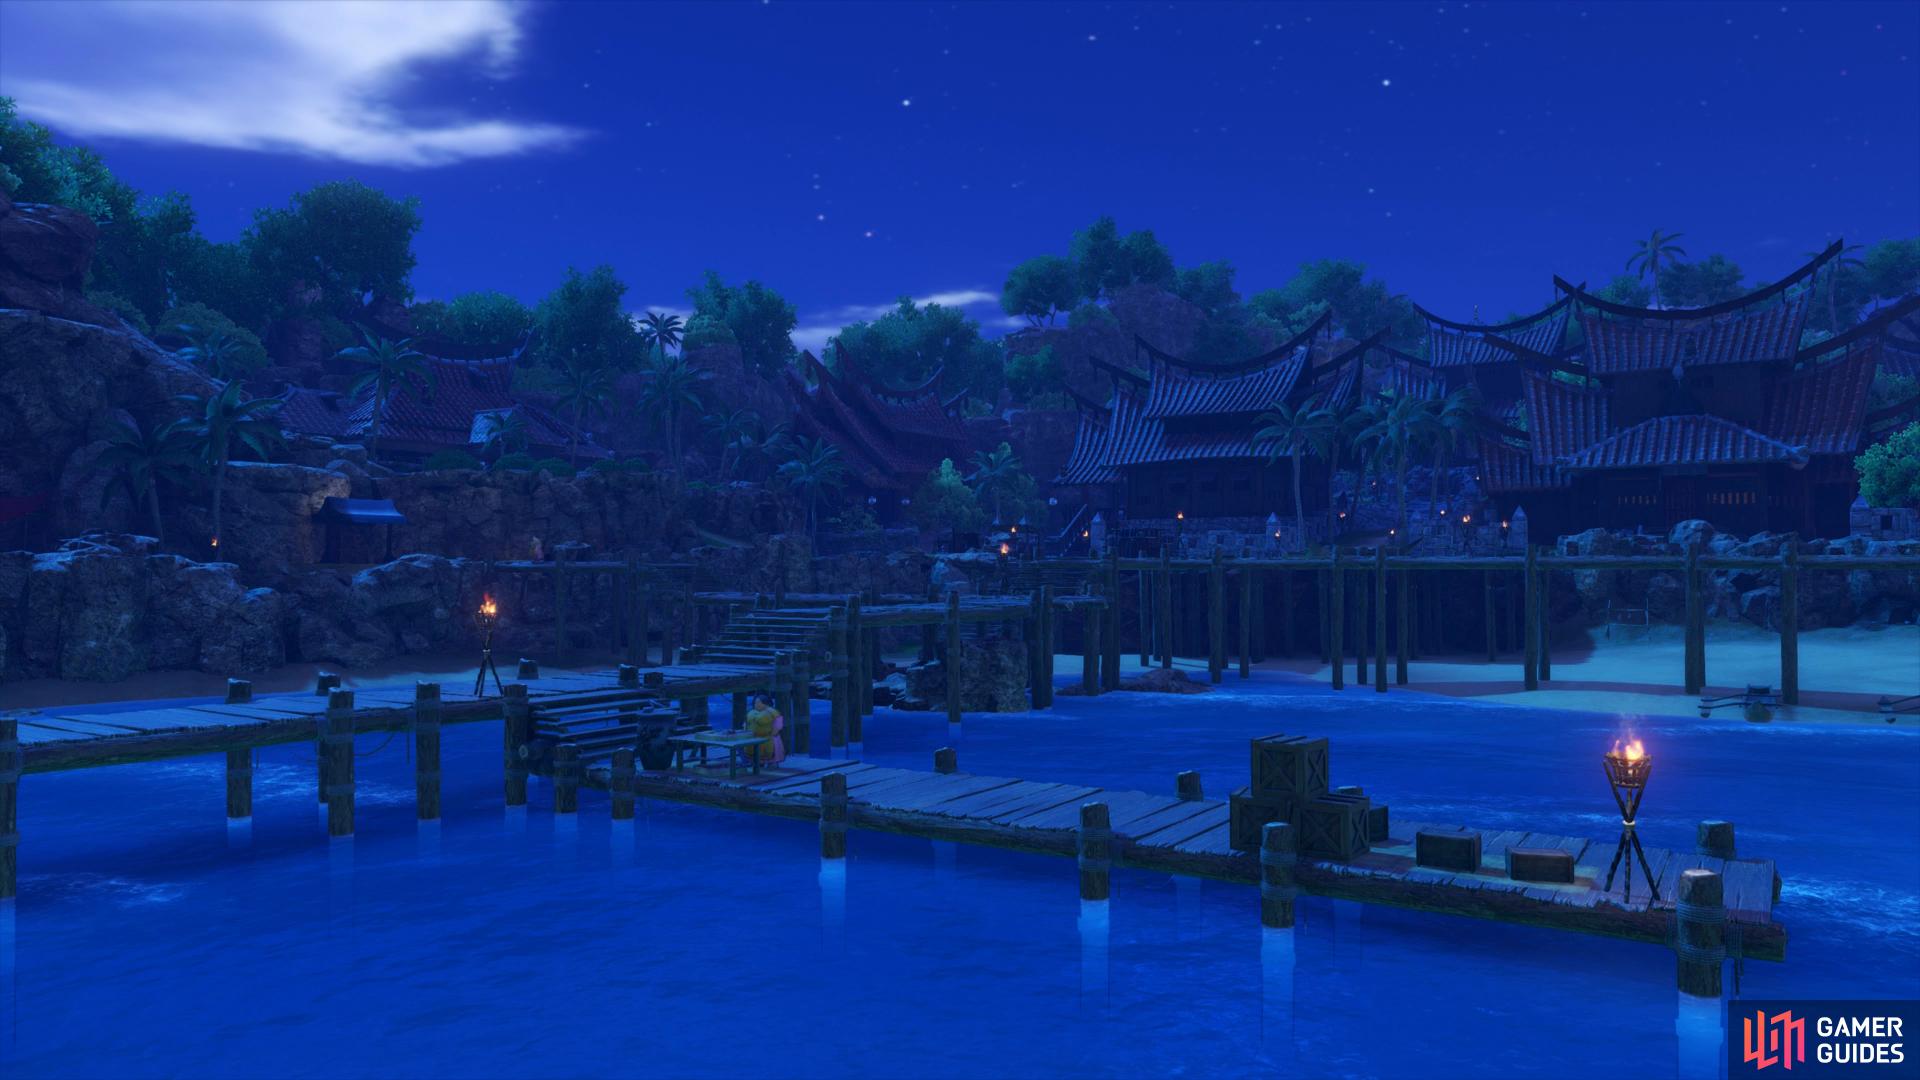
Lonalulu is a village steeped in tradition, that thrives on it’s Fisherman lifestyle. As you arrive at the dock, search behind the well to find a Sparkly Spot containing a Waveweed. Follow the path through the tunnel to reach the village itself as Sylvando points out that there doesn’t seem to be many men around. Something appears to be going on in this town but Erik wishes to avoid trouble and meet up with Kai.
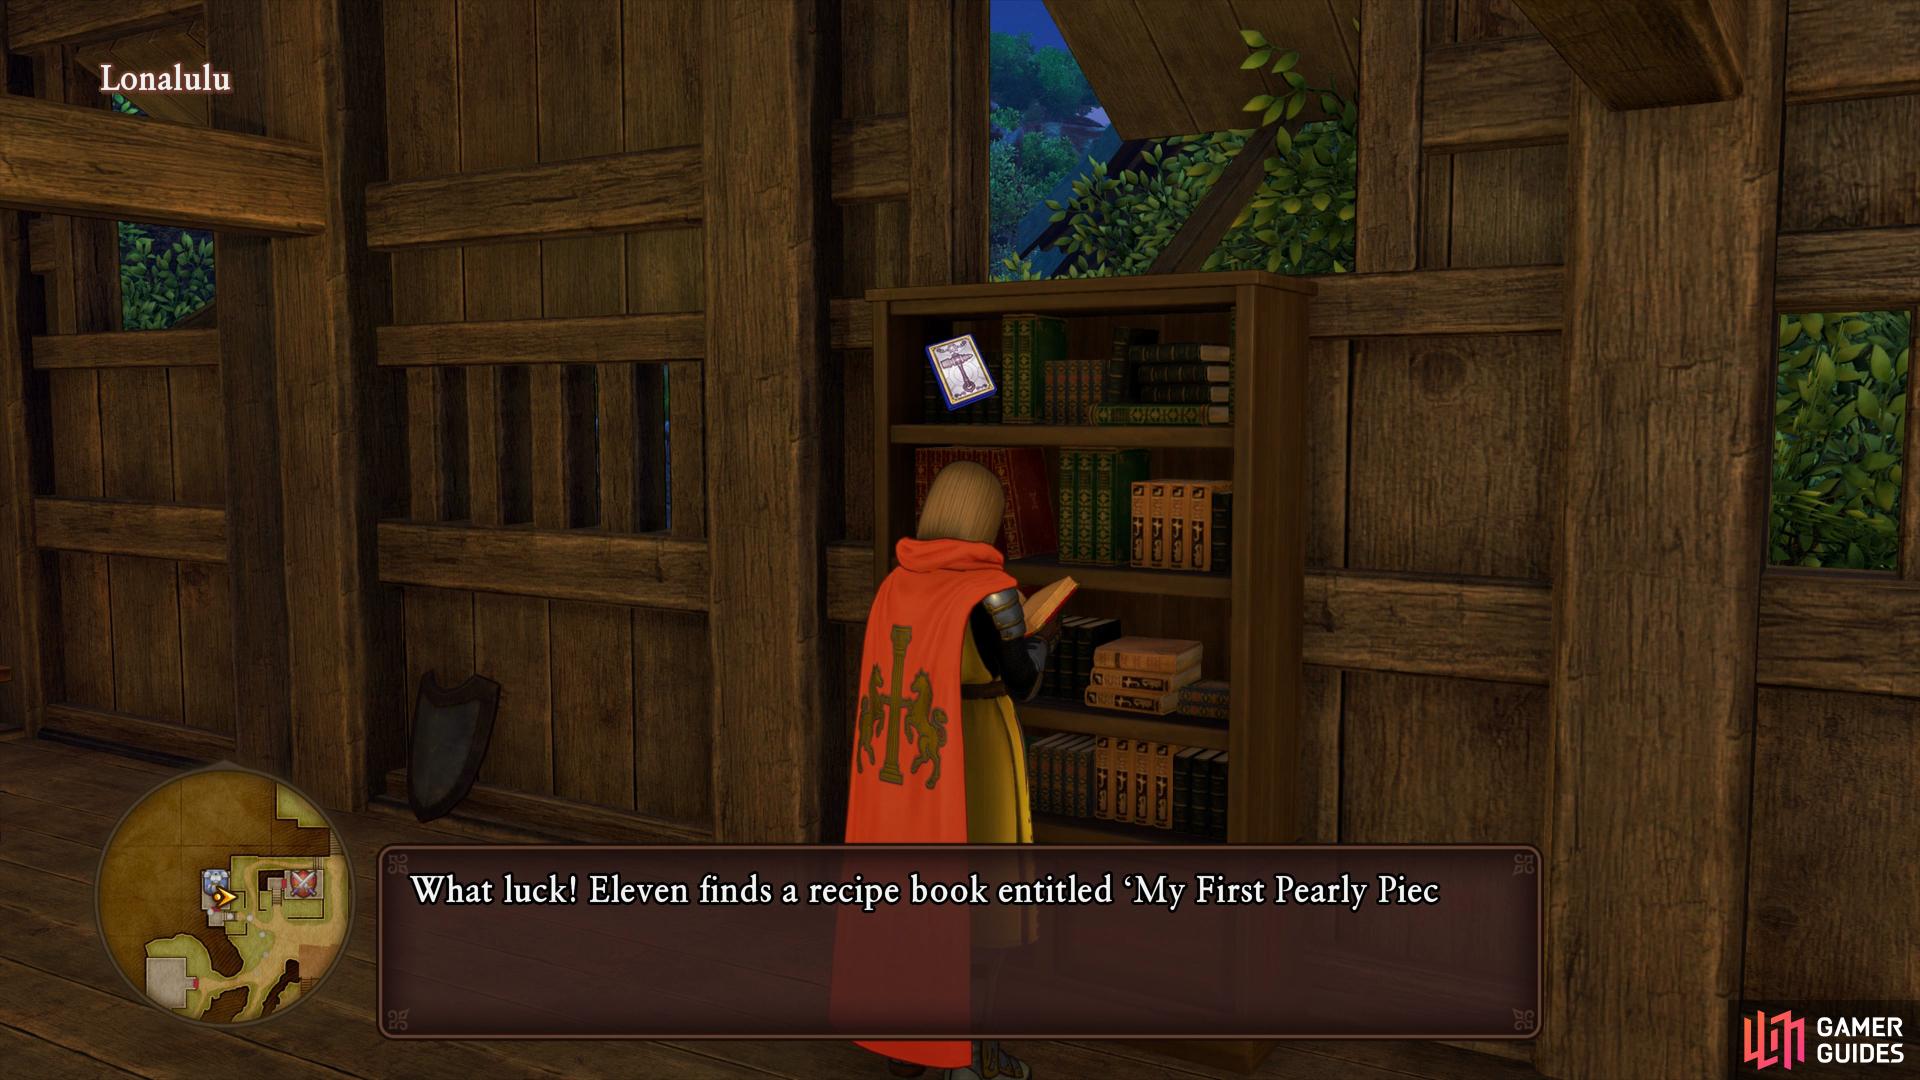
Follow the path down until you can go west to a house, search around to the north exterior to find some pots to break, inside you’ll obtain Horse Manure. Return to the main path and enter the Armor shop to the northwest, you’ll spot a bookshelf you can check, do so to obtain a new Recipe Book, My First Pearly Pieces. This will, as suggested by the title, allow you to craft two new accessories with Pearls as their main ingredient. Check out the Armor shop while you’re here, there’s a new shield that may be of use to Sylvando or Serena if they’re not dual wielding already otherwise the rest of the equipment shouldn’t be of any use.
(1 of 2) The first Recipe Book can be found on the Armor shop’s bookshelf
The first Recipe Book can be found on the Armor shop’s bookshelf (left), while the second will be stashed in a chest behind the counter of the Weapons shop. (right)
Next along is the Weapons shop, head behind the counter to loot the chest containing another Recipe Book, Building a Blade of Blistering Brutality. Be sure to check out the shop while you’re here, the Cautery Sword is not worth the gold considering you just learnt how to make one of your own. If you’re using the Greatsword from the Casino then it’s safe to ignore this one and the new Wand for Serena may be worth picking up if you have her dual wielding Wands. The Lightning Staff is an interesting Heavy Wand as it allows the wielder to cast Zap when used in battle.
Exit the shop and head over to the beach, climbing down the stairs to the south of you. Go behind the stairs you just took to find a well hidden chest containing 3000G. Follow the shore here to the southwest corner for another Sparkly Spot, this one containing Rippledrops. Climb back up the stairs and follow the pier to the south to find a pair of barrels with a Softwort inside.
Head back over to the Inn and rest if you need to (make sure to change the time of day to dawn) and then head behind into the rooms, there’s a wardrobe here with 400G inside. Check out the Item shop next if you wish, the only item of note is the Thinkincenses on sale, feel free to pick one or two up. To the southeast of this shop is the Tavern, head out to the far south of it to find some barrels with a Mini Medal inside.
(1 of 2) Search under the stairs to the beach to find a hidden chest
Search under the stairs to the beach to find a hidden chest (left), while a barrel houses a Mini Medal south of the Tavern. (right)
In the house to the east of the Item shop you’ll find another wardrobe you can ransack to obtain Aerofoil Earrings. Make your way behind the Item shop and follow the path to the next house where you can read more about the village from the books there. Search the northwest of the exterior of this house to find some barrels, one of which contains 31G. Follow the long path to the north all the way around until you reach the southeastern area of the map, climb the small platforms here to discover a Sparkly Spot containing a Thinkincense. Continue south to find some barrels containing 100G and a Seed of Defense.
Take in the gorgeous view from here (and grab a few screenshots to go along with it) and then take the path leading north from behind the Inn. Once you open the gate, search in the northwest corner to find some more barrels, one of which contains a Sun-bleached Seashell. Head inside the house itself now and open the wardrobe within to obtain a Pink Pearl. Continue around back towards the Church via the east gate and enter the next house you come upon, you’ll find a pot with a Narspicious inside.
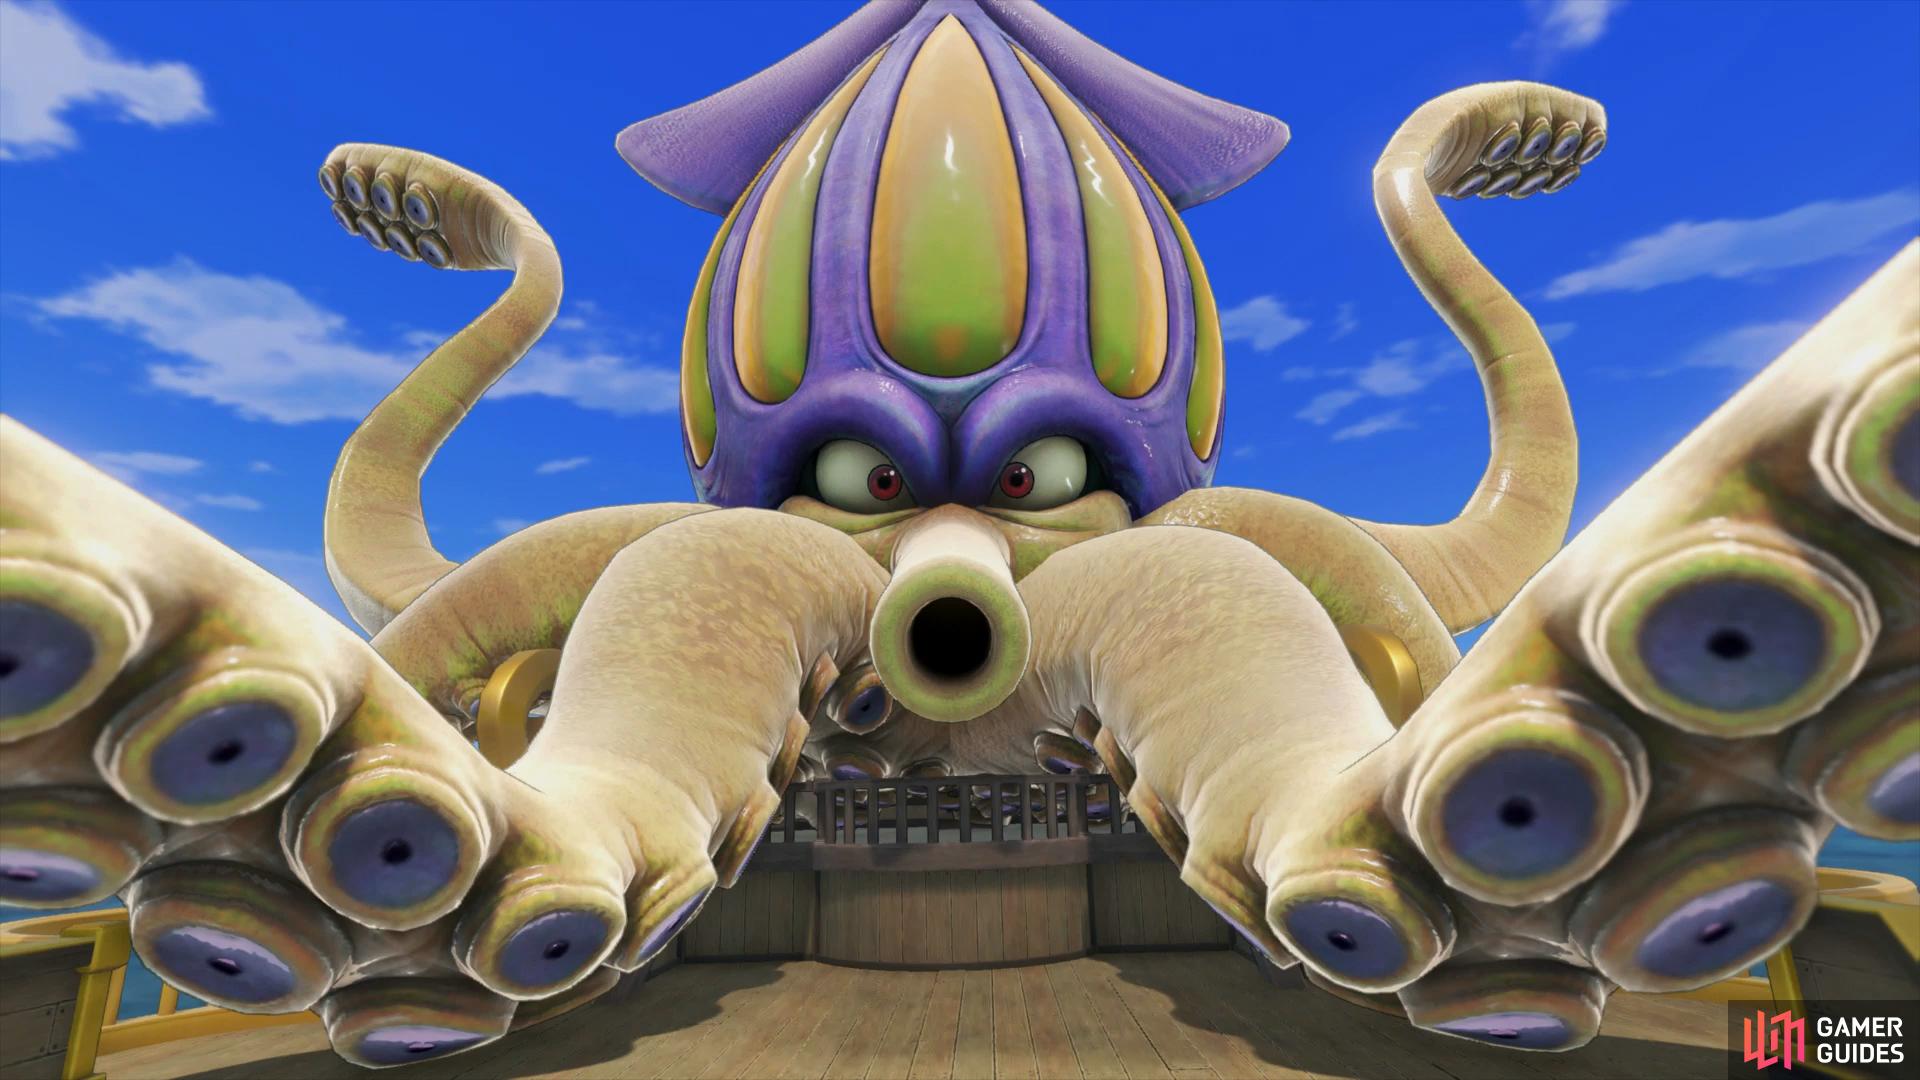
As you approach the Church you’ll come across a woman who will perform a picture show for the children. You’ll witness the story of a talented Fisherman who gave his soul to a Mermaid, sounds familar. The group discovers from the old woman (who appears to be Kai’s mother) that Kai and the rest of the men are at sea attempting to defeat the giant Squid thats been attacking the village. As any good knight would do, you’ll need to help them defeat the Squid if you wish to speak to him. Head into the Church and save your game if you wish and then return to your ship.
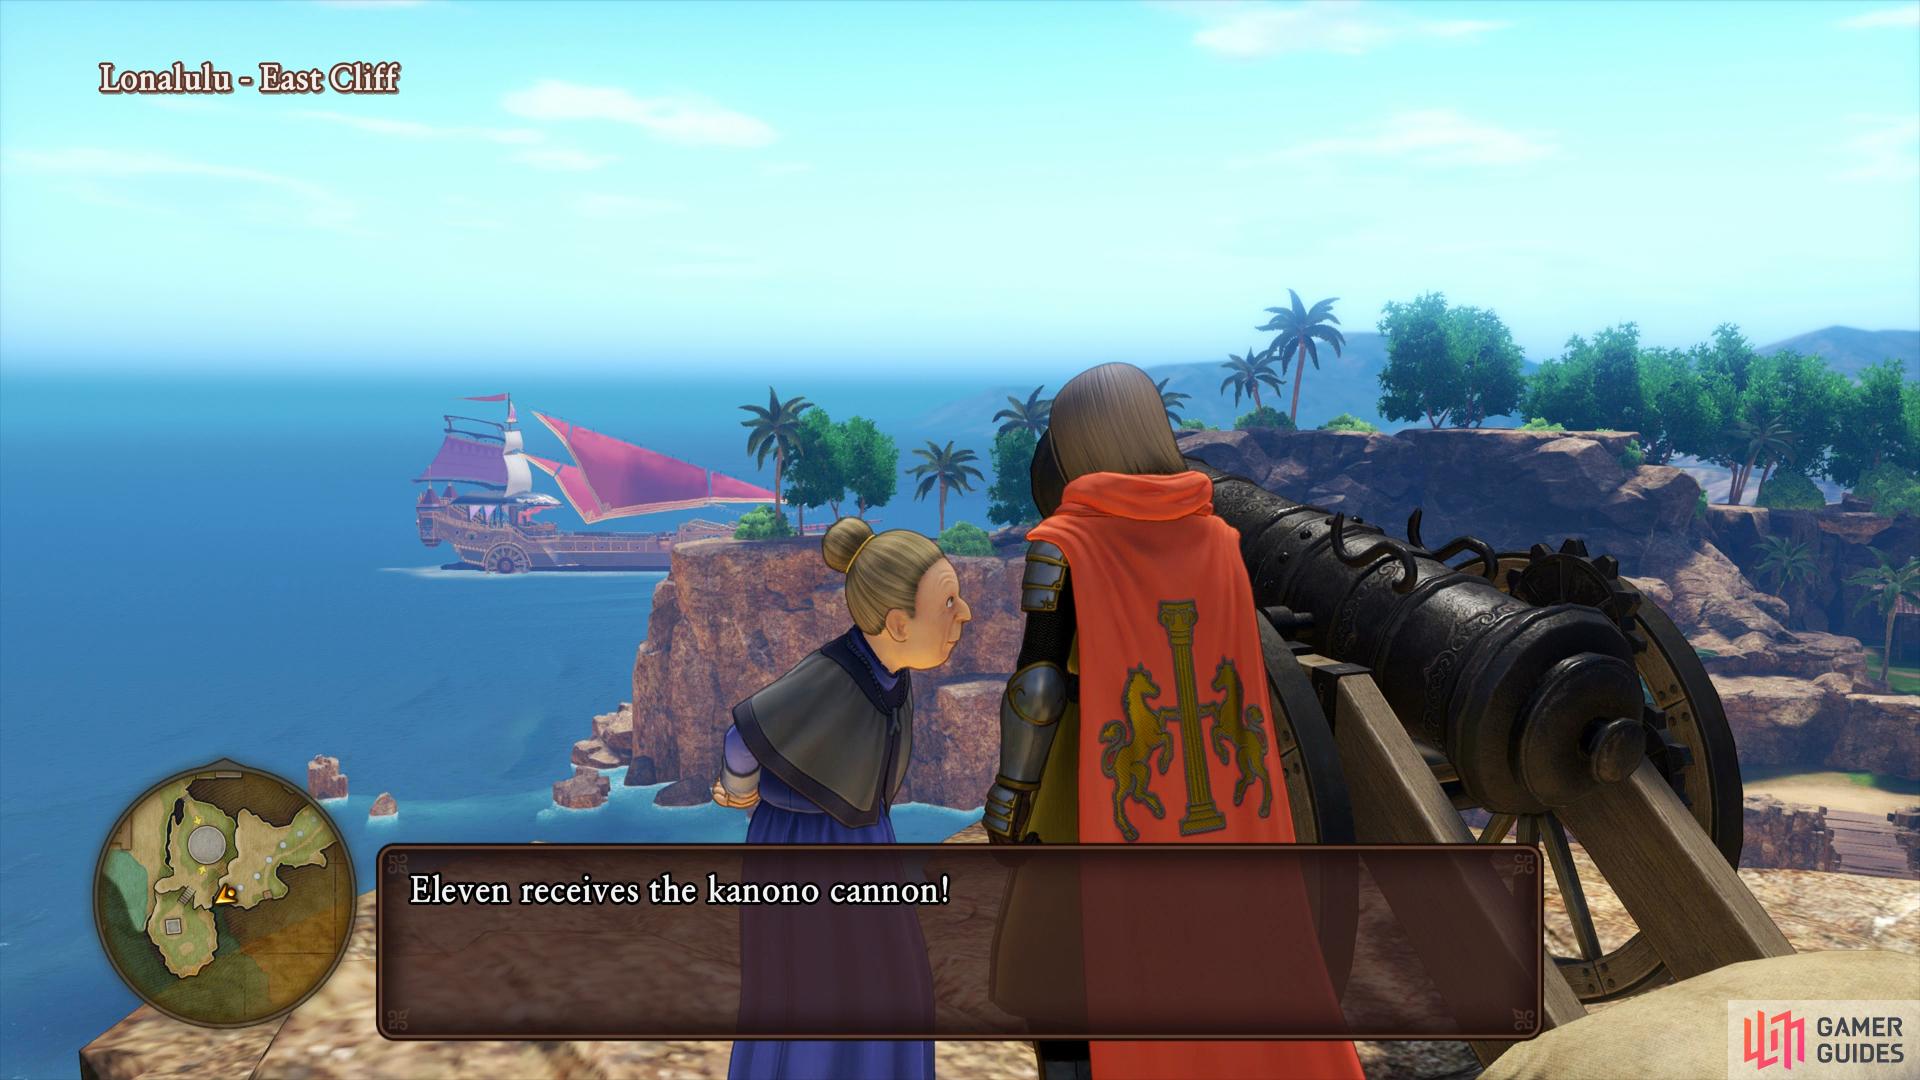
Speak to the Canon Lady before heading off to battle to obtain a canon to help you.
Open up your map to see the location of the fleet and begin sailing there. Conserve your MP in any battles you may need to fight along the way, you’ll be needing it. As you approach the fleet, you’ll finally come into contact with an old friend, it’s time to settle the score.
Boss - Tentacular
Depending on if you brought along the canon from Lonalulu or not will determine if Tentacular will begin the battle stunned. Either way, there are three targets to go for in this battle in the way of two Tentacles and Tentacular himself. Tentacular has around 1345 HP and his two Tentacles have around 250-300 HP along with the ability to recover after being defeated (albeit at reduced health). It therefore goes without saying that your main target is Tentacular himself.
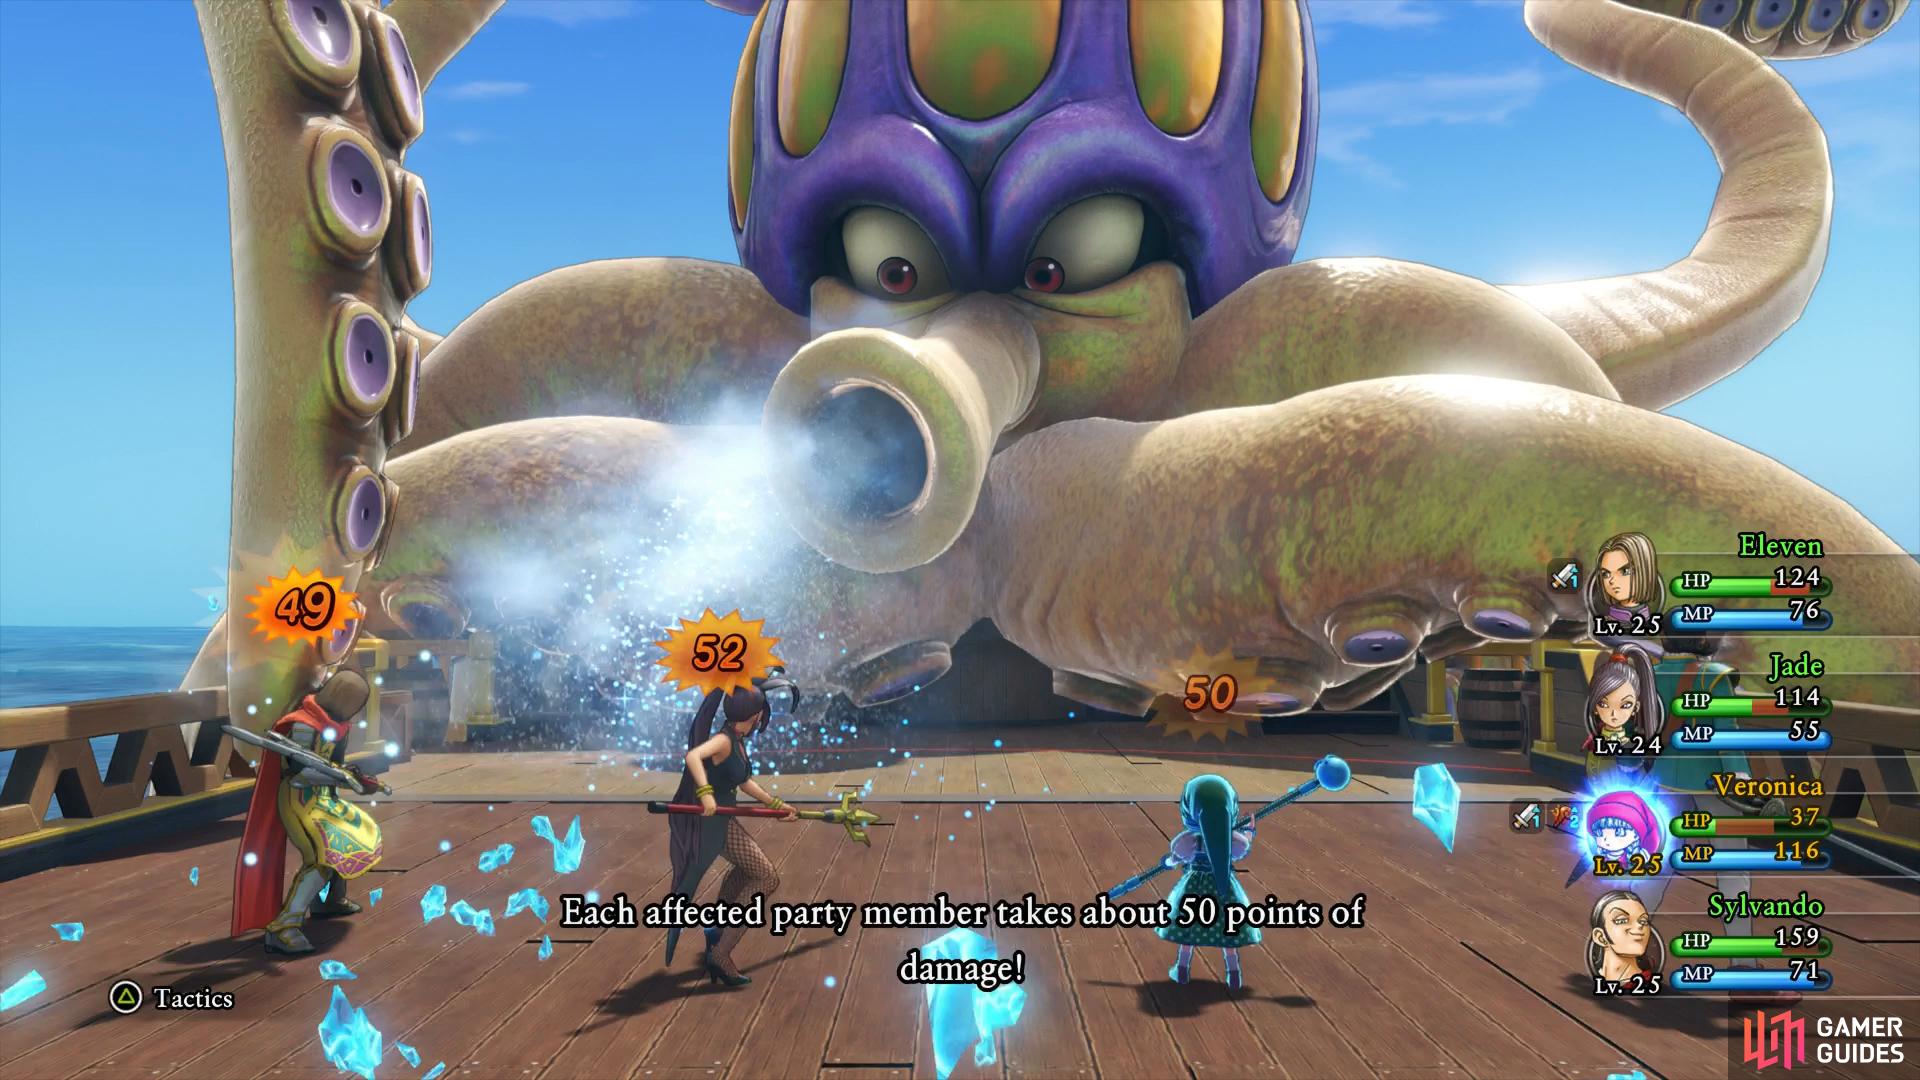
As you may have assumed with three targets, the boss will have at least three turns every combat round. The most deadly attack from Tentacular is when he lets loose with his tentacles, this will hit all allies multiple times and you’ll need to follow up with Hustle Dance or other like minded healing abilities right away. He also has the ability to rock the boat that will target all allies for around 30 HP along with the ability to knock your characters onto the ground and unable to act. The Tentacles can shield Tentacular from any damage, if this occurs then target the Tentacle that is blocking. Tentacular can also have the ability to put the entire party to Sleep along with a regular attack hitting for around 50HP. The Tentacles aren’t too much of a problem outside of the shielding of Tentacular himself consisting of regular or party wide attacks.
(1 of 2) Be sure to use Hustle Dance after the devastating Chilly Breath
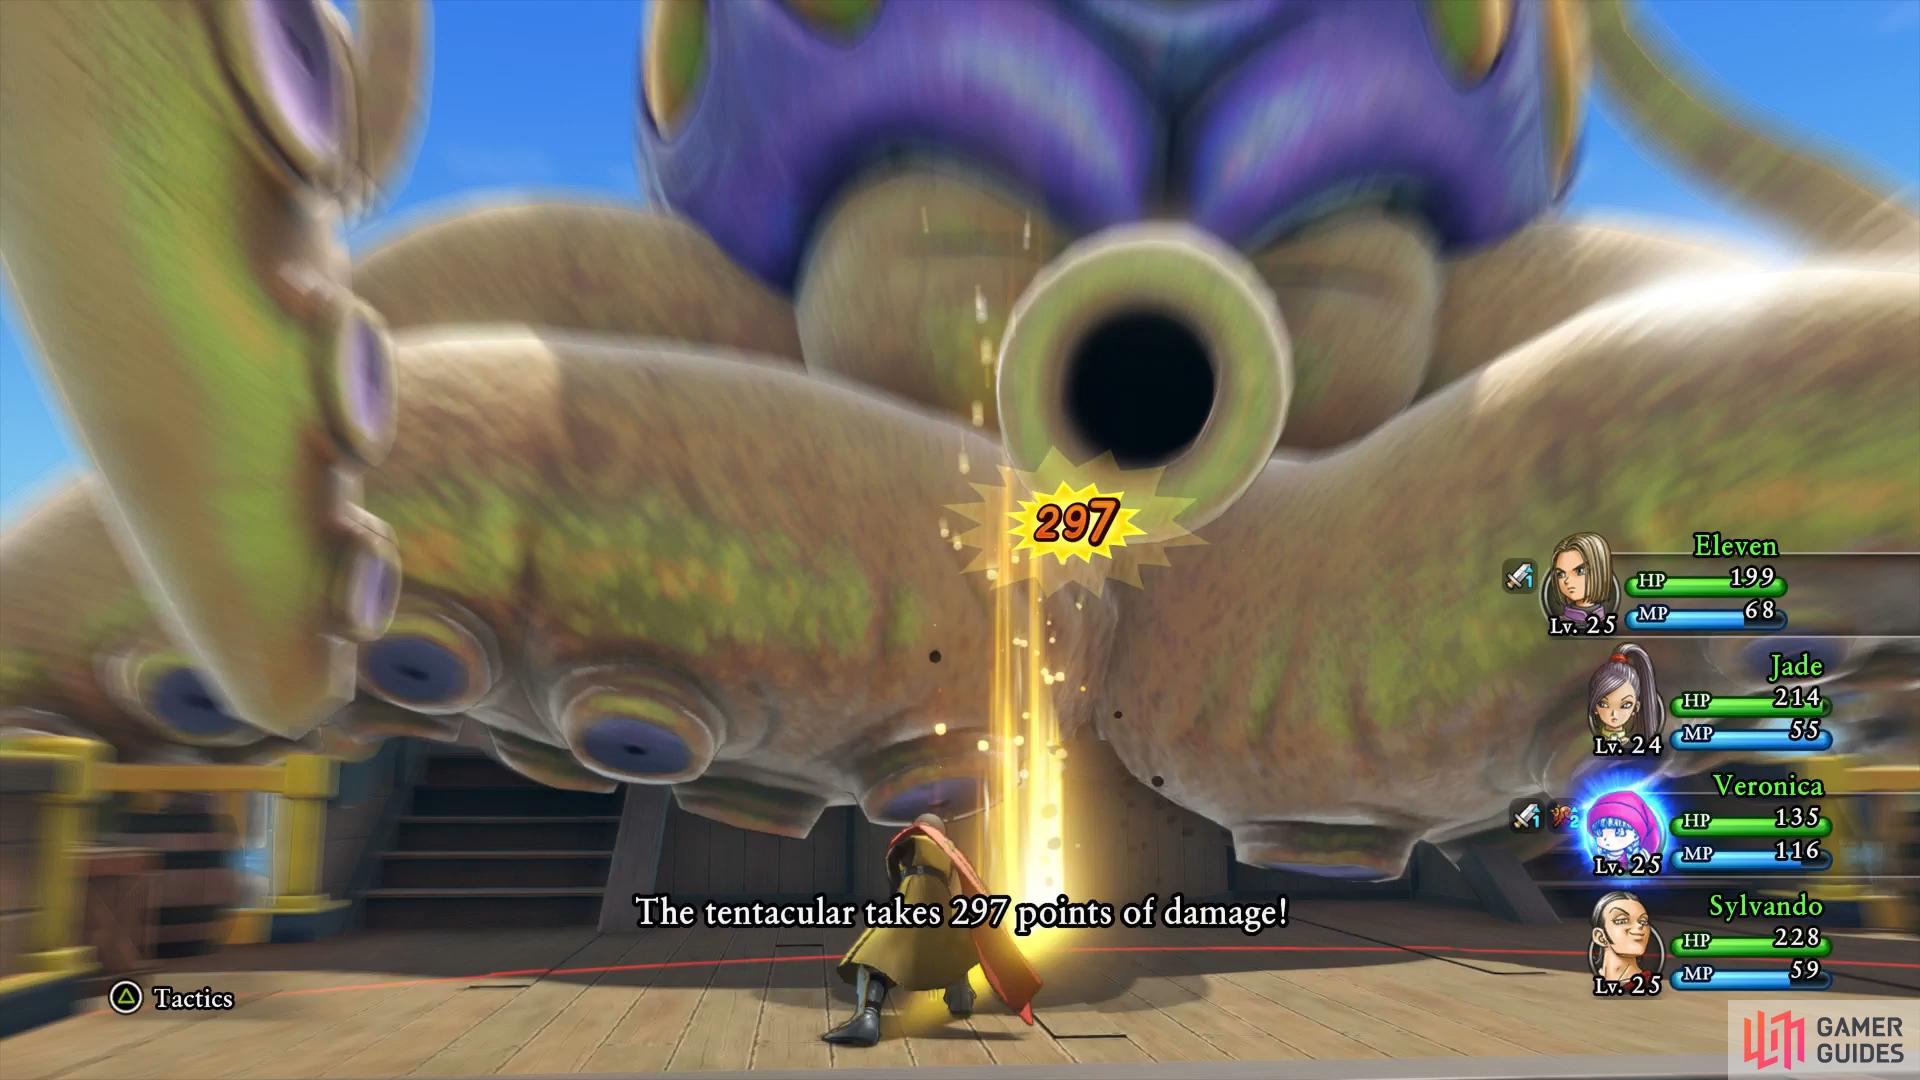
Be sure to use Hustle Dance after the devastating Chilly Breath (left), Cutting Edge will deal huge damage if you have the Platinum Powersword from the Casino. (right)
You now have a large party at your control so there are a number of ways you can go about tackling Tentacular. The Hero and Veronica should be permanent additions to the party, Tentacular is weak to Fire and Thunder so their spells come in handy as does the Platinum Powersword if you picked it up at the Casino. Consider using Jade or Erik for your next party member, Jade will put out more damage with her Spear attacks but Tentacular can be slept with Erik and then damaged heavily with Pursecutter. Erik and the Hero’s Scorched Earth Pep Power will also help a lot so use it if you get the opportunity. Finally, you’ll want Sylvando in the party to heal with Hustle Dance, the boss does a lot of party wide attacks and Serena is useful for Kabuff to limit the damage.
As for attacking the boss, the Hero should use Cutting Edge if he has a strong Greatsword otherwise resort to using Zap or Frizzle if you’re using a regular Sword. Have Veronica use Kasap before bombarding with Frizzle, she’ll be even more deadly if you Oomph her with Sylvando. Don’t forget that you have the ability to switch party members in and out, if the situation takes a turn for the worse switch a fallen character with a fresh one from the reserves.
Once Tentacular falls the fisherman will thank the group and invite you back to the village for a celebration. Take in the festivities at the Tavern and then attempt to exit, Jade and Veronica (who is apparently too young to join the party at the Tavern) tags along as you go to search for Kai. Head to the southeast of the pier where you’ll find a fisherman working on his boat, speak to him about Michelle. It appears that the Kai you’re looking for is in fact his grandfather and he will tell you the tragic tale that befell the village 50 years ago. Following his story, Kainui will want to give you something to give to Michelle and asks that you meet him at the beach behind the Church.
Head to the north of the village and exit the Church via the back door, looking behind it to find a pot with a Magic Water. Continue on to the beach and follow the shore around to the north to find a Sparkly Spot containing a Crimson Coral. Head up the steps towards the house and look along the north of the exterior to find a chest containing a Mini Medal. Head to the door of the house to meet with Kainui once more to obtain the Lover’s Veil that his grandfather left behind. You have what you was looking for so Zoom back to The Strand.
The Lover’s Veil
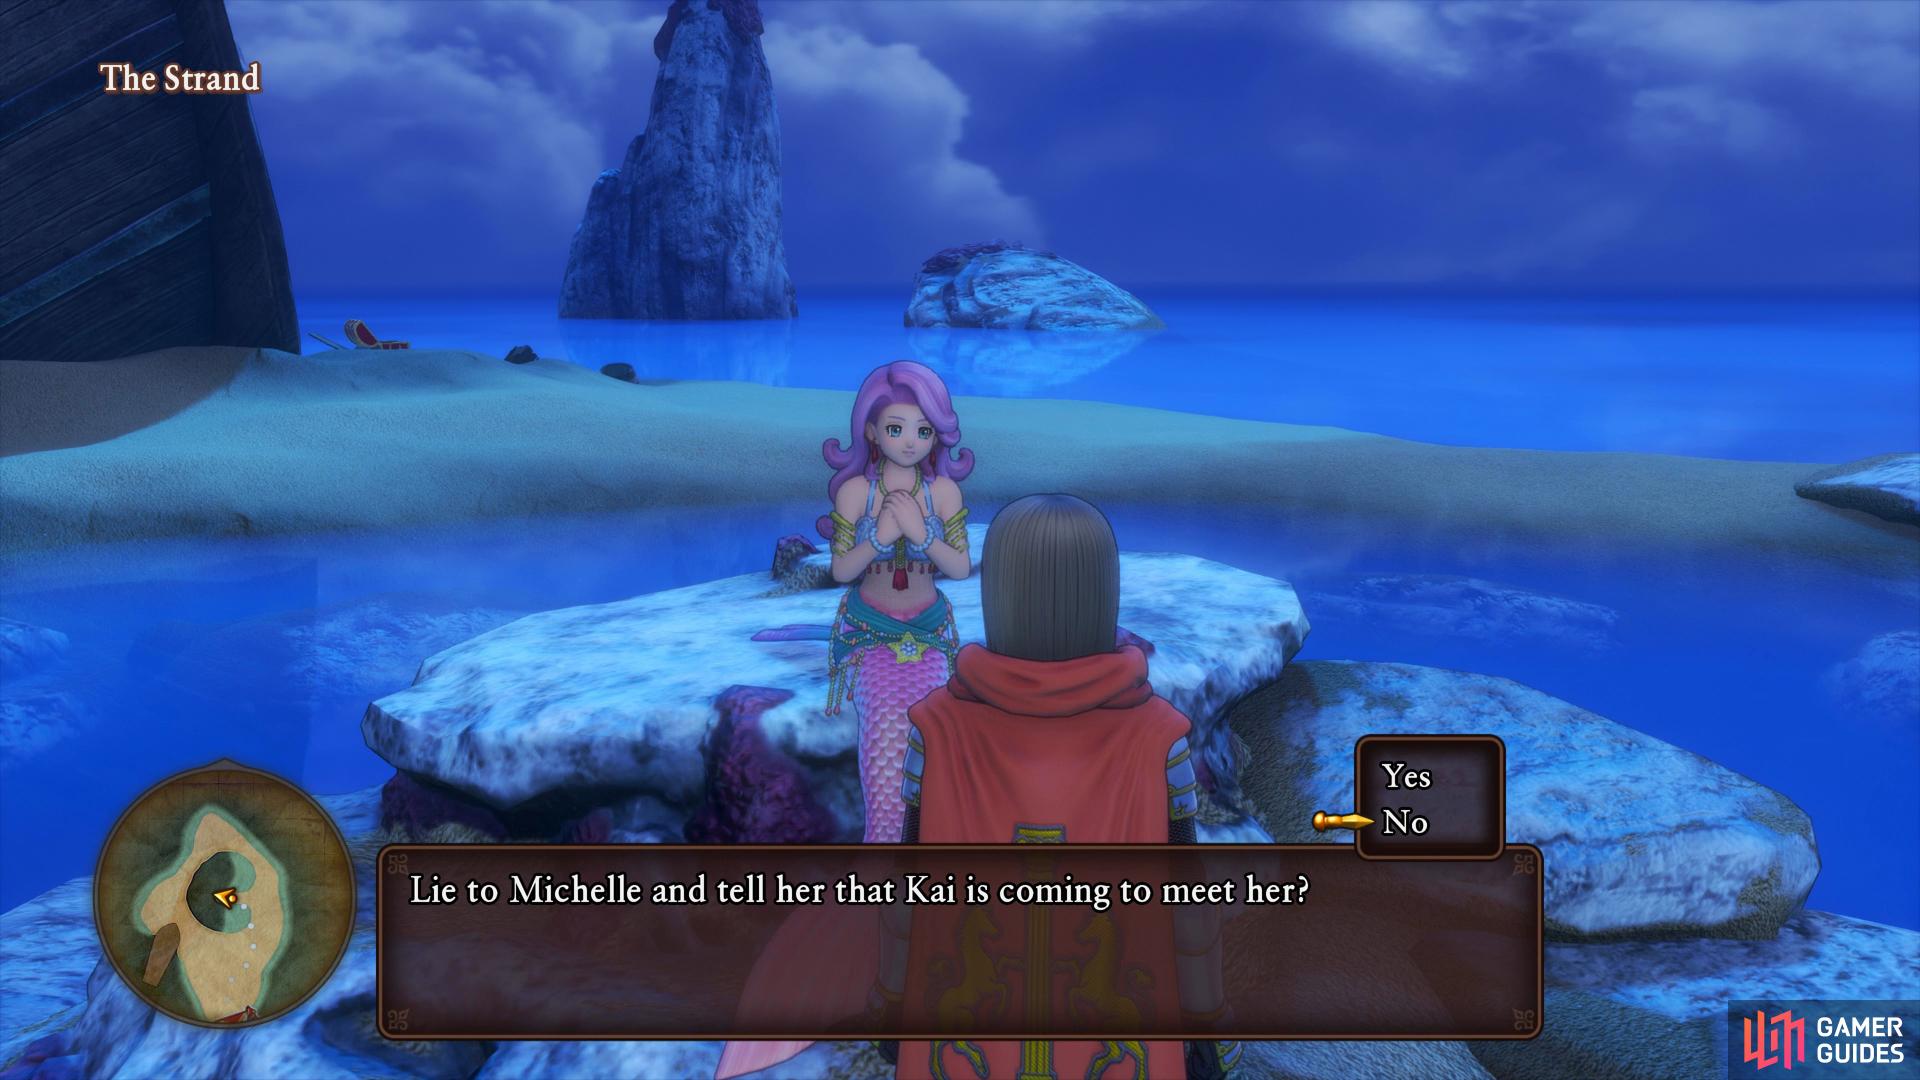
Head over to Michelle and deliver the veil along with the news of Kainui’s grandfather’s passing. You have a choice here that will affect the outcome of this tale, you can choose to tell Michelle the truth that her love has passed or you can lie and give her the veil. If you lie, Michelle will be delighted and try on the veil before holding up her end of the bargain and giving you Lorelai’s Harp. You’ve spared her the pain from learning the truth but she can continue with the hope that her love will return one day.
For once, your choice here will affect the outcome of this story.
Alternatively, tell her the truth, she will refuse to believe you and wishes to speak to the man you spoke to. Return to the ship to automatically return to the village and head over to Kainui’s house. After, make your way back to Saikiki Beach and meet back up with Michelle to watch the tragic events that follow. Follow Kainui to the house to witness more tearjerking events that conclude this tragic story. You’ll find Lorelei’s Harp that Michelle promised back at The Strand.
With Lorelei’s Harp in hand, you can now make use of all the Vortex of Lights in the sea. Using these will allow you to access other parts of the world that would otherwise be inaccessible.
From The Strand, sail back through the Channel to reach the Inland Sea once more and make your way over to the vortex of light just southwest of the Zwaardsrust Region dock. Maneuver the ship inside and play Lorelei’s Harp to descend to the kingdom below.
Nautica
| Items | Area |
|---|---|
| Mini Medal | Behind the Church, chest |
| Sparkly Spots | Area |
|---|---|
| Water Sedge | Entrance |
| Water Sedge | Entrance |
| Crimson Coral | Southwest of the Church |
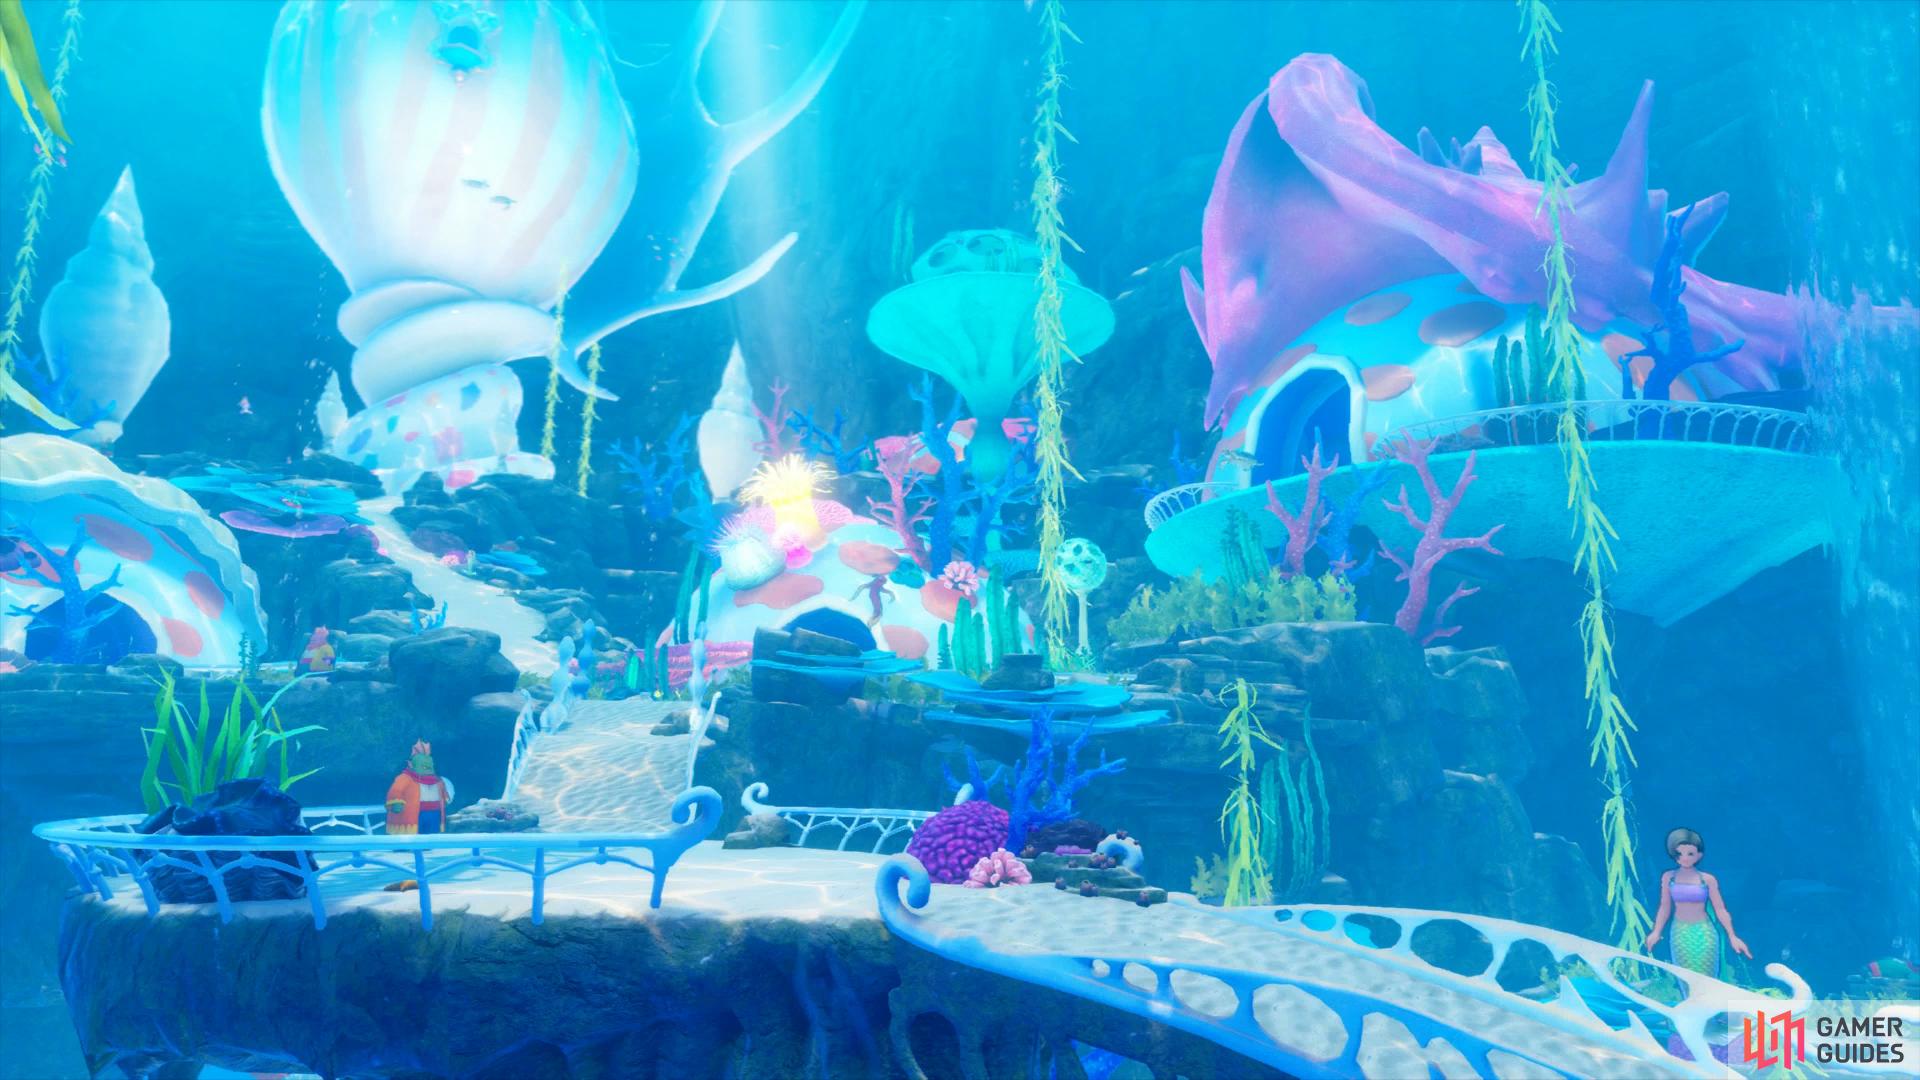
You find yourself under the sea surrounded by mermaids, somehow you’re able to breathe normally down here. Turn behind where you land to spot the first Sparkly Spot containing a Water Sedge. Continue northwest a little to find more Water Sedge and then continue forward, the Rainbough guiding the way. Jade mentions that you should head to see the queen, not only for the Orb but to deliver the news about Michelle.
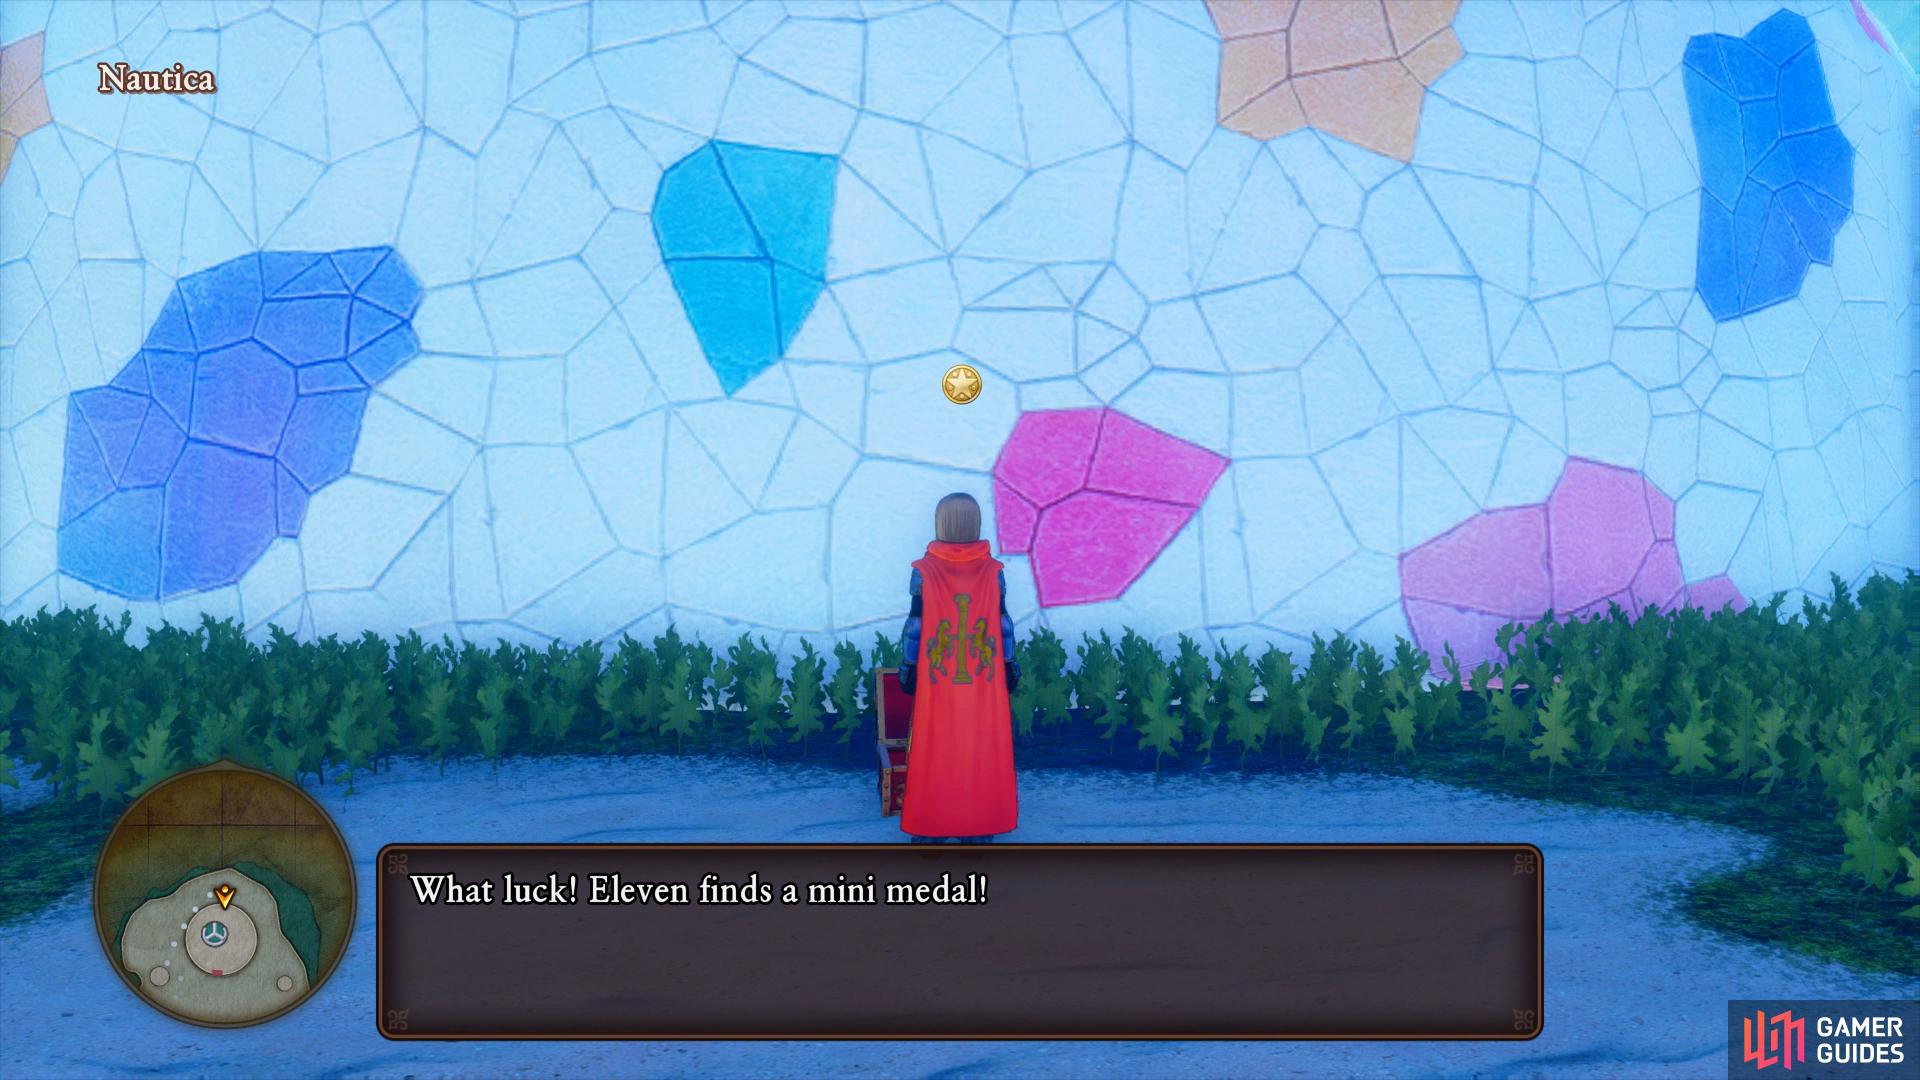
Follow the walkway, exchanging a quick chat with the nearby mermaid to recover your HP and MP should you need it. You’ll have to wait until later to use the Equipment shops but you can check out the wares of the Item shop, although nothing there should be of value to your party. Check near the large blue coral to the southwest of the Church to find the last Sparkly Spot for now, a Crimson Coral. Finally, before you enter the Church to speak to the queen, head around the back to discover a chest containing a Mini Medal.
(1 of 2) There’s a chest with a Mini Medal behind the Church
There’s a chest with a Mini Medal behind the Church (left), along with a quest to accept following your chat with the Queen. (right)
Make your way inside the Church and save your game should you need to before speaking to the Queen’s attendent to be granted an audience with her. It appears Queen Marina knows all about the events of the land above and knows what you’re seeking, the Green Orb. As gratitude for your assistance with Michelle she presents you with the Orb (with no strings attached for once).
Leave the building and you’ll discover there’s a mermaid nearby with a quest for you. Speak to her to hear her request, she wishes to hear a song from the human world that she heard a long time ago. Agree to the request to begin Quest 22 - Up Where They Walk and then Zoom to Gondolia.
Questing Around Lonalulu
Before you head to your next destination and begin searching for the next Orb, there’s a few quests to pick up and complete starting with the one you just picked up. In Gondolia, head to the northwest tower to find an old man in blue clothes, time has passed since the Mermaid heard that young boy play the song and now finds himself in the twilight years of his life. Speak to him to learn the song and then Zoom back to Nautica to deliver the news to the mermaid, in return you’ll obtain Gracos’s Trident.
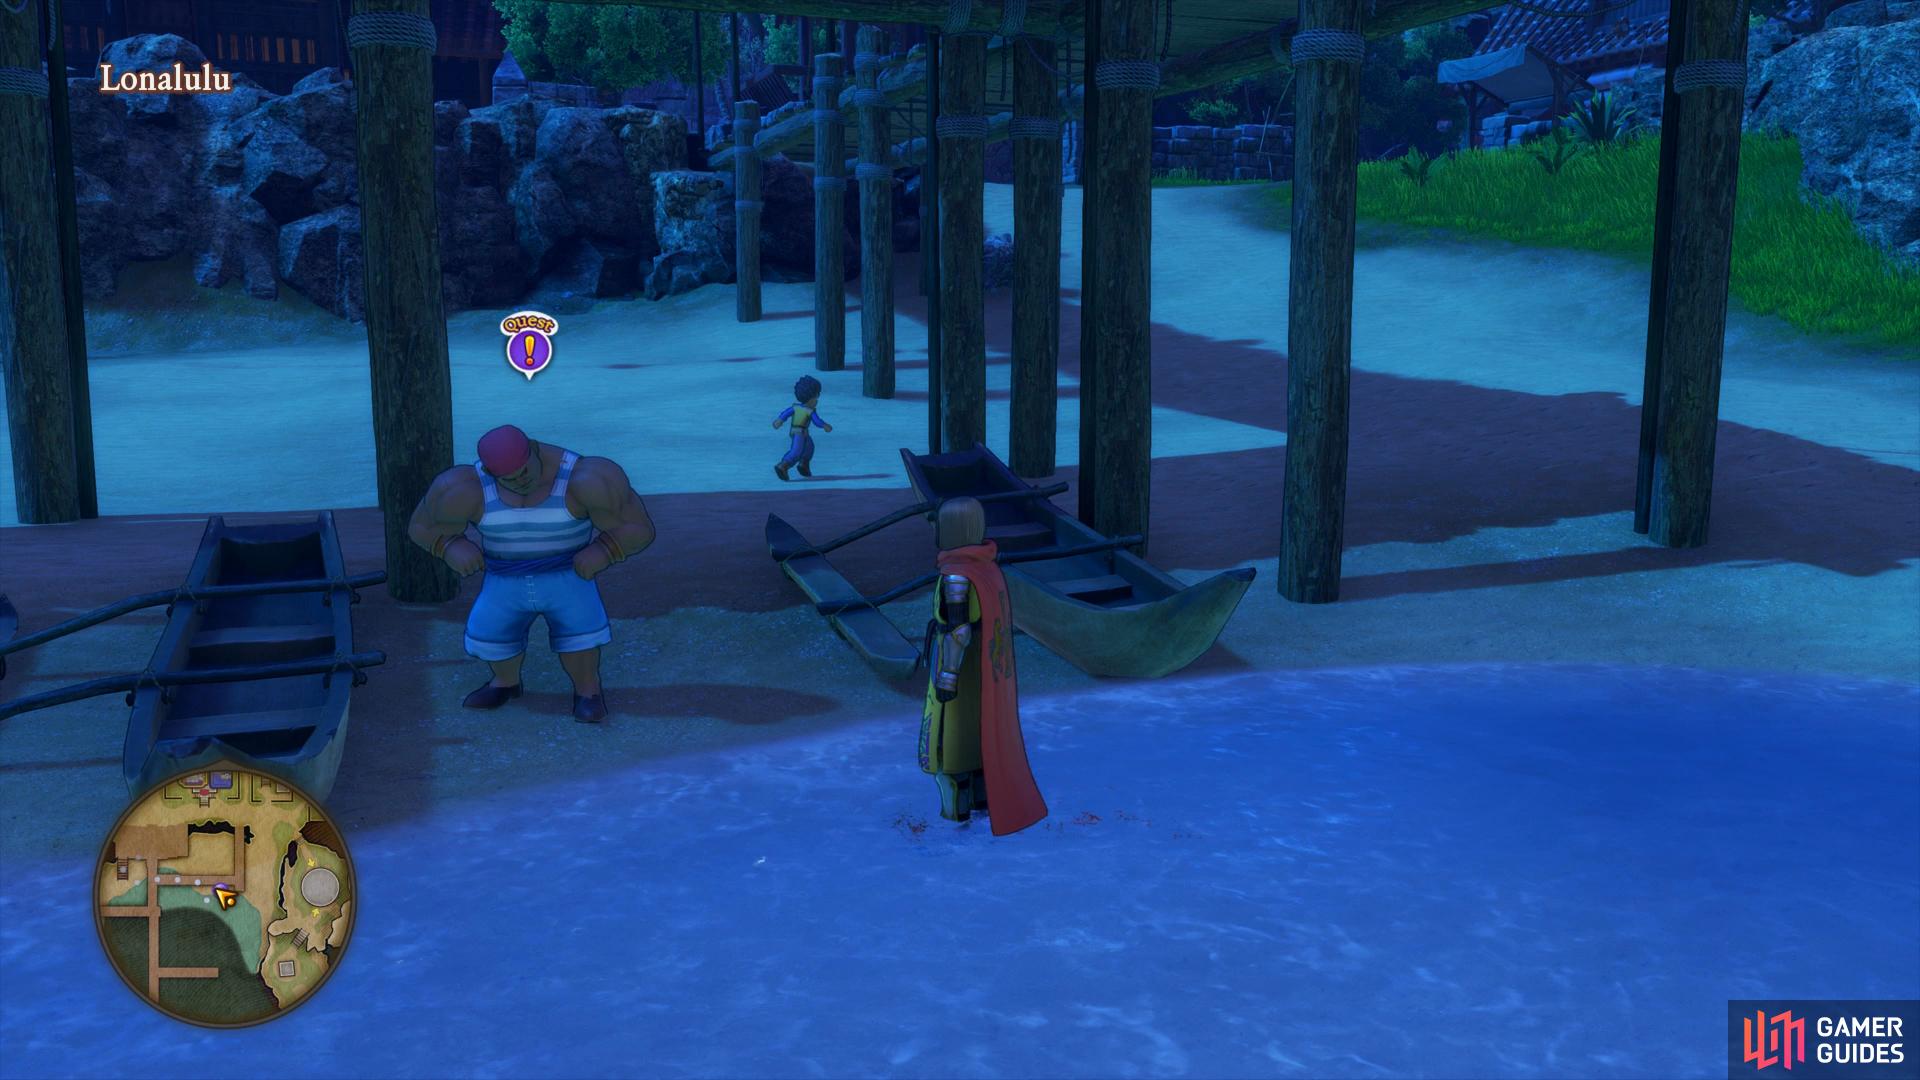
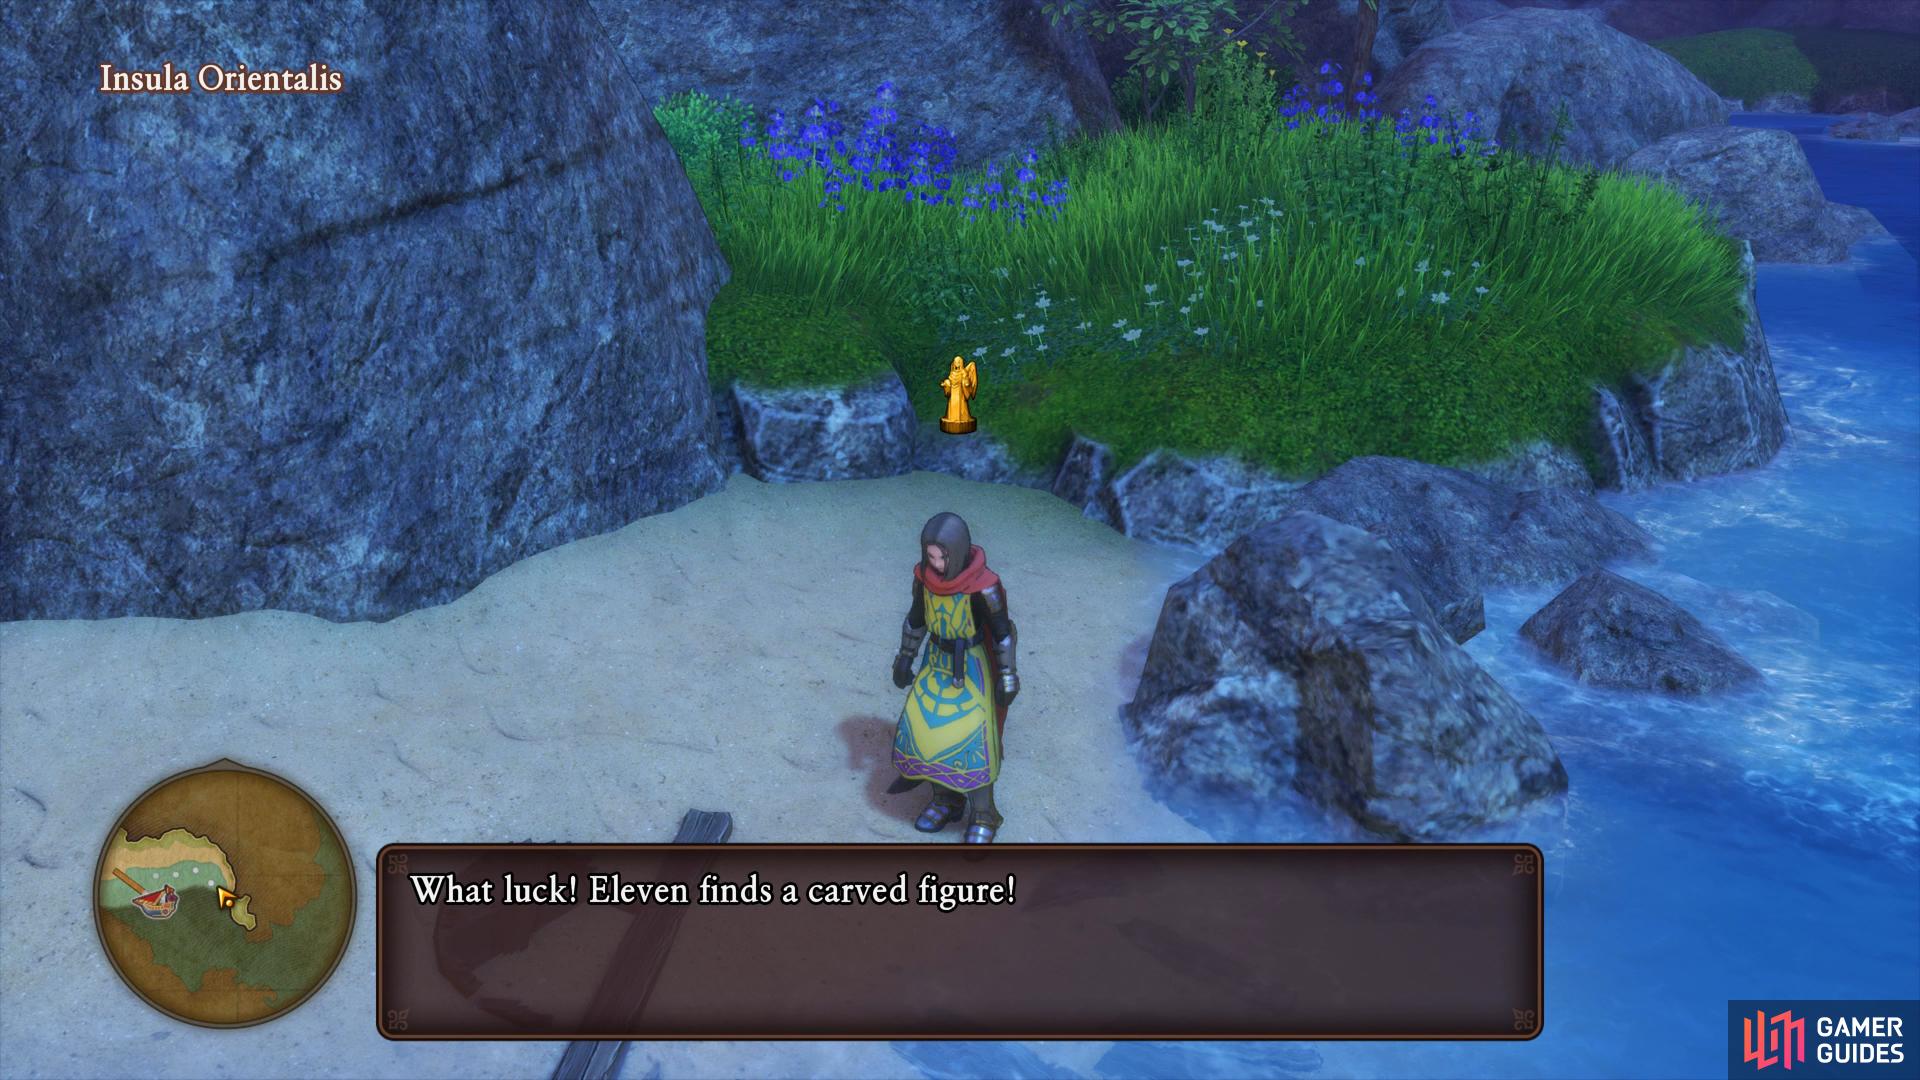
Zoom over to Lonalulu now and open the map to discover there’s now a new quest to accept. Head over to the beach under the pier to find a sailor, speak to him to hear his request. Agree to accept Quest 21 - My Secret Saint and return to the dock at this village. Sail to the north back to Insula Orientalis and head east from the dock to find the Carved Figure near the washed up wood. Return to the quest giver and hand this over to complete the quest and obtain a Warlock.
(1 of 2) Speak to the man under the pier to assist him
Speak to the man under the pier to assist him (left), you’ll find the Carved Figure on Insula Orientalis to the north of Lonalulu. (right)
There’s one more quest to accept in the Village but it’s appearance hinges on whether you’ve learnt the Pep Power Puff-Buff learnt by mastering the abilities Unbridled Blade from the Hero’s Greatswords category and Puff Puff from Jade’s (which she joins the party with already unlocked). It’s unlikely that you’ll have this unlocked for the Hero by now unless you’ve made a beeline for this ability so forget it for now and return later.



 Sign up
No Comments