
Pastword
The Tockle for this area is located in the Luminary’s Trial - Citadel of Spite. It is found near the beginning, on the second floor, at the top of the stairs leading down to the first floor. You will need to go this way as you progress in the dungeon, so it’s very hard to miss the Tockle, as it’s out in the open.
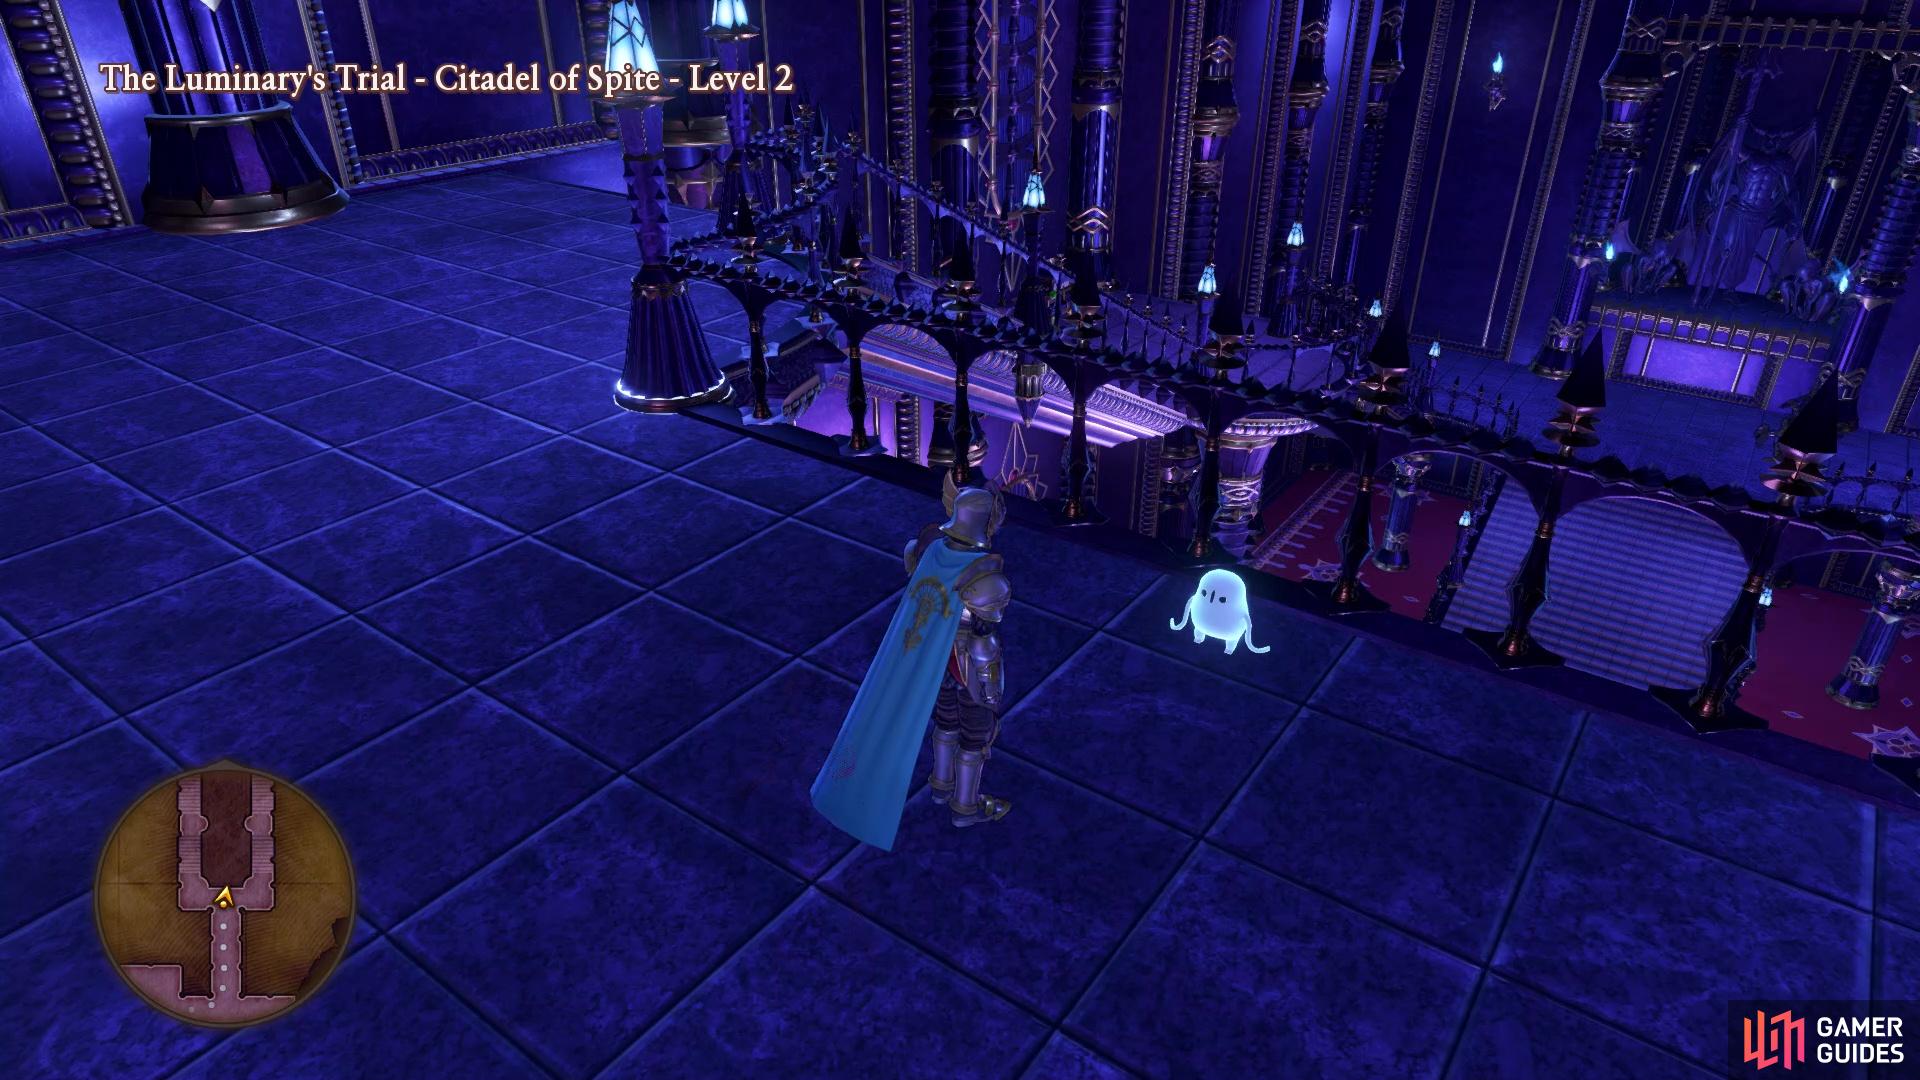
It’s pretty hard to miss this Tockle in the Citadel of Spite
Enemies
| Monsters | HP |
|---|---|
| Batmandrill | ~600 |
| Bilhaw | ~830 |
| Ghoul | ~180 |
| Gnashturtium | ~780 |
| Harmachis | ~4150 |
| Hellbound Heretic | ~880 |
| Hybird | ~410 |
| Killing Machine | ~420 |
| King Foo Dog | ~360 |
| One-Man Army | ~610 |
| Orc Chieftain | ~580 |
| Red Mist | ~430 |
| Tiger Jackal | ~390 |
| Troobloovoodoo | ~460 |
| Type G0 | ~1800 |
| Whackolyte | ~160 |
By the time you unlock this area, you have pretty much seen the majority of the enemies in some form. Thus, there’s not really much to say about them. However, there are six enemies found only in this area, so if you’re looking to fill out your bestiary, you will want to stick around to make sure you encounter them. Those are the Batmandrill, Hellbound Heretic, Hybird, King Foo Dog, Tiger Jackal, and Troobloovoodoo. You should likely run into them as you go through the place, but you will want to stick around on each floor until you’ve run into them. Of particular note is the Hellbound Heretic enemy, as its rare drop is the Black Tear material, which is normally only gotten by trading Serpent Souls to Krystalinda in Sniflheim.
Walkthrough
There is no denying that this dungeon can be a pain, as it is very confusing and it’s easy to get lost. Luckily, the monsters here aren’t really much trouble, since most of them are ones you’ve previously encountered, and the new ones are nothing special. That said, though, it can prove to be the worst dungeon out of the main Tickington areas. When you first arrive in the area, speak to the warrior in front of you to learn some restless armour has stolen Erdrick’s signature gear and he wants you to return it, giving you the A Robbery in Rendarak quest. The first thing that needs to be said is that there are trap holes on the ground on a few of the floors. These are marked, though, by stones, so any time you see rocks on the ground, stay clear of them.
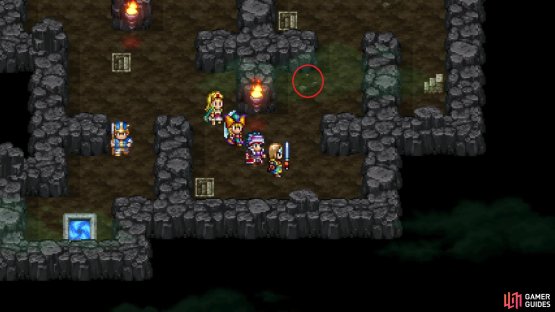

(1 of 2) The trap holes are marked by rocks, so they are easily detectable
The trap holes are marked by rocks, so they are easily detectable (left), If you fall through, you will be put in a room with not so nice stuff (right)
On the first floor, there’s a bunch of stairs leading both up and down. The ones leading down are for if you fall through a trap hole, so you can ignore them. To continue, you need to look for the one set of stairs going up towards the middle of the floor. As soon as you arrive on the second floor, you will see the restless armour fleeing to the left. Follow it to see a bunch of paths leading both up and down. When you reach the third set, go south to see the armour again. Follow it up the stairs to see it run off once more, but you should notice treasure chests, so let’s get those now. Go southeast and then north to grab the chest that is east of your initial position, which is a Thunderball.
Return to the stairs that brought you to this floor and head west of them now, through the passage there. Continue west and climb the stairs until you reach a chest in an otherwise empty room, which contains a Seed of Strength. Double back to the last room you saw the armour and head north, stopping to open the chest you can see for 1383G. Continue to the northern end of the map and then head west to some more stairs, leading to a path that will eventually end up with two chests, containing a Seed of Deftness and 570G. Double back to the split from before and take the northeastern path to some more stairs.
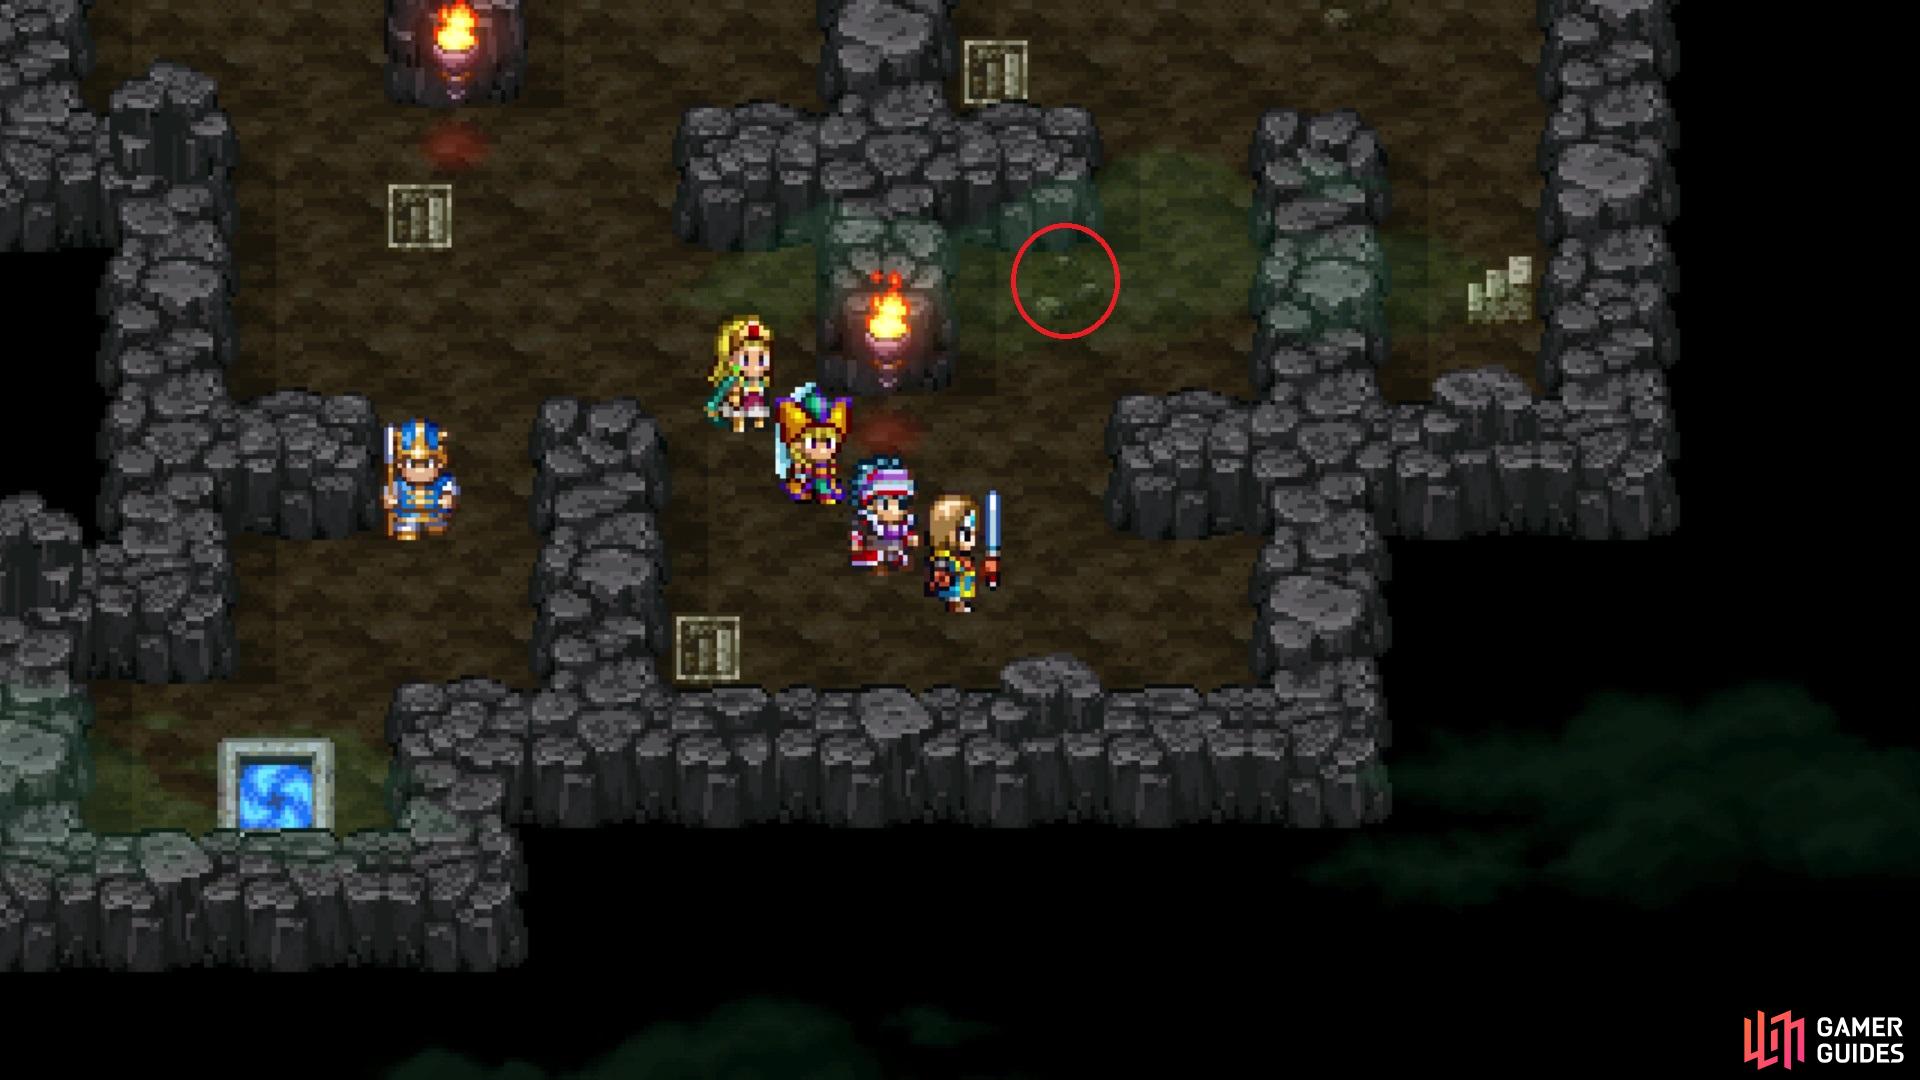
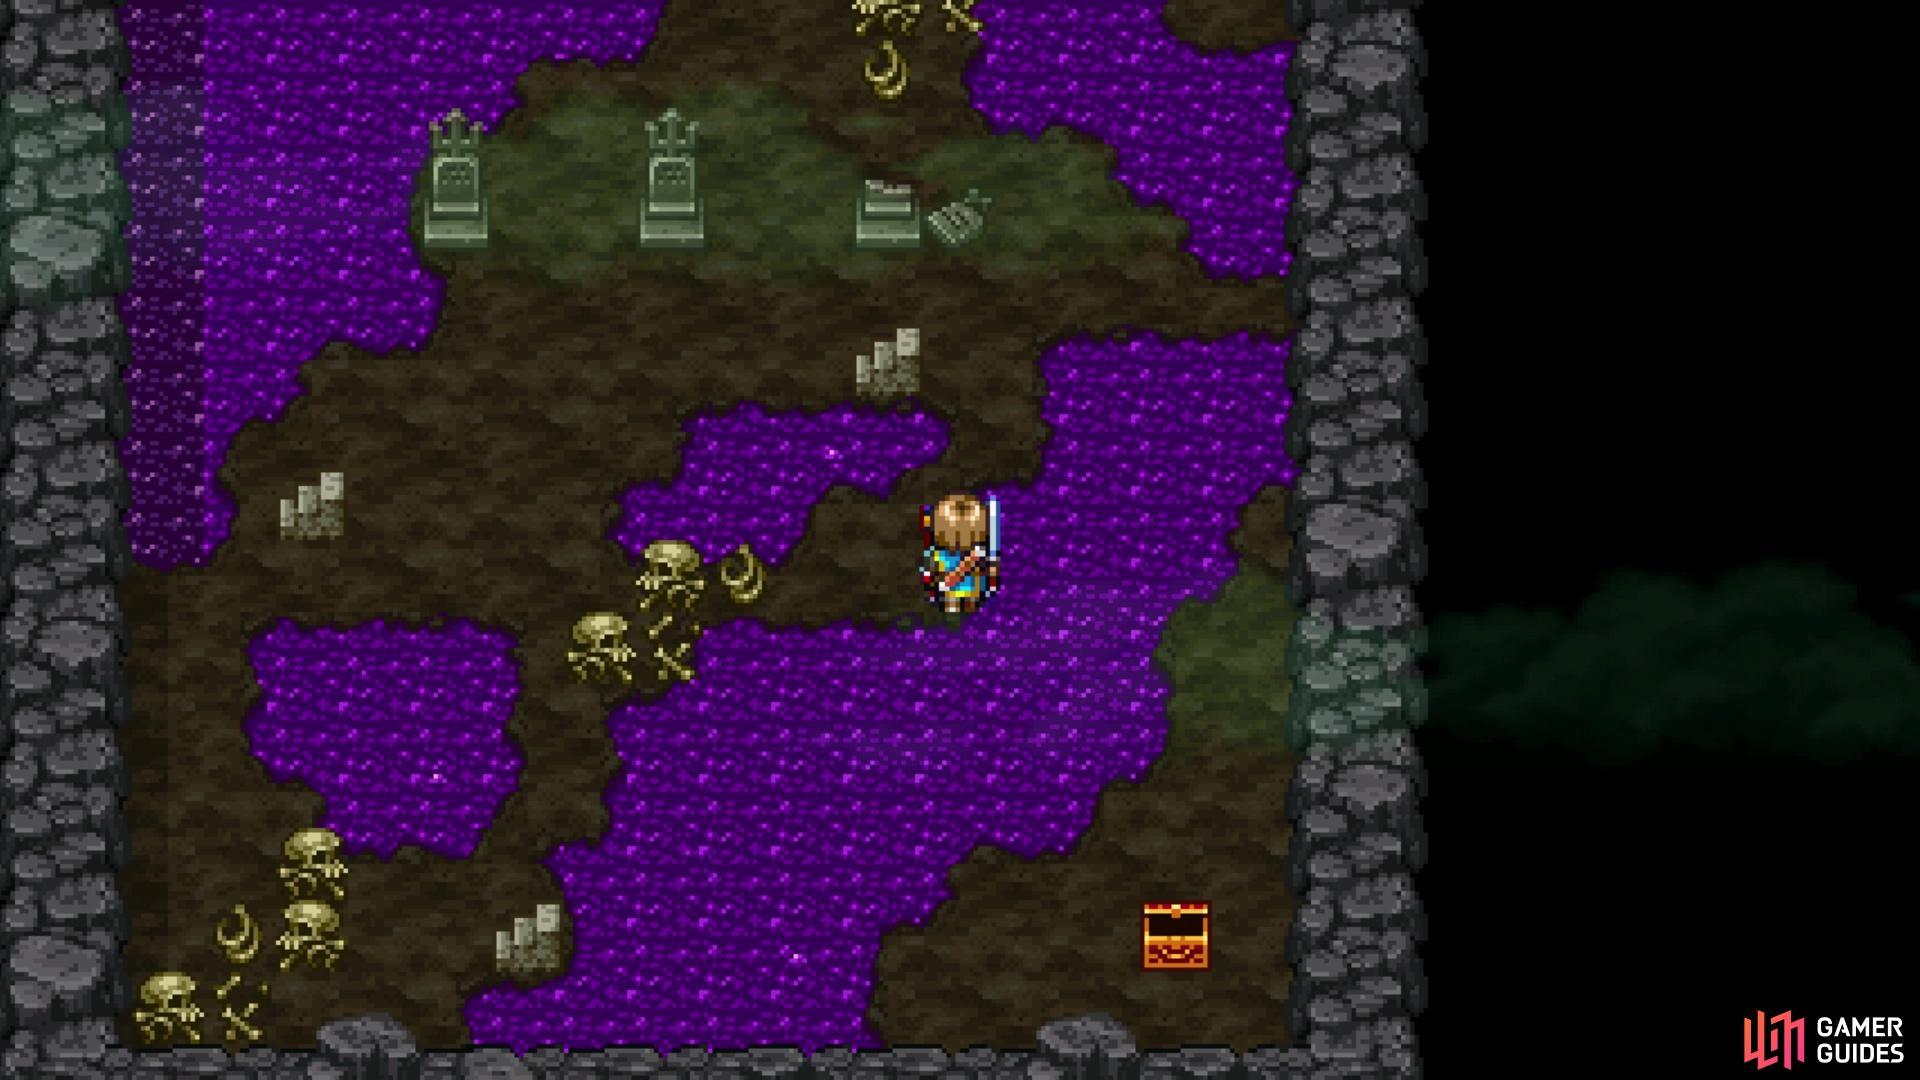
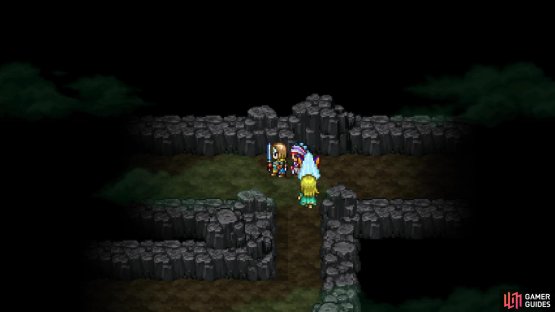
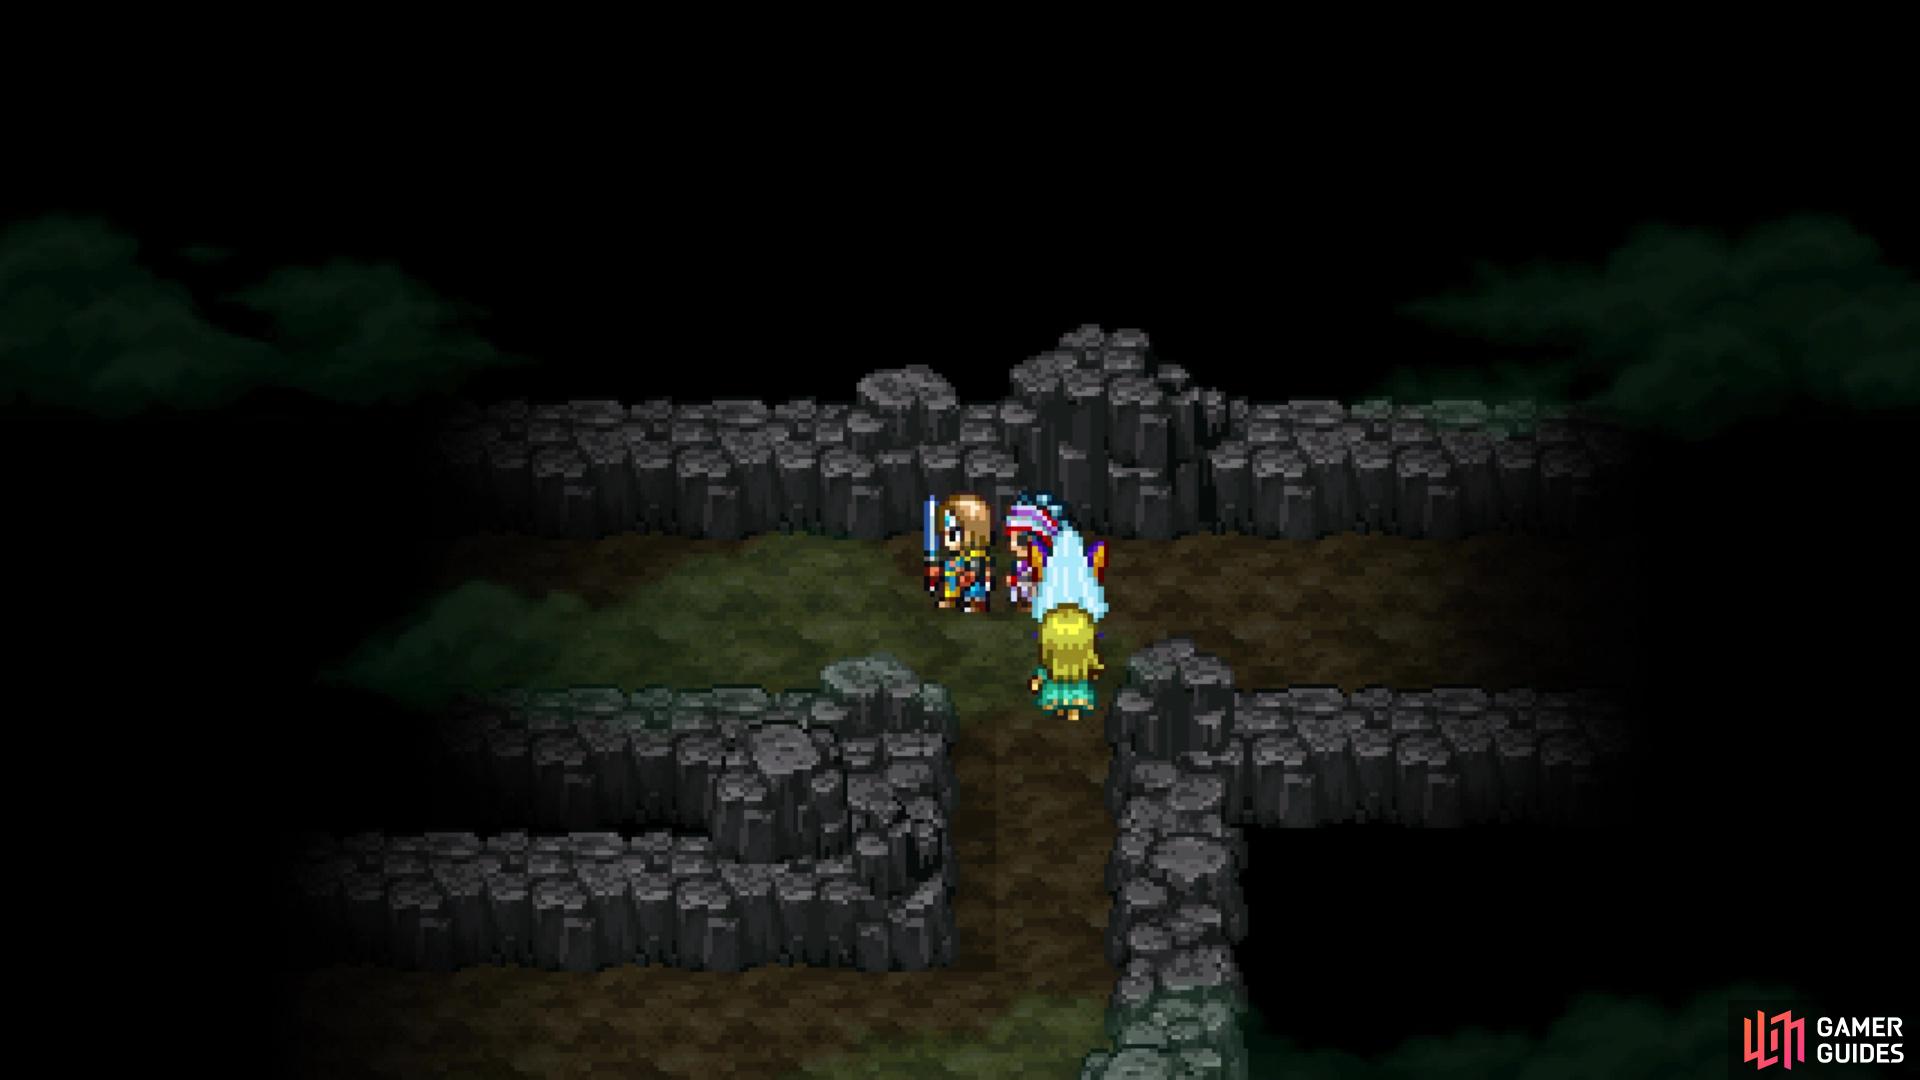
You will eventually be on a floor with the armour, who falls through one of those trap holes in the floor. You should see a bunch of rocks on this floor, which means there’s a lot of traps here. Carefully make your way to the stairs just south of your initial position on this floor, which will take you to a four way intersection. This part is a maze, so if you take the wrong exit, you will end up back at this intersection. Follow the instructions below to not get lost:
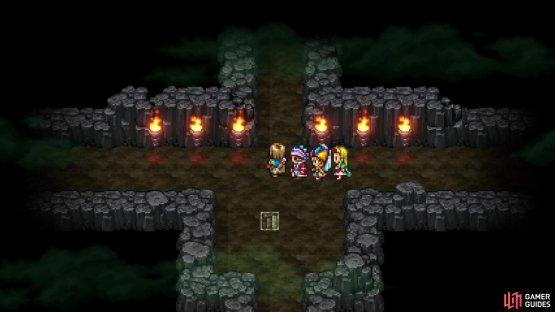
(1 of 2) You will need to pick the correct path in this maze-like section
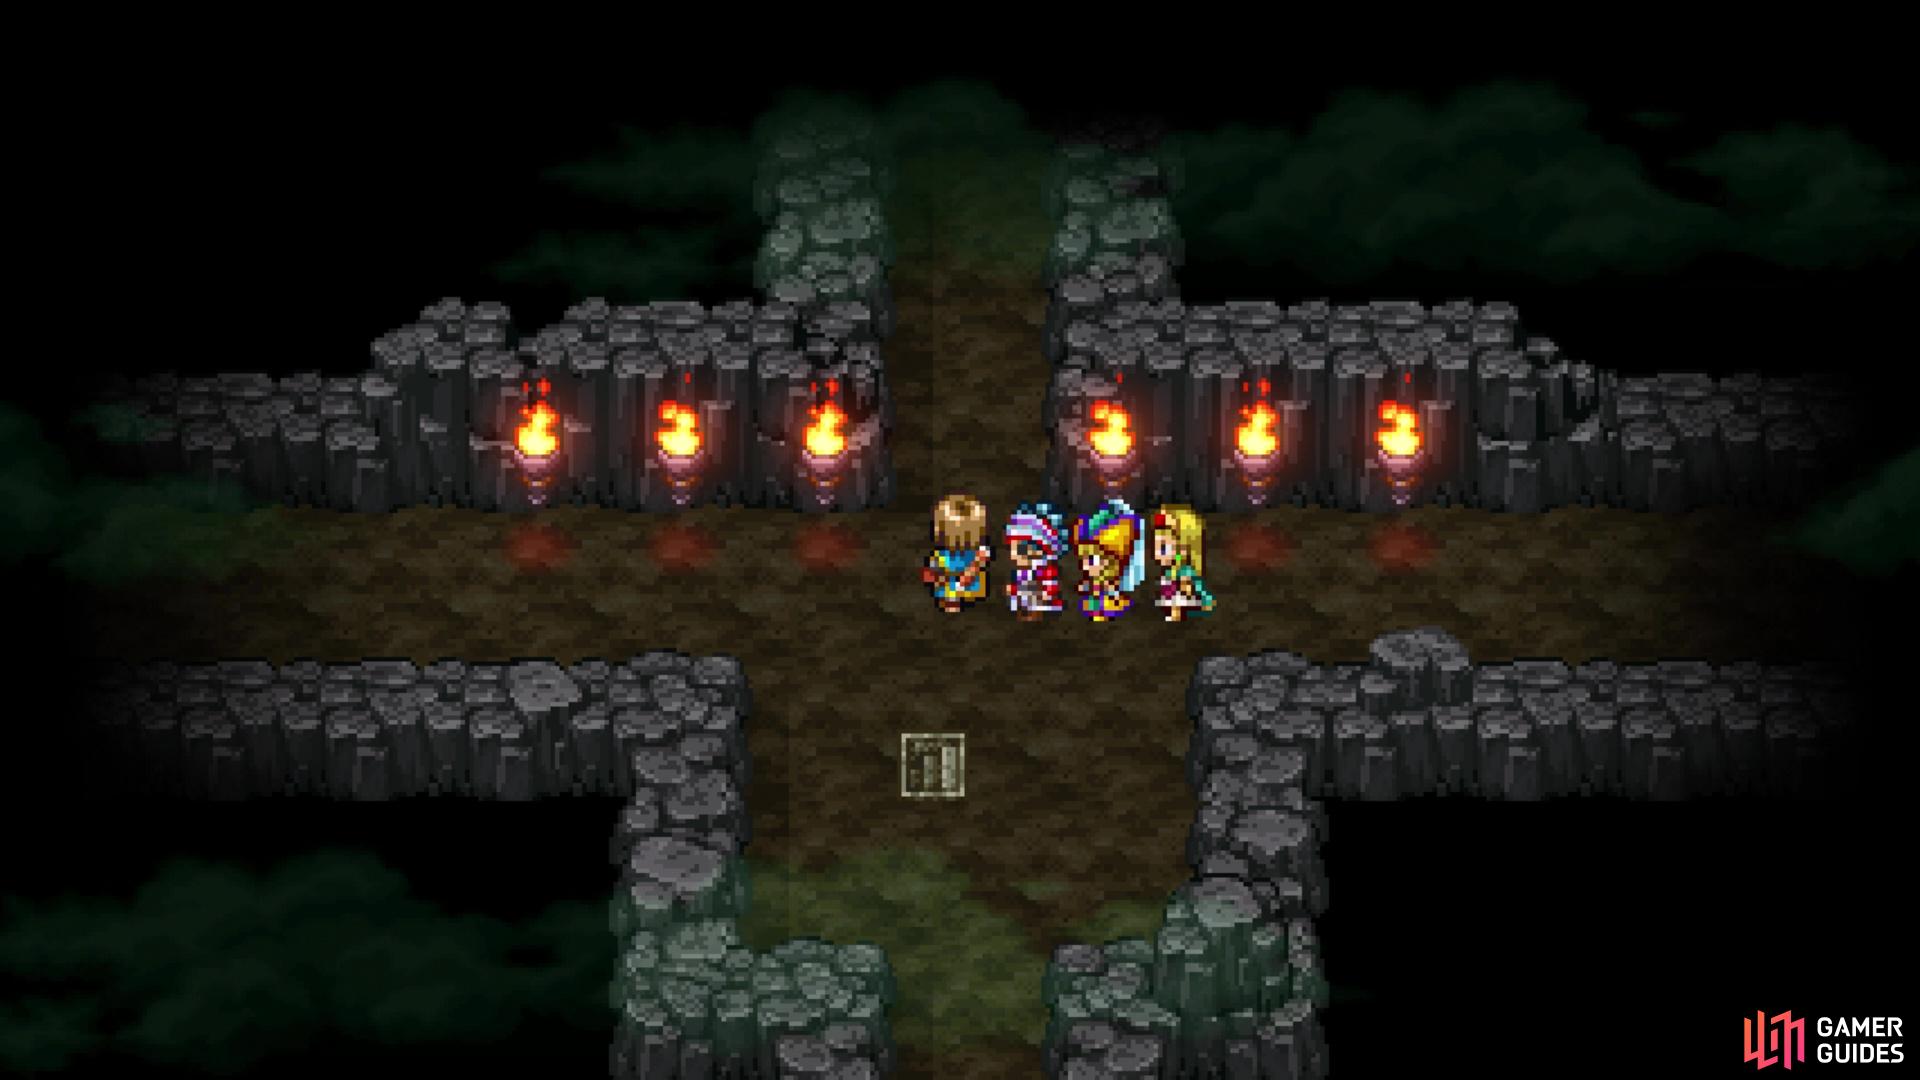
You will need to pick the correct path in this maze-like section (left), or else you’ll be sent back to the beginning (right)
- East, Northwest, Northeast, East, Northeast, North, Northwest, North, East, and East
If done correctly, you should be in a room with the restless armour, who is just walking back and forth. Heal up your party, restore MP if needed, then speak to the armour to start the boss fight.
BOSS - Erdrick’s Restless Armour
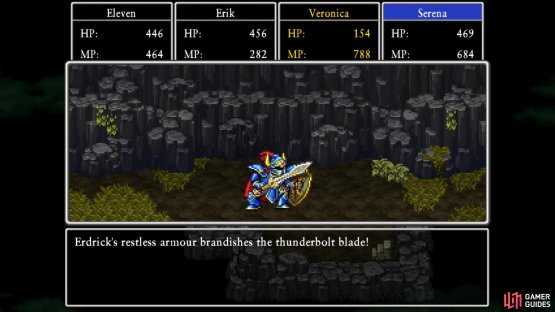
You will find that this boss is quite powerful, both offensively and defensively. It has around 4000 HP and acts twice every round. Some of its attacks are lightning-based, so if you have Serena in your party, then having her use Hymn of Thunder can help immensely. It can brandish the Thunderbolt Blade to summon some lightning, as well as use Gigaslash on the party. You will also want to watch out for Kasap, as the lowered defense can be detrimental with its physical attacks. You should try to counter this with Kabuff, if you get a chance to do it. In addition to the defense debuff, you will also see Fizzle from the armour, as well as Moreheal, which really shouldn’t do anything at this point in the game.
You might also see the boss use Falcon Slash, which should do a little bit more than its normal attack, but it shouldn’t be too bad if your defense is up. As previously mentioned, the boss has some good defense itself, so try to land a Sap on it to help with your own damage. At this point in the game, you should know how to react offensively, with Hero using Sword Dance, Erik using Divide and Double Down/Fatal Slash, Jade using Re-Vamp and Multifeet, and Eight using Parallax/Gyrfalcon Slash.
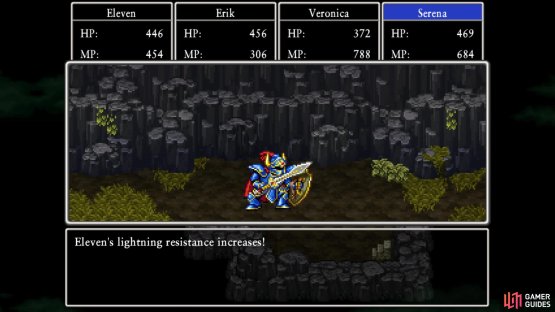
(1 of 2) Hymn of Thunder is a huge help in this fight
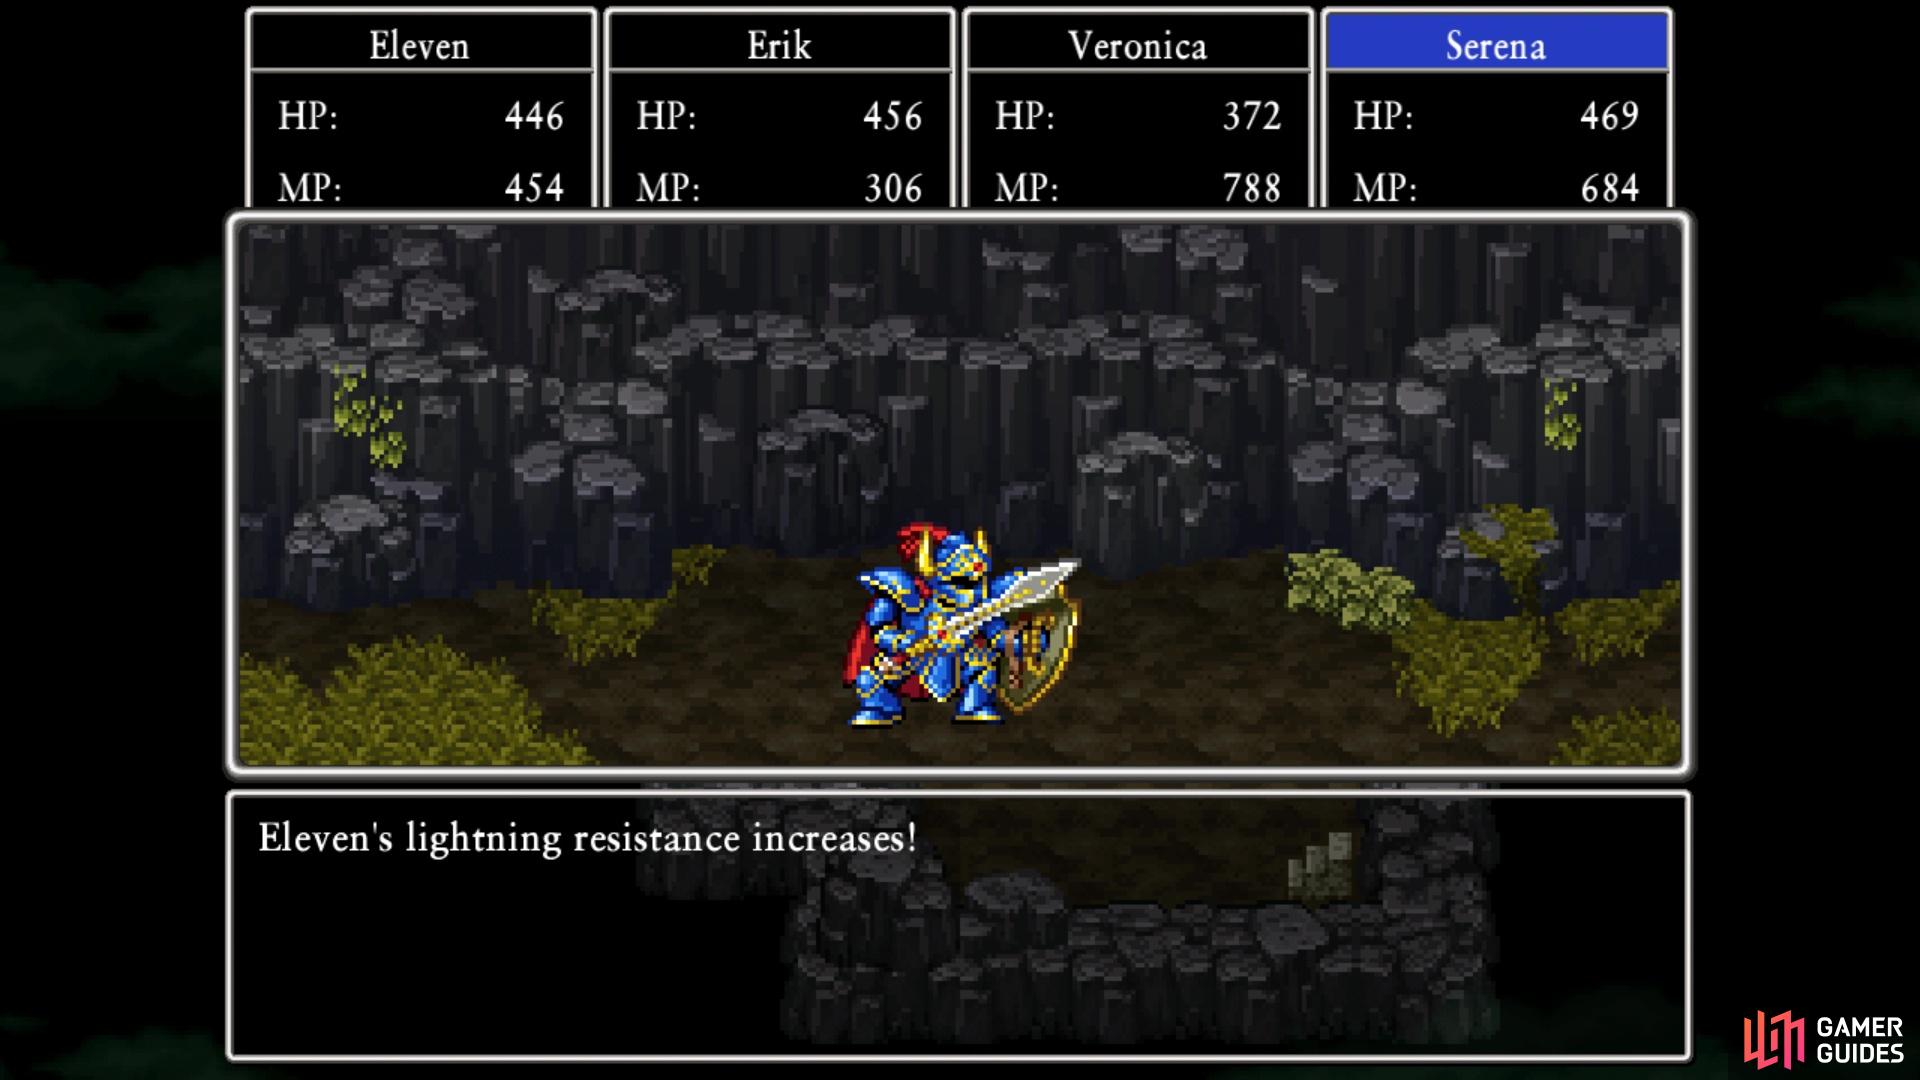

Hymn of Thunder is a huge help in this fight (left), as it neuters some of the Armour’s offense (right)
With the restless armour finished, use Evac to return to the beginning of the cave (you can’t use the nearby stairs) and report you’re done. Your reward will be an Uber Agate of Evolution.
No Comments