
The second level of the Hall of Remembrance isn’t too much different than the first, so your party loadout can remain pretty much the same. If you were struggling with the bosses in the first level, though, you will need to change up your strategies some. You will be facing three bosses here yet again, though, so make sure you remain stocked up on Yggdrasil Leaves and Dews, as well as Elfin Elixirs.
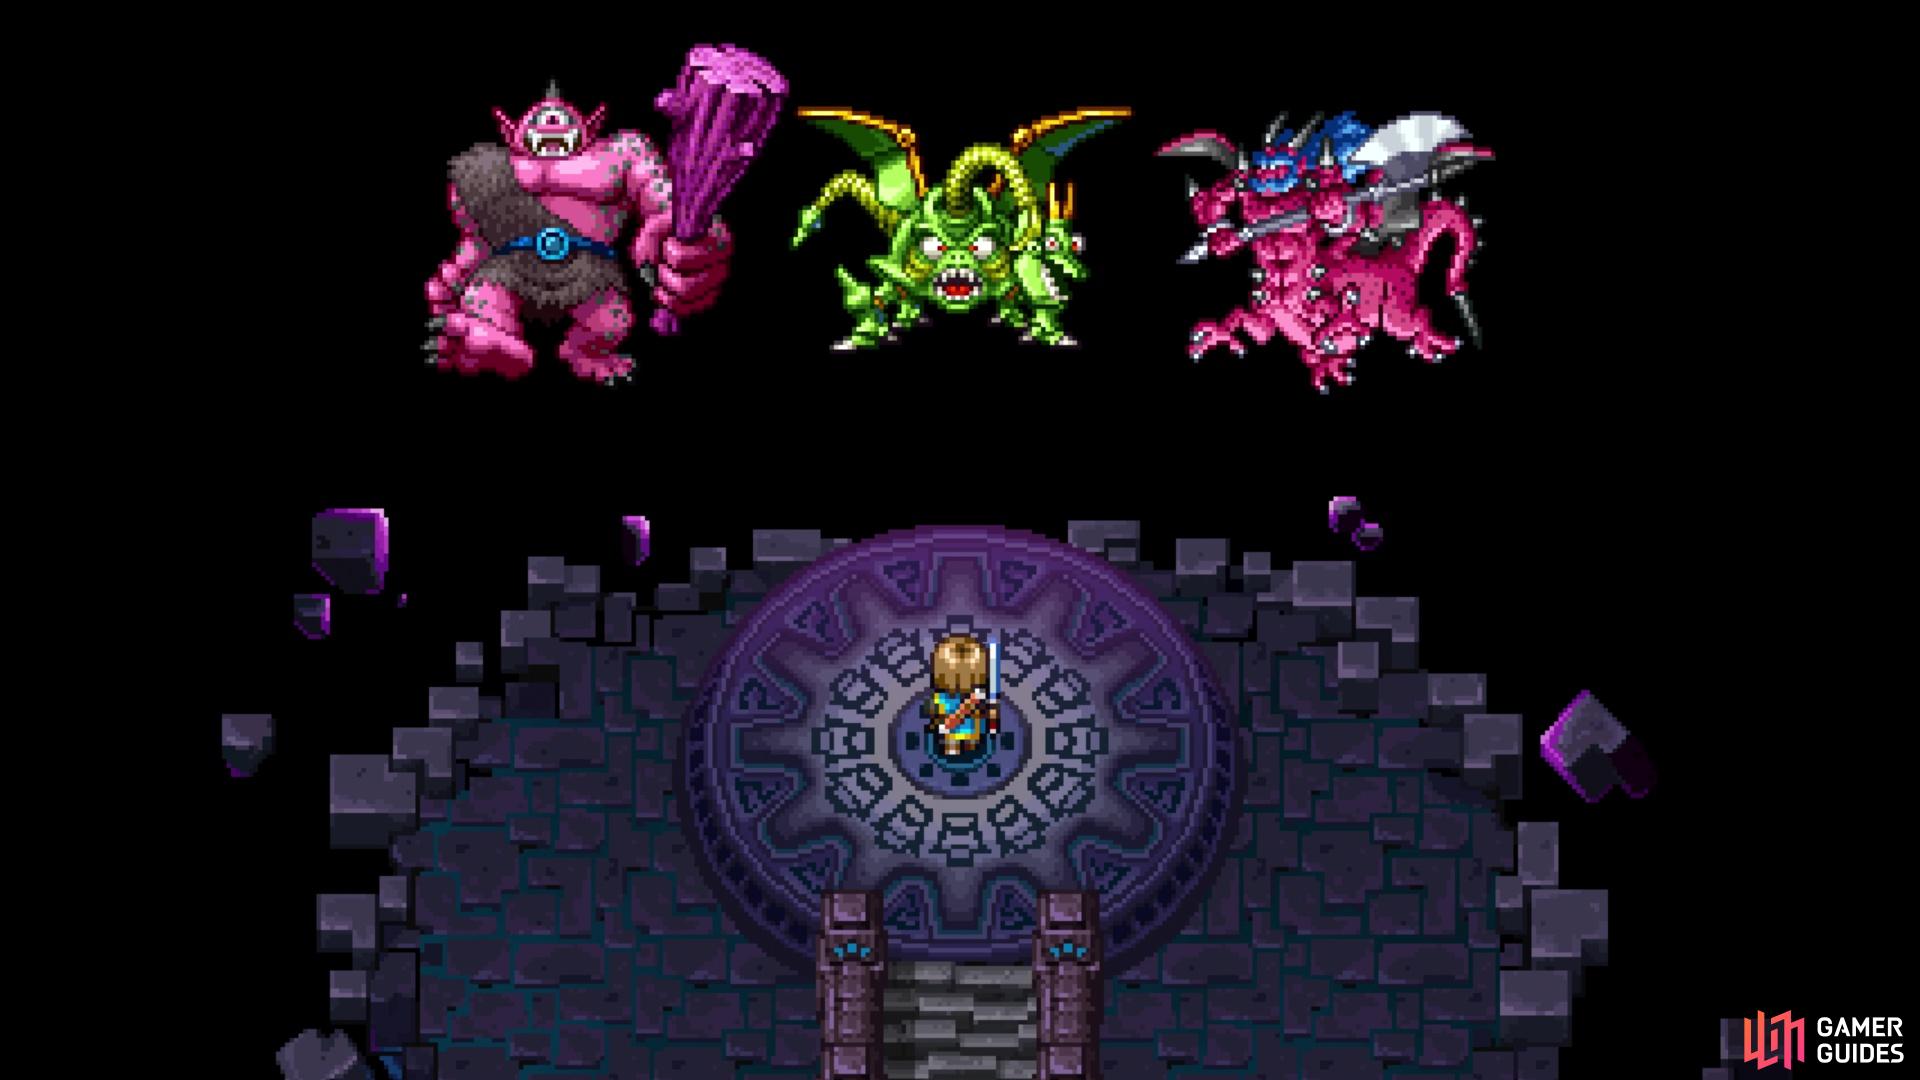
Your opponents for Level 2
BOSSES - Nimclops, Psaroid, and Mortamammoth
As before, you will be facing off against three bosses here at the same time, with them having two actions per turn. That means, you will need to be careful and keep an eye on your HP, without being afraid of using Omniheal to top everyone off. All of the bosses have around 6,000 HP this time around, so the battle will take a little longer than the previous one. Of the three enemies, Mortamammoth is probably the one you want to take out first, simply because it has access to Magic Burst. If you’ve never used this with Veronica before, it does quite a bit of damage to your entire party and can spell disaster if you are unprepared for it.
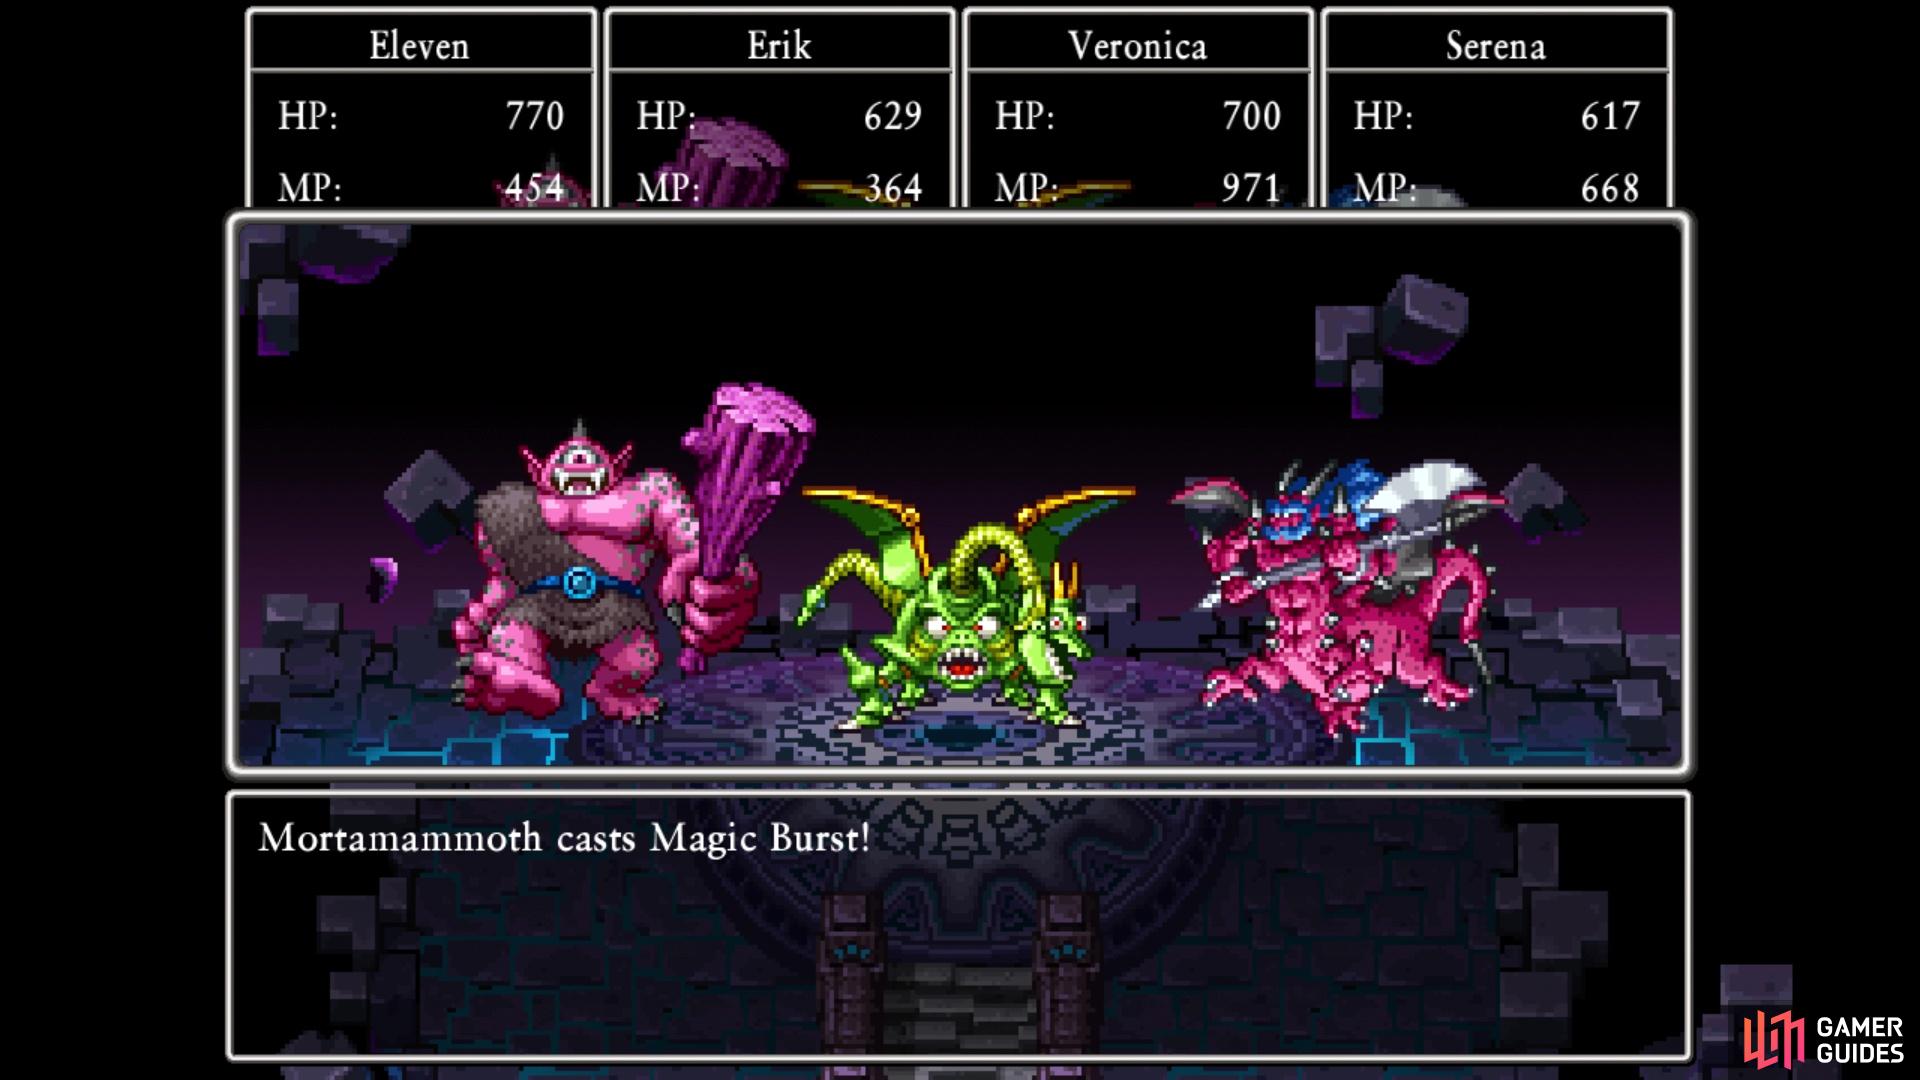


(1 of 2) Magic Burst can hurt your party quite a bit

Magic Burst can hurt your party quite a bit (left), Mortamammoth will recover all of his MP following Magic Burst (right)
The good thing about Magic Burst, at least for the enemy, is that it uses up all of their MP. Of course, this doesn’t last for long, as Mortamammoth will usually say a dark prayer on his subsequent turn, restoring all of his MP. If you’ve equipped two Catholicon Rings +3 to each character, then the war cry and “gleam” moves will do nothing at all. The former attempts to make your characters lose a turn, and the latter will put a single character to sleep. He does have a few attacks as well, like when he charges you with spiky shoulders, or swinging wildly with his weapon. Mortamammoth can also do an attack that is similar to boomerangs, in that there is damage degradation after the first hit. You might also see Mortamammoth use Meditation to heal himself.
Despite Nimclops being a big enemy that is known to do a lot of physical attacks, it’s best to go after Psaroid second. It might also be a good idea to go after Psaroid first, simply because he has access to Thwack and the Catholicon Rings don’t offer instant death protection at all. Outside of that, he can use Kazam on a single character, as well as an ice breath attack on the party. There is also a sweet breath to put your party members to sleep, but they should be protected from that. You might see a desperate attack from Psaroid, as well as him “belching out a barrage of iron balls.” The latter attack will randomly hit your characters for okay damage a good 5-6 times.
Nimclops has a pretty limited moveset, which might be obvious considering the monster type he is. He has a normal attack that can hit hard enough, as well as Crackerwhack, which hits the entire party for good damage. Combine this with the fact that it can reduce your defenses with Kasap, and you will want to counter this with Kabuff on your own. You can also see Nimclops use Kafrizzle on a party member, but it only hits a single character. Since none of the enemies can dispel your buffs with disruptive wave, you are free to keep them up for the entire battle without having to worry about reapplying them.

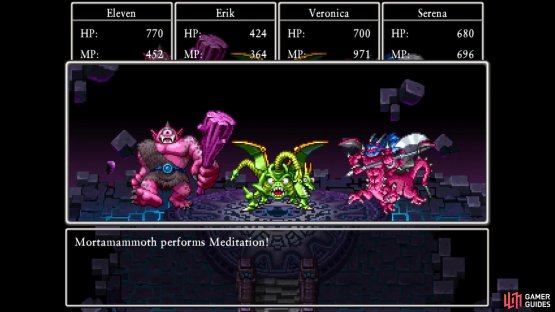

(1 of 2) Mortamammoth can use Meditation to recover some HP

Mortamammoth can use Meditation to recover some HP (left), Psaroid’s iron balls attack can be bad if it focuses on a single character (right)
The same offensive strategy outlined for Level 1 can be used here, with Erik using Divide and Double Down, while someone else casts Oomphle on him. You could also use Veronica here, with her first turn being to use Channel Anger, then Magic Burst on the turns following that. Don’t forget that Magic Burst uses all of your MP, so you will need someone feeding her Elfin Elixirs to refill it. Serena should stick to healing and buffing, while the Hero (if you’re using him) can use Sword Dance to do some damage if he’s not needed for healing himself. By now, you should know the roles that your characters will be using in battle.
Defeating all three bosses will net you a War Drum item, which allows you to cast a party-wide Oomph. This is a great item to have, since you can use it back-to-back to get the Oomphle effect on your entire party, so make sure to stick it on someone like the Hero or Serena, or whomever is not doing something every turn. You will also get the pastword for Level 3 of the Hall of Remembrance.
No Comments