

The Hotto Steppe (Eastern)
| Sparkly Spots | Area |
|---|---|
| Warmaline | East of Hotto |
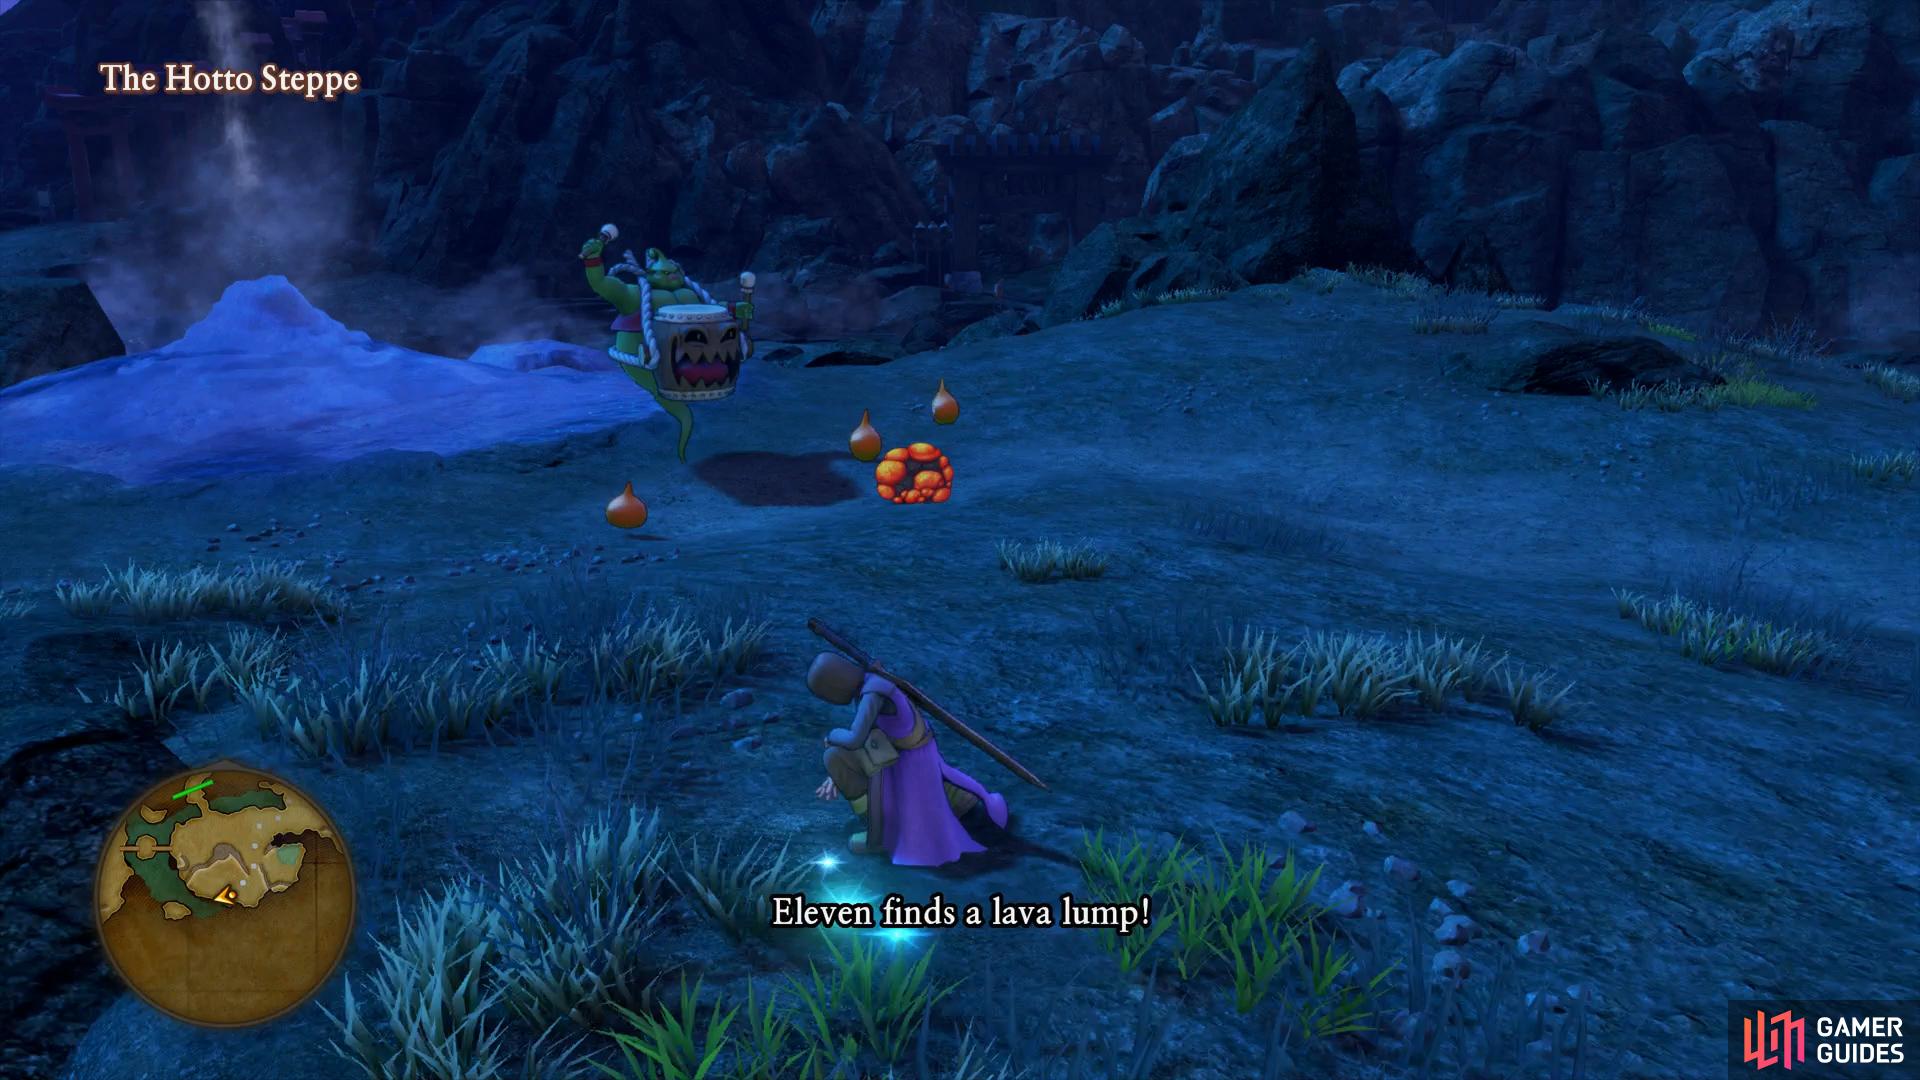
| Lava Lump | Southwest of Hotto |
| Monsters | HP |
|---|---|
| Garuda | ~40 |
| She-slime | ~25 |
| Drohl drone (Night only) | ~28 |
| Bongo Drongo | ~44 |
The Hotto Steppe is a vast area located on the island southeast of Heliodor, you’ve been carried a long way. Taking a quick look at the map, you’ll spot the town of Hotto somewhat close to your location. For this reason, explore the eastern side of the Steppe before heading into Hotto, you’ll be exploring the rest after.
A Priest is kindly waiting for you near where you depart the Door, make use of him to save your game and then head down to the Merchant and check out his wares. There’s nothing fantastic here and you should already be equipping better gear however the materials he sells are somewhat useful, especially the Hardy Hides.


(1 of 2) Garuda’s can damage the entire party with its flame based attacks
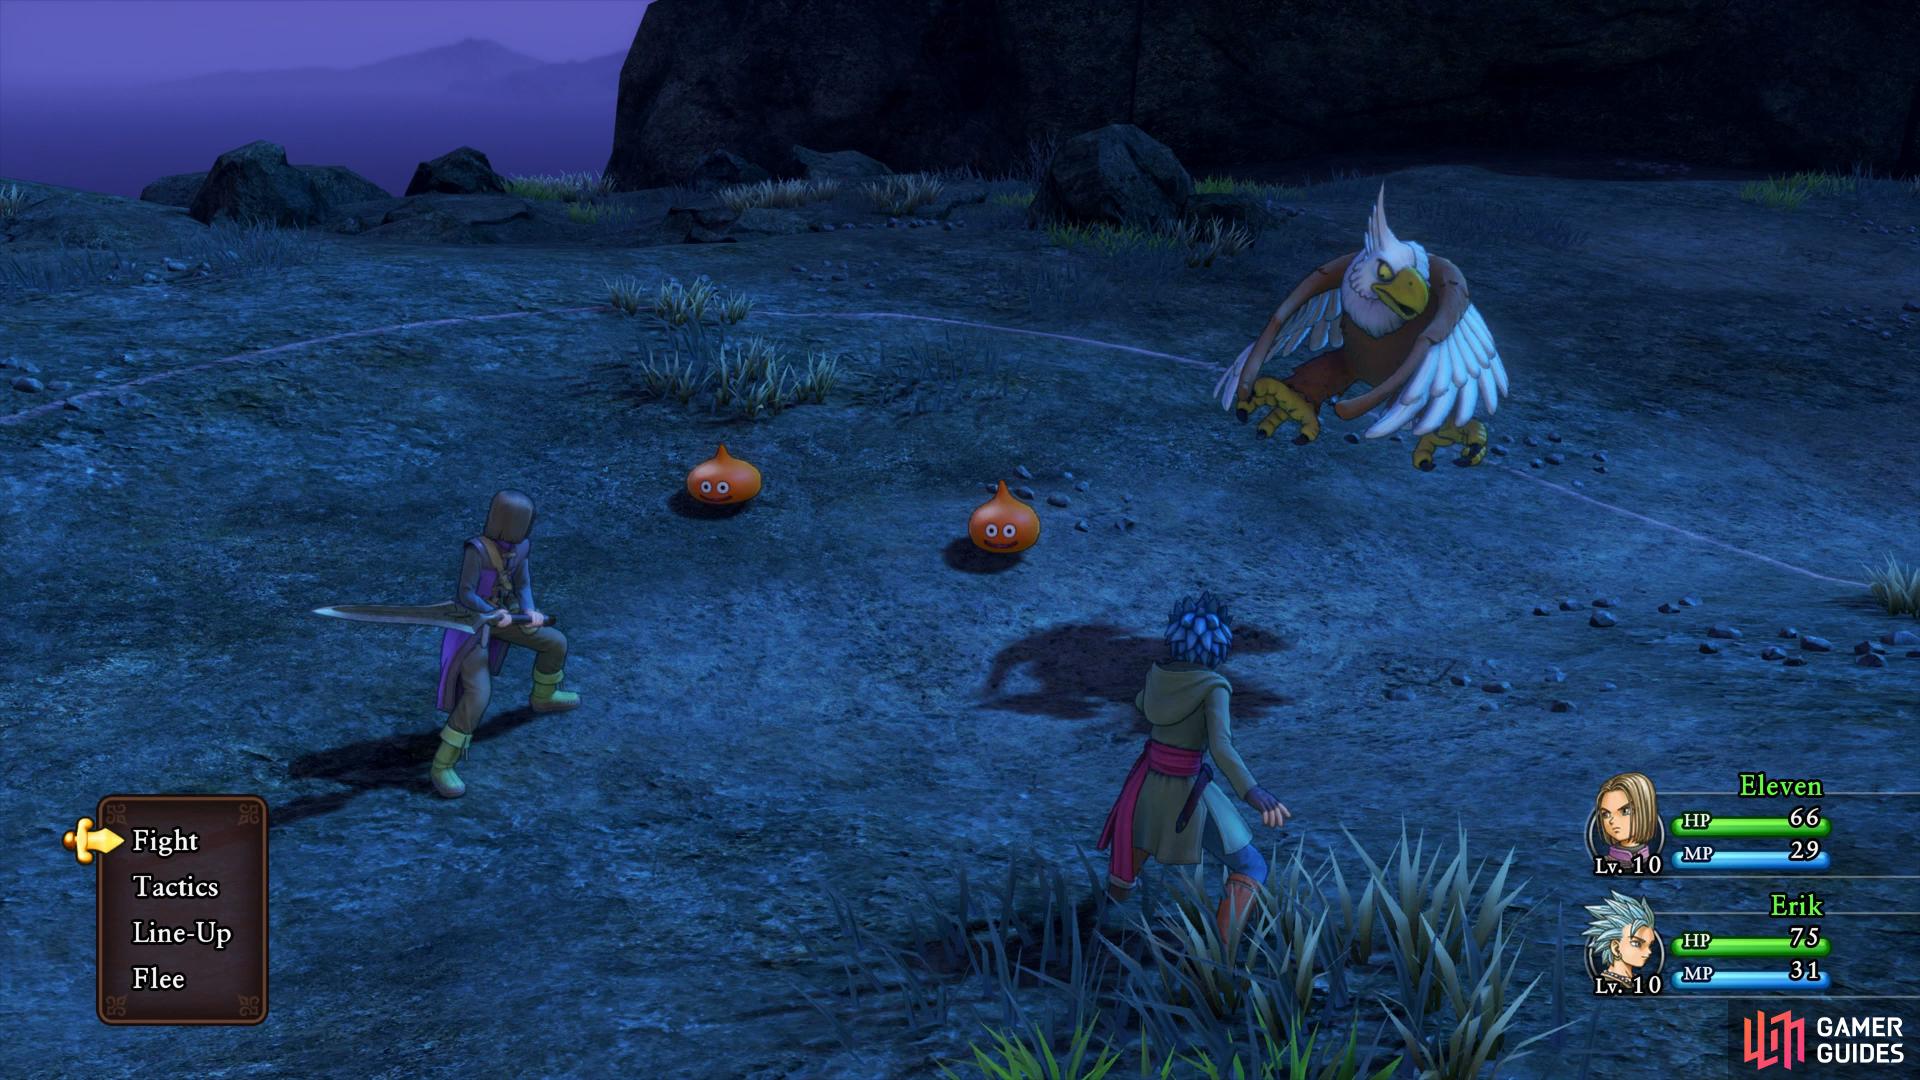
Garuda’s can damage the entire party with its flame based attacks (left), snag the Lava Lump to the south before heading into town. (right)
Head south now and follow the path as it heads west, the new monsters here shouldn’t pose a great threat provided you’re at least Level 10. The Bongo Drongo can be a little troublesome if caught off guard, he has the ability to call more monsters to battle along with increasing the attack power of all enemies so make him your main priority in any encounters. Once you reach the area just south of town, search along then north cliff to find a Sparkly Spot containing a Warmaline. Head southwest from this location and up the hill to discover another Sparkly Spot to the southwest containing a Lava Lump. There’s nothing else to see here for now, the rest of the Hotto Steppe will be explored in due time so for now, head north and enter the village of Hotto.
Hotto
| Items | Area |
|---|---|
| Flaxen Thread | Central, southwest house, wardrobe |
| 100G | Central, west house, wardrobe |
| Mini Medal | Central, behind west house, chest |
| 20G | Central, east of Item shop, pot |
| An Introduction to Armor | Central, behind Inn, chest |
| Plain Clothes | Central, Inn, wardrobe |
| Copper Ore | Northwest, behind Item Shop (2), barrel |
| Lamplight | Northwest, behind Item shop (2), barrel |
| Perfectionist Pearl x5 | North Temple, outside, chest |
| Strong Medicine | North Temple, outside, pot |
| 14G | Northeast, behind the first building, pot |
| 6G | Northeast, behind the first building, pot |
| Single Phial | Behind the first building, pot |
| Twenty-Four Carats of Class | Northeast, quest 05 giver |
| Gold Ore x2 | Northeast, next to quest 05 giver, chest |
| Hardy Hide | Northeast, house to the east of equipment shops, pot |
| Flaxen Thread | Northeast, house to the east of equipment shops, pot |
| Pretty Betsy | Northeast, outside bathhouse, barrel |
| Sparkly Spots | Area |
|---|---|
| Warmaline | Central, behind furnace |
| Flurry Feather | Northwest, far west corner |
| Cottontop | North, path south of the Temple |
| Holy Water | Northeast, in the baths |
| Holy Water | Northeast, in the baths |
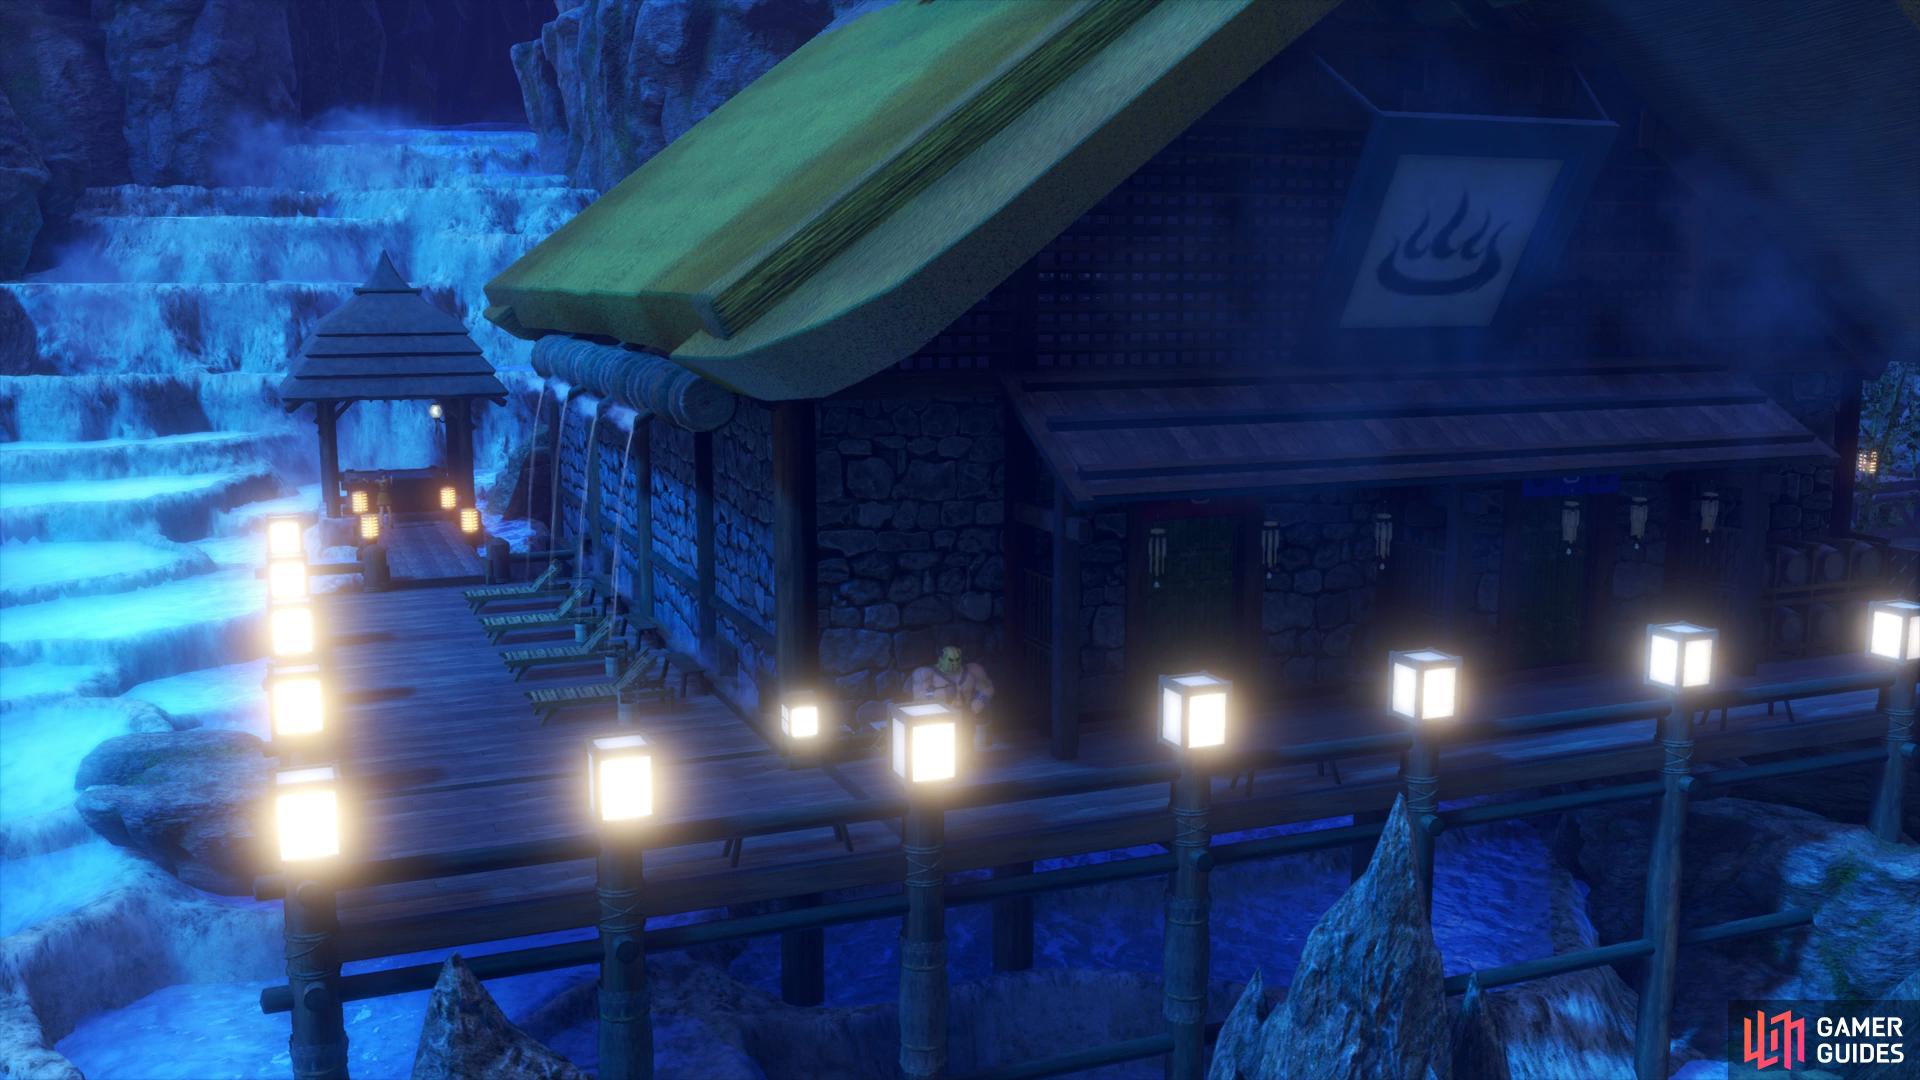
Hotto is a peaceful village based at the base of a Volcano, it’s for this reason that the man that confronts you has just built some steam baths and let’s you in on the deal going around to commemorate it’s opening, one free use. Erik will make his way with the man to the baths, leaving you free to explore the village.
To start with, begin your search around the central area of Hotto and head to the house on your left, there’s a wardrobe here containing a Flaxen Thread. Exit this house and enter the next house to your west, inside you’ll find another wardrobe, this one containing 100G. Leave the house and head around the back of it to the northwest corner to find a chest containing your next Mini Medal.


(1 of 2) Search behind the western house to find a chest with a Mini Medal
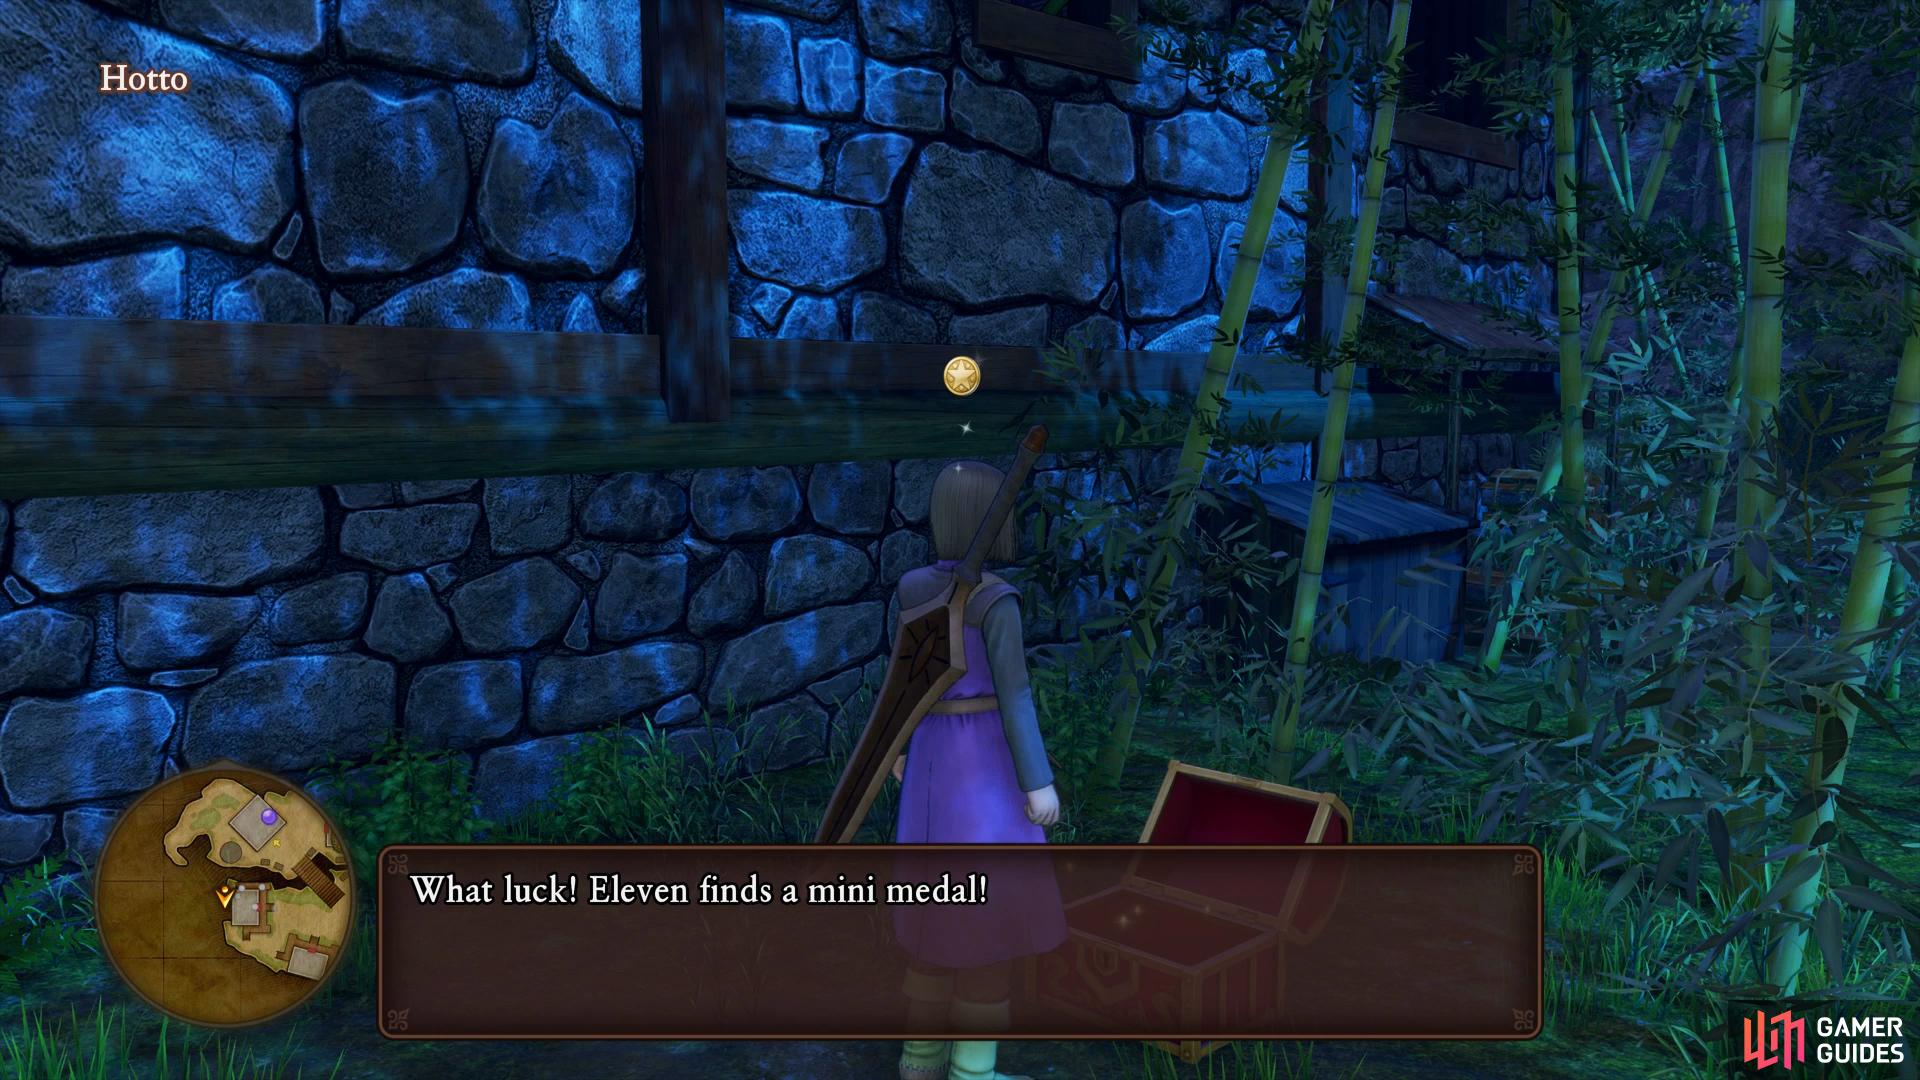
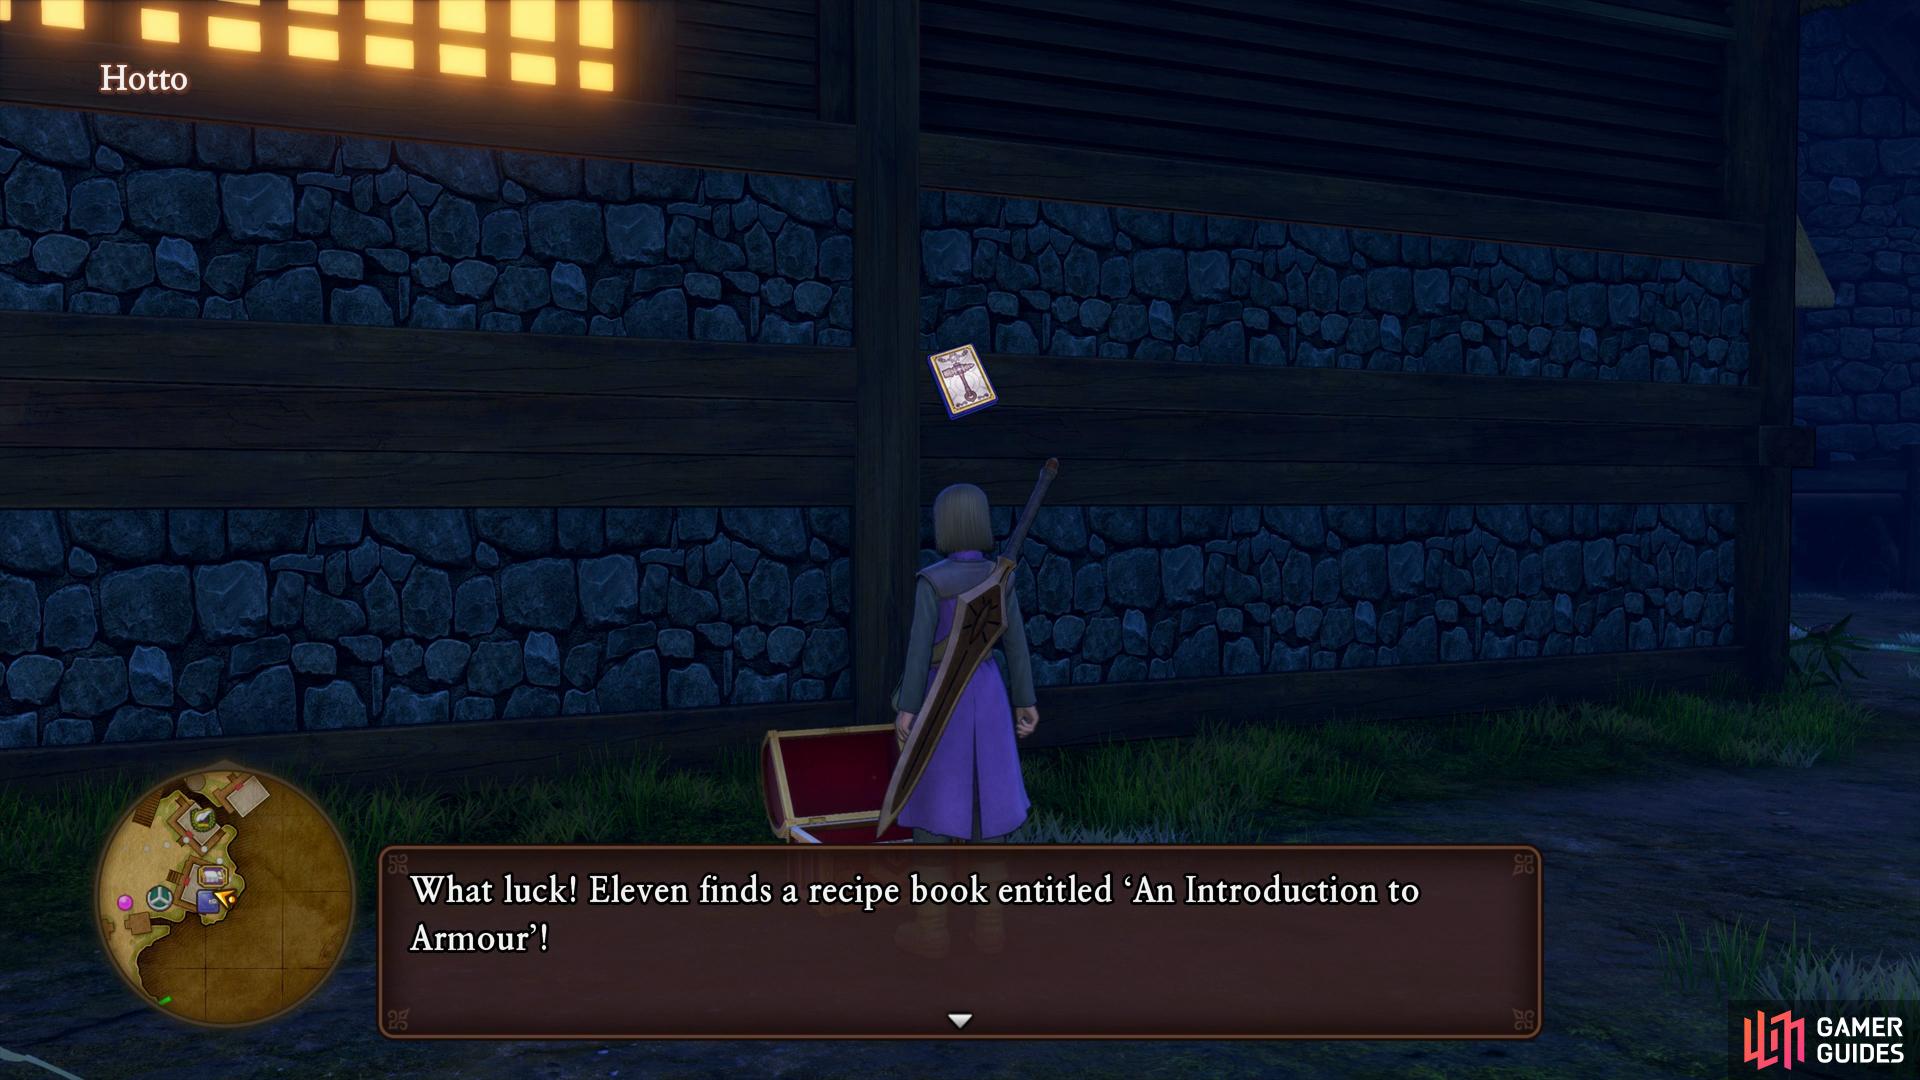
Search behind the western house to find a chest with a Mini Medal (left), you’ll find another chest behind the Inn with a new Recipe Book. (right)
Head back into the centre and note the large furnace to the north, search behind it to find a Sparkly Spot containing a Warmaline. To the east of the furnace is the first Item shop although the old man inside only sells basic Items. Do however, search to the east of the shop to stumble upon some pots below the walkway, you’ll pocket yourself another 20G from smashing them. While you’re down here, search around the back of the Inn to find a chest waiting for you, your next Recipe Book, An Introduction to Armor. This will allow you to forge a set of Bronze Armor. Enter the Inn itself now and head upstairs to the second room, there’s two wardrobes here with one containing some more Plain Clothes.
Exit the Inn and head up the northwest stairs to find a second Item shop, this one has a few more items for you including a pair of Slime Earrings should you feel the need for some extra Charm. Search behind this shop to find some barrels containing a Copper Ore and a Lamplight. Head to the west of the Item shop where you’ll find the next Quest giver, he’s a Blacksmith and wants you to assist him in tracking down some Iron Ore (found to the west of the Hotto Steppe), agree to help to begin Quest 06 - Smiths and Sparkly Spots. Wait until you head back out to the Hotto Steppe to track it down, the reward is an I Love Iron Arms Recipe Book!
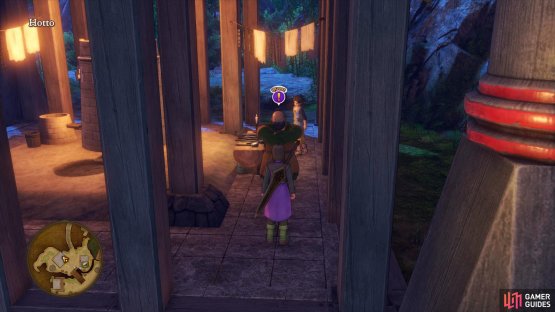

(1 of 2) You’ll find a simple quest to the northwest of town

You’ll find a simple quest to the northwest of town (left), head up the steps to the shrine and search outside for another chest. (right)
Follow the short path to the west here, past the bamboo trees to find another Sparkly Spot, this one containing a Flurry Feather. Follow the stairs to the north as you reach a large temple. Climb the stairs to reach the walkway and follow it to the right to find another chest, five Perfectionist Pearls are waiting inside for you. Before you leave this area, head back down from the walkway and head east behind the building, there’s more pots to smash and you’ll nab yourself a Strong Medicine in the process. Head south down the slope rather than the stairs to find another Sparkly Spot at the end containing a Cottontop.
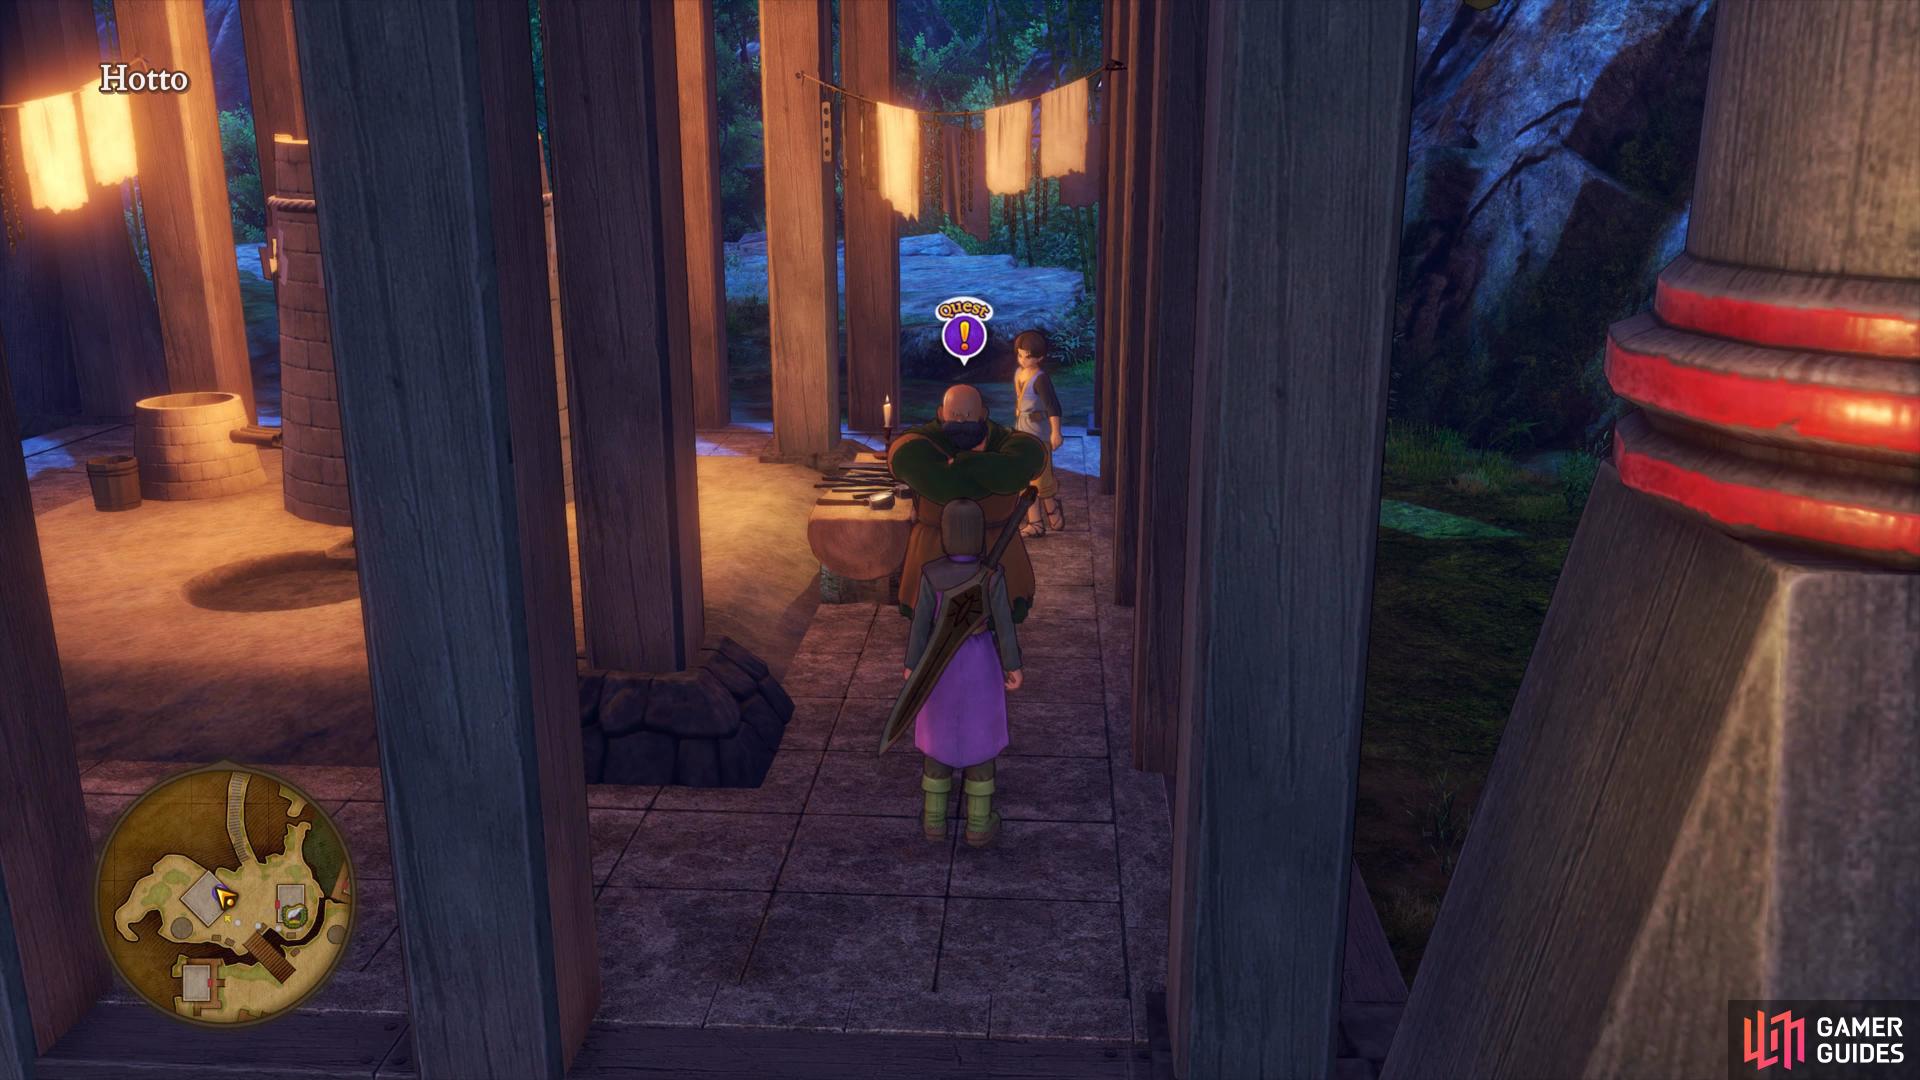
Return back to the entrance of the village and take the northeast stairs up now. A young girl is thrown out of the bar, it appears they’re not willing to help her find her sister. Upon learning your name, she leaves you to go and speak to the guards at the entrance remarking that she may know you in some way, interesting. For now, head into the building to your left and out through the other door. Search to the left to find some pots to smash and obtain 14G before heading along the otherside of the walkway to find some more pots to smash containing 6G and a Single Phial.
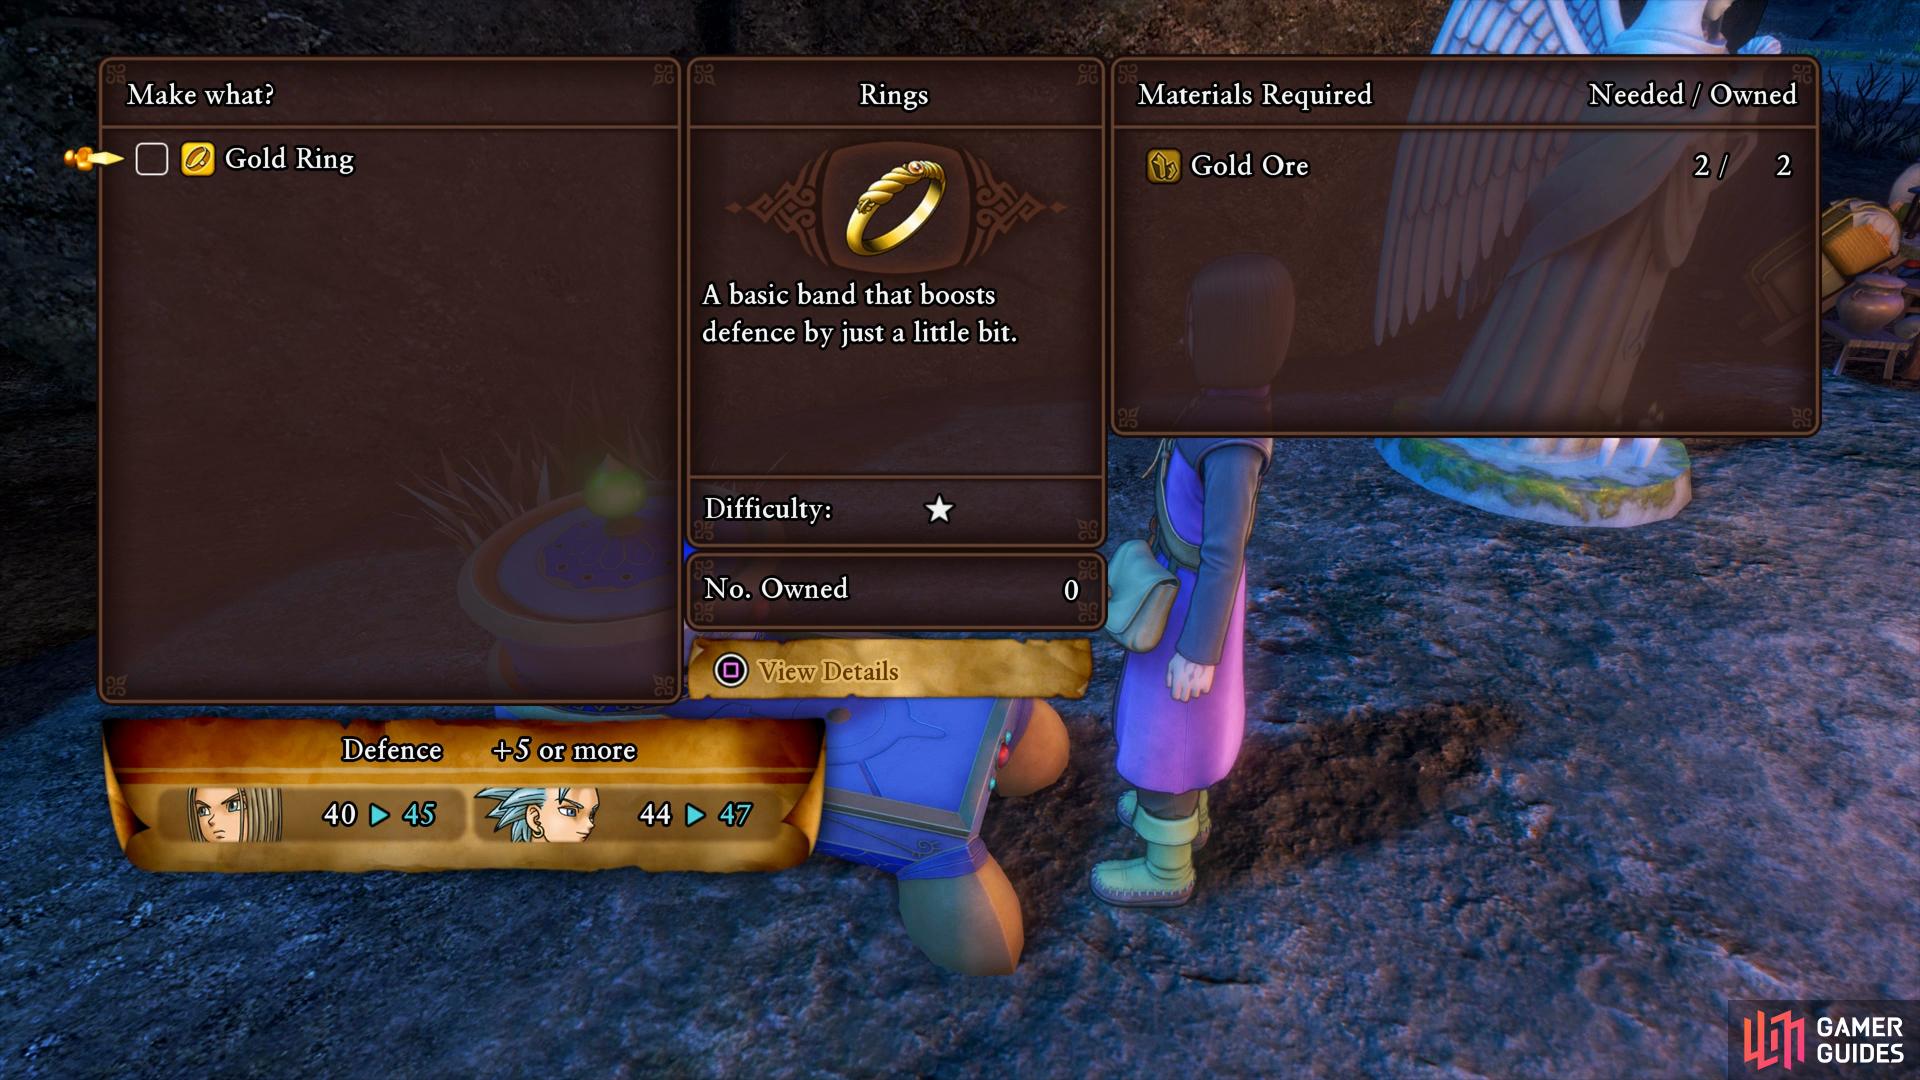
Speak to the man here, he’ll let you know that his son is getting married and wants your help in forging a Gold Ring +1, agree to assist him and he’ll hand over the Recipe Book, Twenty-Four Carats of Class along with granting you access to the chest next to him containing two Gold Ores. This will begin Quest 05 - Put a Ring on It, an easy quest that just requires you to use the forge at the next camp.
(1 of 2) Head to the back of the bar to find a man in need of your assistance


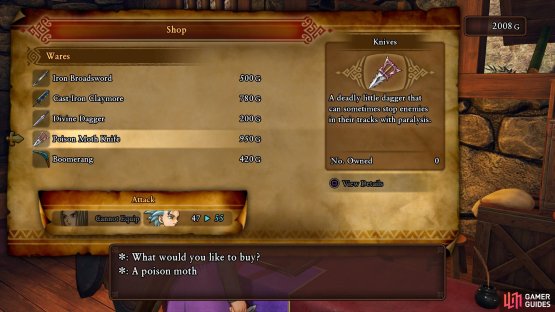
Head to the back of the bar to find a man in need of your assistance (left), be sure to pick up a Poison Moth Knife for Erik while you’re here. (right)
Continue along the path to the Weapons and Armor shops, the first thing you’ll notice is the Iron weapons for the Hero and although it may be tempting to spend your gold on a new weapon, wait until you complete the first quest you accepted here. It’s not time consuming and will reward you with a Recipe Book to forge them yourselves (hopefully at +3). The Poison Moth Knife however is worth your gold, be sure to get this for Erik right away. Again, upon looking at the Armor shop you’ll see that you can purchase Chain Mail as well, once again hold off for now as you’ll be getting the Recipe Book shortly.
Leave the shops and head to the house in the southeast corner here and smash the pots next to the door to obtain a Hardy Hide and a Flaxen Thread. Continue north up the stairs and approach the door, taking a right and following it around to the back to find some barrels containing a Pretty Betsy. Head into the baths finally and head through to meet up with Erik. While relaxing in the bath, Erik asks if you’ve found anything out in town and as a matter of fact, you saw the young girl earlier. A different young girl gatecrashes the conversation looking for someone and Erik surmises that it must be the girl from earlier looking for her younger sister.
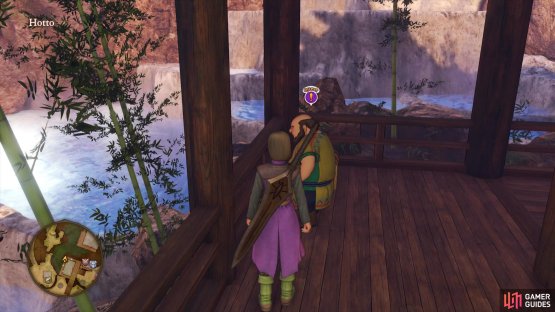
Before you leave to look for the girl from earlier, grab the Sparkly Spot in here containing some Holy Water. Head out the south door here and follow the walkway to the end. You’ll find a woman here who, when spoken to, will offer you a Puff-Puff for 20G. Take her up on the offer and you’ll unlock an accolade, this is part of a side quest that will offer a Trophy down the line.
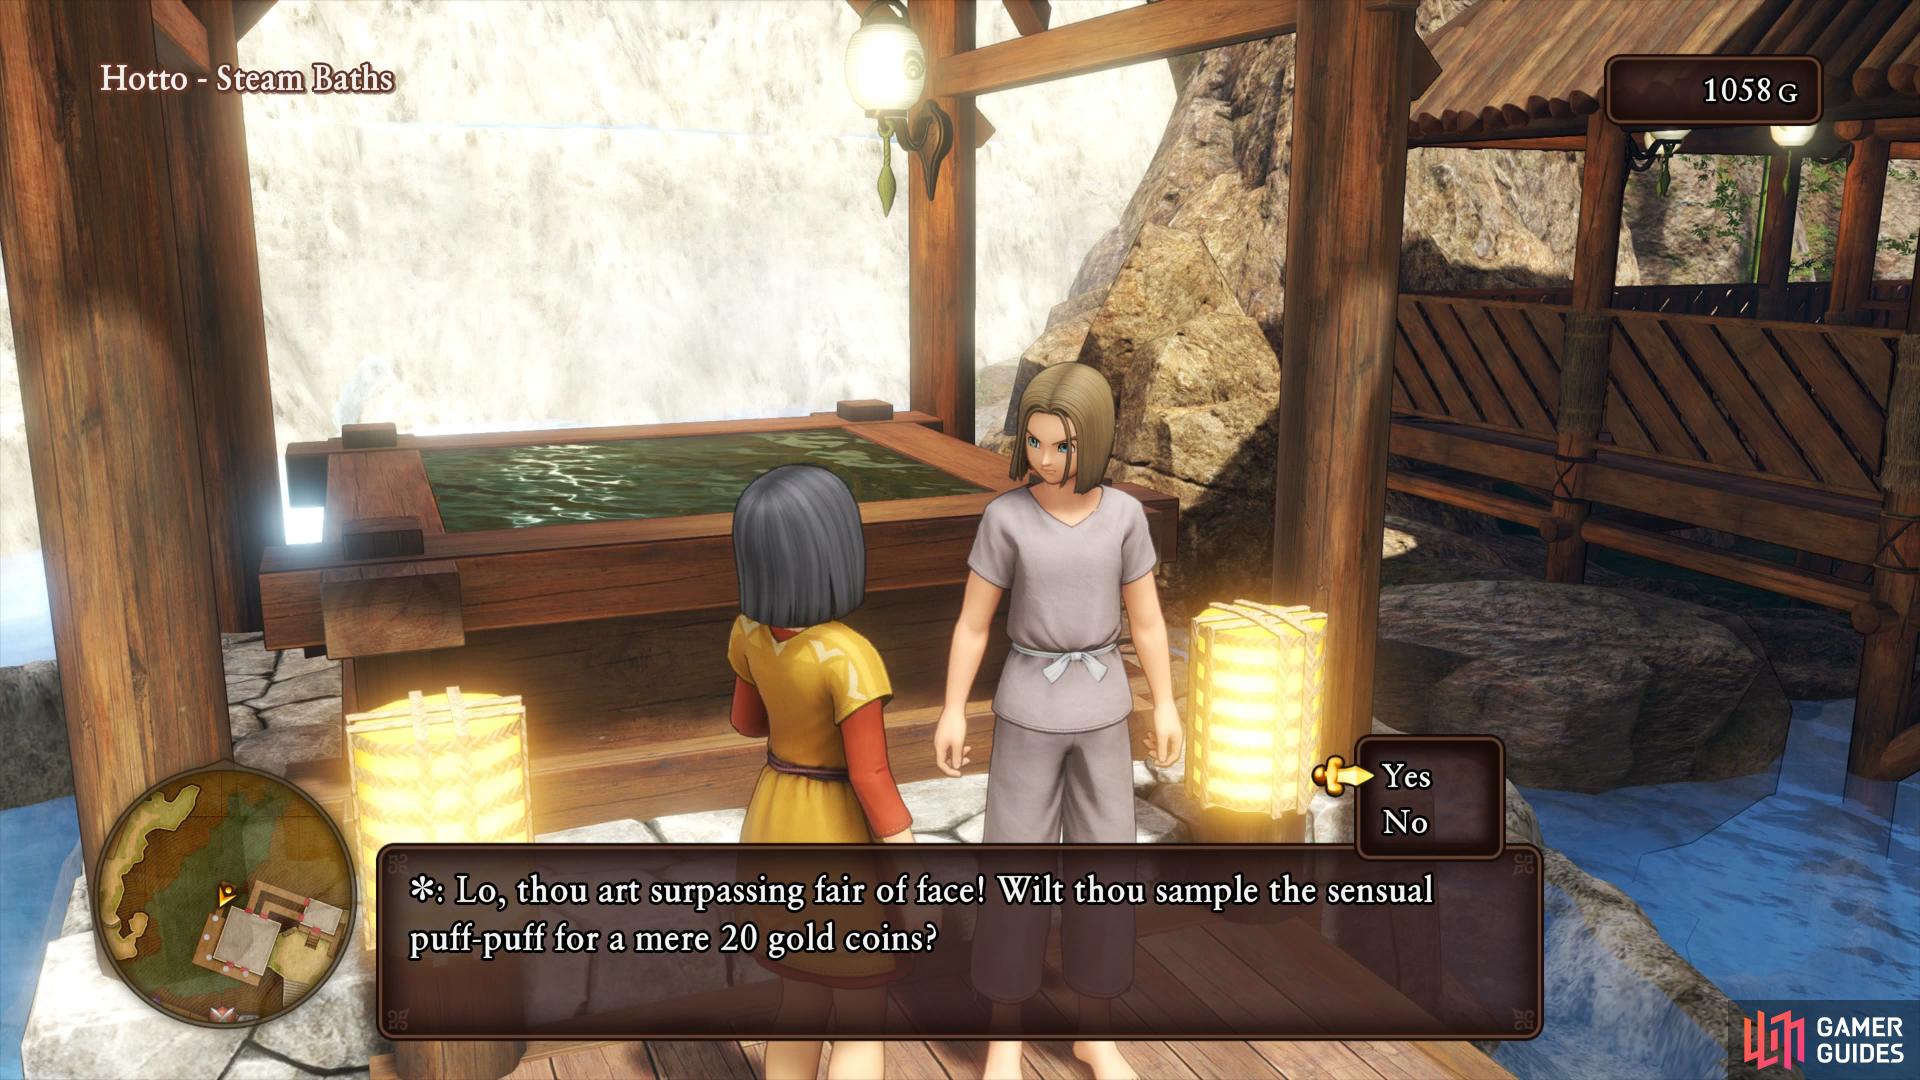
You’ll find the first girl who will offer you a Puff Puff in the baths, don’t pass up the opportunity if you wish to unlock a Trophy later.
Head into the women’s side of the baths now to find the last Sparkly Spot in Hotto, another dose of Holy Water. Return to the entrance of the village with Connie in tow to meet up with the girl from earlier. It seems theres been a case of mistaken identity and Connie is not her sister. Regardless, the girl now known as Veronica joins you to look for Connie’s father back at the bar.
Head back up the northeast stairs and into the bar on your left, you’ll find out a little more about Veronica and her sister Serena. Monsters kidnapped Veronica and stashed her in their hideout, an area to the west where it looks like Serena has now ventured too. Agree to help her and she’ll agree to accompany you to the hideout, declaring that she knows who the Hero is. You’re done with Hotto for now, save your game and rest at the Inn if you need to before returning to the Hotto Steppe once more.
The Hotto Steppe Exploration
| Items | Area |
|---|---|
| Mini Medal | Far southwest, chest |
| Sparkly Spots | Area |
|---|---|
| Copper Ore, Iron Ore x2 | Central, Ore gathering point |
| Beast Bone | Southwest |
| Glass Frit | Southwest |
| Wakerobin | Northwest from Camp |
| Copper Ore, Iron Ore x2 | Northwest from Camp, Ore gathering point |
| Monsters | HP |
|---|---|
| Lump Wizard (Day only) | ~31 |
| Walking Corpse (Night only) | ~58 |
| Robber Rabbit | ~50 |
Your destination, The Cryptic Crypt lies to the northwest of the Hotto Steppe but first there’s two quests to complete and the rest of the items to loot.
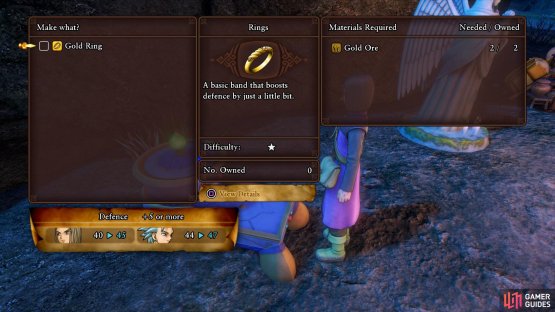
Start by heading west across the bridge to the next large area and then head to the southeast here to find an Ore gathering point containing a Copper Ore and two Iron Ores. This Iron Ore is required for the quest you accepted back in Hotto but for now, hold off on running back to town. Follow the path to the northwest and make camp here, taking the time to save your game if need be. Access the forge to create some equipment, starting with a suit of Bronze Armor for the Hero, you’ll need Flaxen Thread, Warmalines and Copper Ore to craft it. Next up, create the Gold Ring +1 (or higher) needed to complete the other quest you accepted in Hotto. If you don’t make the +1 on the initial process then use Perfectionist Pearls to rework it. Finally for now, improve the Poison Moth Knife you purchased earlier to +3 if possible. Before you leave the camp, take a look at the Merchant’s wares and purchase a Chain Mail for Erik if you have the funds.
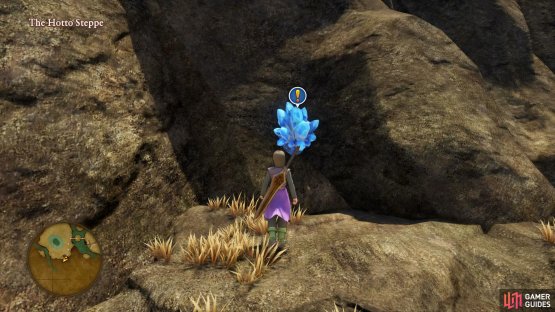
(1 of 2) Search southwest of Hotto to find a Crystal containing the Iron Ore needed for Quest 06

Search southwest of Hotto to find a Crystal containing the Iron Ore needed for Quest 06 (left), use the nearby Camp to the west to forge the Gold Ring +1 for Quest 05. (right)
Before you venture on, make a quick detour back to Hotto via a Chimera Wing. Head to the northwest first and hand over the Iron Ore to finish that quest and obtain the Recipe Book, I Love Iron Arms. Head over to the other quest giver now and hand over the Gold Ring (+x) to finish that quest too and obtain a Crucerang. Leave Hotto once more and make your way back to the previous camp you stayed at (checking to see if the Ore gathering point has respawned in the process) to access the forge once more.
With your new Recipe Book in hand, forge a Cast-Iron Claymore for the Hero, attempting to make a +3 in the process. This will require three Iron Ores along with a Copper Ore so if you haven’t already done so, head back to the previous Ore gathering point to gather some more. At +3, this Greatsword packs quite a punch and alongside a Poison Moth Knife +3, will make the next dungeon a lot more manageable.
From this camp, take a detour to the south to loot some more items before you enter The Cryptic Crypt. Once you reach the large open area here, head southwest and search under the first rock to find a Sparkly Spot containing a Beast Bone. Continue to head southwest and head around the column to find the next Sparkly Spot, a Glass Frit. Head over to the east from here and hug the cliff south to find a chest containing a Mini Medal. There are no other items down here and you can’t proceed south but the Robber Rabbits do offer good Exp, take the time to fight some and reach at least Level 12.


(1 of 2) The Robber Rabbits to the south offer good exp


The Robber Rabbits to the south offer good exp (left), MP shouldn’t be an issue with Veronica restoring it whenever it drops below half. (right)
Return to the camp once more to rest up and save your game before contining to the northwest. Keep to the right as you make your way up to spot a Sparkly Spot containing a Wakerobin. A bit further along this path is the final item in the Hotto Steppe for now, an Ore gathering point containing a Copper Ore and two Iron Ores. Follow the path to the northeast now (the west leads to a locked door for now) and finally enter The Cryptic Crypt.
No Comments