
Pastword
Once you finish up the story events in Hotto in the middle portion of the game, you can go receive the Crucible Key from the maid in Miko’s temple. This will allow you to go through the one locked door in Mt. Huji, which is required in order to progress the story. As soon as you pass through that locked door, you should see a purple Tockle, so speak to it to get the pastword. Note that if you’re playing in 2D Mode, you can receive this pastword without requiring the Crucible Key, as the Tockle is on the one path.
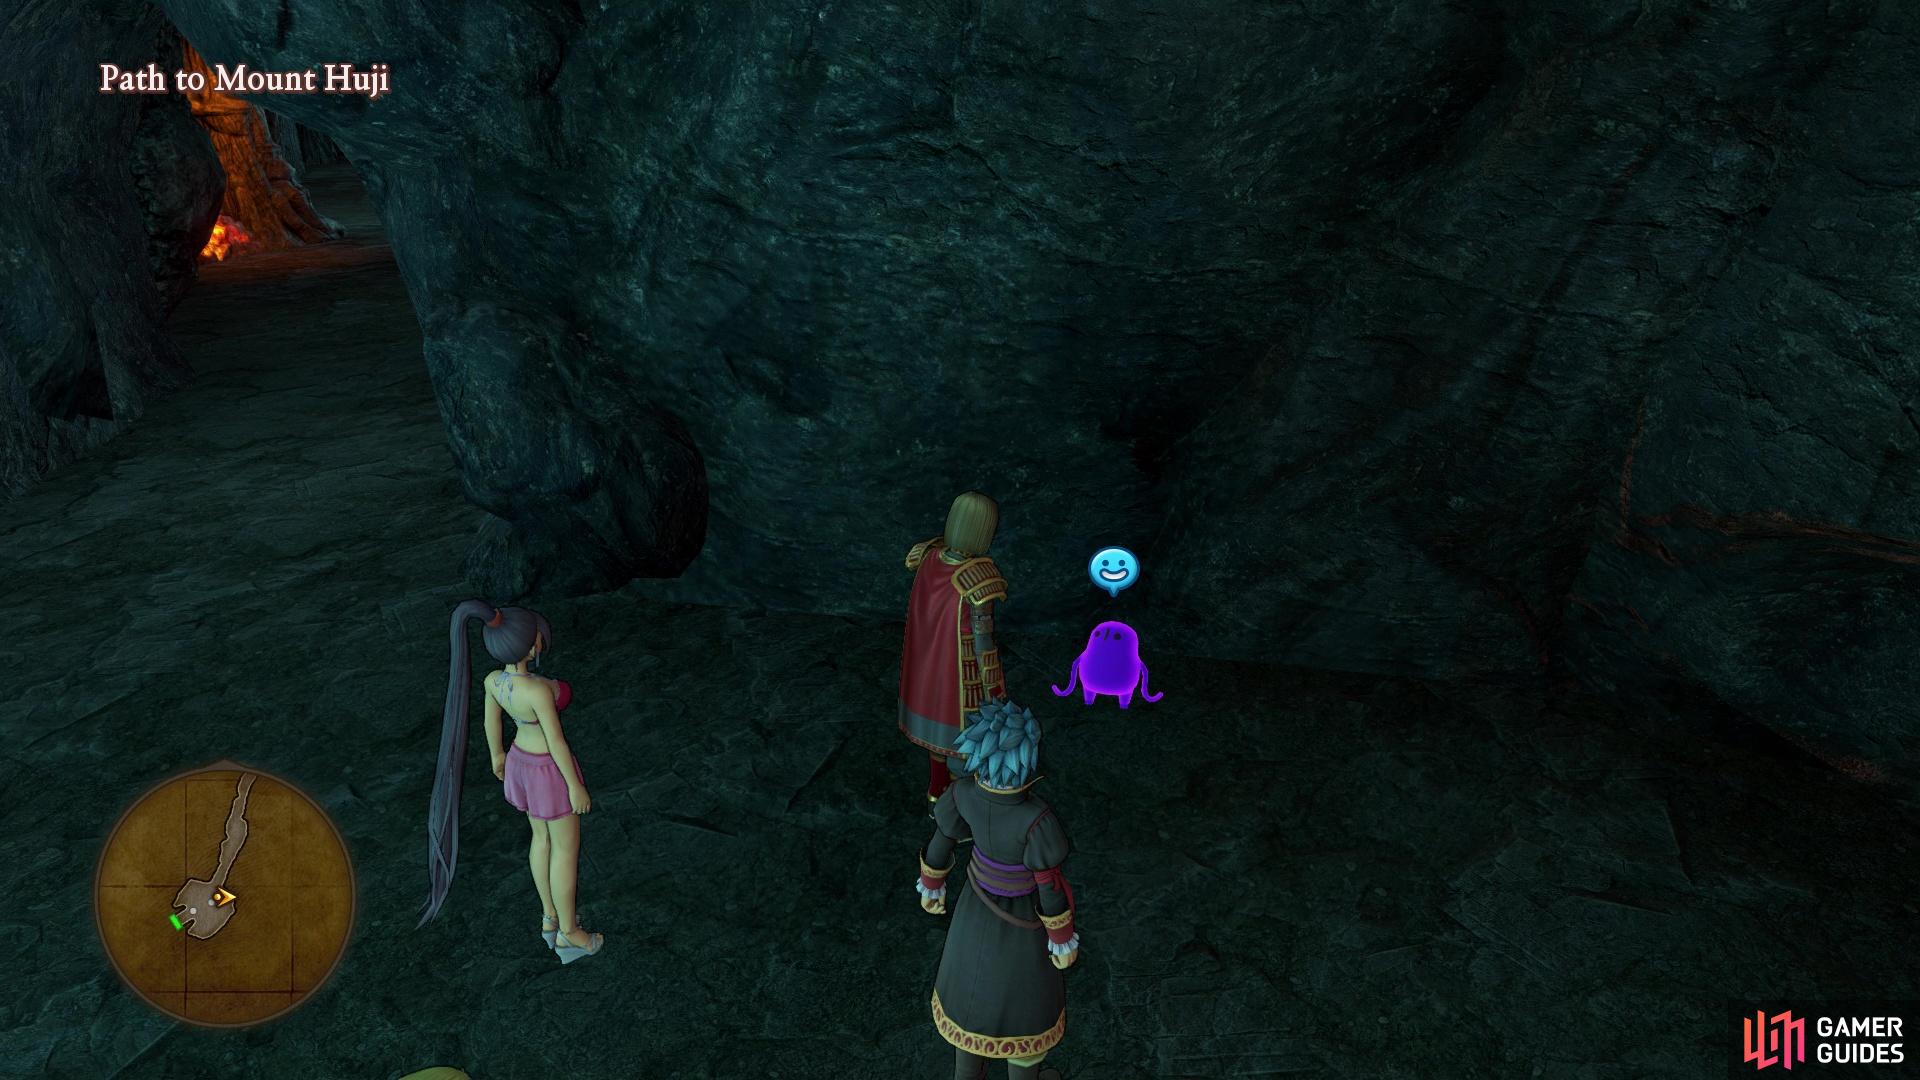
You will find the Tockle right past the locked door on Mt Huji
Enemies
| Monsters | HP |
|---|---|
| Armful | ~550 |
| Boreal Serpent | ~480 |
| Infanticore | ~360 |
| Leger-de-Man | ~260 |
| Liquid Metal Slime | ~8 |
| Living Statue | ~300 |
| Silhouette | ~170 |
These are all enemies you’ve seen before, so there’s really nothing to say here. Note that Liquid Metal Slimes can appear here, so that’s always a plus if you happen to come across one.
Walkthrough
Upon entering the area, speak to the King of Portoga, who speaks of some monsters trying to resurrect Baramos, their fallen master. He will give you the quest, Bringing Back the Big Bad, and you can be on your way. Note that you can talk to some skeletons walking around throughout this place, with some of them actually triggering battles. Except for one instance, you can avoid these at all costs. To get started, go through the gate right next to the king and take the stairs going down, which will put you in a dungeon-y type place. Head eastward and speak to the skeleton in the way, triggering a battle against an Armful enemy. Continue east and enter the room at the end of the hall, opening the chest there for a Grubby Bandage.
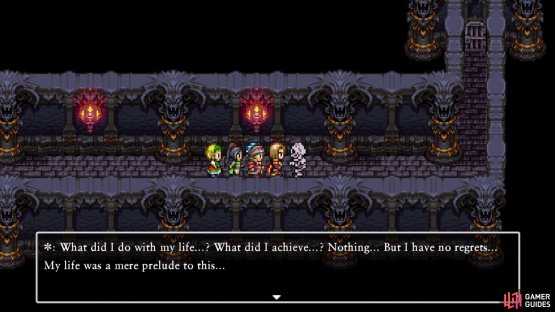

(1 of 2) When you speak to some of the skeletons around the place
When you speak to some of the skeletons around the place (left), you will be thrown into battles (right)
Feel free to cast Evac at this point to return to the starting point, as that’s all you need down here. Take a journey to the eastern end of the courtyard here, all the way to the wall, and venture north through the little gap there. You will find a door back here, so go through it and take the stairs inside. On the next floor, go west and use the next set of stairs to go back downstairs. You can speak with the king here, but it’s not needed, so venture south, past the electric floor, and go up the stairs in the southeast. Continue east and down the stairs there, then loot the three chests to obtain a Seed of Defence, Prayer Ring, and a Seed of Agility.
Return to the previous spot with the electric floor, using the stairs in the southwest corner this time. Go east, use the stairs on that side, then head to the northeast corner and climb those stairs. Follow the path here, until you reach a door that takes you outside with some more NPCs. There will be another door to the left of those NPCs, with that path eventually taking you to a throne room that has more electric flooring, as well as a chest (Saint’s Ashes). After looting the chest, if you look closely, there is a set of double doors south of the throne. Go through these to get back outside, then use the stairs to the east to arrive in the boss’ chamber. If you talk to any of the lesser skeletons, you will be thrown into a battle with a Wight Prince, but it’s not really worth it, so speak with the one on the throne to begin the boss battle.
BOSS - Necrogondolier
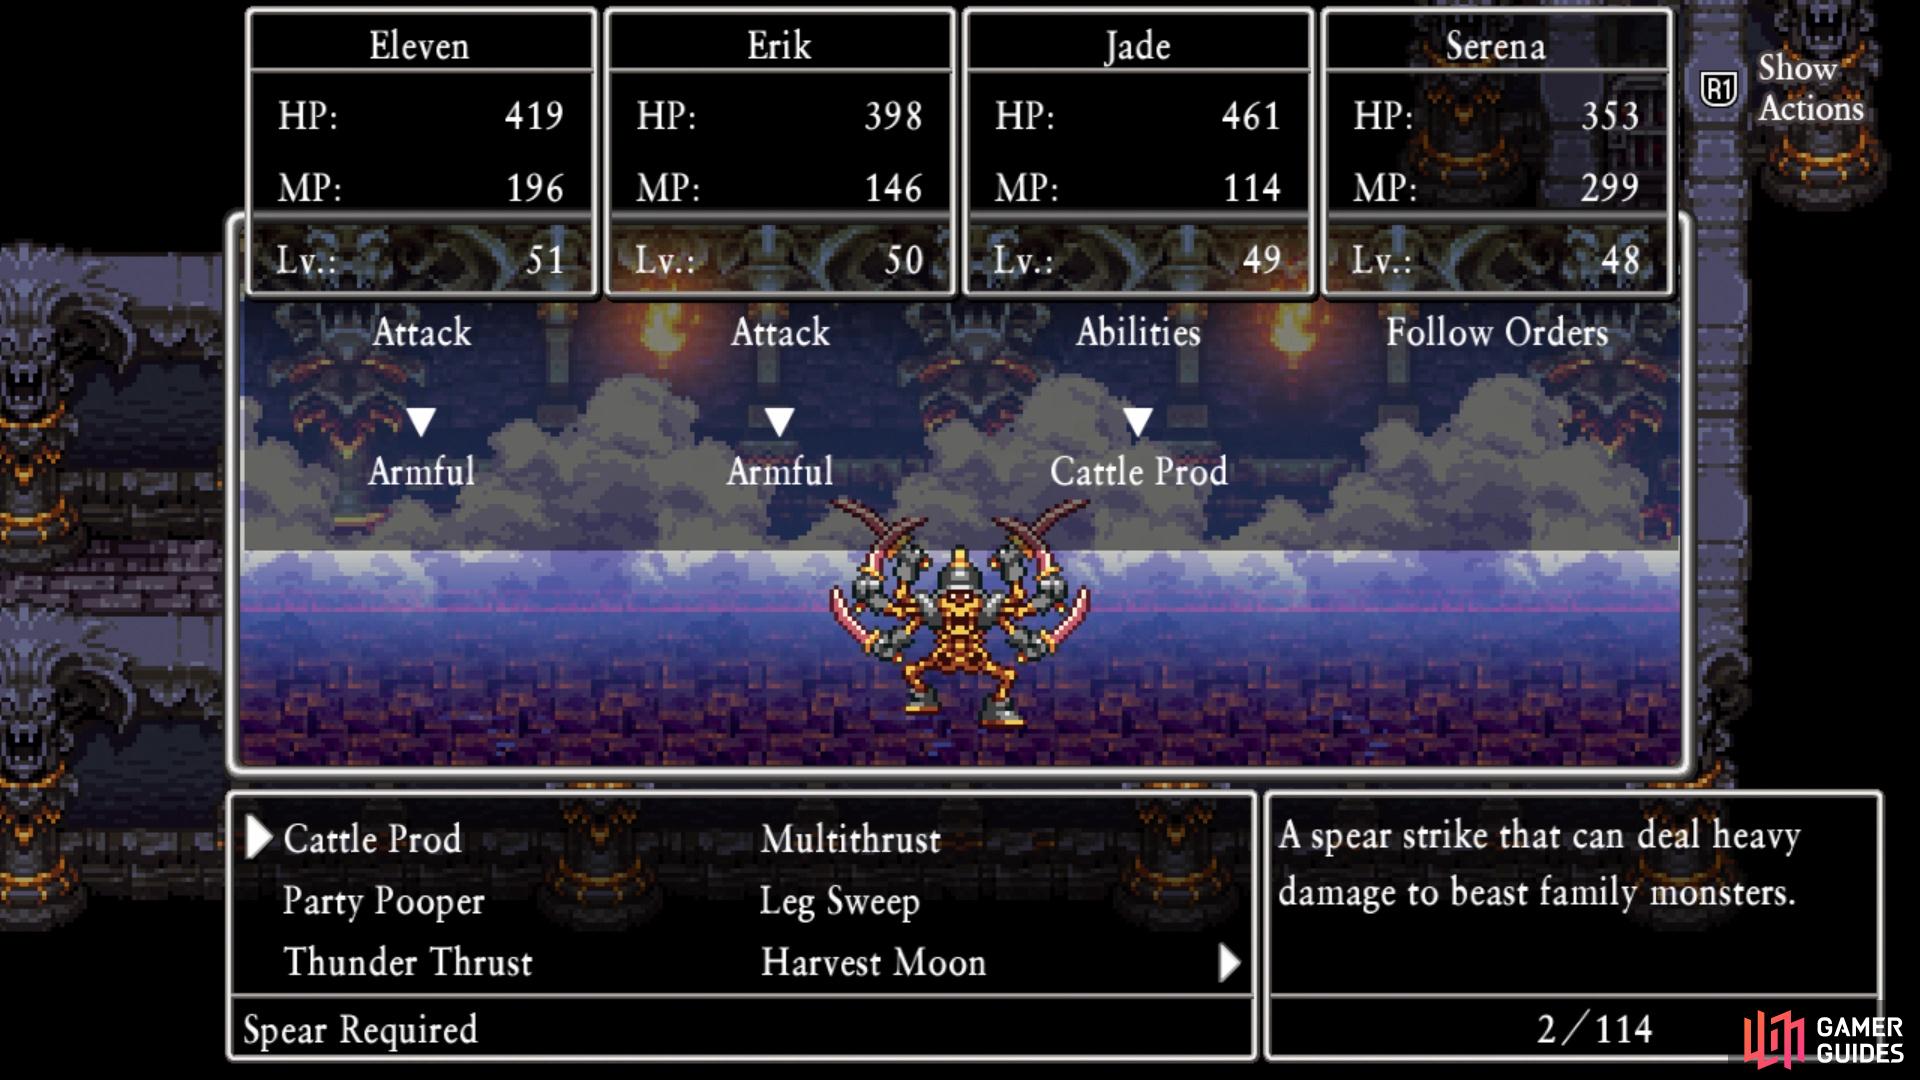
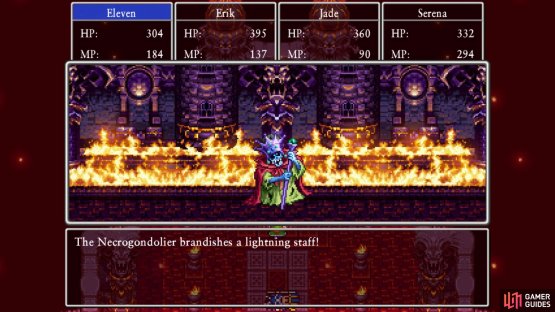
The fight against the Necrogondolier isn’t too bad, although you don’t want to exactly thing he’s a pushover. He has around 2700 HP, and his normal attack will probably do around 80+ damage to a character, depending on their defense. By far, his most damaging skill is when he brandishes a lightning staff, as this will hit the entire party for up to 120+ damage. If you are using Serena, then you could do something like Magic Barrier or Hymn of Thunder to help reduce the damage. If you have the Benevolessence item, that also casts Magic Barrier on the party.
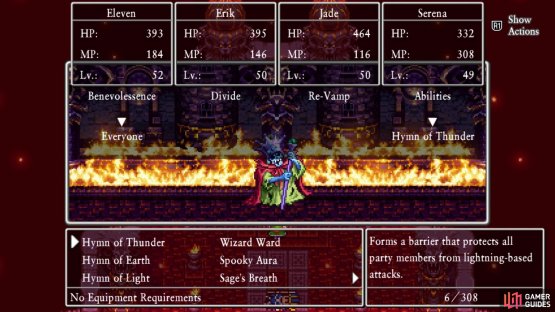
(1 of 2) Serena’s Hymn of Lightning is great for this fight


Serena’s Hymn of Lightning is great for this fight (left), since the boss’ strongest move is the lightning staff one (right)
Necrogondolier also has access to Crackle, which does hit the entire party, as well as Kazam, which only hits a single character. Note that the boss does seem to have a higher than normal critical spell chance, especially with Kazam. Necro also has Moreheal in his arsenal, but this heal should be low enough that it doesn’t bother you in the slightest, especially since your damage output should be far above it. The boss does get two actions per turn, so depending on what he does, your characters might be hurting pretty bad. However, to counter this, you probably do want to queue up a healing spell/skill every turn, just to be on the safe side. Offensively, you can go with Sword Dance/Unbridled Blade for the Hero, and Multithrust/Multifeet with Jade.
When the battle has been won, Evac back to the start and speak with the King of Portoga for your reward, some Dracolyte. You will also unlock a new area, Baramos’s Castle - Later On, which is very challenging, so it might be a good idea to wait until a little later in the game to tackle it.
No Comments