Objective: Head to Panessa Studios
We’ll now need to make our way over to the Panessa Studios building over in the north-east of Bleake Island. Once we reach the roof of the studios, interact with the door at the end of the red carpet and take the elevator down to the lab.
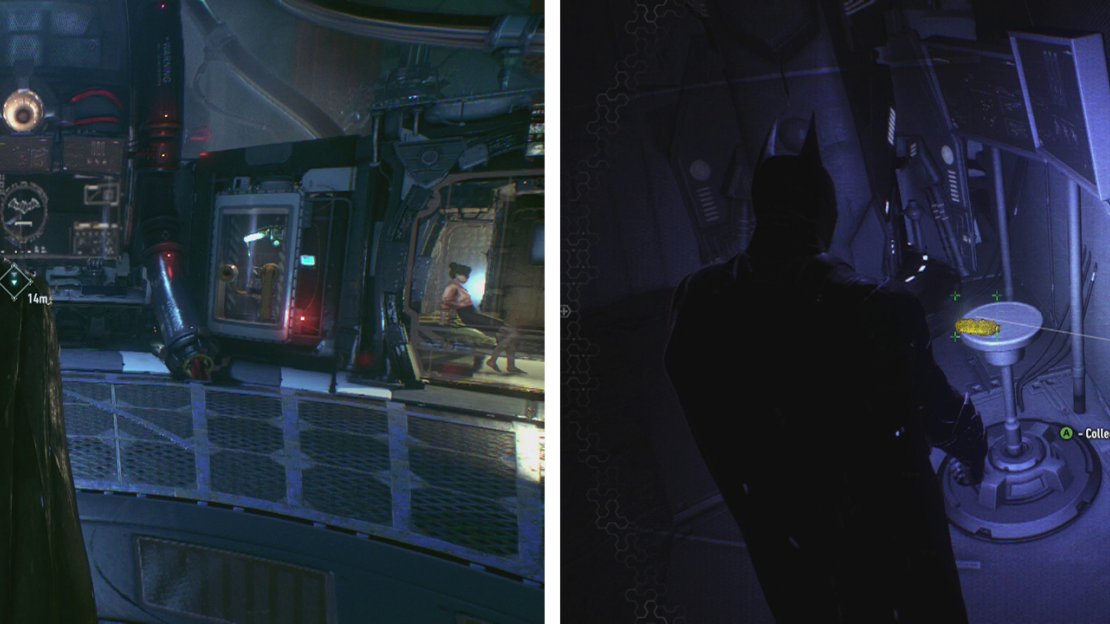
Inside Panessa Studios we can talk to Robin (left) and also find the Freeze Blast gadget (right).
As soon as you enter the lab area, look to the left. On a small pedestal just before the last cell here you’ll find another upgrade – Freeze Blast . This is an optional upgrade that is not required for the main storyline at all, but can be used to complete some of the Riddler puzzles later on and is handy in combat to incapacitate a foe or two in its quick attack form.
When you are ready to continue, head over to the Batcomputer and interact with it for a short chat which will let us know where we are headed next.
Objective: Glide onto the Relay Drone
As Founders’ Island is still closed to the Batmobile, we are going to have to grapnel boost and glide our way across the water to reach it. If you look at your map you should be able to find the objective marker showing us where to go. Unlike other objective markers we’ve used so far, this one is placed on a Drone and as such will be moving around.
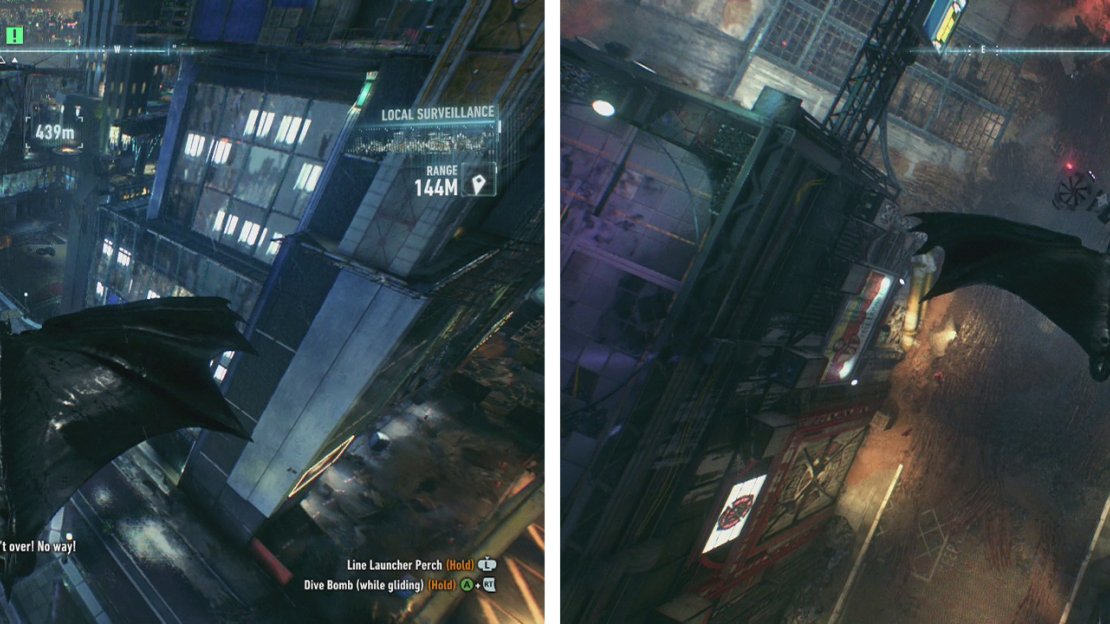
Follow the objective marker to the Drone (left). When you find it, dive down from above to land on it (right).
To complete this objective, we need to climb up to the rooftops close to the Drone, wait for it to pass below before gliding down and attempting to land on it. It is not the easiest task in the world and will likely take a couple of attempts. Fortunately the drone is slow moving and once you have a decent grasp of diving and gliding it shouldn’t be too hard to hit the mark!
Successfully landing on the Drone will initiate a scene in which we’ll get a new upgrade for our Remote Hacking Device – the Drone Hacker ability. This ability will allow us to target and temporarily blind enemy Drones which will allow us to pass by undetected.
Objective: Destroy the Arkham Knight’s radar network (1/2)
As soon as we get our new Remote Hacking Device upgrade, the game will shift our view to look at a nearby rooftop. Here you’ll be prompted to use the Remote Hacking Device to target the Drone flying over the rooftop to blind it for a short time.
Whilst the Drone is temporarily blinded, fly to the rooftop it was guarding and approach the computer console here. Use your Explosive Gel to destroy it.
Objective: Destroy the Arkham Knight’s radar network (2/2)
Make your way over to the next objective marker to find the second tower with a console that we’ll need to destroy. Set yourself up on one of the cranes overlooking the tower to get a good view of the rooftop.
There is a good sized contingent of enemies on the rooftop below and we’ll have to knock them all out. There is also a pair of Drones flying about that will occasionally make a close run near the tower during their patrol routes, so wait for one of them to get into range and use the Remote Hacking Device to blind it for a short time.
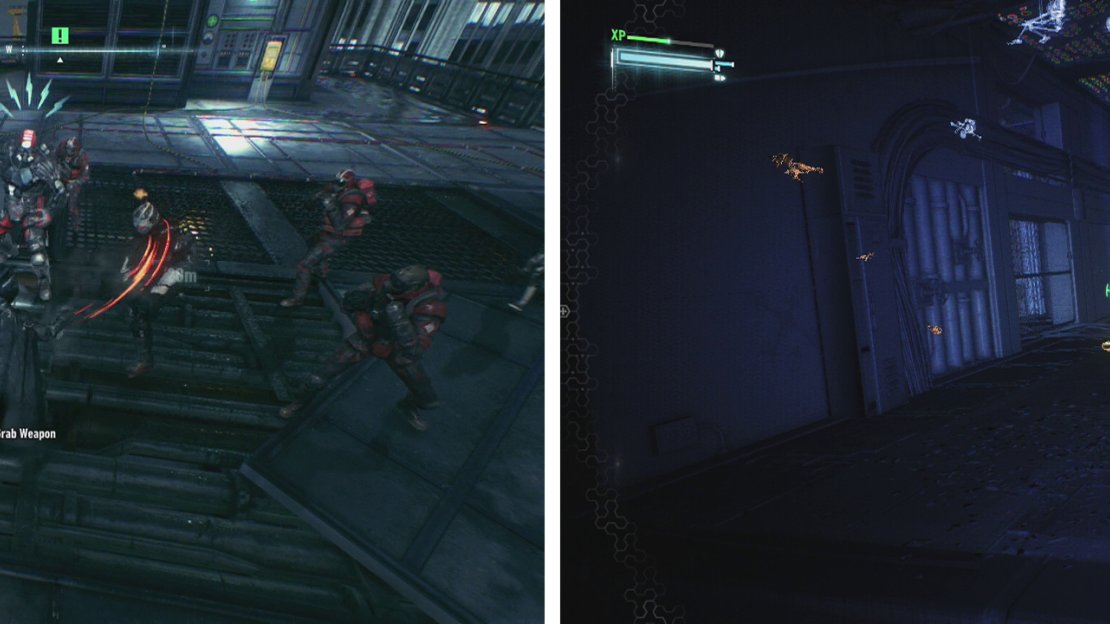
Beat up the enemies on the rooftop (left) before proceeding carefully to the teminal, blinding the Sentry Turrets as you go (right).
After blinding one of the Drones, you’ll have 60 seconds to drop down to the rooftop and clear it of the Brute, four Combat Experts and four soldiers guarding it. If the fight goes on for too long and you are unlucky enough for the Drone to spot you, make sure you retreat from the area as quickly as possible and hide on some nearby rooftops until it returns to its normal pattern, reapply the blindness hack and then return. As soon as the rooftop is cleared of bad guys use the panel on the nearby wall to open a door below.
Drop down to the lower section of the rooftop and take cover behind the wall leading to the now open door. Peek around the corner to see a Sentry Turret. Use the Remote Hacking Device on the nearest turret before quickly running up to disable it.
Approach the computer console here. Use your Explosive Gel to destroy it to update our objectives.


No Comments