Objective: Destroy the Cloudburst Tank
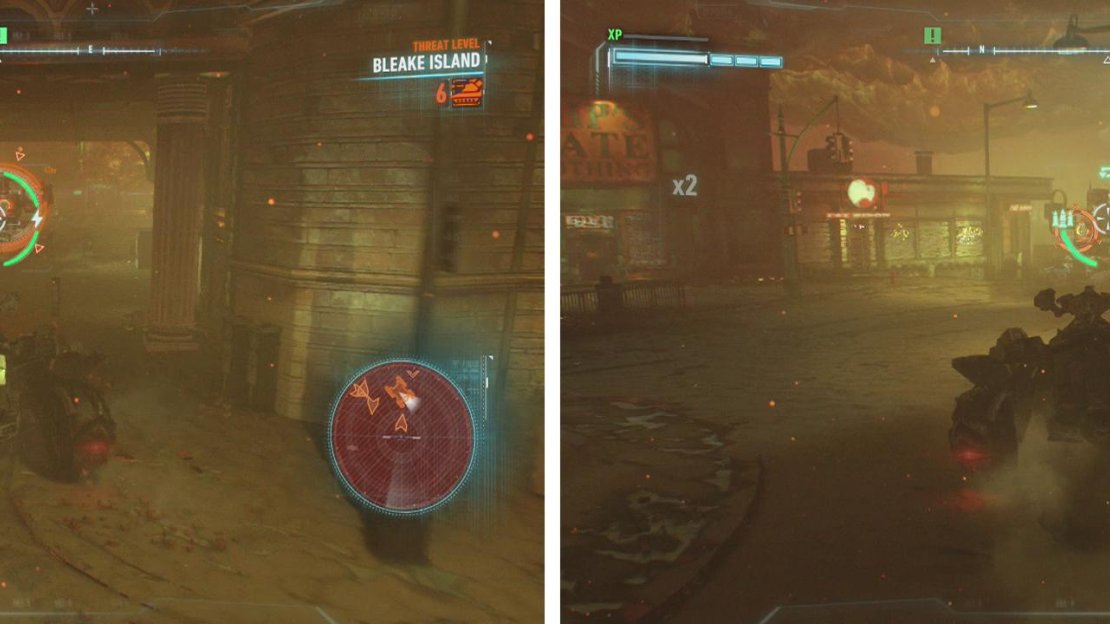
After the large-scale churchyard Drone Tank war, we’ll be able to move onto our next challenge by heading on over to Bleak Island. As soon as you arrive on Bleake Island the bridges will be raised and you won’t be able to lower them again until after you complete the next boss battle.
As soon as the fight begins, you’ll note the number of Cobra Tanks on the island jump up to seven. Six of these are your standard Cobra Drone Tanks, whilst the final one is the boss – the Cloudburst Tank. If you do get spotted by the Cloudburst – run! It is extremely powerful, will alert the other enemies to your position and is fast enough to keep up with you for a short distance. To start with, you are going to want to attempt to isolate and eliminate each of the lesser Cobra Drone Tanks before turning your focus to the main man himself.
Remember to outmanouver the Cobras and shoot them in the back.
Remember that you’ll need to hit the Cobra Tanks in the glowing section on their backs in order to destroy them and avoid their lock on attack as it can cause a silly amount of damage. Bleake Island is a big place, so don’t be afraid to use as much of it as you can – you really don’t want to be cornered with seven Cobras closing in! There are plenty of side-alleys, ramps, sewer areas and tunnels to help you outmanoeuvre your opponents – just keep an eye on the mini-map to keep track of their locations and high tail it if you see yourself getting cornered.
Once you have destroyed all six Cobras, it’s time to take out the main man himself.
Boss: Cloudburst Tank
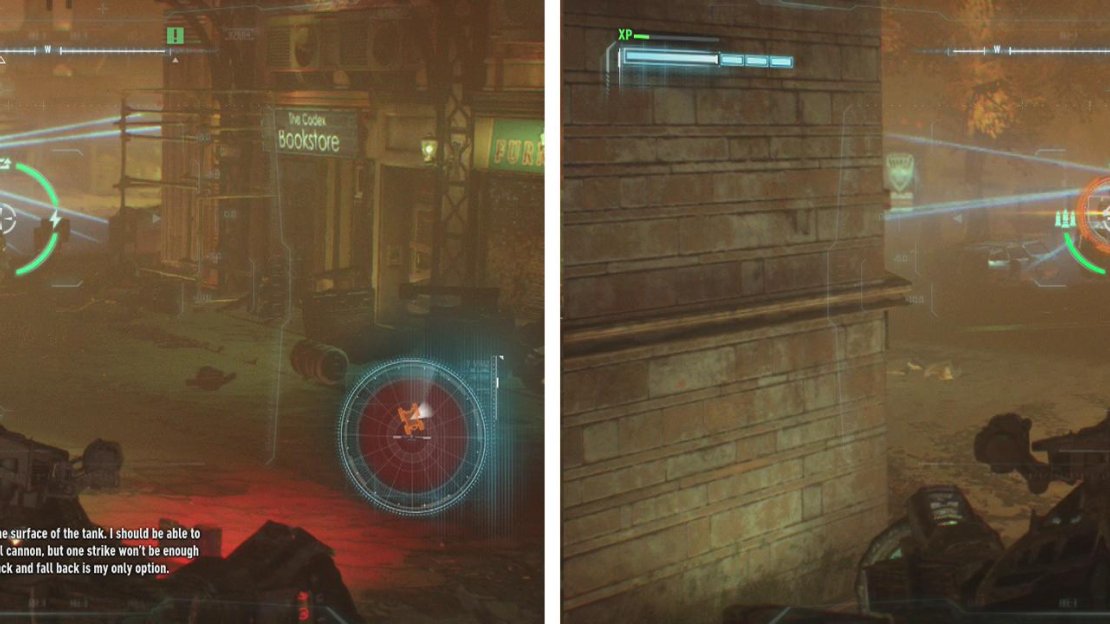
Once you are finally down to facing the Cloudburst Tank, you’ll need to scan it for a weakness. Check out the mini-map – see the small white triangle emanating room the tank and rotating? That’s its vision cone. We need to approach the boss whilst the cone is not looking in our direction and scan it with Detective mode. This will identify four weak spots.
Phase 1: Hit and Run
Similarly to the Cobra Tanks, we’ll need to sneak up on the Cloudburst whilst it’s not looking in our direction, lock on and shoot one of the weak spots. At this point the Cloudburst will enrage – a meter will appear at the top of the screen and it will chase you at full speed whilst firing its death lasers. If these hit you they will cause an EXTREME amount of damage, so you’ll need to race through the streets, trying to break line of sight as much as possible and avoid the holographic circles that appear around you depicting the landing site for the tank’s attacks.
Scan the Cloudburst to reveal the weaknesses (left). Sneak up on it and shoot the weak spots one at a time (right).
You’ll need to shoot the Cloudburst’s weak spots and run away four times to trigger the second stage of the battle.
Phase 2: Destroy the Core
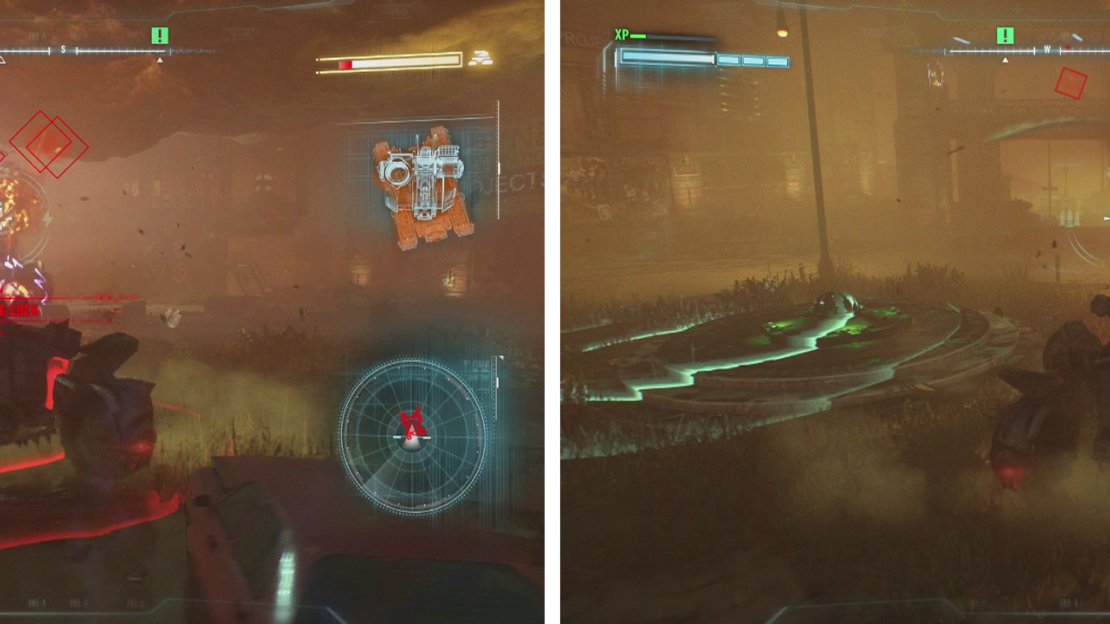
During this phase, the Cloudburst Tank’s mega laser will be disabled, but he has some other attacks to throw at you. You’ll need to shoot the exposed, orange core on the tank’s body to damage him and of course avoid his attacks – he can shoot grenades similar to the Dragon Drones and can fire up to three lock-on missiles (similar to those fired by Mambas) at once.
I found the easiest way to deal with him was to find a building or block of buildings that you can kite him around whilst backing away. This way you can see his attacks coming at you and you can make necessary adjustments to avoid them. The trickiest attack to avoid, as always, is transitioning to machine guns to shoot down the homing missiles and dodging out of the way of the grenades if he throws more than one at once.
Use dodge to avoid the red grenade indicators and shoot down the missiles (left). Focus on shooting the yellow weak spot on the front of the tank (right).
Using a small block of buildings or a medium sized freestanding building (such as the Cauldron fire station) enables you to quickly move behind the building to block the incoming missile strikes – this makes things a LOT easier! It also allows you to get a clean shot on the Cloudburst Tank as soon as it comes into view. It is possible to kite him around whilst backpedalling until the tank is destroyed.
When you get the opportunity you want to shoot him constantly with your main cannon when it recharges and your machine gun in the interim to keep the damage up.
As soon as the Cloudburst Tank is destroyed a scene will play. Use your melee attacks as necessary as it proceeds.
Objective: Return to the Botanical Gardens
Follow the objective marker back to the Botanical Gardens on Miagani Island. Head to the top level of the gardens and interact with the indicated tree for a scene.
The game will now prompt you to select your active mission, select the ‘City of Fear’ main quest to proceed with the campaign.


No Comments