Whatever the purpose of B.A.R.D. was, it’s hard to argue that they were more successful running an atomic facility then they were at building bunkers throughout the land, as Atomfall is infested with these underground dungeons. A particularly lucrative one, the Protocol Workshop, can be found in Skethermoor, and this page will provide a walkthrough for the dungeon to ensure you find all the ![]() Training Stimulants hidden within!
Training Stimulants hidden within!
Page Breakdown
| Quick Search |
|---|
| Finding the Protocol Workshop |
| Protocol Workshop Enemies |
| Training Stims and Schematics in the Protocol Workshop |
Finding the Protocol Workshop
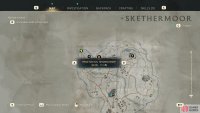
The Protocol Workshop is one of many bunkers you’ll stumble across as you explore in Atomfall, with this particular one being found along the northwestern edge of Skethermoor, just southwest from the ![]() Wyndham Village exit or, if you went through the cellar of the Grendel’s Head pub, just east. It’s an impressive fenced-off area with a bunker entrance protruding from the ground. If you follow the lead The Little Teahouse you’ll eventually be tasked with exploring the Protocol Workshop, but you can just stumble across it blind and explore it fully without having to worry about the aforementioned quest, if you wish.
Wyndham Village exit or, if you went through the cellar of the Grendel’s Head pub, just east. It’s an impressive fenced-off area with a bunker entrance protruding from the ground. If you follow the lead The Little Teahouse you’ll eventually be tasked with exploring the Protocol Workshop, but you can just stumble across it blind and explore it fully without having to worry about the aforementioned quest, if you wish.
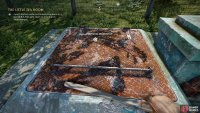
(1 of 2) You can find the Protocol Workshop in Skethermoor,
You can find the Protocol Workshop in Skethermoor, (left), although at a glance it doesn’t look like much - just a bunker door that’s poorly fenced-in. (right)
Protocol Workshop Enemies
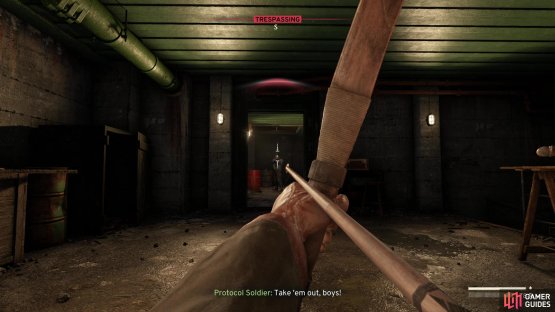
As soon as you enter you should realize that the entire bunker is considered trespassing, as it’s an actively-used base for the Protocol. Fittingly, there are about a dozen Protocol soldiers lurking around, and if you make too much noise fighting some of them, you could end up alerting most of the bunker, which might not end well for you. The enemies in here are split into three groups of 3-4 individuals - if you go in guns blazing you could easily draw the attention or two or more groups at once, but even if you’re sneaky and, say, snipe enemies with a bow, you’re probably going to alert all the members of one group.
From the entrance head west into a small chamber where you can find a Pnuematic Dispatch Tube on the southwestern wall - useful for stashing the loot you can pry off the bodies of your enemies! Just something to keep in mind as you go about slaying and stealing. If you continue through the doorway to the south you’ll find yourself in a hallway with some tracks in the middle - further south are some doors leading to workshop rooms where four Protocol soldiers can be found lurking around. Some of these are armored foes who may take more than one headshot to bring down, and they’re probably best saved for last.
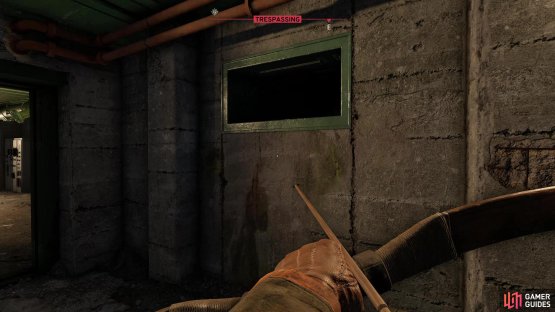
(1 of 2) With some effort you can sneakily headshot all the Protocol soldiers in the bunker with arrows.
With some effort you can sneakily headshot all the Protocol soldiers in the bunker with arrows. (left), If you get into trouble, run and hide in one of the bunker’s many ducts. (right)
Instead go north, then turn west down a hallway where you’ll find three Protocol soldiers. These are lightly armored and in most cases only one can be found patrolling around - pick him off with a headshot and his fellows may come investigate - fish in a barrel. Just be wary, as the third soldier can be found down another hallway to the south and depending on where the first two foes are killed he may not come snooping around, prime to be shot. It’s also worth noting that the patrolling soldier here can be found in various spots, either sitting outside the sealed B.A.R.D. safe room door to the north or checking some shelves near where you enter this hallway. Keep an eye out for him!
Dispatch the enemies in the northern hallway, then head west down said hallway, past the sealed B.A.R.D. safe room until you reach an intersection, at which point turn south - continuing west will lead to a bathroom which can be interesting if you want to get past the B.A.R.D. safe room door, but isn’t noteworthy from an enemy standpoint. Down the hallway to the south you’ll find 1-3 more guards, either in the next room over or the room beyond that, depending on how many were lured north when you killed the first few guards. These ones should be pretty easy to snipe, but be wary when you pick off the one in the corner to the far south - guards from the southern hallway might see their fallen foe and come to investigate.
Essentially, from the entrance head west and north and start shooting guards in the head with a bow and arrow (these drop regularly from Druids in the Casterfell Woods) and work your way through the installation west, south and back east, thinning the herd until you encounter the armored soldiers in the workshops to the south. If you get spooked by enemies and need to escape, look out for green vents lining the walls throughout the bunker just above eye level - you can crawl into them to escape sticky situations, wait for the heat to die down, then exit via a different vent. Do not leave the bunker and re-enter, however! Enemy spawn rates can be a bit silly in Atomfall and we’ve had the entire bunker respawn after zoning out.
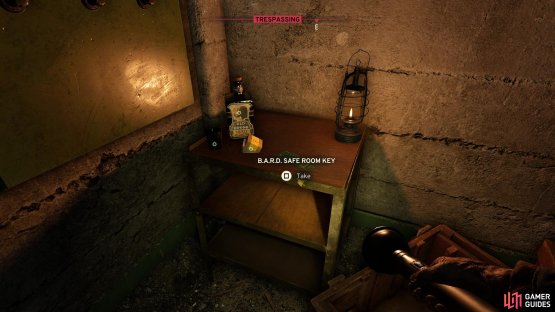
(1 of 2) Crawl through a duct and you can find the B.A.R.D. Safe Room Key on a table,
Crawl through a duct and you can find the B.A.R.D. Safe Room Key on a table, (left), which will open the B.A.R.D. safe room door. (right)
Training Stims and Schematics in the Protocol Workshop
Once the Protocol Workshop has been cleared it’s time to search for treasure, and there’s quite a bit of it. To keep things focused, we’ll limit ourselves to mentioning the really interesting stuff - keys, notes, Training Stims, schematics, etc.
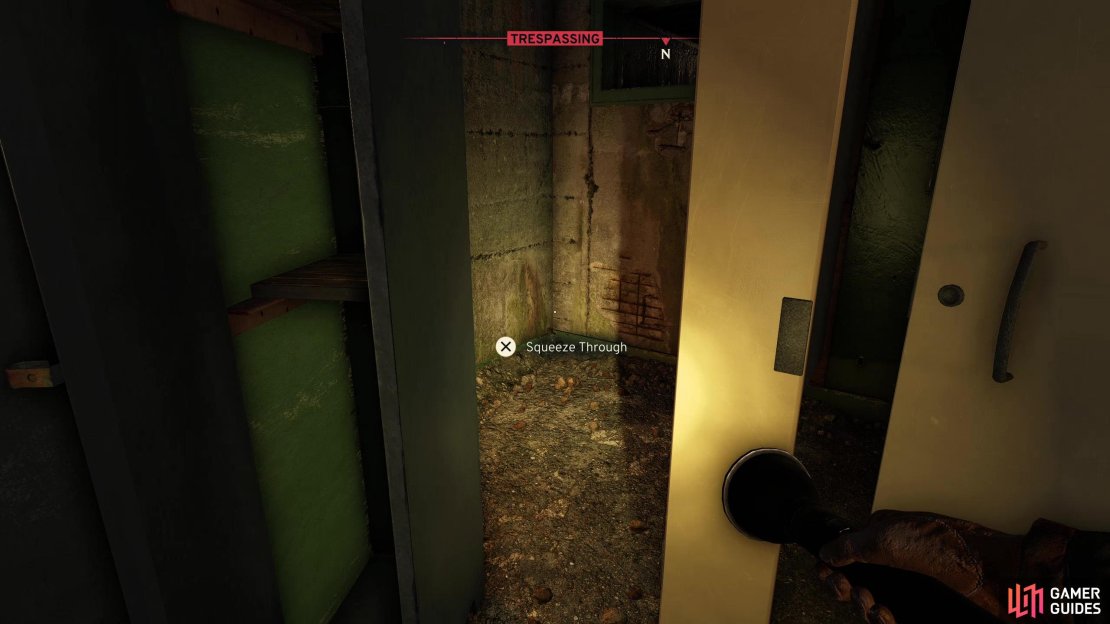
First up, there’s the matter of the B.A.R.D. safe room, where around half the bunker’s noteworthy loot is sequestered, and there are two ways to get in. First, you can find the keycard that opens the door by climbing into one of several ducts - the one in the northern hallway or two in the western chambers. If you enter via the northern hallway, just search the wall opposite (south of) the doorways leading to the B.A.R.D. safe room door to find the duct on the wall, climb in, then continue south and squeeze between a pair of green pipes to reach another room, at which point turn left (east) to find the B.A.R.D. Safe Room Key on a table. With this in hand you can just return to the sealed B.A.R.D. safe room door and open it.
Alternatively head into the bathroom at the western end of the northern hallway and search the northwestern corner to find a gap between some lockers and a bathroom stall you can squeeze through. Do so, then climb through a duct on the wall and once through the duct turn right (east) and duck under and jump over some pipes to find the body of a scientist, Windfall, which you can loot for Windfall’s Discovery Dies with Me and the ![]() Windfall Keycard the former of which will start the lead “Windfall’s Discovery Dies with Me”. Climb through the duct above (east of) the corpse you just looted and you’ll get into the B.A.R.D. safe room, door be damned.
Windfall Keycard the former of which will start the lead “Windfall’s Discovery Dies with Me”. Climb through the duct above (east of) the corpse you just looted and you’ll get into the B.A.R.D. safe room, door be damned.
(1 of 4) Squeeze between some lockers and a stall in the bathroom to access a duct,
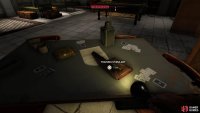
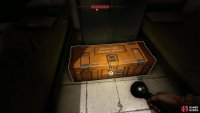
However you manage it, once you’re in the safe room, search the table to find a Training Stimulant and the note Contingency Operation. Beside the bunkbeds you’ll also find two B.A.R.D. Crates, each of which contains another Training Stimulant, for a total of three just from this room. Not a bad haul!
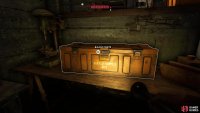
Next head to the westernmost workshop room - you’ll know it by the T-shaped table overlooking a partially-flooded lower section. Slog into the water and grab the note Salvaging them for Armour off a table, then search the northeastern corner of this flooded depression to find another B.A.R.D. Crate on a table, which will yield a fourth Training Stimulant.
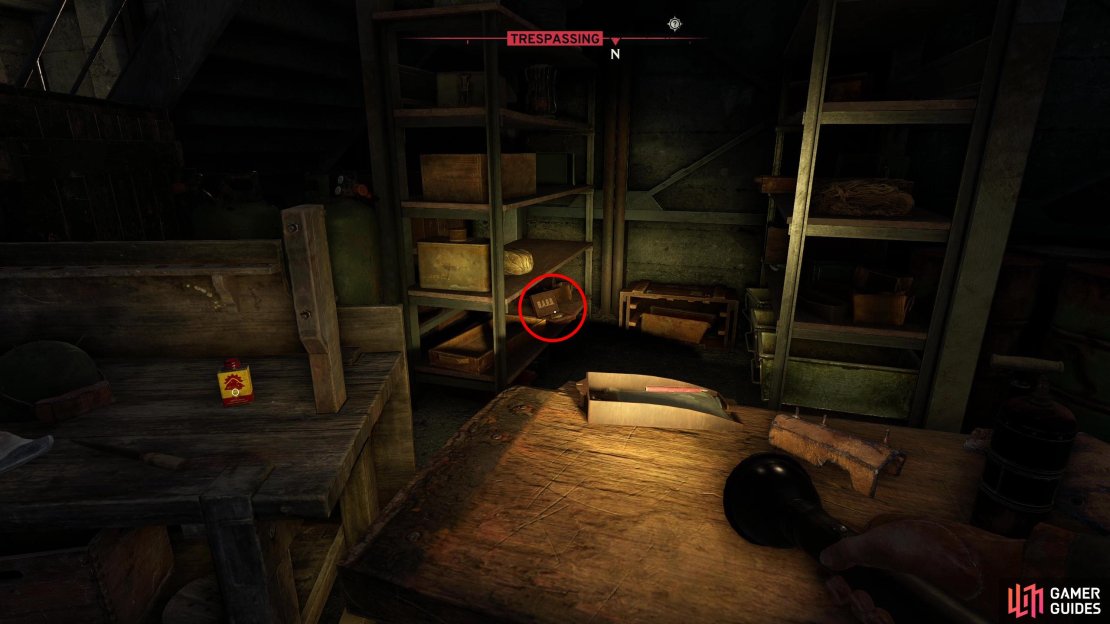
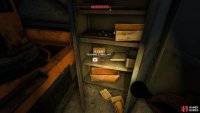
(1 of 4) In the large workshop room on the southern end of the bunker, jump over a table to find a fifth Training Stim on a shelf,
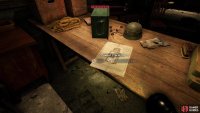
The final bit of loot can be found in the two workshop rooms on the southern edge of the bunker. The smaller (eastern) room only contains the note Delivery to the Interchange on a table (which starts a lead of the same name), while the larger (western) room houses several worthwhile pickups. Find a table near a balcony on the northern side of the room and jump over it to reach some shelves, on the bottom of which you can find another Training Stimulant. If you want another, search a locker to the south (on the opposite side of the room from the table you just jumped over) to find the sixth and final Training Stimulant just sitting out in the open. Finally, search some tables along the western edge of the room to find the ![]() Combat Stim Recipe ripe for the taking.
Combat Stim Recipe ripe for the taking.
Six Training Stims and a recipe are nothing to shake a stick at, making this a very lucrative bunker to raid, indeed!








No Comments