As you explore ![]() Wyndham Village, you’ll doubtlessly be directed to the Village Hall to talk to Captain Grant Sims. While there, you may come across June’s Lockbox, which requires June’s Lockbox Key to open, and while a worthy endeavor in its own right, there’s more to this lockbox than a mere treasure hunt. This page will provide a walkthrough for the lead “The Little Teahouse”, including how to find
Wyndham Village, you’ll doubtlessly be directed to the Village Hall to talk to Captain Grant Sims. While there, you may come across June’s Lockbox, which requires June’s Lockbox Key to open, and while a worthy endeavor in its own right, there’s more to this lockbox than a mere treasure hunt. This page will provide a walkthrough for the lead “The Little Teahouse”, including how to find ![]() June’s Key and open June’s Lockbox in Atomfall.
June’s Key and open June’s Lockbox in Atomfall.
Page Breakdown
| Quick Search |
|---|
| Starting The Little Tea Room Lead |
| Search The Little Tearoom |
| Unlock June’s Lockbox |
| Search the Boathouse |
| Find the Protocol Workshop in Skethermoor |
| Find the B.A.R.D. Safe Room |
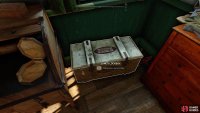
(1 of 3) While searching Wyndham Village you’ll find June’s Lockbox in the Village Hall.
Starting The Little Tea Room Lead
As with many leads in Atomfall, there are lots of way to pick this one up, but to start via the probable intended starting point you’ll need to pick up a Metal Detector, a must-have tool that you can pick up from the Grendel’s Head bar via trading. If this sounds expensive, it’s not - the bartender will let it go for a measly bandage. Failing that, you can search a lake along the southern edge of Slatten Dale to find the corpse of an Outlaw along the southern shore at roughly 29.1E, 73.9N, but you’ll have to avoid swarms of leeches in the water to grab it safely.
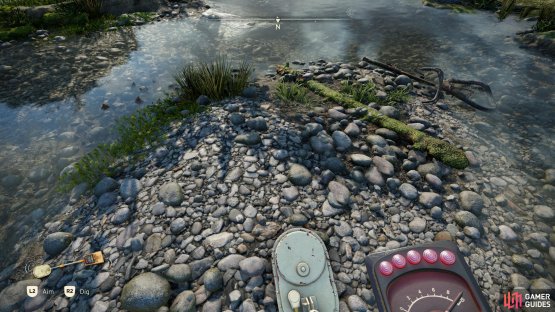
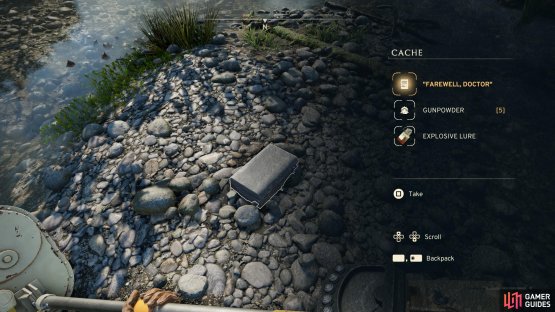
Either way, get yourself a ![]() Metal Detector and take it to the Sewer Entrance along the northern end of Slatten Dale. This is just east of Molly’s Trader Camp, southwest of Wyndham Village. This overgrown puddle’s surface is broken by several “islands”, and as you wander around these little islands your Metal Detector will start alarming you, indicating that something is nearby. On one of the islands - a rocky little mound with a rusty bike lying on its northern edge - you’ll be able to dig for treasure, revealing a cache containing several goodies, including the note Farewell, Doctor. Take it and read it to start the lead The Little
Metal Detector and take it to the Sewer Entrance along the northern end of Slatten Dale. This is just east of Molly’s Trader Camp, southwest of Wyndham Village. This overgrown puddle’s surface is broken by several “islands”, and as you wander around these little islands your Metal Detector will start alarming you, indicating that something is nearby. On one of the islands - a rocky little mound with a rusty bike lying on its northern edge - you’ll be able to dig for treasure, revealing a cache containing several goodies, including the note Farewell, Doctor. Take it and read it to start the lead The Little ![]() Tea Room, and the relevant words here are “June of the Little Tea Room”.
Tea Room, and the relevant words here are “June of the Little Tea Room”.
(1 of 2) Use the metal detector on the dry ground near the Sewer Entrance in Slatten Dale,
Use the metal detector on the dry ground near the Sewer Entrance in Slatten Dale, (left), and you’ll find the “Farewell, Doctor” note pointing you towards The Little Teahouse in Wyndham Village. (right)
Search The Little Tearoom
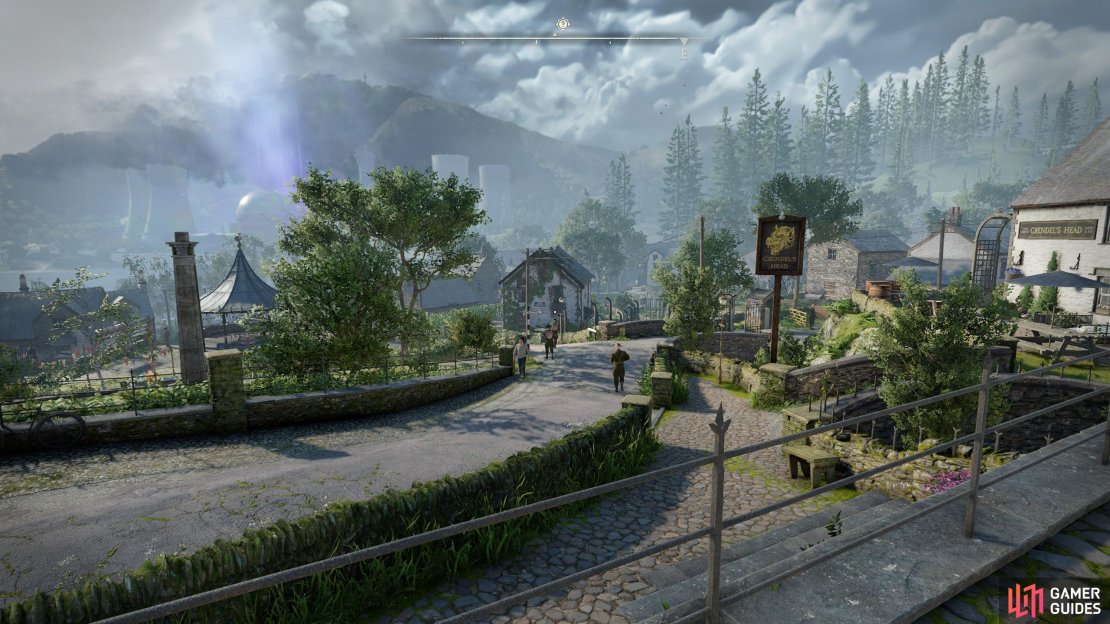
With that done, it’s time to head to (or return to, as the case may be) Wyndham Village. Once there head to the Village Hall. From the northern exit of this building, look down the street to the northeast, past the Grendel’s Head pub, and you’ll see a white building, now overgrown with vines. Head there and you’ll see that the interior has been burned-out, and if you circle around to the northern side of the building you’ll see the sign marking the building as “The Little Tea Room”.
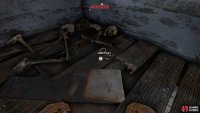
You need to get inside and search for clues, but you need to be wary of the Protocol soldiers patrolling about, as the interior of the building is trespassing. A safe way to enter is via the southern side of the building - climb up through a second storey window, and search the corner near where you land to find June’s Key on the ground near a skeleton. You can also find some crafting materials downstairs, but you’re at higher risk of being caught by passing Protocol soldiers down here.
(1 of 3) You can find The Little Teahouse down the street from the Village Hall.
Unlock June’s Lockbox
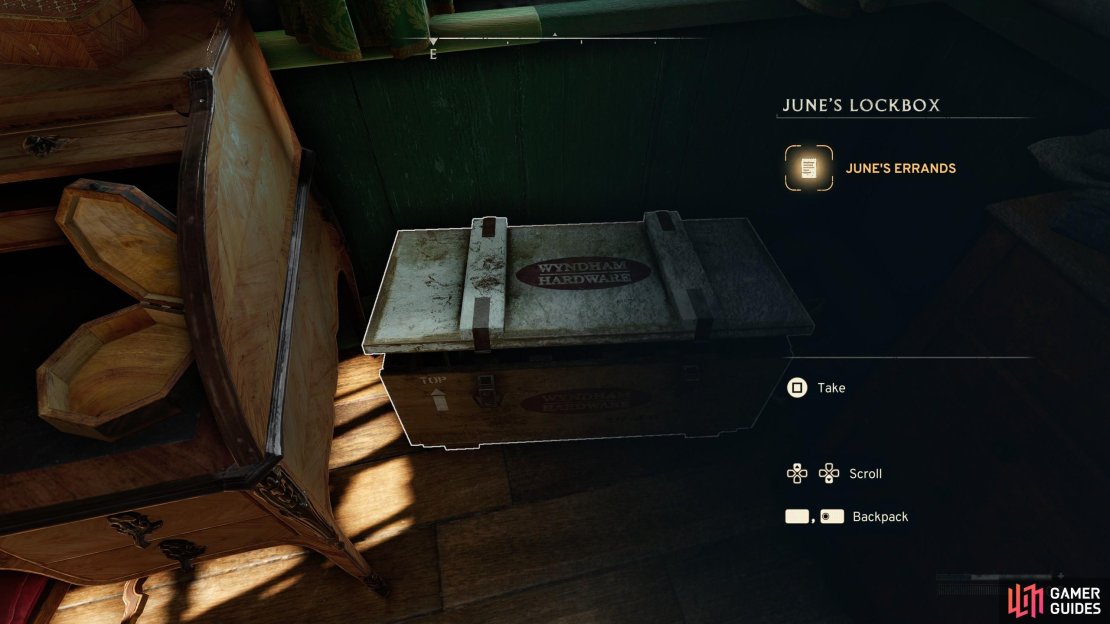
Return to the Village Hall and search the easternmost room to find the “June’s Lockbox” crate near a desk. With June’s Key in hand, you can open this lockbox, but if you were expecting treasure, you’re going to be disappointed, as instead you’ll find the note ![]() June’s Errands, which mentions “planting flowers” near some boathouse ruins.
June’s Errands, which mentions “planting flowers” near some boathouse ruins.
Search the Boathouse
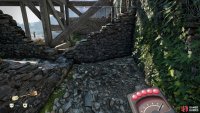
With your trusty Metal Detector in hand, this should be no bother. Head to the northeastern edge of Wyndham Village to find some ruins along the coast - these will be marked on your map as “The Boathouse”. Head to the south, southeastern edge of these ruins and look for a narrow cubby between an archway and a doorway - a rusty green tractor should be clearly visible if you look southeast. Let that, and your Metal Detector, guide you to a cache buried in this cubby between the stone walls (35.6E, 82.8N) and open it to find the notes ![]() Protocol’s Secrets and
Protocol’s Secrets and ![]() June’s Diary. The former will start a new lead, tasking you with finding a B.A.R.D. safe room in the Protocol Workshop Bunker in Skethermoor, while the latter is just some lore about June’s relationship with an overly talkative scientist.
June’s Diary. The former will start a new lead, tasking you with finding a B.A.R.D. safe room in the Protocol Workshop Bunker in Skethermoor, while the latter is just some lore about June’s relationship with an overly talkative scientist.
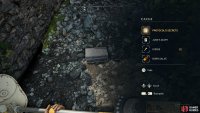
(1 of 3) Use June’s Key to unlock June’s Lockbox, inside of which you’ll find the note “June’s Errands”,
Find the Protocol Workshop in Skethermoor
This stage of the quest can be a bit more difficult than the other two, as it requires either combat or stealth - previously you just had to avoid swarms of leeches and keep your distance from Outlaws in Slatten Dale, with a brief bit of easy-as-pie stealth in Wyndham Village, but you’ll be dealing with more dangerous foes this time around.
First, for a bit of the familiar, you need to get your Skethermoor, which can be done by exiting via the southeastern exit in Skethermoor. Alternatively you can get there through the cellar under the Grendel’s Head pub, although doing so will require you to traverse caverns occupied by glowing pillbug swarms, leech swarms and the odd exploding plant. You can navigate this unharmed and come out of it with some extra loot if you want, but it is more perilous. It does, however, put you marginally closer to your destination when you surface in Skethermoor.
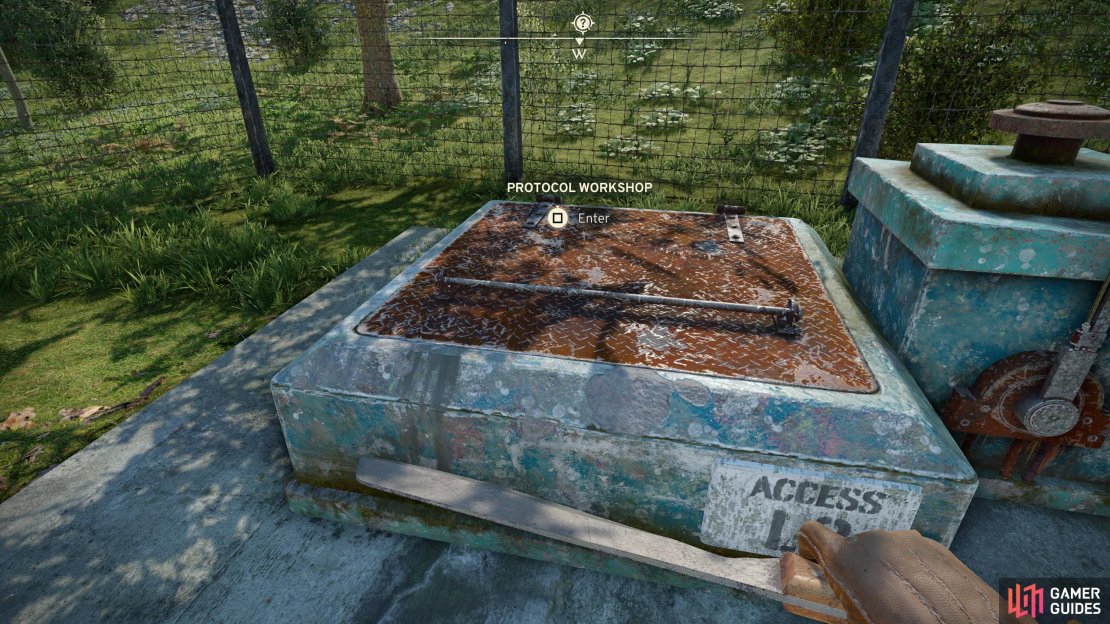
However you make it there, you’ll need to head east towards your destination. If you exited via Wyndham Village, you’ll need to cross a stream, while if you used the Grendel’s Head pub’s cellar you’ll be near a “Secret Passage” in some ruins. Make your way east (avoid Protocol patrols, especially their robots) and you’ll find a fenced-off area at around 38.0E, 77.4N, which houses the entrance to the Protocol Workshop.
(1 of 3) Find the entrance to the Protocol Workshop in Skethermoor.
Find the B.A.R.D. Safe Room
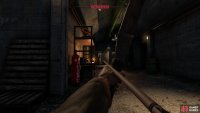
Enter the Protocol Workshop and note that you are trespassing. The area is foul with Protocol soldiers and they won’t hesitate long before opening fire or worse, punching you to death, which is for some reason more deadly than bullets in this game. Fortunately there are ventilation shafts you can crawl through to minimize your exposure, but some degree of conflict is likely here. A stealth headshot with a bow should one-shot any Protocol soldier, but keep in mind that headshots are the only shots that really count - anything else will probably only injure and the wounded enemy will call for backup. It’s not unrecoverable, just less than ideal. Also, enemies will respawn very quickly if you leave the area, so try not to do that.
With that out of the way, head west from the entry room and you’ll find yourself at a fork. The B.A.R.D. safe room lies to the east, but it may be easier to go west, first, as there are sneakier ways to get to your destination, even if they’re less straight-forward. If you go north you’ll find a sealed yellow door near which is a Card Reader, which demands a B.A.R.D. Safe Room Key to open. Bummer. Fortunately there’s more than one way into this B.A.R.D. safe room, but you’ll have to deal with some Protocol soldiers down the hallway to the west. There are about two that’ll wander around here, along with another sitting outside the door to the B.A.R.D. safe room - snipe the one in the hallway with an arrow if you can, then take care of the one sitting by the B.A.R.D. safe room if you can, so he doesn’t become a problem later.
Continue west and note a green vent along the wall to the left (south), which leads to some interior rooms that are otherwise inaccessible. A good place to hide if you get into trouble! Continue down the hallway to the west and you’ll reach another fork. To the south is a room crawling with Protocol soldiers - about two in this room, and two in the room beyond, so any detection will probably end up in a fight against at least four enemies. Sniping works, especially if you hide in the vents until the heat dies down, but if you’re sneak you shouldn’t need to bother. Sneak across this fork to the west and enter a bathroom, then squeeze between some lockers and a bathroom stall to the northwest to find another vent.
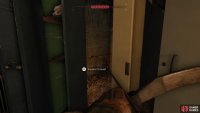
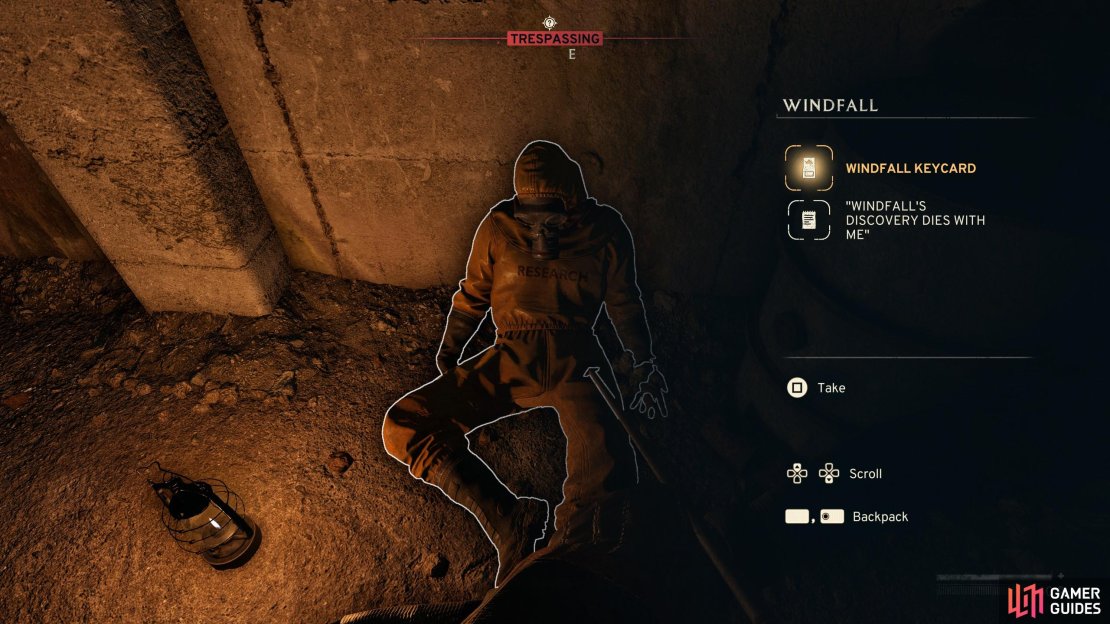
(1 of 3) Search the body of Windfall to find Windfall’s Keycard and the note “Windfall’s Discover Dies with Me”.
Crawl through this vent and you’ll reach a small chamber. Turn east, duck under and jump over some pipes and you’ll find a dead scientist named Windfall. He’s not part of this particular lead, but looting him for his ![]() Windfall Keycard and the note Windfall’s Discovery Die with Me will start up a new lead [The Windfall Shipment]. You can also find the note Windfall is All That’s Left of Me north of the vent you crawled through, too, but it doesn’t start or update any leads.
Windfall Keycard and the note Windfall’s Discovery Die with Me will start up a new lead [The Windfall Shipment]. You can also find the note Windfall is All That’s Left of Me north of the vent you crawled through, too, but it doesn’t start or update any leads.
More importantly for this lead, crawl through the vent to the east, over Windfall’s body, and you’ll drop down into the sought-after B.A.R.D. safe room. You’ll end the quest when you enter, but the reward for finding this place are worth pointing you: You can find a ![]() Training Stimulant on a table right near the vent along with the note Contingency Operation and two B.A.R.D. crates near some bunkbeds to the north, each of which contains another Training Stimulant and other assorted loot. On top of that the B.A.R.D. safe room is full of crafting materials and the odd bit of ammo - just a bit short of a treasure trove, but those three Training Stimulants are very welcome!
Training Stimulant on a table right near the vent along with the note Contingency Operation and two B.A.R.D. crates near some bunkbeds to the north, each of which contains another Training Stimulant and other assorted loot. On top of that the B.A.R.D. safe room is full of crafting materials and the odd bit of ammo - just a bit short of a treasure trove, but those three Training Stimulants are very welcome!
That’s not all you can find in Protocol Workshop, however - check out our [Protocol Workshop Guide] for a full walkthrough!




No Comments