When it comes to the people you can team up with to look for a way out of the quarantine zone in Atomfall, Joyce Tanner appears to be just about the only truly sane person you can trust. Her Lead will have you traveling around three different areas to reactivate the Radio Towers to begin with, and the Casterfell Woods Tower will require a bit more work than just strolling up to it and pushing a button. Keep reading to learn how to reactivate the Radio Tower in Casterfell Woods!
The Casterfell Woods Radio Tower in Atomfall will require a trip to Bunker L9.
Table of Contents
If you want to jump to a specific section, click on the links below.
| Quickjump |
|---|
| Casterfell Woods Radio Tower Location |
| Bunker L9 Location |
| Casterfell Woods Radio Tower Keycard Location |
Casterfell Woods Radio Tower Location
Once you’ve met Joyce Tanner in the Interchange for the first time (either by meeting her at the Bunker in Casterfell Woods first, or after leaving Medical for the first time), she’ll task you with finding three Radio Towers, situated in Casterfell Woods, Slatten Dale, and Skethermoor. For the sake of this walkthrough, you’re looking to make a trip to the Casterfell Woods to find the Radio Tower there.
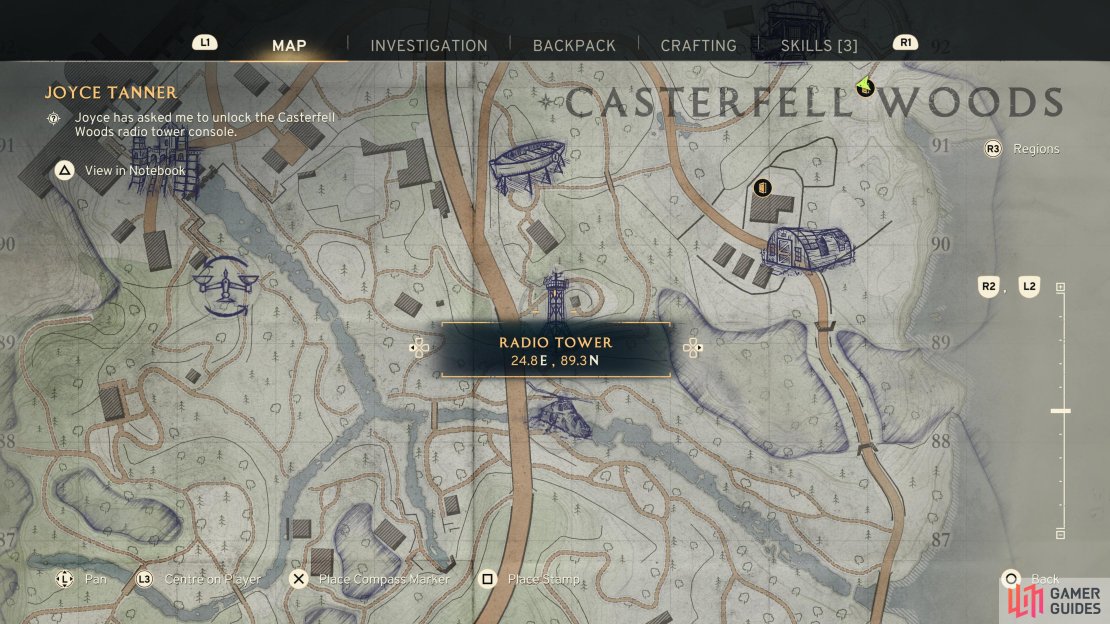
You’ll find the Radio Tower around the center of the map, up on a cliff, at 24.8E, 89.3N. The easiest way to reach this is by heading through the Boatyard (by crawling under the entrance, around 24.7E, 90.0N) and going to the southwest behind the building to find a ladder leading up, this will take you all the way to the Radio Tower. Be wary though, there are two Outlaws who can be found up here, consider bringing a quiet weapon like a Bow and taking them out once you get close to the top to avoid alerting patrols down below.
(1 of 3) The Casterfell Woods Radio Tower is situated in the center of the area.
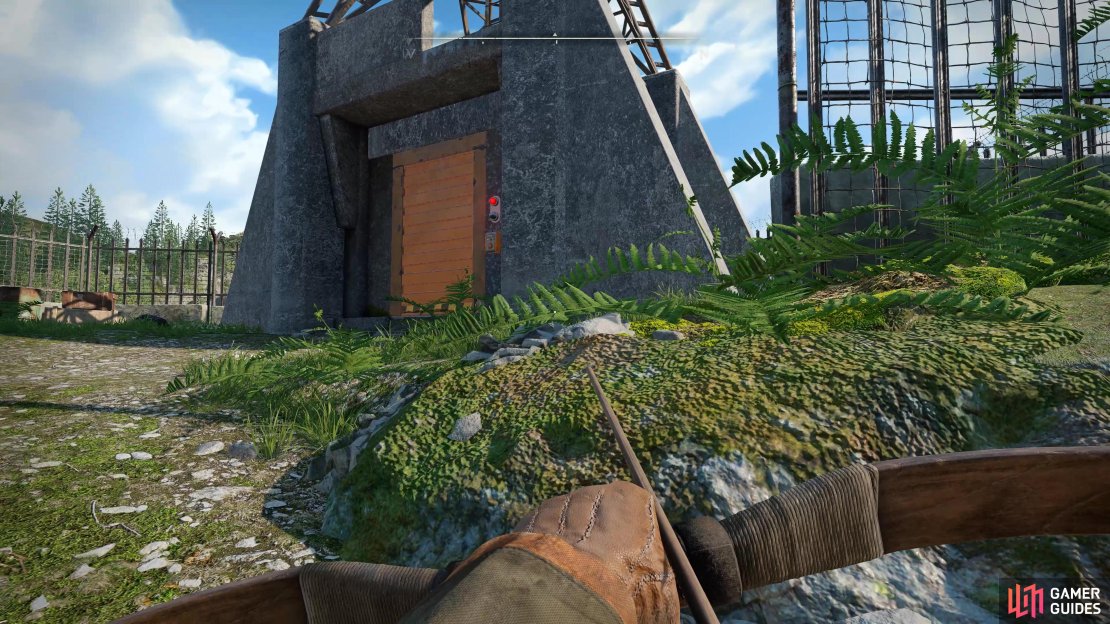
Once the area is clear of any threats, look on the ground near the door to find Log: Access to this radio tower, which clues you in on where you may find Joyce Tanner if you found this tower first. Open the door now and you’ll find that you won’t be able to activate the console until you get your hands on the Keycard, fortunately, the note on the wall will give you a hint on where you can find it, at Bunker L9.
Bunker L9 Location
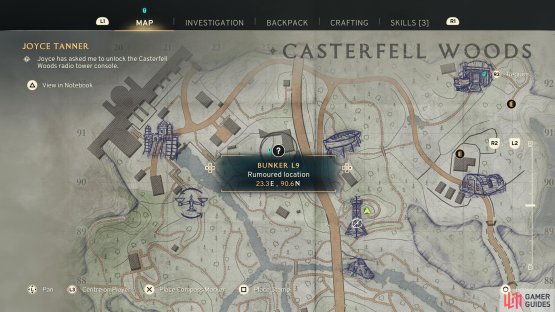
You may not have already stumbled upon Bunker L9 if you’ve not fully explored Casterfell Woods yet and the note will mark it on your map, placing it just to the east of the dam, at 23.3E, 90.6N. Do pay attention to what’s written on the note however, as Joyce mentions the bunker being overrun with Ferals and Poison in the vents (but only the room where the keycard is). If you plan to shoot your way through the Bunker, make sure you have enough ammo on hand, and of course, the Poison Resistance Skill will help you in there (or use Antidotes).
(1 of 2) Bunker L9 is only a short trek away from the Radio Tower itself.
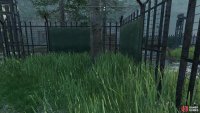
Bunker L9 is only a short trek away from the Radio Tower itself. (left), Squeeze through a gap to reach the door. (right)
From your current location at the Radio Tower, head down the slope, ignore the ladder on your right and continue northwest, dropping down from the cliff when you can, this will avoid most of the patrols. Once you spot the large exterior of the Bunker, you’ll have to look for a gap in the fence you can squeeze through, but beware, there are a few Ferals waiting to pounce on you if you make any noise. The easiest thing to do here is to trigger them, then go back through the gap, they won’t follow you and you can take them out easily. Once the area is clear, look on the eastern wall to find the entrance to Bunker L9 (not to be confused with the open shutter that leads into the dam).
Casterfell Woods Radio Tower Keycard Location
Bunker L9 is crawling with Ferals, trigger a fight with one of them, and you’ll most likely find yourself completely overwhelmed, for that reason, we recommend you stick true to your task and go for the stealth route while only grabbing the necessities. Fortunately, that makes this trip into Bunker L9 a relatively brief one, if you know what you’re looking for.
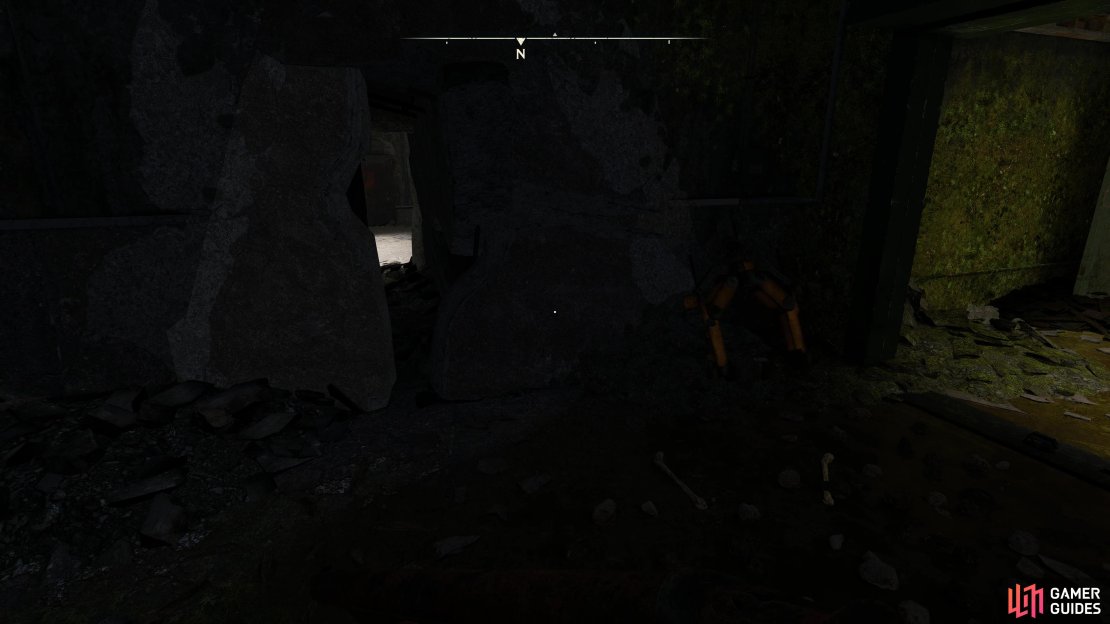
From the entrance, make use of the Pneumatic Dispenser if you wish, then stick to being crouched and go forward to the main room and immediately hug the left wall, following it to a room and turn to the right to find a gap in the wall you can squeeze through. Once you reach the other side, go through the door in front of you and then take the eastern door back into the main room (remember to stay crouched the whole time!).
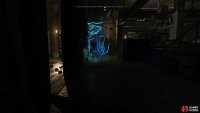
(1 of 3) Squeeze through the gap found in the first room to the west in the main area.
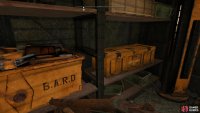
Continue hugging the wall on your left as you start making your way over toward the eastern side of the main room. Ignore the first room on the eastern wall (there is a dig spot here, however, just beware of the Feral in the restroom) and instead enter the room close to where the Feral is (it won’t spot you if you’re crouched). There’s a B.A.R.D crate for you to open here, and then go through the room to the south and you’ll spot an opening on the far wall you can climb through.
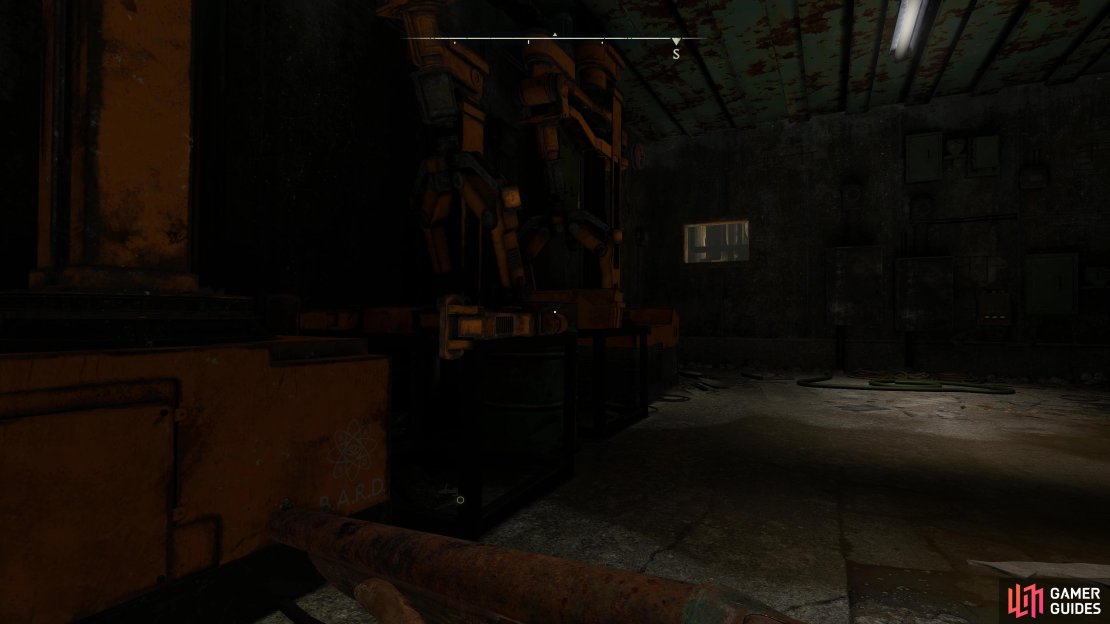
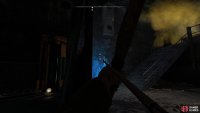
Climb up at the back here and you’ll find another crawlspace on the right wall, go through it to find yourself in the control room. You’ll immediately notice the poison cloud at the top of the stairs, this is where you need to go, so make sure you have enough healing supplies on hand or use an Antidote for some resistance, take out the Feral against the wall (aim for a headshot with the Bow), and go upstairs.
(1 of 3) Climb through this space at the back of the room to access the control room upstairs.
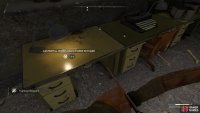
Look on the desk to your left once you get up there and you’ll find a Training Stimulant and the main reason you came here for, the Casterfell Woods Radio Tower Keycard. Pocket it, drop down the hatch, and follow the rooms to leave the Bunker. All that remains now is to return to the Radio Tower (deal with the Outlaws again) and use it to reactivate the Radio Tower, fulfilling this part of the Joyce Tanner Lead.




No Comments