Interactive Map Locations
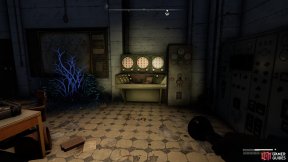
2. Slatten Dale Map
Found on a console in the recessed room with the small staircase in Bunker L6.
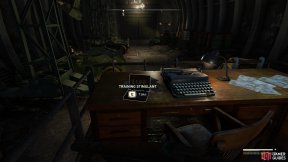
3. Slatten Dale Map
Found on a desk on the raised platform, just inside Bunker L7.
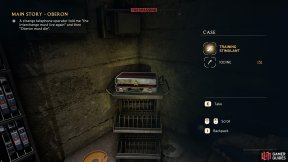
5. The Interchange Map
Inside a crate in the storage room. You’ll need to solve the Data Store Charlie Store Room Button Puzzle to get in.
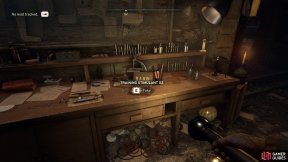
7. Wyndham Village Map
On a desk in the Forgotten Cellar in the room with Dr Holder.
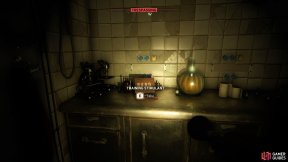
8. The Interchange Map
On a desk in the lab in the lower floor of Medical. You’ll need Dr ![]() Holder’s Keycard to reach it.
Holder’s Keycard to reach it.
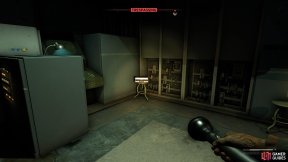
9. The Interchange Map
Inside a case on a stool in the lab on the lower floor of Medical. You’ll need Dr ![]() Holder’s Keycard to reach it.
Holder’s Keycard to reach it.
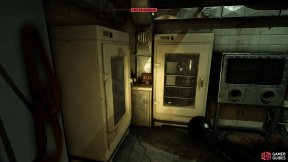
10. The Interchange Map
Carefully hidden between two medical refrigerators in the lab on the lower floor of Medical. You’ll need Dr ![]() Holder’s Keycard to reach it.
Holder’s Keycard to reach it.
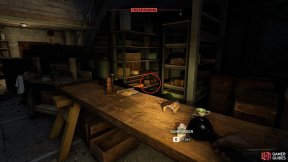
12. Skethermoor Map
On a shelf under the stairs in the large room at the back of the warehouse. Hop over the table to grab it.
13. Skethermoor Map
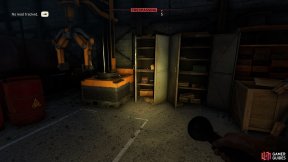
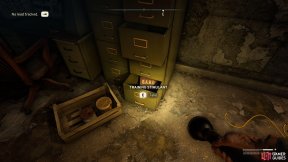
Inside an open cabinet in the large room at the back of the ![]() Protocol Workshop.
Protocol Workshop.
14. Skethermoor Map
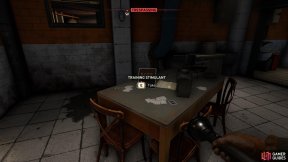
In the safe room in the ![]() Protocol Workshop. You can use the B.A.R.D Safe Room Key to get in, or if hygiene is not a concern for you, climb through a hidden crawlspace in the toilet instead.
Protocol Workshop. You can use the B.A.R.D Safe Room Key to get in, or if hygiene is not a concern for you, climb through a hidden crawlspace in the toilet instead.
16. Skethermoor Map
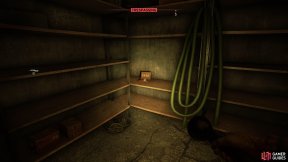
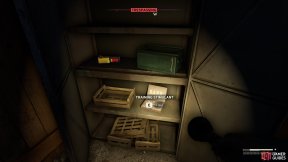
Found on a shelf in one of the rooms on the northern side bunker.
19. The Interchange Map
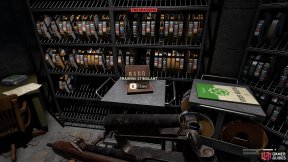
Found in the store room in Data Store Delta. You’ll need the ![]() Data Store D Store Room Key to get in.
Data Store D Store Room Key to get in.
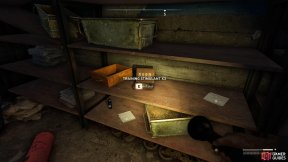
20. The Interchange Map
Found on a shelf in the supply room. Enter the Interchange from Casterfell Woods to grab it.
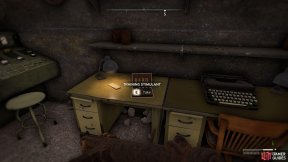
22. Casterfell Woods Map
Use the ![]() Signal Redirector to power the Ventilation override to clear the gas, then grab this from the control room in the bunker.
Signal Redirector to power the Ventilation override to clear the gas, then grab this from the control room in the bunker.
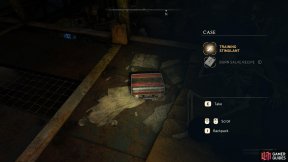
23. Casterfell Woods Map
Climb out of the window in the control room to find this in a cache next to a skeleton.
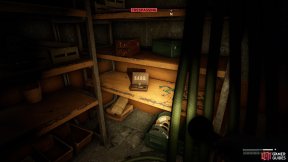
24. Casterfell Woods Map
On a shelf in a locked room on the east side of the bunker. Use the ![]() Signal Redirector to power the lock.
Signal Redirector to power the lock.
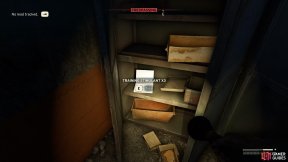
25. Casterfell Woods Map
In a cabinet in a locked room on the east side of the bunker. Use the ![]() Signal Redirector to power the lock.
Signal Redirector to power the lock.
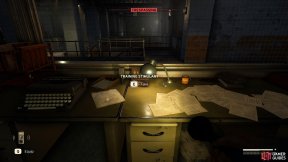
27. The Interchange Map
Found in Robotics. Use the crawlspace in the Administration office to reach it.
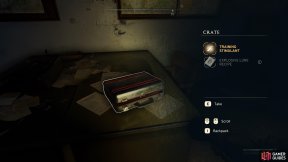
28. The Interchange Map
In the locked room. You’ll need the ![]() Site Office Key to get in.
Site Office Key to get in.
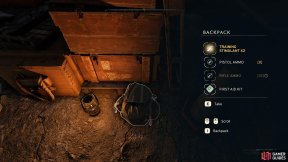
29. The Interchange Map
Found in a backpack, but only if you helped the scientist at the very start of the game.
No Comments