Our next stop is the Ancient Castle. And, by the time I start this next sentence, some idiot is going to be flying around the overworld looking for it. It ISN’T on the overworld map, unless you have some ****ed-up game.
Go to Figaro Castle, which should still be within walking distance from Kohlingen if you’ve followed the guide thus far. Speak with the guy near the engine room and opt to move towards South Figaro and you’ll bump into something, and it isn’t the big octopus from before.
Exit the castle via the prison cells; the easternmost one, to be exact. Oh, and by the by… This is the same bit of information you can get from the thieves at the base of the Cultist’s Tower by paying 100,000 Gil. Yeah, you owe me now.
Cave to the Ancient Castle
Local Enemy Bestiary
| Monster Name | HP | MP | ATK | DEF | Gil | EXP |
|---|---|---|---|---|---|---|
| Devil | 5555 | 1150 | 18 | 70 | 960 | 2189 |
| Enuo | 4635 | 280 | 13 | 50 | 968 | 1429 |
| Figaro Lizard | 4220 | 140 | 29 | 90 | 554 | 1219 |
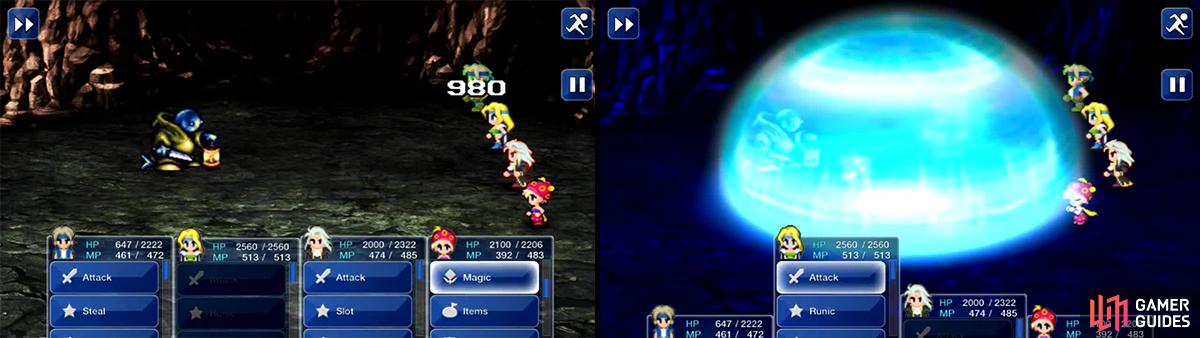
Upon arriving, in this first room, you can find two chests. Go east to find one with the Hi-Ether inside; go west to find the Wing Edge weapon for Locke. Now, go back east from the Hi-Ether chest and through the door to find another chest. This one has a battle with the Master Tonberry in it… hard enough to be a boss.
Master Tonberry
Master Tonberry is a dangerous beast. It can use a basic attack, Knife (which effectively has an Attack stat of 104!), Firaga, Thundaga, Blizzaga, Tornado, Quake , Holy, Bio, Traveler , Tsunami , and Barrier Change, which changes it’s elemental weaknesses and such.
Okay, I REALLY think you need to begin first by casting Sleep and then Slow on the enemy. Use Libra to find out its weakness and begin to abuse this weakness. If you cannot, which is likely in the cases of Earth, Wind, and Water, try using non-elemental magic (Flare, Ultima). If you still can’t abuse the weakness, go ahead and first put Vanish on your party via Phantom to avoid the soon-to-come physicals.
Attack the Master Tonberry ONCE to wake it up, then wait for Barrier Change, which seems to occur every 10 to 20 seconds. After that, retry the second paragraph’s strategy. Repeat as needed until you DO get an abusable weakness. Then abuse it with Espers and magic; remember, magic won’t wake up a Sleeping target (though I think being burned alive might wake ME up) and continue until he’s dead. If he awakens, put Sleep on him again.
Tonberry can hit pretty hard with a physical attack but if you pummel him with Ultima, he won’t have a chance to get near you.
Of course, you’re probably wondering why we’d go to all this trouble to fight a monster found in a chest that is empty. Well, the Master Tonberry can drop a Gladius, the fourth most-powerful Knife in the game.
After the battle, go back to the previous area and west to where you found the Wing Edge. Use the nearby door. Here, go along the path to soon find a chest; open it for a Death Tarot . Go back some to find a path in the western wall. Take it and go northwest to find an alcove in the northwestern wall; use it to reach the next area.
There, head southwest of the stairs to find an X-Potion , then far to the south of the stairs to find the Magicite Shard . THEN go downstairs to find a Save Point. Use it and go up the next staircase to find a city.
The Ancient Castle
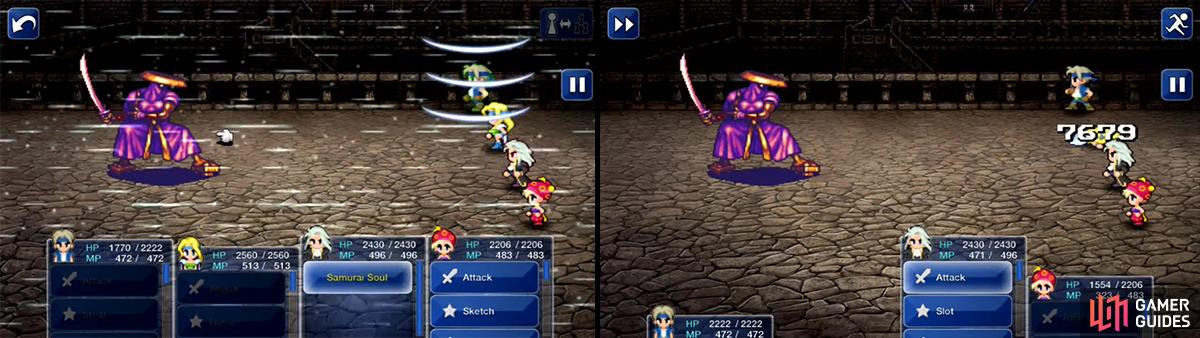
When you arrive, head to the entrance and you’ll notice two black doors west of the main ones. Go into one of them and open the chest; you’ll then fight a Samurai Soul.
Samurai Soul
The Samurai Soul is a dangerous beast. It can use a basic attack, Assassin Blade (which is Death), Throw (which easily hits for 6,000+ damage), Gil Toss (hits for about 1,000 damage), Item (elemental scroll), Gale Cut (Wind/Aero damage to all), Shockwave, and 1,000 Needles.
There is a cheap way to win this. Use Confuse at the start of the fight and, hopefully, this boss will commit suicide (as per ancient Japanese Samurai when shamed, so I guess Confusion = shame?) by using Assassin Blade on itself. (Which in itself seems weird - it’s a soul and already dead.)
If he accidentally uses a basic Attack or something, just put Confuse on him again. The spell, Edgar’s Noiseblaster, and Cait Sith are all methods of doing this. Since you’re pretty much FORCED to have Cait Sith by this point in the game, that’s why I’m not offering an alternate strategy.
Gale Cut hits all party members but it’s not so strong. Ashura however, can one-hit a character and is very powerful.
So, why did we bother with this battle? To get the Master’s Scroll . This item allows you to attack four times with each weapon you have; the attacks will not miss. However, the attacks’ power is also halved FOR ALL ATTACKS. That in its own way is okay – after all, it’s still double damage.
This basically is not all THAT good, though - the Drill and Flurry (not to mention Tempest) are good examples of why not to use it. If you opt to use the Genji Glove in combination, you get eight attacks; that is, a quadruple-power attack. That is the only reason to use this, honestly, especially if you’re using the Ultima Weapon (a good idea by now) and something else powerful.
However, this WILL severely end up lowering your defense by preventing the use of a shield. If you’ve been getting by without it, though, it’s okay. However, that other Relic also has to go; that might not be very good if it is something like a Ribbon.
After the battle, go outside and east of the main doors. Go through and pick up the Punisher from the chest. Exit again. Go through the main doors and north to find Odin. Before doing anything, through, go east and through the left black door; inside, grab the Blizzard Orb and the Gold Hairpin .
Backtrack to Odins statue.
Anyways, examine the Odin statue to get the Odin Magicite . But don’t leave yet… We have something to do with this. To the east and south is a path to the queen’s own room. Examine the bucket to find an X-Ether , then examine the sparkly-thing on the bookcase to read the queen’s diary.
Now, onto the trick with the throne, which you probably don’t know of yet. Anyway, stand on the eastern throne, face it, go five steps south. Examine the tile to … something happens, making a staircase appear. Use it. Here, go along the path to the statue of the queen. Examine it and your Odin Magicite will turn into the Raiden Magicite . This is a GOOD thing, okay? The summoning attack is the same; Odin’s Meteor can be taught by someone else; Raiden has a better spell to teach; and his level-up increase is Strength +2, rather than Speed +1. You’ll also find the Blue Dragon roaming around down here.
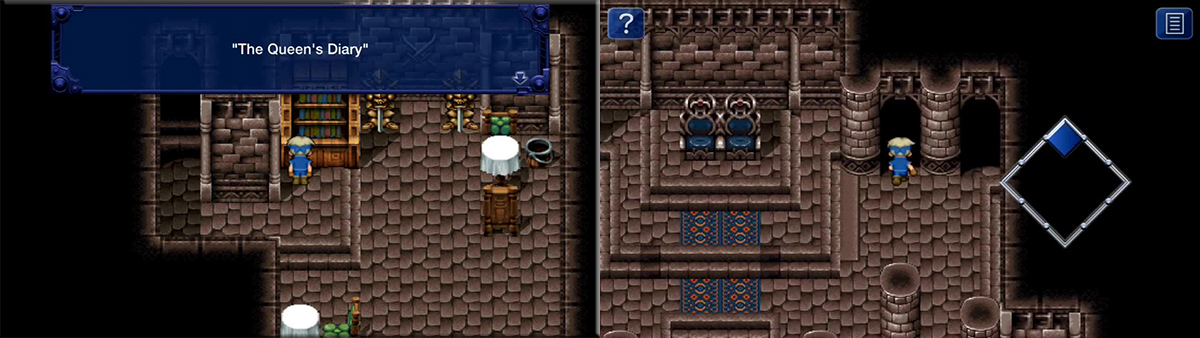
You can find the Queen’s Diary in the bookshelf in her room. It details more of her story with Odin. In the doorway shown are the Blizzard Orb and Gold Hairpin.
Blue Dragon
The Blue Dragon is probably the first dangerous dragon thus far, I think. It can use a basic attack, Hit (which Drains some MP), Aqua Breath, Acid Rain (can cause Sap), Flash Rain, Rippler (status-swap), Tsunami , and Slow.
Start this fight by using Kirin, Ramuh, Zona Seeker, and Valigarmanda. Do NOT at all put Haste/Hastega on anyone; the Blue Dragon will try to use Rippler after putting Slow on itself, thereby putting Slow on you and Haste on it. Go ahead and put Shell and Protect, though.
Due to a wide array of party-wide attacks, someone needs to be on constant Cura or Curaga duty; personally, I put Locke on that, because Celes and Terra were bound to be my biggest damage dealers. Let them be such; have Terra enter a Trance and let them both blast the Blue Dragon with some Thundaga spells. Both having two Earrings and being around Lv. 35 by now, it only took me four or five spells to win (which is about two-and-a-half turns).

He looks like Leviathan! He also uses Tsunami which is pretty powerful and will hit all your characters. Ultima should be used all the time though. You can never have too much Ultima.
Afterwards, you’ll need to backtrack out of here, on foot. Hey, at least you get some decent Gil, EXP., and AP.
No Comments