Attack-wise, the Skull Dragon is … meh. It can use a basic attack, Hit (which can remove Reflect), Doom, Disaster, Will o’ the Wisp, and Apparition.
There are a few easy ways to go about this. One is using Ragnarok’s Metamorphose - there’s a fair chance, about 1 in 10 or so, that it’ll work. Though that’s more of a last-ditch effort, in my opinion.
The other is not so easy, but more effective-ish. Put on Hastega, then spam Firaga, Holy, Ifrit, Valigarmanda, Alexander, and so on. The boss is not all THAT hard, really. Putting on Reflect might help, though it can get removed with Hit.
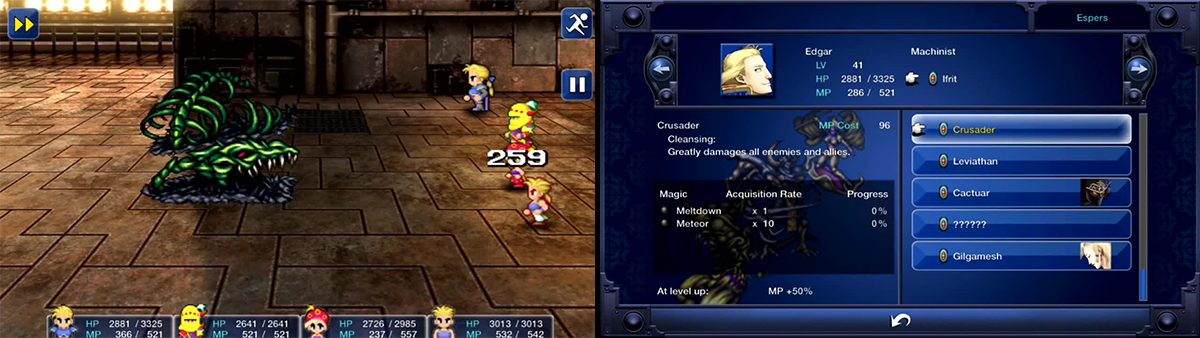
This guy sucks so bad. Thankfully, the magicite he drops is much better.
If you finish this dragon off, and have been following my walkthrough thus far, it will be your last. A message will appear on-screen saying such and saying that the “Eightfold Seal” has been broken. Then the area vibrates violently – though not enough to shake down the tower – and you’ll obtain the magicite for Crusader . Then a stone slab falls to the ground, giving you access to the Dragon’s Den. Woo.
Anywho… Take the eastern exit and go along the path. Once outside, step on the northern switch and swap teams.
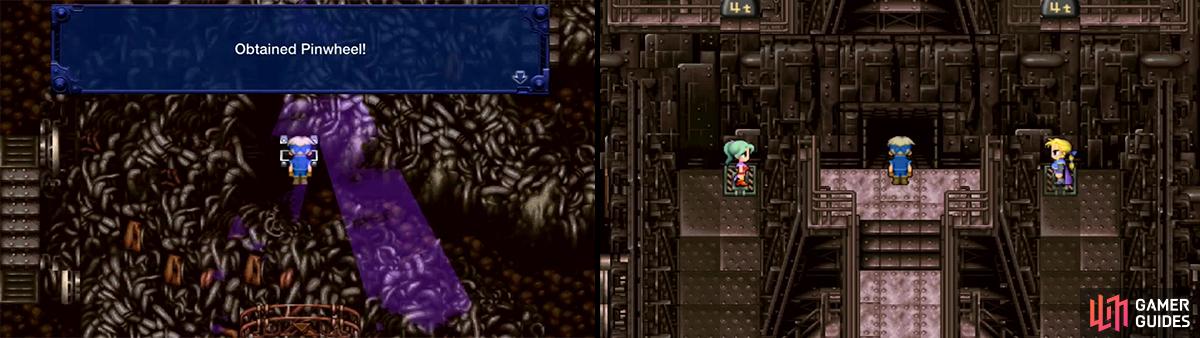
Let’s go south and continue to the next area. There, go east and along the path until you head outside. You’ll notice the chest you already opened with the previous team. There, go north and west at the fork to find the Pinwheel . Then backtrack some and go east along the path.
You’ll reach your other allies eventually … but kinda be cut off. Put both teams on the switches to open up the door. Go north and you’ll also need to be put on another switch. Step on it and, afterwards, you can go either left or right.
So, Party #1, you’ll go right. Go to the far south and move Party #3 aside, then have Party #1 send the four-ton weight onto the switch. Go to the far north and onto the switch. Then swap teams to…
Go upstairs and to the north. Step on the switch and go west. Go to the far south and move Party #2 aside. Make Party #3 put the four-ton weight onto that switch. Go to the far north and step on the switch. Then swap teams to…
Go north and onto the final switch. Go south on the new path, then, outside, step on another switch. This will open two new paths for the other teams. Go north and heal up. Continue into the next room for a battle.
Get two of the parties to stand on the switches to open the main door and then use the 4 ton blocks to stay on the switches so you can bring the rest through.
No Comments