Local Enemy Bestiary
| Monster Name | HP | MP | ATK | DEF | Gil | EXP |
|---|---|---|---|---|---|---|
| Belzecue | 615 | 45 | 13 | 220 | 343 | 228 |
| Destroyer | 800 | 35 | 13 | 200 | 400 | 592 |
| Flan | 255 | 110 | 13 | 13 | 120 | 160 |
| General | 650 | 30 | 13 | 155 | 308 | 232 |
| Lenergia | 470 | 63 | 13 | 170 | 250 | 438 |
| Onion Knight | 250 | 50 | 13 | 200 | 100 | 115 |
| Proto Armor | 670 | 125 | 12 | 230 | 296 | 499 |
| Sergeant | 580 | 35 | 13 | 210 | 273 | 252 |
| Trapper | 555 | 80 | 13 | 180 | 200 | 235 |
Once you enter the Facility, go west and down the staircases. Enter the pipe to head to the western side of the room. Grab the Flametongue from within the chest nearby, then use the local crane to return to the other side.
Go east and down the right tube to find a chest with an Ether . Go back through the tube and use the one on the left. Once you leave the conveyor belt, head to the chest nearby to find an X-Potion . Go east and across another conveyor to find another chest; open it to find the Thunder Blade . South of there is a Remedy inside a third chest.
Get on the conveyor belt to continue. After leaving said conveyor belt, head southwest to find some stairs. Ignore them for the moment and go south to find a chest; open it for the Dragoon Boots Relic, which makes you able to Jump.
From the stairs, go to the far east and south, passing a crane on the way to a door. Go inside and open the chest for a Golden Helm . Leave and go to the east to find a small chamber where you only see the inner wall; there is a chest hidden here with the Golden Armor .
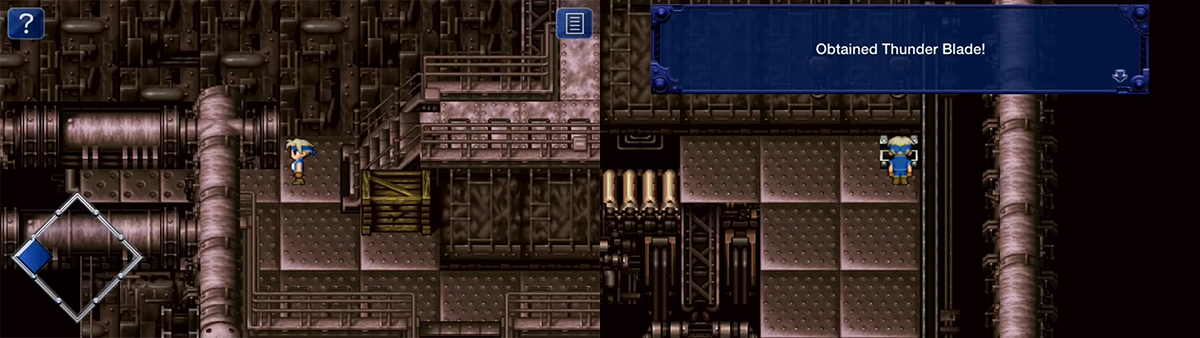
Look out for these pipes that you can go through to reach items. There are four elemental blades to be found in here, the Thunder Blade being one.
Exit that room and go upstairs to find a chest with a Tent inside. Now, time to backtrack. Go back to the southeast corner where you found the Golden Helm, then go north some and west to the stairs near the Dragoon Boots. Head up the staircase and use it to find a door to the north.
Walk through here and snatch the Golden Shield from the chest. Use the elevator to go down, then head north, east, south, and west a bit to find yourself in a familiar area. Use the conveyor belt to the east and ride.
Once you exit from the conveyor belt, go up the stairs to the north of it to find a bunch of crates. Face the first crate you find, go south five steps, to the far east, and one step back. Go south to eventually find a hidden chamber with two chests; open them for the Zephyr Cloak and the Ice Brand .
Now, hike back to where the conveyor belt dropped you off before using the stairs as in the above paragraph. Okay, so go onto the east conveyor belt if you haven’t done so already, then go south for a scene with Kefka.
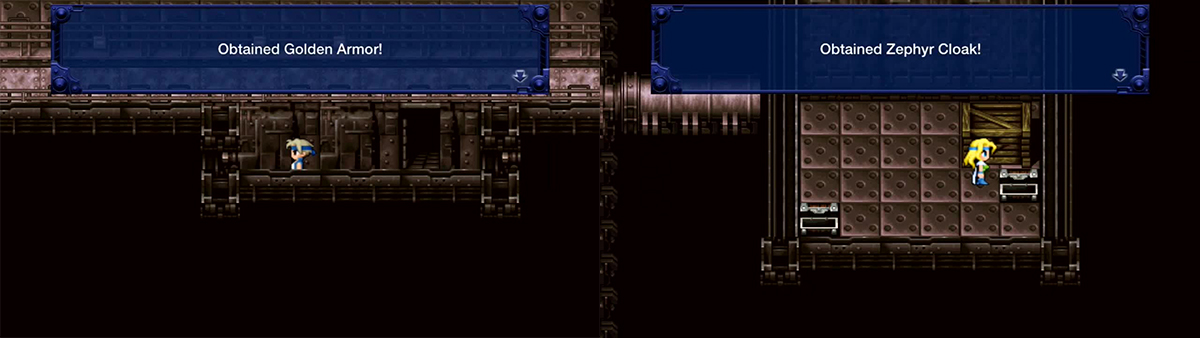
Some of the items are hidden where you can’t see so look for the exclamation mark to indicate them. There is a little room off to the side where the Zephyr Cloak and Ice Brand are found.
Anyways, when you regain control, take a look around. Seems ominous, don’t it, almost with the stench of death and rotting skin in the air. Two dead Espers are even nearby… One of the doors is blocked by a blue Esper, Shiva, but she won’t really respond to you for some reason.
The west door leads to a small room with a Save Point; use it. A hook nearby also provides some form of escape… Anyhow, speak with the Esper on the left for a quaint battle.
Ifrit, Shiva
Ifrit can use a basic attack, Hit (50% more powerful than basic attack), Blaze (Fire-based damage to all), Fire, Fira, and Firaga. Shiva will only appear once Ifrit is somewhat damaged; he’ll then switch and the same can happen again in reverse.
She can use a basic attack, Hit, Snowstorm (Ice/Blizzard-based damage to all), Blizzard, Blizzara, and Reflect . You’ll begin by fighting Ifrit alone. Have Celes abuse the living crap out of Runic; Edgar use the Chainsaw or Drill; Sabin use Raging Fist for a Blitz; and have Locke focus on healing or Attacking. Repeat this process when Shiva appears to battle, and back-and-forth, back-and-forth…
This battle is very easy. Attack with Blizzard and other strong attacks and Ifrit falls very quickly.
After the battle, the fight will end. You’ll learn about the other Espers trapped in the Facility, then turn into Magicite for you to pick and use as you wish. Save at the Save Point from earlier, then go into the left door and advance.
Head up all of the staircases to the next room. There, you’ll notice the five empty tubes; two are on the bottom half of the room. Go to the southwestern tube and, hidden to the left of it, you’ll find a chest with the Stoneblade . Continue on north to find…
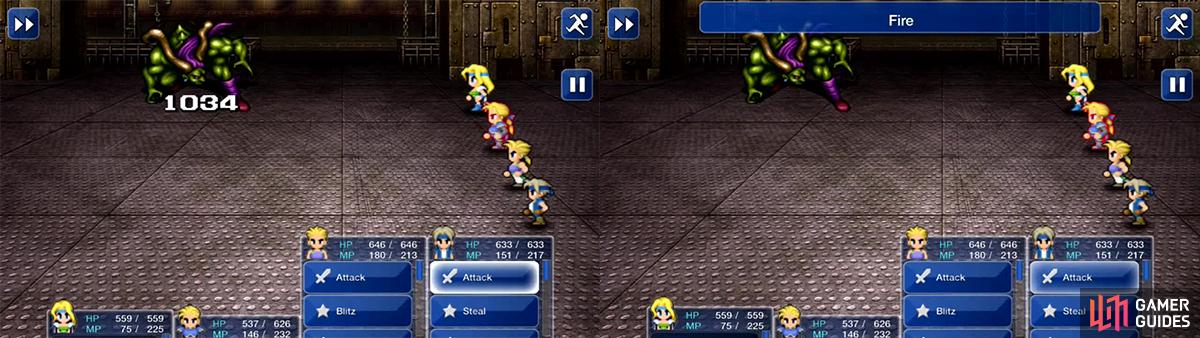
Number 024
Number 024 has a wide variety of attacks, most of which you’ll never see: a basic attack, Overflow (sets Confusion, too), Fire, Fira, Blizzard, Blizzara, Thunder, Thundara, Aqua Breath, Cave-In, Arctic Hare, Gale Cut, Fireball, Magnitude 8, Sunbath, Acid Rain, Reverse Polarity, Sonic Boom, Cure, Cura, Libra,, and, its usual move, Barrier Change, which changes its elemental weakness/resistance data.
There is a way to know what his weakness is, too, based on his moves used. If he uses Blizzard for instance, he will be weak to Fire. Basically use the opposite attack for whatever attacks he uses.
Before fighting the boss, make sure to grab the Stoneblade here. You cannot see it so search around. Number 028 is very weak to strong attacks like Thundara and your most powerful Espers and abilities.
So, yes, abuse these if possible. Use Espers for Fire (Ifrit), Ice/Blizzard (Shiva), and Lightning/Thunder (Ramuh), as well as any corresponding spells. Let everyone else focus on physical attacks: Edgar with the Chainsaw or Drill, Sabin with Raging Fist, Locke Attacking, and Celes actually has Blizzard automatically, so… Just heal when needed.
After the battle, go north into the next room. Go farther north and flip the switch here and watch the scene that ensues for a bit of a weird experience. You’ll obtain the Bismarck, Carbuncle, Catoblepas, Maduin, Phantom, and Unicorn Magicite in the process, so you know.
Anyhow, we have to leave. Go to Cid on the elevator and prepare to leave this God-forsaken hellhole.
Escape The Facility
Local Enemy Bestiary
| Monster Name | HP | MP | ATK | DEF | Gil | Exp |
|---|---|---|---|---|---|---|
| Chaser | 1202 | 140 | 13 | 200 | 380 | 691 |
| Magna Roader | 420 | 100 | 12 | 25 | 277 | 232 |
| Magna Roader | 250 | 100 | 10 | 20 | 300 | 198 |
| Trapper | 555 | 80 | 13 | 180 | 200 | 235 |
Once you arrive, take notice of the Save Point nearby and use it when you regain control. Soon, Cid starts to finally get all sentimental and stuff.
You’ll soon have to fight five battles, then a boss, all in sequence without a break in-between. At the end of the fifth, try to heal up as much as possible, for, afterwards, you’ll fight…
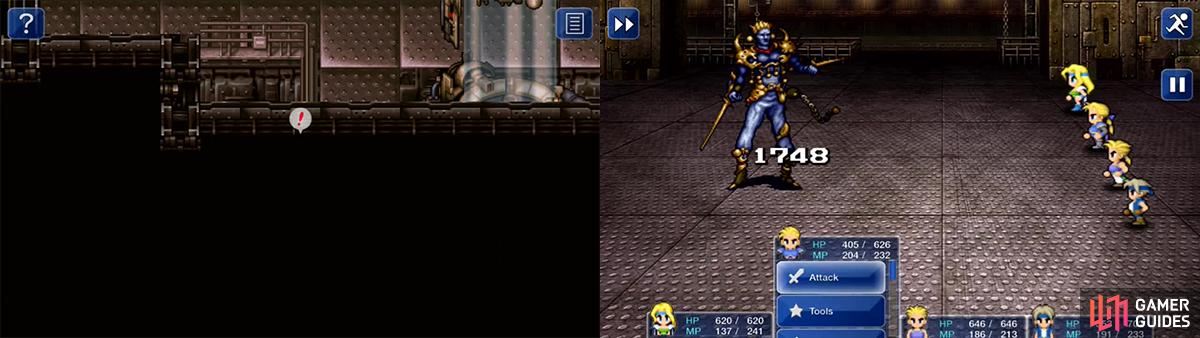
Number 128, Left Blade, Right Blade
Number 128 has some attacks: a basic one, Blood Feast (50% more power than basic attack; Drain effect), Blizzard, Blaster , Atomic Rays , Gale Cut, Net, Shockwave, and Haste.
The Left Blade can use a basic attack, Shamshir , and Slash (double the basic attack power); the Right Blade can use a basic attack or Rapier , which has 50% more power. There is no real point to defeating the Blades, as they’ll come back very soon.
So begin by summoning Kirin to maintain a Regen and have its user dedicated to Cure/Cura on the party. Otherwise, use Edgar’s Drill, Sabin’s Blitzes, and Locke’s Attack. Try summoning Phantom to maintain a status of Invisibility, and remember to try and use Slow to counteract Haste.
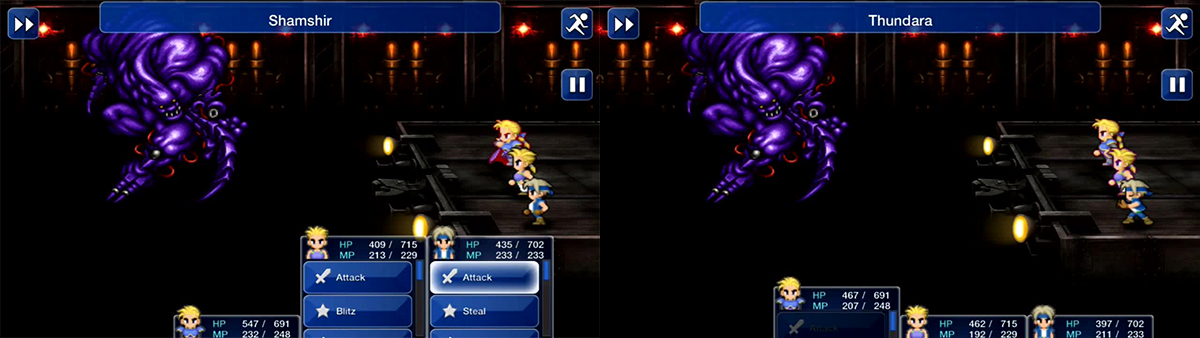
Number 128 attacks very quickly so keep your HP topped up. Thundara is a very effective attack to use against all three enemies. Target 128 not the blades for the most part unless you have a multi-target spell to use.
After the battle, you’ll reappear outside the Magitek Research Facility. Heal up, then go south along the path. You’ll eventually meet up with Setzer, who takes you back onto the Blackjack. Mission complete…?
No Comments