Read the letter in your mailbox
Someone needs our help; let’s not keep them waiting!
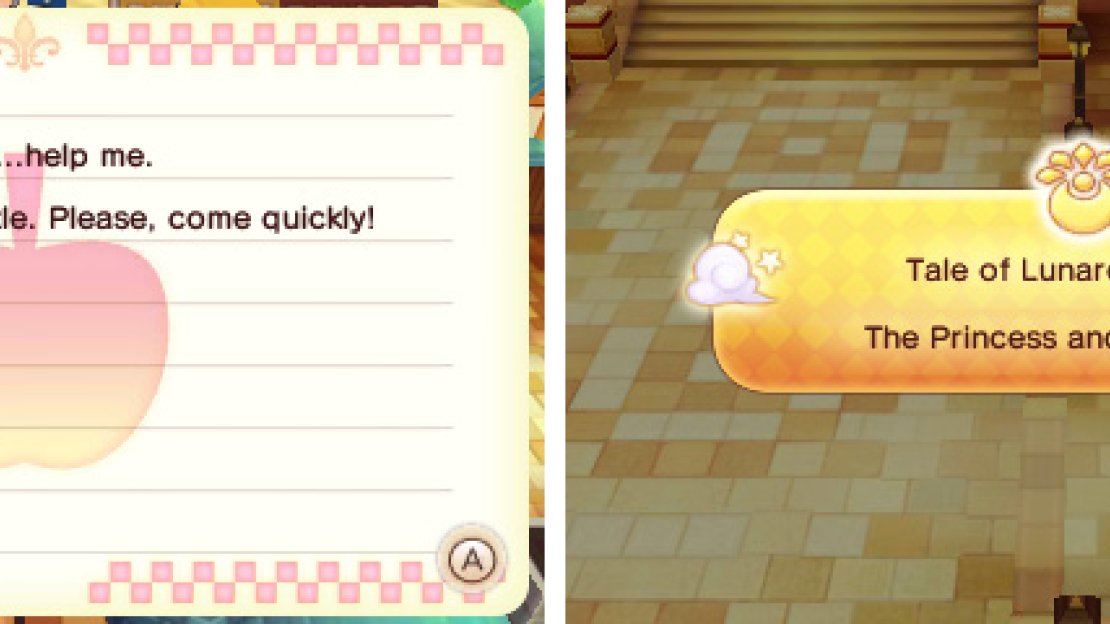
The next day starts off in a more ordinary manner with the postman launching a letter into your mailbox. Either leave your room to inspect the mailbox outside or tap “My Room” and navigate to the “Mail” section to read your mysterious new letter.
Hmm, we’ve got a feeling our day is going to be anything but ordinary…
Go to the Royal Court at the castle
While it’s not clear who the sender of the letter is or what they want from you, one thing is certain: they want you to come to Castele Castle and quickly.
You went there earlier, so hopefully you remember the way. It’s directly north from Castele Square, so nothing too complex. Inside, the Minister won’t stop you like before, so you’re free to continue ahead. But boy was he acting suspicious…
Climb up the staircase like last time and enter the Royal Court. Remember to mind your manners!
The King is having a conversation with Mustang and Hughes, but you’re free to interrupt. After you show everyone your letter though, the atmosphere in the court goes pale.
Wondering what the heck’s going on, Flutter suggests we grill the Minister for details. He looks like the easiest target, after all.
Talk with the Minister
The Minister avoids divulging too much information, but he does offer a bit of help, distracting the palace guards so you can go around and enter the Inner Garden .
Go into the Inner Garden
To get to the garden, head for the door to the far east or the one to the far west on the ground floor. Either works.
Once inside, continue ahead and approach the door at the far end on the right.
Also check the black treasure chest in the garden’s north-east corner for a Smiley Flower .
Infiltrate the locked chamber
The Queen’s got a plan to get you inside.
According to the gossiping paladins, the Princess has been locked in her room by her father, the King. Something tells us this might be related to the letter you received.
But first, how do you get past the guards? Head back to the garden area and speak to the Queen in front of the fountain.
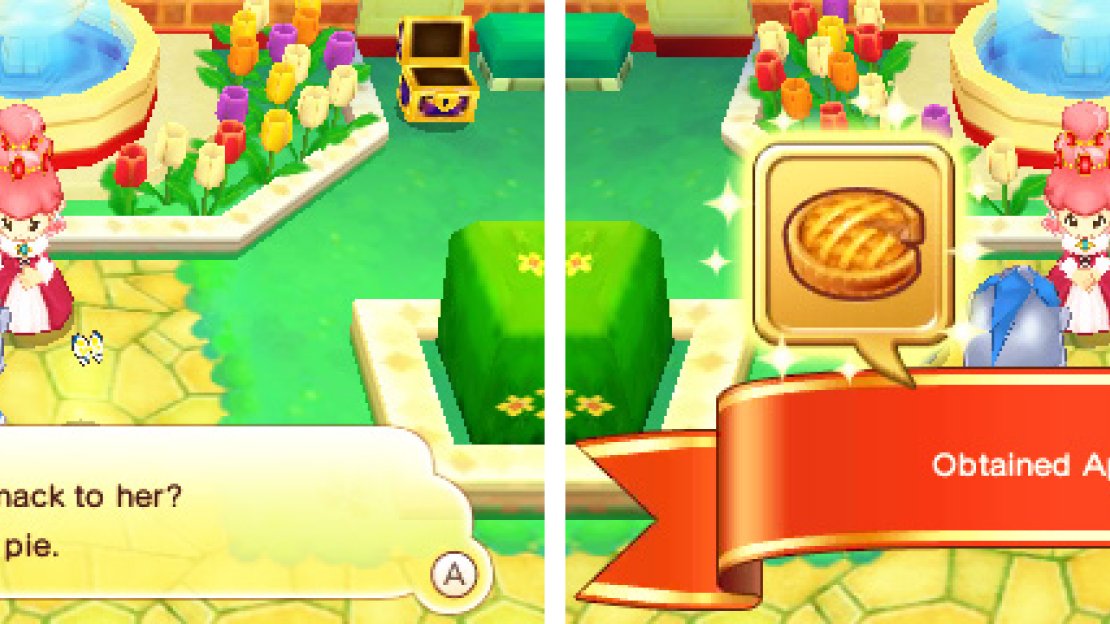
Ta-da! You’ll receive a fresh Apple Pie . Well, not for you–it’s for the Princess.
Bring the Princess a snack
With the Apple Pie in hand, you’ve got an excuse to enter the Princess’s room, so return to the guards by the door and barter your way in.
Conveniently, the guards don’t offer much resistance, so head on through the door before they change their minds.
Inside, you’ll meet with the Princess and deliver the Apple Pie as promised.
Hunt for a rope ladder
After a long and insightful conversation, you will be requested to look for a rope ladder, apparently in the King’s room.
Exit the Princess’s chamber, then run west towards the door to King Erik’s Chamber , along the corridor. Oddly, nobody bothers to stop you, so count your blessings and go inside.
We’ll ask why the King is hiding a Rope Ladder later…
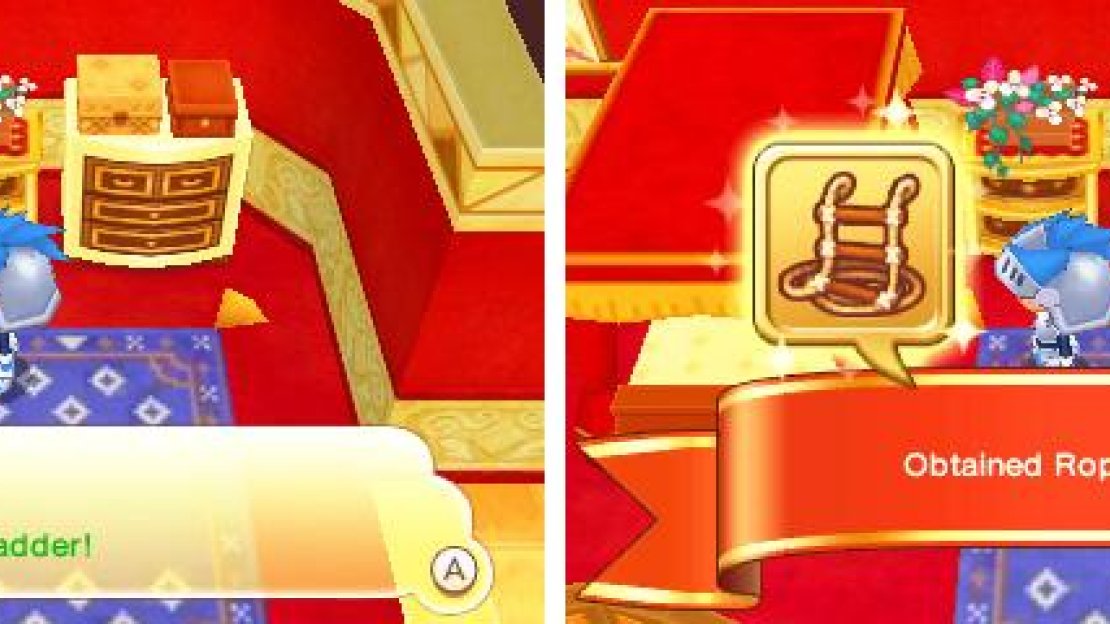
The rope ladder could be anywhere, but we think it’s under the King’s bed, in the west wing. Well, what do you know: there’s a Rope Ladder there!
Report to Laura
Return to Laura’s chamber so you can give her the Rope Ladder.
Enter Lauras secret room
Amazingly, Laura has a secret room. We want one too…
Anyway, ahem, head east through the secret passage until you find Laura next to an open window.
Go down the rope ladder
Laura’s obviously been doing this “escaping from the castle” thing quite often, as you watch her hang the rope ladder from the window with great ease.
With Laura in tow, the only thing to do is approach the window and climb down the rope ladder.
Hurry to the Grassy Plains!
After descending the ladder you’re emerge in the East Castele Woods. From here, make your way towards the East Grassy Plains .
You’ve been there before, so we won’t bother you with the directions. But if you get lost, as always, just follow the red arrow on the bottom screen.
Climb Mt. Snowpeak
Upon reaching the plains, your next destination is Mt. Snowpeak . From where you are, head in a north-easterly direction, up the rugged mountain road. Just before the entrance there’s a Save crystal and a paladin camp, so you can’t miss it.


No Comments