
Dundrasil Region
| Items | Area |
|---|---|
| Drasilian Sovereign | Northwestern island, chest |
| Bandit Blade | Ruins northeast of the Camp, chest |
| Staff of Rapidity | Ruins southeast of the Camp, chest |
| Seed of Life | Ruins southeast of the Camp, chest |
| Mini Medal | Southwest shack, chest |
| Mini Medal | Castle ruins, northeast, pot |
| Seed of Skill (Cannibox) | Castle ruins, northwest, chest |
| Seed of Skill (Cannibox) | Castle ruins, northwest, chest |
| Sparkly Spots | Area |
|---|---|
| Silver Ore | North |
| Silkblossom, Faerie Fluff, Butterfly Wing | North of Camp |
| Faerie Fluff | North of the Camp |
| Silkblossom | Northwestern island |
| Silver Ore | Outside the Camp |
| Royal Soil | South of the Camp |
| Buttterfly Wing | East of the Camp |
| Drasalian Shilling | South of the Camp |
| Silkblossom | Under bridge leading to castle ruins |
| Drasalian Shilling | Ruins south of the bridge |
| Flurry Feather, Buzzberries, Sparkly Sap | East, Tree gathering point |
| Faerie Fluff | South |
| Glass Frit | Southwest |
| Magic Beast Hide | South of the Castle ruins |
| Dragon Hide | Castle ruins, northwest |
| Monsters | HP |
|---|---|
| Metal Slime | ~4 |
| Grublin | ~61 |
| Stone Golem | ~105 |
| Drackolyte | ~66 |
| Rottontail | ~86 |
| Fandangow | ~92 |
| Horknight (Mount) | ~76 |
| Cannibox | ~208 |
| Knight Errant | ~142 |
| Mushroom Mage | ~94 |
| Orc | ~105 |
| Raven Lunatic | ~113 |
| Stump Grump | ~110 |
| Green Dragon | ~305 |
You’re now free to explore the entire region of Dundrasil, your objective lies in the castle ruins to the southwest but like always, there is a plethora of loot to obtain and more Crossbow Targets to strike. Once again you’ll be able to encounter Metal Slime in some encounters and in the ruins themselves you’ll finally come across your first real dragons in the form of Green Dragons. It’s worth taking the time to defeat some of these, their drops are useful and they yield high exp.
Now is also a good idea to take a look at how your Character Building is progressing. By now you should have the Hero with the most useful abilities from either Swords or Greatswords such as Cutting Edge and Frost Fangs along with Zap from the Luminary category. You should focus next on working up to the Swordmastery category from either Swords or Greatswords to reach the Giga abilities. Erik should be progressing well on his Knives category and should by now have Sleeper Hit, Pursecutter and possibly the Poison variants of the same abilities however make sure you have learnt the Dual-Wielding abiltiy, this is very useful for Erik. After this, work on getting him Half-Inch before progressing towards the later abilities in that category.
Veronica should be well underway on unlocking either of your choices on the Heavy Wands or Vim categories, you can’t go wrong with either and there’s not many for her to choose from. Serena on the other hand should be progressing through her Wand category, you’ll want to make sure you have Alma Matter and Snap, Crackle, Poof by now to aid her healing spells. Finally, Sylvando should have Hustle Dance by now and should be your main group healer for boss fights due to it. After that, focus on getting him the Charm +40 ability (this boosts how much Hustle Dance heals for) which will reward him an additional bonus Skillpoints.
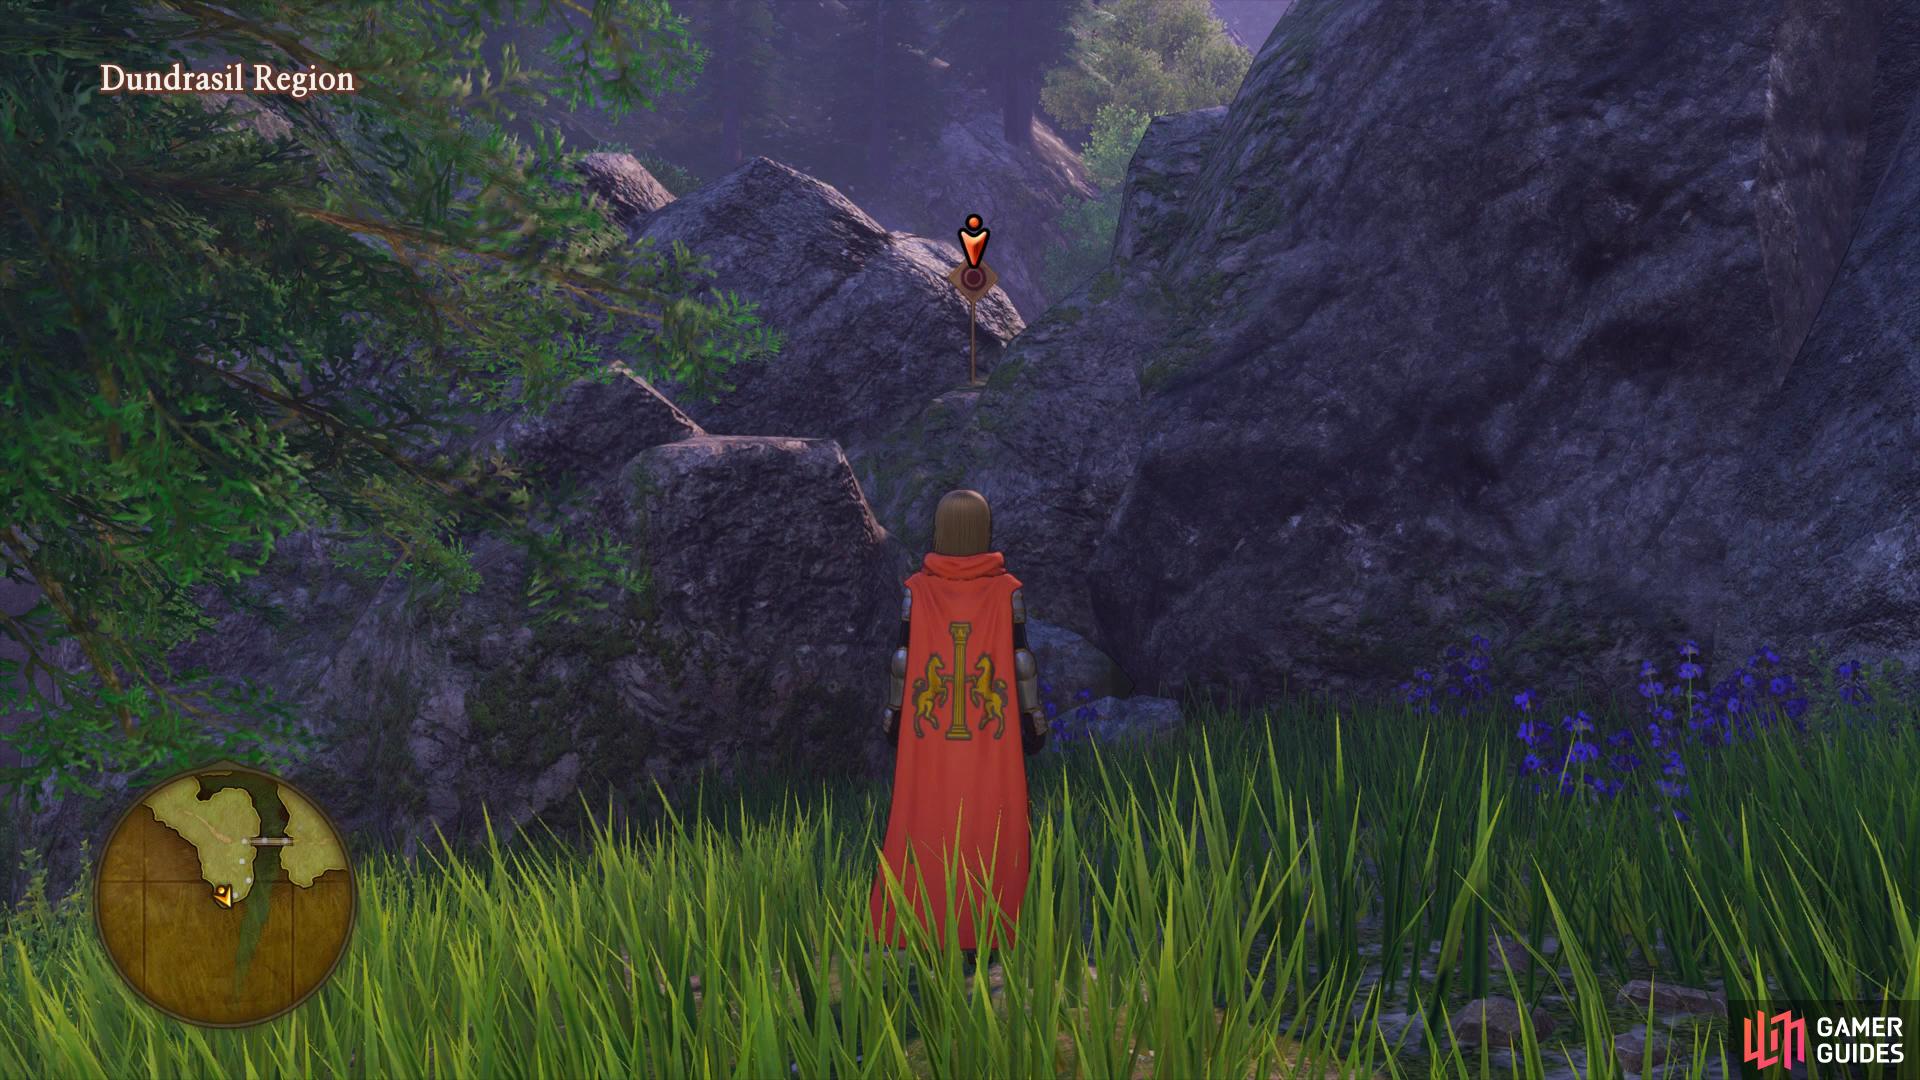
To begin your journey to the ruins, head south from Octagonia and take the west path followed by the south path when it branches off (the north path has nothing of value for now). Continue to another intersection and then go north once more to reach an open area, search the northeast corner here to find a Sparkly Spot containing a Silver Ore. Return to the previous intersection (the chest on the cliff is inaccessible for now) and follow it south to reach the open field.
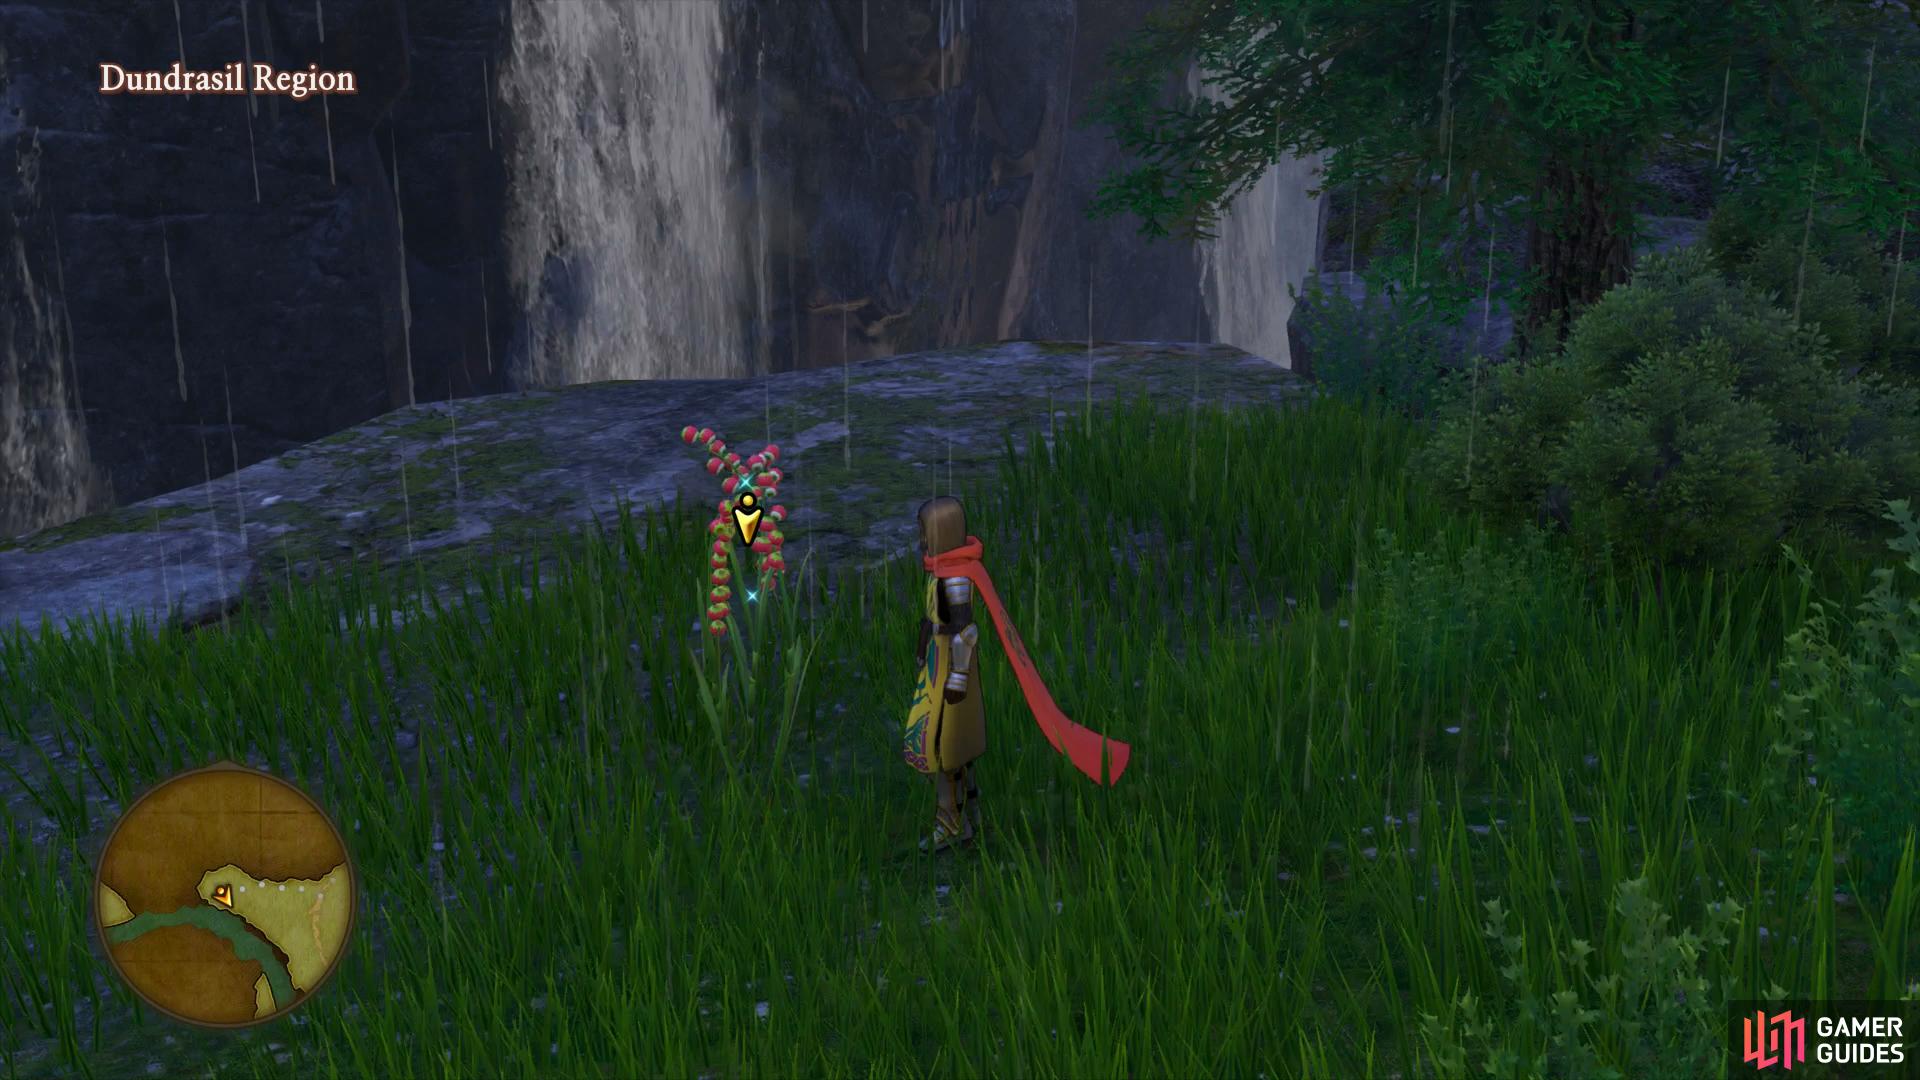
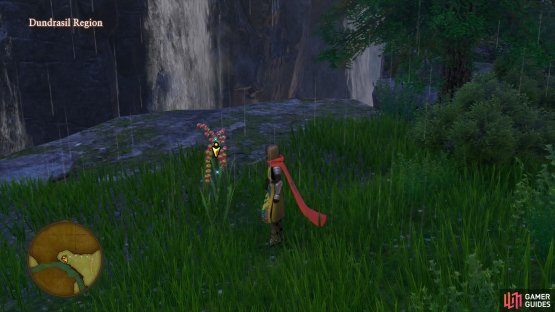

(1 of 2) You’ll find the Mellow Vera for Quest 12 in the north-west of Dundrasil
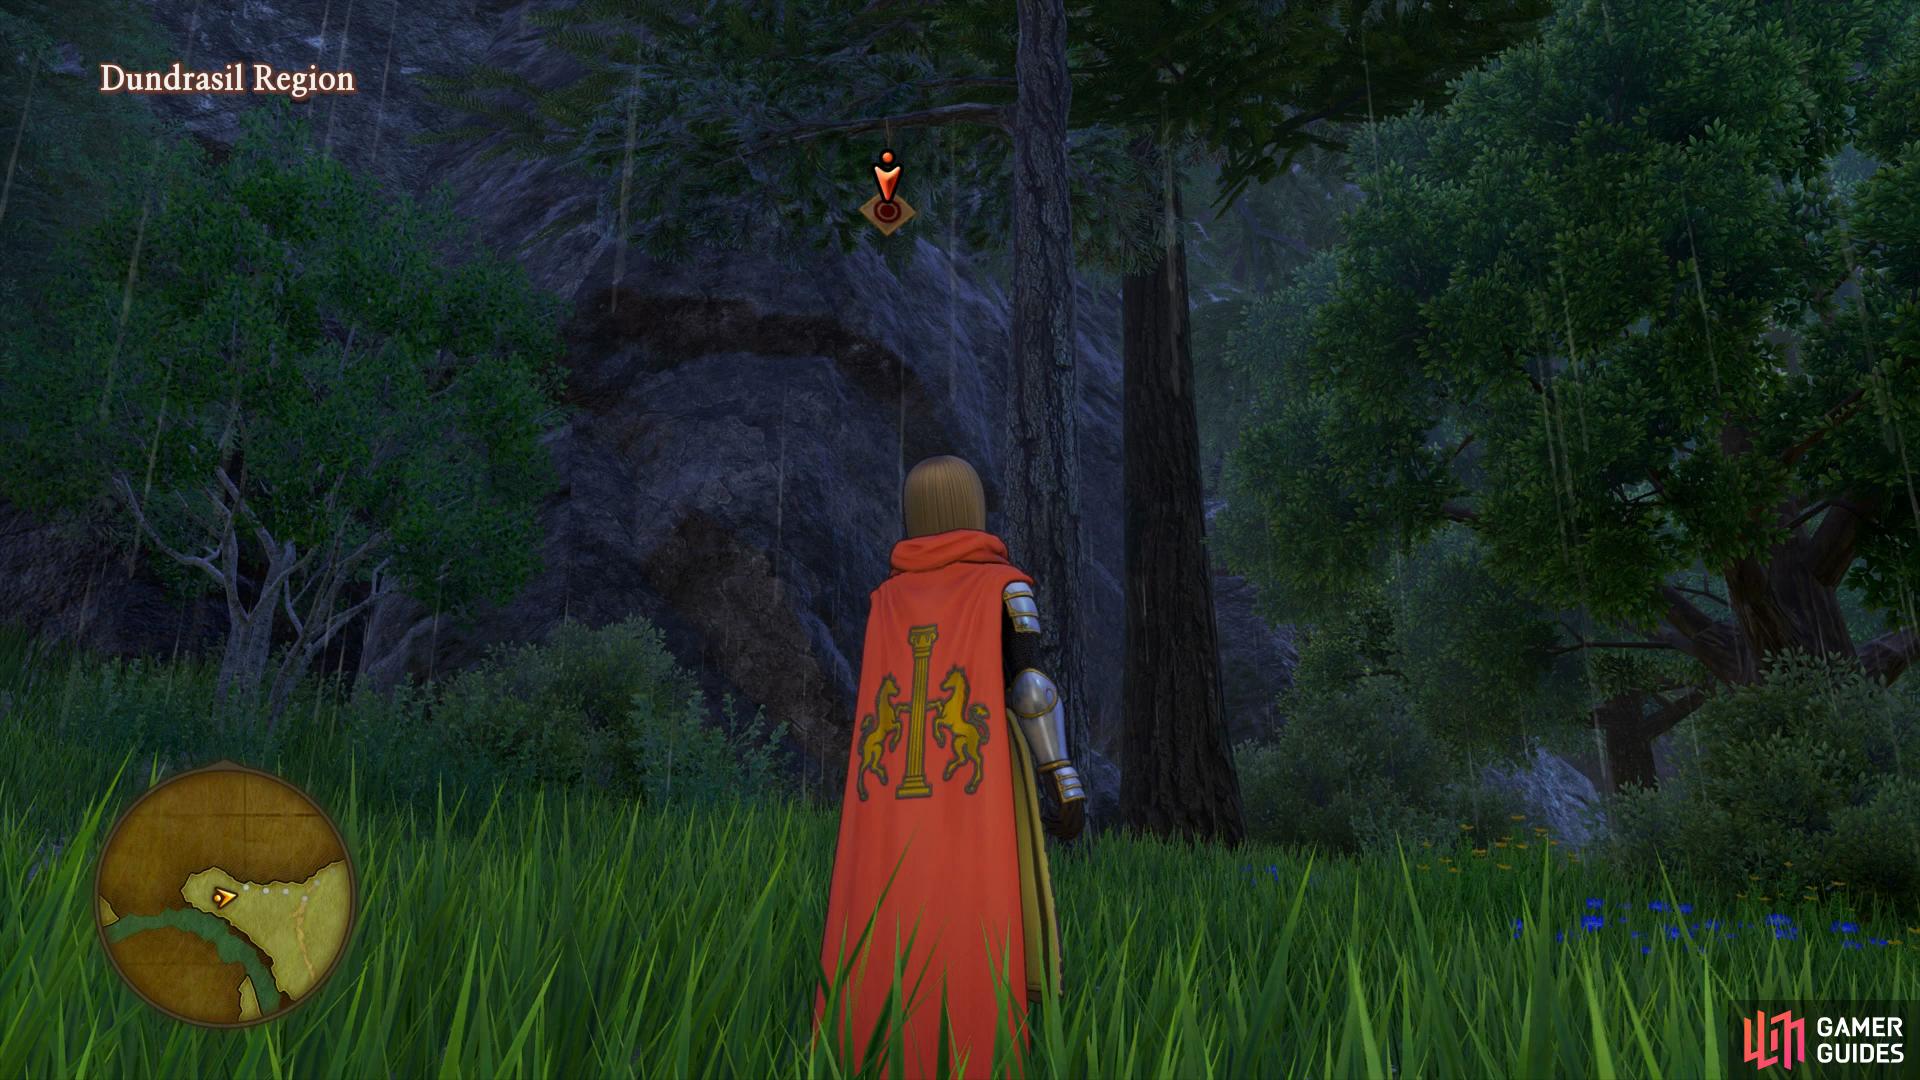
You’ll find the Mellow Vera for Quest 12 in the north-west of Dundrasil (left), along with the next Crossbow Target in a tree behind it. (right)
Hug the north wall here as you travel west, you’ll come across a Flower gathering point containing a Silkblossom, Faerie Fluff and a Butterfly Wing. Continue west along this wall to find another Sparkly spot with another Faerie Fluff and then check the nearby Flower gathering point (this will only be present if you accepted Quest 12 back in Octagonia) to receive the Mellow Vera that the man in Octagonia was seeking. Search the tree to the right of this to find another Crossbow Target hanging from a branch. Hold off on Zooming back until you reach the next Camp and use the Horknight to travel over the water to a smaller island to the west. On here you’ll find a Sparkly Spot containing another Silkblossom and a chest housing a Drasilian Sovereign.
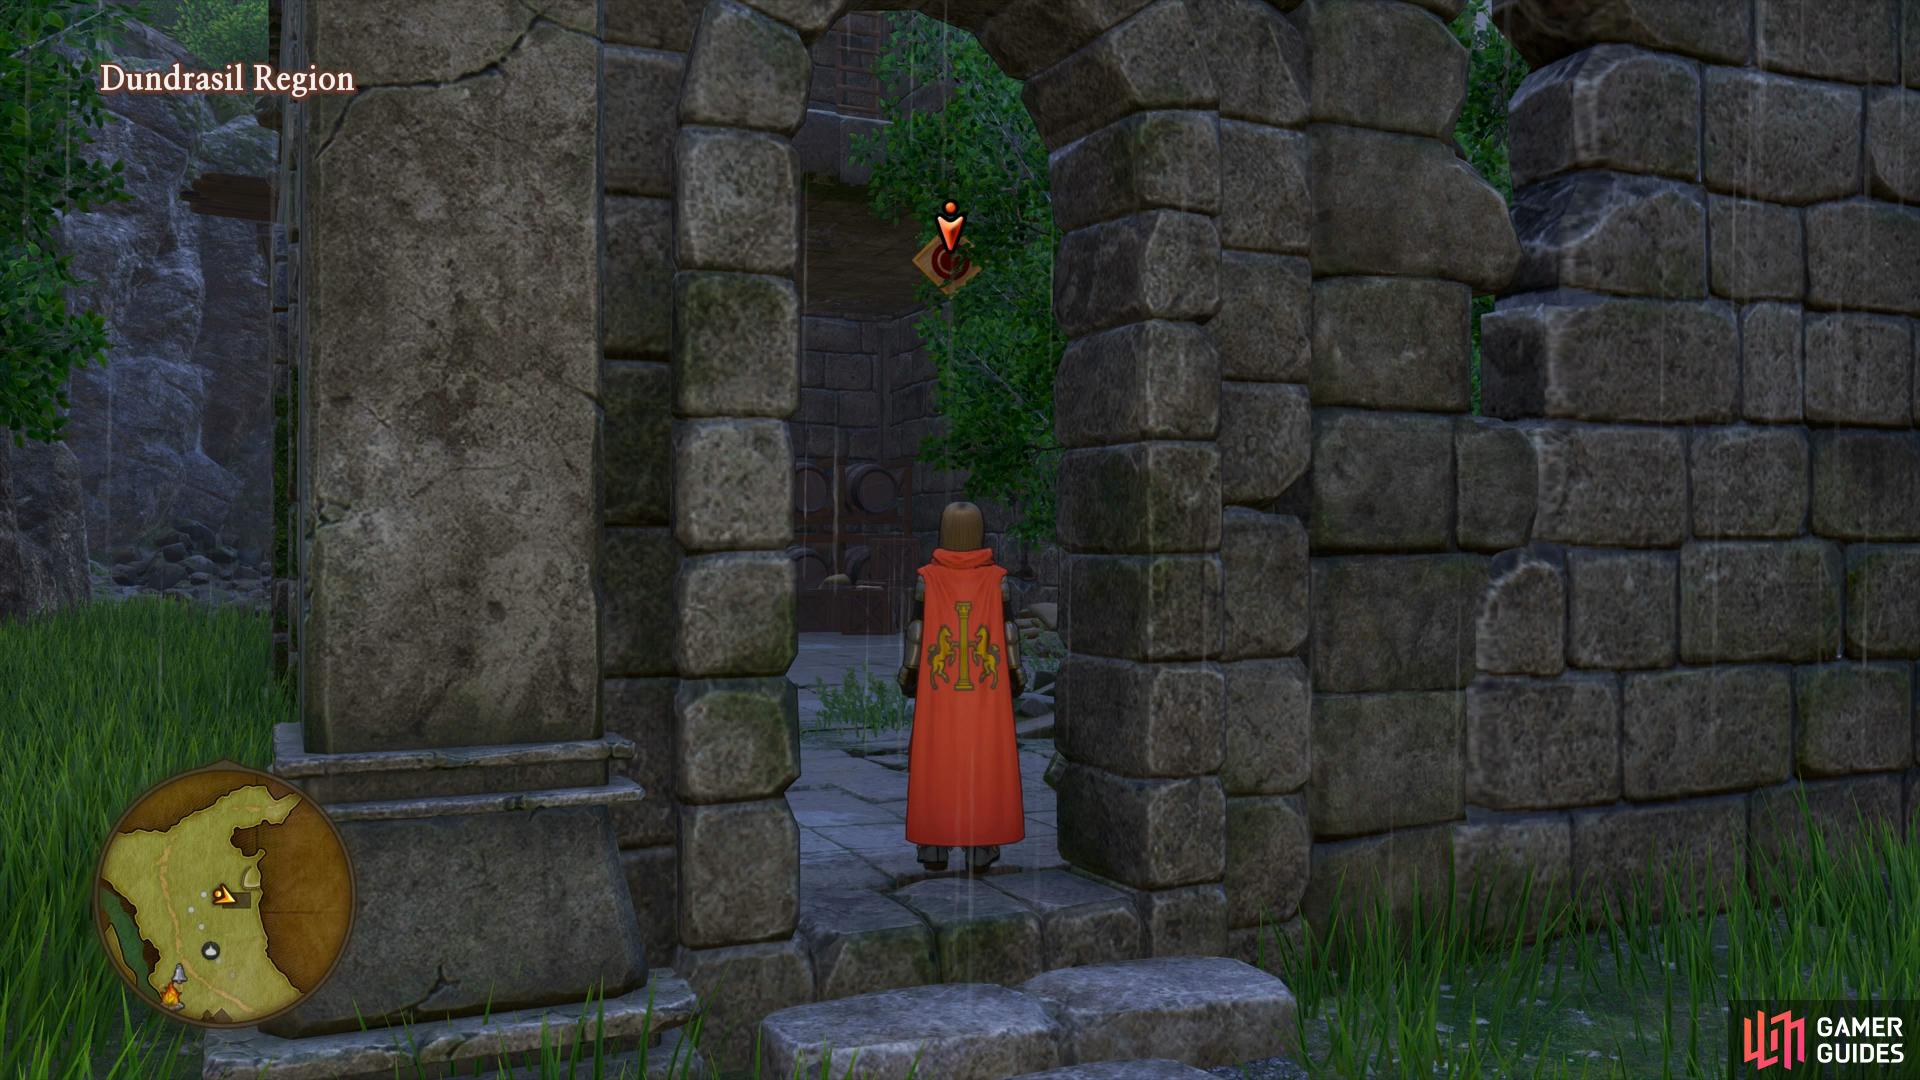
Before you return to the mainland, follow the river south and past the camp until you reach a small island under the bridge, there’s a Sparkly Spot here containing a Silkblossom. Return to land and head northeast to some ruins, there’s a chest hidden here where you’ll find the next Crossbow Target in the tree. Exit these ruins and climb up the small hill behind them to leap to the second floor. You’ll find a ladder here, ascend it to find a chest containing a Bandit Blade. Drop down now and make your way to the west to find a Camp.
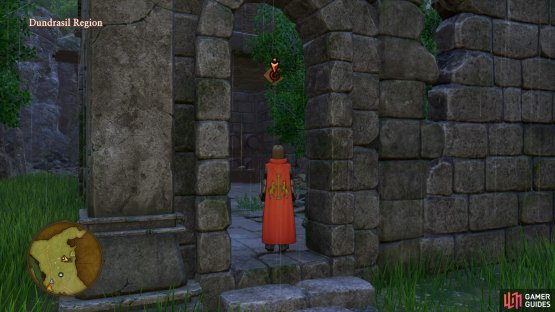

(1 of 2) Head to the ruins to the east of the Camp to find the next Crossbow Target
Head to the ruins to the east of the Camp to find the next Crossbow Target (left), then head around the back and onto the top to find a ladder leading to a chest. (right)
Once you’ve made camp, make a short trip back to Octagonia via Zoom to hand the item over to the man at the arena to complete the quest, as thanks you’ll receive another new Recipe Book. Zoom back to the Camp in Dundrasil and access the forge to create some new equipment. If you have Erik wielding two Knives then consider forging the Batterfly Knife for him, it will be useful especially at +3. Consider forging another Strength Ring for either of the Hero or Erik if you wish and then work on reworking any pieces of equipment you have equipped such as the Hero’s Black Blade if it was purchased from the shop in Octagonia. Finally, forge the Dapper Doublet and a Natty Cravat (accessory) for Sylvando to alter his appearance.
Outside the camp you’ll find the next Weather Cow, be sure to speak to it and pocket the Silver Ore by the river bank. Search behind the nearby ruins to the south to find another Sparkly Spot waiting for you containing a Royal Soil. Head northeast over to the other side to find one more Sparkly Spot containing a Butterfly Wing. A short distance to the southwest of this location are more ruins for you to plunder, head inside to find a chest housing a Staff of Rapidity (you should already have Veronica using this Staff).
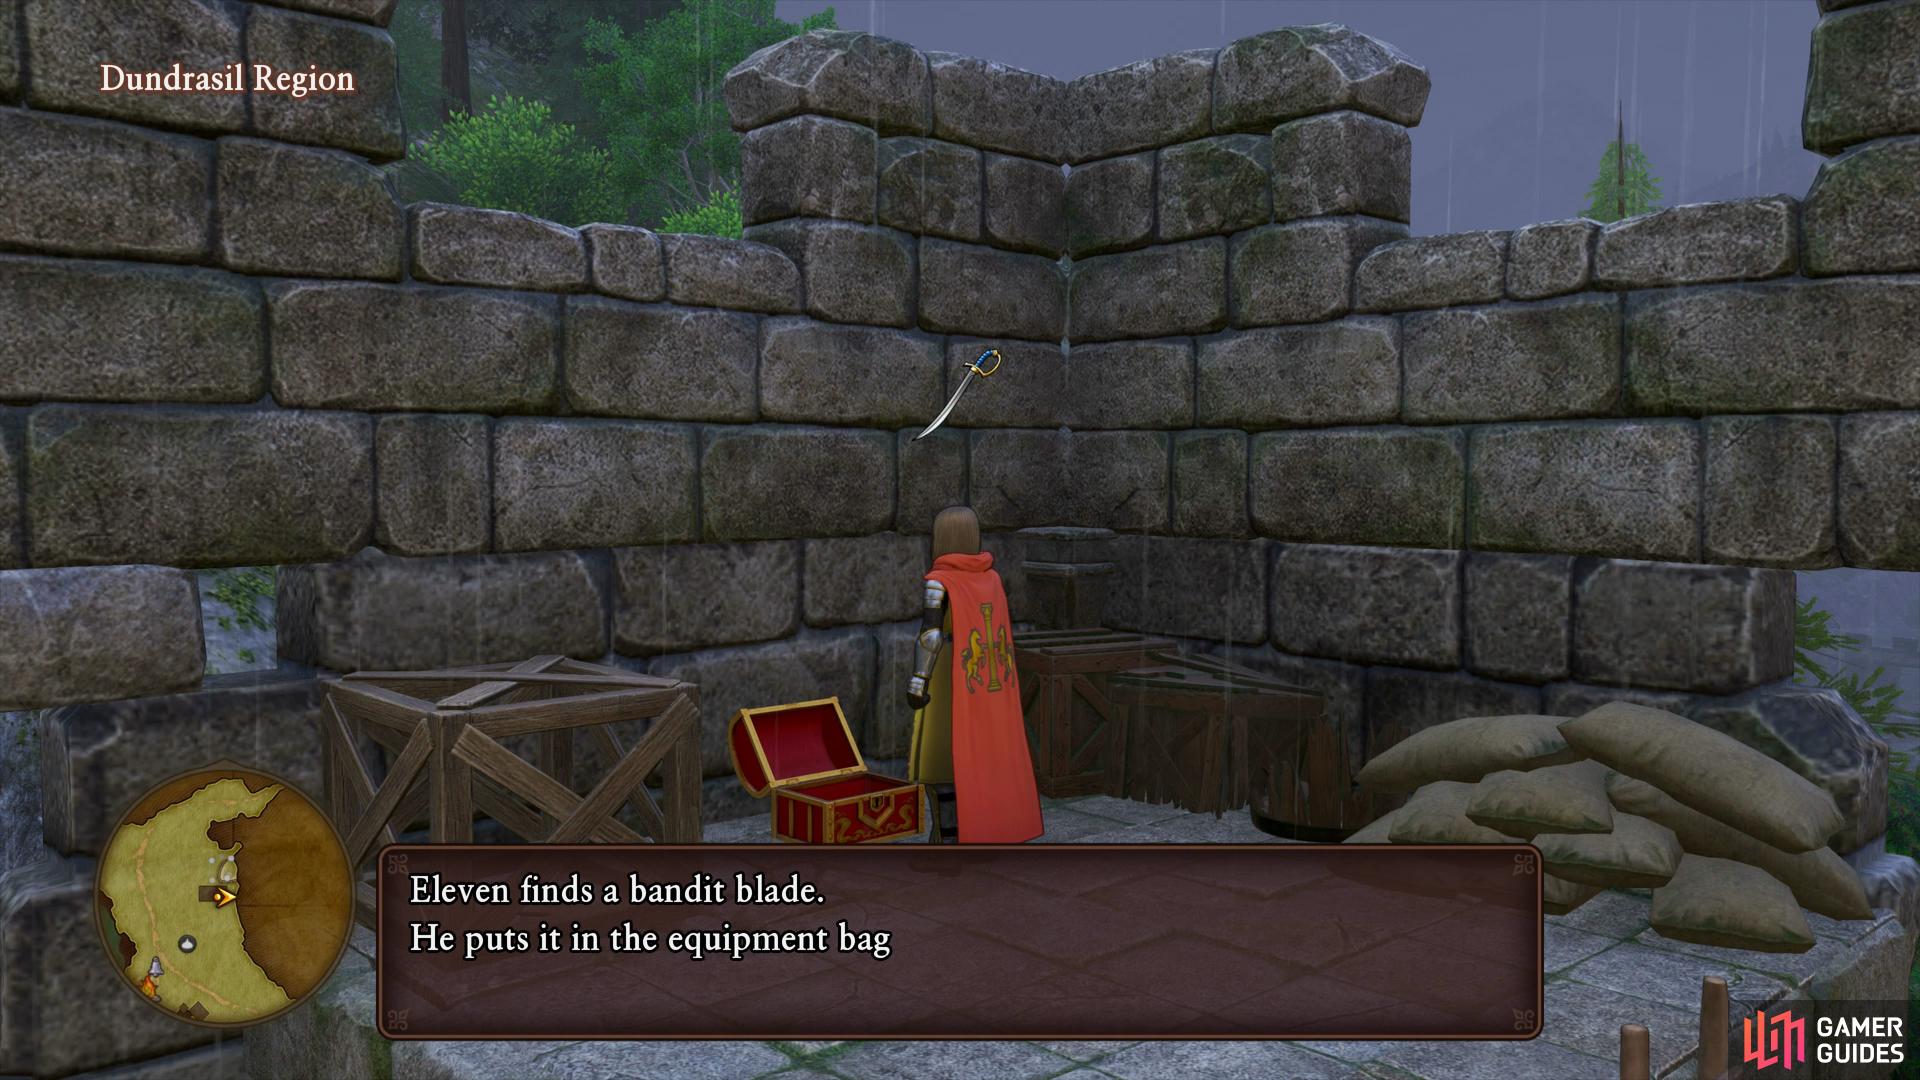
Continue your search around these ruins here and you’ll discover another Sparkly Spot in the corner to your south a little, this contains a Drasalian Shilling. Ignore the bridge leading over to the castle ruins for now, you still have business in this region. Search the large ruins to your south next, you’ll find a Sparkly Spot hidden in the southwest corner containing another Drasalian Shilling. You’ll notice two smaller ruins to the east of your position, check out the northern most one out. Climb the stairs at the back and use the crates to reach the higher floor, proceed to the balcony where a chest awaits containing a Seed of Life.


(1 of 2) Head to the back of the ruins to the east to find stairs leading to this chest
Head to the back of the ruins to the east to find stairs leading to this chest (left), the next Crossbow Target can be found in the southwest of the area. (right)
Head directly east from here to reach the eastern wall and you’ll come across a Tree gathering point containing a Flurry Feather, Buzzberries and a Sparkly Sap. The nearby door is locked for now, you’ll have to forego the tempting chest until later in your adventure so head south until you reach the south wall to find a Sparkly Spot containing a Faerie Fluff. The exit to the east leads back to the Zwaardsrust Region so ignore that and head northwest (ignore the bridge for now) to the cliff overhanging the river and loot the Sparkly Spot to obtain a Glass Frit.
Return to the bridge from a moment ago, cross over it and head south where you’ll find some rocks, look amongst them to locate the next Crossbow Target. Head northwest from here to find a small shack with a Goddess Statue outside, search the north side of the exterior to find a chest containing a Mini Medal. Zoom back to the Camp in this region to rest up and save your game. When you’re ready, head south to the bridge and cross over into the castle ruins.
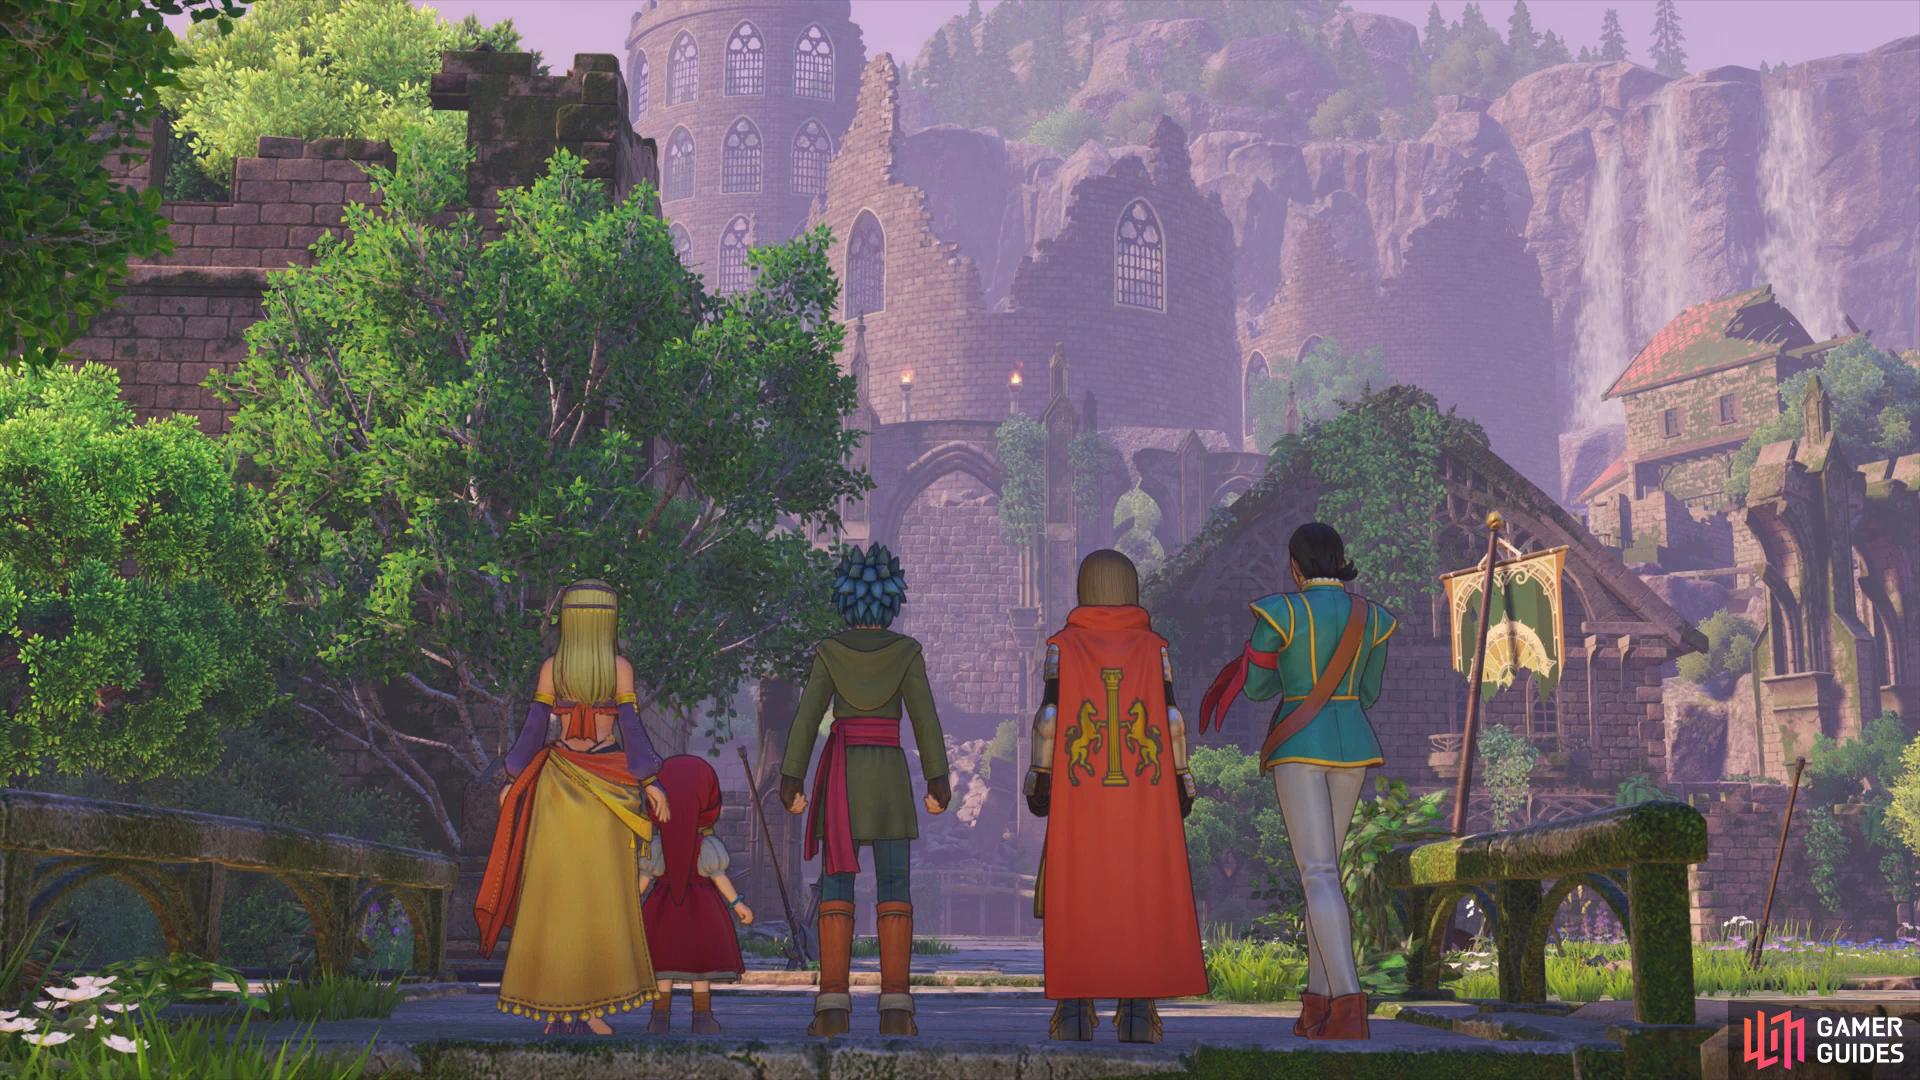
You’ve finally reached the Hero’s birthplace and the location where the opening movie took place. Monsters destroyed this kingdom over night along with the King of Heliodor’s Princess. Immediately upon entry of this area you’ll spot dragons lurking here, these are tough monsters but are well worth defeating, a single Green Dragon is worth 656 Exp and they drop useful materials too. They hit hard and their Flame Breath can hit the entire party too so don’t be too lax on your healing duties.
Head west along the path past the first ruined building and then head south to a bridge that you can cross to gain access to a Sparkly Spot holding a Magic Beast Hide. Head over to the northeast section of the ruins now to find a small path near the bridge that you can take to a ladder. At the top you’ll find some pots to smash containing a Mini Medal.


(1 of 2) The final target can be found in the northern ruined building
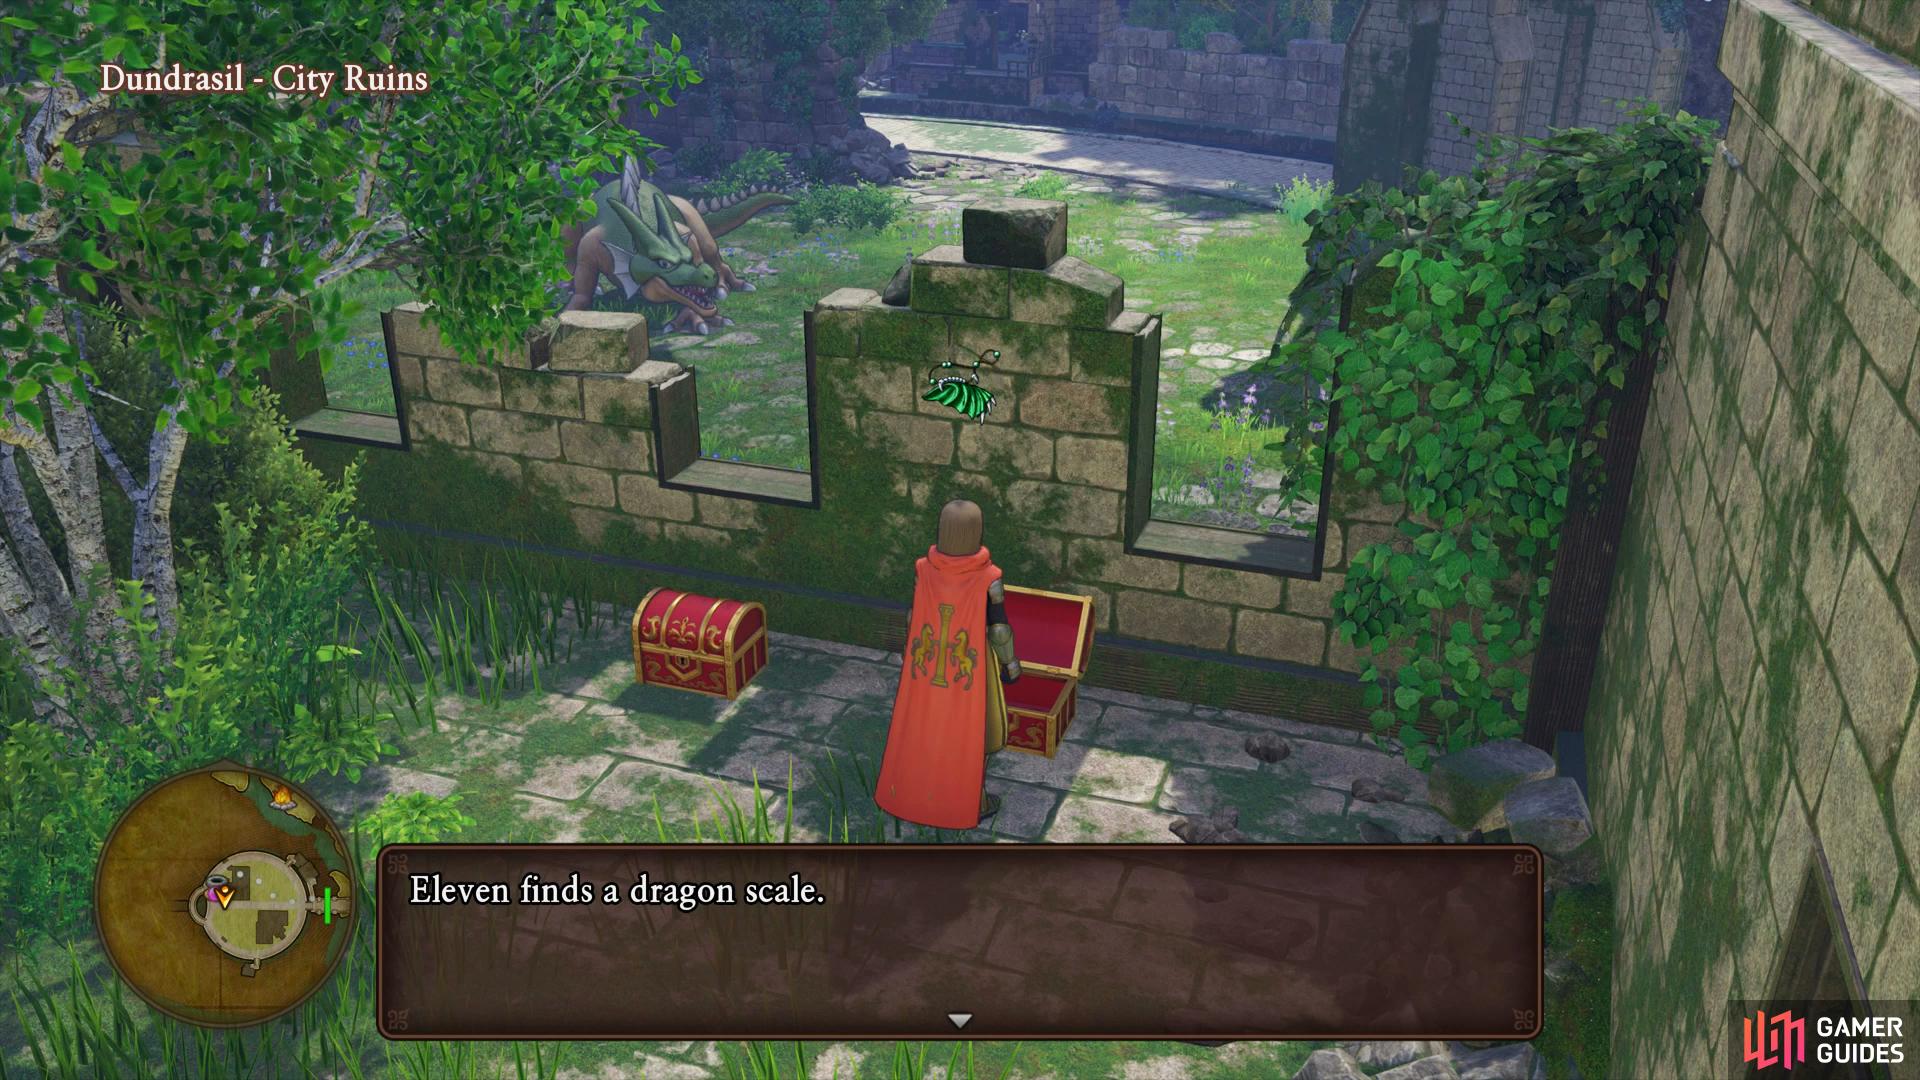
The final target can be found in the northern ruined building (left), the ever useful Dragon Scale can be found in the right of the two chests. (right)
Drop down to the ground and make your way over to the ruined building to the northwest. You’ll find a Sparkly Spot upon entering containing a Dragon Hide and then face the south wall to find the final Crossbow Target for this region. Exit out the bottom floor and head around to the north side to find some furniture and crates you can jump on to reach the higher floor. You’ll find the final two chests of the region up here, the left chest however contains a Cannibox, take care and defeat it to obtain a Seed of Skill. The other chest contains the very useful Dragon Scale, this accessory boosts both your Defense and Strength by 8 and 9 respectively, be sure to equip it on the Hero or Erik right away. Before you continue on, Zoom back to the Camp quickly to report your Crossbow Targets to the Bodkin Bowyer and obtain four Seeds of Defense. Make your way back to the castle ruins and head to the Slime near the well, speak to the friendly monster to discover the only way to reach the castle is through said well so heed the Slime’s advice and climb inside.
Ruins of Dundrasil
| Items | Area |
|---|---|
| Dress Like a Drasilian | South of the Gravestone, chest |
| Drasilian Sovereign | West of the Gravestone, barrel |
| Dundrasil Guinea | East of the Gravestone, pot |
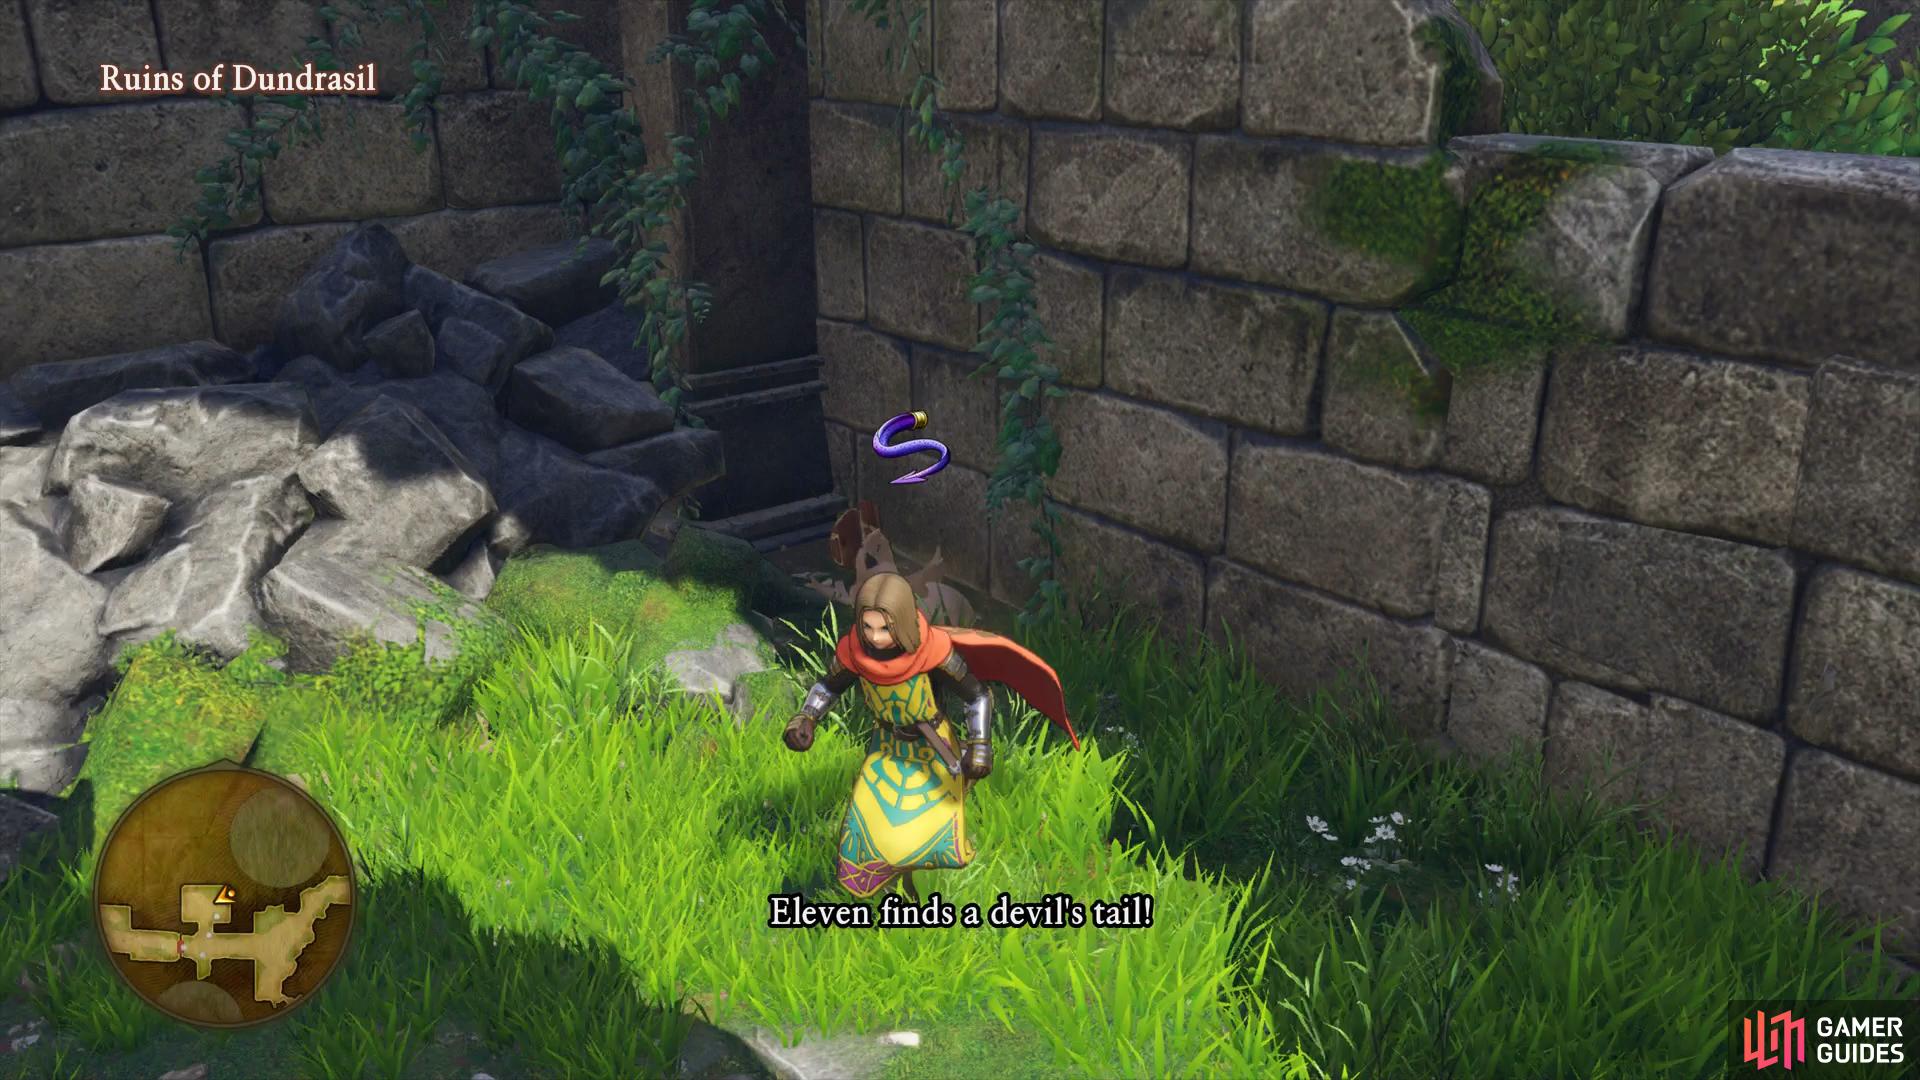
| Devil’s Tail | West of the Gravestone, pot |
| Sparkly Spots | Area |
|---|---|
| Strong Medicine | South of the Gravestone |
Follow the linear path and climb out of the well to find yourself in the Castle Ruins. There’s not much to these ruins, a lot of the area is destroyed beyond repair but there are a few items to snag. Head up the stairs to finally reunite with Rab once more to discover that Rab knows more about the Hero then he was letting on. Follow Rab as he let’s you in on more of the history of the Kingdom and he’ll take you to a gravestone. Here you learn of Rab’s true identity, the grandfather to the Hero and the father of the King and Queen of Dundrasil, the Hero’s parents. You also learn of the King of Heliodor’s sudden change of heart and declaration of the death of his daughter. As the mysteries continue to mount, Rab asks if you will help perform a ritual for all the souls of the Kingdom.
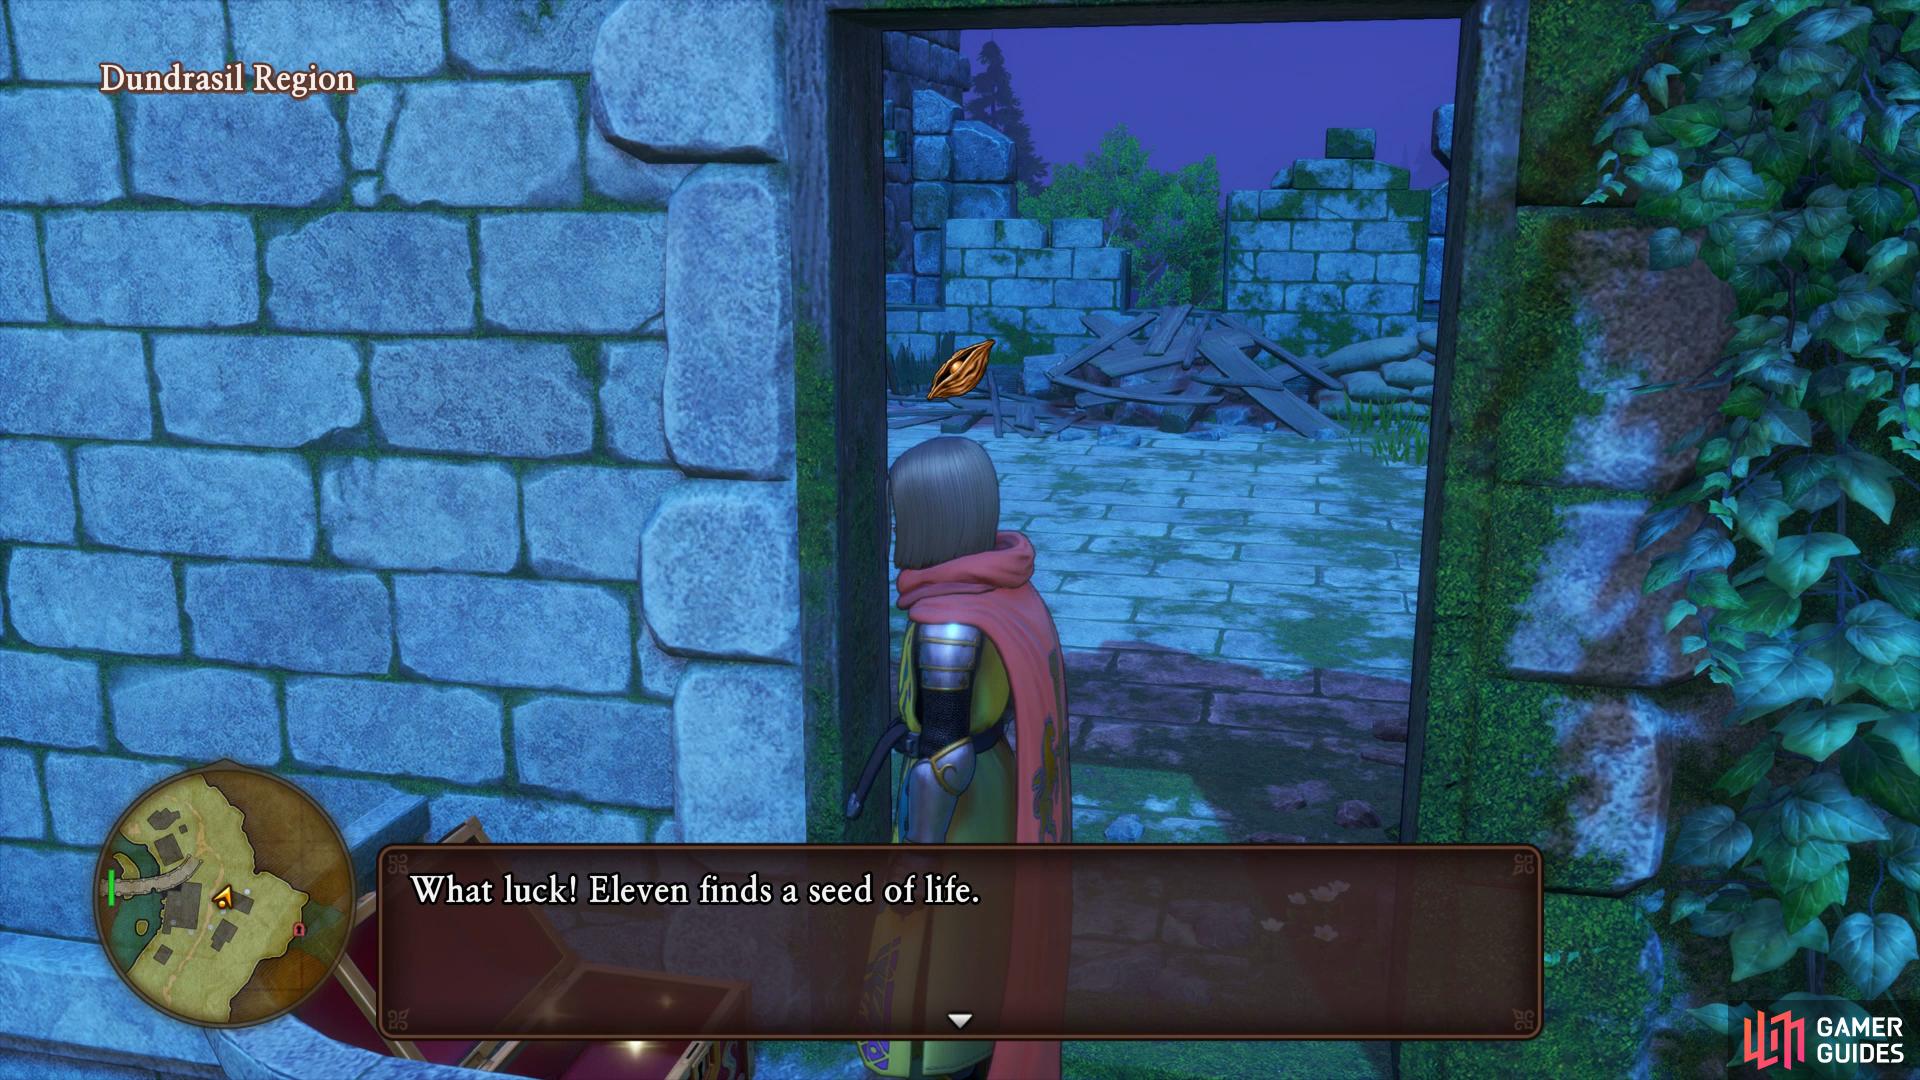
Before you follow however, Return to where Rab stopped you previously and search behind the archway to find a pot containing a Dundrasil Guinea. Head south from the Gravestone to find a Sparkly Spot containing a Strong Medicine and then duck under the fallen pillar to find a chest containing your next Recipe Book, Dress Like a Drasilian which will allow you to forge new appearance altering armor for the Hero. Return to the main path and continue along it until you reach the open door near where Rab is waiting. If you search the south wall you’ll find a barrel with a Drasilian Sovereign inside and then check the north building to find a pot containing a Devil’s Tail, an accessory that protects against Curse and Dark elemental attacks.
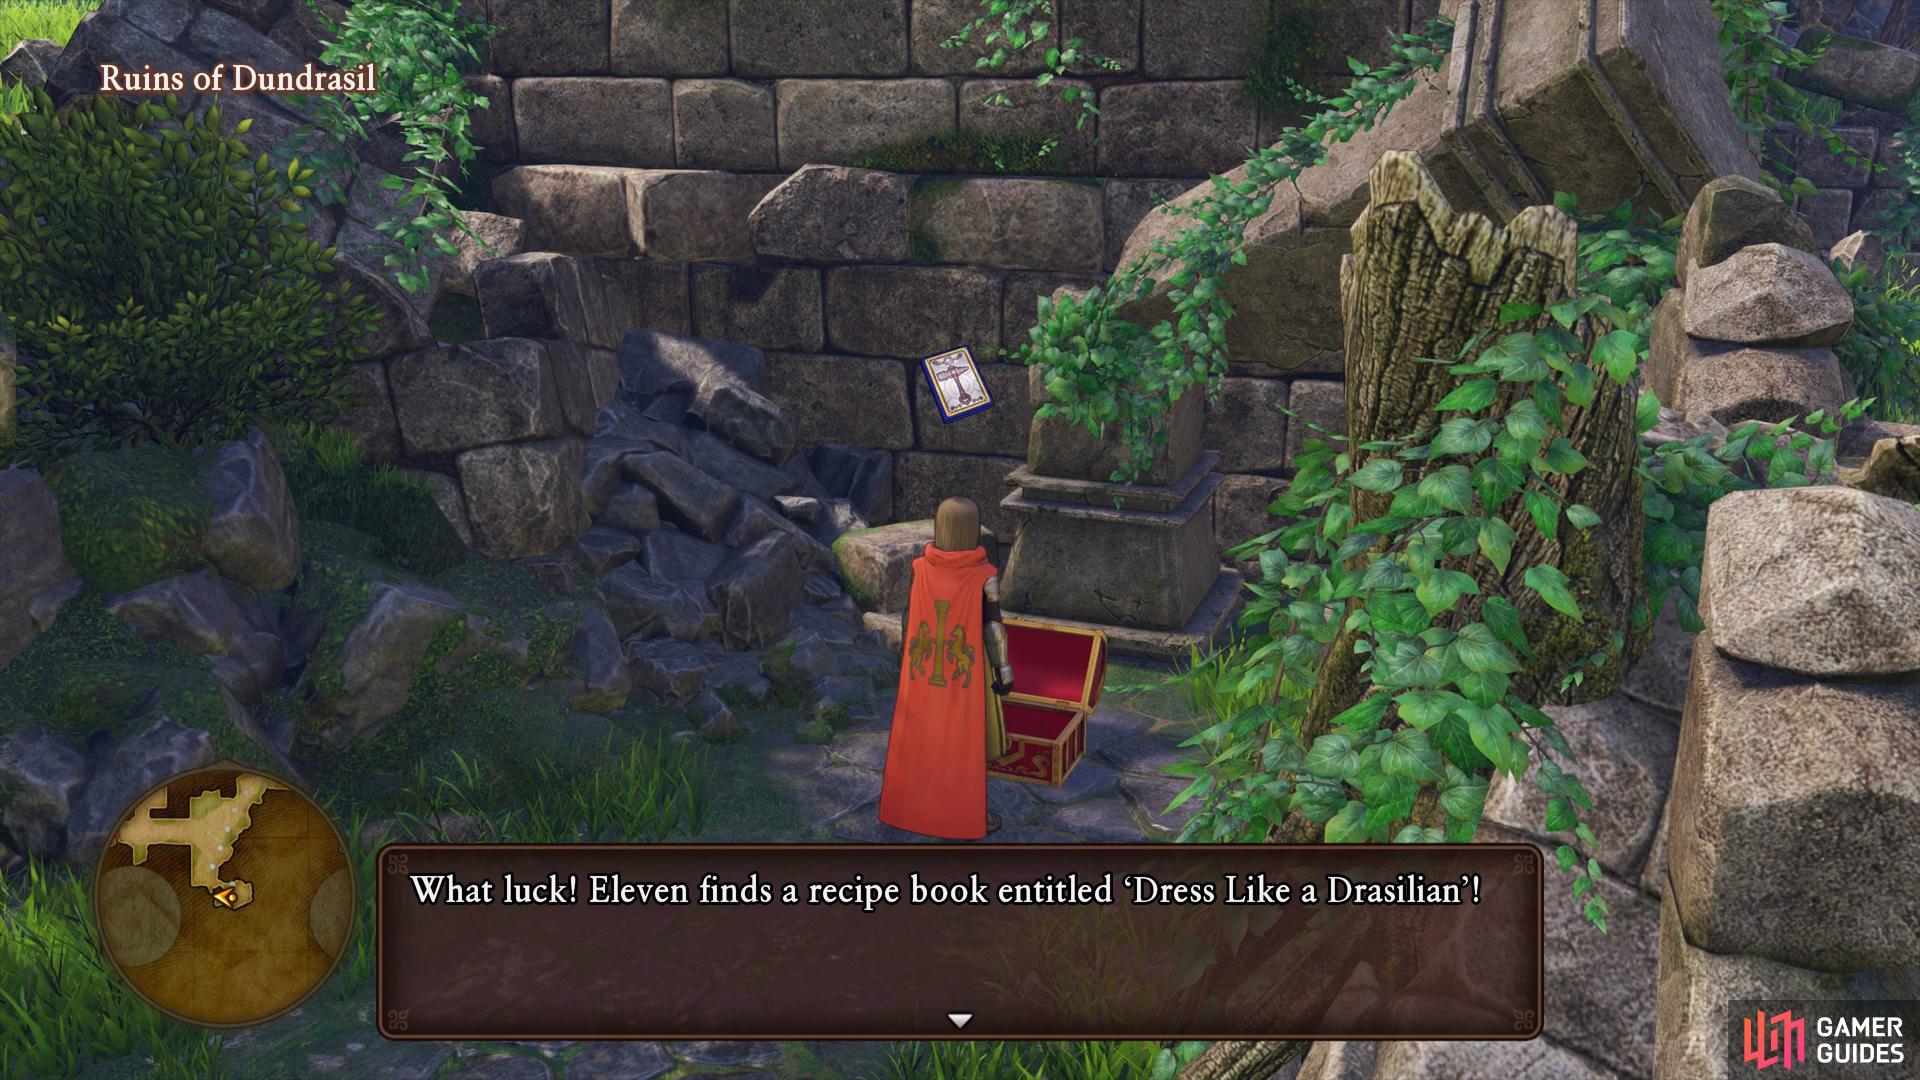

(1 of 2) Search under the fallen pillar to the south to find a costume based Recipe Book
Search under the fallen pillar to the south to find a costume based Recipe Book (left), before you make your way up the mountain path, smash the pot in the north building. (right)
Return to following Rab and head up the hill where you’ll meet up with Jade once again. Watch the revealing scenes that follow as you learn more about Rab and the Hero. Once you regain control, make your way back down the hill to meet with Jade where she’ll recount her memories with the Queen. Your touching conversation is interrupted when Jade spots some Heliodor soldiers, rush back to the top of the hill to inform your comrades when you’ll find yourself cut off from them. In the confusion, a soldier is alerted to your presence and a group gathers to attack. Jade dispatches them with ease however one escapes to alert General Hendrick, quickly make your way back down the hill in attempt to reunite with the others. General Hendrick catches up to the duo and the following encounter yields yet more answers regarding Jade.
Following the events you’ll awake in the small hut to the southwest of the castle ruins. As you attempt to leave, Jade returns with firewood to stoke the fire, the two of you are soaking still from your escape. Jade reveals all about her identity and the journey that her and Rab have been on ever since. Once morning rolls around, leave the hut and save your game at the nearby Goddess Statue. Make for the nearby bridge and attempt to cross it (if you wish to fight any battles, Jade is actually a Guest at this moment in time) to find yourself cut off by Hendrick once more. The duo manage to escape after a clash of blows between Jade and Hendrick and you’ll find yourself back at the castle ruins once more.
Make your way over to your party gathered near the castle to reunite with them. More mysteries become clear, the fiend that you’ve seen referred to constantly has a name, Mordegon and is the darkness behind everything including the King of Heliodor’s ruthless nature. You finally obtain the Rainbough and Rab and Martina will join the group at last to help find a way to the Yggdrasil.
Jade’s Playstyle

Jade is a monster when it comes to physical damage, she has access to Claws and Spears as her weapons and you really want to focus on Spears as she can rack up some impressive damage with them. On top of that she has access to the Allure and Fisticuffs categories so there’s a lot of abilities to choose from.
In terms of her Character Builder, you want to focus on the Spear category from the outset. Start with Cattle Prod and work your way to Thunder Thrust, an ability that has a chance to perform a Critical hit or miss, very useful for killing Metal Slimes. You’ll want to make your way over to Party Pooper after for a great group damaging ability and then finally Multithrust once you unlock it in the center. Jade is someone who you’ll usually find in your party at all times.
Rab’s Playstyle
Rab is Dragon Quest XI’s Sage and is more useful than Serena for a large part of your adventure. He has access to Heavy Wands and Claws along with the Enlightenment category. Heavy Wands are by far the best choice for Rab as magic is his strongest aspect and he gets some excellent spells.
Focus on Heavy Wands early on as the Enlightenment tree early game focuses more on passives and there’s some great abilities to grab in Heavy Wands. Work on getting Antimagic and Staff of Salvation followed by Zing Stick to give him some great utility. Following these you can head to the Enlightenment tree to pick up some useful passives.
Once you’ve equipped your new party members and used their skill points, head for the exit where Erik will discover that the Rainbough has lit up and displays a vision for the group. An altar in the sky, six colored Orbs and a pathway to the Yggdrasil, the branch has just provided the answer the party was looking for. Erik hands over the Red Orb that was stolen from Heliodor and Rab hands over the Yellow Orb that was presented to them for finishing second in the tournament. Two down, four to go however the group have no leads on anymore Orbs, Rab suggests to travel through the Puerto Valor to access the outer sea.
No Comments