
| Items | Area |
|---|---|
| Mini Medal | East path, chest |
| Forging Ahead with the Fun-Sized Forge: A Beginner’s Guide | From Erik at the Camp |
| Economics of Scale | Camp, in the hut, chest |
| Copper Ore x2 | Camp, in the hut, pot |
| Small Scale | Camp, in the hut, pot |
| Copper Ore x2 | Camp, outside the hut, barrel |
| Fresh Water | Camp, outside the hut, barrel |
| Flintstone | Camp, outside the hut, barrel |
| Single Phial | Southeast of Camp, chest |
| Perfectionist Pearls x5 | Heliodor Region, east cave, chest |
| Sparkly Spots | Area |
|---|---|
| Wakerobin | South of Merchant |
| Antidotal Herb | South of first log bridge |
| Small Scale | East path |
| Antidotal Herb, Wakerobin, Cottontop | Flower gathering point, east path |
| Buzzberries, Flurry Feather, Pink Pine | Tree gathering point, south of Camp |
| Copper Ore x2, Flintstone | Ore gathering point, south of Camp |
| Small Scale | Southeast of Camp |
| Monsters | HP |
|---|---|
| Smog | ~25 |
| Great Sabrecat | ~19 |
| Funghoul | ~18 |
| Stump Chump | ~19 |
| Dancing Devil | ~19 |
| Lips | ~23 |
| Sham Hatwitch | ~19 |
| Leafy Lampling | ~22 |
| Bubble Slime | ~22 |
Shortcut through the Jungle
Your journey back to Cobblestone has taken a different route, you’ll need to take the shortcut (if you can call it that) through The Manglegrove if you’re to beat Hendrick to Cobblestone. As you walk south from the entrance you’ll spot a merchant, speak to him to check out his wares. There’s not much new here in terms of equipment, there’s a new Boomerang for Erik if you’re using them on him and you can also grab him a Pointy Hat if you wish. Note also that this merchant sells a few materials in the form of Flintstones, Small Scales and Fresh Water which will be of some use very shortly.
The monsters of The Manglegrove are similar to the ones you encountered back in the Heliodor Region with a few exceptions. The Dancing Devils can make your characters dance causing you to miss a turn while they’re getting down to the imaginary music. Lips are weak monsters that shouldn’t pose any threat at all but Sham Hatwitches can be tricky if you’re not careful as they have the ability to cast Flame Breath causing fire damage to both party members. Leafy Lamplings will counter any attack you throw at them but otherwise pose little threat and finally the Bubble Slimes can inflict poison on you, hopefully you have lots of Antidotal Herbs on you.


(1 of 2) talk to every cow you come across (yes, really) as they’ll not only tell you the weather for the next day but also unlock a Trophy eventually.
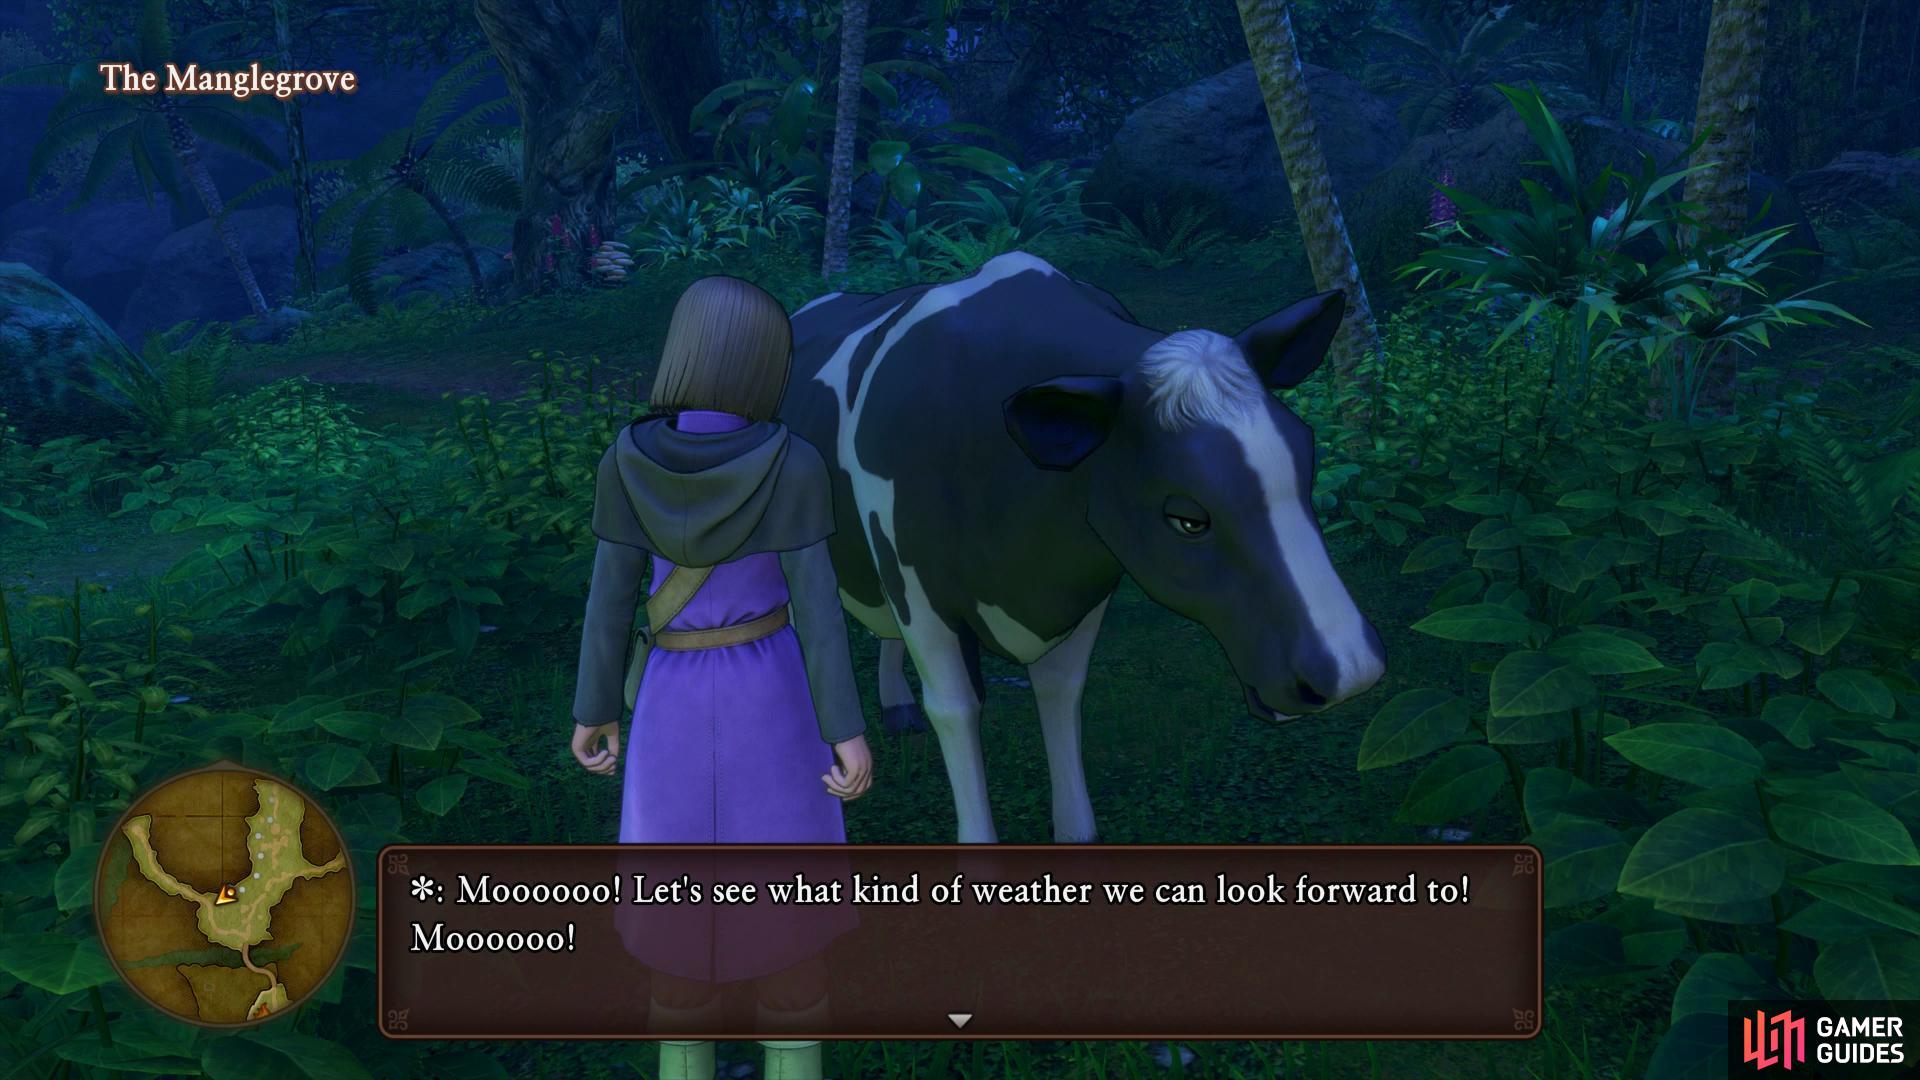

talk to every cow you come across (yes, really) as they’ll not only tell you the weather for the next day but also unlock a Trophy eventually. (left), Beware of Dancing Devils dance moves, he can put a character out of action (right)
Continue south to the first open area, you’ll spot your first Sparkly Spot behind the stone column containing a Wakerobin. Continue across the bridge and keep to the right, the next Sparkly Spot is here by a tree containing an Antidotal Herb. As you round the corner in this open area, look for a Cow in the northwest section and speak to it. These helpful Cows will give you a weather forecast on the current region and on top of that, will unlock a Trophy after speaking to 10 different Cows.
The west path leads to a dead end for now so take the east path and follow it until you reach the next open area, search the ground to the left as you enter this area to find another Sparkly Spot containing a Small Scale. Continue along this path and climb the ledges to find a Flower gathering point containing Antidotal Herb, Wakerobin and a Cottontop. You’ll also find a chest on the ledge sticking out containing another Mini Medal.
The Fun-Size Forge
Head back to the center intersection and head south across the bridge, don’t be alarmed about falling off to where the Gigantes are, you won’t be able to reach that area for a while yet. Erik will welcome the nearby camp and take the chance to rest. As he reminisces about his partner he remembers a treasure they borrowed a long time ago, the Fun-Size Forge, a tool you can use to forge new pieces of equipment. Of course to make use of it you’ll need not only the materials but also a Recipe Book which Erik kindly hands one over to you. This book will teach you the recipes for Bronze Swords and Divine Daggers. You’ll also discover that you can find more Recipe Books all over the world so be sure to check out every bookshelf you come across now.
You’ll get a tutorial on how forging works now before being prompted to forge something from the Recipe Book that Erik gave you. You can forge Weapons, Equipment and Accessories at the forge and provided you have the materials and recipes, is the best way to outfit your party in Dragon Quest XI. Even old equipment is not useless, you can rework them with the Perfectionist Pearls you receive for successfully creating a piece of equipment. This lets you raise the stats on a piece of equipment that you’ve been using previously. Go ahead and choose a weapon to forge, if your Hero is using Greatswords then ignore the sword and forge the Divine Dagger for Erik instead. You’ll need a Copper Ore and a Fresh Water to go ahead with the creation.
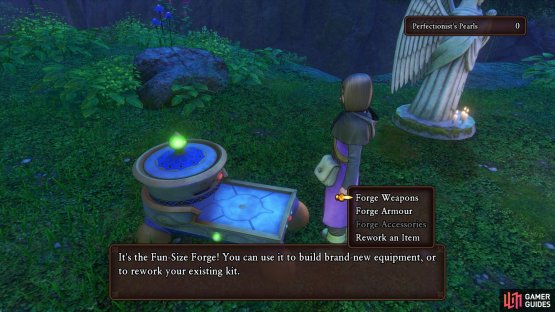
(1 of 2) You can forge all manner of items every time you camp
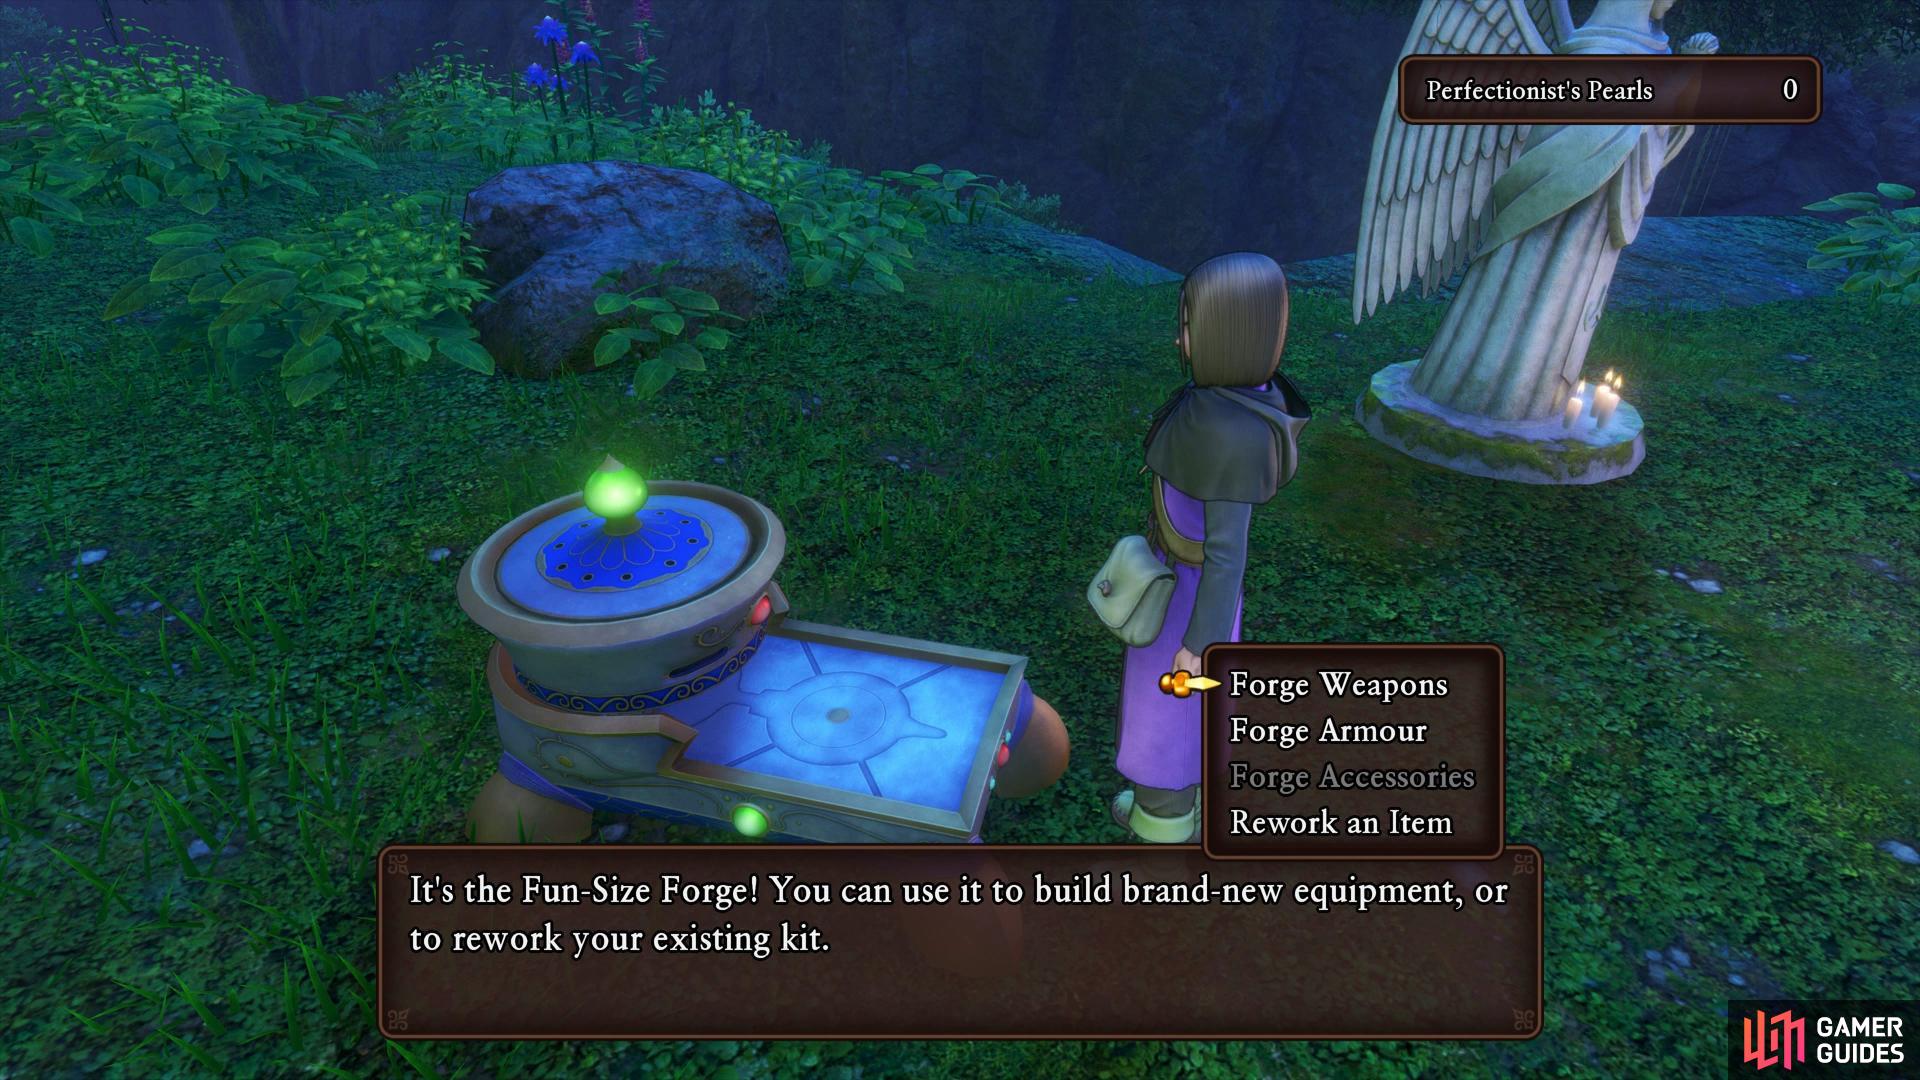

You can forge all manner of items every time you camp (left), for now you can only do a simple bash but later on you’ll be able to apply flourishes to help you reach the diamonds on the bar. (right)
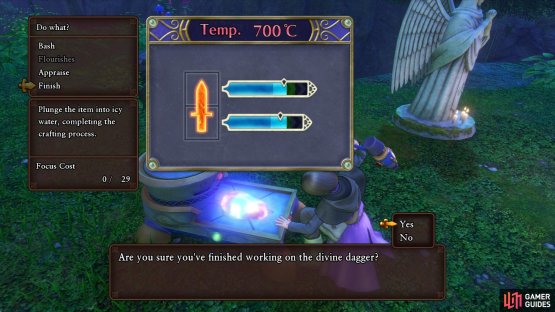
You’ll now be taken to the creation screen where you’ll need to bash the materials into shape. You’ll see at the bottom how many focus points you have to play with and you’ll want to aim for the green sections of the gauges, this will increase the quality of the equipment you’re creating. For now all you can do is simply strike at each gauge however later in the adventure you’ll be able to use Flourishes with special properties. Once you’ve reached the green area for each gauge (and hopefully landed on the diamond) then finish up to complete the forging process. If you had at least one in the diamond area then you’ll most likely create a +3 version of the weapon and receive three Perfectionist Pearls.
The next tutorial will clue you in on their usage, when you successfully complete a craft you’ll obtain a number of pearls based on the quality of your craft. You can then take these pearls to rework a piece of equipment and enhance it further with the peace of mind that the equipment won’t be lost if you fail the reworking process. If you have the pearls on you, try to enhance the Hero’s Greatsword, this will make the next couple of areas a lot easier.
The next morning be sure to equip Erik with the new Dagger you created, this has the added bonus of increased damage against Zombie type enemies. Save your game if you need to and then head into the nearby hut to find a chest containing the Economics of Scale Recipe book along with some pots containing two Copper Ores and a Small Scale. Return to the camp and use the forge once more, you should hopefully have the materials to forge some Scale Armor for the Hero along with the Scale Shield for him if you’re using Swords (remember you can purchase Small Scales from the Merchant to the north of the area).
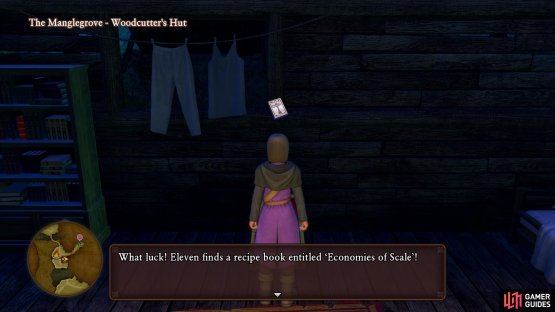
(1 of 2) Head inside the Cabin to find a chest with another Recipe Book


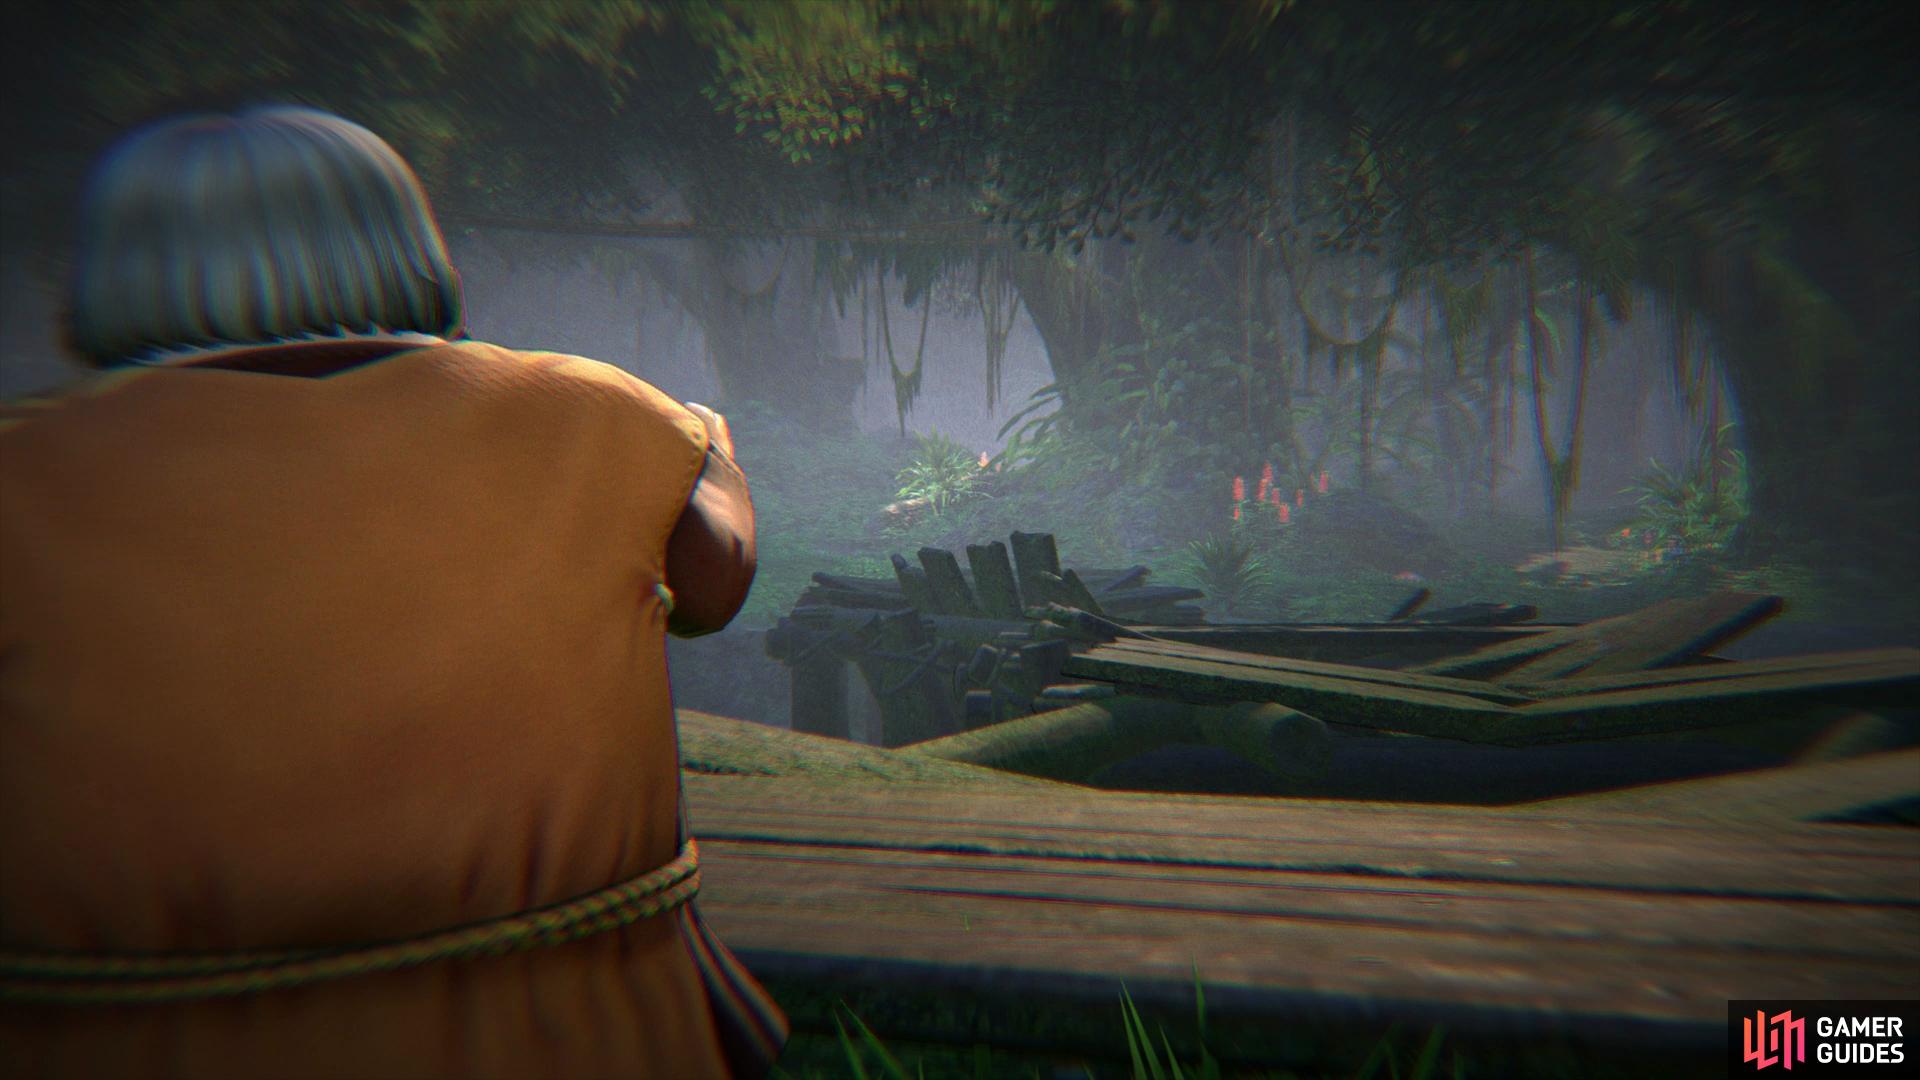
Head inside the Cabin to find a chest with another Recipe Book (left), behind the Cabin you’ll find a root which will show you events from the past. (right)
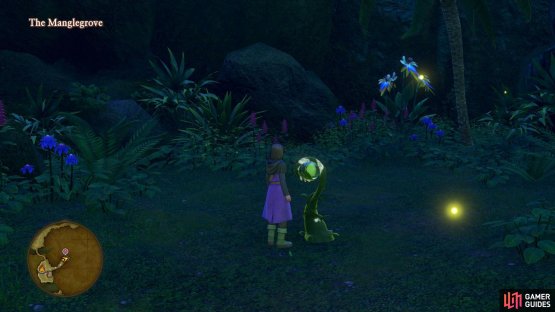
With all of that forging out of the way, head east to spot a dog whining who will then proceed to follow you around. Break the barrels next to him to obtain two Copper Ores, a Flintstone and some Fresh Water. Follow the path to the east to spot a strange root that seems to react to the Hero’s mark on his hand, hold out your hand. You’ll get a glimpse into the past where Tricky Devil turns the poor Woodcutter into a dog due to him fixing the bridge, a bridge you need to use to exit The Manglegrove. You’ll need to track down the chest that the monster hid in if you’re to restore the Woodcutter.
Return to the large area in the center of the jungle and this time take the west path you ignored earlier to find the chest. Following it’s poor attempts at trying to surprise you the Tricky Devil will instead launch an attack on you. Think of this as more of a mini boss, it has slightly more HP (145) than regular encounters but is not as dangerous as a boss. You’ll want to keep your HP above 20 as he can hit you with group attacks and keep in mind that the battle could drag on if it decides to heal himself constantly.

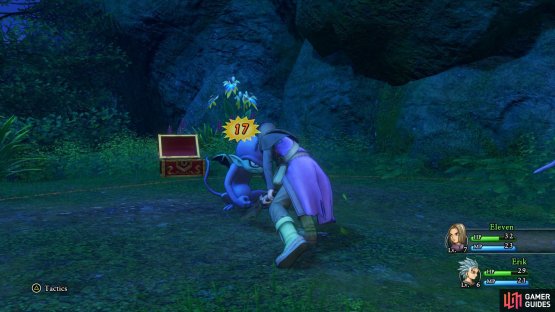
(1 of 2) Sizz will hit both characters for around 15 HP, be sure to keep your HP above 20 at all times
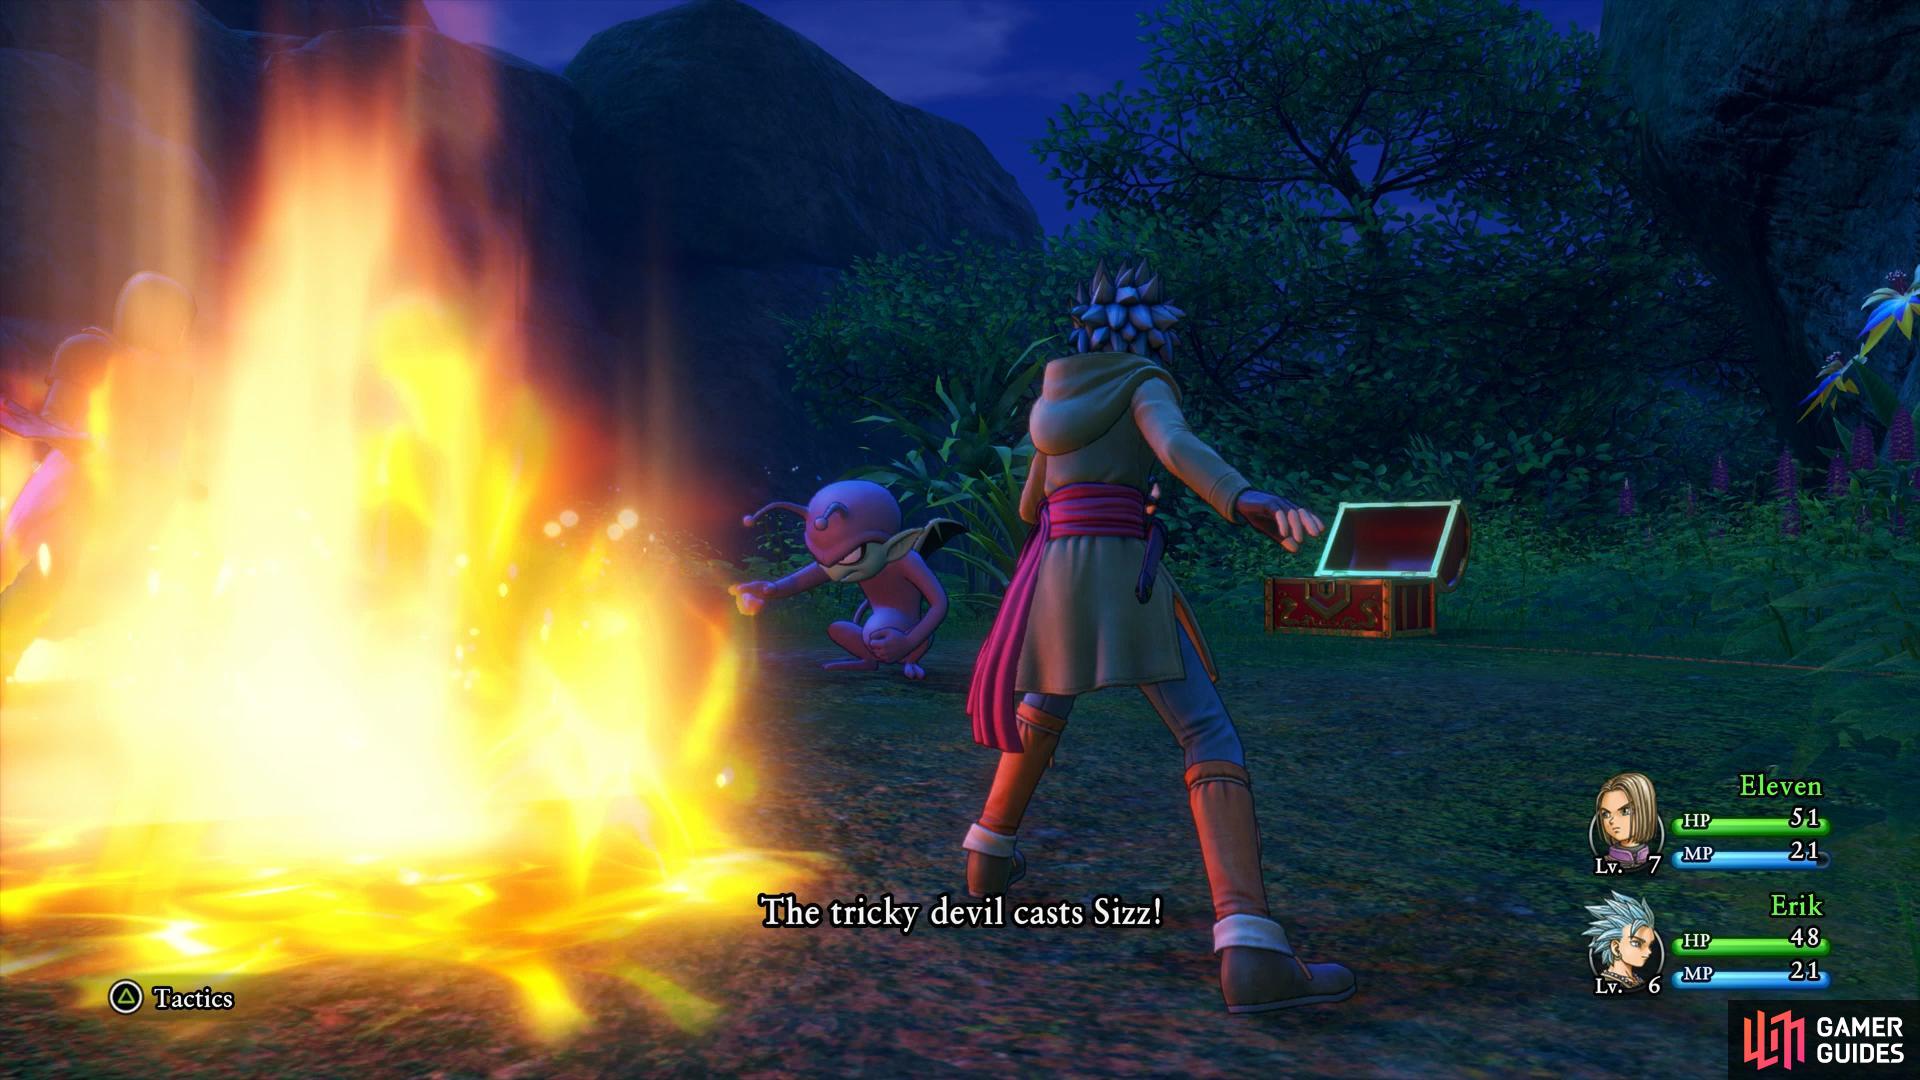

Sizz will hit both characters for around 15 HP, be sure to keep your HP above 20 at all times (left), regular attacks are your best form of damage against the devil. (right)
With the battle won, the Woodcutter will be transformed back into a human and will thank you, offering to repair the bridge. He’ll also give you a bit of insight into that mysterious root and the Yggdrasil Tree at the centre of the world.


With the bridge now repaired, head across to find the Merchant from earlier. Although he has the same wares, you can now make use of the materials he has on him should you feel the need to dabble in more forging. Search to the east of his location to find the next Weather Cow, making sure you speak to it in the process. The enemies on the south side of the jungle are a little trickier but shouldn’t pose a threat either way. Make your way to the southeast of this large open area to spot a Tree gathering point containing Buzzberries, a Flurry Feather and a Pink Pine. Both paths to the east lead to the same area so take the southern of the two for now.
Search along the north of the next area here to find a Sparkly Spot containing another Pink Pine. At the far end of this path you’ll come across a rope, take it up to the top to find an Ore gathering point containing two Copper Ores and a Flintstone. Just north of this Ore is also another chest, this one containing a Single Phial and then hug the left side of the map as you travel north to find the last item in The Manglegrove, another Small Scale. With your business concluded here, take the eastern path back to the Heliodor Region.
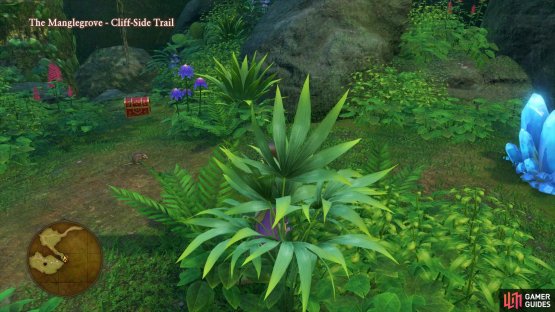

(1 of 2) You’ll find the last chest of The Manglegrove hidden next to the nearby Crystal
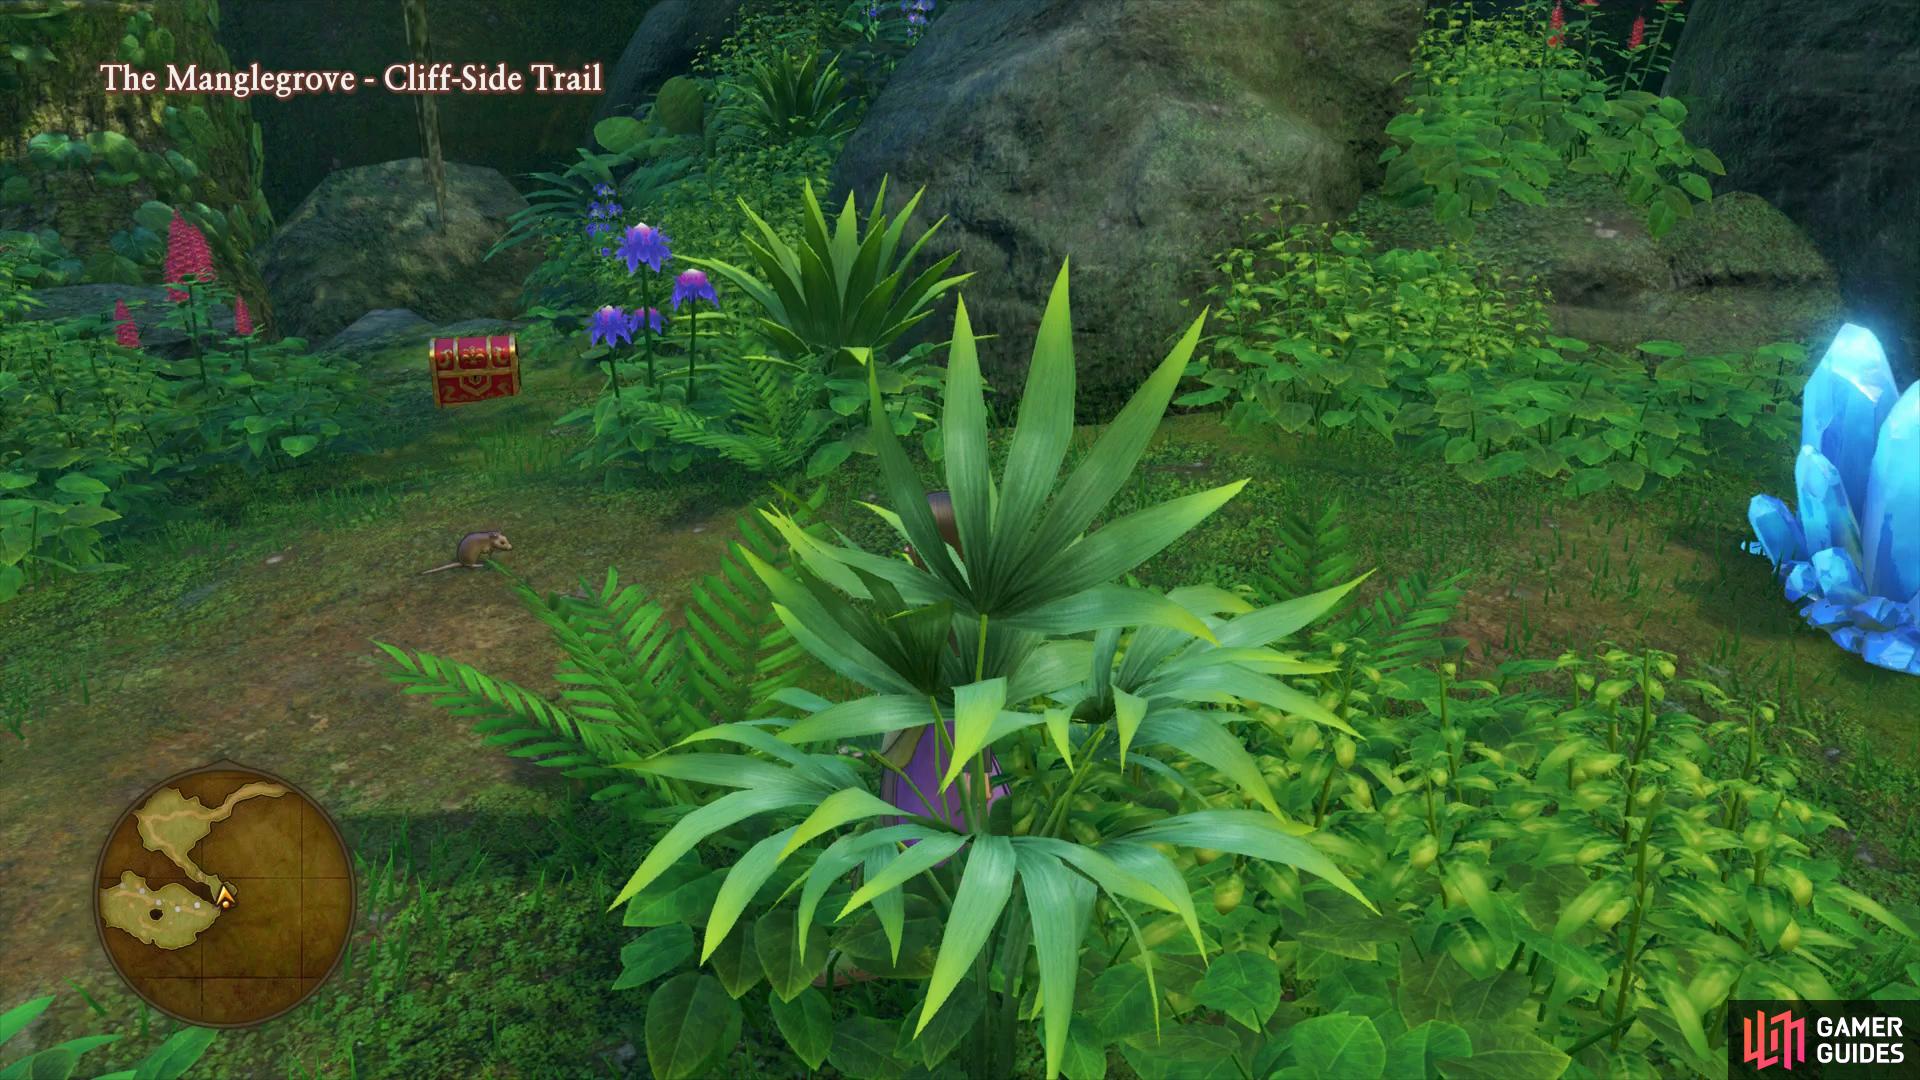
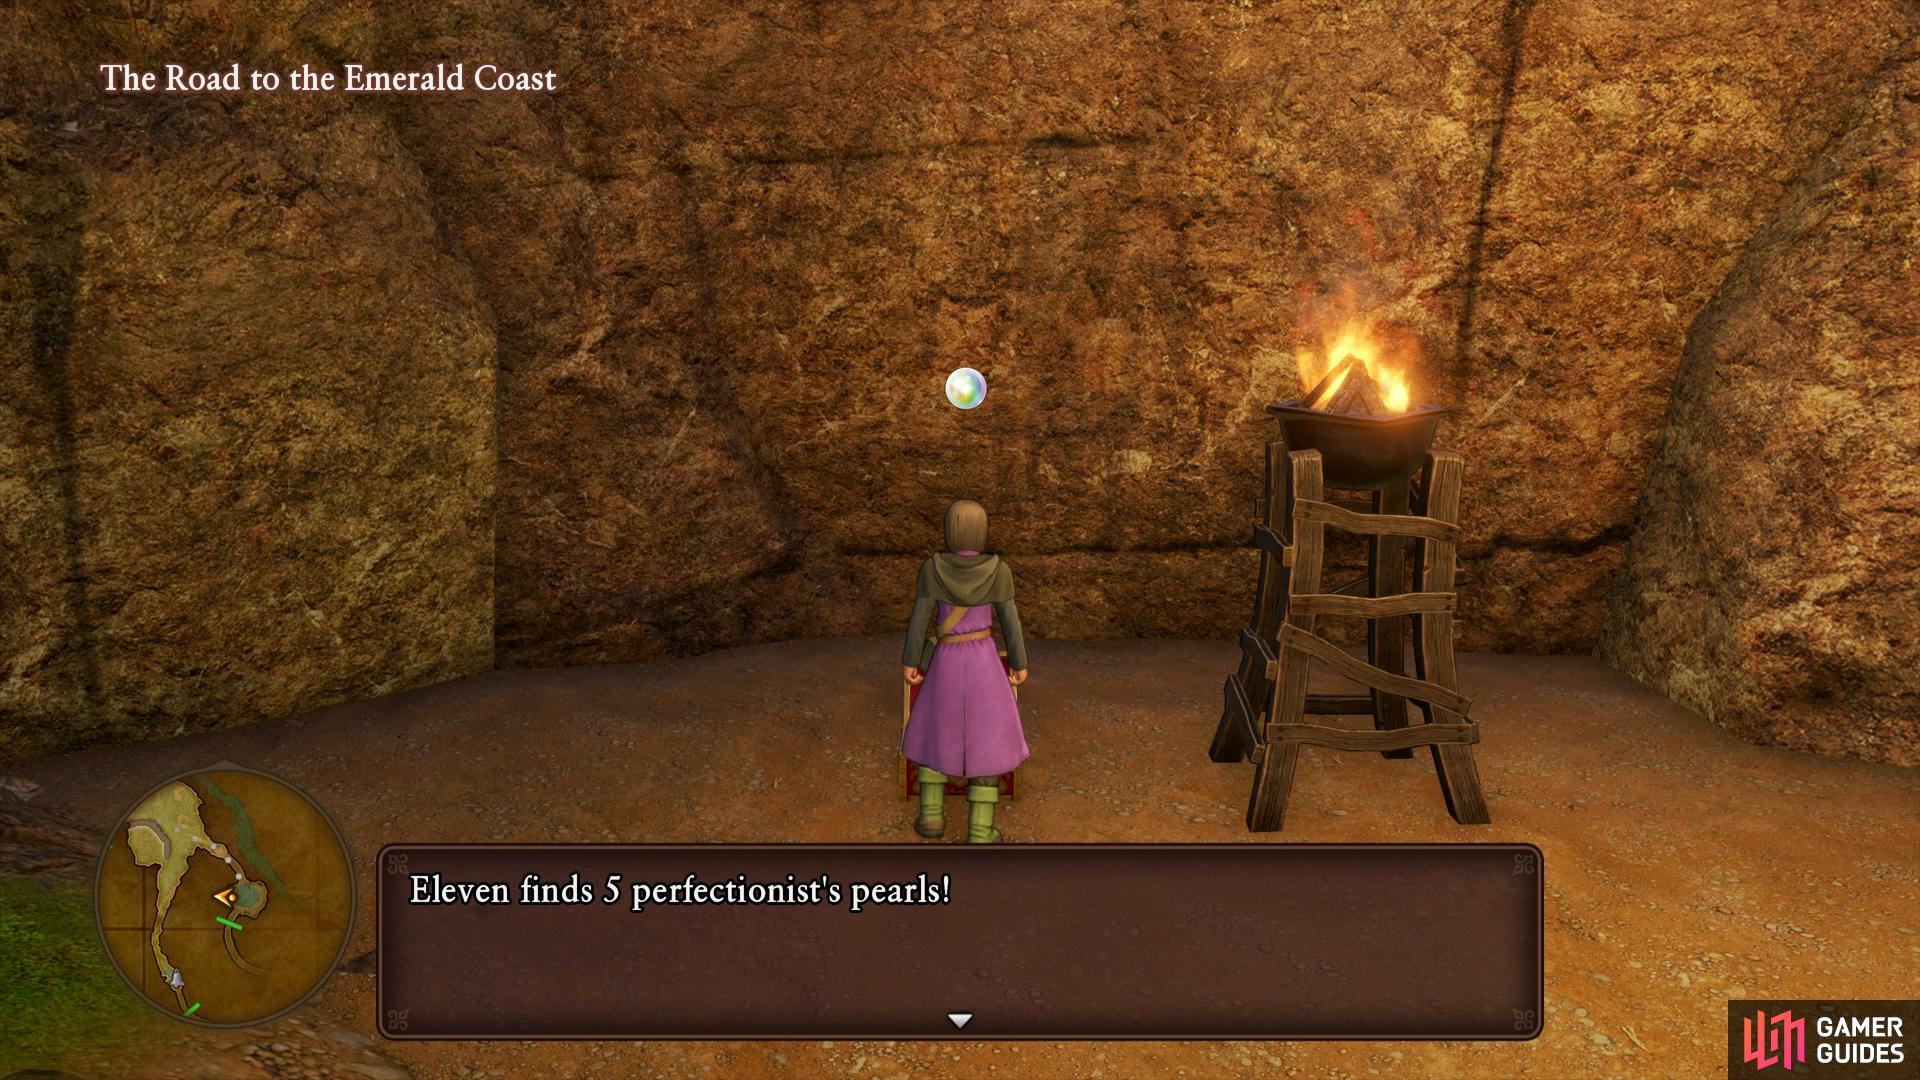
You’ll find the last chest of The Manglegrove hidden next to the nearby Crystal (left), make a detour into the cave to snag this chest before entering Cobblestone. (right)
You’ll find yourself back near the entrance to Cobblestone but before you head there, make a short detour to the east and into the cave you see. To the south of this cave is a chest containing five Perfectionist Pearls. Return and take the south path back to Cobblestone at long last.
No Comments