
Searching for Serena
| Items | Area |
|---|---|
| Yggdrasil Leaf | Pit, chest |
| Feathered Cap | Pit, chest |
| Gold Ore x2 | Pit, chest |
| 1000G | Basement 1F, chest |
| Robber Gloves | Basement 1F, chest |
| Mini Medal | Basement 1F, chest |
| Silver Platter | Basement 1F, chest |
| Grubby Bandage | Monster Lair, pot |
| Sparkly Spots | Area |
|---|---|
| Iron Ore | West of the Entrance |
| Iron Ore | Pit |
| Iron Ore | Monster Lair |
| Monsters | HP |
|---|---|
| Lump Wizard | ~31 |
| Drohl Drone | ~28 |
| Walking Corpse | ~58 |
| Drackmage | ~28 |
| Mud Mannequin | ~31 |
| Skullrider | ~48 |
The Cryptic Crypt is where Veronica’s kidnappers decided to hide out and where Serena is most likely looking for her. The majority of the monsters you’ve already fought in the surrounding areas but pay special attention to Mud Mannequins, they can use Weird Dance that will sap you of your precious MP, always make these your primary target. Skullriders are also heavy hitting monsters and should be a main priority in any battles too.
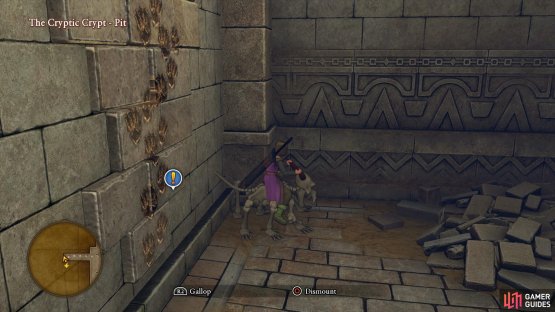
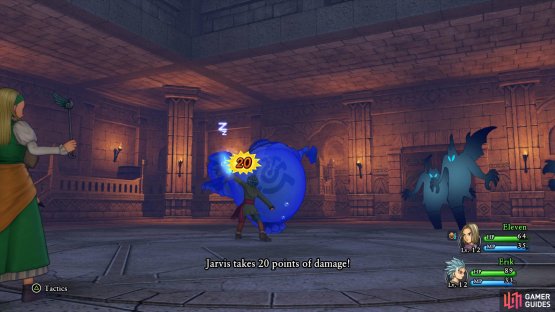
From the entrance, head north to the first intersection and take a left, you’ll find a Sparkly Spot containing an Iron Ore. Continue on past the intersection until you reach the next one, by heading north towards the chest you’ll fall to the ground below which is what you want to do for now. Search behind where you land to find a chest containing a Yggdrasil Leaf, a curious item that will bring a fallen character back to life. Continue on to the next intersection and take a left, following the path up the ladder to the previous floor.
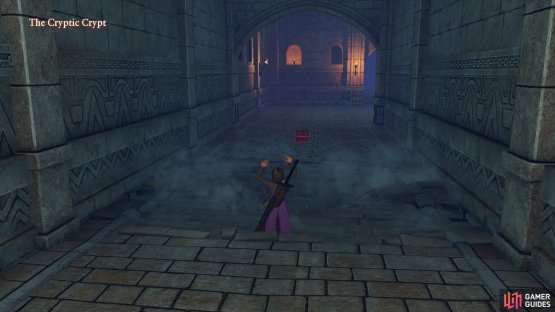

(1 of 2) For once, falling into a pit is a good thing
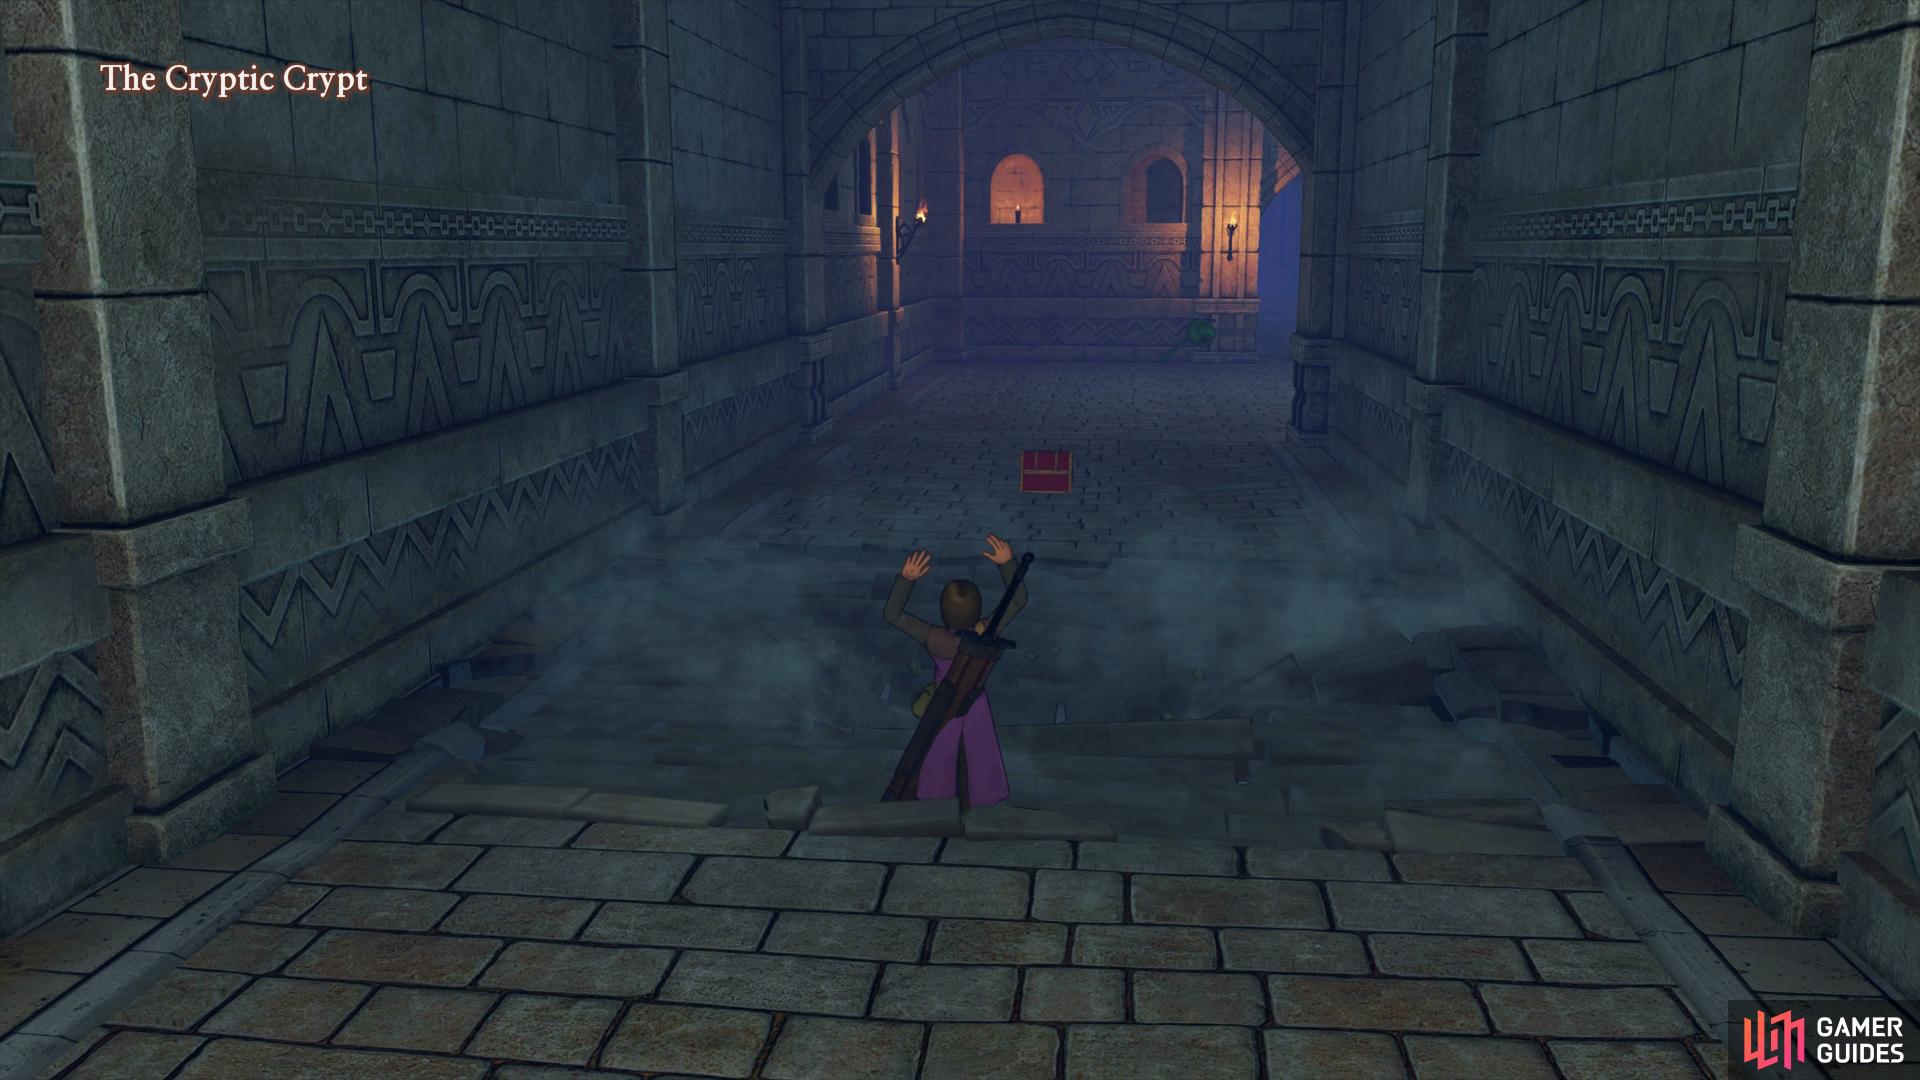
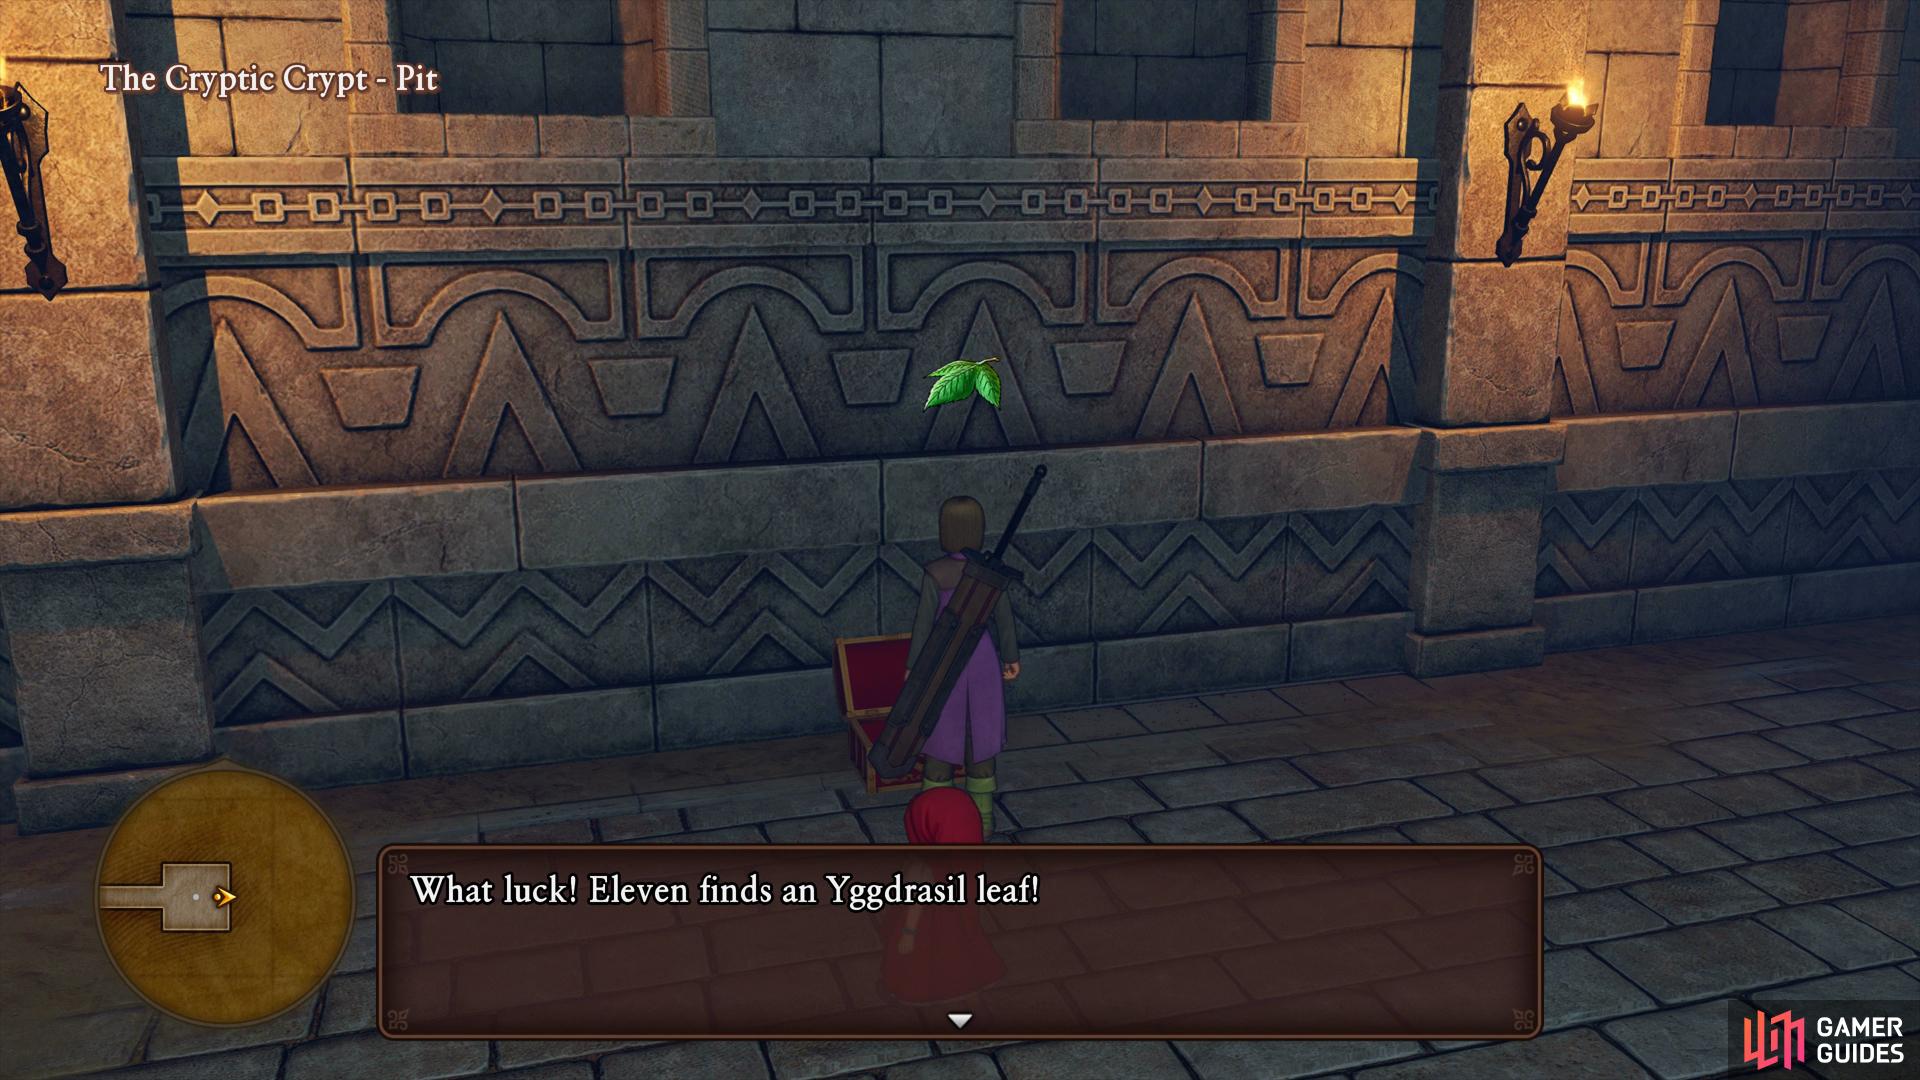
For once, falling into a pit is a good thing (left), you’ll find a chest there with an Yggdrasil Leaf. (right)
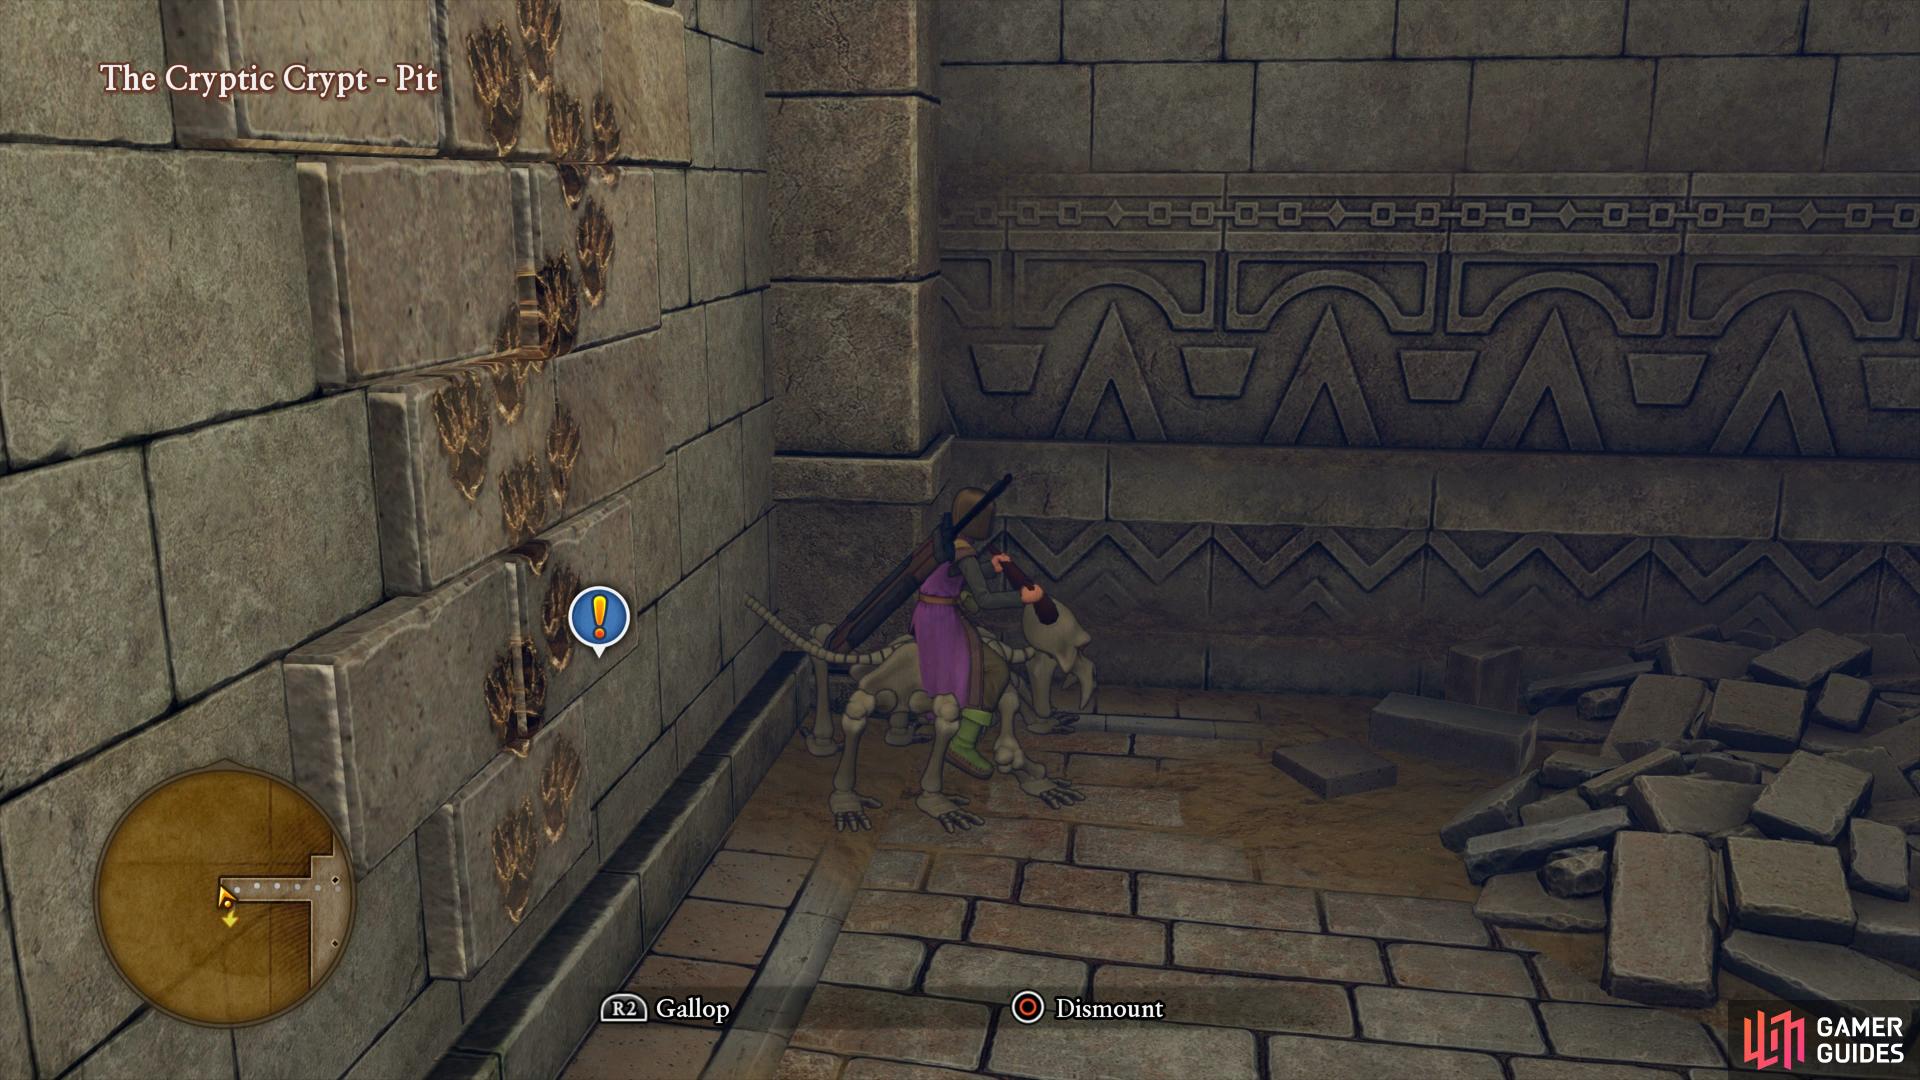
Follow this path to another intersection, the west path leads to another hole so take the north path to an Yggdrasil root. The Shadow in the flashback will hint at the correct way to avoid the pitfalls but there’s still treasure to be had first. Take the west path to be sent down a floor once again, this time the other side of the locked door from earlier. Once again, look behind you for a chest containing a Feathered Cap and then head forward to another chest with two Gold Ores.
You’ll spot a new enemy type in this room, the Skullrider and you may notice one is sparkling. Take the monster out and then interact with it to mount it. With this monster, you can climb the wall wherever you spot footprints, very useful. Head west on your new mount to find a Sparkly Spot containing some more Iron Ore and then climb the wall back to the first floor.
folow this path to a large room, head south first and follow the path down to the end where another chest awaits containing a very useful 1000G. Return to the first large room you reached upon returning to this floor and note all the different exits out of it. All but one will lead back to the pit so take the north most eastern path to another large room. Take the south path once again to reach the chest you fell down in front of earlier, this contains Robber Gloves, an accessory that will increase the success rate of Half-Inch by 2%, useful if Erik has this ability unlocked.
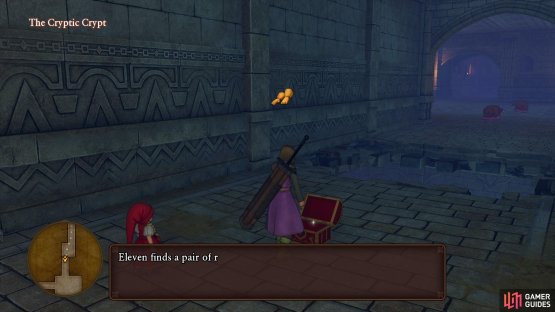
(1 of 2) Using the Skullrider, you can climb out of the Pit
Using the Skullrider, you can climb out of the Pit (left), you can access this chest finally by heading south from the large room. (right)
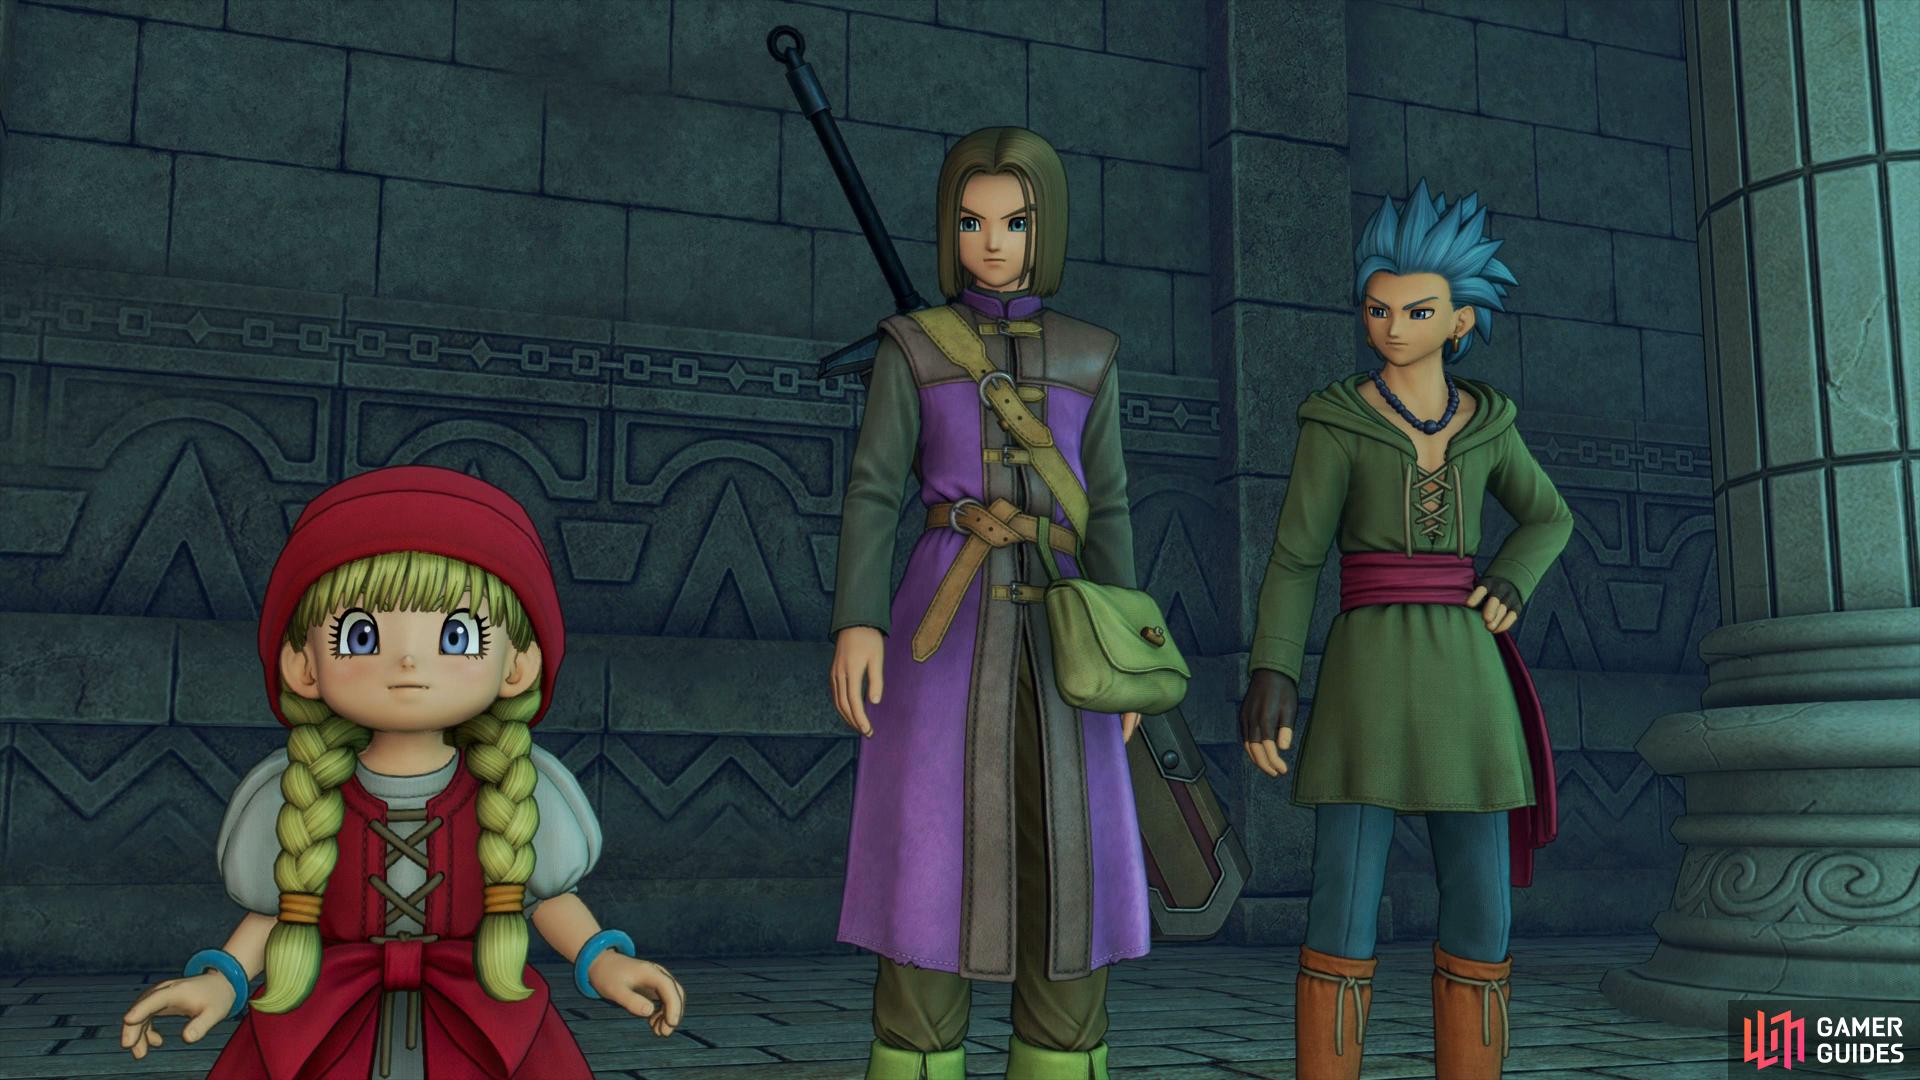
Return to the large room once more and take the northeast exit to find a chest containing a Mini Medal. Finally, take the northwest exit from the large room and follow the path, ignoring the intersections all the way to another chest, this one housing a Silver Platter. Return east and take the north path through some doors to spot a fountain. Veronica will spot Serena on the ground and rush over to her. Following the scene you’ll discover that Serena and Veronica are twins and the reason for Veronica’s appearance is due to the monsters draining both her magic and age. The objective now shifts to helping Veronica recover her magic.
Make use of the Goddess Statue here to save your game and recover your HP and MP. It’s also a good idea to stick some Medicinal Herbs on Erik as a precaution. Head north now to another Yggdrasil root and examine it to get another flashback during which you’ll discover the password for the door ahead. Head over to the door and say the password to be granted access to the room ahead. The lizard, Jarvis, has Veronica’s magic sealed in the pot close to him and laments his Shadows losing her. Fortunately for him, we’ve stumbled upon him.
Boss: Jarvis & Jarvis’ Shadows

This is your first real taste of a boss battle in Dragon Quest XI as you’ll be up against Jarvis and three Shadows. The Shadows all have around 70 HP and can Snooze your characters, this can be especially troublesome if they hit the Hero. Jarvis himself has around 260 HP and hits hard but look out for when he takes a breath, the following Cool Breath will deal heavy damage to the entire party. If you happen to have Erik Pepped up, cast Scorched Earth to set up high damage trap spells on all enemies.
When it comes to dealing damage to Jarvis, use Cutting Edge with the Hero if you have it followed by letting Erik attempt to put him to sleep with Sleeper Hit. If this succeeds, follow up with Pursecutter for major damage. Note that Veronica and Serena join you for this battle and can be targetted by the enemy relieving you of some pain. Veronica will only attack, after all her magic is still sealed but Serena will protect you with healing magic, leaving the male duo to focus on attacking. Don’t waste your time attempting to steal from any of the enemies, all of them have nothing on them.

(1 of 2) Sleeper Hit followed by Pursecutter is a fantastic way to eat into Jarvis’ HP

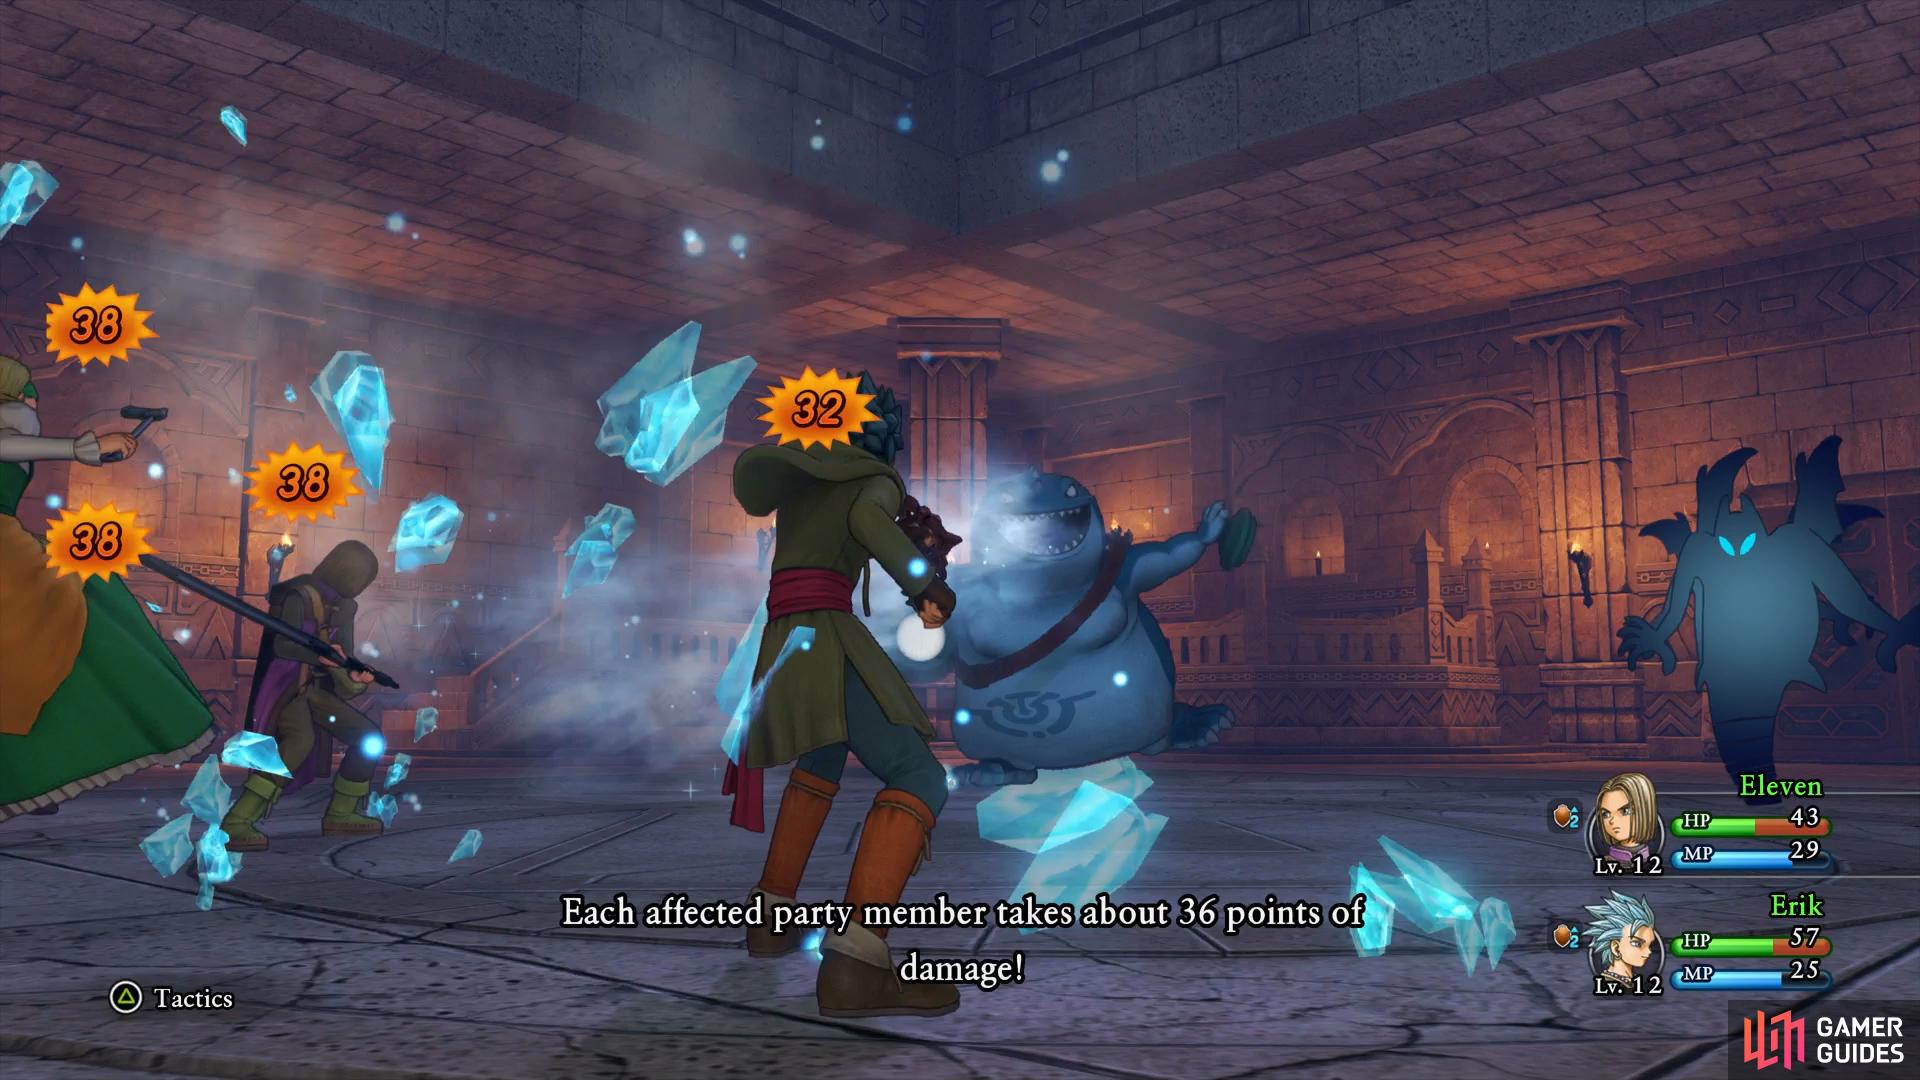
Sleeper Hit followed by Pursecutter is a fantastic way to eat into Jarvis’ HP (left), Cool Breath will hit the entire party for major damage, be ready to heal after. (right)
Following the battle, you get some details on the Lord of Shadows and then upon recovering her magic (but not her age) Veronica reveals that both her and her twin Serena are sworn protectors of the Luminary.


While remaining in the same room, climb the short stairs to the southwest to find a Sparkly Spot containing more Iron Ore and search the northeast for a pot containing a Grubby Bandage. With all that done, head through the door to the north to trigger another scene where you’ll find Connie’s captured father, Noah, before returning to Hotto automatically.
Hotto Village Revisited
Back in Hotto, head downstairs to the rest of your group where you’ll discover the true duty of the Luminary along with the sisters duty. In order for them to guide you to Yggdrasil however you’ll need to find a way up there in the first place. Erik’s suggestion of talking to the man you freed yesterday seems a sound one, exit the Inn and return to the bar.
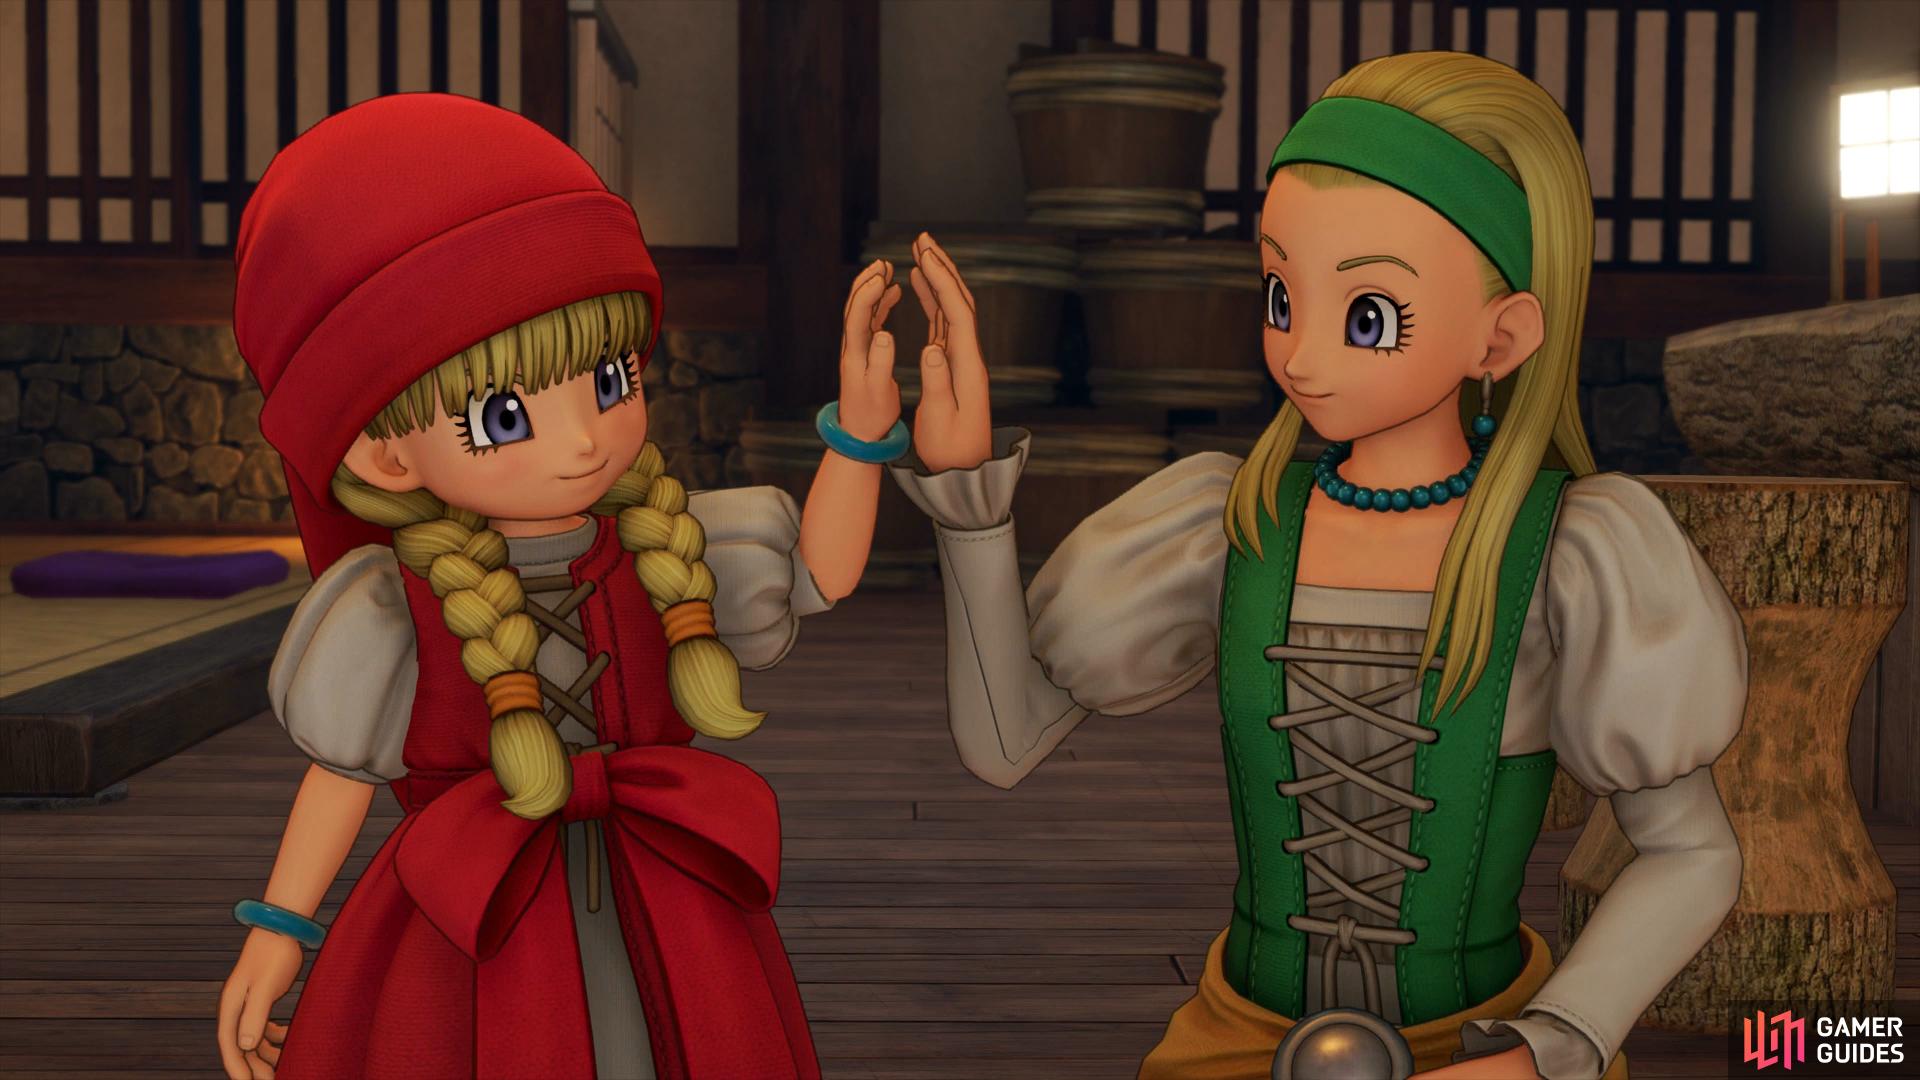
The man is a famous informant and from his information, the party receives the information about a rainbow colored branch, seemingly from Yggdrasil, at the Palace found in Gallopolis. That seems as good a place as any to begin the search and Serena and Veronica will now officially join the party.
Veronica’s Playstyle
Veronica is your defacto Mage of Dragon Quest XI and as such, will learn the majority of attack spells there are to learn. She joins the party with the Frizz, Sizz, and Crack attack spells along with Magic Barrier to increase spell resistance, Sap to decrease enemy defenses and Decelerate to decrease speed. Sap especially will be incredibly useful in the forthcoming boss battles, make a habbit to use it on all difficult enemies.
When it comes to her weapon choices and Character Builder, you can choose between Whips and Heavy Wands along with the Vim category. Veronica is by far the best spell caster in this game, it’s for that reason you should ignore Whips and focus on the other two categories. Some useful early abilities are Spooky Aura which will allow her to weaken monster resistances to magic and Ring of Ruin (raises your magical might) from the Vim tree. Also focus on getting some of the passives from the Heavy Wands category to increase your MP absorption from attacking along with MP recovery after battle.
Serena’s Playstyle
Just as Veronica is your mage, Serena is your Priest in all sense of the words. She’ll join the party with Heal and Squelch (cure poison) along with Buff (increase a party member’s defense) and Dazzle. It won’t be long until she gets the better Recovery spells as well as full party buffs, a useful companion indeed.
For weapon choices and Character Builder, you can choose between Wands, Spears and the Harpistry categories. Although Serena has some use with Spears, just like with Veronica, it’s best to focus Serena on Wands and her Harpistry categories. Alma Mater is a great ability to ensure your healer can survive lethal attacks as is the Snap, Crackle, Poof ability that can be used to shield a party member from any status. Finally, her Harpistry abilities will allow you to decrease the magic damage of the corresponding melody that you play, Flame and Ice are very useful ones to get early on. On top of all of that, she has excellent passives in the Wands tree so be sure to get some of them early on.
With all of that out of the way, equip Veronica and Serena with what you can, Serena can make use of that Silver Platter if your Hero is using Greatswords. As you go to leave town, Veronica will speak to the Hero, teaching him the incredibly useful Zoom spell. With this, you can freely warp to any town or camp you’ve been to (you can also sell off your Chimera Wings now). Exit out of town and make your way over to the southwest, picking up materials (especially the Ore) and fighting a few battles on your way.
When you finally reach the guard at the checkpoint he’ll ask to see your pass, show it to him to have him move out of your way allowing access to the Gallopolis Region beyond.

 Sign up
No Comments