
Cobblestone Revisited
| Items | Area |
|---|---|
| O Holy Knight | Cobblestone Church, chest |
You’ve finally reached Cobblestone after your long journey through The Manglegrove and it looks like the village is fine. Upon speaking with the nearby villager, who doesn’t seem to recognise you, you should head back to your house. Upon speaking to Amber, it appears her son (you) is only six years old and screams you out of the house, strange. Upon leaving the house you’ll spot a young girl and a dog down by the tree.
Make your way down to her and speak to her, helping her get a scarf down from the tree (again?). After mistakenly thinking you’re looking for yourself, the girl (also named Gemma) runs off in the direction of where he should be. Take off after her, heading to a part of the village you haven’t been to and approach the young boy and old man on the pier.
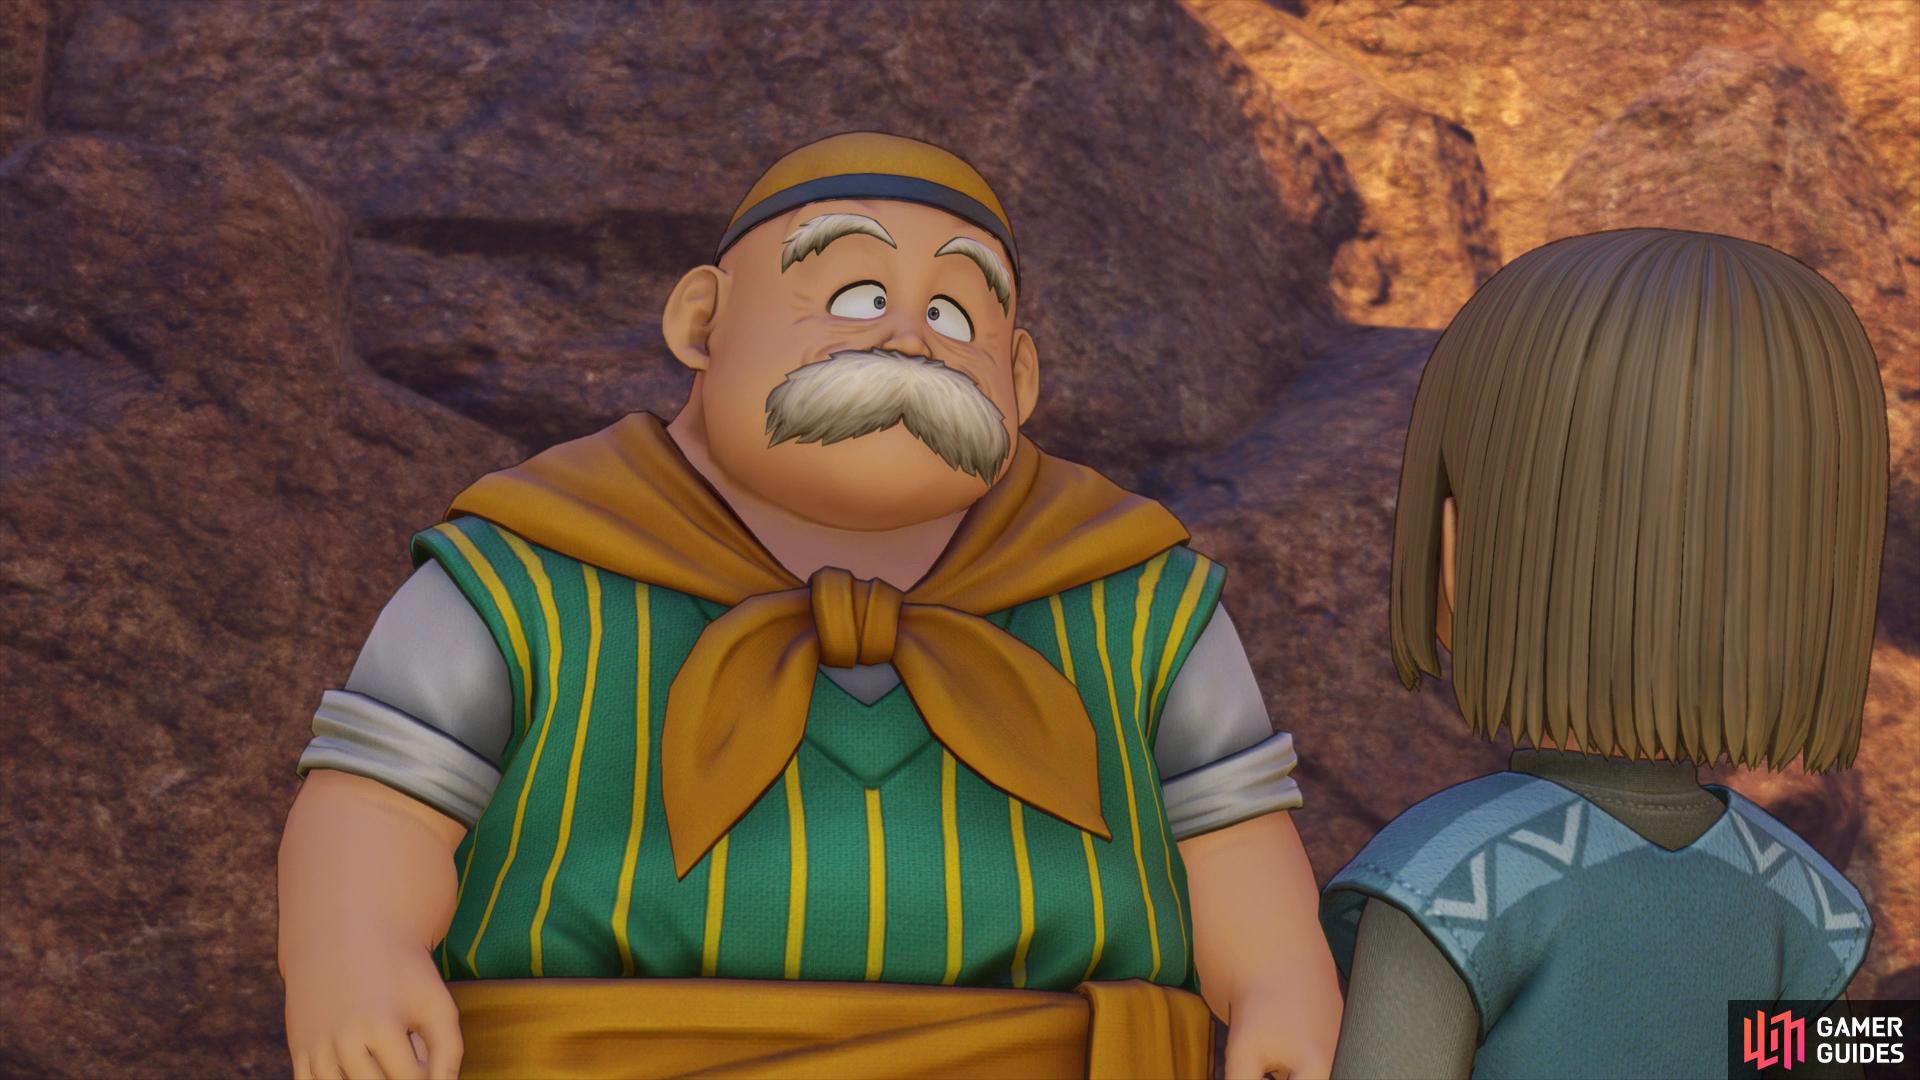
A boy, who looks strikingly similar to the Hero want’s to help Gemma get her scarf down, thankfully for him you’ve already done that. As the two run off, you discover that you’ve actually wandered into here from the future and you’re in the past of Cobblestone. The Hero’s Grandad, Chalky, gives him directions following the exchange to seek out a three-sided rock at Cobblestone Falls to the east of Cobblestone.
Make your way back up to the village to find Gemma and the Hero once more. Eventually, this too will fade and you’ll witness the grim reality of present day Cobblestone. With the town in ruins, all you have left to do is to follow the advice of the Hero’s Grandad and seek out Cobblestone Falls. Erik also discerns that the mark of the Luminary allows the Hero to witness the past through the roots of the Yggdrasil.
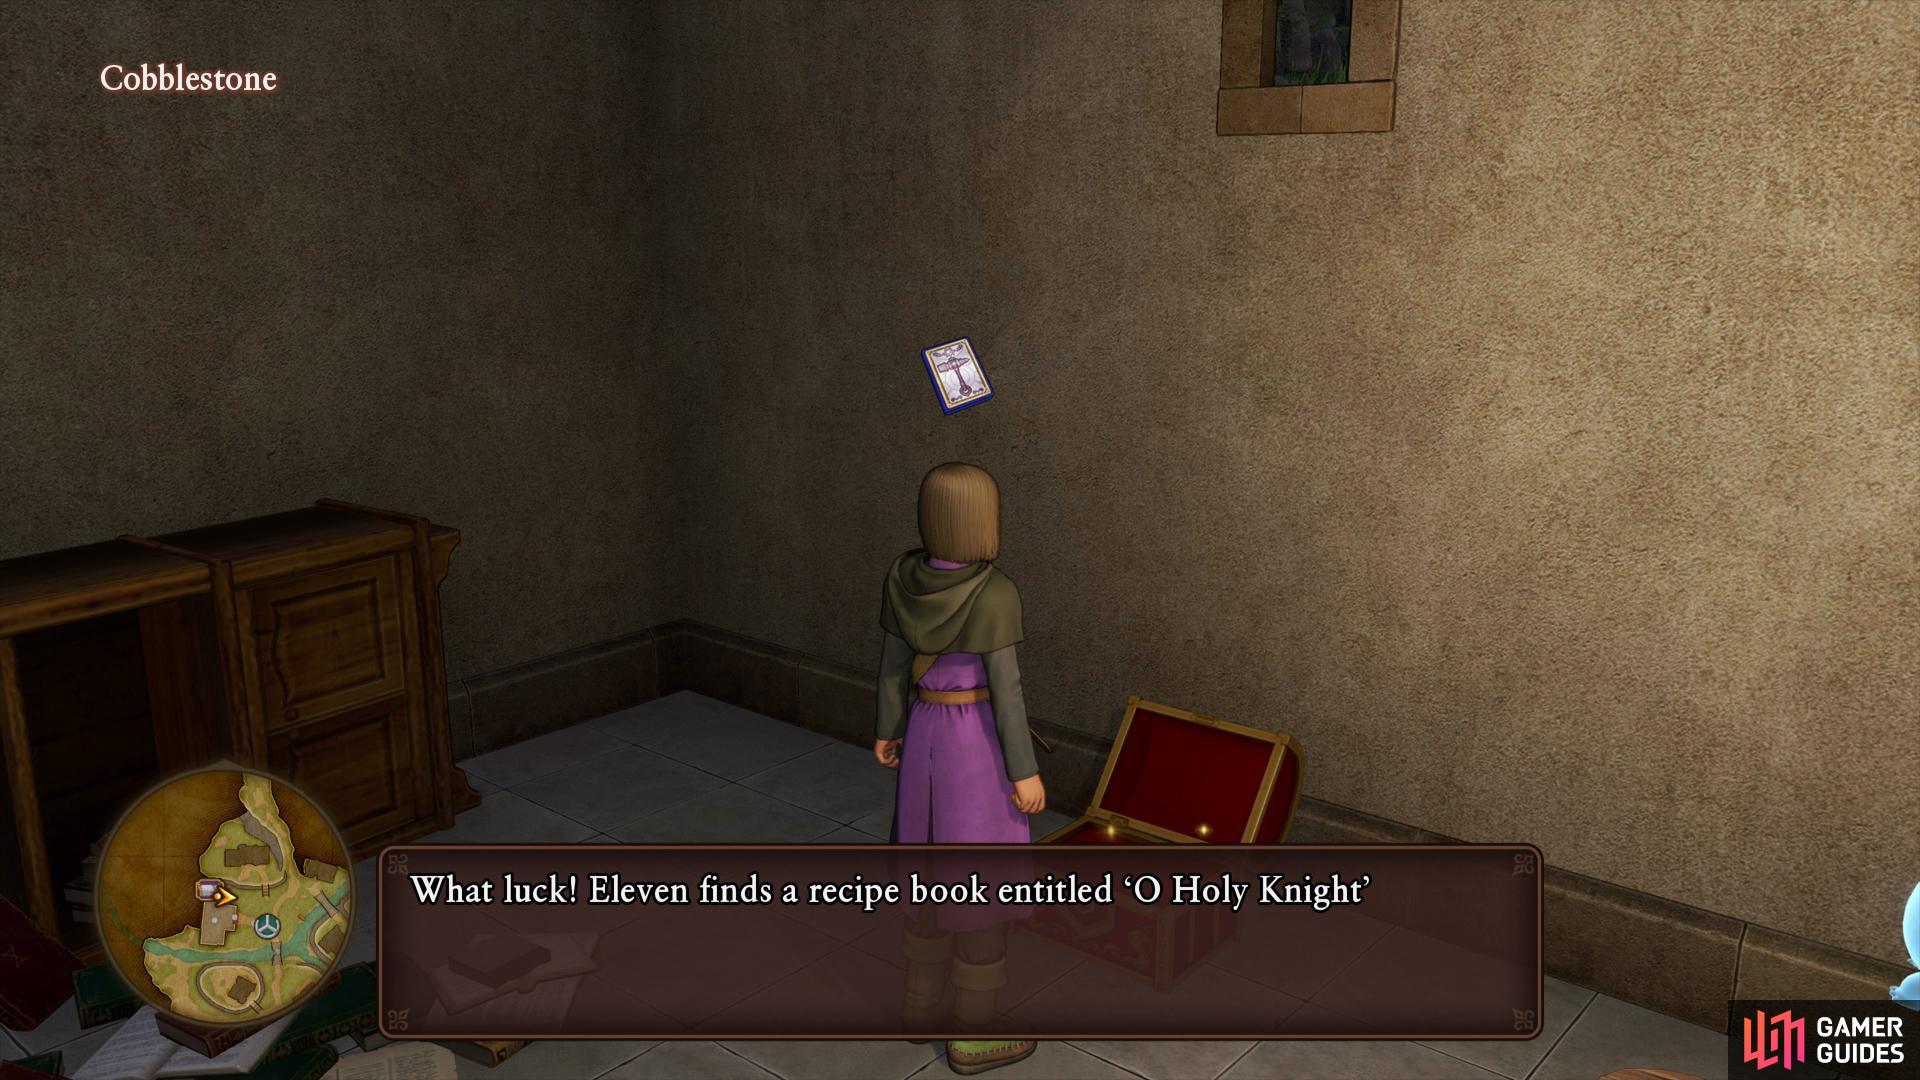
Head into the ruined Church to find a chest with a new Recipe Book.
Head over to the Priest standing outside the Church and save your game should you need to and then head into the Church itself. There’s a bed here you can use to rest in along with a chest containing the next Recipe Book, the O Holy Knight which will allow you to forge a Templar’s Uniform at the next camp. There’s nothing left you can do for Cobblestone for now, take the north exit back to the Heliodor Region and take the east path to reach The Emerald Coast.
The Emerald Coast
| Items | Area |
|---|---|
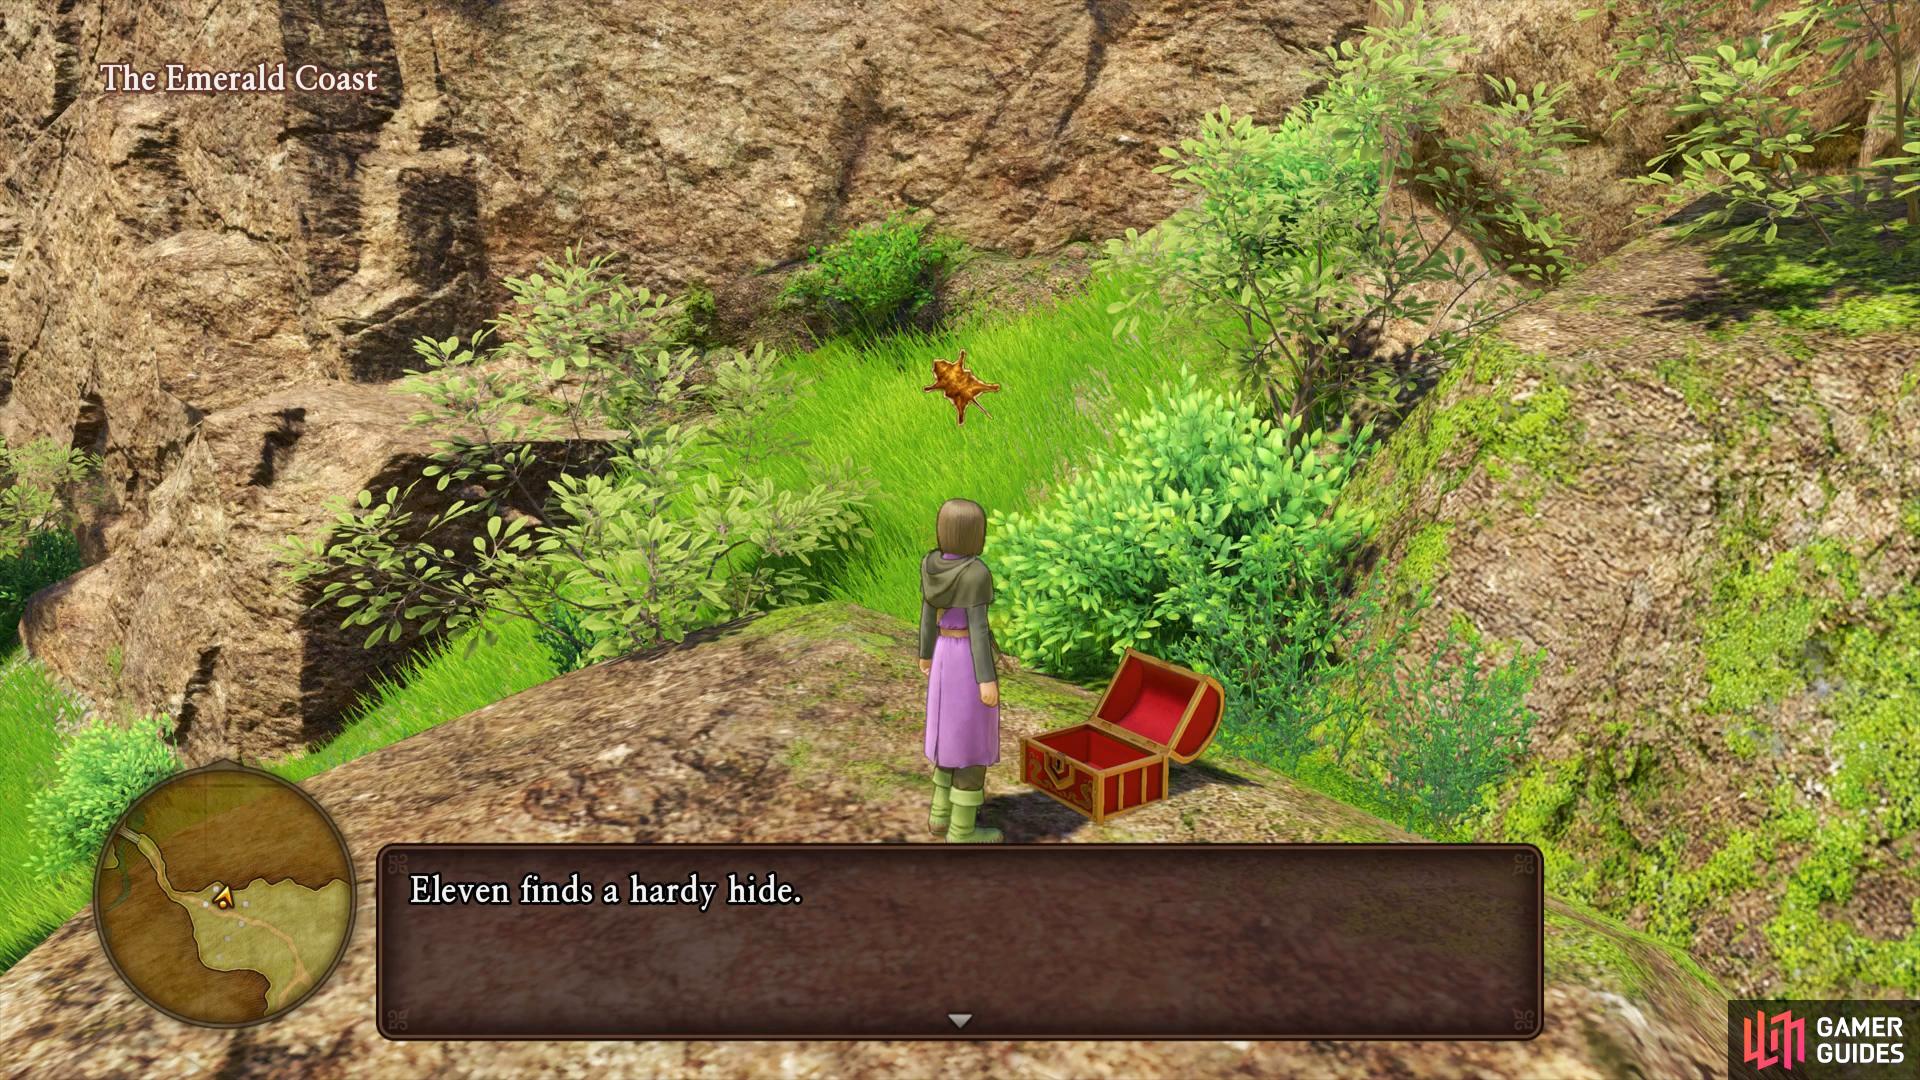
| Hardy Hide | Emerald Coast, west of cow, chest |
| 13G | Shack south of Camp, pot |
| Sparkly Spots | Area |
|---|---|
| Fresh Water | Cobblestone Waterfall |
| Pink Pine | Emerald Coast, northwest |
| Antidotal Herb | Emerald Coast, northwest path |
| Antidotal Herb | Emerald Coast, northwest path |
| Butterfly Wing | Emerald Coast, central area |
| Flurry Feather, Buzzberries, Sparkly Sap | Northeast of Camp, Tree gathering point |
| Cottontop x2, Sleeping Hibiscus | South of Camp, Flower gathering point |
| Water Sedge | Southwest on the beach |
| Water Sedge | Southeast on the beach |
| Monsters | HP |
|---|---|
| Sham Hatwitch | ~19 |
| Leafy Lampling | ~22 |
| Bubble Slime | ~22 |
| Gloomy Grublin | ~22 |
| Healslime | ~25 |
| Eggsoskeleton | ~19 |
| Khalamari kid | ~22 |
| Crabid | ~21 |
| Garuda | ~40 |
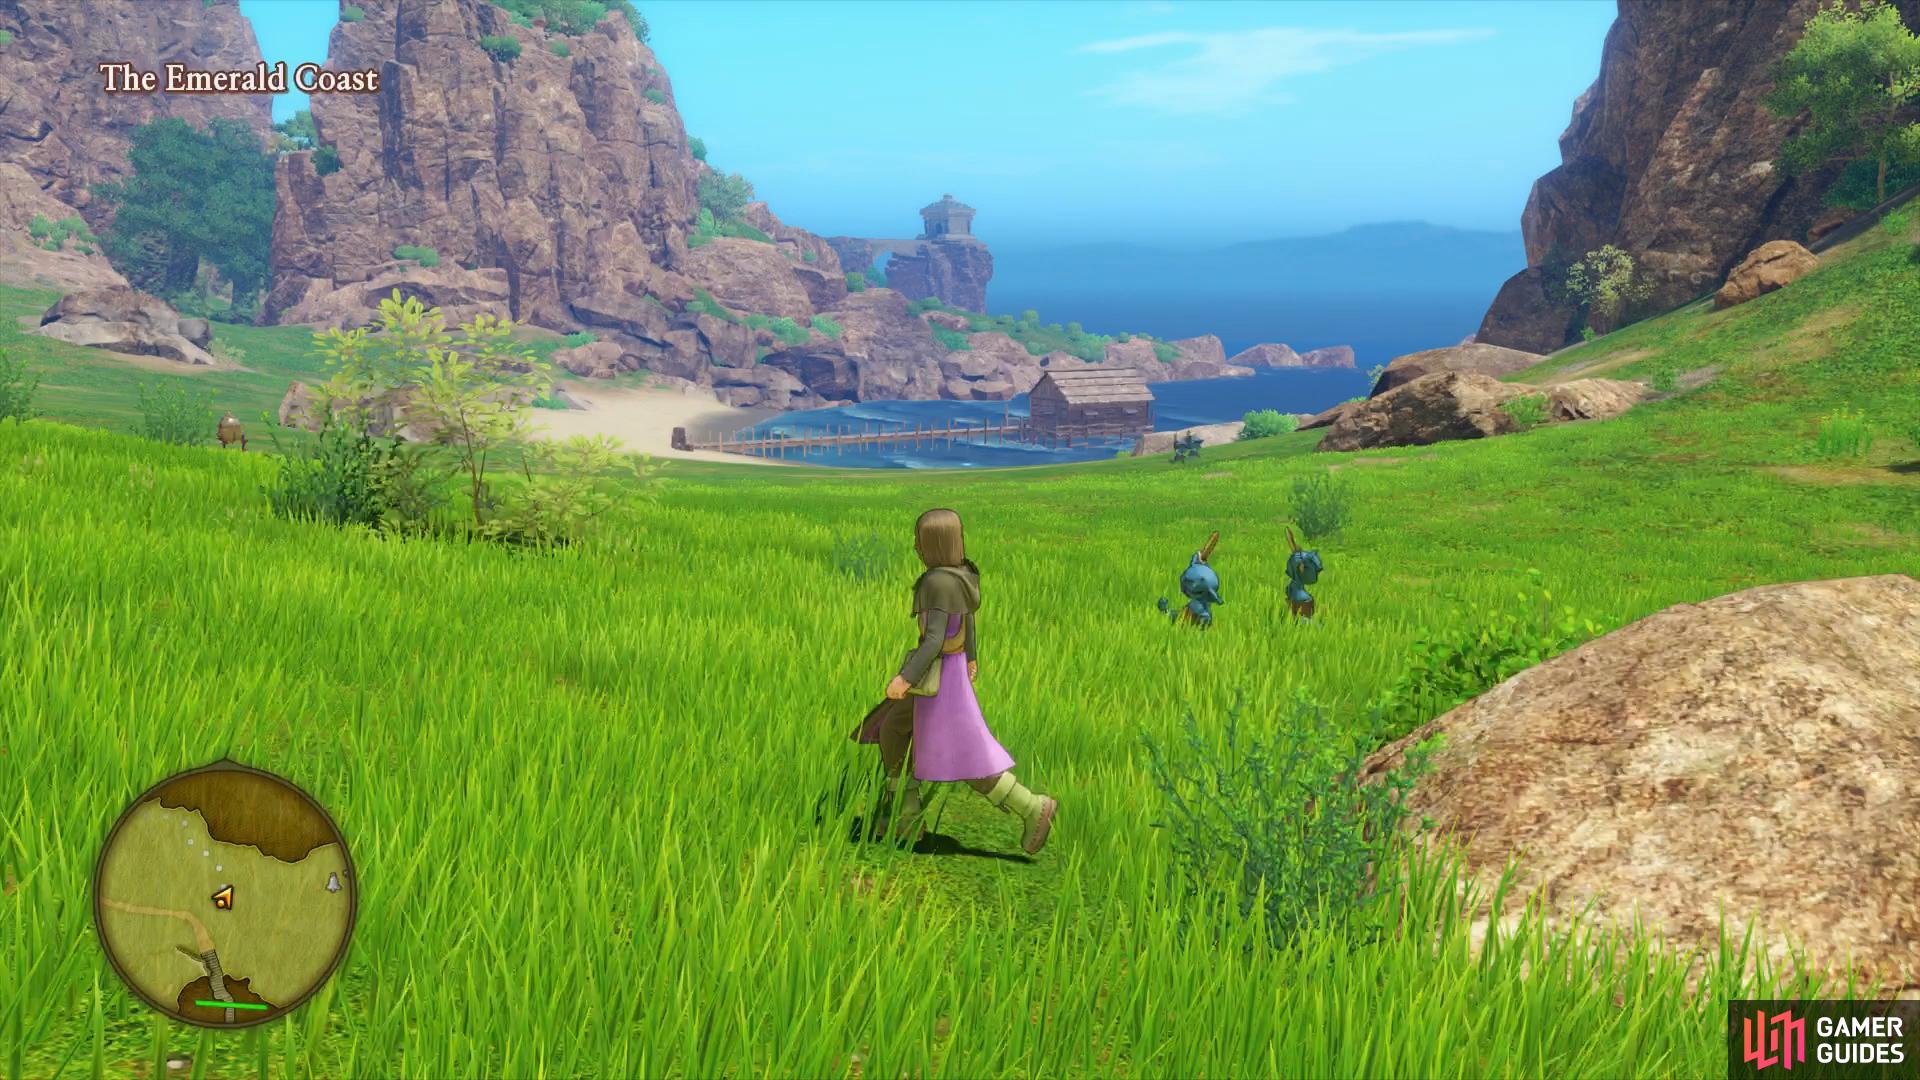
The Emerald Coast is a large area taking up the southern part of the Heliodor Region. First things first, take the path down to Cobblestone Falls and look for the rock mentioned earlier. You’ll dig up a box containing two letters which once read, will shed some light on who the Hero is and more about his journey. It seems your path is set for now, use the Keystone from the box to travel to other lands and discover why you’ve been branded The Darkspawn. First things first however, Erik still needs to get that Red Orb back from the The Kingsbarrow up ahead.
Search the small island to the west of this rock to find some Fresh Water and then continue east along the path. The area opens up here, your destination is to the southeast however take the time to explore the area to fight new monsters and find the items. Begin by hugging the left wall and following it to a Sparkly Spot containing a Pink Pine. From this position, head north to the other side where you can find the next Weather Cow along with a chest on the cliff to the west of it containing a Hardy Hide (a bit of a let down to find this in a chest). Take the west path toward the Heliodor Region to find two more Sparkly Spots containing an Antidotal Herb in both spots.
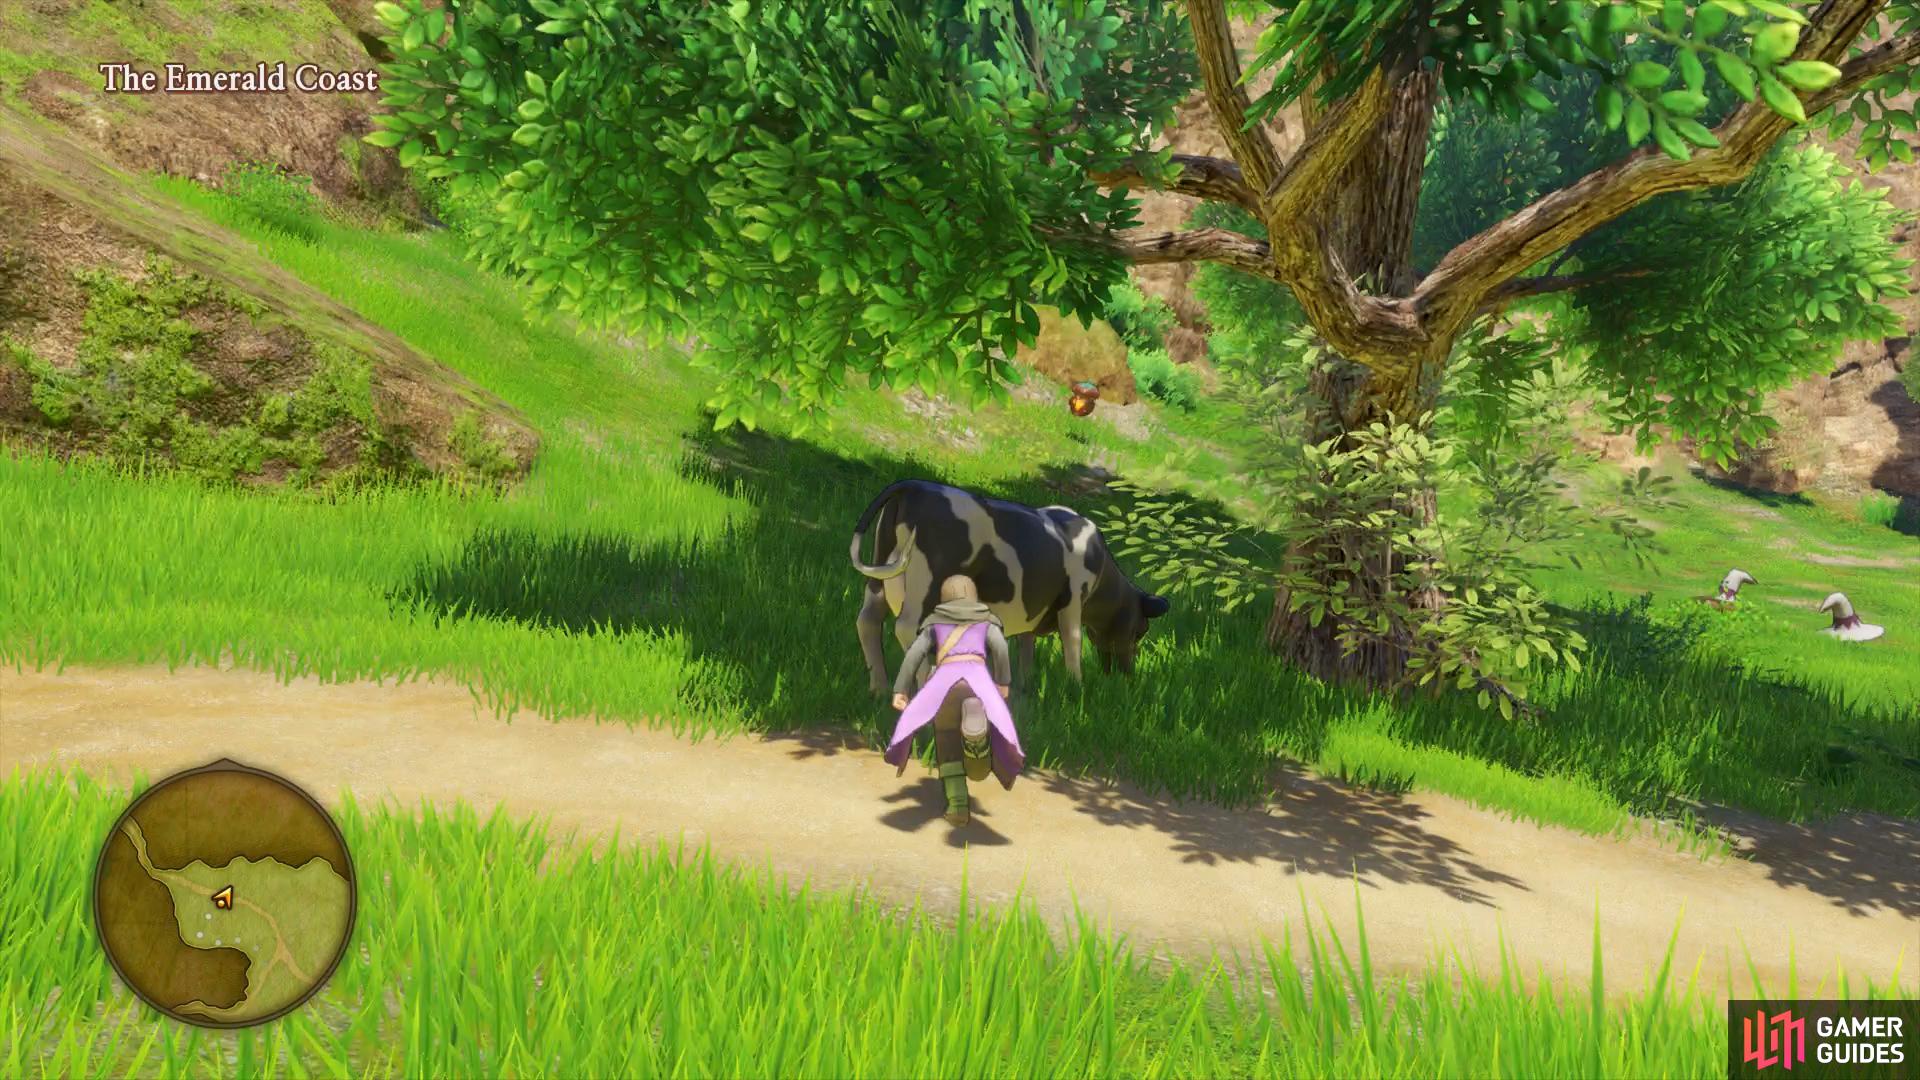
(1 of 2) You can find another weather cow to the northwest of the area
You can find another weather cow to the northwest of the area (left), search on the rocks above this cow to find a hidden chest. (right)
Return to where the Weather Cow was and head east along the northern part of this large area to find the next Sparkly Spot by a rock containing a Butterfly Wing. Continue along to the east until you reach a camp, rest the night and save your game and then access the forge. You’ll notice that the forge has increased in Level, this will allow you to forge more difficult Recipes with ease and at higher levels, unlock flourishes. For now, be sure to forge a Templar’s Uniform for Erik, this will require Buzzberries and Cottontops. If you was unable to +3 it then try reworking it if you can to reach it.
Check out the Item shop here while you’re at it, you can purchase a Templar’s Uniform if you don’t have the ingredients (it’s best to get the ingredients yourself however) and there’s a new Greatsword on sale. If you already have a Copper Chopper +3 then this will be worse unless you buy it and +3 it through reworking, the call is yours. The Merchant also has more materials available to buy should you need to stock up on any.
Upon leaving the camp, head northeast to the Tree gathering point to obtain a Flurry Feather, Buzzberries and a Sparkly Sap. Search south from here, towards the beach to find a Flower gathering point containing two Cottontops and a Sleeping Hibiscus. Continue southwest to the beach to find the next Sparkly Spot, this time containing a Water Sedge. Head on over to the shack now and break the pot inside for 13G before heading to the other side of the beach for another Sparkly Spot, this one containing some more Water Sedge. You won’t be able to head to the east yet, Erik will remind you that first you need to help him retrieve the Red Orb so head back to the Camp to rest up before exiting the area to the south.

 Sign up
No Comments