A new bill can now be passed at the Dark Assembly, called Train at Martial Training. Passing this will open a new area, called Martial Training, with only one map for now. At first, the map looks relatively harmless, with only three enemies, but clear it once and return to find it has changed slightly. The same three enemies will now be standing on EXP +100% panels and you can use it to level up your characters. To make it even better, go to the Cheat Shop and to the second page (R1 button), upping the enemy difficulty to 1 star.
This will make those enemies level 99, which is a glitch (well, a feature by this point, since it’s been in every game) in the experience formula, making them give the same amount of experience as level ~320 or so enemies. Also, one new Quest is now available, which can be completed to gain access to the Bear monster class.
You can find the free chests at the following locations:
- In the “hole” by the Memories NPC
- On one of the columns leading to Seraphina’s room
- Behind the wheel next to the Nether Editor
Escort Fleet Messier
| Enemies | Equipment | Evility |
|---|---|---|
| Lv. 36 Magic Knight (x2) | Justice Blade, Iron Mask | Elemental Force, Elemental Rise |
| Lv. 35 Head Orc (x4) | Thorn Whip, Iron Mask | Group Strategy |
| Lv. 35 Champinion (x4) | Thorn Whip, Iron Mask | Shroom Power |
There aren’t too many enemies here and the biggest threats to you are probably the two Magic Knights that are closest to you. Their Unique Evility makes it so their element resistance value is reflected upon their elemental attacks, which when combined with Elemental Rise, boosts those attacks some more. Not only do they have access to the first-tier Fire, Ice and Wind spells, but they also have elemental versions of the first three Sword skills. Since they’re closest, they should be top priority, with the remaining enemies being nothing new. If you want an easier battle, you can always lift the enemies and toss them off the map, which kills them thanks to the Netherworld Effect, but you don’t receive any experience for doing this.
Zodiac Airframe
| Enemies | Equipment | Evility |
|---|---|---|
| Lv. 40 Blue Mage | Joker Staff, Iron Mask, Falcon Shoes, Bloody Orb | Magic Moderation, Expand |
| Lv. 38 Sniper | Bugle M13, Iron Mask | Assist, Hawk Eye |
| Lv. 38 Gremlin (x4) | Medal of Greed, Iron Mask, Bloody Orb | Bullying |
| Lv. 37 Onyx Knight (x5) | Moonshadow Spear, Iron Mask | Hero’s Shield |
| Geo Symbols | Geo Effect |
|---|---|
| Blue | Attack Times +1 |
| Red | ATK +50% |
| Null | Recovery 20% |
This is a fairly linear map that is made all the more challenging thanks to the Geo Effects and the Onyx Knights. The blue panels all have the Recovery 20% effect, which is where all of the Knights are standing, who will defend from their very first turn. The green panels all have the ATK +50% and Attack Times +1 effects, which is where every other enemy is standing. Thankfully, the stage is set up so you don’t have to bear the brunt of all of the enemies attacking you at the same time, but you won’t be able to attack anything else until you get rid of all of the Knights since they will take the place of any attacks on the non-Knights enemies.
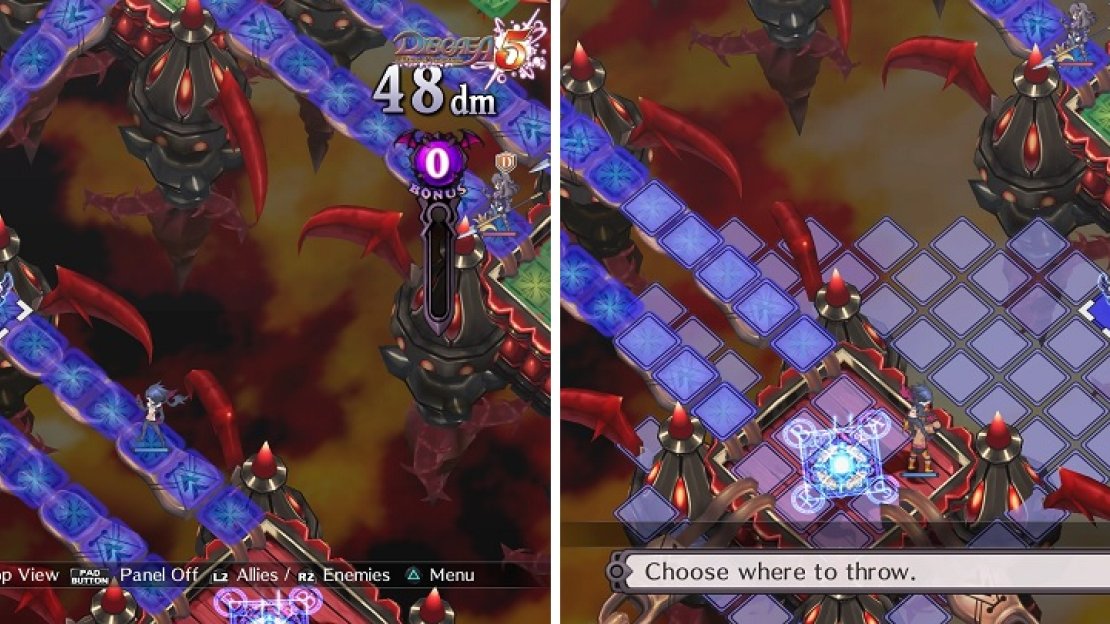
The lovely Armor Knights and their defensive nature return (left). You can toss a character to the Recovery symbol to get rid of it (right).
The Knights will recover around 450-500 HP at the end of each of their turns, due to the Recovery 20% effect. If you have a Wrestler or Logan, you should be able to throw a character to the platform with that Geo Symbol to destroy it, if you want, but the Recovery effect also benefits you from the double attacks you will be receiving. If you have ranged attacks, then it’s possible to stay back enough to where the Gremlins won’t attack while you go after the Knights. Once the annoying Knights are finished, it’s only a matter of taking your time in taking out the remaining enemies, so make sure you utilize the current Geo Effects to your advantage.
Vauban Sphere
| Enemies | Equipment | Evility |
|---|---|---|
| Lv. 42 Sophist | Joker Staff, Iron Mask | Medical Insertion |
| Lv. 42 Dark Knight (x2) | Justice Blade, Iron Mask | Elemental Force |
| Lv. 40 Lilim (x2) | Medal of Greed, Iron Mask | Sexy Aura |
| Lv. 40 Empusa (x2) | Medal of Greed, Iron Mask | Sexy Aura |
| Geo Symbols | Geo Effect |
|---|---|
| Yellow | Clone |
| Null | Clone |
If the last map wasn’t annoying, this one certainly is a pain. The four Succubi are standing on Geo Panels that grant the Clone effect, with there being four empty panels of the corresponding colors in the middle of the map. At the end of each full turn, an exact clone of that Succubi will appear in the middle of the map. Succubi are possibly one of the more dangerous enemies, due to their attacks being imbued with Charm, which if it takes effect, will turn a party member against their own team, so it’s possible that your strongest character can wreak havoc on your own side.
The two Geo Symbols are being guarded by the two Dark Knights, who don’t have the added Evility that adds some bonus resistances, like in the first map of this area. Also, it should be mentioned that male characters will have their stats lowered if they stand next to the Succubi, similar to the Shrooms and female characters. The best course of action is to go around the map, killing the Succubi and if you get close enough to the Geo Symbols, destroy them before they can make any more Succubi. The Sophist is of the Professor class and their Evility doubles the effect of support magic.
Main Deck - 4th Area
| Enemies | Equipment | Evility |
|---|---|---|
| Lv. 43 Head Orc (x4) | Thorn Whip, Iron Mask | Group Strategy |
| Lv. 43 Blue Gelatin (x4) | Thorn Whip, Iron Mask | Gel Body |
| Lv. 43 Lilith (x4) | Medal of Greed, Iron Mask | Sexy Aura |
| Geo Symbols | Geo Effect |
|---|---|
| Green | Warp |
| Blue | Warp |
| Yellow | Warp |
| Purple | Warp |
| Red | Ally Boost +50% |
| Null | Warp |
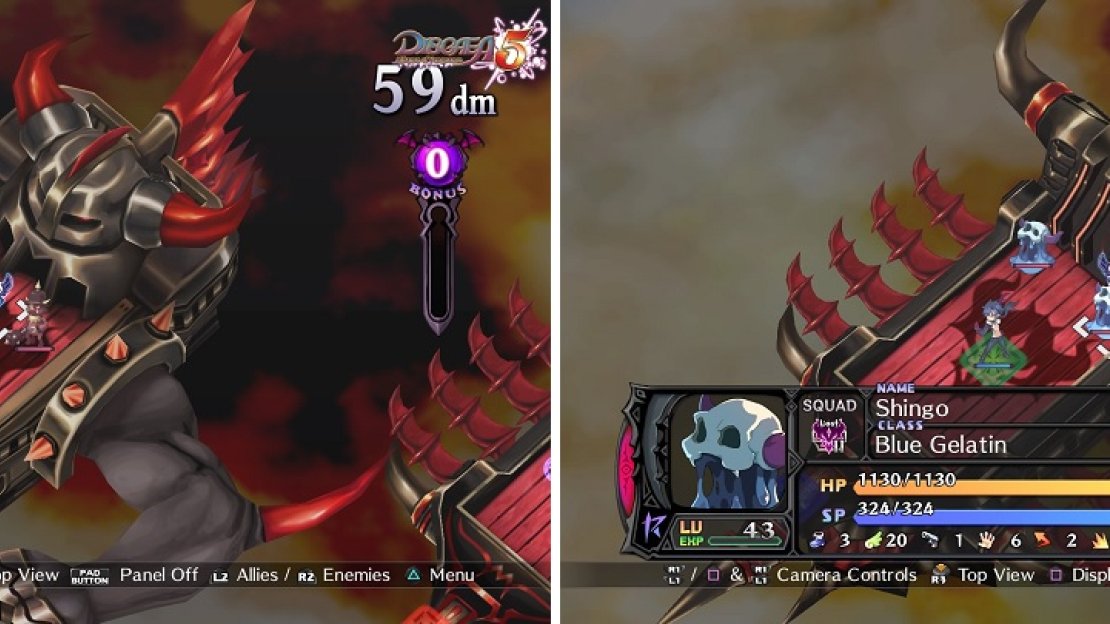
The first thing you will notice when you first enter this stage is that it is a bunch of ships that aren’t really connected. At the front of each ship is a single Geo Panel that has a Warp effect on it, which will send you off to another ship, usually with two enemies waiting for you. You can only send one character a turn to each ship, so make sure they are strong and can deal with what’s there. The first ship with enemies will have two Orcs, then the second ship will have two Blue Gelatins, so it might be wise to send someone with an elemental attack to deal with them.
You’ll need strong characters for this battle, both physical (left) and magical (right), to deal with the enemies on each ship.
After that, you will find connected ships, which is where the Lilith enemies are located, in addition to two more Orcs, so you will want more characters prepared to go there after sending one through. Note that you can reach the last ship with more Gelatins via the chains, but you can also warp there. If you do, it might be a good idea to take the purple warp to an area with two green chests, which give you Legendary items.
DT Core Field
| Enemies | Equipment | Evility |
|---|---|---|
| Lv. 50 Bloodis | Cross Counter, Chain Mail, Falcon Shoes | Fighting Aura, Pressure |
Like earlier in the game, the only enemy you will be fighting here is Bloodis, who is level 50 and probably a bit higher than your own characters. Not much else has changed, in terms of battling him, except he has a new Evility equipped, called Pressure. At the beginning of each of his turns, your characters’ Revenge Gauge will decrease by 10%, which is quite troublesome (unless it’s already filled, meaning it won’t trigger). He also has a new skill caled Destruction Shot, which hits in an X-pattern, so try not to place your characters so close together. He still has the same annoying unique Evility and Overload skill, so either try to take him out quick, if you can.


No Comments