The Martial Training maps are a series of battles that will have their true potential unlocked after completing them once. When you return to a previously cleared map, you will notice that the enemies (sometimes new) will be standing on Geo Panels that usually give more EXP and Mana. They will all appears as bills that you must pass in the Dark Assembly, with the first map unlocking at the beginning of Episode 8.
The following are when the bills for each of the five maps are unlocked:
- Episode 8 (First Trial)
- Episode 11 (Second Trial)
- Episode 15 (Third Trial)
- Finish main story (Fourth Trial)
- Clear Possessed By Heart (Final Trial)
First Trial (First Visit)
The first map is pretty simple (or extremely challenging), depending on if you’ve been using any of the previous leveling methods outlined in this guide. There are only three level 81 enemies, all of whom are standing on Geo Panels granting the ATK +50% effect. It’s extremely beneficial for you to be using these, too, so plant as many characters as needed on them to attack the enemies. If you’ve barely scraped by with finishing the final battle of Episode 7, then it’s probably in your best interests to wait a while or use one of the two more known maps in the story to level, should you really want to pursue in clearing this map.
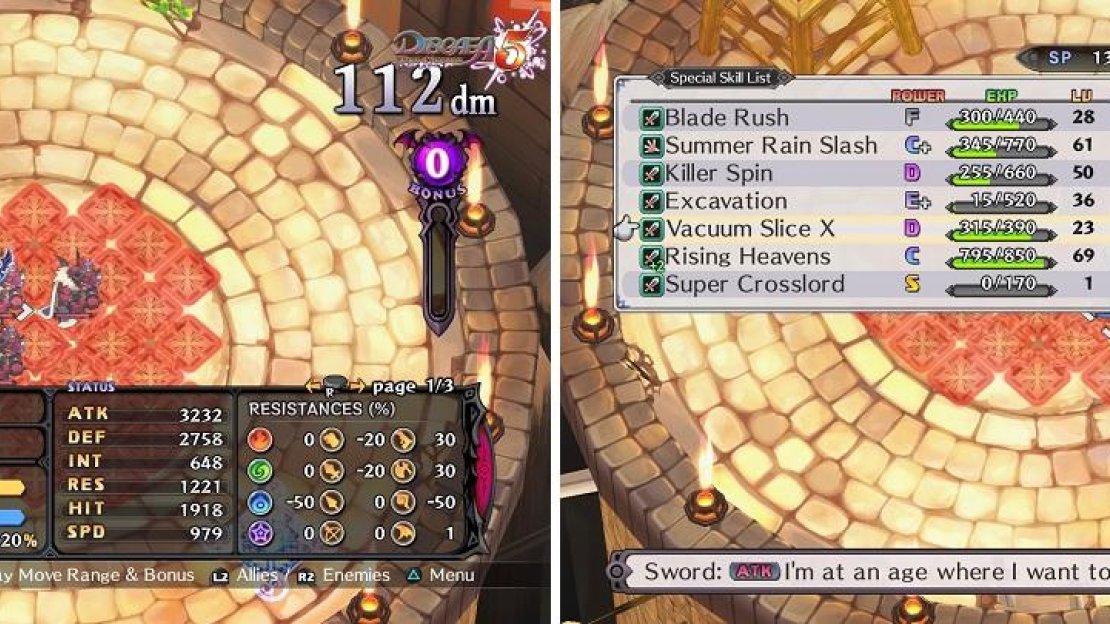
You will likely want to be around level 70-80 on your first attempt here and be able to hit all of the enemies at once, if you can. They are weak to water and the cross-shaped pattern is the first one for magic skills that can hit them all. Other skills include Victory Bullet (will have to toss a character above them), Two-Handed Draw (Seraphina), Purgatory Palm, Hellfire Shot (Killia), and Vacuum Slice X, just to name a few.
First Trial (Second Visit)
Upon returning to this map, you will find that the three Humbabas are now sitting on an additional EXP +100% effect. If you had trouble clearing the map the first time, then it’s probably a good idea to do it a few more times to up your characters’ levels to a point where it becomes easier. However, the true shine of this map comes from upping the enemy strength by 1 star, putting the enemies at level 99. As mentioned in Rustling Bacteria (Episode 4), level 99 enemies give the same amount of experience as roughly level 320 or so enemies, so your levels will skyrocket when you kill the enemies here.
Level 99 enemies will give as much experience as level 320 enemies (left). Skills such as Vacuum Slice X can hit all of the enemies at once (right).
Depending on whether you have a full stack of Statistician innocents or not (caps at 900; likely won’t be the case so don’t worry about them unless you’re in the postgame), you’ll find that the leveling will start to slow down at around level 200-300. That’s definitely more than enough to finish the main story and if you’re doing this as soon as it unlocks, the equipment from the Bonus Gauge is a great help over the best items you can purchase from the store. You could always get one piece of equipment from the stage, then dive into its Item World to get more.
Second Trial
All of the enemies are standing on panels (in a nice heart shape) that give them the Enemy Boost +50% effect, meaning they are stronger than their face value. In terms of the more dangerous ones, the Thalias and Pharbitis enemies have Evilities that either increase the enemies’ stats (Thalia) or can heal enemies that are next to them (Pharbitis). Thus, they should be the first two sets of enemies you take out. The Succubi are also dangerous because they have skills that can charm your own characters, which can be devastating if they are your strong characters.
Upon visiting this stage for a second time, you will find that all of the above enemies are gone and have been replaced with eight Middleweights , in the same pattern as the enemies before them. The Geo Effect from before is also gone, being replaced by one EXP +50%, one Mana +50% and one ATK +50%. Despite what you may think, the First Trial is still better for leveling up, since the level 99 EXP glitch has the enemies giving off the same experience as roughly a level 320 enemy. There are eight enemies here, though, and only three in the First Trial, but those eight enemies cannot be killed in one attack with a single character.
Third Trial
That Enemy Turbo effect can be particularly nasty on this map, considering your characters aren’t too high to begin with. For example, a level 550 Lady Samurai with around 12K attack only deals around one-third of the Fungi’s health with Rising Heavens. That doesn’t necessarily mean you need to have a much stronger character than that, as you have up to 10 characters to deploy to fight.
If your character can do as much damage as described above, then you can create Good-for-Nothing Archers, equip them with a bow and some shoes, then have them all attack before your character. Not only is this a great way to build up the Bonus Gauge, but the combo will also help in dealing more damage with your main attacker. Macho Splendor, the other Evility, also makes female characters deal less damage, so that can also factor into the equation.
On subsequent visits to this map, you will still be fighting the same six Shrooms, but they will now be standing on EXP +100% and Mana +50% panels. Also, their Macho Splendor Evility is gone, so they are much easier to kill. However, being only level 200, they are not going to give out as much experience, individually, as the
Fourth Trial (First Visit)
This map is pretty simple the first time you do it, as the Ruby Knights will simply guard the entire time (until they seem to get to a certain HP threshold), but it can be quite challenging. Every time you attack the Knights, they will counter while defending, thanks to Swift Stance. This can happen up to 20 times in a turn and considering they’re all equipped with bows, they have a pretty good range, plus they are all standing on Enemy Boost +50% panels. To add to it even further, you are trapped in the small area with the enemies, since there are No Entry panels surrounding the main area, so you can’t cheese it by being out of their range, for the most part. That range is set at 5 and if you have any mage that can attack from outside that range, they can do so without worrying about counters.
As mentioned above, it seems the Knights will go on the offensive and stop guarding once they reach around 50% HP or so. Should you not be able to defeat them before this happens, things get a lot more complicated. The Knights that are still defending will jump in to take the attack of the ones not defending, so it might be better to concentrate on the ones defending. The only catch to this is that they are free to use skills when they are in attack mode, so it’s possible for them to hit multiple characters with one attack, but the upside is that they aren’t 100% going to counter your own attacks.
Fourth Trial (Second Visit)
On subsequent visits to this map, you will find that there are 9 Lv. 300 Bears sitting in a nice 3x3 pattern on EXP +100% and Mana 100% panels. This makes it the premier leveling map until you unlock the Final Trial, and one of the better maps for capturing enemies until you unlock the Carnage Dimension. Since the Bears can’t leave the Geo Panels with the awesome effects because of the No Entry panels surrounding them, you don’t have to worry about losing the extra experience and mana.
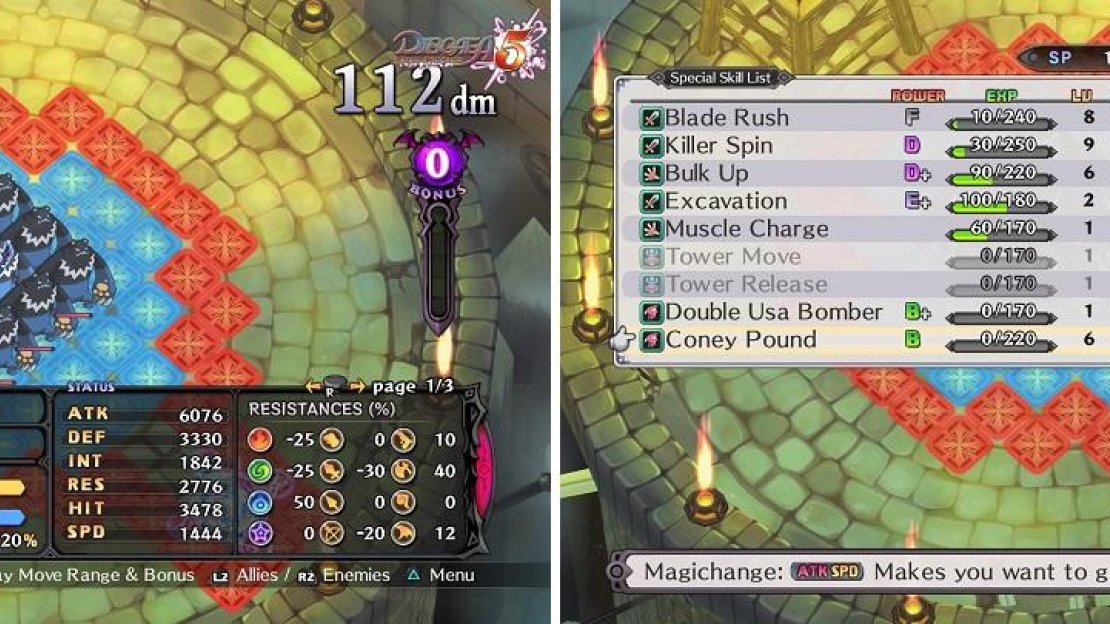
The 3x3 set up of Bears is one of the best maps for leveling (left). If a character doesn’t have a 3x3 skill, don’t forget some monster units get them when they Magichange (right).
Final Trial (First Visit)
You have four normal level 400 Slusts and one giant level 400 one, all standing on Enemy Turbo x3 panels that also have the Super Encroach effect. This means that after every turn is finished, the panels will spread throughout the map until it’s completely filled. The Attack Weakness Evility that the regular ones have will increase the damage taken by your characters by 50% if they target a negative resistance, but they only have fire skills, so try not to use anyone that has a weakness to fire.
There is a trick to this battle, that makes it simpler, requiring you to destroy the Geo Symbols. You can do this with a spell, throwing a character right below the tower where the symbols are location. This character needs to be powerful enough to destroy it in one shot, as the Slusts probably won’t give you another chance (unless you have another character). However, an even easier way is to have a character who can throw to a height of 48, which can be done by running Logan through Chara World twice (on Demon difficulty) and upgrading his Throw both times. Now, you can toss someone onto the tower with the symbols, where that character will be safe from the Slusts, as they can’t reach him/her. If this character can damage them (will likely need spells), then you can finish the level that way.
Final Trial (Second Visit)
On subsequent visits to this map, you will find five Lucky Boards (two Skill, two Weapon and one EXP that’s a giant) sitting on EXP +100%. Despite the appearances, it is a better map for experience than Fourth Trial, but not as good for Mana and you can’t capture the Lucky Boards. The thing to note about them is that you can’t whittle down their HP like normal mobs, as all damage that isn’t equal to or greater than their max HP is nullified.
One way to get more damage is by comboing with Archers, as their Support Attack Evility allows them to perform a regular attack if they are in range when an ally performs an attack. They don’t even have to do damage and with around 6-7 Archers, the combo should be reaching in the 20s, letting the character who attacks after to get nice damage boost.


No Comments