These maps are the ones that show up after accepting the appropriate Quest and will end up forcing a Generic Overlord into joining your team. Note that these Overlords are the same as their respective counterparts, except each of them has an Overload skill. Note that once you finish the maps, they will disappear from your list and cannot be played again.
The maps are unlocked at the following points:
- Overlord of Revenge (Episode 3)
- Mushroom King (Episode 5)
- The Dragon Overlord (Episode 7)
- Prideful King (Episode 13)
Overlord of Revenge
| Enemies | Equipment | Evility |
|---|---|---|
| Lv. 15 Logan | Catcher’s Mitt, Festival Clothes, Power Belt, Kung-Fu Muscle | Pro Tosser, Power Throw |
| Lv. 10 Fury Fatalist | Bardiche, Cotton Bandana | Fury, Grappler |
| Lv. 12 Fury Fatalist | Bardiche, Cotton Bandana | Fury, Grappler |
| Lv. 10 Warrior (x2) | Guillotine Axe, Cotton Bandana | Wild Cry, Power Axe |
| Lv. 12 Fight Artist (x2) | Forehead Flicker, Cotton Bandana | Fury, Blasting Fist |
This is definitely a step up from the third episode maps, with Logan being level 15 and possibly strong for your party. While getting Logan on your team is a good idea, since he is a Wrestler and you don’t have access to those until later, don’t feel bad if you postpone the battle until you’re around the same level as him. Of the three generic units on the map, the two Fight Artists are probably the most threatening, due to their Blasting Fist Evility, which will knock your DEF down by 10% if they hit you. However, they are right next to Logan and you probably want to save him for last, so go after the other two sets first. If you can quickly take the two sets out, then you can concentrate on Logan and the other two enemies. Logan’s Overload Skill allows him to throw 2 panels further, which doesn’t really matter in this battle.
Mushroom King
| Enemies | Equipment | Evility |
|---|---|---|
| Lv. 25 Erynder Z | Medal of Evil, Camo-Clothes, Glasses | Shroom Power, Bad Trip, Listless Spores |
| Lv. 20 Matango (x4) | Eerie Medal, Top Hat | Shroom Power, Mushroom Doping |
| Lv. 18 Eryngi (x2) | Eerie Medal, Top Hat | Shroom Power, Listless Spores |
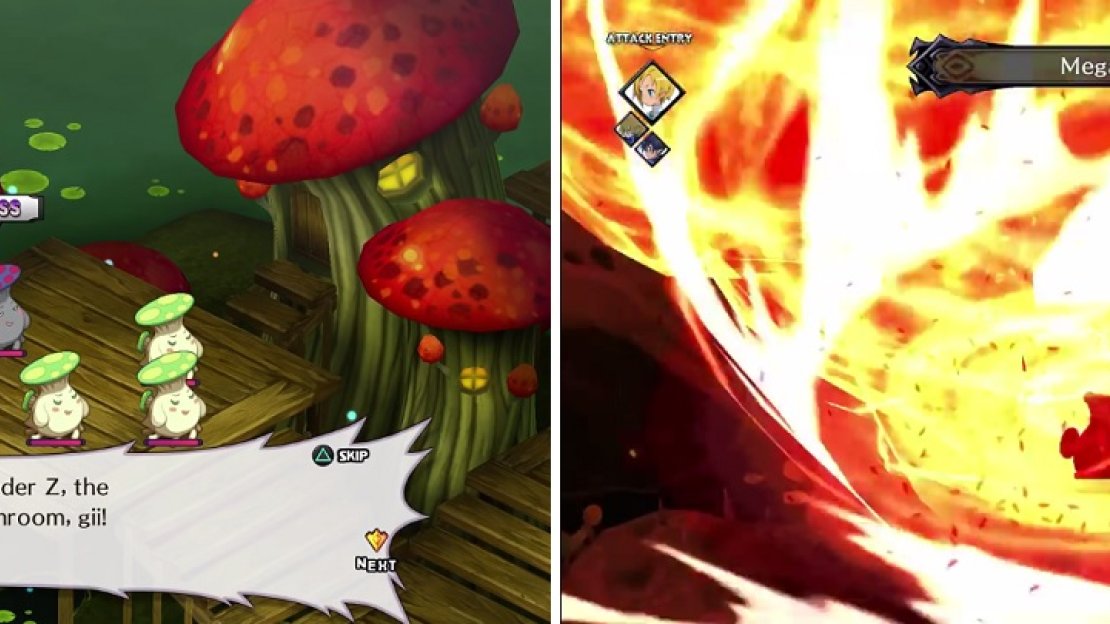
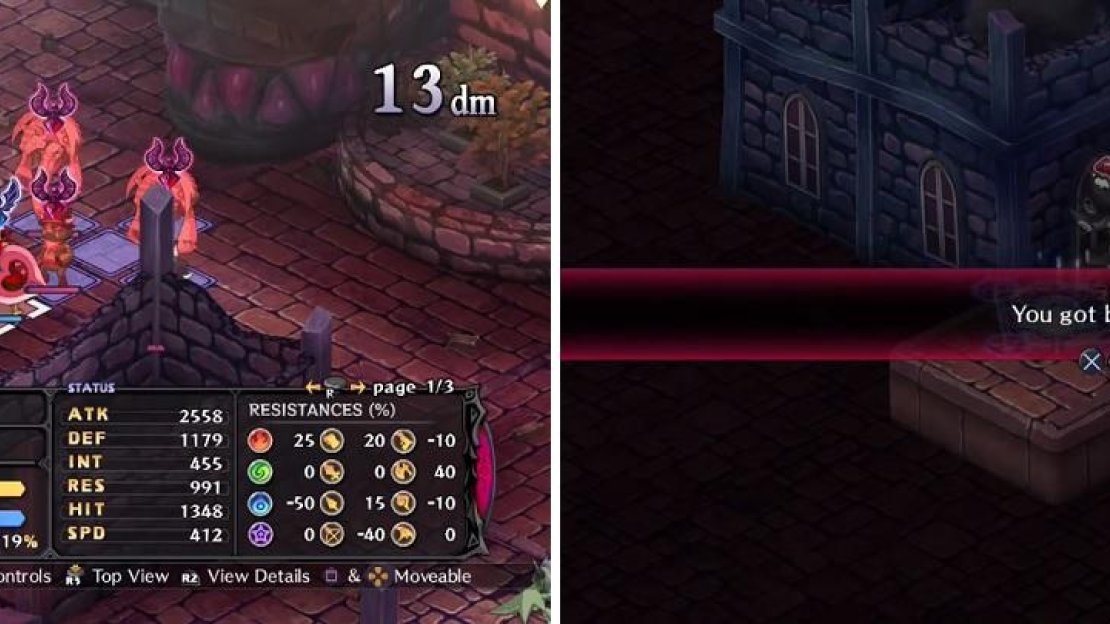
Erynder Z can be quite a problem, as he is level 25 and probably a bit high for your party, unless you’ve been powerleveling. One thing you do not want in this battle is Erynder Z or the Eryngi to attack normally, since their Evilities have a chance to inflict Weaken if they do attack that way (and Poison, Sleep and Paralysis in the case of Erynder Z). Weaken combined with the Shrooms’ main Evility can cause a lot of problems for female melee units, so try to use ranged attacks with that gender if you have them. Just take your time and don’t get too anxious, going after the enemies too soon. Also, don’t forget that the random mushrooms that pop up during the battle can actually be beneficial if you throw them near the enemies, so don’t forget them.
Erynder Z is definitely the biggest problem in this battle (left). The normal Shrooms are weak to fire (right).
The Dragon Overlord
| Enemies | Equipment | Evility |
|---|---|---|
| Lv. 35 Dragon Overlord | Delinquency Medal, Mascot Costume, Feather Token | Twin Heads, Dragon Treasure, Cold Blessing |
| Lv. 30 Chunin (x3) | Parazonium, Mascot Costume, Ninja Tabi | Mirage, Feint |
| Lv. 30 Mythic Fox | Medal of Oblivion, Mascot Costume | Good Fortune, Fire Blessing |
| Lv. 30 Mythic Fox | Medal of Oblivion, Mascot Costume | Good Fortune |
| Lv. 30 Mythic Fox | Medal of Oblivion, Mascot Costume | Good Fortune, Cold Blessing |
| Lv. 30 Chunin | Red Beast, Mascot Costume, Ninja Tabi | Mirage, Gale Blessing |
| Lv. 25 Exorcist (x2) | Venom Fang Bow, Round Shield | Bushido, Power Shot |
| Lv. 25 Exorcist | Parazonium, Round Shield | Bushido, Mind’s Eye, Gear Repair |
On the enemy’s first turn, the middle Mythic Fox (the one with just Good Fortune) will Magichange with the Chunin right in front of her, giving him Good Fortune and boosting his stats a tiny bit. Unless you boost the Bonus Gauge a lot, then this shouldn’t be too much of a worry and can be dismissed. For now, focus on the three Exorcists, two of which are carrying bows. If you group your characters up, then they won’t resort to using regular attacks and use their bow skills instead, likely doing less damage, plus you will negate the bonus damage from Bushido. The Chunin with the Magichanged fox knows Wind, which is enhanced with Gale Blessing (20% increase in damage), as well as a few ailment skills.
The other two Foxes only have a 10% boost to the elemental spell they can use. The three Chunin near Drumdawn only have Feint as an extra Evility, which cancels out your counterattack, but you should be attacking them from a distance anyway to avoid their Unique Evility. As for Drumdawn himself, he is a Twin Dragon and can attack twice in the same round if he doesn’t move. He also gets a 20% equipment bonus because of the Feather Token that is equipped, so if you have a Thief that can steal it, do that. Cold Blessing gives him a 10% boost to water elemental skills, in which he only has one, Frosty Breeze
Prideful King
| Enemies | Equipment | Evility |
|---|---|---|
| Lv. 70 De Gaulle Overlord | Pegasus Hoof, Chain Mail, Fight Muscle | Rage Charge, Power of Bowls |
| Lv. 65 Scharfrichter (x2) | Thunder Bird, Iron Mask | Immortal Body, Motor Gang, Shield Dash |
| Lv. 65 Shaytan | Thunder Bird, Iron Mask | Anti-Element, Crush |
| Lv. 65 Reshep (x2) | Enthusiastic Medal, Iron Mask, Astral Orb | Evil Eye, Reduction Curse, Lock Eyes |
| Lv. 65 Orc Master (x3) | Thunder Bird, Iron Mask | Group Strategy, Mass Psyche |
| Lv. 65 Spandule (x3) | Enthusiastic Medal, Iron Mask | Bullying, Motor Gang |
One of the main ideas for this stage is that the enemies benefit from each other for just being there. The Orcs have Mass Psyche, which gives them a 3% stat boost for every other enemy on the map, plus another 5% for each enemy that’s within 2 panels of them (Group Strategy). The Horsemen and Imps are equipped with Motor Gang, giving them a 5% stat boost for every Orc, Horseman and Imp on the map. Naturally, as you defeat the enemies, the above will get weaker to the point that they are really nothing special. Now, there’s a Netherworld Effect for this map, which will hit a random character (or more) for damage, so once you get the Bonus Gauge to level 1, it might be a good idea to summon your own Netherworld to get rid of it, even if you don’t have an effect equipped.
The Orcs should definitely be the first enemies you kill, not because of Mass Psyche, but because Goddess of Orc is a skill that can charm your own characters, making them attack your other characters. At the start, it might be wiser to go towards the Imps, as this will limit the number of enemies who can hit you on the first round. Note that the Shaytan and two Reshep will come after you, though, so keep that in mind for your second turn, where you probably want to get rid of the Resheps because of Evil Eye lowering your stats and Lock Eyes reducing your evasion.
Use skills that hit more than one enemy to whittle down their HP (left). It might be a wise idea to summon your Netherworld to get rid of the effect here (right).
The Horsemen get a decrease in damage the more panels they move (up to a max of 30%), so try to get right underneath where they will drop to minimize this. Brave has Power of Bowls, giving him a 5% stat boost for every empty Evility slot he has, which is 7 in this case. You also do not want him to get his Overload skill off, since it makes him immune to all attacks for three turns, but luckily he can’t move, so if it does, move away from him until it wears off.


No Comments