The Netherworld Edit Shop is unlocked upon starting this episode, which lets you edit the interior and exterior of the Pocket Netherworld to your liking. This includes moving around the various NPCs, so you could have all of the ones you use right next to the Dimensional Prinny for easy convenience. It also includes being able to summon your own Netherworld in battles, which can replace the current Effect with one of your own (or none if you don’t have one equipped). Only two new Quests will unlock, one of which allows you to recruit the Dragon Overlord if you complete the battle, and the other will unlock Nine-Tails monster class.
You can find the free chests at the following locations:
- On the stairs right by the Interrogation Room
- By the Data and Memories NPCs
- Next to one of the beds behind the Hospital NPC (will need to turn camera to see it)
Bloody Quicksand
| Enemies | Equipment | Evility |
|---|---|---|
| Lv. 30 Beast | Bear Claw, Mascot Costume | Greedy Disposition |
| Lv. 30 Sniper (x4) | Twin Danger, Mascot Costume | Assist |
| Lv. 30 Coral Knight (x2) | Bewitched Axe, Mascot Costume | Hero’s Shield |
| Lv. 30 Coral Knight | Light Partisan, Mascot Costume | Hero’s Shield |
| Lv. 30 Warrior (x4) | Parazonium, Mascot Costume | Wild Cry |
| Lv. 30 Warrior (x2) | Bewitched Axe, Mascot Costume | Wild Cry |
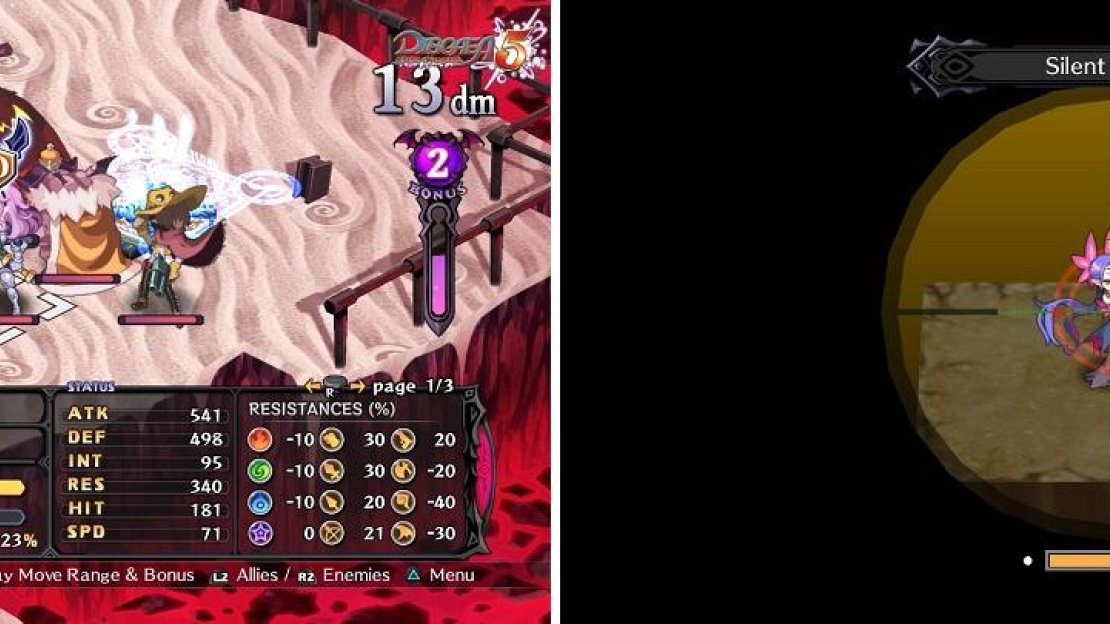
Armor Knights (the Coral Knights) can be one of the more annoying enemies to face in the game, as their Unique Evility basically allows them to take the place of another enemy and receive the damage from anywhere on the map, as long as they are defending. They can only do this up to three times per turn and luckily, they don’t have any other Evilities on them for this battle.
Armor Knights are one of the more annoying enemies, especially when they start defending (left). The Snipers will pick you off with ranged attacks (right).
After the Coral Knights, the only other enemies you really need to watch out for are the Snipers, as their one skill can hit up to eight spaces away, although it’s only one target. Also, as you’ve probably noticed, the Netherworld Effect for this place lowers your accuracy by 20% all the time, so if you find it detrimental, summon your own Netherworld when your Bonus Gauge at 1+.
Flaming Balance Beam
| Enemies | Equipment | Evility |
|---|---|---|
| Lv. 30 Matango (x5) | Bear Claw, Mascot Costume | Shroom Power |
| Lv. 30 Mischief (x3) | Medal of Oblivion, Mascot Costume | Bullying |
| Lv. 30 Orc Captain (x4) | Bear Claw, Mascot Costume | Group Strategy |
This battle is a lot easier than the previous one, simply due to there being nothing too big to worry about, in terms of any gimmicks or similar things. There’s only path towards the enemies and it’s a narrow bridge, so it’s likely the Mischief imps will use Stone to snipe you from a distance, although they can only hit you from four spaces away. The Orc Captains are the same as always and can hit characters up to three spaces away with their one skill. If you happen to use a lot of female units, then make sure you don’t have them stand next to the Matangos, as their Evility lowers their stats by 20% should they be next to them.
Furious Heatwave
| Enemies | Equipment | Evility |
|---|---|---|
| Lv. 33 Acolyte | Red Beast, Mascot Costume | Expert Hands |
| Lv. 33 Rogue | Venom Fang Bow, Mascot Costume, Ninja Tabi | Thief Skills |
| Lv. 32 Sniper (x2) | Twin Danger, Mascot Costume | Assist, Hawk Eye |
| Lv. 31 Warrior (x5) | Bewitched Axe, Mascot Costume | Wild Cry |
| Geo Symbols | Geo Effects |
|---|---|
| Green | Enemy Boost +50% |
| Blue | Recovery 20% |
| Red | DEF +50% |
| Null | Recovery 20% |
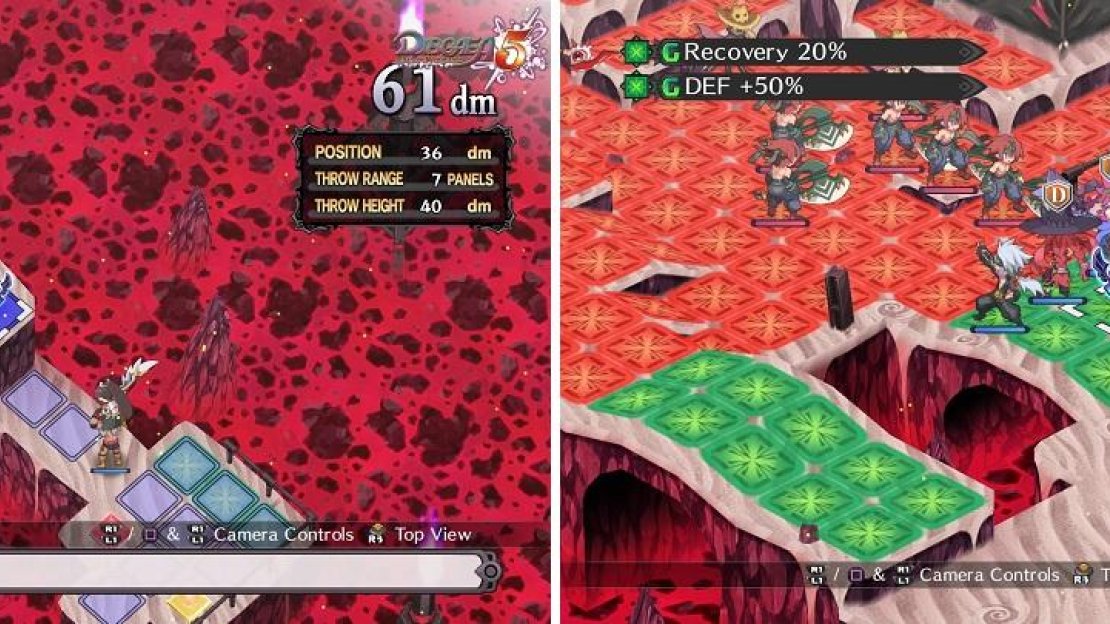
You will probably find this map a bit more annoying than the previous two, due to how it’s set up. All of the enemies, except for the Rogue, are standing on Geo Panels that grant them the Enemy Boost +50% and Recovery 20% effects. To add to the annoyances, the Netherworld Effect is also in play here, making it slightly harder to hit the enemies. The symbols with those effects are sitting on top of the cliff behind them, which will likely require a character that’s good with throwing (like Logan). You probably noticed the green panels in front of the red ones, which have no effect on them.
Before you toss a character over to the lone symbols, you will want to do something else. Take any normal character and place them two tiles from the Base Panel, then have someone who can throw onto the cliff stand next to the Base Panel. Take a strong character and have them stand on your base, then pick him/her up with Logan and have the first character you placed pick them up. Toss Logan into the area with the lone symbols, then have him toss the strong character onto the cliff with the Rogue. If you can defeat her in that turn, then that’s even better, but it’s possible she will kill Logan (unless you’ve been beefing him up).
Tossing a character to where the enemy Thief is located is one possible way to clear the stage (left). You can also use the leftover Geo Symbols to make a safe haven for your characters (right).
This character is also in a prime position to journey to the other end and destroy the enemy-loving Geo Symbols. If Logan is still around, have him place the Geo Symbols near him onto the panels, should you want him to. Otherwise, ignore them and start bringing out your characters to fight the baddies! Oh, it should be mentioned that there’s an Enemy Base Panel spitting out level 25 Messengers (Mothmen) at the end of each full turn, which can prove troublesome if they happen to get any ailments on you. There’s only around five of them, though, and the Acolyte will sit back and heal/buff the other enemies, since she has nothing but her staff to attack with.
Burning Quicksand
| Enemies | Equipment | Evility |
|---|---|---|
| Lv. 34 Dirty Bear | Hammer Head, Bikini Armor | Rage Charge, Hypered |
| Lv. 33 Onyx Knight (x3) | Sky Piercer, Bikini Armor | Hero’s Shield |
| Lv. 33 Onyx Knight | Attaxe on Titan, Bikini Armor | Hero’s Shield |
| Lv. 32 Set (x2) | Delinquincy Medal, Bikini Armor | Evil Eye |
| Lv. 32 Orc Captain (x3) | Hammer Head, Bikini Armor | Group Strategy |
| Lv. 32 Dirty Bear (x2) | Hammer Head, Bikini Armor | Rage Charge |
| Lv. 30 Grizzly (x3) | Hammer Head, Bikini Armor | Rage Charge |
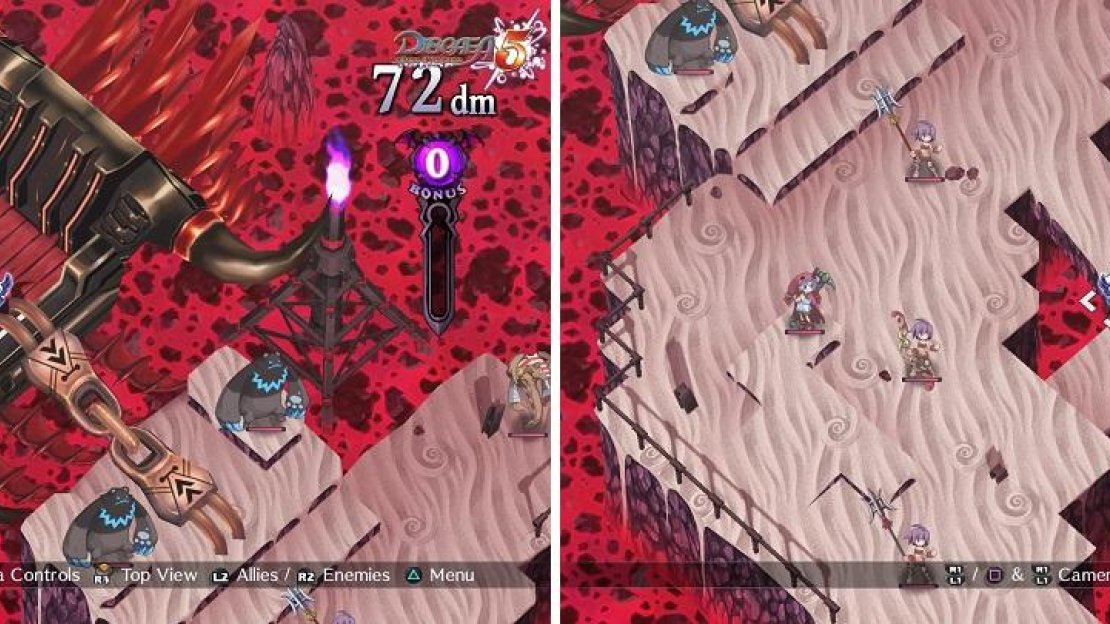
The Dirty Bear at the top of the map has the Hypered Evility, which means that it’ll stay giant for the whole time it’s alive, granting it extra stats and almost tripling its HP. This is the strongest enemy unit on the map, but put it in the back of your mind for now. The first set of enemies are the three Grizzlies closest to your Base Panel, who shouldn’t take you too long to defeat. After you do this, you’re going to need to throw your stronger characters up to the top from the nearby “hill.”
It’s best to set things up before you toss someone, since the enemies will be waiting for you. This includes positioning a Wrestler or Logan there and getting as many characters ready to be thrown. Although it hasn’t been said yet, Wrestlers/Logan have the ability to keep throwing characters as long as they don’t move, so you could theoretically throw your entire party to the upper level in one turn.
The first set of enemies you’ll meet up here are two Onyx Knights and two Dirty Bears, so be prepared for some strong attacks and the annoying Evility of the Knights. Note that targeting other Knights or using AoE skills (with the Knight included) will make it so the Knights can’t use their Evility at all. The second set of enemies consists of two Orc Captains and a Set, so you should be able to quickly take them out. The last set are two more Knights, an Orc Captain, a Set and the giant Dirty Bear. It might be best to try and quickly eliminate the Knights first, then concentrate on the Bear until you manage to kill it. Clean up the rest to finish the battle.
Dying Flames
| Enemies | Equipment | Evility |
|---|---|---|
| Lv. 35 Bloodis | Jugular Thrust, Bikini Armor | Fighting Aura |
| Lv. 34 Dirty Bear (x2) | Hammer Head, Bikini Armor | Rage Charge |
| Lv. 34 Set | Delinquency Medal, Bikini Armor | Evil Eye |
| Lv. 33 Lady Warrior (x2) | Sky Piercer, Bikini Armor | Assault Attack |
| Lv. 33 Lady Warrior | Earthen Bow, Bikini Armor | Assault Attack |
| Lv. 33 Good Skull (x3) | Hammer Rod, Bikini Armor, Dark Orb | Magic Bundle, Casting Mastery |
| Lv. 31 Fight Artist (x4) | Jugular Thrust, Bikini Armor | Fury |
There are certainly a lot of enemies here, with Gold…err, Bloodis making another appearance. He’s the same level as he was before, but he still has the same annoying Evility and Overload skill, so make sure you keep an eye on him at all times, especially when you start moving towards his end of the map. The rest of the enemies here are nothing new to you, although one of the Lady Warriors has a bow equipped, so she has some range.
Bloodis has returned and he brought more than a few friends along to help him.
The Skulls have a second Evility on them, called Casting Mastery, which just increases their INT aptitude by 10%, giving them a little extra firepower to their Mega-tiered spells. The best strategy for this map is to just take it slow and trying to eliminate the most troublesome units, such as the ones that can hit you with ranged attacks, first. Getting rid of everyone else will likely trigger Bloodis’ Overload, so either stay away from him until it wears off or be prepared for a butt-whooping.


No Comments