At the beginning of this episode, two new things will unlock at your base, the Squad Shop and the Strategy Assembly. The former lets you put characters into groups that serve specific functions, like being able to capture enemies or grant extra abilities inside of your base. The latter has the same function as the Dark Assembly and others from previous games, where you can pass bills for a lot of different things. One thing you should definitely pass in the Dark Assembly is the cheat bill towards the bottom, which unlocks the Cheat Shop.
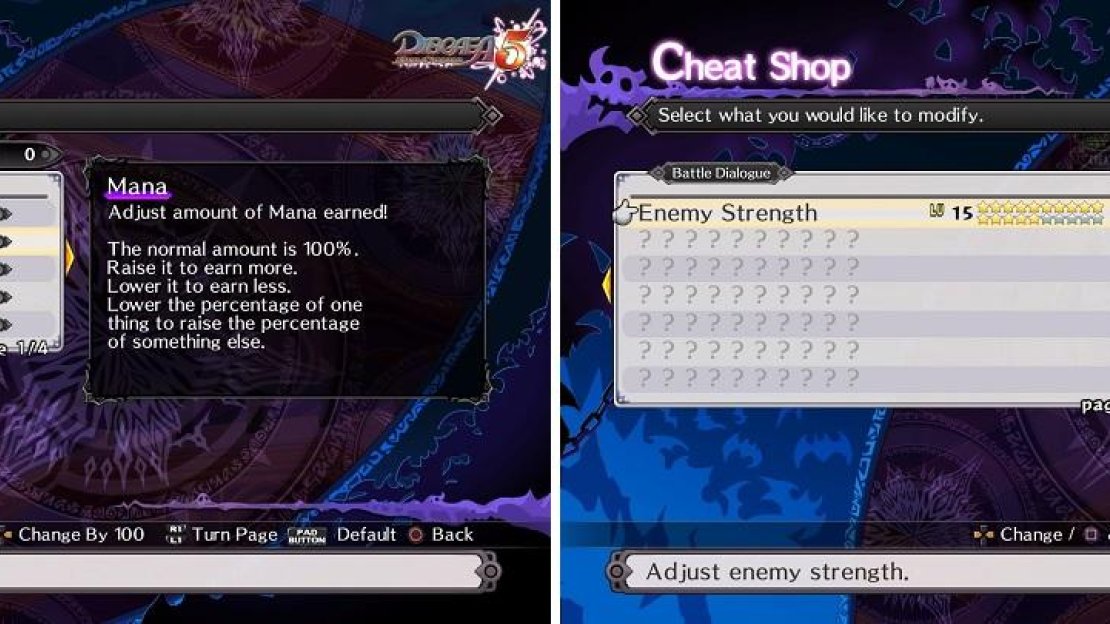
This wonderful service will allow you to adjust sliders (EXP, Mana, Money, Weapon Mastery and Skill EXP) to increase/decrease the five options. You have to decrease one in order to increase another. The second page in the Cheat Shop (press R1 to access it) allows you to adjust the enemy strength by adding stars, making them stronger if you wish.
The Cheat Shop will be one of the most important tools at your disposal, not only during the main game, but also the postgame.
You can find the free chests at the following locations:
- Right behind the Hospital NPC
- On one of the pillars leading up to the room at the top
- Behind the hedge in the large area down the stairs near the Innocent Shop<
Poison Beach
| Enemies | Equipment | Evility |
|---|---|---|
| Lv. 10 Mischief (x3) | Underling’s Medal, Festival Clothes | Bullying |
| Lv. 10 Alraune (x4) | Underling’s Medal, Festival Clothes | Sweet Aroma |
| Lv. 10 Catsaber (x5) | Spider Thread, Festival Clothes | Weakening Aura |
| Lv. 10 Zeroken (Neutral) | Forehead Flicker, Festival Clothes | Flowing Water |
You’re introduced to Netherworld Effects starting with this battle. Each Netherworld can have its own effect, which might be something simple like poisoning a character if they stand in a certain spot, like with this Netherworld. Of course, this only works on enemies that don’t fly, like the Imps in this battle. Luckily, you have a little help with the enemies, who don’t seem to care about resting in the poison waters here, as well as in the form of Zeroken. He will likely take care of one or two enemies before he perishes himself, helping to lift the burden on your end.
Of course, things won’t be easy on you, as the Catsabers have an annoying Evility here, which will cut the damage you do to them with humanoid enemies by 30%. This is a pain because most of your big units are likely humanoid, so you just need to lay it on thick until they die. The Alraunes also have an annoying Evility, only if they decide to group up and stay by each other’s side. This Evility will heal them for around 20% of their max HP, so try to quickly take them out before they undo any damage you’ve done. Start the battle by going after the two Catsabers near your Base Panel, then go after the ones that are likely crossing the poison waters. From here, you can lure the Alraunes away from each other and just clean up the rest.
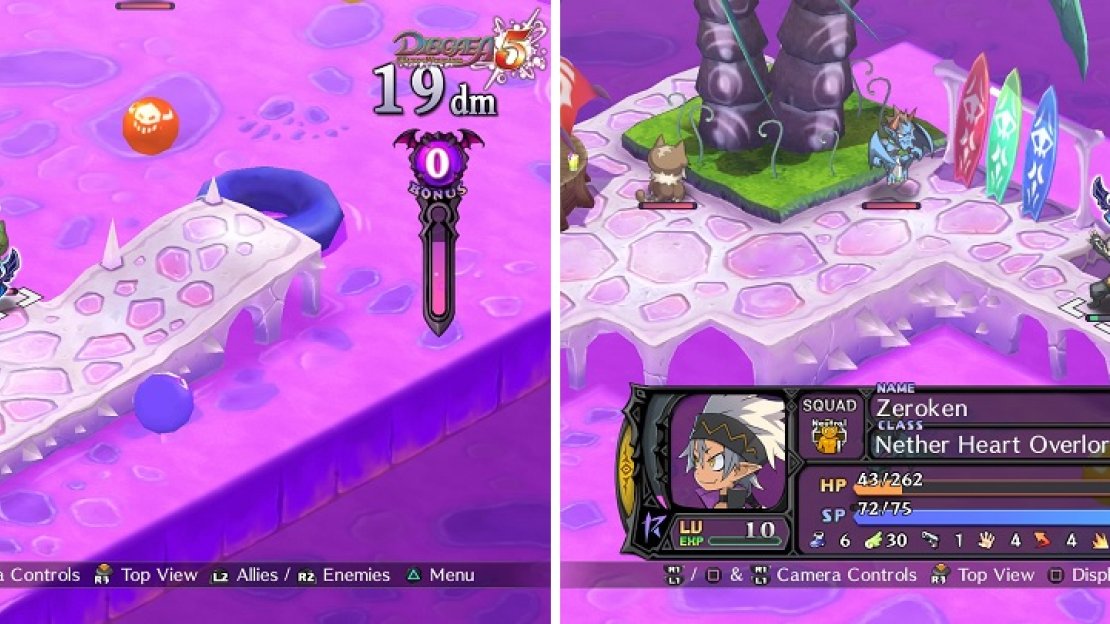
Unless they are flying units, both friends and foes will be poisoned by standing in the purple liquid (left). It’s likely the neutral NPC here will take out a few enemies (right) before perishing himself.
Toxic Depot
| Enemies | Equipment | Evility |
|---|---|---|
| Lv. 12 Fighter | Versatile Billhook, Festival Clothes | Wild Cry |
| Lv. 12 Lady Fighter | Bardiche, Festival Clothes | Assault Attack |
| Lv. 11 Catsaber (x8) | Spider Thread, Festival Clothes | Weakening Aura |
| Lv. 11 Mischief (x5) | Underling’s Medal, Festival Clothes | Bullying |
The first thing you should know is that the Fighter and Lady Fighter by your Base Panel don’t seem to actually fight you, although they can counterattack, so take them out first before dealing with any of the other enemies. As for the Catsabers on the rafts, you can lure them to your side without having to step into the poison area by getting inside of their movement range.
If you have a Healer or Cleric with the Shield spell, then you can take one of your meatier characters and use them as a tank to lure them over, where you can wipe them all out. The only thing remaining now are the Mischief monsters on the other side. You can either move your characters across by using the rafts or get a big tower and throw your strongest ones over. The only problem with moving them over is that it’s likely the Mischief enemies will use their ranged skills to pick them off one-by-one.
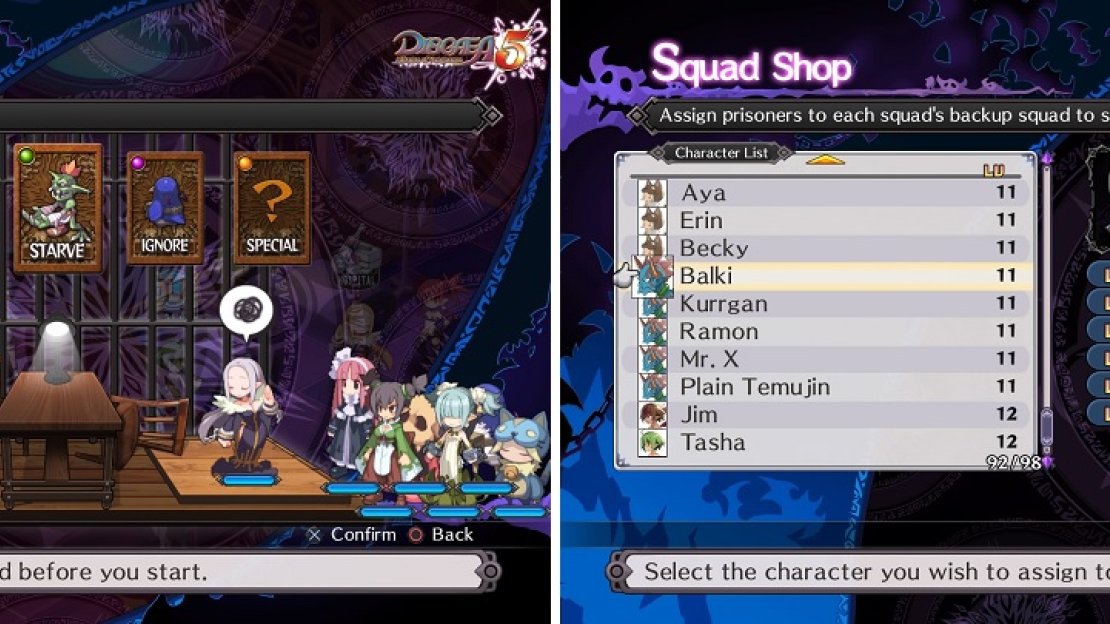
Have your strongest characters in the Interrogation Squad before interrogating prisoners (left). Use your prisoners to level up your Squads (right).
Hole-in-the-Wall
| Enemies | Equipment | Evility |
|---|---|---|
| Lv. 13 Catsaber (x4) | Spider Thread, Festival Clothes | Weakening Aura |
| Lv. 10 Mischief (x4) | Underling’s Medal, Festival Clothes | Bullying |
| Lv. 13 Archer (x2) | Longbow, Festival Clothes | Support Attack |
| Lv. 13 Warrior (x2) | Versatile Billhook, Festival Clothes | Wild Cry |
Christo will talk about the Capture Squad and prisoners at the beginning of the battle, so pay attention to what he’s saying if you have an interest. Basically, placing characters in the Support Squad will give them a special skill that lets them capture enemies, turning them into prisoners. You can then use the prisoners, as described above in the Interrogation Room excerpt. Onto the battle itself, the map is pretty open and doesn’t have a lot of room for you to maneuver across the poison waters. If you’ve heeded the advice given at the beginning of the episode, having the Poison Vaccine Evility equipped will make things go much smoother.
You have the same types of monsters here, with the Catsabers and Mischief imps, and you should be used to Warriors by now. The Archers are probably something new, though, and as you guessed from the name of the unit, they use ranged attacks. Their Evility is called Support Attack and can potentially be dangerous, as if they are in range when another enemy attacks you, then they will proceed to attack you with a normal one. On the enemy’s first turn, one of the Catsabers will Magichange and combine with the Archers’ weapons. This will increase their stats by a bit, so they should definitely be one of the first enemies you deal with as you make your way across the poison.
Hazardous Highway 4
| Enemies | Equipment | Evility |
|---|---|---|
| Lv. 13 Nemophila (x3) | Jellyfish Stinger, Light Shield | Sweet Aroma |
| Lv. 13 Warrior (x4) | Vine Blade, Light Shield | Wild Cry |
| Lv. 13 Orc Captain (x4) | Jellyfish Stinger, Light Shield | Group Strategy |
| Lv. 13 Lady Warrior (x4) | Halberd, Light Shield | Assault Attack |
| Lv. 13 Acolyte | Territory Cane, Light Shield, Psycho Orb | Expert Hands |
| Geo Symbols | Geo Effects |
|---|---|
| Null | Enemy Boost +50% |
| Green | ATK -50% |
| Yellow | DEF +50% |
Christo, once again, will talk about Squad Attacks at the beginning of the battle. For those characters who are leaders in Squads, they gain a special skill that can be used whenever they enter Revenge Mode. Using this skill on an enemy, which can only be used once per map per Squad, will attack every enemy in their Squad. As for the battle, the map is divided up into two halves, with some poison water on either side and a bridge in the middle. The first thing you’ll see are the three Nemophila enemies in front of your Base Panel, all of whom are standing on Enemy Boost +50% panels.
This means that those Nemophila will receive a 50% stat boost, so they will be harder than usual. Past them are the four Warriors, standing between two sets of panels with DEF +50% and ATK -50%. It’s highly likely that they will get onto the DEF +50% ones while you’re dealing with the Nemophila, so get ready for a war of attrition with them. If you feel like you’re getting nowhere, you can always toss them onto the panels with ATK -50%, then block off the paths to the DEF +50% ones with your characters. In fact, it’s probably best that you make your base on the DEF +50% panels, as the rest of the enemies, barring the Acolyte will come to you. If you do this, you should have no big problems taking out the rest of the enemies.
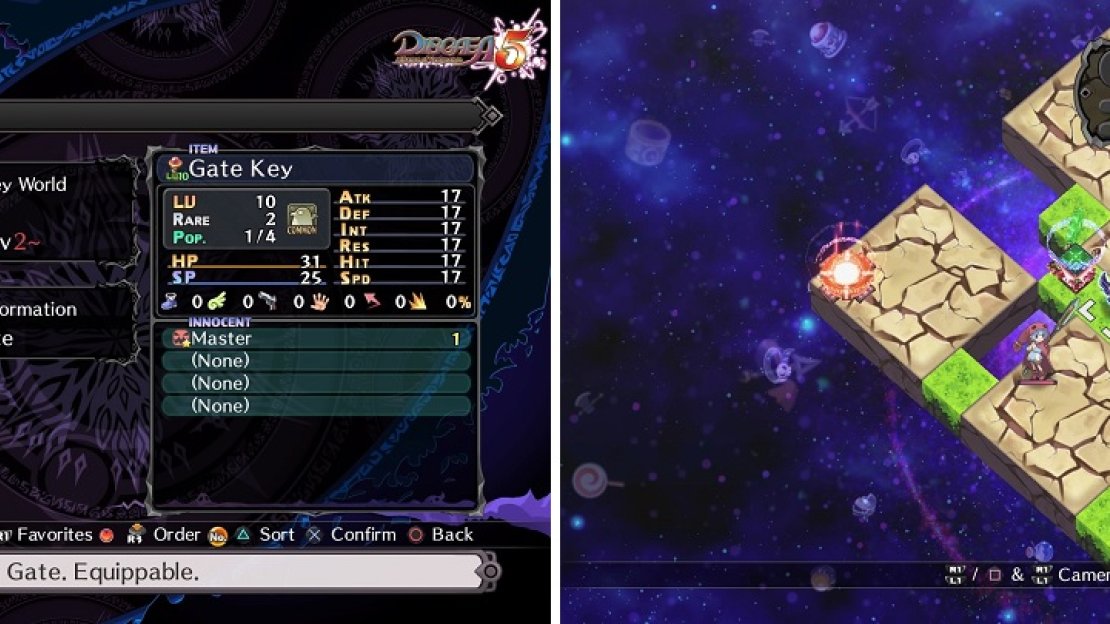
You’ll need to level up the Gate Key to 10 before you can unlock the final map (left). The Item World is completely random on every visit (right), so you never know what to expect.
Fiendish Dance Floor
| Enemies | Equipment | Evility |
|---|---|---|
| Lv. 15 Minotaur (x2) | Jellyfish Stinger, Light Shield | Greedy Disposition |
| Lv. 14 Orc Captain (x6) | Jellyfish Stinger, Light Shield | Group Strategy |
| Lv. 14 Mischief (x4) | Medal of Sloth, Light Shield | Bullying |
| Lv. 14 Warcat (x4) | Jellyfish Stinger, Light Shield | Weakening Aura |
| Lv. 15 Hedler (Neutral) | Medal of Sloth, Light Shield, Dark Rosary | Spreading Miasma, Poison Accelerator |
| Lv. 14 Mothman (x2; Neutral) | Jellyfish Stinger, Light Shield | Spreading Miasma, Self-Sacrifice |
| Lv. 14 Messenger (x2; Neutral) | Medal of Sloth, Light Shield | Spreading Miasma, Self-Sacrifice |
The first thing you’ll notice when you start this stage is that there are neutral enemies on the top, consisting of five Mothmen, one of which is the Overlord of Poisondise. As you might have guessed, he is well-versed in poisoning enemies and his second Evility makes it so enemies take 25% more poison damage. It’s best to ignore the Mothmen, as you have to deal with plenty of other enemies and you don’t even need to defeat them to finish the stage. Your Base Panel is on a tiny little island in the middle of the poison water, with a single lane leading to the outer edges with the normal enemies.
It’s a fairly tight squeeze, especially if you don’t have Poison Vaccine, plus there’s not a lot of room left for you to fight. The only new enemy type here are the Minotaurs, who have a single-target skill in their arsenal. They are also the meatiest of the bunch, sporting almost double the HP of the Orc Captains. Of course, things are complicated further, due to the Mischiefs having access to Wind and their unique skill, Stone, so they can peg you from a distance. If you concentrate on the regular enemies and leave the Mothmen alone, they will fight it out with the others until one side is dead. If this happens to be the Lost Army, then clean up the scraps. Hedler will join your party upon completing the map.


No Comments