
After collecting the Multi Moon, you’ll be back at the Odyssey. The first thing you should notice is that the weather has cleared up, allowing you to freely explore the opening area. It’s not particularly big, but there are moons and purple coins to collect, so it’s a good idea to get that over with now. Start by going behind the Odyssey to find two purple coins (39) , then find the Hint Toad and Uncle Amiibo nearby. There is a Ty-foo doing its thing on the little bridge right here and there’s also a large seed planter beyond that. If you happen to look to the northeast, at the far ice wall, there is a block you can push with the Ty-foo, so start by capturing it and heading in that direction.
Blow the wooden block towards the nearby ledge, then release the capture to get on top of it, where you’ll find a painting. If you’ve been following this walkthrough, then the painting will bring you to Cascade Kingdom, but it’s possible to be brought to either the Lake or Wooded Kingdoms. It all boils down to which kingdom you chose first at the forks (between Lake and Wooded, then Snow and Seaside). Since you should be in the Cascade Kingdom, touch the flag and nab the Power Moon (Secret Path to Fossil Falls!) . There is also something else you can do here, so either warp to the Odyssey or long jump down to its location. Once you get close enough, you can see that travelling Tostarean by the taxi. Talk to him to get another Power Moon (A Tourist in the Cascade Kingdom).

Speak with the tourist in Cascade Kingdom when you go through the painting to get a moon
Tempest in the Skies
Use the painting to warp back to the Snow Kingdom. Southwest of the painting is a scarecrow, so toss your hat on it to make some platforms appear in the icy water. This is pretty simple to beat the timer, since you can just long jump, then jump in and out of the water to get the Power Moon (Snow Kingdom Timer Challenge 1) . Northwest of the scarecrow is a checkpoint flag, with a door sitting right next to it. Open it to find a familiar Koopa Troopa, who seems to have travelled from the Sand Kingdom, to offer another tracing challenge. The same rules apply, but things are a little more difficult because of the ice physics. You will be tracing a triangle this time, which is a little easier than a circle, and you need 80 points to get the Power Moon (Walking on Ice!).
Exit the room with the Koopa and travel northwest, up the hill, to the ice wall. You should spot a snow-covered alcove, so clear the powdery stuff to find Captain Toad. Speak with him to get another Power Moon (Captain Toad is Chilly!) . Slightly south/southwest of Captain Toad is a little pool of icy water with some Cheep Cheeps swimming in it. Capture one and collect the three purple coins in that pool (42) , then swim to the southwest to spot a Moon Shard underwater - yes, there are more Moon Shards here. This should put you close to a musical note, which spawns three patterns of smaller notes. They aren’t hard to get and only the second pattern has any challenge, but the timer is lenient and your reward is another moon at the end (Taking Notes: Snow Path Dash).
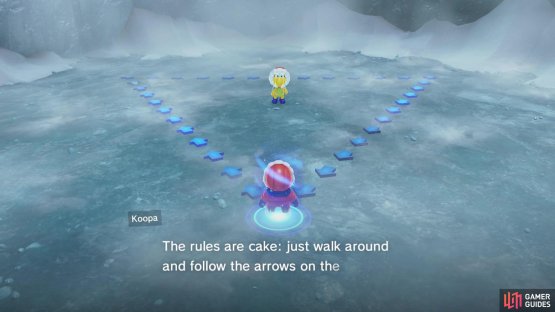

(1 of 2) You have another trace-walking challenge here

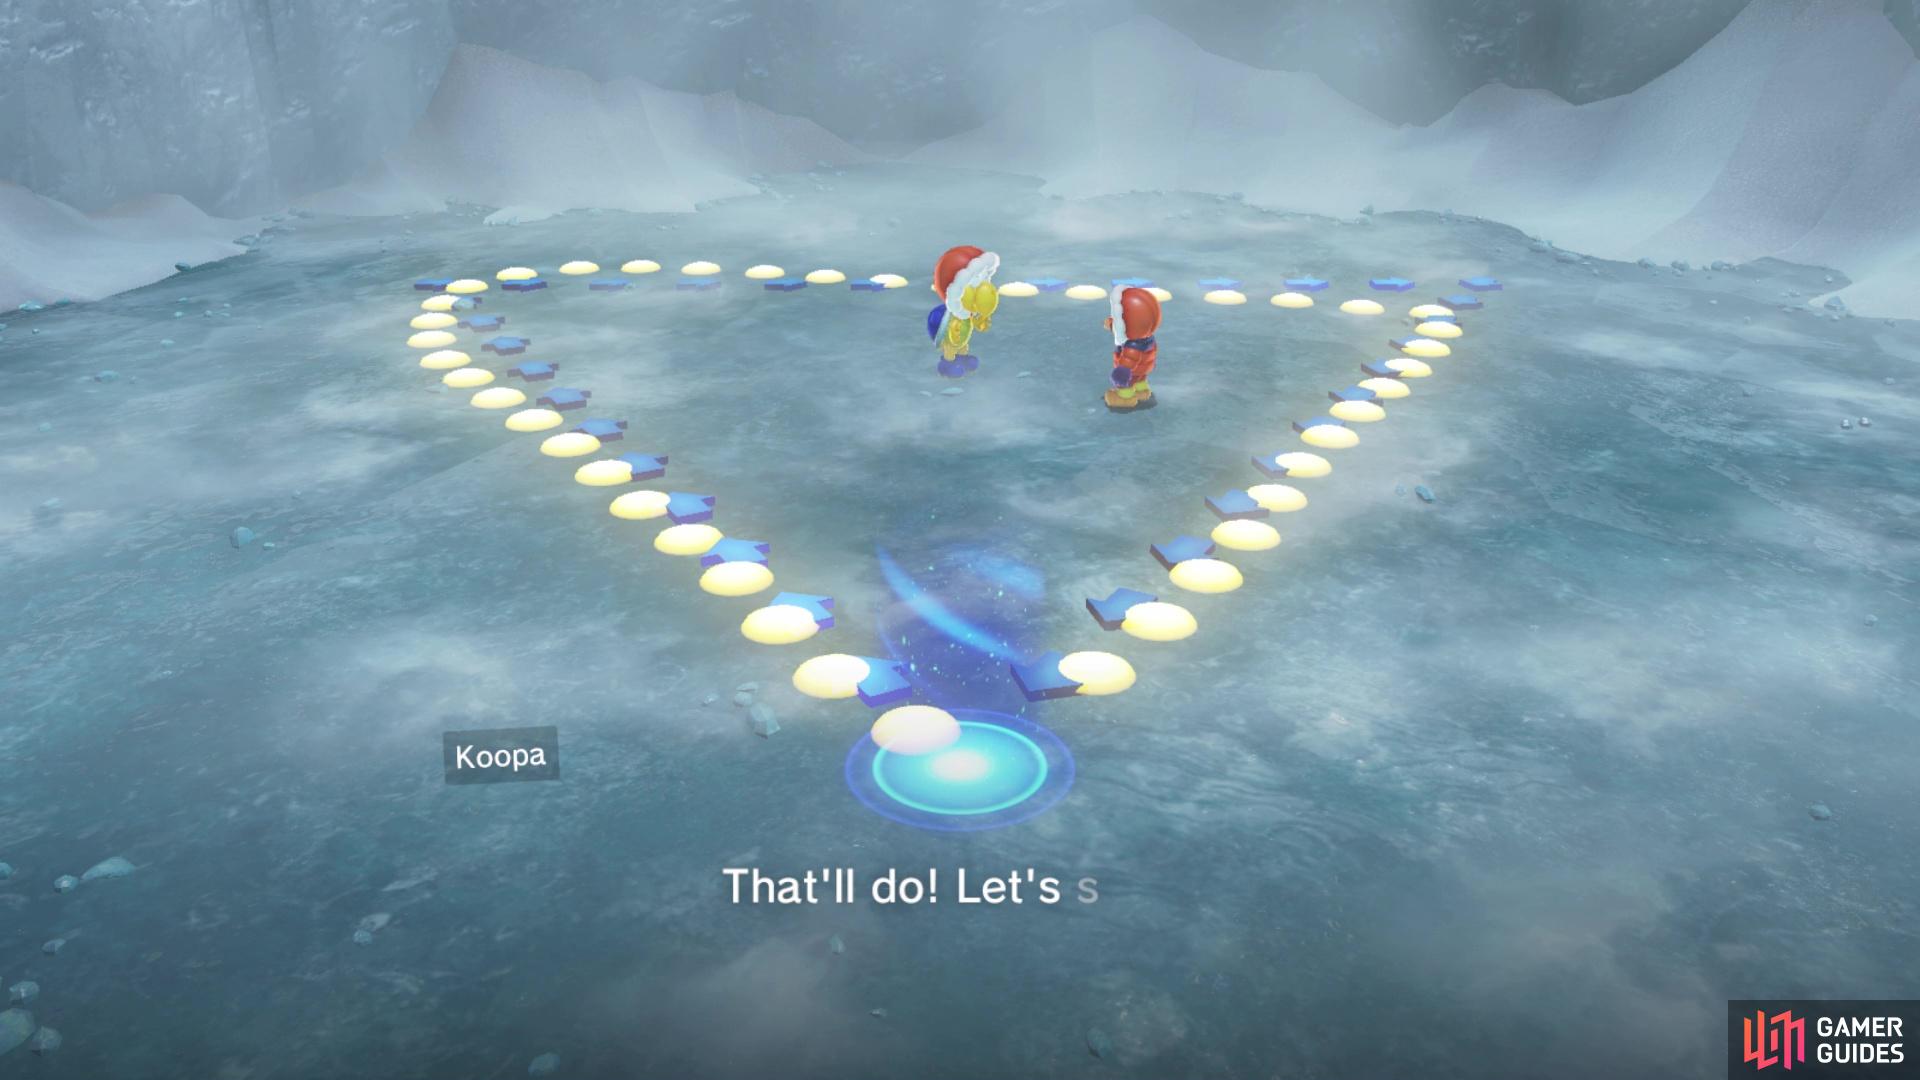
You have another trace-walking challenge here (left), and it’s just as lenient in scoring as the Sand Kingdom one (right)
In the near distance, you should see another Moon Shard on one of the icy platforms you might remember from the very beginning of this kingdom. Grab it, then make your way back to the well that brings you to Shiveria. Don’t go inside, though, as you want to get some items in the area, plus you’ll be returning later. There is an icy block next to the well that has a shard on it, but a Ty-foo is blowing some hot air (cold air?), presenting a bit of a conundrum in getting it. Fortunately, you don’t need to think too hard, as you can simply double jump and toss your hat to get it in between breaths. There is a small ledge on the northwestern edge of this area with two purple coins, so go and nab them (44).
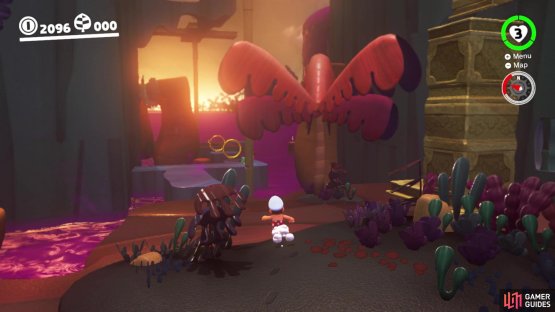
For the last little bit here, glance to the east to spot a ledge with a big seed trapped in some ice. Free it, then grab it and head south/southeast to the wooden peg. Put it down for a second to remove the peg with your hat, then have the wind carry you and the seed up to the platform near the Odyssey. Plant the seed to make a giant vine grow, which lifts you to a new sub-area. Here, you will need to use the flower springs and whirlwinds to reach the end of the area. All of the whirlwinds are set in place, but the springs will be moving, so you need to be careful in descending to them.
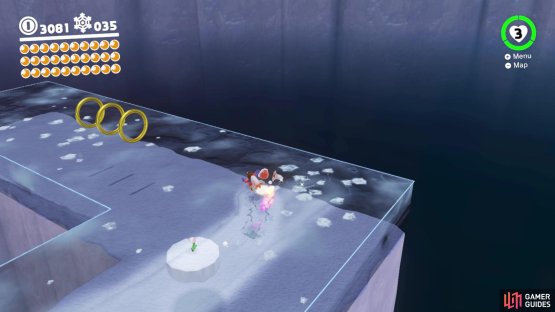
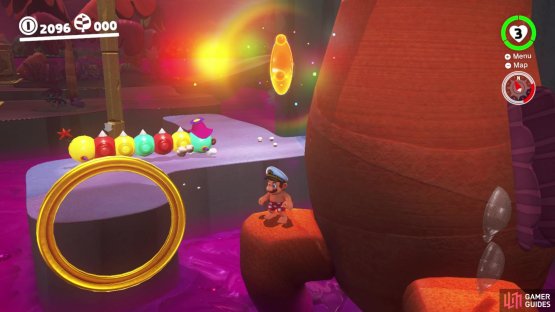
It should be said that there are a lot of gold coin rings here, making this a great place to grind some money. In fact, if you don’t have 1,000 gold coins, then grind here a bit to get that amount after your first visit. The secret moon here is a little well-hidden, especially if you just continue to the right the whole time. When you get to the very tall whirlwind after seemingly a scare that you won’t make it, move to the left to see a spring and the moon above it (High-Altitude Spinning). Note that you need a big boost with the whirlwind, so the lower you are on the big whirlwind, the better. Also, don’t move when you collect the moon, as you lose your float, so drop back down to the spring underneath you. At the end of this entire section, you will be able to nab another Power Moon (Spinning Above the Clouds).
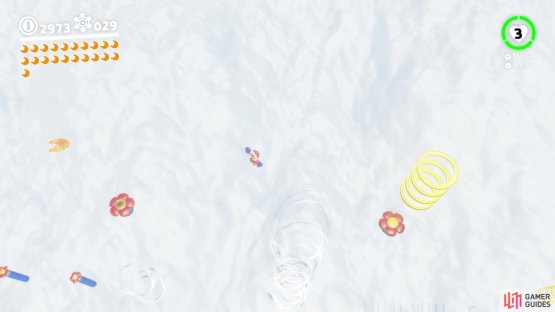

(1 of 2) Go left when you hit the tallest whirlwind to find a moon

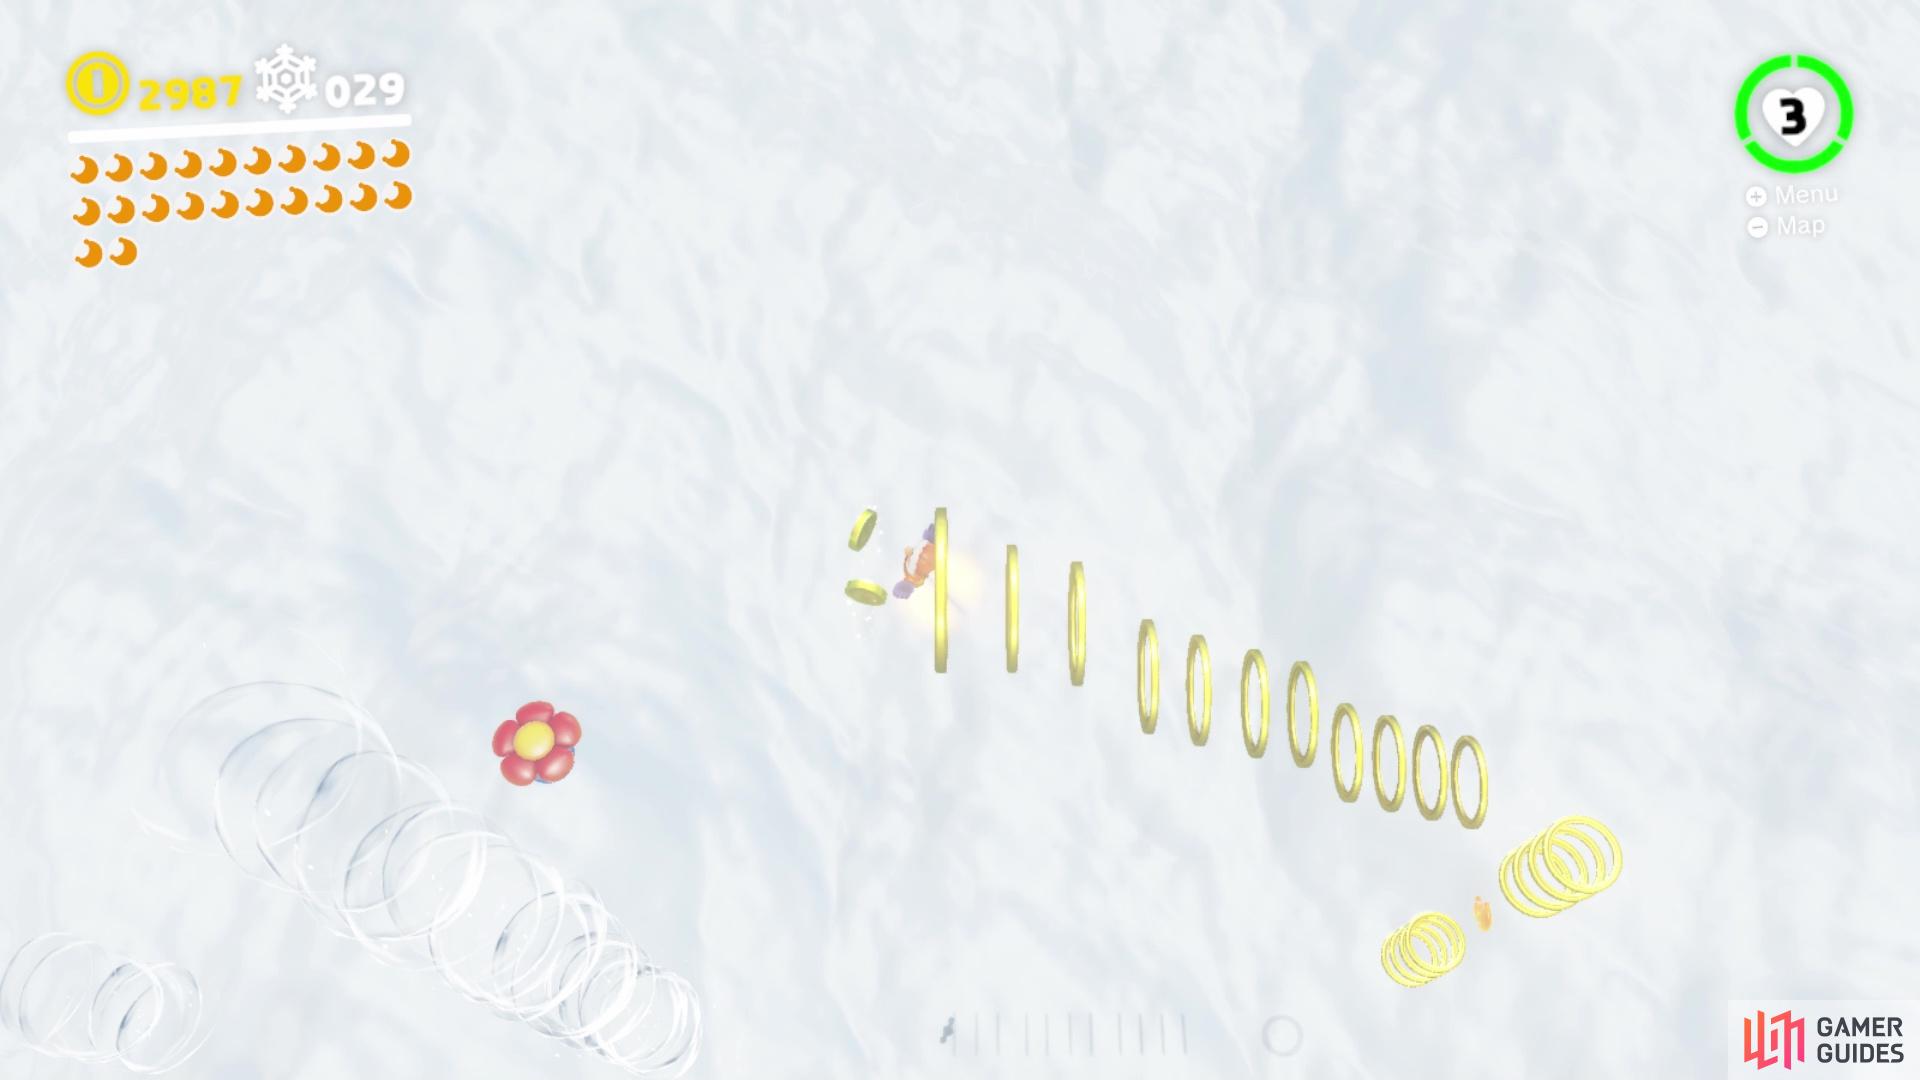
Go left when you hit the tallest whirlwind to find a moon (left), This sub-area is fantastic for farming coins (right)
Polar Bear Club
Drop off the eastern edge by the big planter to find a scarecrow with a door next to it. Of course, you’ll need to do the sub-area without the use of Cappy, but it’s not too bad. Swimming will be your only option here, as you can’t bypass the waters normally. When you come to the first wall, use either batch of water to reach the top, but note that the batches have a wooden plank on top of them, so there might be a tiny period of waiting. Stomp the Goombas on the next platform, then quickly swim through the horizontal water. If you need health, one of the question mark blocks here will have a heart.
Swim up to the next ledge, then use the alternating water to get to the next section. Before you swim down, wait for the water to lower enough that you can jump on the wooden platform on top of it. Ride this to the top, then use the poles to swing to the left and grab the Power Moon suspended in the water (Freezing Water Near the Ceiling) . Return below and use ground pounds to descend the water batch quickly to avoid losing health. Nab the Power Moon at the bottom (Jump ‘n’ Swim in the Freezing Water) and use the pipe to get back to the main area.
Run around the piece of land to where you are underneath the starting bridge, where you will find another scarecrow. This one will spawn two pillars in the water, the second being a little higher up. You don’t have much time on this, though, so you will want to shake the controller to quickly climb the poles. It might take a few tries to get the moon, but climbing to near the top for both poles and just jumping off instead of doing the little handstand seems to work best (Snow Kingdom Timer Challenge 2) .
Icy Block Puzzle
Near the scarecrow will be another Moon Shard, which should be the fourth one now. Around the bend of the shard will be a ledge with another block you can blow with a Ty-foo, but the previous one won’t do, as it’s too high and you can’t go up or down with them. You will need to revisit the well and grab the Ty-foo by it, who was guarding one of the Moon Shards. Go ahead and do that, blowing the block out of the way, to reveal a door. Enter it to find a lone Ty-foo and some blocks that can be blown around on an icy floor.
Your goal is to capture the Ty-foo and blow the blocks into their set positions, which are highlighted on the ground in the center, along the northern edge. Luckily, you don’t have to do too much, but the camera can be an issue if you move around too often. Leave the camera in its default position, with the markers to the north, then blow the red piece right and up to put it into its place. For the green one, blow it left, down, right and up, which will finish this short, simple puzzle. This will release the Power Moon from its glass cage, so climb the newly formed stairs to grab it (Blowing and Sliding) .
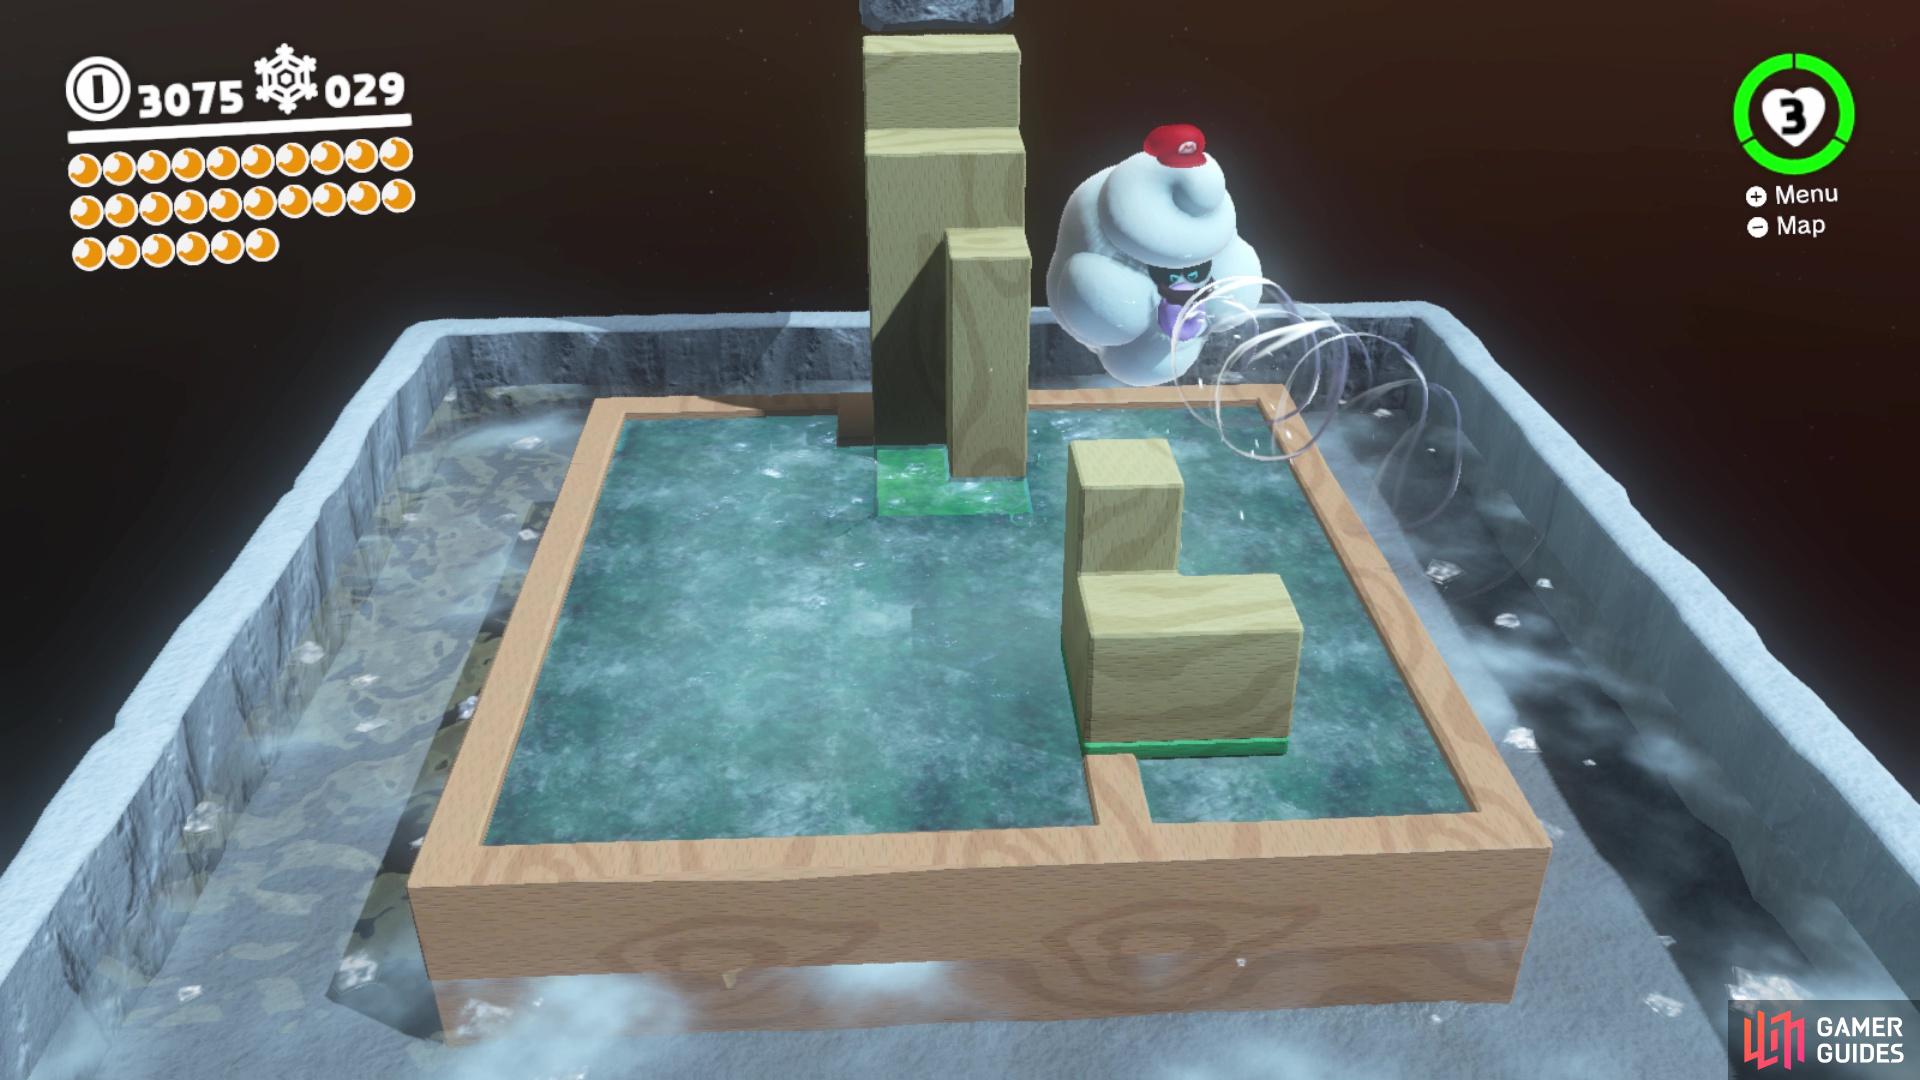
This block puzzle is rather easy to get right, so you should have trouble at all
Exit the puzzle room and look over to your east to spot two purple coins across the frozen waters (46) . Continue east, along the edge of the map, until you come across some icicles hiding a small passage along the wall, with the final four purple coins hidden in that passage (50) . A little further past those coins is another bunny and you will want to perform a Homing Cap Throw to stun it momentarily before you can get in melee range, which spawns another Power Moon upon touching it (Caught Hopping in the Snow!) . Also, the final Moon Shard is just a hop, skip and jump away from the rabbit.
This will spawn the Power Moon close to the Shiveria well, but don’t go just yet. Close to that final shard is a small pond with a Fishin’ Lakitu, and you should know by now what to do with him. This place is a little smaller than the others, so the fish might disappear, but they will always come back. Another Power Moon will be in your possession once you hook and reel in the big fish (Fishing in the Glacier!) . Warp to the Above the Ice Well flag and nab the moon that spawned from the Moon Shards (Moon Shards in the Snow) . There is one final set of moons you can get outside before returning to Shiveria.
Cool Runnings
Look at your map and you should be able to see a piece of land sticking out of the western edge, which is where you will want to go. There is a pile of snow here that once clear will reveal another door you can enter. This entire sub-area will be getting the flowers that give you a big speed boost, then navigating your way across a set path while getting more flowers and avoiding Moonsnakes (they’re the rotating rocks with spikes on them). There are no purple coins or anything, since you already collected them all, and both moons are found at the end, so you just need to concentrate on running.
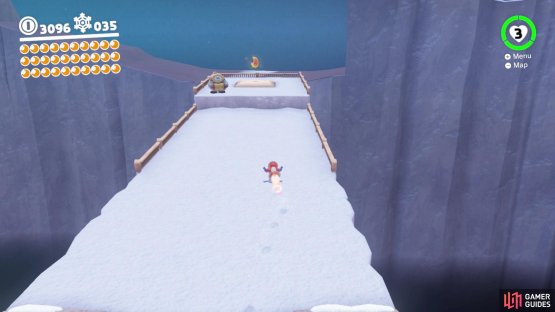
(1 of 2) You want to get all of the speed flowers along the way
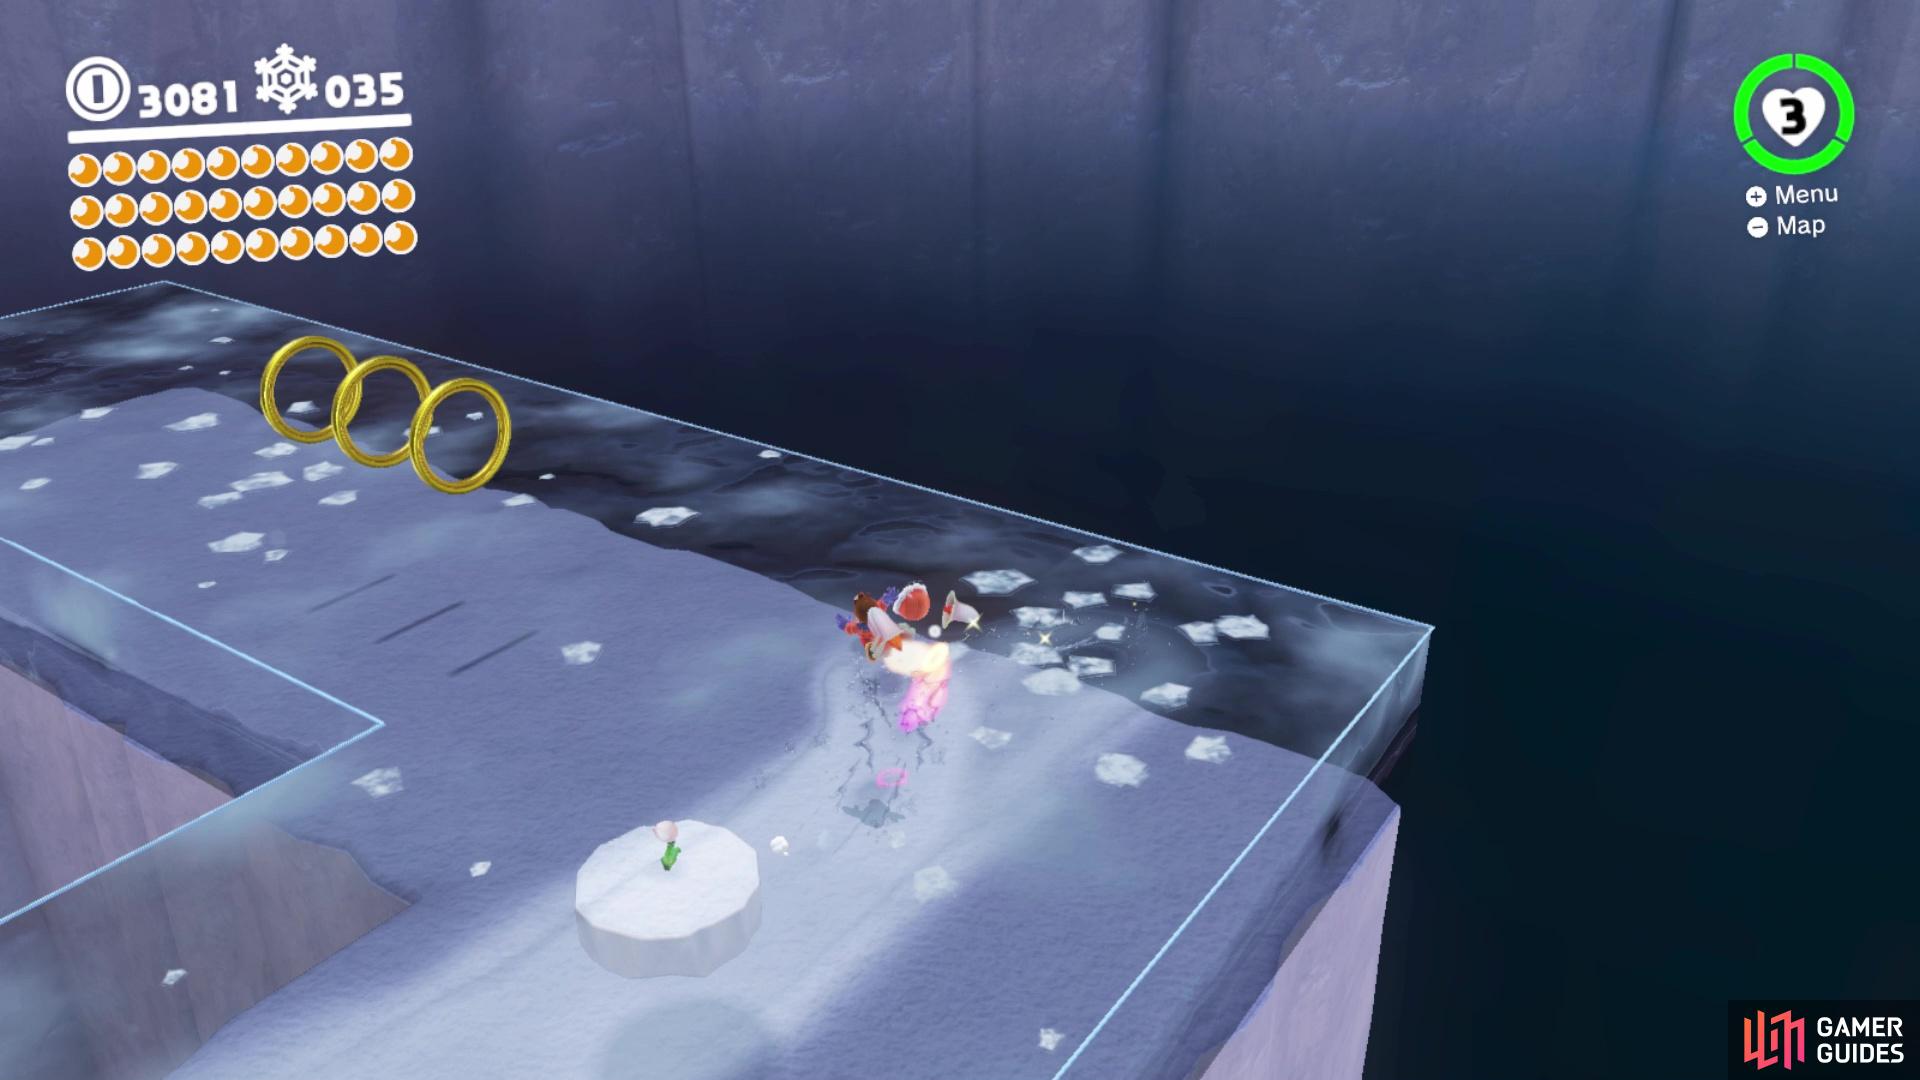

You want to get all of the speed flowers along the way (left), as this will allow you to reach the top with the extra moon more easily (right)
Collecting the majority of the flowers along the way should give you enough speed to make it up the final incline, past the normal Power Moon. You will need to watch out, though, as there are platforms you need to dodge up this incline. If you don’t have enough speed, you will need to drop to the waters below, grab that flower and the second one on the hill as you ascend to the normal moon, which should be enough to get to the second one. Grab the moon up top (Dashing Above and Beyond!) , then the one below you (Dashing Over Cold Water!) and use the pipe to exit back to the main area.
Bound Bowl Revisited
That’s all there is to collect outside, so find the well and drop down to Shiveria once more. If you didn’t look at the art here, it is found on the wall right next to where you drop down, in between some normal boxes and the larger wooden crates. Head into the shop and feel free to purchase all of the purple coin stuff, then buy the Boxer Shorts from the yellow vendor for a whopping 1,000 coins (make sure you equip them and it doesn’t matter if you keep the hat on). Exit the shop and speak with the Shiverian right across from it, who will hand over a Power Moon for braving the cold in your undies (I’m Not Cold) .
Go back to the racing area, capture the one Shiverian again, then start another race. This is a little tougher than the first one, but if you managed to secure a good time under one minute, then that should be more than enough to get first place in this particular race. Nothing is different and the course is the exact same, so you don’t need to worry about having to learn anything new. You’ll receive a Power Moon for winning the race again (Snowline Circuit Class S) . Warp back to the Odyssey, deposit your moons and make a return trip to the Lost Kingdom.
Found with Snow Kingdom Art
Upon landing in the Lost Kingdom, cross the first bridge (no need to worry about the vulture) and stop. Remember how you could take the path to the east? Well, head down that way, just past the first Wiggler and stop at the tree right there. In fact, jump on the first root you find and pound the ground to make a Power Moon pop out, which is the one you came here for (Found with Snow Kingdom Art) . With that under your belt, head back to the Odyssey and blast off to the Seaside Kingdom.
(1 of 2) Take the first path to the left when you can


Take the first path to the left when you can (left), and ground pound the root of the tree to find the art moon (right)
No Comments