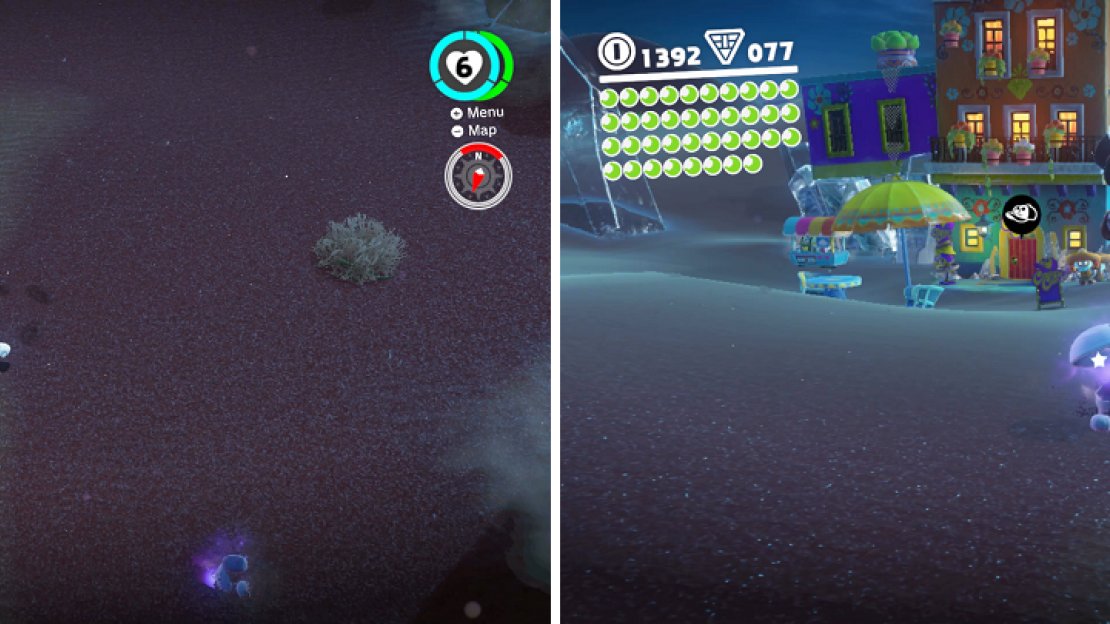
With Harriet down, the inverted pyramid will rise out of the ground and into the air, leaving a giant hole in the desert. On your way there, you will encounter mummies that come out of the ground. They will respawn endlessly and cannot be defeated with your hat, but you can jump on them to get rid of them temporarily. Head on over to the hole and slide down the slippery slope and into the hole, bringing yourself to the Underground Temple. This place is cold and icy, similar to the underground area you came across earlier, so watch your footing on the ice. Straight ahead will be one of the contraptions that extends your hat throws, leading to a device that sends out a shockwave.
The Chinchos are impervious to your hat throws (left), but they can be defeated by jumping on them (right).
You want to trigger the devices, as there are stones blocking your path. Trigger the second one as well to break more stones, letting you reach three purple coins (80) . Hop up the tiny set of steps and stop, as you will want to look around a bit. You should see a Power Moon in the air, as well as some purple coins and a pretty big stack of Goombas. There’s also a lot of contraptions that lead to two shockwave devices, but you probably don’t want to start them, as the shockwaves will set off a chain reaction between the two devices.
To get the Power Moon and purple coins, you’re going to want to capture the Goomba stack and jump on top of the isolated Goombas, making it taller. There are three Goombas located on top of the nearby structure, which can be gotten to by releasing the capturing on the big stack and jumping up there. Bring them down and then jump on them with the bigger stack, or simply jump on the big stack while you’re up high. When the stack is tall enough, you can simply walk into the Power Moon (Goomba Tower Assembly) . Make your way over to the moving platforms and get on the far one to grab the four purple coins (84) .
That’ll be all for the Goombas, so abandon them and use the flower to spring up to the next platform. There will be a Bullet Bill launching at you, with a hat of course, and it might hit the shockwave device if you go head on. However, you want to take a look to the right, as you might spot a ledge sticking out a bit from the large structure. What you need to do is capture the Bullet Bill and accelerate to that ledge, where you’ll find some flowers to spring you to the top. Collect the mass of coins (100 in total), then carefully walk/run the narrow ledge to the end. Jump up to reveal some hidden blocks, which will allow you to reach the chest, housing a Power Moon (Underground Treasure Chest) .
From the top here, you can long jump down to the end and pass through the doorway. Just go to the end here, capture a Bullet Bill and boost your way to the obvious boss arena.
BOSS - Knucklotec
Knucklotec is a boss that comes in three phases, with each one adding on an attack to existing ones. Before doing anything, other than dodging attacks, note the ice patches on the ground, as you will needing them shortly. For his first wave, the boss will simply have his hands come above you and slam into the ground. This attack will go on forever, unless you coax him into slamming onto the ice, which will stun that hand for a few seconds. While it’s stunned, you want to capture it and then boost to hit Knucklotec in his face. Of course, he won’t just let you make him punch himself, as his other hand will shoot ice crystals.
It should be noted that you have a time limit in which to hit him in the face, with the fist flashing red, similar to a Bullet Bill. You don’t take damage from being hit by the ice crystals shot at you, nor if time runs out. Hit him once and the boss will launch both hands at you from across the arena, which you dodge by just long jumping in one direction. After he does this, he’ll rejoin you in the arena and begin phase two. He still has the slam attack from the first phase, but before he does that, Knucklotec will slam the ground close to him, causing ice crystals to fall and form patches.
Stun a hand by having it slam into ice on the ground (left), then capture and personally deliver it to Knucklotec’s face (right).
Once again, coax him into slamming onto one of the ice patches, then capture and launch the fist into his face, noting that the free hand will start following your movements, making it more difficult. For the third phase, Knucklotec will begin by placing his hands to both sides of Mario and clapping them together, trying to smash the Italian plumber. He will do the attack from phase two, then the smash the ground. So, do the usual and swerve back and forth to avoid the ice blasts before finishing off the boss for good. Claim your Multi Moon (The Hole in the Desert) and you will return to your ship.


No Comments