
Do not jump down from the tower yet, as you will see a platform has spawned during the little scene shown after nabbing the previous Power Moon. Step on the platform and it will begin moving along the predefined line shown. To your right and left are some sort of contraption, in which your hat throw will be extended if you hit them. The first two will net you some coins, while the second set will hit some device that sends out a shockwave. These shockwaves will hurt you, but they will also destroy the stone blocks you see present.
Hit the final one to destroy the blocks towards the end, revealing another moving platform. Quickly jump on that to begin its trek, which will make collecting the three purple coins (67) suspended in the air. Jump back to the first platform, ride it down and hop over to the next one, which will begin moving. You don’t really need to hit any of the devices here, as they will continually activate one another, making them more of an obstacle than anything. At the end, you will be in a new section of the desert, with a checkpoint flag straight ahead, as well as a new enemy and a Moon Shard.
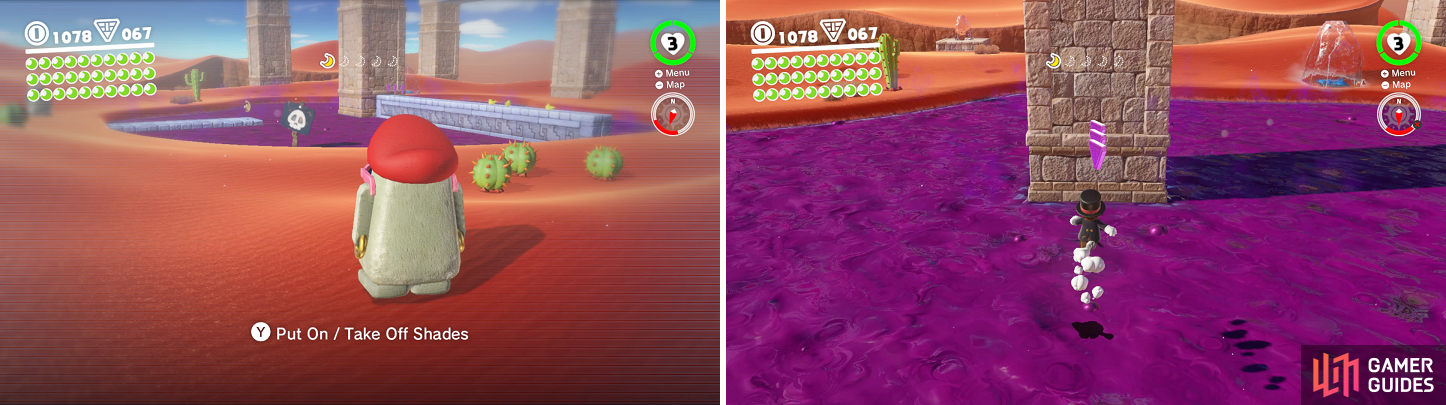
The Moe-Eye’s ability to see hidden pathways (left) will make it easier to collect purple coins and moons on the island (right).
Yep, you will need to collect five shards here to make a Power Moon, and it will require you to possess the stone statue nearby. Collect the first shard, then capture the Moe-Eye, whose only action is to put on/take off its shades with the Y button. While it might seem useless to do this, you will actually be able to see hidden paths with the shades on. Test this out by looking at the poison pond, where you’ll find a few said hidden paths. It should be noted that the Moe-Eye moves a lot slower when it has its shades down, so keep that in mind.
Grab the shard on the hidden path on the eastern side of the pond, then head for the northern side. There are three purple coins at the end of the path here, but you can’t get them with the Moe-Eye, so you will need to release the capture and get them carefully with Mario (70) . The third shard is in the southeast corner of this little island, in between two cacti. For the fourth one, head to the northwest corner to find it on top of a small sand dune. Just south of that one is a platform that goes up and down, letting you get on top of the pillars here. Head south, east and then south to find the final shard, which will spawn the Power Moon on the northern end (Moon Shards in the Sand) .
No Comments