
You receive a close up of some purple octopus sitting on top of some fancy glass. As you quickly find out, this Octopus, Mollusque-Lanceur, is sucking up all of the famed Sparkle Water (with a giant bendy straw, no less). To make matters worse, Bowser put a cap on all of the fountains, which help form the Sparkle Water. Lanceur will be the main boss of this kingdom, but he’s a bit unapproachable right now. In order to knock him down, you’ll have to unclog the fountains, of which there is four. When you land, go south from the Odyssey and wall jump where the coins are located to an upper ledge with some Goombas. Follow this little path to a small pool of water with three purple coins (3) .
Continue east, past the little bit of water, and start stacking the Goombas here (should get a five stack). Keep a lookout for a small alcove along the wall with three more purple coins inside (6) . Be mindful of the rolling spiked balls coming from the path nearby, which hurt both you and Goombas alike, so try and keep the Goombas out of the way (and away from the water, too). Keep going in the same direction to find a checkpoint flag and you will find three more purple coins on these series of platforms (9) . You should be close to the shoreline’s edge now, but you can follow it south/southeast even further.
Just around the corner will be another three purple coins (12) and if you continue in the same direction (should be close to the southeastern corner of the map), you will see a Moonsnake and some ledges. Don’t go on land just yet, though, as there are three hidden purple coins just off the southern edge of the land (15) . Climb onto land and dodge past the first Moonsnake to find some Micro Goombas a little further up. There will be more purple coins in a shallow alcove by the Micro Goombas (18) , as well as a glowing spot in the path of the second Moonsnake, which is hiding a Power Moon (The Back Canyon: Excavate!) .
Ground pound the glowing spot by the one Moonsnake to get a moon
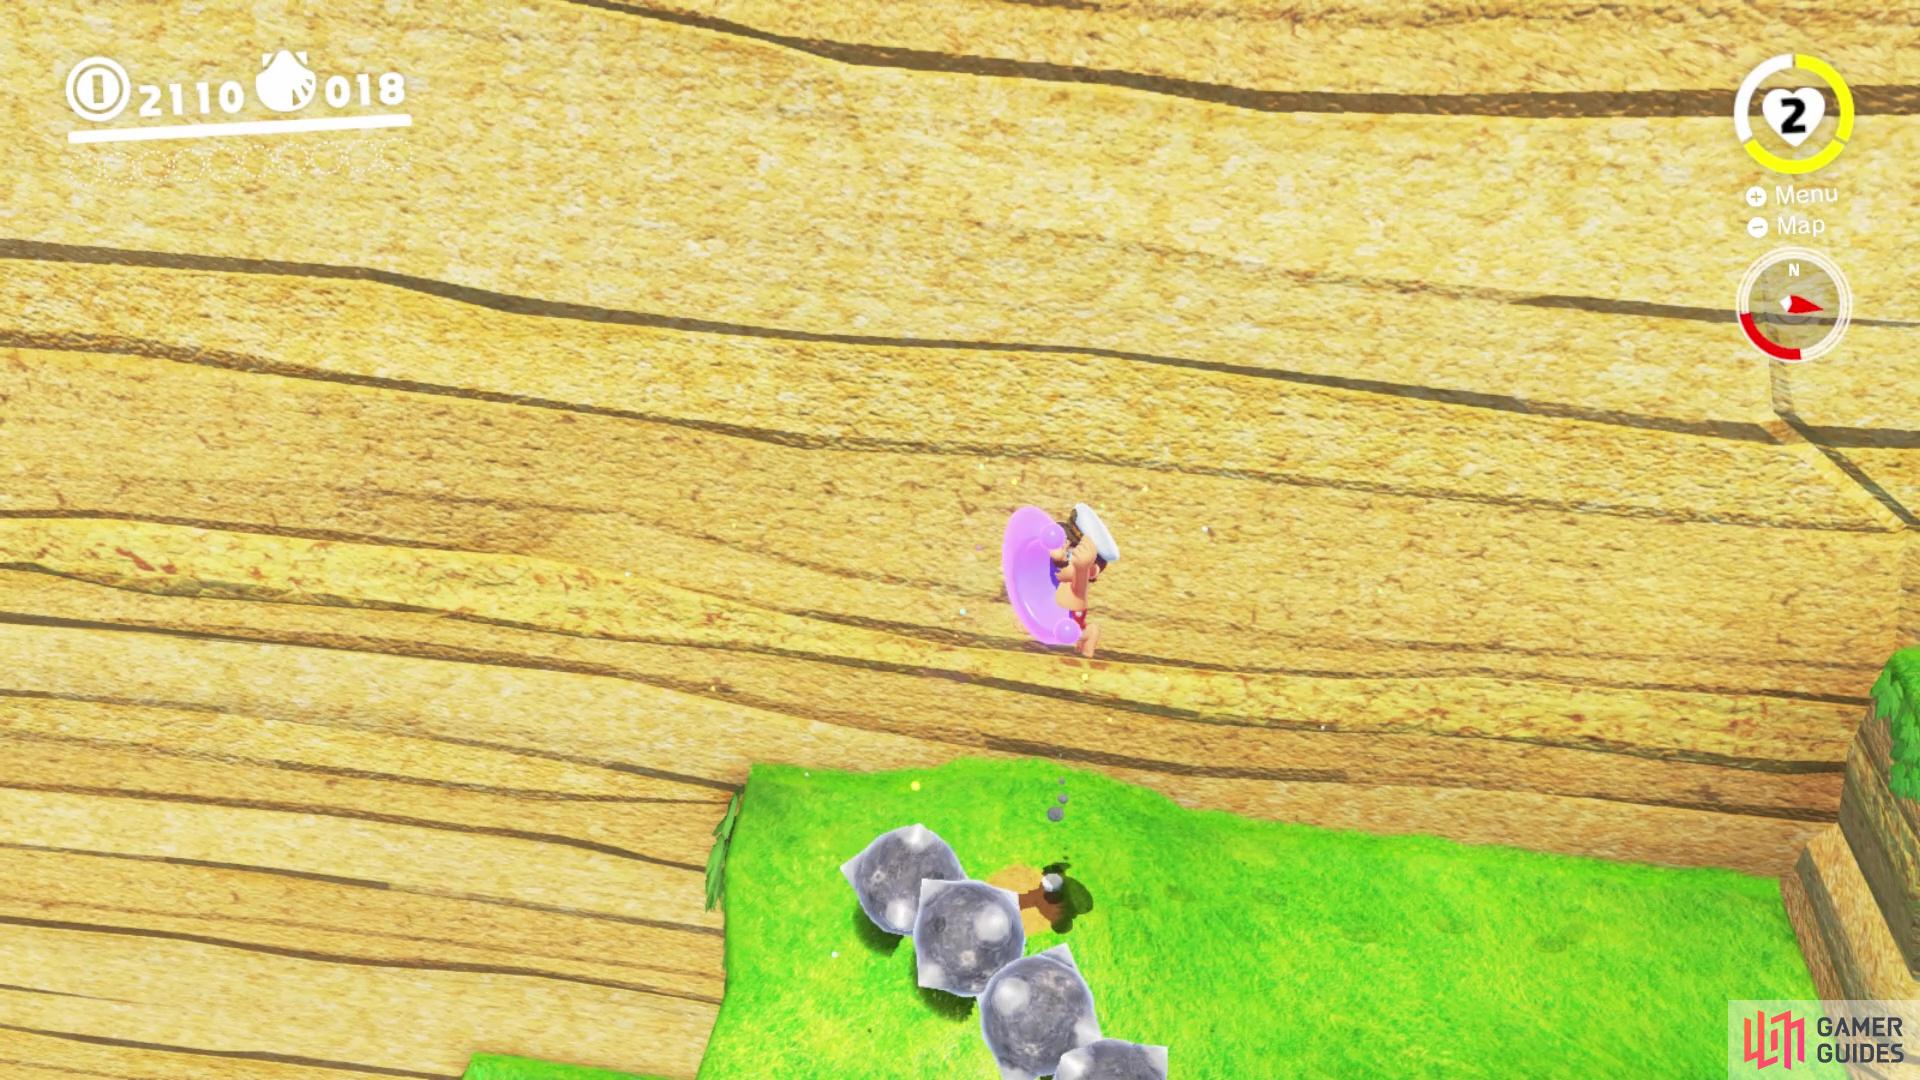
The top ledge of this little area will be holding a small seed you can plant, so grab it for now and return to the Odyssey. See that white building off to the west of the Odyssey? That is where you will be going with the seeds, with there being four planters on the roof of that building. Go ahead and plant it, ignoring the plethora of sights along the way, then return to that canyon with the rolling spiked balls. If your Goomba stack is still intact, capture it; otherwise, form a new one and carefully make your way up the canyon. You will want to be careful around the corners, as you won’t know the trajectories of the spiked balls.
Not too far up with be a female Goomba and should you approach her with an appropriately-sized stack, she will cough up a Power Moon (Love by the Seaside) . Ditch the Goombas, as they served their purpose and continue your ascent up the danger-filled canyon. Not too far past the female Goomba will be another shallow pool of water with three purple coins (21) . A little more and you will find a wall of wooden crates, so break them to find a checkpoint flag and one of the main Power Moons (The Seal Above the Canyon) . Collecting this will break the glass covering the switch, so ground pound it to unseal one of the fountains, with the cork popping Lanceur in the head.
The Hot Spring Seal
Warp back to the Rolling Canyon flag and look out to the west, towards the direction of the fountain you just uncovered, to see three purple coins a little bit underwater, so go gather them (24) . Return to the flag and head north this time, past the two pillars. Drop into the water right by the pillars, sticking to the wall, and you’ll find three purple coins in an alcove at the bottom (27) . Ignore the grand underwater adventure for now and stick to the pieces of land. The glowy spot on the ground you see will just unearth some Micro Goombas, so don’t do that. While on this path, look for the Komboo in the shallow hole. Defeat it and pound the ground inside that hole to make a Power Moon appear (What the Waves Left Behind) .
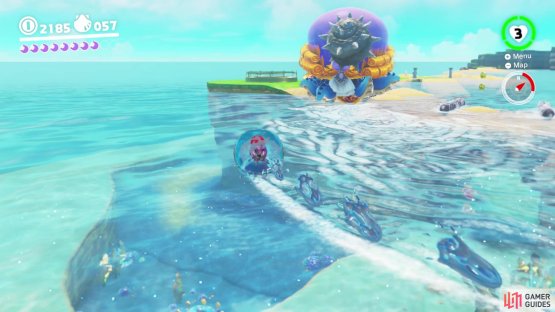
From where you got the moon, long jump to the next bit of land to the north-northwest, dropping into the water and getting three more purple coins just off of that piece of land (30) while avoiding the bunch of seaweed Komboos. Continue past the “field” of Komboo to find a pair of binoculars. Stop right here and look off the edge to your east to see three purple coins not too far underwater (33) . Not much further east is a purple octopus-like enemy in a bubble of water on the surface. This is the Gushen and it will be extremely useful as a capture, allowing you to get to many areas otherwise inaccessible.


(1 of 2) The Gushen is one of the better captures because of its maneuverability

The Gushen is one of the better captures because of its maneuverability (left), Its spin attack is great for getting rid of the lava (right)
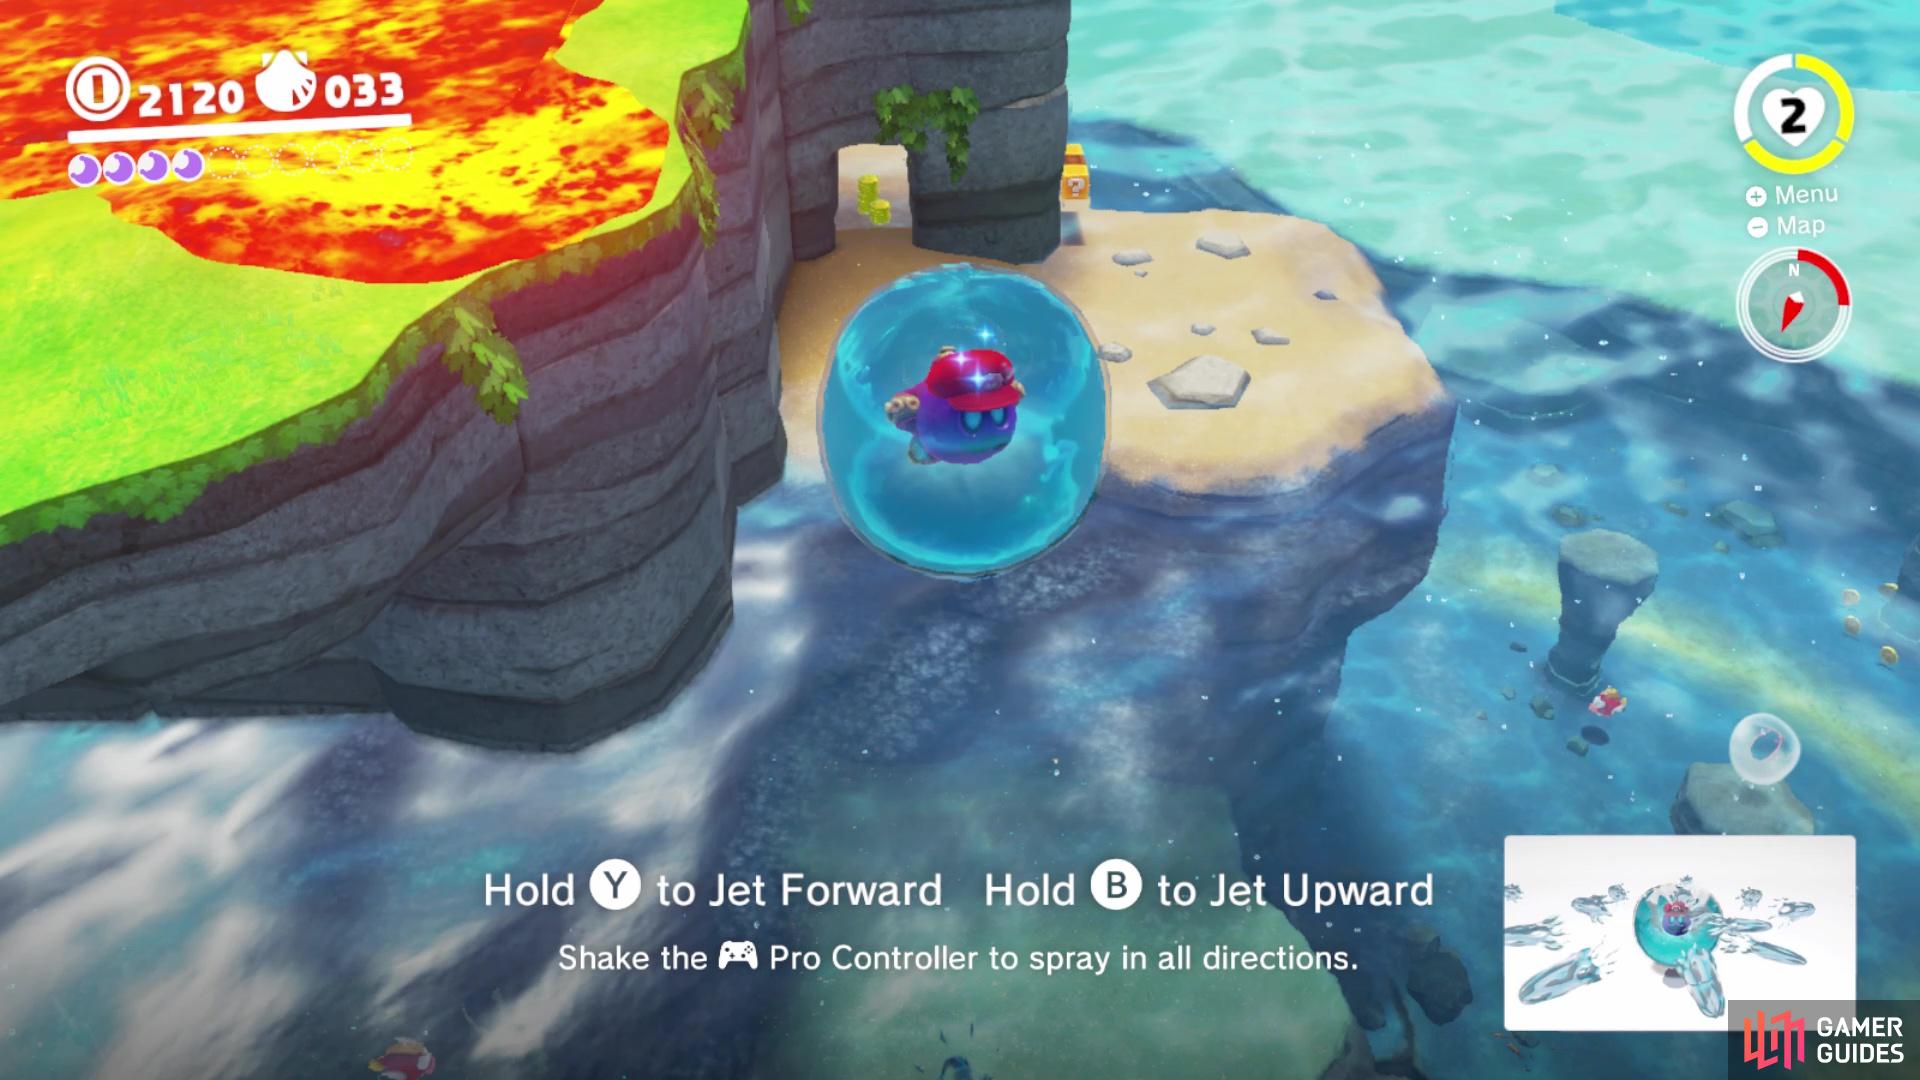
Go ahead and capture that one to see its controls pop up on your screen. The Gushen is able to shoot streams of water from its behind, propelling itself both forward and up into the air. You can also spray water in many directions by shaking the controller, but that is hardly used. There is a slight catch, though, as the Gushen needs water to perform said maneuvers and as you use them without touching a water source, then it will dry up and become utterly useless, reducing its movement to pretty much a fish flopping on land.
This little island by the Gushen you just captured is covered in lava on the top portion. Luckily, the water sprayed by the Gushen can be used to get rid of the lava, and the controller-shaking spray is useful here, but it only sprays straight. You can find two patches of three purple coins each on the top section of the island, one in a pool of water (covered by lava, so get rid of it to replenish your water supply) on the northern end and the other on a ledge on the eastern end (39) . Clear the large pool of water at the top, collect the three purple coins underwater in the pool (42) , then nab the Power Moon (The Hot Spring Seal) . This opens up the nearby switch, which will do the same thing as before - tick off Lanceur even more.
The Lighthouse Seal
From the switch you just hit, long jump to the piece of land to the northwest, which has two snail residents on it. Travel west, using the speed flowers if you want, until you can reach what looks like a large underwater tunnel with some gold coin rings on top. Don’t dive down quite yet, as there are some goodies nearby. You should see there are three purple coins hovering in the air above one of the Moonsnakes, so go ahead and collect them (45) . Make your way to the actual lighthouse and look for an inlet on the northwestern side, where you’ll find three purple coins in the water (48) . There’s also an opening at the base of the lighthouse, holding another three purple coins (51) .
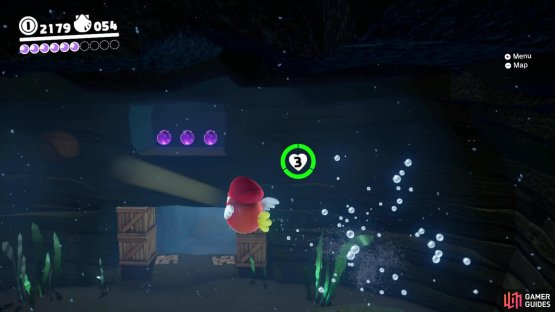
Return to that tunnel you passed and ground pound until you enter a new area. As soon as you hit the bottom, capture one of the Cheep Cheeps to avoid running out of air. Continue forward and when you pass the three Cheeps swimming back and forth, look to your left to find a Power Moon inside the wall (Looking Back in the Dark Waterway) . Keep going and you’ll have to dodge giant eels that come out of the walls and ground. There will be three more purple coins underneath an archway (54) and the exit will be not much further past that, putting you on top of the lighthouse, but don’t exit yet. Turn around once you pass the boxes and there will be three purple coins on a ledge above (57) . Now, exit the underwater tunnel to get to the top of the lighthouse, where you will find a Power Moon and another switch (The Lighthouse Seal) .
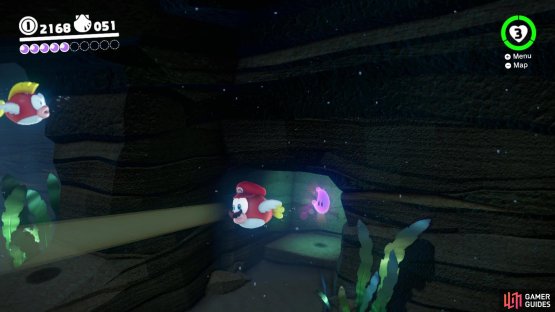
(1 of 2) Look for a small alcove once you pass the Cheep-Cheeps for a moon
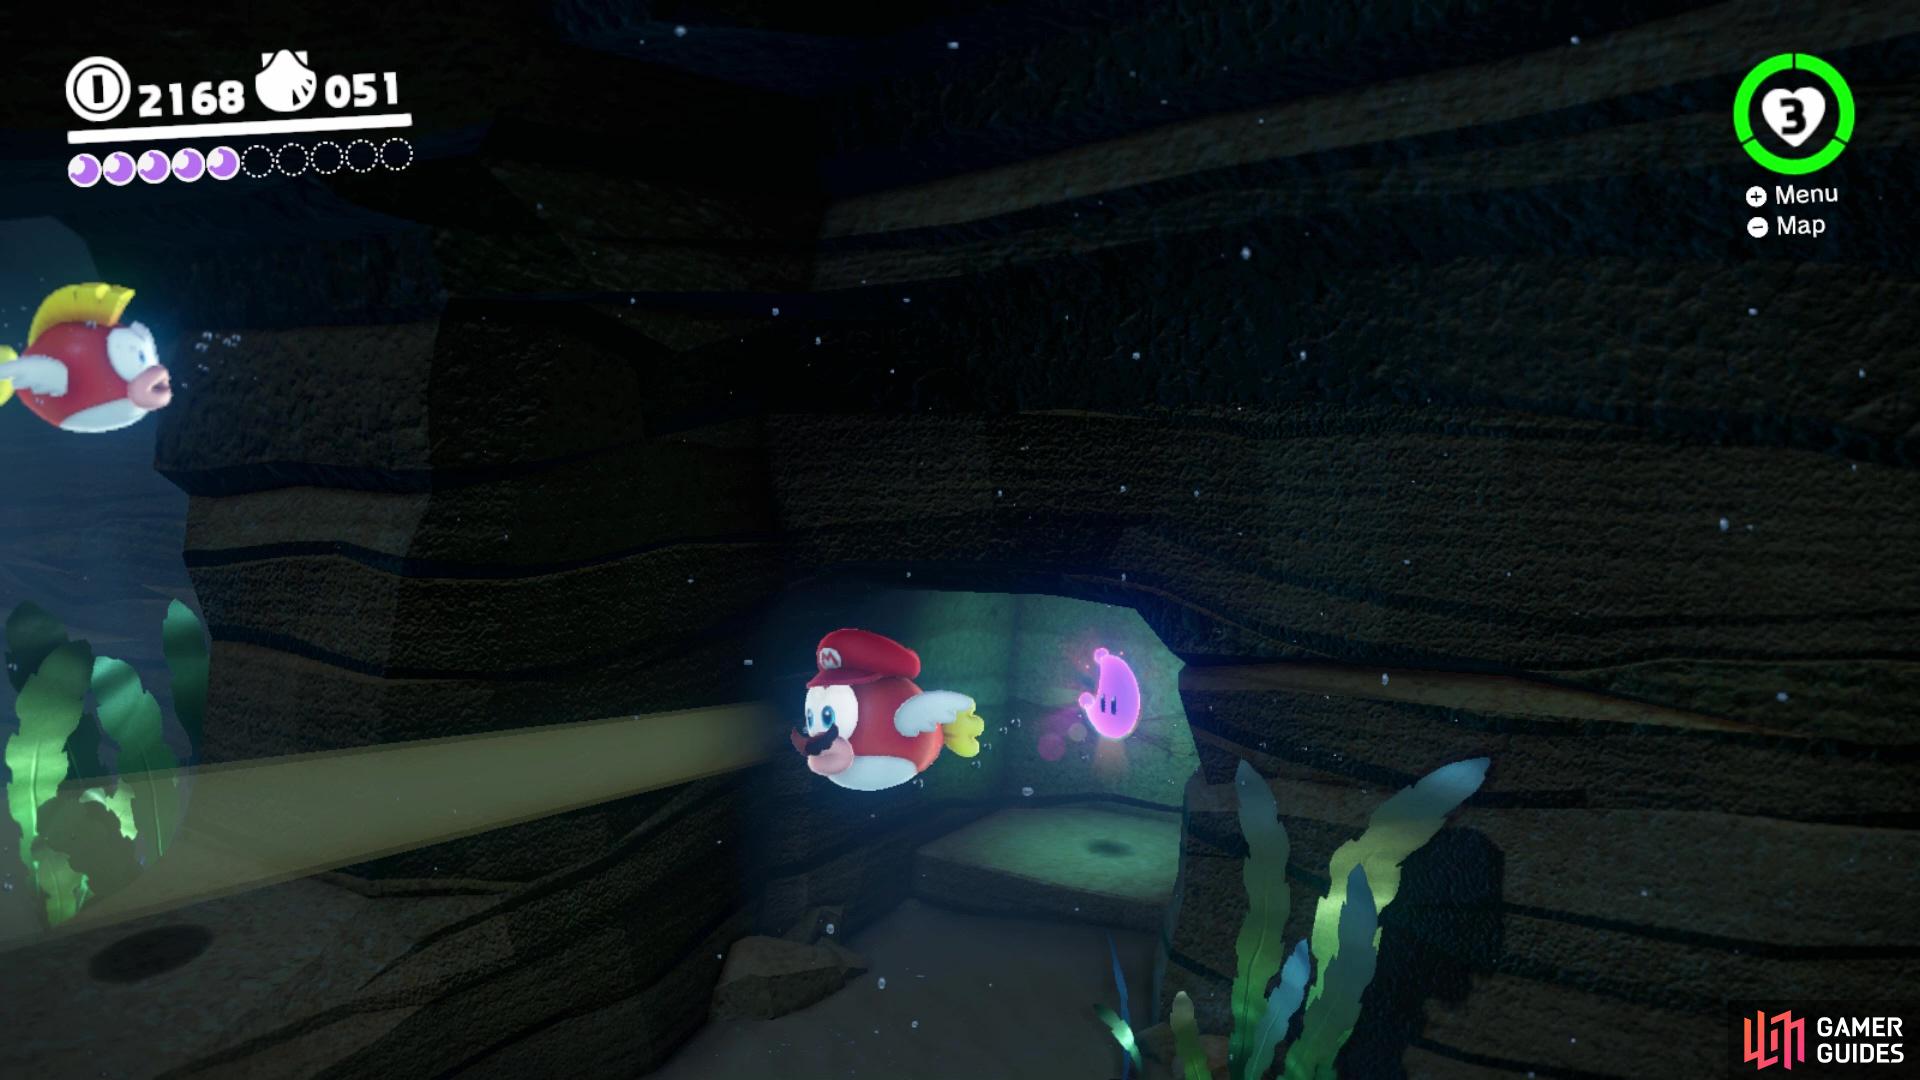
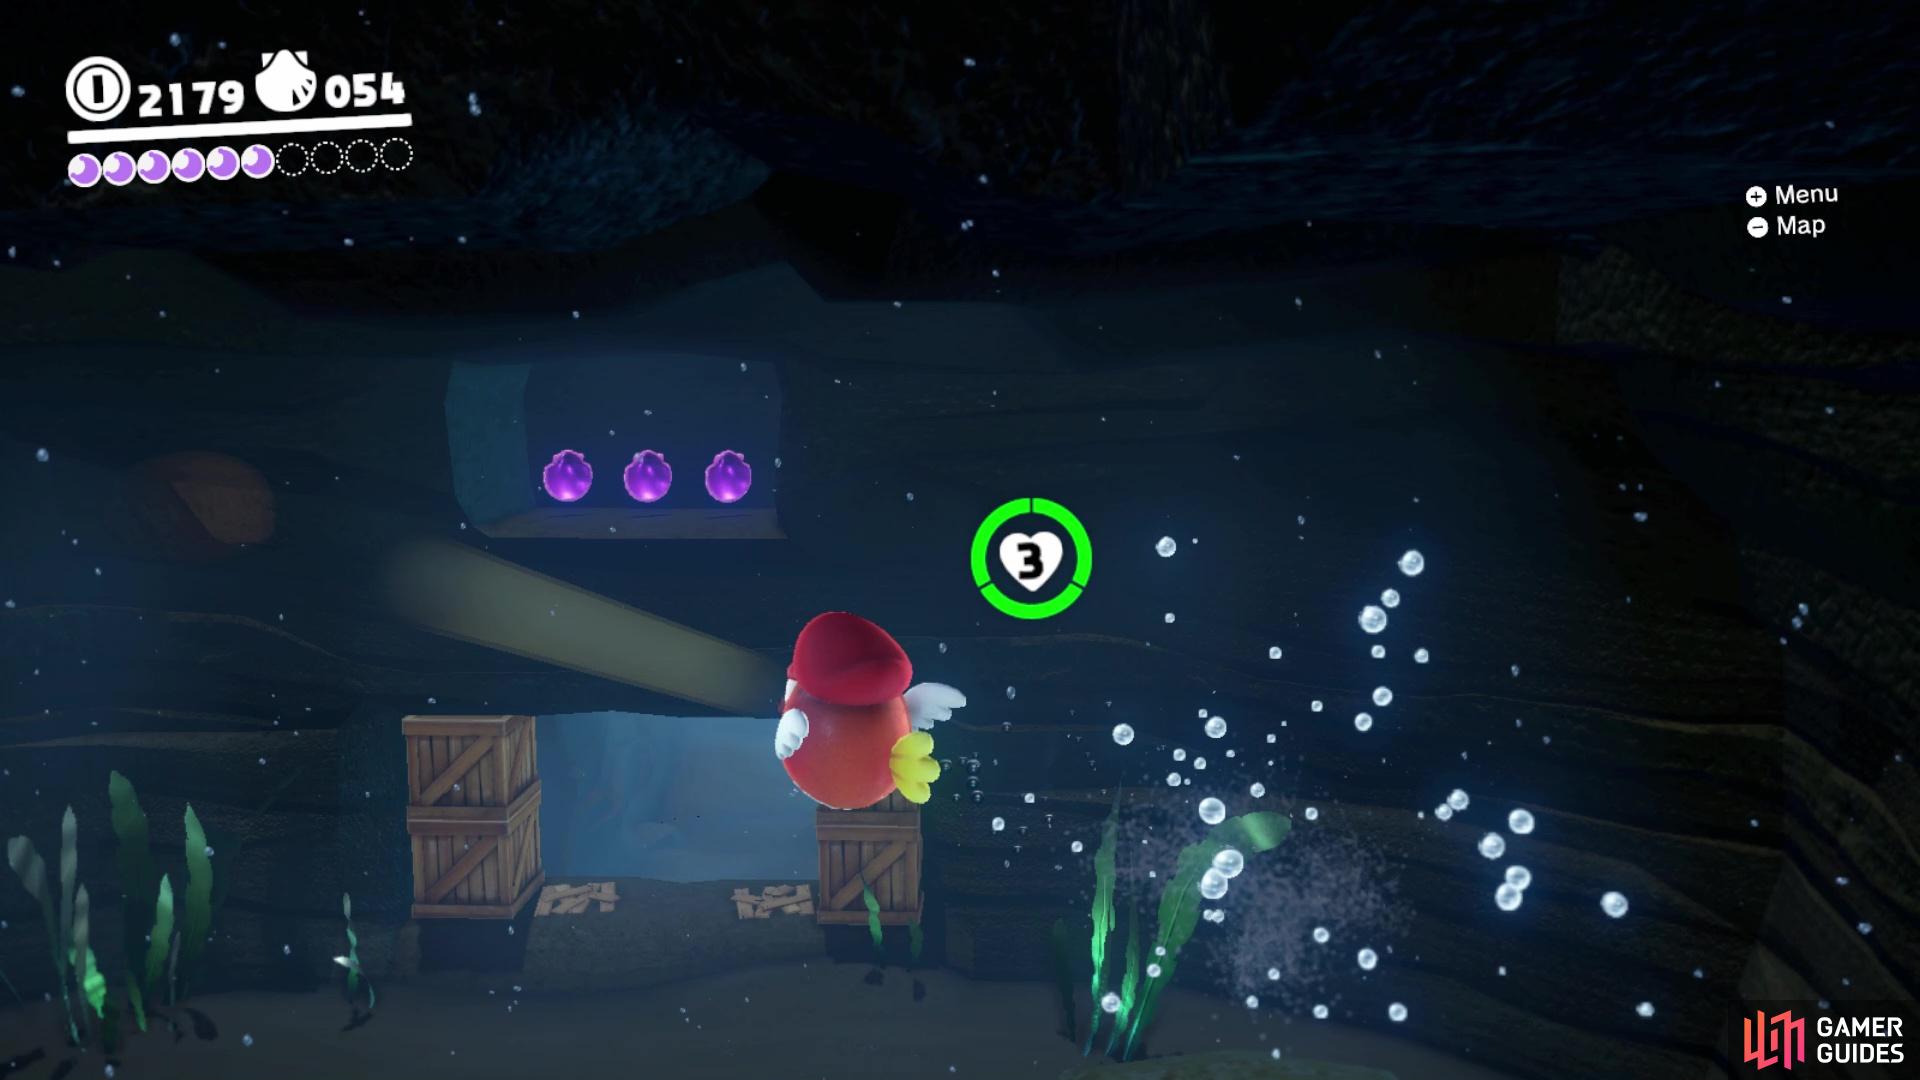
Look for a small alcove once you pass the Cheep-Cheeps for a moon (left), After breaking the boxes, look behind you and above the boxes for some purple coins (right)
The Stone Pillar Seal
You can see a lot from the top of the lighthouse, including the final seal and main mission Power Moon to the southeast. It’s sitting on top of a pillar, making it a little difficult to get to normally. Luckily, you have the help of the Gushen in this kingdom, with there being one right at the base of the pillar. You really don’t have to do much to get to the Power Moon, other than shooting up to the first ledge and then the one with the moon (The Stone Pillar Seal) . Hit the final switch to knock Lanseur off the goblet and triggering the boss fight.
BOSS - Mollusque-Lanceur
As you can clearly see, Lanceur will be firing off those exploding spiked shells he has been doing ever since you hit him with the first seal. He also has a pool of lava on his head, so you will need to cool him off before doing anything else. Hmm, what is in your disposal that can splash Lanceur and refresh him a bit? Oh yeah, the Gushen sprays water whenever you shoot upwards, so drop down to the water and capture another one, then start moving towards the boss. The difficult part is hovering over the boss’ head, since he can move around, but once you start hitting him with water, Lanceur will be stunned and won’t move.
Hit him enough and the lava will go away, but the fight will move onto phase two. Lanceur will begin moving a last faster, both normally and while spinning, so it’s best to just follow him until you get close enough to get above him. Note that he will spin away in the middle of your next flurry of attacks, meaning you’ll have to chase him down again to get the second full hit of damage in. For the final phase, the boss will begin firing pointy shells at you, which are just as easy to dodge as the other ones. Continually chase him down and do the same thing, with the hit finally ending Lanceur’s thievery for good. You’ll be launched to the top of the goblet, along with the Multi Moon (The Glass is Half Full!) . Enjoy the beautiful sunset and scenery!

(1 of 2) To deal damage get above the boss with the Gushen and spray water down on his head
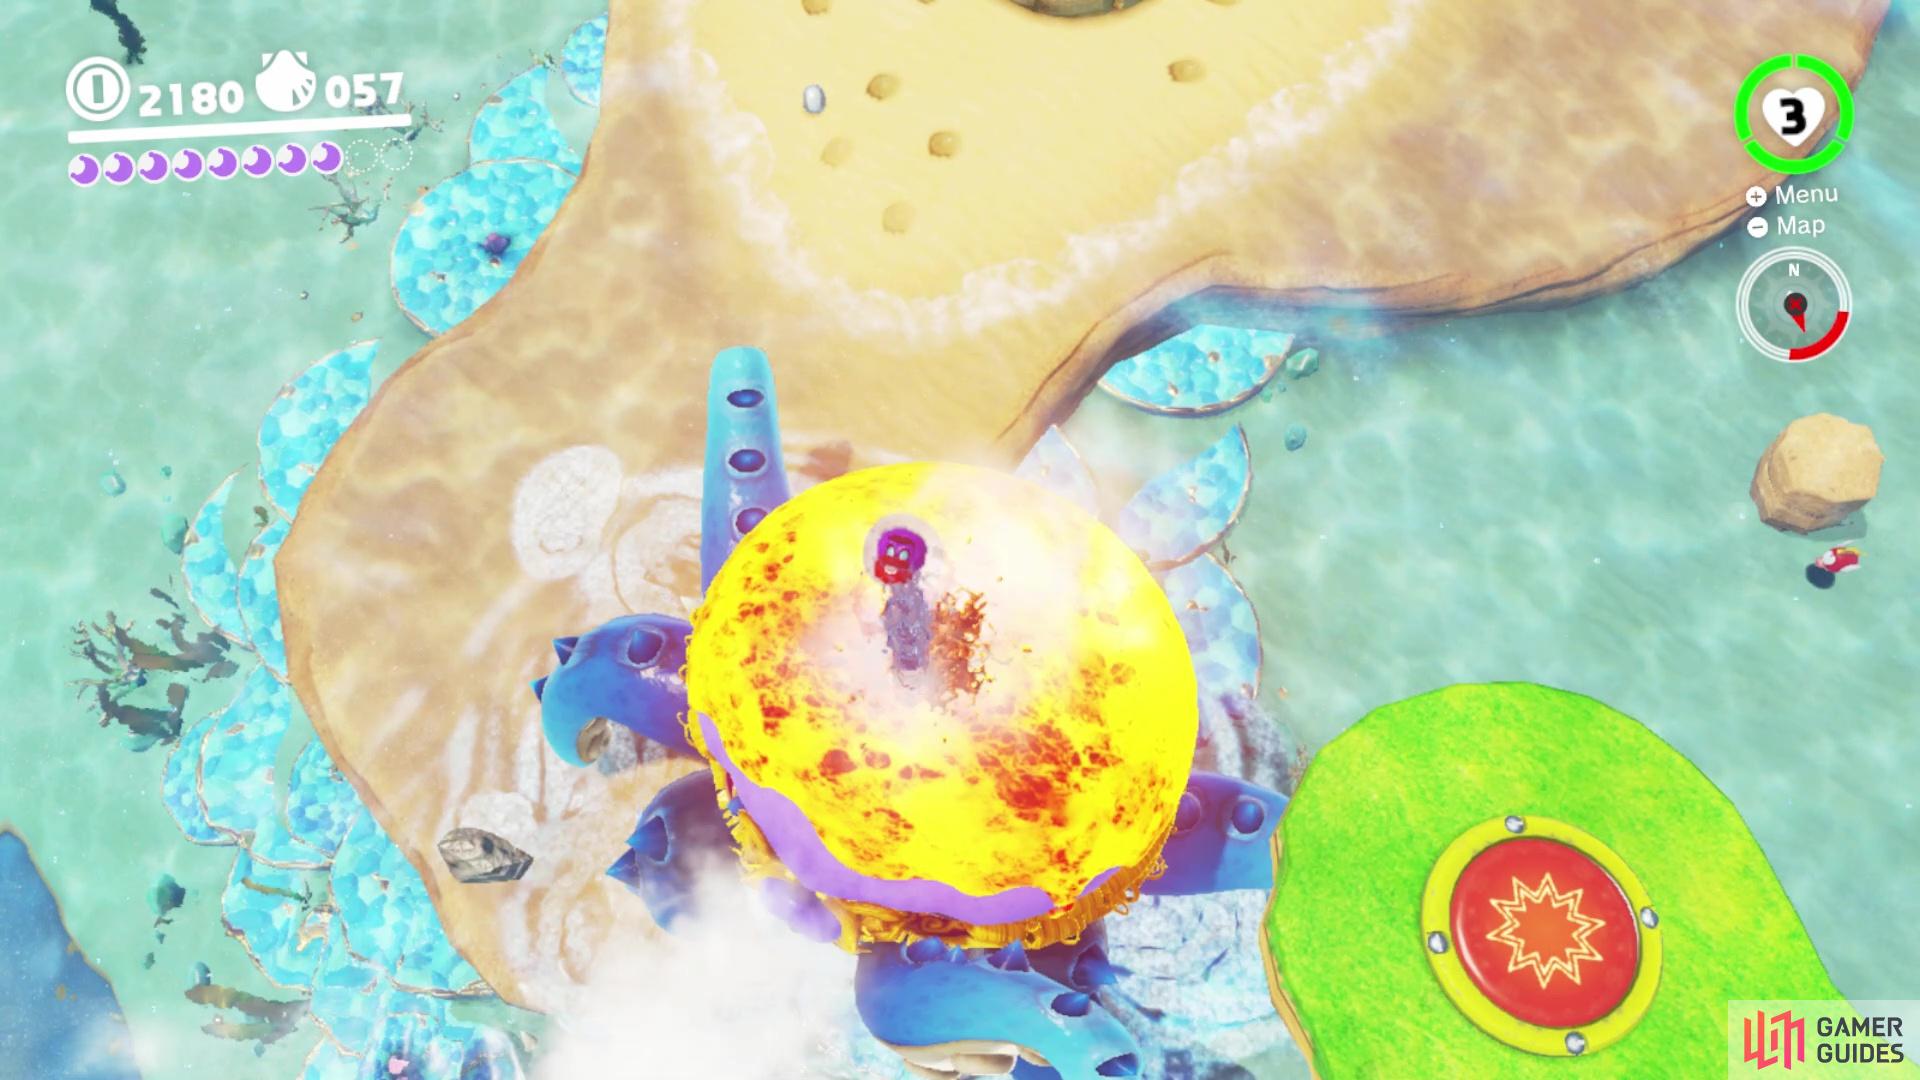

To deal damage get above the boss with the Gushen and spray water down on his head (left), Be careful in pursuing the boss as he can shoot out exploding shells (right)
No Comments