
Alright, with Madame Broodal out of the way, a good number of Power Moons are now available for the taking in Cascade Kingdom. You will appear back at the Odyssey, your airship, with Cappy talking about turning in the Power Moons you’ve already acquired. While the thought of exploring is a good one, there are actually two Power Moons, in Cascade, that you won’t be able to snatch until you at least travel to the next kingdom. So, toss Cappy at the globe and set sail for the Sand Kingdom, then return back to Cascade Kingdom.
The first thing you will notice is that the Odyssey lands where the first checkpoint flag was located on your prior visit (you can fast travel to the Odyssey like with the flags). Ahead of you is a Toad with an exclamation point over his head. This is the Hint Toad and for 50 yellow coins, he will mark the location of a Power Moon on your map. Next to him is Uncle Amiibo, who will allow you to use some of the Amiibo functions in the game.
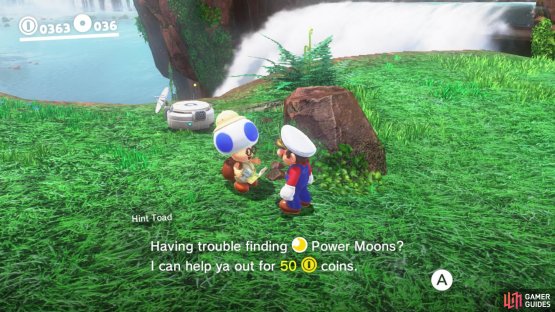

(1 of 2) Pay 50 Coins to Hint Toad to mark the location of a moon on your map
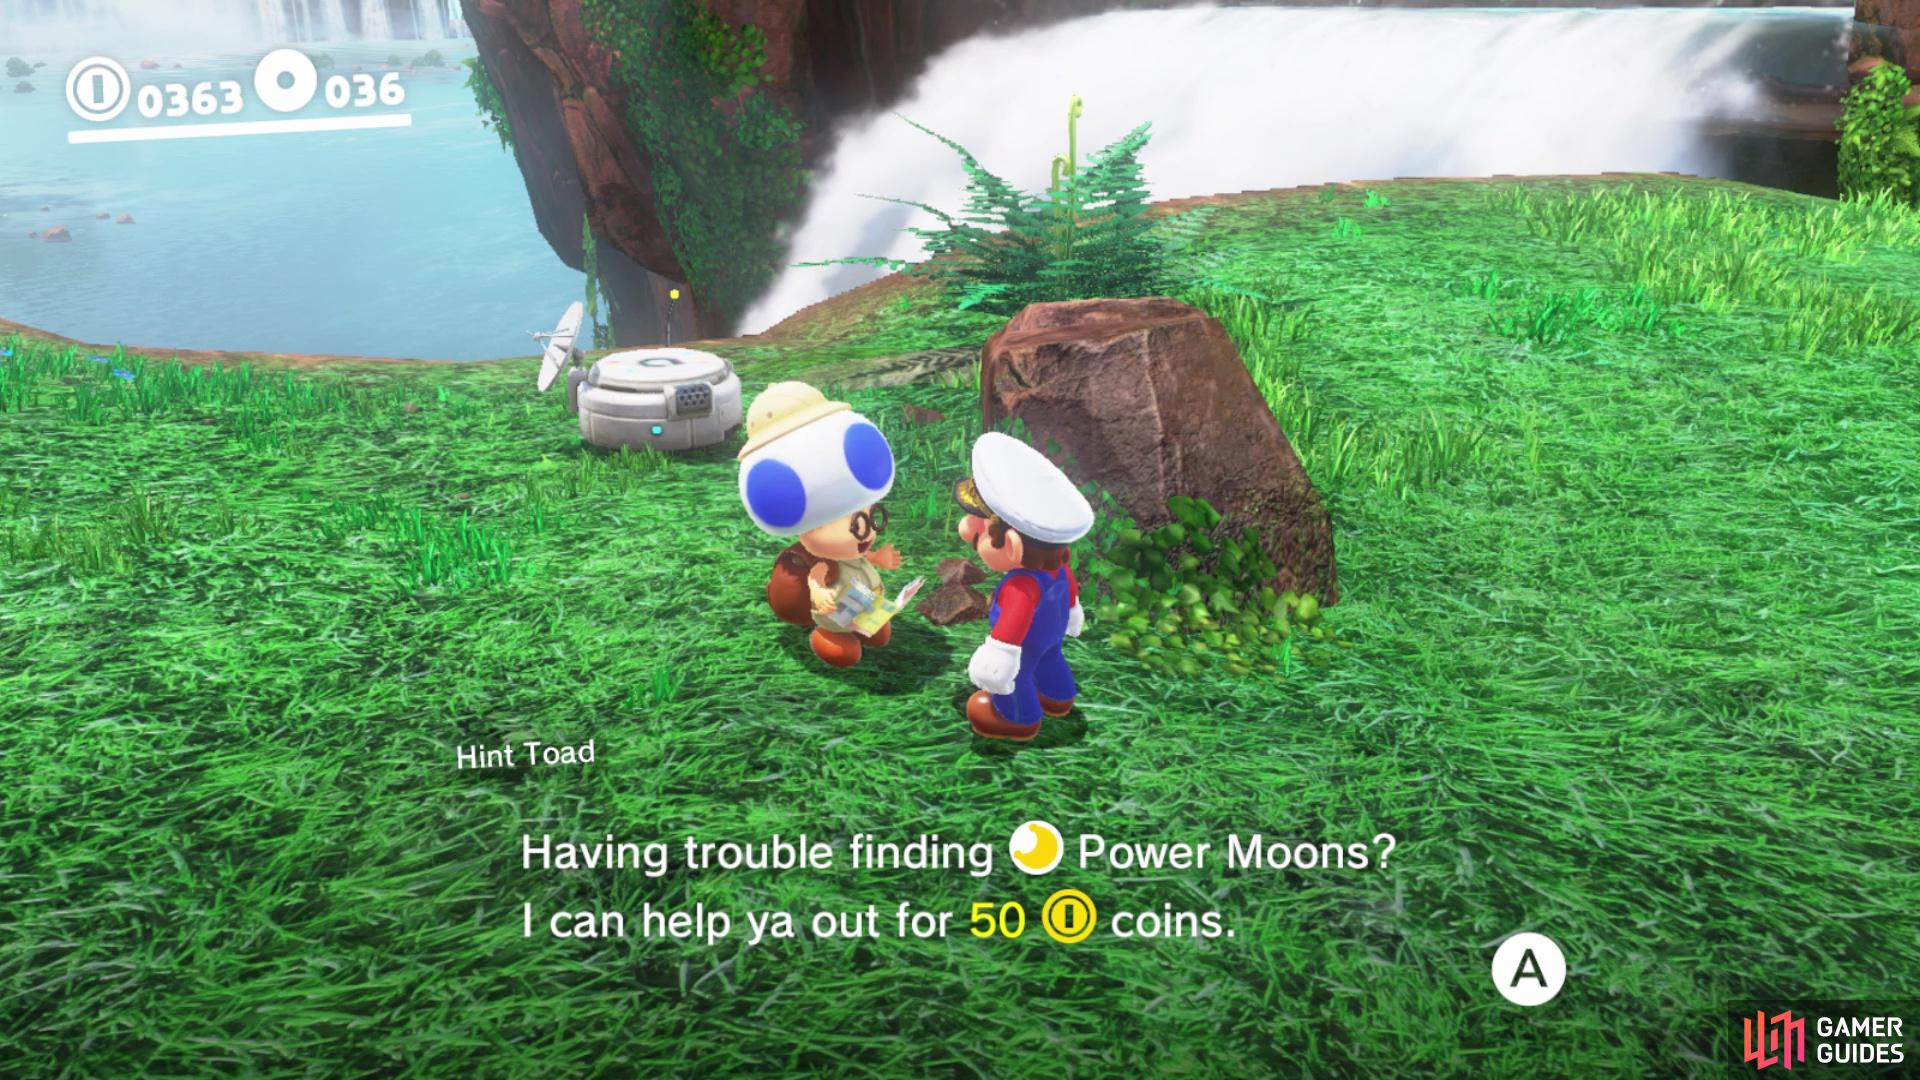
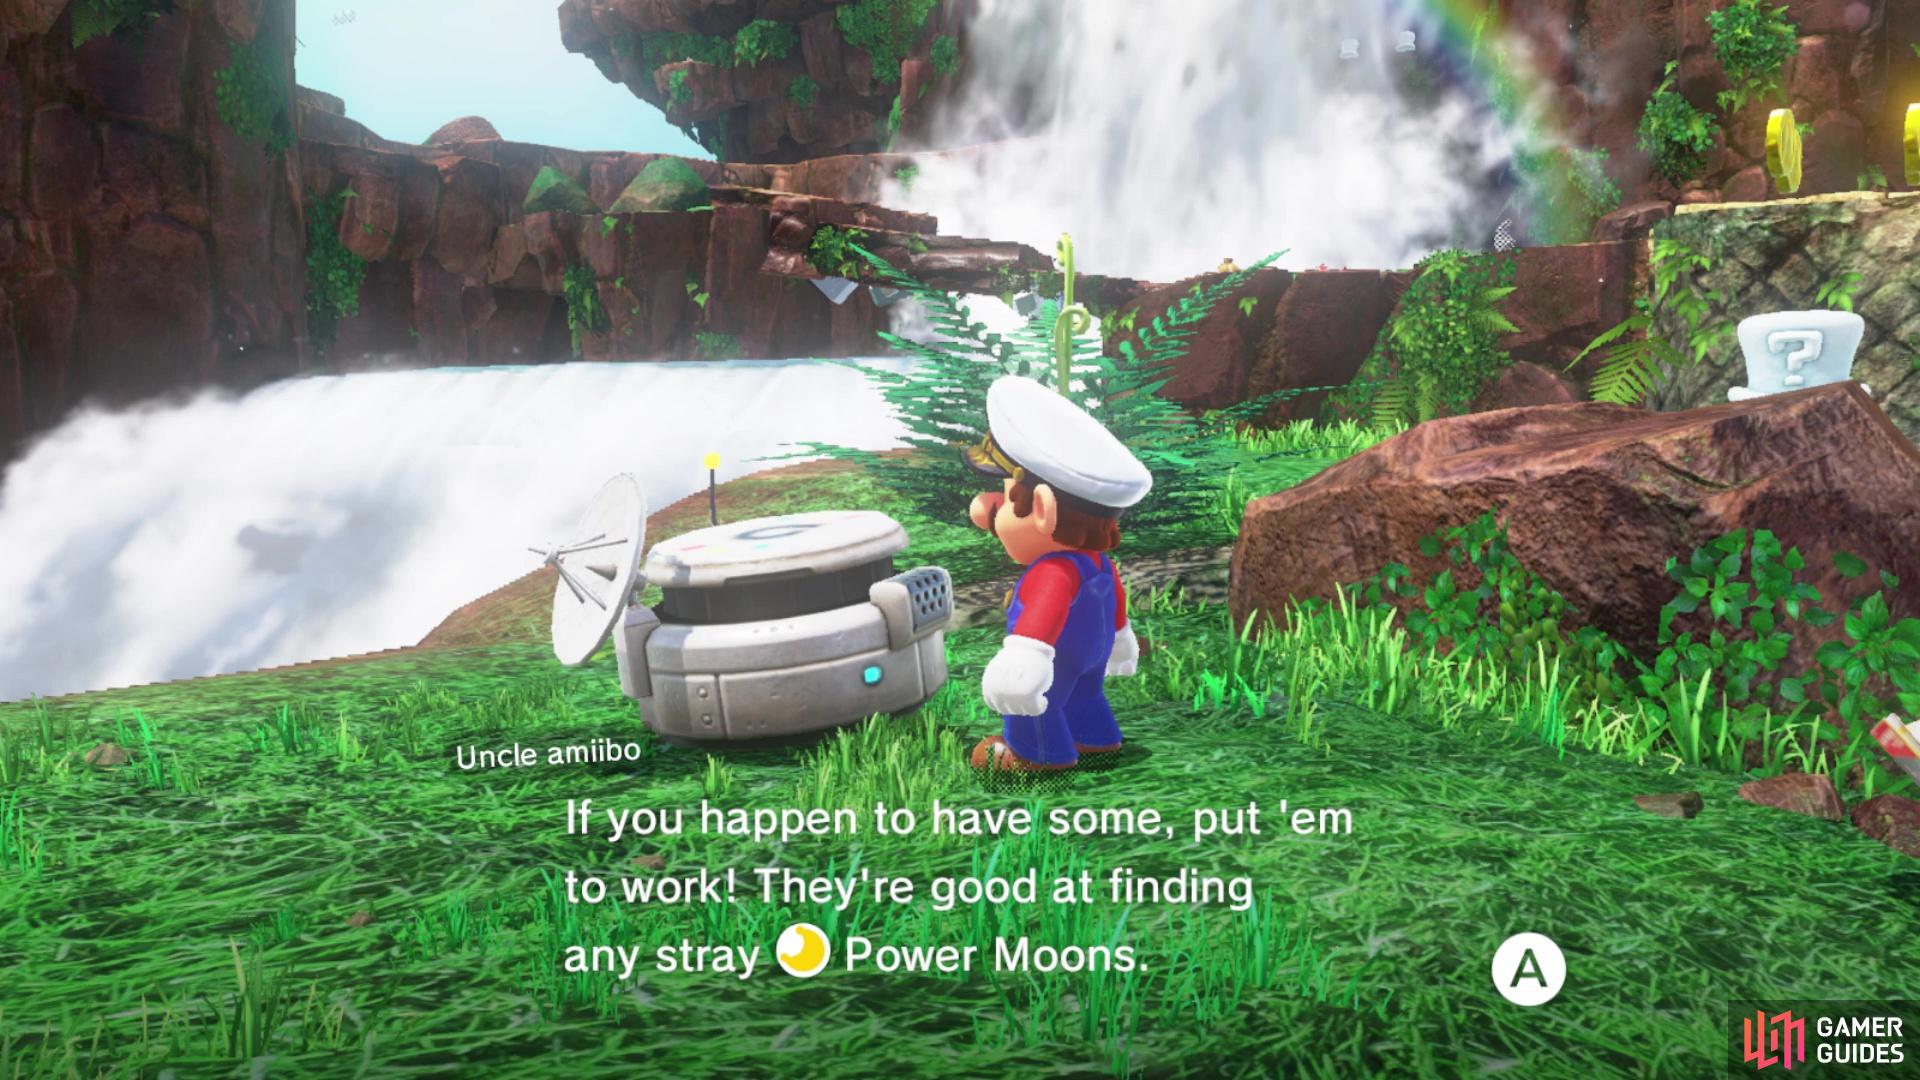
Pay 50 Coins to Hint Toad to mark the location of a moon on your map (left), You can use Amiibo to help find the locations of moons (right)
With all of that out of the way, it’s time to finally start collecting all of those stray Power Moons. Not far from where the Odyssey is located, you should see one located on top of some rubble near where the first hedgehog-like enemies spawn (On Top of the Rubble) . Head up the tiny hill to spot some Cap Kingdom residents, who have opened up some shops. The one with the yellow hat is where you can spend yellow coins, and the one with the purple hats is where you spend the regional purple coins. Talk to the yellow one and purchase the Power Moon in the store for 100 coins (Shopping in Fossil Falls) . Don’t worry about the other store for right now, as you still need to find more purple coins.
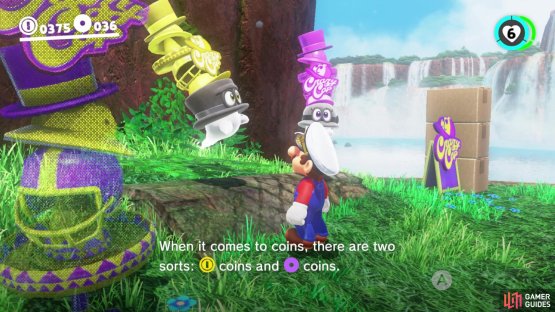

(1 of 2) Yellow coins can be used everywhere, while purple coins are specific to each kingdom

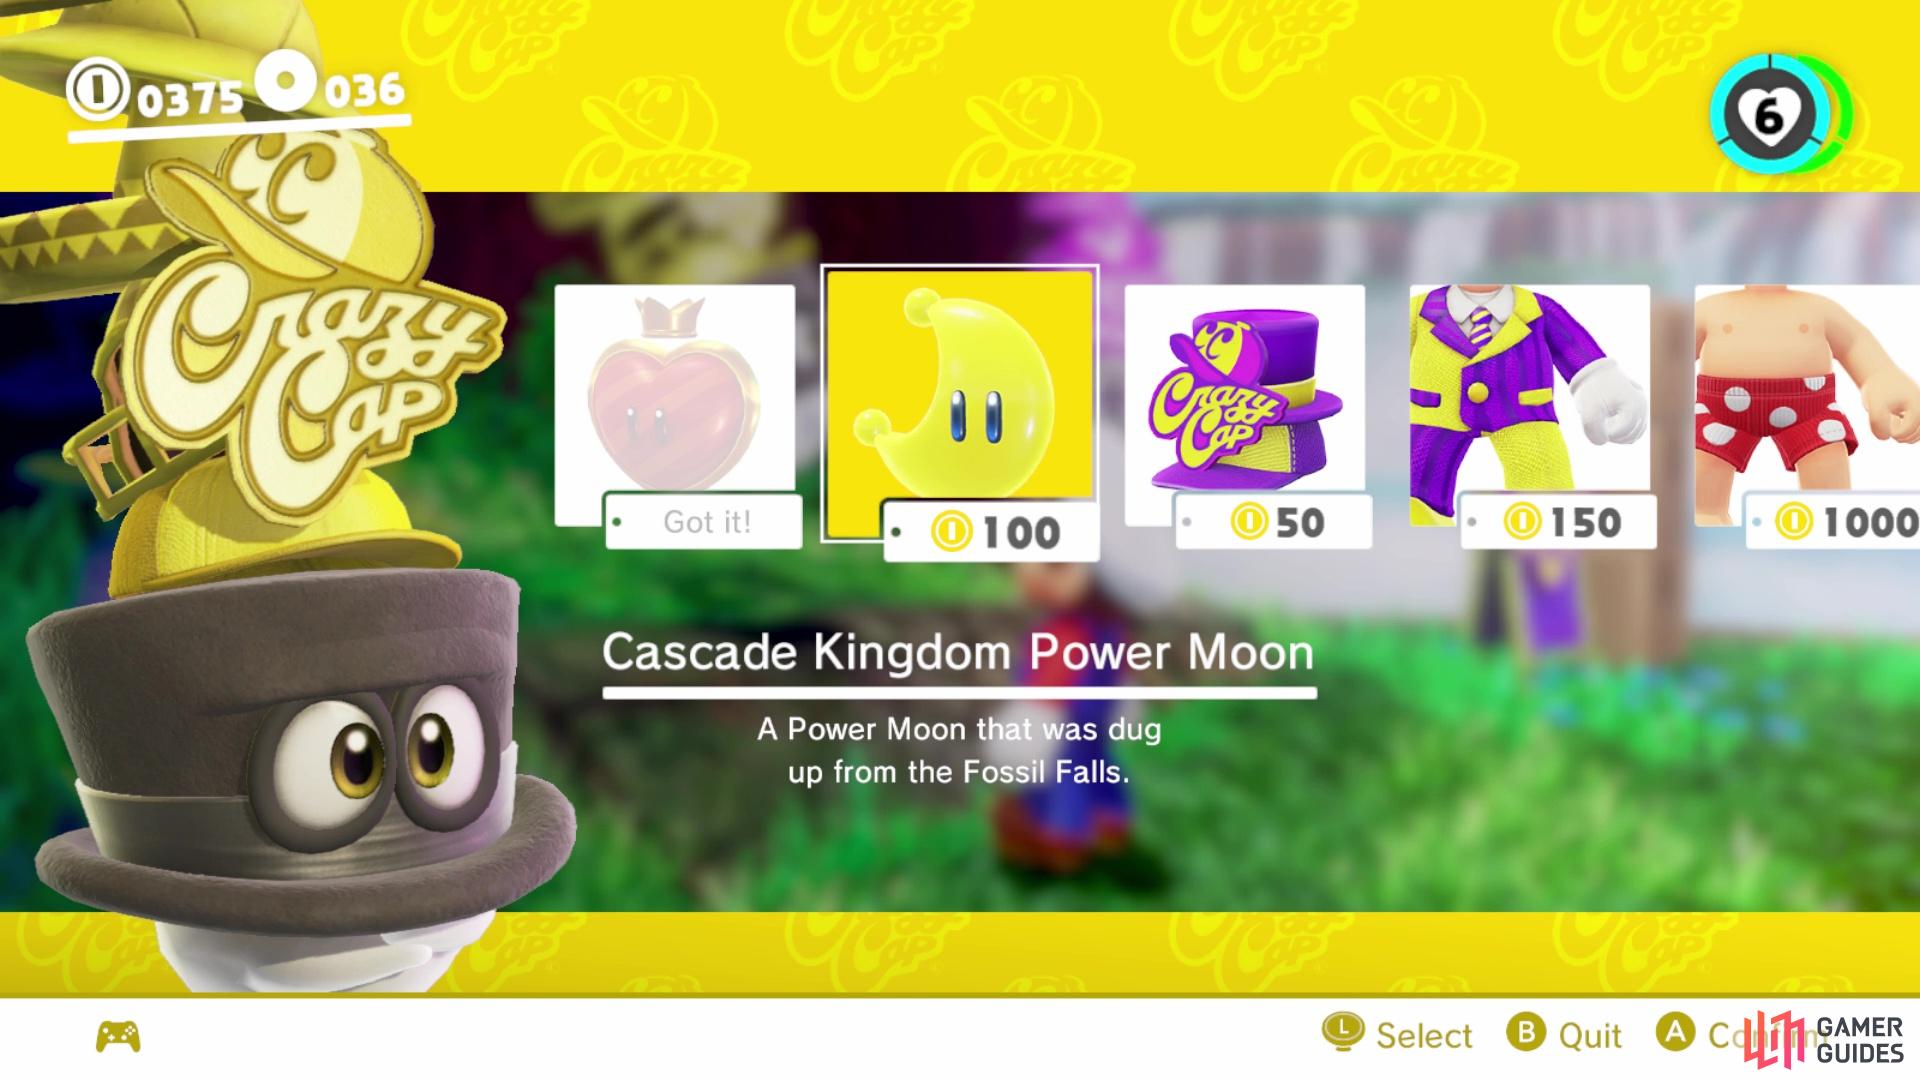
Yellow coins can be used everywhere, while purple coins are specific to each kingdom (left), You can purchase a moon from the shop for 100 coins (right)
South of where the first Power Moon is located is a scarecrow by the water’s edge. Tossing Cappy on this will begin a timed challenge, where you need to procure a Power Moon without the use of your hat at all and just your basic platforming. The first timed challenge is very simple, as there will be three moving platforms, with the Moon at the end of the third. The timer should be ending soon after you get to the third platform, so jump up to snatch the Power Moon before you fall in the water (Cascade Kingdom Timer Challenge 1) . There is a hidden alcove underneath the bridge, on the southern side, where there’s a chest you can break open with Cappy for another Power Moon (Treasure of the Waterfall Basin).
Cross the bridge now and look at the previous location of the Odyssey to find two rocks. The rock on the right side seems a little tougher than usual to break, so keep at it to reveal another Power Moon (Rolling Rock by the Falls) . There will be a Chain Chomp nearby, so capture it and use its charge attack to destroy the fossil pillar at the base of the cliff and reveal a pipe. Go into the pipe to appear at the top of the cliff, where you can grab a Power Moon (Above a High Cliff) and a checkpoint flag. If you look over the edge at the top here, you will find a ledge with four more purple coins (40).
Dinosaur Nest
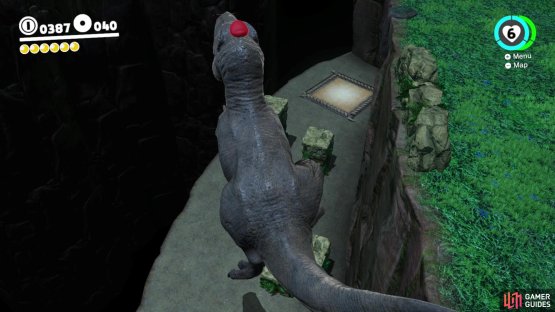
Look over the one ledge to spot a hidden door, leading to a big area, with another sleeping T-Rex and a bunch of Burrbos (yes, the little spiky enemies are called Burrbos). There are two Power Moons here, one for destroying a specific fossil with the T-Rex and another for getting rid of all of the Burrbos. The latter is definitely easier with the T-Rex, so go ahead and capture it. They are all in plain sight, so you shouldn’t have trouble finding any of the Burrbos. The last one’s defeat will spawn the Power Moon by the entrance (Dinosaur Nest: Big Cleanup!) .

(1 of 2) Defeat all of the Burrbos to get a Moon


Defeat all of the Burrbos to get a Moon (left), You can get a second Moon by going to this lower area and destroying the one rock (right)
The other Power Moon here can be found by heading to the other end of the area, straight from the entrance. Look over the edge to spot a lower area, so drop down here while you’re T-Rexxing it and start making your way to the trampoline, destroying the fossils in the way. The shorter of the two right next to the trampoline houses the Power Moon, which shoots up onto the main platform. Spring up to the topside with the T-Rex (there’s a pipe by the trampoline in case you’re stranded as Mario down there) and run into the Power Moon (Dinosaur Nest: Running Wild!).
Chain Chomp Billiards
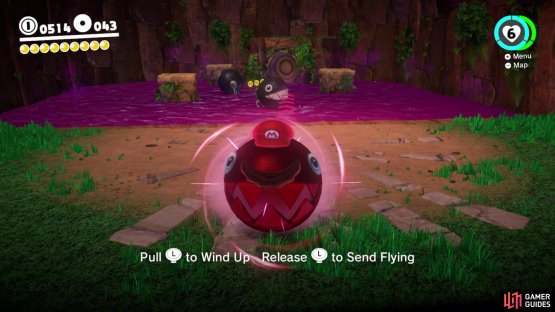
Make your way to the Chain Chomp family near the T-Rex and look to the east for a narrow path, with some white hat platforms, to find a ledge with three purple coins (43) . Double back and take the narrow path to the west of the Chomps to see a pipe, so go down it. You will now be inside of a cave, with some Chain Chomps. Avoid the purple liquid, as it will instantly kill you. What you need to do here is to play a little game of Chain Chomp Billiards. Capture the one on safe land and hit the second one in the hazard water to try and knock it into the impression on the far end.
Do it right and a rock wall will lower, allowing you to continue to the right, where you’ll find more of the same. For the second shot, you’ll need to hit the Chain Chomp a bit on the right side. The third shot is a little more difficult, as you have a third Chain Chomp in the mix; aim a little bit on the left side to score the goal. This will open the way to the Power Moon (Nice Shot With the Chain Chomp) , but things aren’t finished here yet. Head into the lower right corner of the screen with the pipe and jump right to find one more challenge. Hit the Chain Chomp on the right side to knock the other into the goal, revealing another Power Moon (Very Nice Shot With the Chain Chomp) . Return to the previous room and use the pipe to get back to the main area.

(1 of 2) Aim here for the third Chain Chomp Billiard
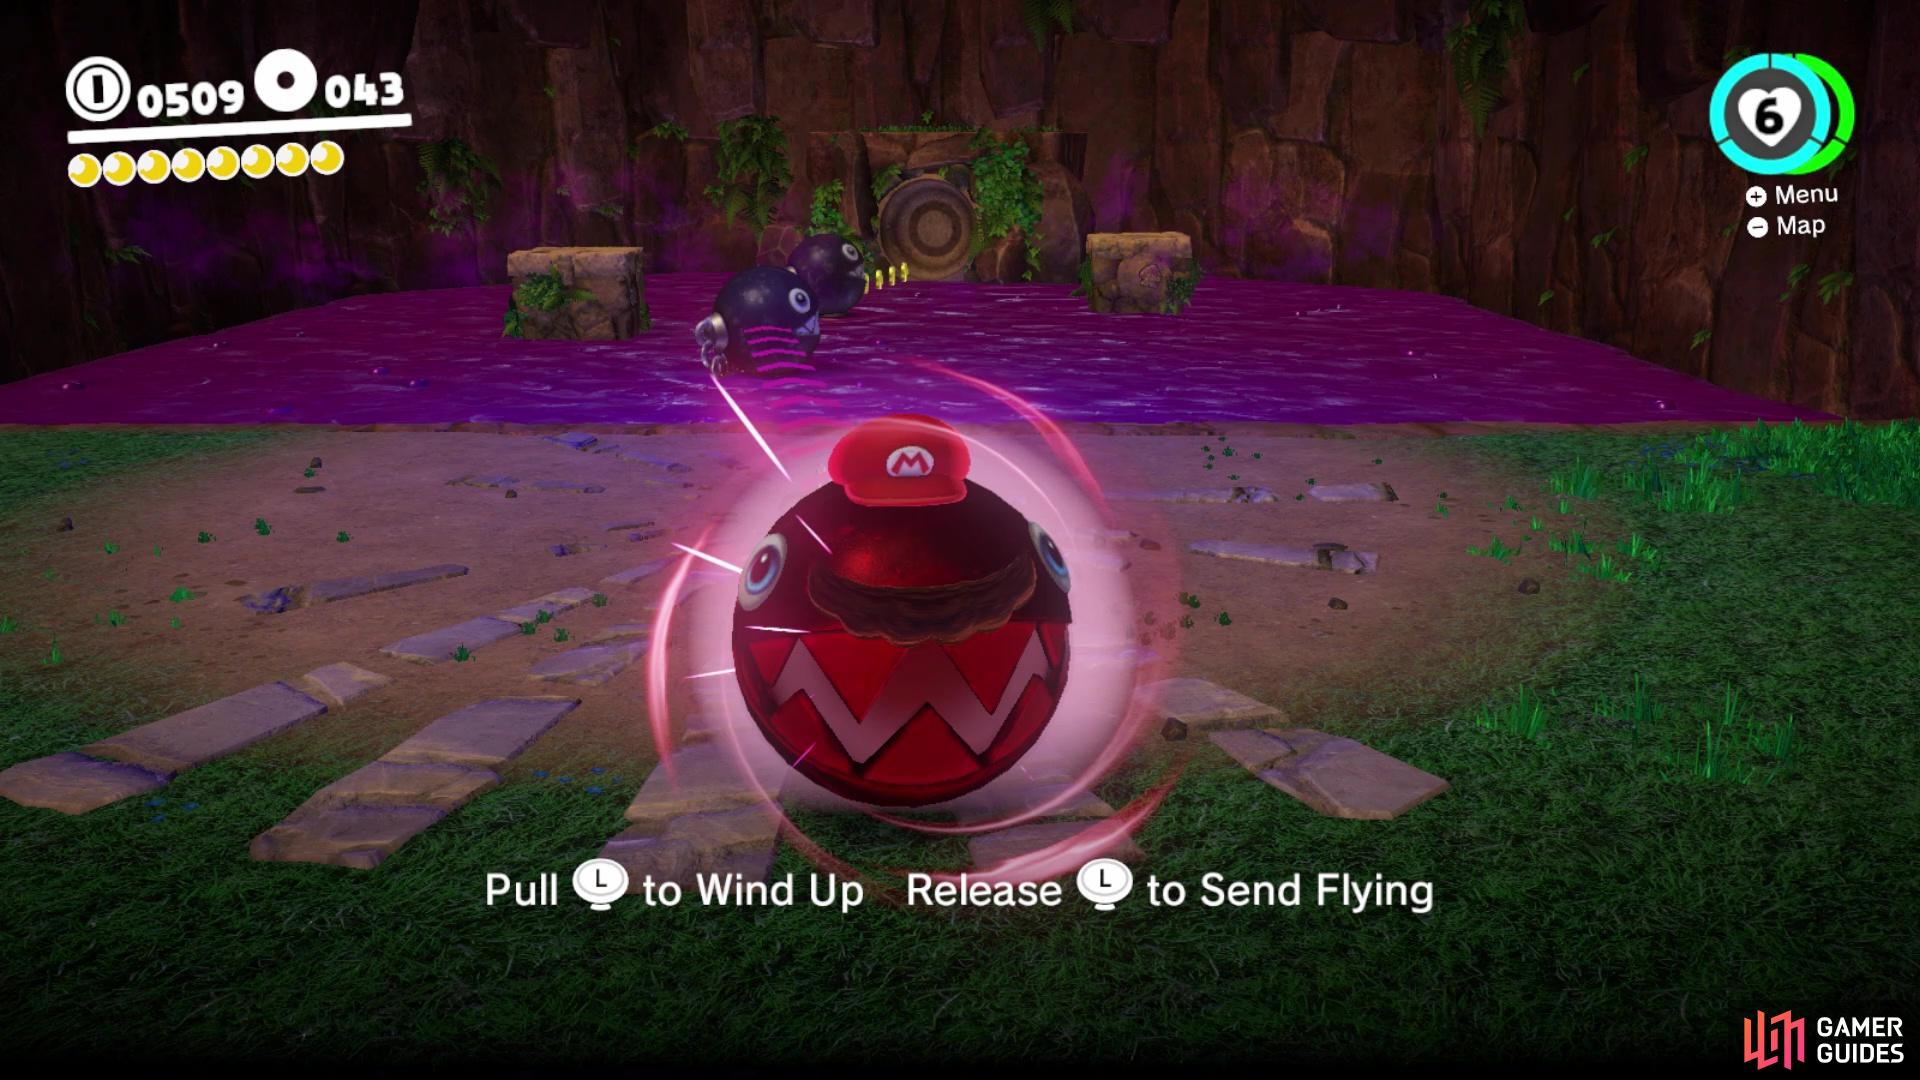

Aim here for the third Chain Chomp Billiard (left), Aim at this spot for the fourth Chain Chomp Billiard (right)
Koopas 2D Adventure
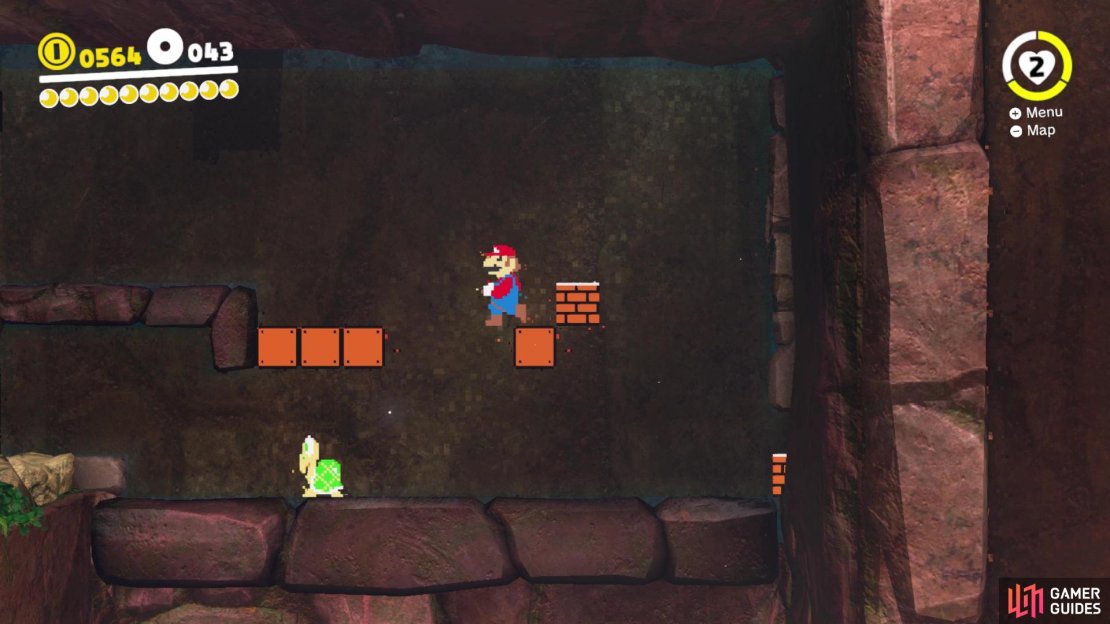
Make your way to the Stone Bridge flag, which is just around the corner and look to the south to see the purple coins on a ledge you collected earlier; they are above you and require you to use white hat platforms. Below that is another ledge that has a door at the end, so open it and head inside. You can see another 2D section in the distance, so follow the path, stomping the Micro Goombas if you want and use the moving platforms to get to the pipe that will demake Mario.
In the first area, you will have a Koopa Troopa, some bricks blocking a small passage and Goombas beyond that. You can ignore the Koopa if you want, as you can easily jump the obstacle in your way, then stomp on the Goombas. Just past those is a large gap that has two columns of moving platforms, one going down and the other up. The pipe to the next area is just a simple hop past them, but you can jump on top of the “screen” to get some extra yellow coins and still get to the next area.
Time your jumps past the platforms going in and out of the wall, then look over the edge just before the next pipe, where there is another platform with yet another pipe. You will find a Koopa Troopa here, which you’ll need to break the brick on the lower right. This leads behind the wall here, so keep moving right and when you can see the ledge, jump over the pit and grab the Power Moon (Hidden Chasm Passage).

(1 of 5) Get to the ledge past the two moving platforms to find a hidden 2D section
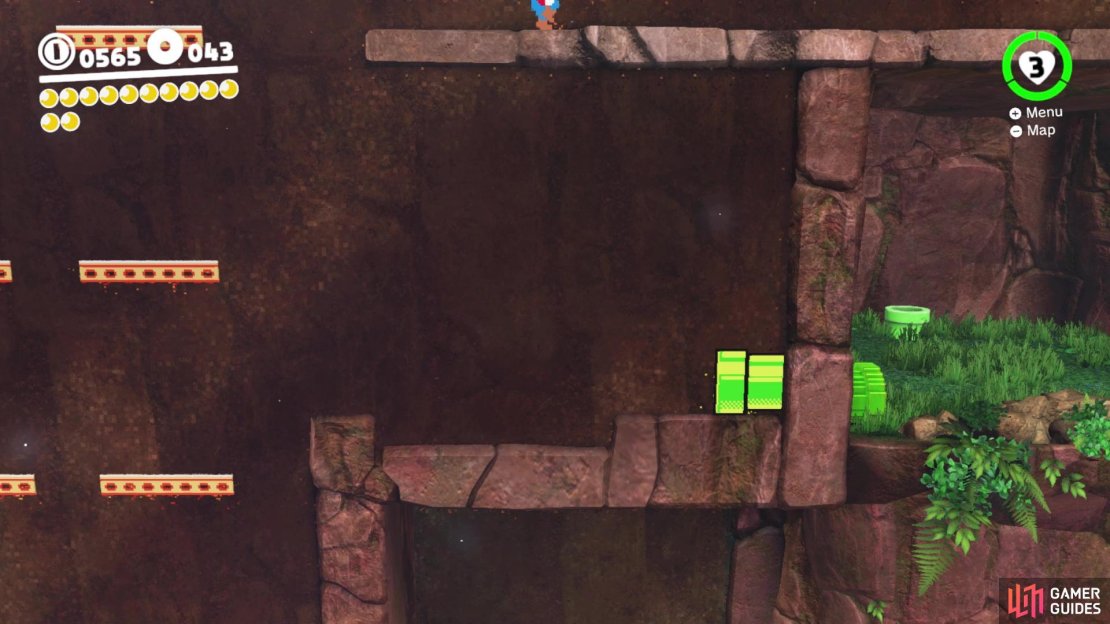
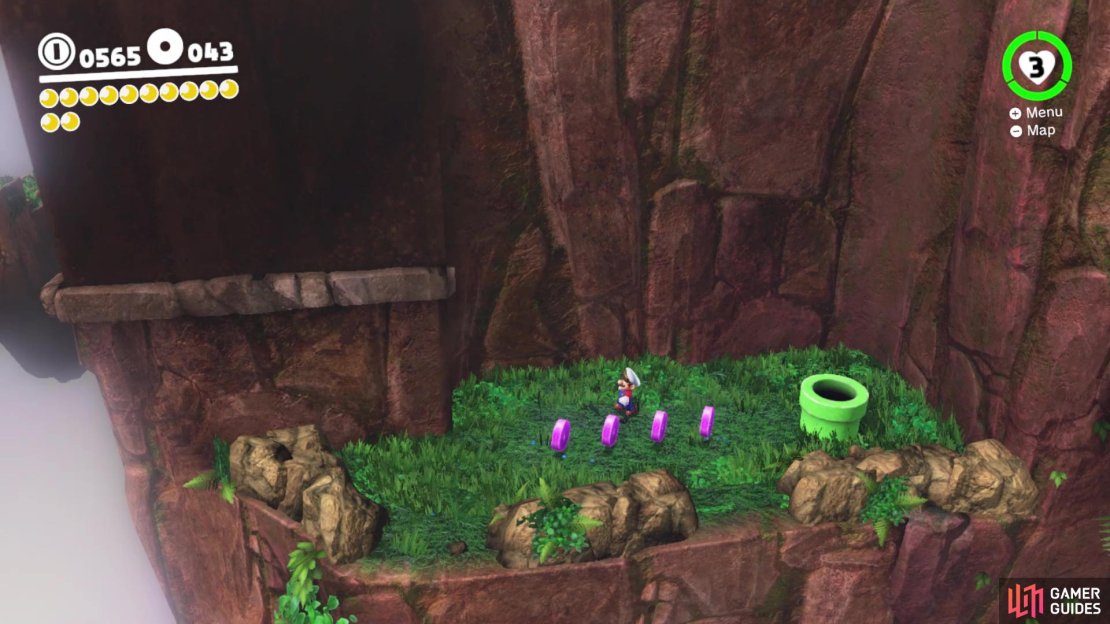
Double back and use the vertical pipe to get back to the other pipe you saw, which leads to more vertically moving platforms, three sets in fact. While you can just cross them normally, there is a secret area beyond, which requires you to jump on a platform above the Goomba guarding the pipe at the end, similar to the yellow coins earlier in this section. The best way to do this is to ride the first set up off the screen, then run and jump onto the other sets moving down and onto the hidden ledge. It might take a few tries, but once you get it, continue right to find four purple coins (47) . Enter the pipe to be brought to the other Power Moon in this section (Past the Chasm Lifts) . Take the pipe on the back wall to return to the main area of Cascade Kingdom.
Return to the Top of the Kingdom
After returning to the main area, you might see a sticker on the wall as you get back on the main path (it’s Princess Peach in a cat costume). Hit this sticker with your hat to spawn a life-replenishing heart. There are other stickers out there, such as Cat Mario, which will give you coins, so keep an eye out for them. Back to the main plot, make your way back up to the area where you fought Madame Broodal, where you’ll find some new stuff. There will be another scarecrow here, which will spawn some blocks you have to time a Triple Jump to get to the top before the timer runs out and get a Power Moon (Cascade Kingdom Timer Challenge 2) .
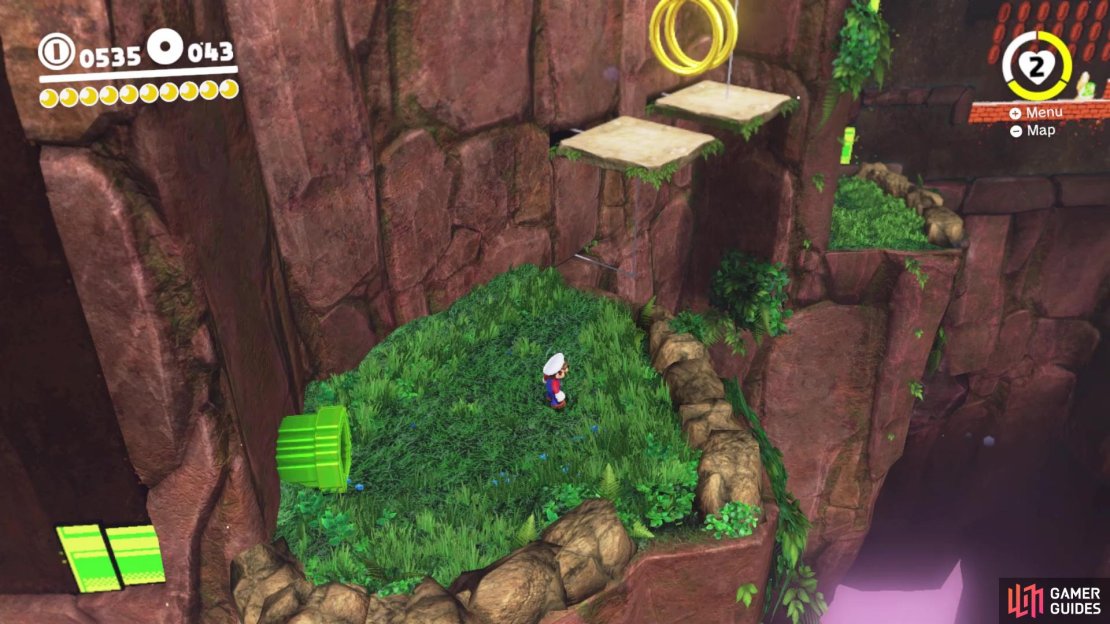
On the north end up here are some floating platforms, with another Power Moon (Across the Floating Isles) at the end, as well as three purple coins on a side platform (50) . Now, follow the western edge of the area up here to a ledge that has a large white stone block, which you can’t do anything with for now. However, there is another ledge hidden beneath that one, where you can find Captain Toad. Carefully jump down to him and speak with him to get another Power Moon (Good Morning, Captain Toad) .


(1 of 2) The white cube will come into play much later in the game
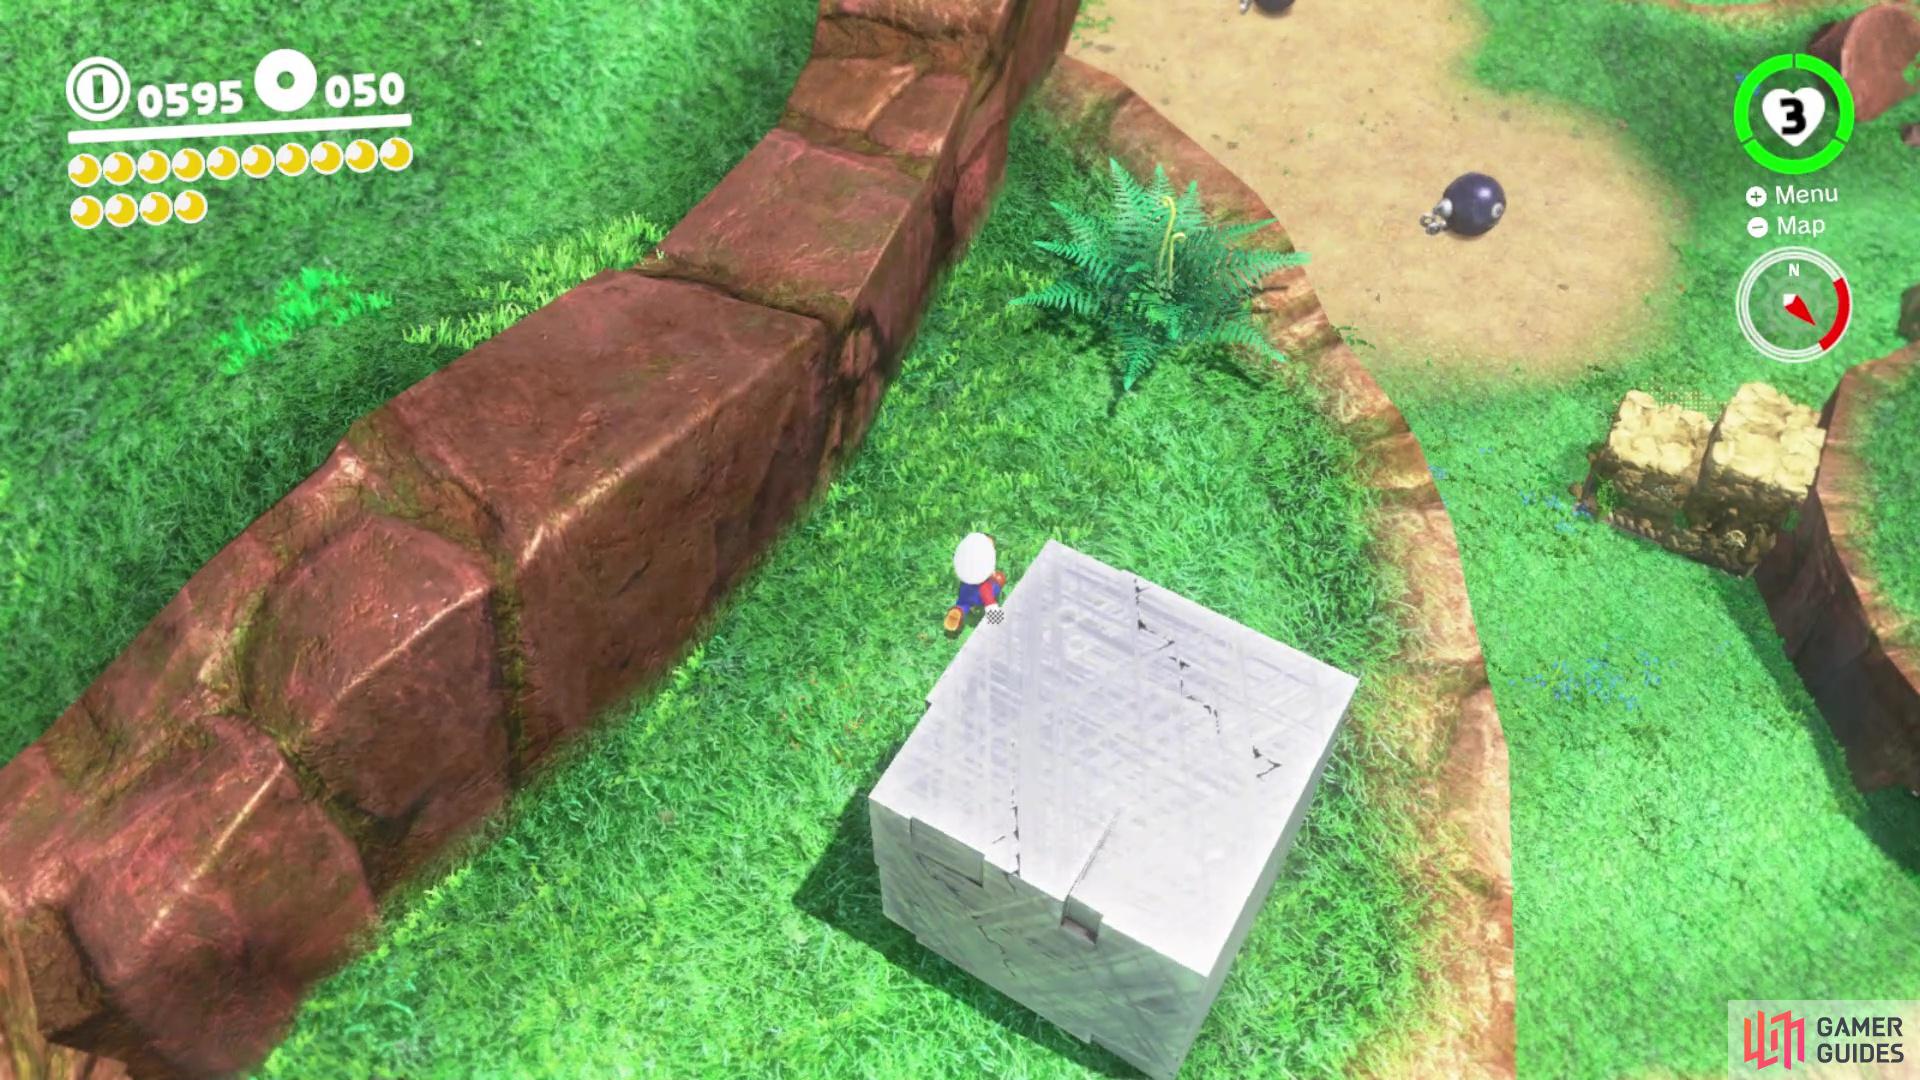
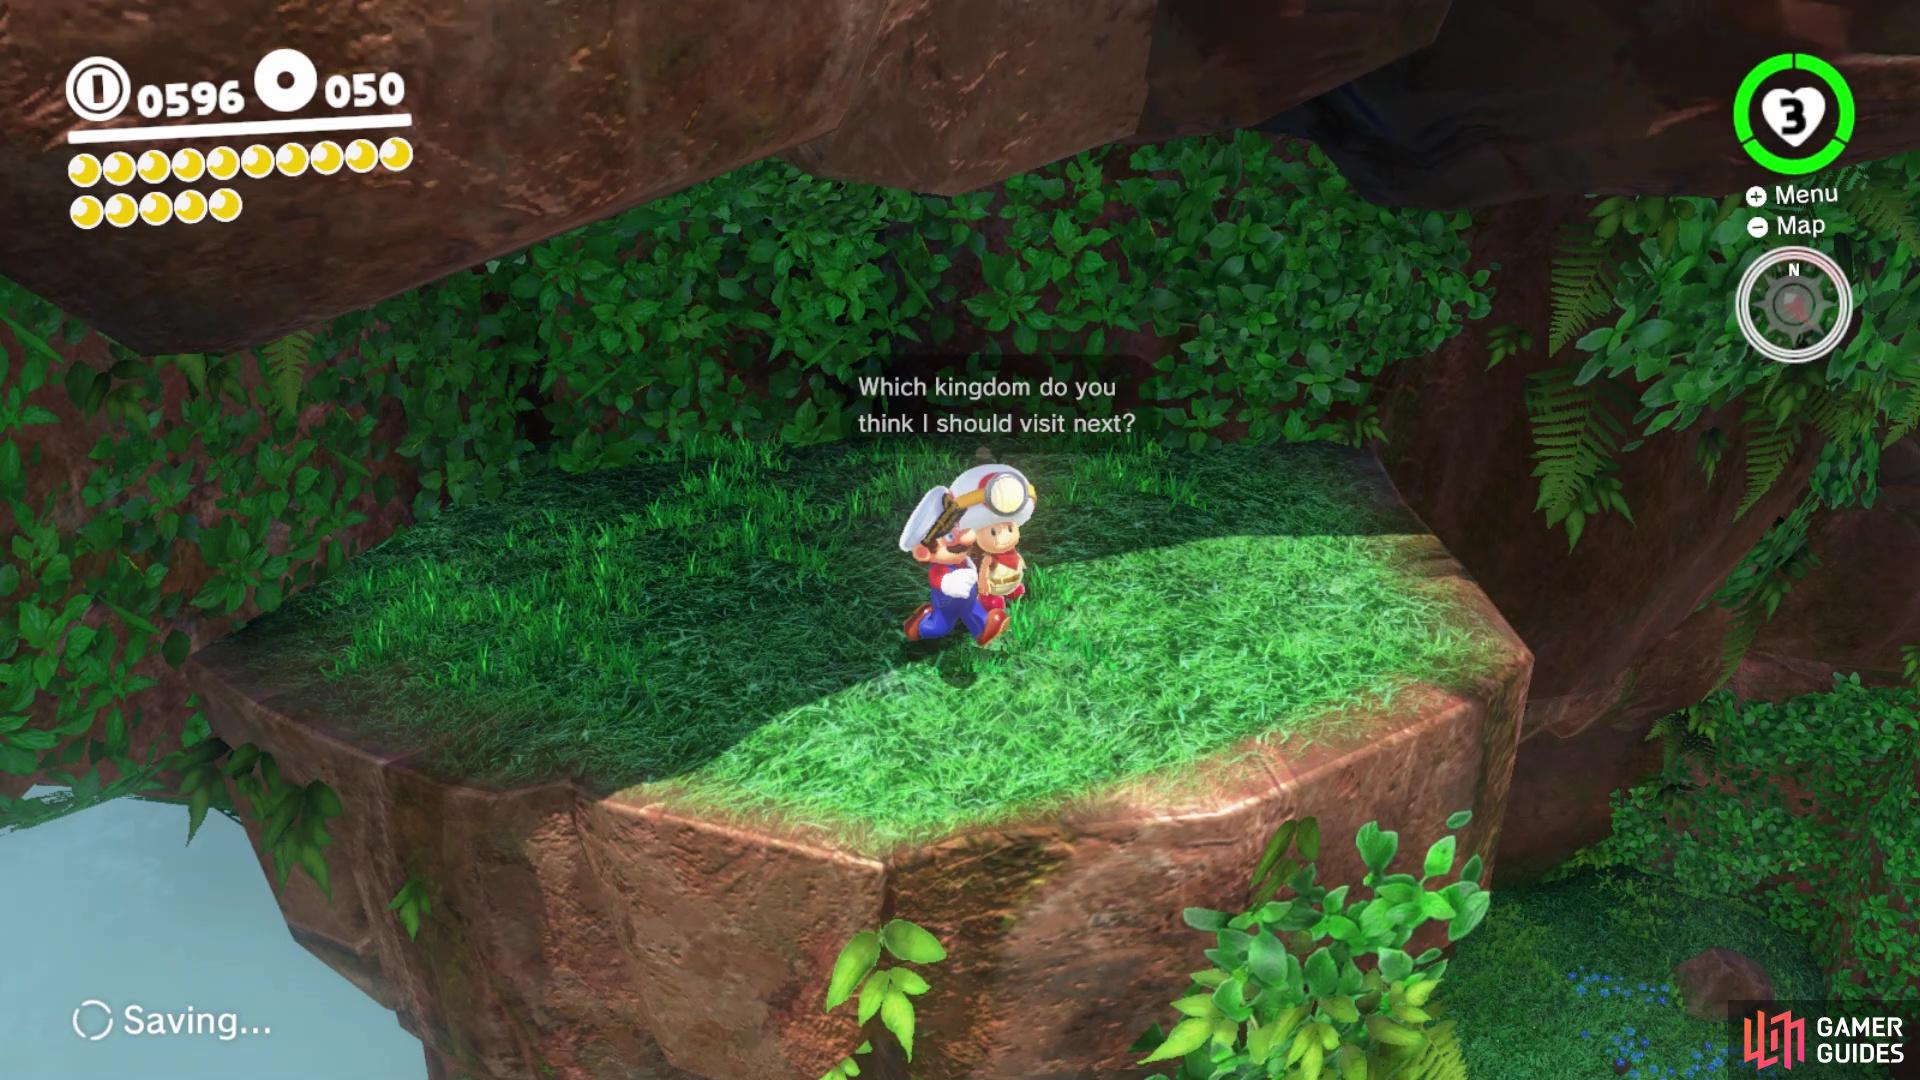
The white cube will come into play much later in the game (left), On the ledge below the white cube is Captain Toad, who will hand over a Moon if you talk to him (right)
That is all of the Power Moons you can grab here in Cascade Kingdom, so exit back to the main area, but don’t leave without finding two more points of interests. If you look on the one ledge near the pole where the Dinosaur Nest door is located, you should spot a bird sitting on a perch with a hat on. Talking to Talkatoo will give hints on the names of any Power Moons you can procure in the current kingdom (he shouldn’t provide any hints in Cascade, since you have all of the available ones). The other point of interest is the purple hat shopkeeper, who sells new costumes for Mario, as well as souvenirs for the Odyssey.
Despite the in-game list showing more Power Moons, you will not be able to get them right now. Return to the Odyssey, deposit the Power Moons and set sail for the Cap Kingdom next, as there are things you can grab there now.
No Comments