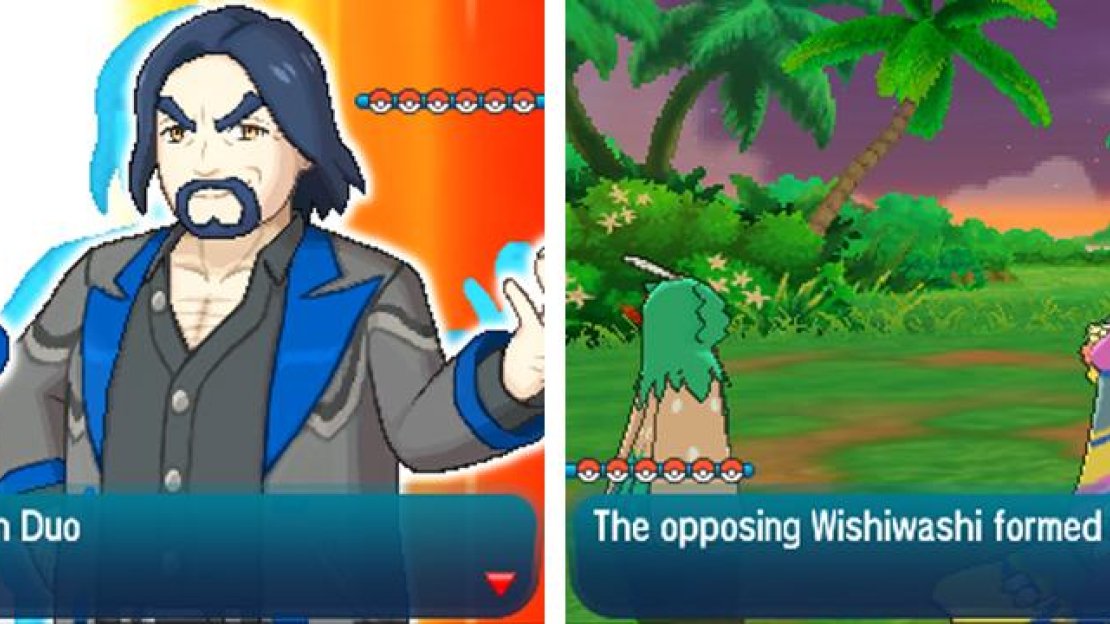
Towards the far north of Poni Gauntlet, there’s a group of strong Pokemon trainers guarding the bridge that leads to the Battle Tree. The first of which is a Black Belt at the bottom of the bridge.
Black Belt Tracy
 Pangoro is extremely weak to Fairy-type moves and typically weak to Flying-types, but immune to Psychic-types. If it’s not attacking, it can use Parting Shot to drop your offensive stats before switching out.
 Machamp is a no-nonsense powerhouse with pitiful Speed. It has a bunch of strong moves including Dynamic Punch, which is painfully inaccurate, but causes confusion if it hits. A Ghost-type will laugh in its face.
Halfway along the bridge, towards the west, is the final  Zygarde Cell (95) . If you’ve been extremely thorough, you may have all 95 Cells and 5 Cores. That said, many only appear during the day or the night, so it’s entirely possible you’ve got a few more to find.
In addition, there’s another Zygarde Cell in the Ruins of Conflict, only accessible during the postgame. If you’re missing any that you’re unsure about, check the Zygarde Cube Hunt towards the very end of our guide to find a full list of each Zygarde Cell and Core.
Finally, north from here is the final obstacle before the Battle Tree. It can be hard to notice, but there’s actually a pair of trainers, not a single one, by the north exit.
Veteran Duo Tsunekazu and Nobuko
| Pokemon | Level | Type |
|---|---|---|
 Wishiwashi (School) Wishiwashi (School) |
61 | Water |
 Turtonator Turtonator |
61 | Fire/Dragon |
 Electivire Electivire |
61 | Electric |
 Comfey Comfey |
61 | Fairy |
 Alomomola Alomomola |
61 | Water |
 Lilligant Lilligant |
61 | Grass |
This is quite possibly one of the toughest battles in the game, what with it being a Double Battle with 6 Pokemon on both sides. The thing about Double Battles is that no Pokemon on the field is safe.
Anyway, Tsunekazu has a  Wishiwashi,
  Turtonator and
  Electivire. Meanwhile, Nobuko has a
  Comfey,
  Alomomola and
  Lilligant.
Wishiwashi is there to cause big damage with Hydro Pump and Ice Beam. Use Grass or Electric-types where possible, but note the former’s weakness to Ice.
Comfey isn’t an immediate threat, but super annoying with Light Screen and Floral Healing. It’s also pretty hard to take down due to Draining Kiss. Smash it with Poison or Steel-types ASAP.
Tsunekazu’s next Pokemon can be Turtonator. This guy doesn’t have Shell Trap, but does have Fighting and Steel-type moves on top of its STAB ones. Trash it with Ground-types if you have any.
Otherwise, he may send out Electivire, a similarly hard-hitting Pokemon that’s carrying Fire Punch and Brick Break. Plus Quick Attack to pick off weakened foes. Likewise, it can’t do much against a good Ground-type.
On Nobuko’s side, there’s Alomomola, the bulky Water-type supporter. Like Comfey, it’s not dangerous, but can be bothersome with Soak, making you weak to Electivire, Helping Hand to boost its ally’s attacks and Heal Pulse. When you’re not looking, it can surprise with Aqua Jet.
Finally, she has a Lilligant that again fills a support role. Although it has Leaf Storm, it usually assists with Helping Hand, After You to allow its ally to attack immediately afterwards and Sunny Day to boost Turtonator and Electivire’s Fire-type moves.
Unlike in Single Battles, you can’t switch after defeating a foe. In addition, because of the hyper-offensive plays, we don’t recommend switching out at any time, unless you’re bring a Pokemon that resists both of your opponent’s.
Past the tricky veterans is a Punk Guy to the east of the exit. If you’ve got a  Bewear, you can trade it for his
  Talonflame with its Hidden Ability. Bewear can be found here rarely or you can catch a
  Stufful and evolve it. Too bad Talonflame’s Hidden Ability got nerfed…
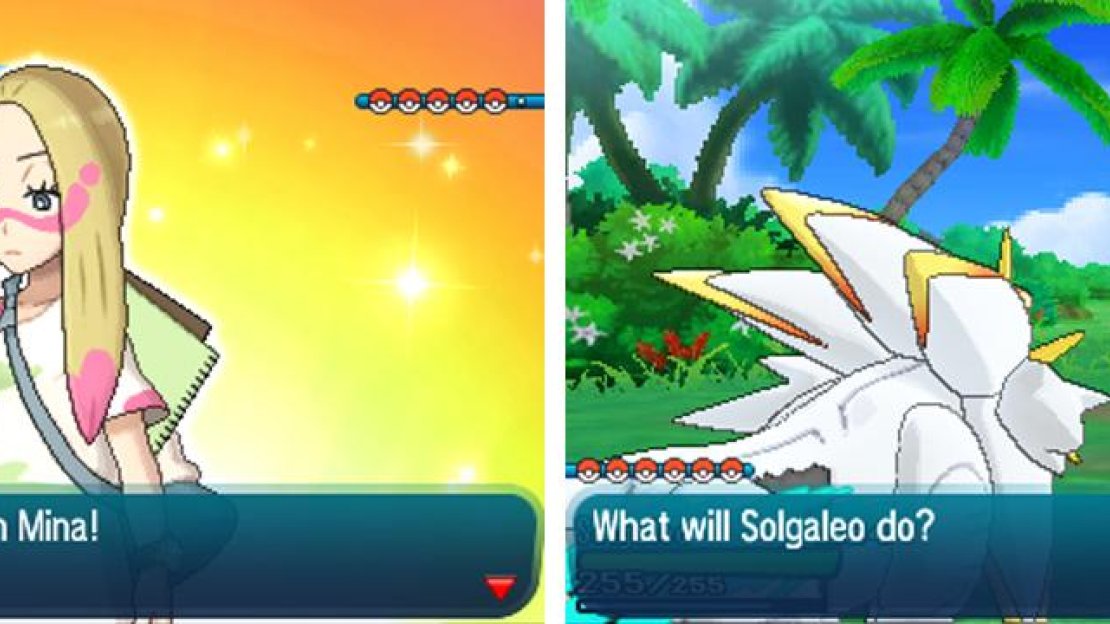
Before going into the Battle Tree, you should return to the entrance and say “hi” to Mina again.
Captain Mina
| Pokemon | Level | Type |
|---|---|---|
 Klefki Klefki |
61 | Steel/Fairy |
 Shiinotic Shiinotic |
61 | Grass/Fairy |
 Granbull Granbull |
61 | Fairy |
 Wigglytuff Wigglytuff |
61 | Normal/Fairy |
 Ribombee Ribombee |
61 | Bug/Fairy |
Her team is exactly the same as during the UB Taskforce sidequest, so that’s the reason for the deja vu. The only difference is that her  Wigglytuff has Fairium Z. Therefore we apologise for any redundancy!
As before,  Klefki’s main job is to set up Reflect and Light Screen, which reduces the physical and special damage its teammates (and itself) receive. It has great defences, but poor offensive stats. Still, you should use super-effective Fire or Ground-type moves where possible.
 Shiinotic has good Special Attack and defensive stats, but awful Speed. It can use Spore to send your Pokemon to sleep and Moonlight to restore HP. To avoid a headache, use Poison-type moves to deal 4x damage or Fire, Flying or Ice-type moves to do 2x damage.
 Granbull boasts stellar Attack and a wide range of coverage moves, including Fairy, Dark, Ground and Rock-type moves. It also has Intimidate to reduce Attack. However its other stats are mediocre, so a bulky super-effective Pokemon ought to do fine.
Wigglytuff is a punching bag with high HP and poor other stats, save its decent Special Attack. Besides its STAB moves, it has Fire and Ice-type moves as well. Nothing a good Poison-type or even a Steel-type can’t handle though.
Finally, Mina has a  Ribombee, which has exceptional Speed and decent Special Attack. In addition to its STAB moves, it has Psychic and Grass-type moves. Swat it with your Fire, Rock or Steel-types if you can. Especially Fire or Steel-types to resist its Fairy Z-Move.
Clear Mina’s make-shift trial and you’ll earn a Bottle Cap that can be used for Hyper Training.


No Comments