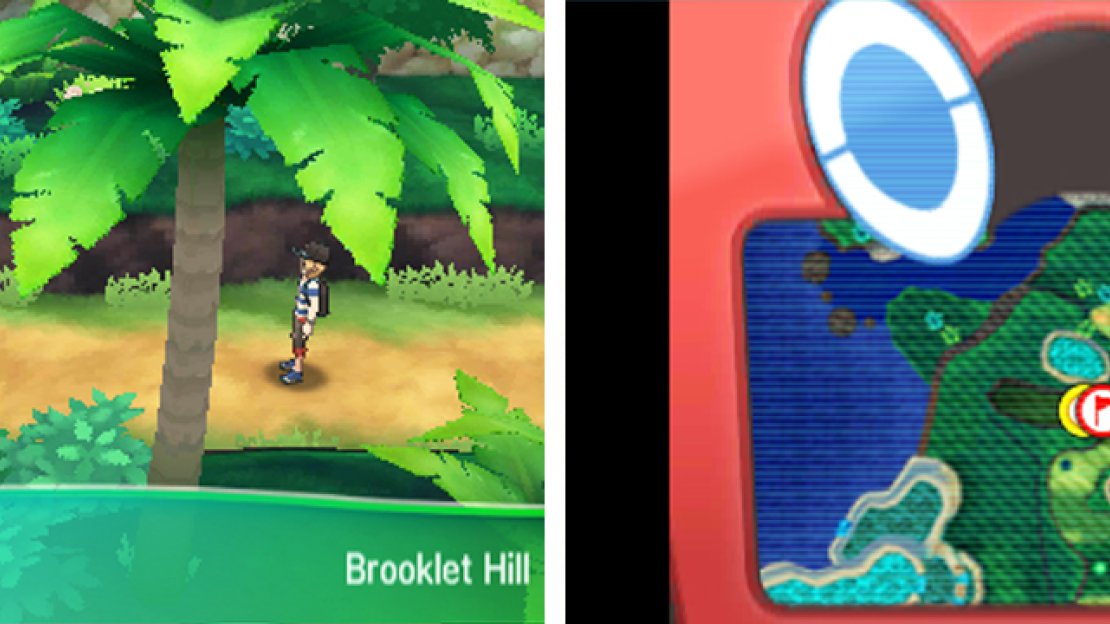
This is the Water-type trial, so have your Grass and Electric mons ready.
Pokémon Encounters - Brooklet Hill
| Name | Types(s) | Location (Encounter Rate) |
|---|---|---|
 Paras Paras |
Bug/Grass | First field of grass (20%) |
 Psyduck Psyduck |
Water | All grass here (30%) |
 Poliwag Poliwag |
Water | All grass here (10% first grass patch, 20% after) |
 Wingull Wingull |
Water/Flying | All grass here (10% first grass patch, 30% after) |
 Surskit Surskit |
Bug/Water | All grass here, Night only (10% first grass patch, 20% after) |
 Lillipup Lillipup |
Normal | First field of grass (20%) |
 Dewpider Dewpider |
Water/Bug | All grass here, Day only (10% first grass patch, 20% after) |
 Morelull Morelull |
Grass/Fairy | First field of grass (20%, Night only) |
| Name | Types(s) | Location (Encounter Rate) |
|---|---|---|
 Goldeen Goldeen |
Water | Fishing, Bubbling spot (29%, 45%) |
 Magikarp Magikarp |
Water | Fishing, Bubbling spot (70%, 50%) |
 Feebas Feebas |
Water | Fishing, Bubbling spot (1%, 5%) |
 Gyarados Gyarados |
Water/Flying | (SOS only) Possible ally Pokemon for  Magikarp Magikarp |
It’s time to get serious again, if you weren’t already serious, of course. Start by heading west down the stairs. You’ll meet Captain Lana by the waterside. Apparently she needs your help with something, so follow her west across the plank bridge.
On the other side, head south to find a Net Ball on the sand. Next, chat to the man fishing on the right to hook yourself a Pokemon battle.
Fisherman Ernest
First things first,  Barboach is part Ground, so put away your
  Pikachu or other Electric-type Pokemon. Instead, you can easily defeat with Grass-type Pokemon as their moves are 4x effective. The
  Rowlet line is perfect due to their immunity to Ground moves.
 Goldeen is a standard Water-type, so use your usual tricks. Just watch out for Goldeen’s Peck if using a Grass-type.
From here, continue west, up the short flight of stairs. Next, follow the path as it bends around to the south; here, you’ll need to pass through some tall grass. Along the east side of this path, there’s a stretch of area with no grass. Search the bottom of this stretch for a hidden Elixir .
At the end of the tall grass, continue south to bump into Lana again. She will add  Lapras Paddle to your Ride Pager so you can traverse the lake and investigate the source of the mysterious splashing. Before you call your new friend, follow the water’s edge west.
Here, you’ll find a X Sp. Attack at the far corner and a Pokemon trainer standing a bit too close to the lake.
Backpacker Mikoko
| Pokemon | Level | Type |
|---|---|---|
 Fletchling Fletchling |
17 | Normal/Flying |
A weak bird Pokemon. Zap it with Electric-type Pokemon or send it crashing to the ground with Rock-types.
Next, follow the water’s edge in the opposite direction, past Lana. At the very end, head west across the wooden planks to find a fisherman who doesn’t mind a good Pokemon battle.
Fisherman Herbert
| Pokemon | Level | Type |
|---|---|---|
 Poliwag Poliwag |
17 | Water |
Not a strong Pokemon by any means, but a potentially irritating one. Hit it hard and fast with a speedy Electric-type or a sturdy Grass-type. Otherwise you may become a poor victim of Hypnosis.
There’s nowhere else to go by land. Which means it’s time to get acquainted with your new Ride Pokemon! Get up close to the water’s edge and press the Y button while facing the water. Select Lapras Paddle and you’ll be able to move around on top of the water.
Hold the B button while moving to dash at a decent speed. Like the other Ride Pokemon, you can set a D-Pad shortcut by tapping the icon on the left while using the Ride Pager. Of course, don’t expect anything to happen if you try to call Lapras while on dry land.
While riding Lapras, head due west from the fisherman, towards the furious splashing at the center of the lake. As you approach, a bunch of fish will scatter, leaving behind a, well, not so furious splashing. Either way, head straight into the splashing to see what it’s all about…
If you need a decent Water-type, Wishiwashi is pretty OK.
Why, it’s  Wishiwashi, a new Water-type Pokemon. If you want, you can try and catch it. Either way, after the battle’s over, Lana will inform you that the furious splashing has moved further in. You’d better give chase!
Direct Lapras south-west to reach the other side of the lake. After landing, head west to pick up a Revive on the floor. There’s also a Photo Spot here, if you’re feeling productive. Next, follow the path east, down the slope and through the tall grass.
When the tall grass ends and just before the next bunch of tall grass starts, search around the gap in-between for a hidden Max Repel . After that, carry on south through the tall grass. Soon, you’ll arrive at another lake, where you’ll also find Lana.
Don’t leave the little lady waiting; call Lapras and paddle south-west, where the furious splashing is. Just like before, a bunch of fish escape before you reach the loud splashing. Nevermind and paddle straight into the pitiful splashing that remains to encounter another Wishiwashi.
Afterwards, the area will begin to rain. In addition, Lana will again tell you that the furious splashing has moved deeper in. Your princess is in another castle, huh? Anyway, head south-east from your current position to reach a secluded path.
At the far end, beyond the tall grass is TM55 Scald . This bad boy should be taught to your Water-type Pokemon ASAP. Besides doing a healthy amount of damage, it can inflict Burn, a status ailment that cripples physical attackers.
Return to the lake before you get thoroughly soaked and, this time, head for the south-west corner. If you’re going along the south side, you may catch the attention of the fisherman hanging around this corner. Otherwise, you can avoid him by traveling further north.
Fisherman Carl
There’s always one. If you didn’t know,  Magikarp is an utterly pathetic Pokemon and there’s almost no way you can lose this battle. Still, just to be safe, you should meet it head on with Grass and Electric-types. Note that, because of the rain, the Magikarp will have boosted Speed.
When you land, hurry south down the path. Before you get far, you’ll bump into cheeky Lana once more. After that little fright, carry on downwards to reach the captain’s gates. Before going past, you may want to save your game, because on the other side is…
Totems Den
Well, well. Approach Lana and the trial will officially commence. The rules are exactly the same as last time: you can’t catch any Pokemon and you can’t leave unless your party gets wiped out.
Your task is to investigate the splashing north-west from the shore where you’re standing, which will almost definitely involve a battle with a Totem Pokemon. So check your Pokemon are all A-OK, then hop on board Lapras and set a course for the splashing.
Pokémon Encounters - Totems Den
| Name | Types(s) | Location (Encounter Rate) |
|---|---|---|
 Wishiwashi Wishiwashi |
Water | Fishing, Bubbling spot (20%, 30%) |
 Magikarp Magikarp |
Water | Fishing, Bubbling spot (79%, 50%) |
 Alomomola Alomomola |
Water | Fishing, Bubbling spot (1%, 20%) |
 Gyarados Gyarados |
Water/Flying | (SOS only) Possible ally Pokemon for  Magikarp Magikarp |
Totem Pokemon
| Pokemon | Level | Type |
|---|---|---|
 Wishiwashi (School) Wishiwashi (School) |
20 | Water |
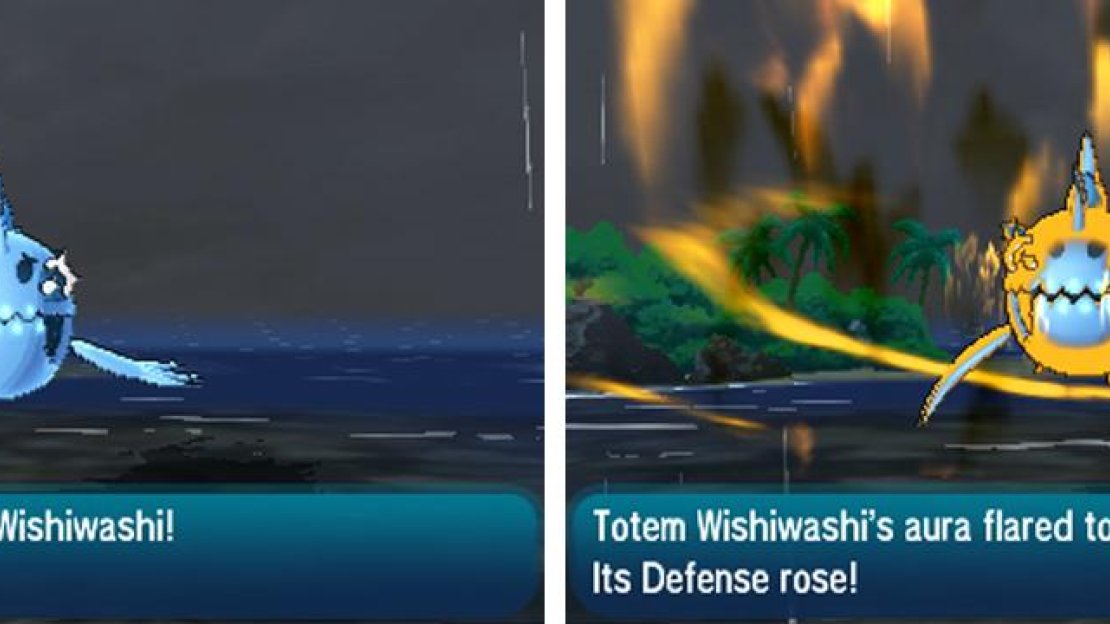
It’s a Wishiwashi, but not as you know it. This high level fish will trigger the Schooling Ability before the battle begins, which changes it into its stronger–and more intimidating–School form. It will also receive a Defence boost from its aura.
This battle can be a doozy if you don’t have a solid Grass-type Pokemon, so hopefully you were smart enough to bring one. Because of the rain, Wishiwashi’s attacks will do a lot more damage than usual, so you need Pokemon that resist Water, like Grass.
Like the previous Totem Pokemon, the Totem Wishiwashi may summon non-School form Wishiwashi whenever it’s alone. The two Pokemon will then gang up mercilessly on your lone Pokemon, so try to finish the battle as quick as you can. Or, even worse, the  Alomomola that School Wishiwashi summons will start healing it, meaning even if you bring it down to less than 25% health to remove its School form, Alomomola will heal it and it will become School form again.
The easiest way to handle this battle is to use the Dire Hit that Hau gave you or one you found or bought from a Poke Mart. This will boost your Pokemon’s critical hit ratio. Next, have your Grass-type use Razor Leaf to top off massive chunks of the Totem’s HP.
Critical hits bypass stat boosts and Razor Leaf has a naturally high critical hit ratio, so it’s hard not to get a critical hit. Even better, Razor Leaf hits both Pokemon, so you can take out the ally Pokemon at the same time. The Rowlet,  Fomantis and
  Bounsweet lines can all use Razor Leaf.
Otherwise, any other Grass-type will do decently well, such as  Petilil or
  Cottonee. Electric-types are OK, but may lack the durability. Only use them if you have to.
One annoying thing Wishiwashi does is use Soak to turn your Pokemon into a Water-type. From a defensive standpoint, this is actually good, since Water resists itself. But you will lose STAB from your attacks, lowering your damage output.
Totem Wishiwashi also has a Sitrus Berry to restore health and can use Aqua Ring to slowly restore health. Combined with the potential loss of STAB, it’s crucial your Pokemon adopts a super-offensive strategy. Hence the suggested Dire Hit and Razor Leaf combo.
Triumph against the lord of the ocean and you’ll receive Waterium Z , thereby marking the successful completion of your trial. That’s not all, you’ll receive a Fishing Rod from Lana and 10 Dive Balls to get you started on your fishing spree.
Afterwards, Lana will offer to take you straight to the Pokemon Centre on Route 5. You may as well take her up on the offer, since it’s a trek and a half to get back. Back on Route 5, Lana will leave, but not before telling you two key facts.
Post-Trial Shenanigans
In any case, after taking on the Totem Pokemon, you should probably visit the Pokemon Centre to get healed. Afterwards, we’re going places!
To begin with, unless you’re tired of the place already, head back into Brooklet Hill. Go down the steps towards where you first met Lana. Here, approach the water’s edge to the south and call Lapras.
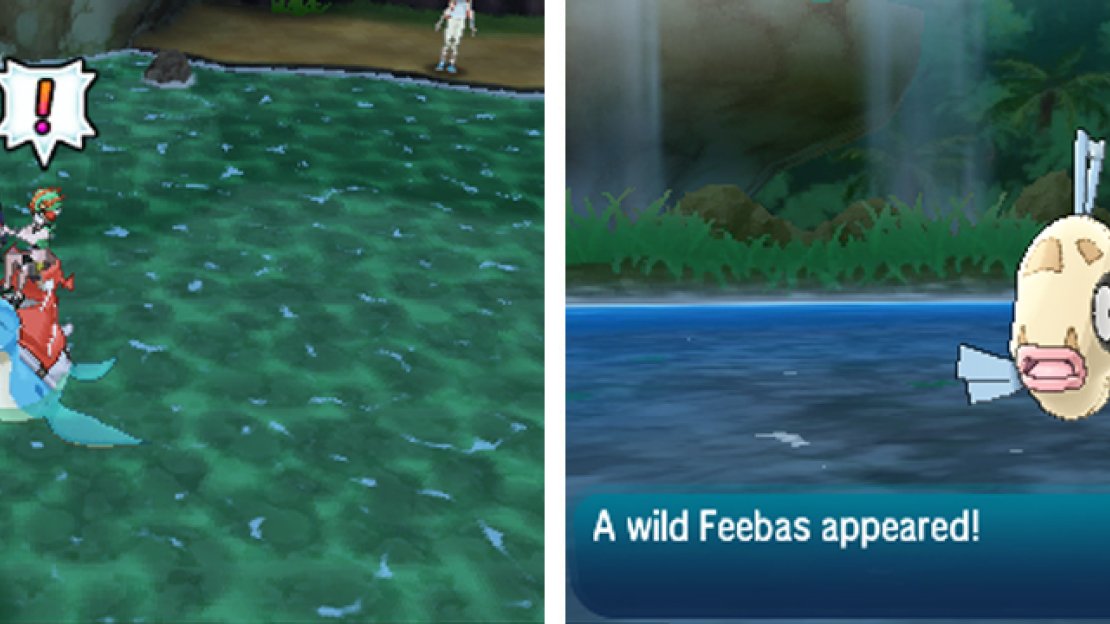
Feebas is an infamously rare Pokemon and it’s no different here.
Immediately to the south is a pile of rocks, which you can fish in. Approach it until the A button prompt appears, then press A to throw out the line. Now wait until you see an exclamation mark appear; when it does, quickly press A to reel in the line.
Press it too early and you’ll fail; likewise if you leave it too late. Sometimes, you won’t catch a bite, but you can simply try again. If you time it right, you’ll encounter a wild Pokemon. Sometimes, you may reel in a rare item instead, like a Pearl or, if you’re lucky, a Bottle Cap.
Another thing: Some pile of rocks have bubbles rippling on the surface. If you fish here, you’re more likely to find rare Pokemon and items. However you need to approach slowly or the bubbles may disappear. Reeling in prematurely will make the bubbles go too.
South-west from here is a small area of land, with a fisherman ready for battle and a Rare Candy behind him.
Fisherman Hal
| Pokemon | Level | Type |
|---|---|---|
 Tentacool Tentacool |
17 | Water/Poison |
A common sight later on. Best approached with Electric or Psychic-type Pokemon or you may feel the sting.
That’s all, but if you want, you can continue searching the area for fishing spots. Especially if you intend to catch a rare  Feebas to fulfill the request or add it to your party. By the way, Feebas is super rare, so your best chance of finding it is to locate a bubbling spot.
Once you’ve done so, save your game next to the bubbling spot. If you fish a Pokemon (or item) and it’s not Feebas, soft-reset your game by pressing L, R and START or SELECT simultaneously. Then try again until you catch Feebas or give up.
One final thing: The fishing spots within Brooklet Hill are all the same, except for the ones in the Totem’s Den. You also won’t find Feebas in the Totem’s Den, so don’t try there. There’s a 1/20 chance of finding Feebas in a bubbling spot, so best of luck!


No Comments