This abandoned mansion hides a dark and disturbing secret.
Wild Pokémon
| Pokémon | Type | Location | Chance (%) |
|---|---|---|---|
 Ditto Ditto |
Normal | Interior | 1 (1F-3F), 10 (B1F) |
 Magmar Magmar |
Fire | Interior | 14 (1F-3F), 10 (B1F) |
 Raticate Raticate |
Normal | Interior | 20 |
 Rattata Rattata |
Normal | Interior | 20 |
 Muk Muk |
Poison | Interior | 5 (1F-3F), 10 (B1F) [Let’s Go  Pikachu] Pikachu] |
 Weezing Weezing |
Poison | Interior | 5 (1F-3F), 10 (B1F) [Let’s Go  Eevee] Eevee] |
 Grimer Grimer |
Poison | Interior | 40 (1F-3F), 30 (B1F) [Let’s Go  Pikachu] Pikachu] |
 Koffing Koffing |
Poison | Interior | 40 (1F-3F), 30 (B1F) [Let’s Go  Eevee] Eevee] |
 Chansey Chansey |
Normal | Interior | Rare spawn |
In order to open the door to the Cinnabar Island Gym, you’ll need to go through this dungeon and find the key.
Floor 1F (main)
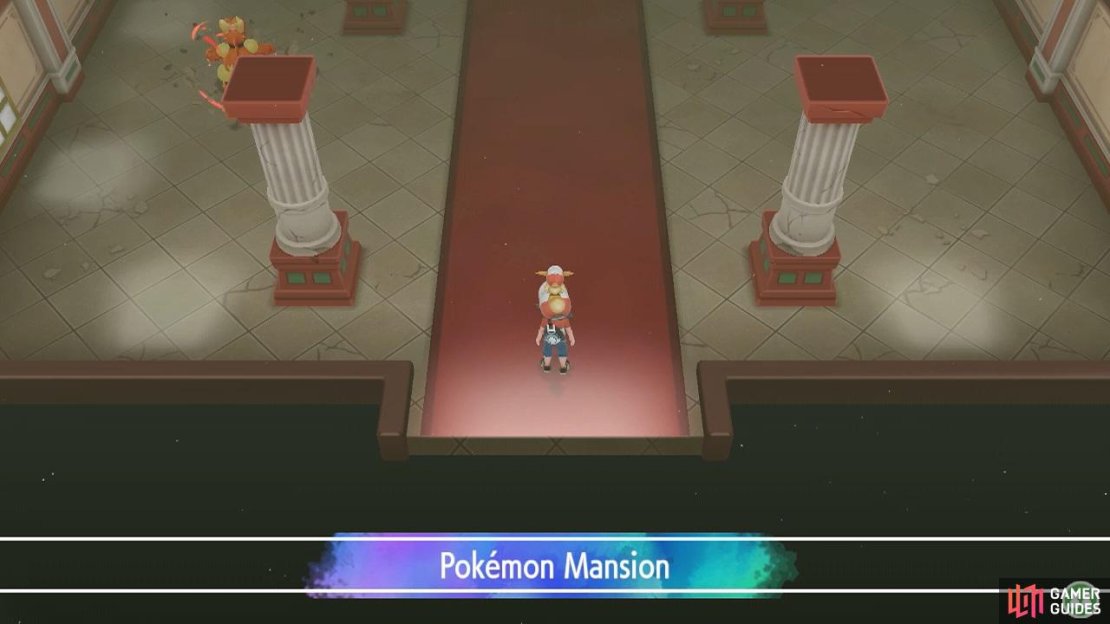
When you enter, there will be stone pillars on either side of a red carpet. Follow the red carpet north. You’ll find a staircase that leads upstairs. Ignore it, so we can continue exploring this floor. Go right, then up towards the northern-most wall. From there, head west. You’ll come across a room with a table and papers all over the place.
Head over to the bottom-left corner and retrieve the Max Repel. Then approach the very conspicious stone statue with glowing red eyes to the left of the table. Inspect the statue to toggle a secret switch. Now head west. Where there are four stone pillars in a row, go south through the doorway opened by the secret switch.
Pick up the Max Elixir in the middle of the carpet. After that, return to the four stone pillars and then continue east. When you reach the north-east corner, head south. You’ll reach the other side of the collapsed room from earlier. Here, check under the table for a Max Lure. Finally, return towards the entrance and go up the staircase.
Floor 2F (main)
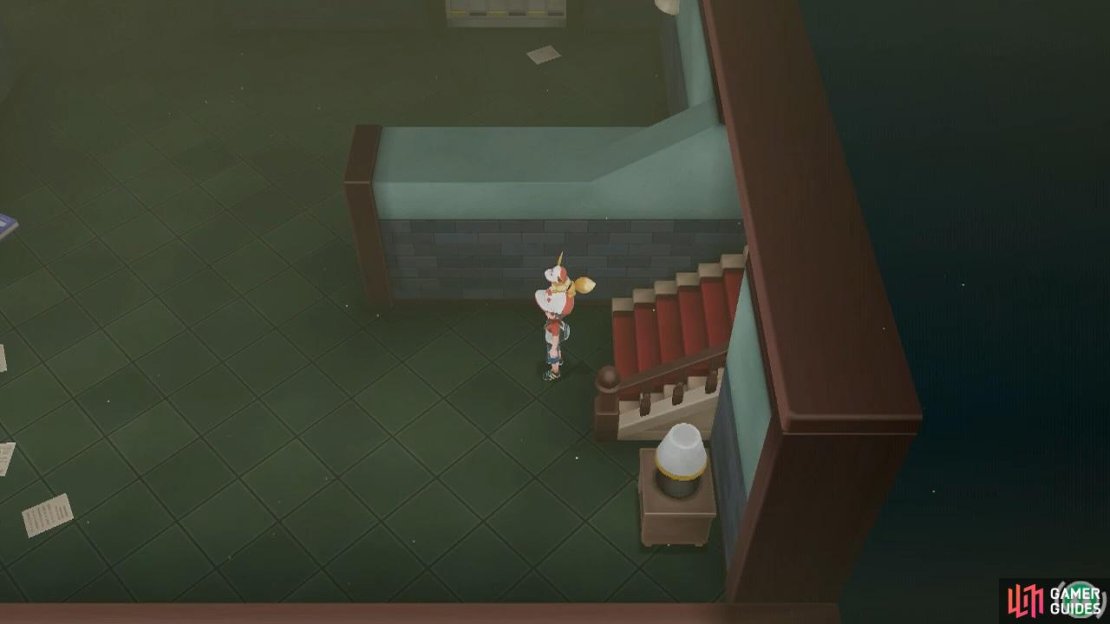
Upstairs, there’s another staircase immediately to the right. If you want, you can go up it.
Floor 3F (south-west)
You’ll reach an isolated section of Floor 3F. Up here, there’s a table in the middle of the room, with a diary that you can read. To the south-east of the table is another burglar. Meanwhile, just past him is a Rare Candy on the floor.
Burglar Simon
Simon’s Pokémon are both weak to Ground. His  Magmar has various Fire-type moves, plus Confuse Ray. Water and Rock-types are also effective. Meanwhile his
  Muk can use Sludge and status moves such as Toxic. Psychic-types are also good and you can wall it with Steel-types as well.
Floor 2F (main; again)
Back on Floor 2F, inspect the nearby stone statue to activate a secret switch. After doing so, head south towards a small room. In this room, there’s a suspicious trainer and a Max Ether to his south-west.
Burglar Arnie
| Pokémon | Level | Type |
|---|---|---|
 Rapidash Rapidash |
44 | Fire |
Arnie has an evolved  Ponyta that–as its name suggests–is pretty fast. This one can use Fire Spin to trap your Pokémon and inflict damage for a couple of turns. Plus Take Down to deal decent damage, and Quick Attack to go first. Rock-types are ideal; Ground and Water are also good.
After that, go back up. South-east from the second staircase is a corridor that leads south. Follow it. At the end, there should be a closed doorway to the right and an open one on the left. That’s if you pressed the secret switch once. Obviously, go through the open doorway. There’s a diary on the table, plus a PP Up on the floor.
Go back around and continue north from the staircase’s right. Towards the left, above a big crack in the floor, should be a closed doorway. Head right from the crack. Soon, there should be a doorway above and a doorway below. Go up first. Here, there’s another diary that you can read, and a Max Revive to the far right.
After that, go through the doorway below. To the right, there’s an Escape Rope near the huge gap in the floor. You probably don’t want to fall through there. Now return to the entrance of this floor. Go to the statue and press the secret switch again. This will return the doorways to their original positions, so you can continue.
Head through the corridor that goes south again. At the end, you should be able to enter the doorway on the right. Keep going and you’ll find 3 Ultra Balls. After that, go through the corridor that goes north. Now the doorway along the left should be open. Through here, there’s another staircase leading up, as well as a Coach Trainer.
Coach Trainer Rita
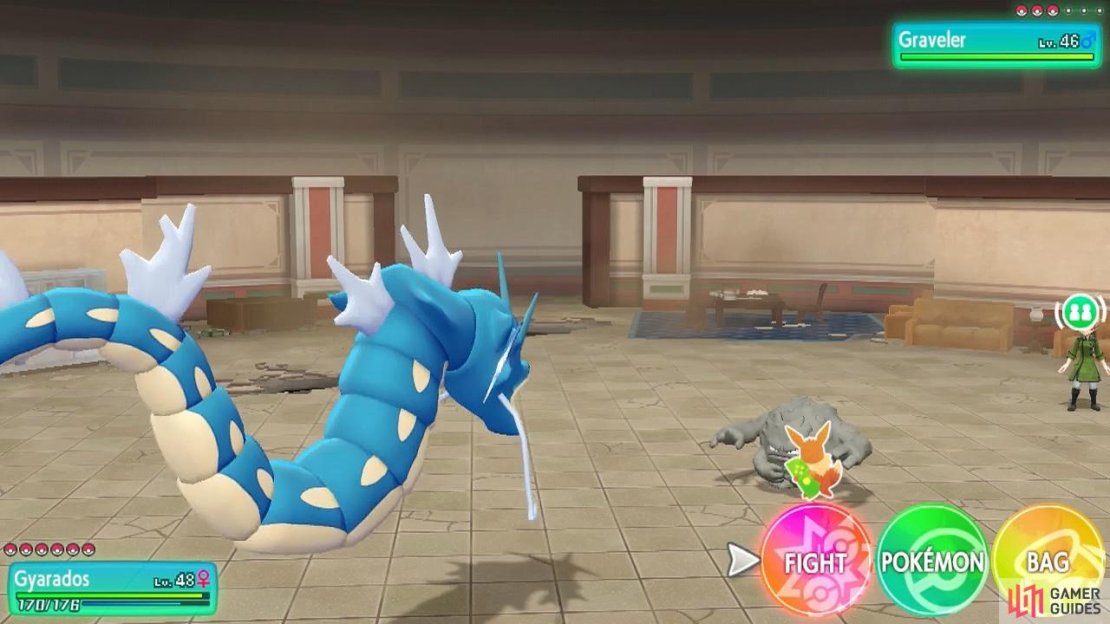
All of Rita’s Pokémon can use Rock Slide, which can cause flinch. Her  Graveler can also use Brick Break to smash barriers. Water and Grass-types are recommended; Ground, Steel and Fighting-types are good choices as well.
Next up, Rita has  Dugtrio, which is an evolved
  Diglett. This three-headed mole can also use Earthquake to deal formidable Ground-type damage, boosted by STAB. Water and Grass-types would be nice to have here.
Finally, her  Poliwrath is a fully evolved
  Poliwag that’s gained the Fighting-type. It’s thus weak to Grass, Electric, Flying, Psychic and Fairy. Besides Rock Slide, it can use STAB Hydro Pump and Submission. Use a Grass-type if possible.
Succeed and you’ll receive–gee, we wonder–TM22 Rock Slide. In addition to having a chance to cause flinch, this Rock-type move can hit both opponents during Double Battles. Imagine the look on your foe’s face when you make both of their Pokémon flinch… In any case, go up the staircase in this room.
Floor 3F (main)
Upstairs, you’ll arrive near the north-west corner. Proceed east. You’ll reach a stone statue with a Full Heal next to it. Forget the statue for a moment and continue east through the currently open doorway. Head over to the far north-east corner to discover TM21 Foul Play. This unique move uses your opponent’s Attack stat to inflict damage, not yours.
Go back and poke the stone statue to activate the secret switch. This will close the doorway on the right, but open the doorway below. Go through the doorway below that’s now open. Beyond, there’s a long ladder going down to the south. Meanwhile, to the right is a Scientist, who seems to be guarding something. Go that way if you’re curious.
Scientist Braydon
For the record, all of Braydon’s Pokémon are susceptible to Ground. His  Weezing can attack with STAB Sludge Bomb and cause deadly poison with Toxic. You can consider fielding a Steel-type to shrug off its moves.
Next can be Magmar, which you can catch in this very mansion. Braydon’s Magmar can use STAB Flamethrower, plus the Poison-type Clear Smog to remove stat boosts. Water and Rock-types are well-suited here.
Finally, his  Magneton is an evolved
  Magnemite. It’s still weak to Fire and Fighting, and takes massive damage from Ground. For attacks, it has STAB Thunderbolt and Flash Cannon.
Past Braydon, keep going east until you hit the wall. At the end, there’s an X Accuracy waiting to be found. After that, go back a bit and go through the doorway towards the south. Here, there’s a staircase that leads downstairs. Let’s take a look, shall we?
Floor 2F (south-east)
Just ahead, there’s an Ace Trainer looking around for a fight. To his north-east is a Hyper Potion lying on the floor. Also, if you keep going left, you can search for a Quick Candy hidden near the gap where the ladder is.
Ace Trainer Louis
Louis’s first Pokémon is  Kingler, an evolved
  Krabby. This one can use Crabhammer to deal physical damage, boosted by STAB. Plus Slash, just in case. Grass-types are recommended, while Electric-types aren’t too far behind.
For his second Pokémon, we’ve got  Primeape, an evolved
  Mankey. It can use STAB Karate Chop, which has a high critical hit ratio. Plus Thrash and Outrage to deal heavy damage, but causing Primeape to be confused afterwards. Go with Fairy, Psychic or Flying.
Once you’re done here, go back downstairs and climb down the long ladder near the center of the floor.
Floor 1F (south-east)
When you come down from the ladder, you can pick up 5 Silver Razz Berries next to the potted plants above the ladder. After that, go down and battle the Scientist who’s standing guard.
Scientist Ted
Another chance for Ground-types to shine. Ted’s  Electrode is an evolved
  Voltorb. This one can use STAB Thunderbolt, and Swift, which never misses. Meanwhile, his Muk can use Sludge Bomb for STAB, Moonblast to hurt Fighting and Dragon-types, plus Minimize to up evasion. Psychic-types are also good.
Past Ted, there’s a row of potted plants near the south. Go underneath them and grab the Fire Stone along the middle. Then head north-east and go down the staircase. By the way, if you follow the path clock-wise from the staircase, you’ll reach a dead end with a teleporter pad that takes you out of the mansion.
Floor B1F
A truly fearsome Pokémon was born here.
In the basement, you’ll start near the south-east corner. Follow the hallway up and around to the left. When you reach the open doorway, be mindful of a Burglar to the left.
Burglar Lewis
Lewis has three  Koffing that all look the same. They’ve got Sludge Bomb for STAB, Toxic to cause increasingly painful poison, and Explosion to blow everything up–including itself. As usual, Psychic and Ground-types are the way to go, but Steel-types can be useful for walling.
To finish off, Lewis has an evolved Koffing. This one has the exact same moves, but with the addition of Psybeam. Allowing it to deal super-effective damage to Poison and Fighting-types. We don’t expect you’ll be fielding one of those though.
Either way, go through the open doorway. In this room, there’s a table containing a final diary entry. Nearby towards the right is a stone statue, while just below the table is TM52 Sludge Bomb. Give the stone statue a good punch, to trigger the secret switch. This will close the doorway you came from, but open the one on the left.
Exit this room via the left. Then carry on left until you reach the end. Here, there’s a Max Potion on the floor. Also, if you search the right-most of the cabinets above, you can find some hidden candy. After that, make your way back towards the entrance of this floor, then go through the now-open doorway along the east.
Up ahead, there’s a wide doorway, where a Scientist is occasionally keeping guard.
Scientist Ivan
| Pokémon | Level | Type |
|---|---|---|
 Electabuzz Electabuzz |
45 | Electric |
Ivan has an  Electabuzz from the Power Plant. This one can use powerful Electric-type moves, Screech to lower Defense, and Light Screen to protect it from special attacks. Ground-types will laugh at its face.
Also, search the right side of the middle bed. You should find some hidden candy. Then, before moving on, inspect the stone statue towards the left to activate the secret switch again. Return to the main hallway and go left from the Scientist. Head through the doorway to the north. In this room, there’s a Rare Candy in the middle of the cabinets.
In addition, if you search around the left-most cabinet, you can find a third hidden candy. Exit this room and go through the doorway on the left, which should be open. You’ll reach a top-secret lab. Go over to the top-left corner to recover a Max Elixir. Finally, head south to the final room and pick up the Secret Key.
You can now leave the mansion in your own time. The fastest way is with an Escape Rope. You should have picked one up along the way. If you don’t have one, you can go back to Floor 1F, then use the teleporter pad in the south-east corner.


No Comments