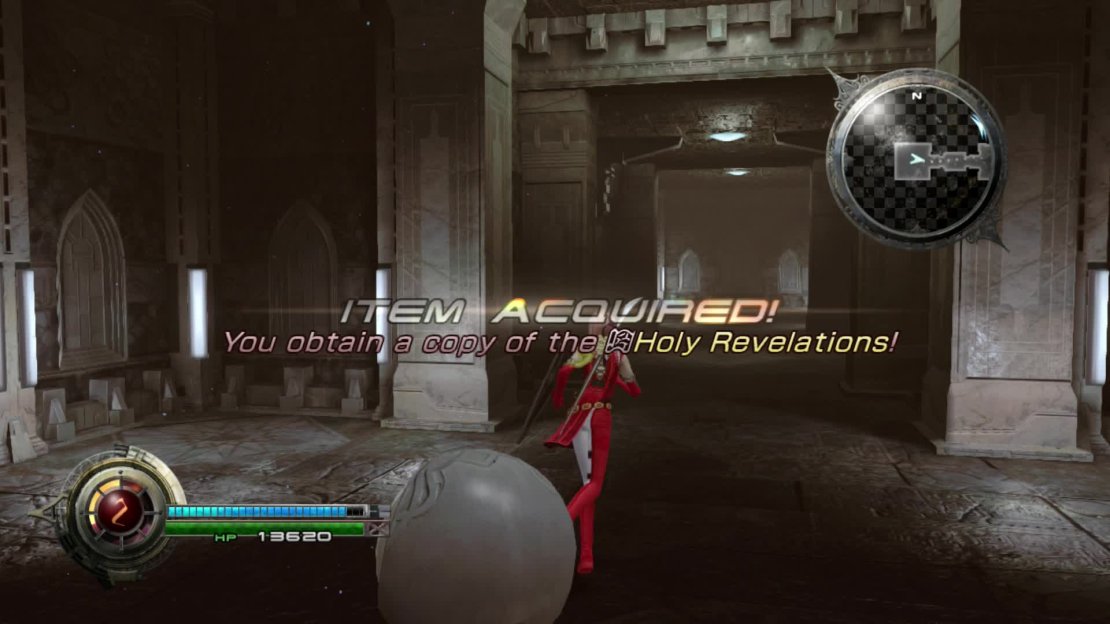
You find yourself beneath the Cathedral in the Temple of Light area. Follow the corridor and turn left when you hit a room that will take you deeper. When you hit the next room, turn north and collect the Warrior’s Plume then return south and continue on. Go all the way south and then turn west until you reach a dead end with the Holy Revelations , the Libra information for the final boss.
Make sure to pick these notes up before the final battle.
Return back to the previous room and head east. Follow the path back on itself and then follow it all the way south to collect the Samurai’s Comb then return to the previous room and head east to the Lower Floor and the inner sanctum.
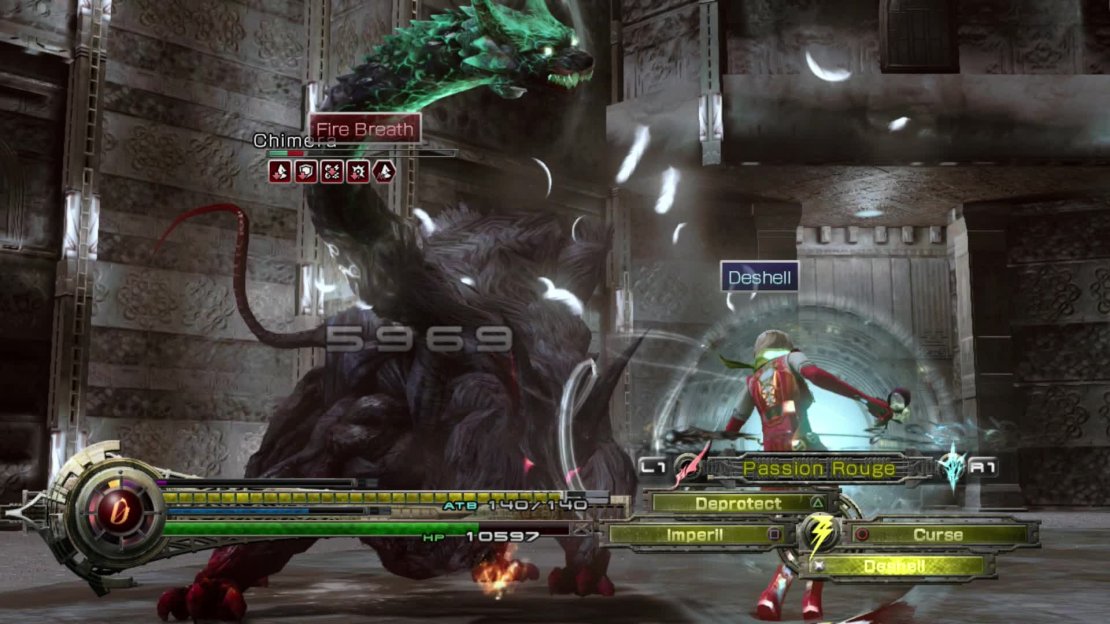
In the next area you will find Fang and a Chimera embroiled in a ferocious battle. Prepare your schemata for physical protection like the Ghostly Hood on your defensive schema as well as debuffs like Curse, Deprotect etc. Chimera is vulnerable to a whole host of status ailments which you can exploit. On your other schema equip a host of elemental spells for each element and maximise damage potential.
Start by debuffing Chimera and then go for the stagger with the usual abilities. If you Stagger with an elemental spell, he will be especially weak to magic so unleash with your most powerful magic attacks. You have him easily down to half health after the first Stagger. He will probably attack you with various elemental attacks like Fire Breath but just Guard and continue pushing for another Stagger. Once the final Stagger is inflicted, he will die quickly.
Most of his elemental attacks can be blocked to reduce the damage. With Fang helping, he really isn’t tough.
After the fight, Fang will join your party but only as far as the waypoint marker. You can take this opportunity to farm the enemies to near extinction and for EP and abilities. When you are ready move on to God’s Trials.
Gods Trials
After the cutscenes, Mog will find you and you are given an explanation on the four Trials and the Door of Creation. Do note it is absolutely recommended you complete the trials because you can then acquire the Ultima Weapon and Ultima Shield , incredibly strong equipment for Lightning and a massive help in the final battle.
Mog is positioned just outside the Door of Creation and sells restoration items and acts as a Sorcery Shop as well. Stock up on items before you enter any of the doors and make sure you restock after completing each Trial. Each trial consists of a linear route where you must engage in three fixed battles (as well as random encounters) in order to reach the high level elemental ability at the end.
There are a few things to note before you set off. Firstly, you can only ever have one Trial in progress. You must complete this Trial before attempting any others. You can return to Mog whenever you wish though so you can just essentially blunder your way through with the aid of EP gains from farming Set enemies too.
In the event you have hunted one of the species in a fixed battle to extinction and defeated the Last One, you get a bye and a free pass to the next area! Sweet! Once you have collected the reward at the end, simply jump over the rail into the room to return to where you were.
Altar of Judgement
- Apocalyptic Vista: Oerba (FFXIII & FFXIII-2)
- Ability: Chill
- Fixed Encounter 1: Arcangeli x 2
- Fixed Encounter 2: Goblin x 5
- Fixed Encounter 3: Zomok
Altar of Birth
- Apocalyptic Vista: Valhalla (FFXIII-2)
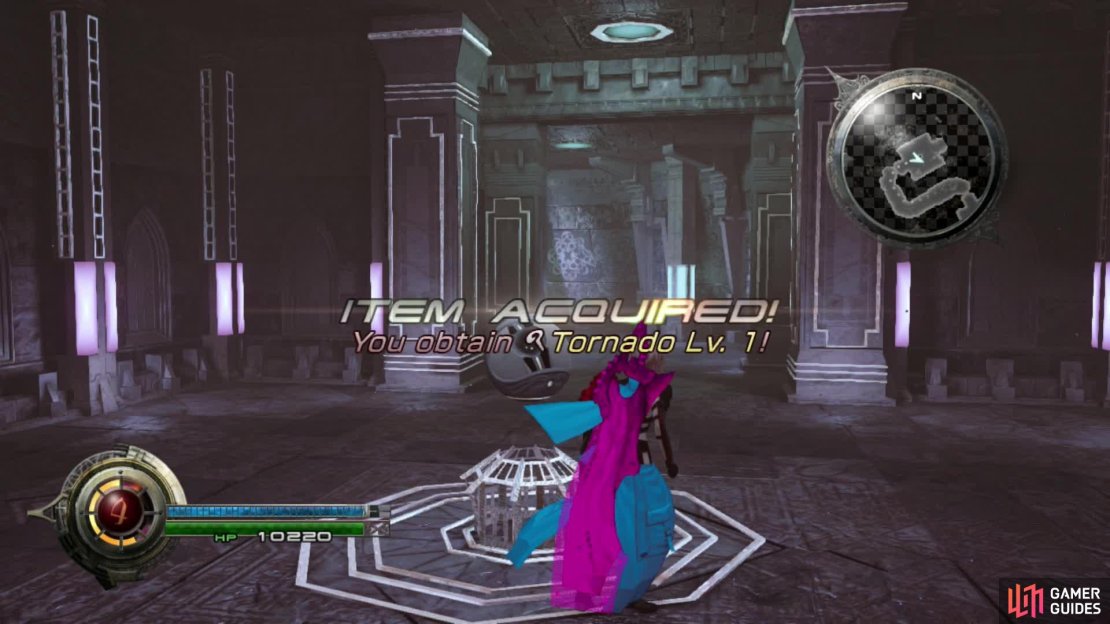
- Ability: Tornado
- Fixed Encounter 1: Set x 2
- Fixed Encounter 2: Goblot x 10
- Fixed Encounter 3: Cyclops
These abilities are the strongest elemental spells in the game.
Altar of Salvation
- Apocalypic Vista: Hanging Edge (FFXIII)
- Ability: Flare
- Fixed Encounter 1: Meonekton x 2
- Fixed Encounter 2: Gremlin x 8
- Fixed Encounter 3: Chimera
Altar of Atonement
- Apocalyptic Vista: Eden (FFXIII)
- Ability: Surge
- Fixed Encounter 1: Sugriva x 1, Neela x 3, Wendigo x 3
- Fixed Encounter 2: Ectopudding x 2
- Fixed Encounter 3: Earth Eater
Your reward for completing all four Trials is the Ultima weapon and shield.


No Comments