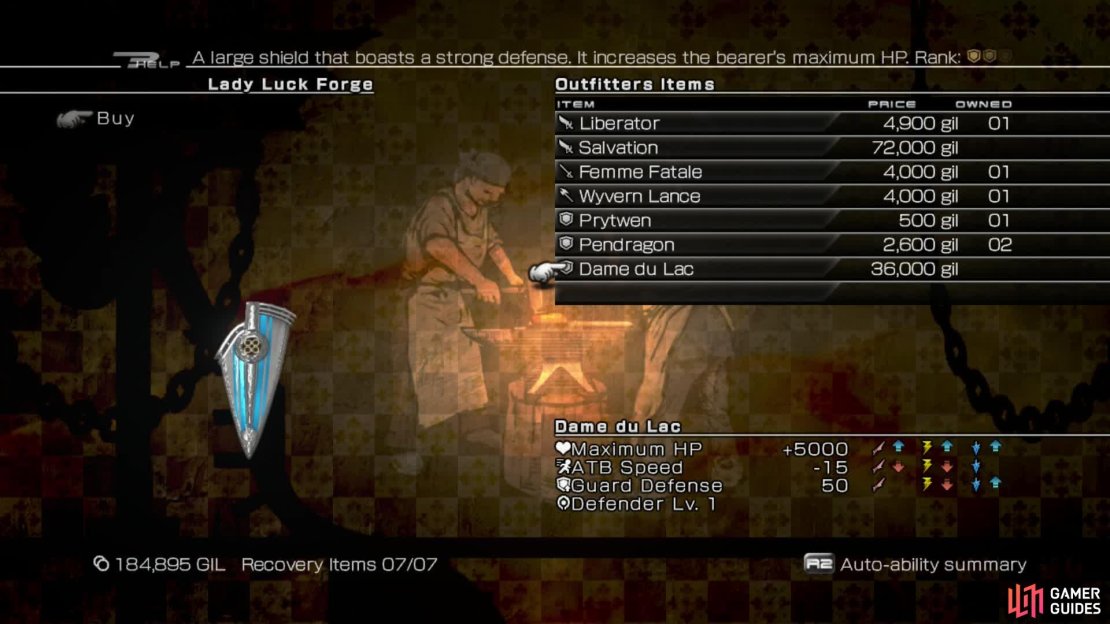
New shops have appeared in Ruffian, namely an Outfitters, Forge and Sorcery Shop. Purchase the Dangerous Blossom garb and the Wyvern Lance . This weapon can be combined with the Locket Pendant into a seriously cool piece of equipment later on. If you have some spare cash, buy the Dame du Lac shield too because it is a much stronger shield than any you have and gives you a serious boost to your HP.
This is a powerful shield and is an upgraded version of the Pendragon.
Visit the Sorcery Shop to unlock the ability to upgrade spells and abilities.
Don’t forget to get any items appraised by Elmer whilst you’re here. You can also start “ Skeletons in the Closet ” by talking to Jamus, the drunk guy passed out on the floor.
When you’ve finished here, teleport to the Grave of the Colossi Cactuar Stone and enter the ruins there. There are three ruins with a tablet in each. Luckily the ruins aren’t very large so this section shouldn’t take too long though turning on Chronostasis is advisable if you are getting short on time.
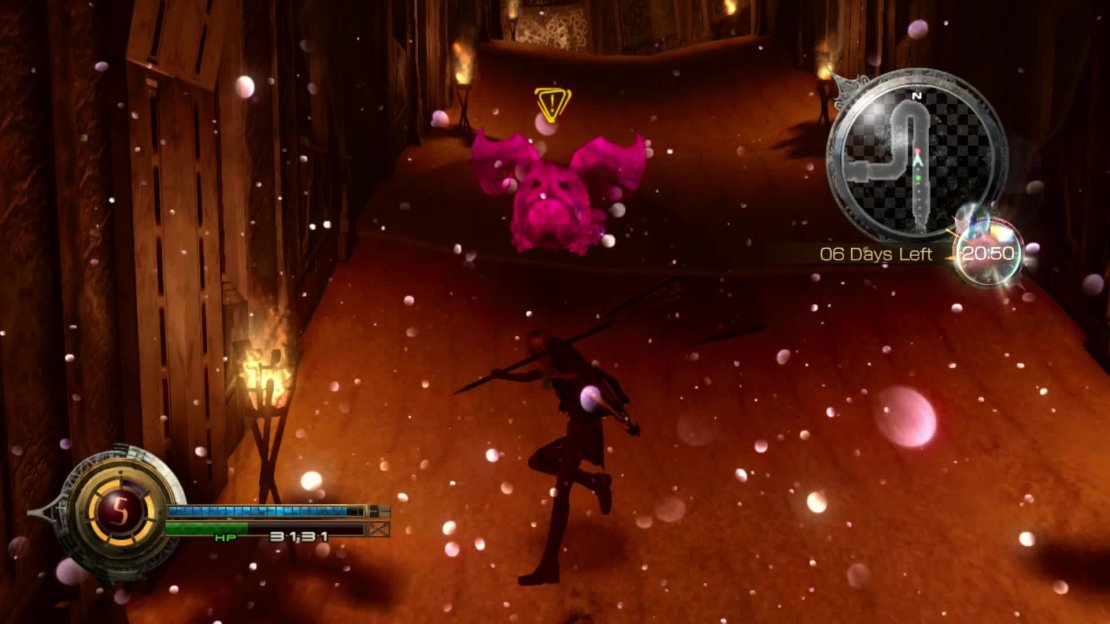
Weeeeee, more surfing. At the end of the tunnel is the first Tablet . After collecting it, the way back will be blocked with skeletons (because ruins are always booby-trapped aren’t they?) so just fight through them and return to the Cactuar Stone. Teleport to the Atomos Sands Shrine. At this point, I encountered the Goblot Last One because I had killed all other Goblots.
If you see a bright magenta monster, you will know it is the Last One of its species. They are a lot more powerful than normal.
Harbinger of Death
Proof of defeating your first Last One, the final specimen of a species on the verge of extinction.

15
There is more Bhakti’s Oil at the entrance and a Pretty Orb in the room with the Crux door. Use a Pilgrim’s Crux on the door and run all the way to the end to pick up the next Tablet . Use the Stone to teleport to the Dry Floodlands Shrine for the last Tablet.
Pick up the Pain Dampener and more Bhakti’s Oil in the same room as the Crux door and then use another Pilgrim’s Crux on the door. Go all the way to the end again for the final Tablet . Fight your way back out of the ruins and use the Stone to teleport back to the Sacred Gate.
Head for the gallery marked by the waypoint and examine it to view the first mural. Pick up the Crux Body after the cutscene. I’m thinking we shouldn’t trust the Gods, right? Return to the red door you opened with the switch before (the one in the Sacred Grove) and go through it to a new area; the Walk of Peace.
Run down the corridor until you reach a path guarded by a Gurangatch. Kick its ass to unblock the path and go to the end to find a Collector Catalog . Jump down into the chamber (watch out for the hole below) and collect another Pilgrim’s Crux . Climb the ladder and then jump down through the hole below in the next area. Collect the Cursed Band in the centre of the room.
The Collector Catalog increases the duration of effects when an item is used.
Climb back up the ladder and head south. Turn left at the first opportunity to spot another Pilgrim’s Crux . Pick it up and then drop down into the chamber below and grab the Thorn of Speed . Head west and activate another Cactuar Stone to create a teleport spot for the Golden Chamber. If you plan on revisiting this place to collect other items you missed, teleporting here is a must.
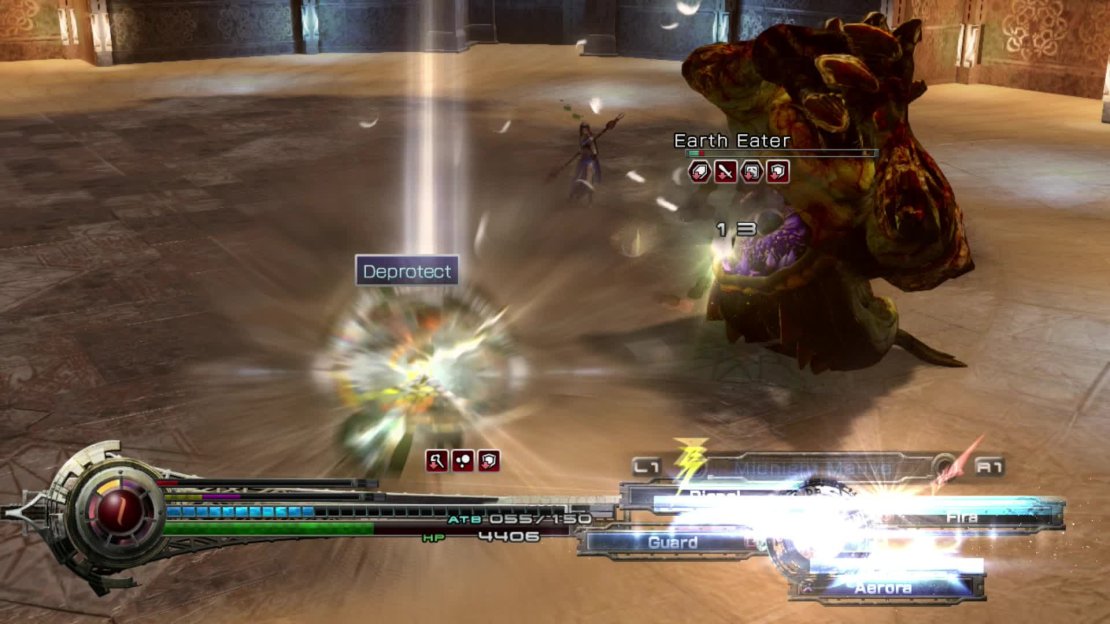
In the south room waits an Earth Eater. You will need to kill him to progress so set up your schemata by equipping Dangerous Blossom and adding Poison Level 2 and Deprotect Level 2 as well as the locked Defaith and Debrave abilities. The Guard’s Cravat is a very good accessory and anything that resists status ailments. This will be your defensive schema. Equip Dame du Lac on this one and a strong weapon like the Demon’s Mace or Shard Blade. You won’t need Guard because of your high HP. Having full EP is advised !
The other two schema should be offensive ones like Dragon’s Blood and Midnight Mauve. The Earth Eater is very resistant to status ailments until you first stagger it. To stagger it, use wind-type abilities such as Aerora and Galestrike . When you have staggered it, cast your debuffs (especially Poison) and go all out offensive with an Overclock or two on the purple mouth thing on his torso. When it uses “ I Don’t Feel So Good ”, guard immediately because otherwise, you will have a massive amount of status ailments to deal with. Use Esunada or a Remedy if you need to.
You must Stagger him as soon as possible so then you can pummel him with status ailments and strong attacks.
He will also cast buffs on himself that cannot be dispelled until you stagger him again. Focus your energy on getting another stagger as quickly as possible so you can rid him of his extra power. Keep Poison active as much as possible and chip away at his HP. You should come out the victor eventually.
Through the door he guarded is another Pilgrim’s Crux . Drop down to the floor below and follow the very long corridor to the bottom to arrive in the Scorched Earth: Lower Level. Through the northwest door (odd hours) is an EP treasure (6 EP) with the Dawn Gauntlets inside. If you don’t have enough EP, return later when you do.
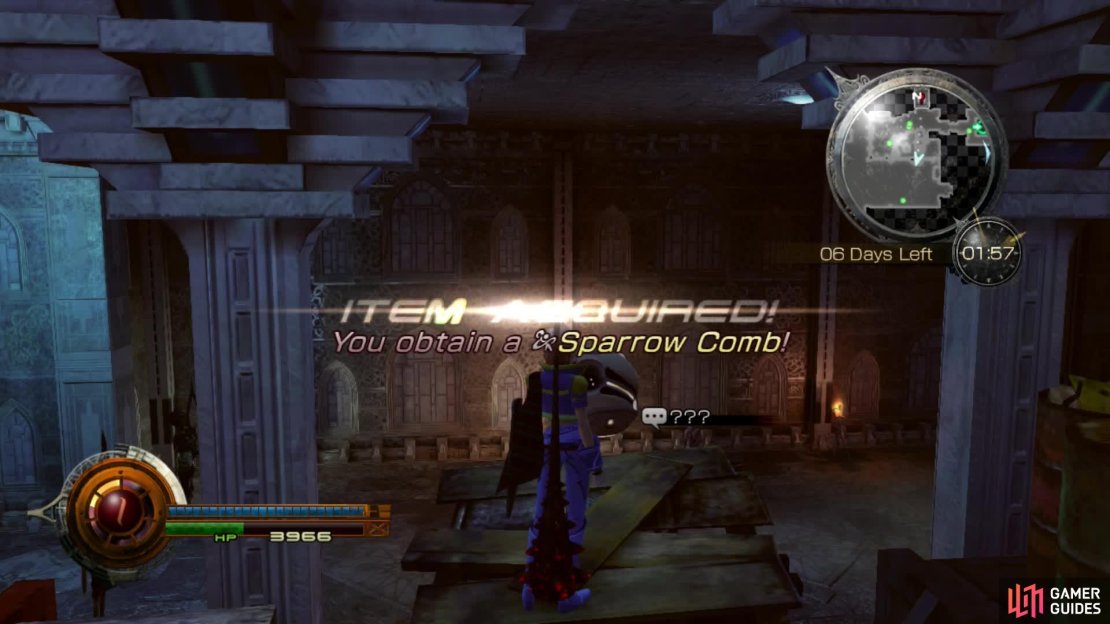
Go through the southeastern door and follow it north to reach the red switch. Press it to open the nearby door. Go up the ladder in this room and head west to reach a room with a lot of torchlight. Collect the Golden Scarab and talk to Nolan to start “ What Rough Beast Slouches .” This quest cannot be completed for some time because the Aeronite is one of the strongest monsters in the game. Before you go, jump up the crates to find a Sparrow Comb .
Don’t forget to jump up here before you go.
Jump out into the room from the treasure and head west for another Pilgrim’s Crux . In the north of this room, there is a door that can be opened with a Crux. This leads to another Stone with the teleport location South Gate. Turn back and take the southeast exit to the Path of the Dead. There are plenty of skeleton statues for you to smash here.
At the bottom, turn into the right path (the Path of Confinement) and follow it down to reach the second gallery, the Gallery of Creation. Place the tablet to view another cheery mural. The sealed door near the Sacred Gate has now opened. Pick up the Crux Tip and return to the South Gate Cactuar Stone. Teleport to the Sacred Gate and go through the newly opened passage.
Run down the Headless Pass to the last gallery, the Gallery of Forgetfulness. View the final mural and then pick up the Crux Base . The Crux can now be completed to form the Saint’s Crux and the Sacred Gate opened. Do not open the door just yet or you will lose Fang as a party member. We will return to complete the final quest later.
Spend the last remaining time collecting skulls and any items you may have missed. At 6am, you’ll be back on the Ark and you will gain 5 Bronze Malistones as your reward. Restock your items with your EP if you need to and then warp to the Wildlands when you’re ready.

No Comments